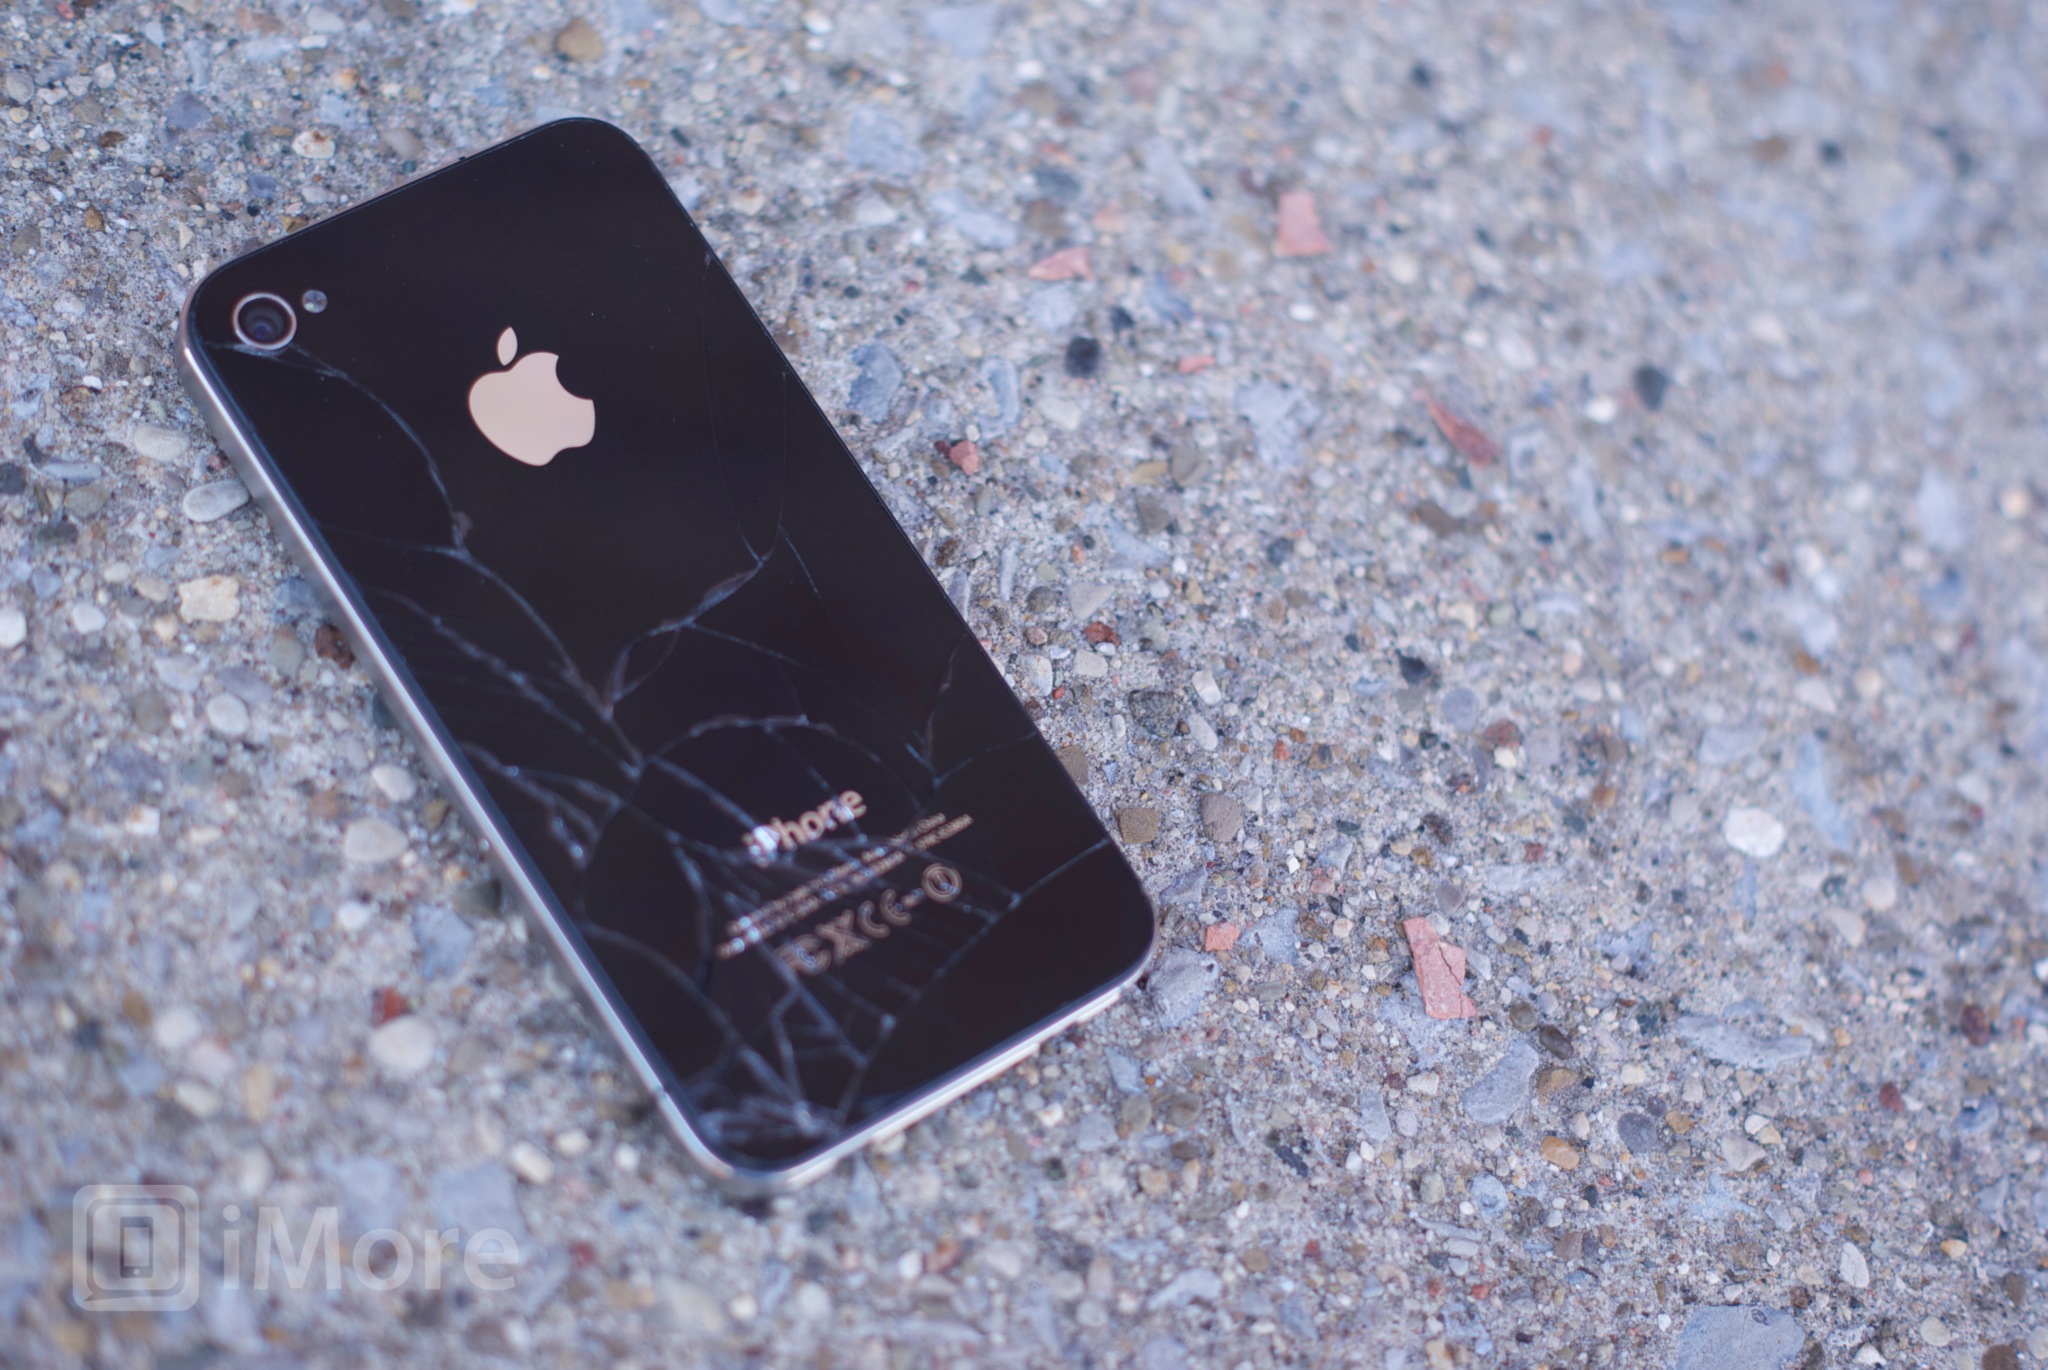
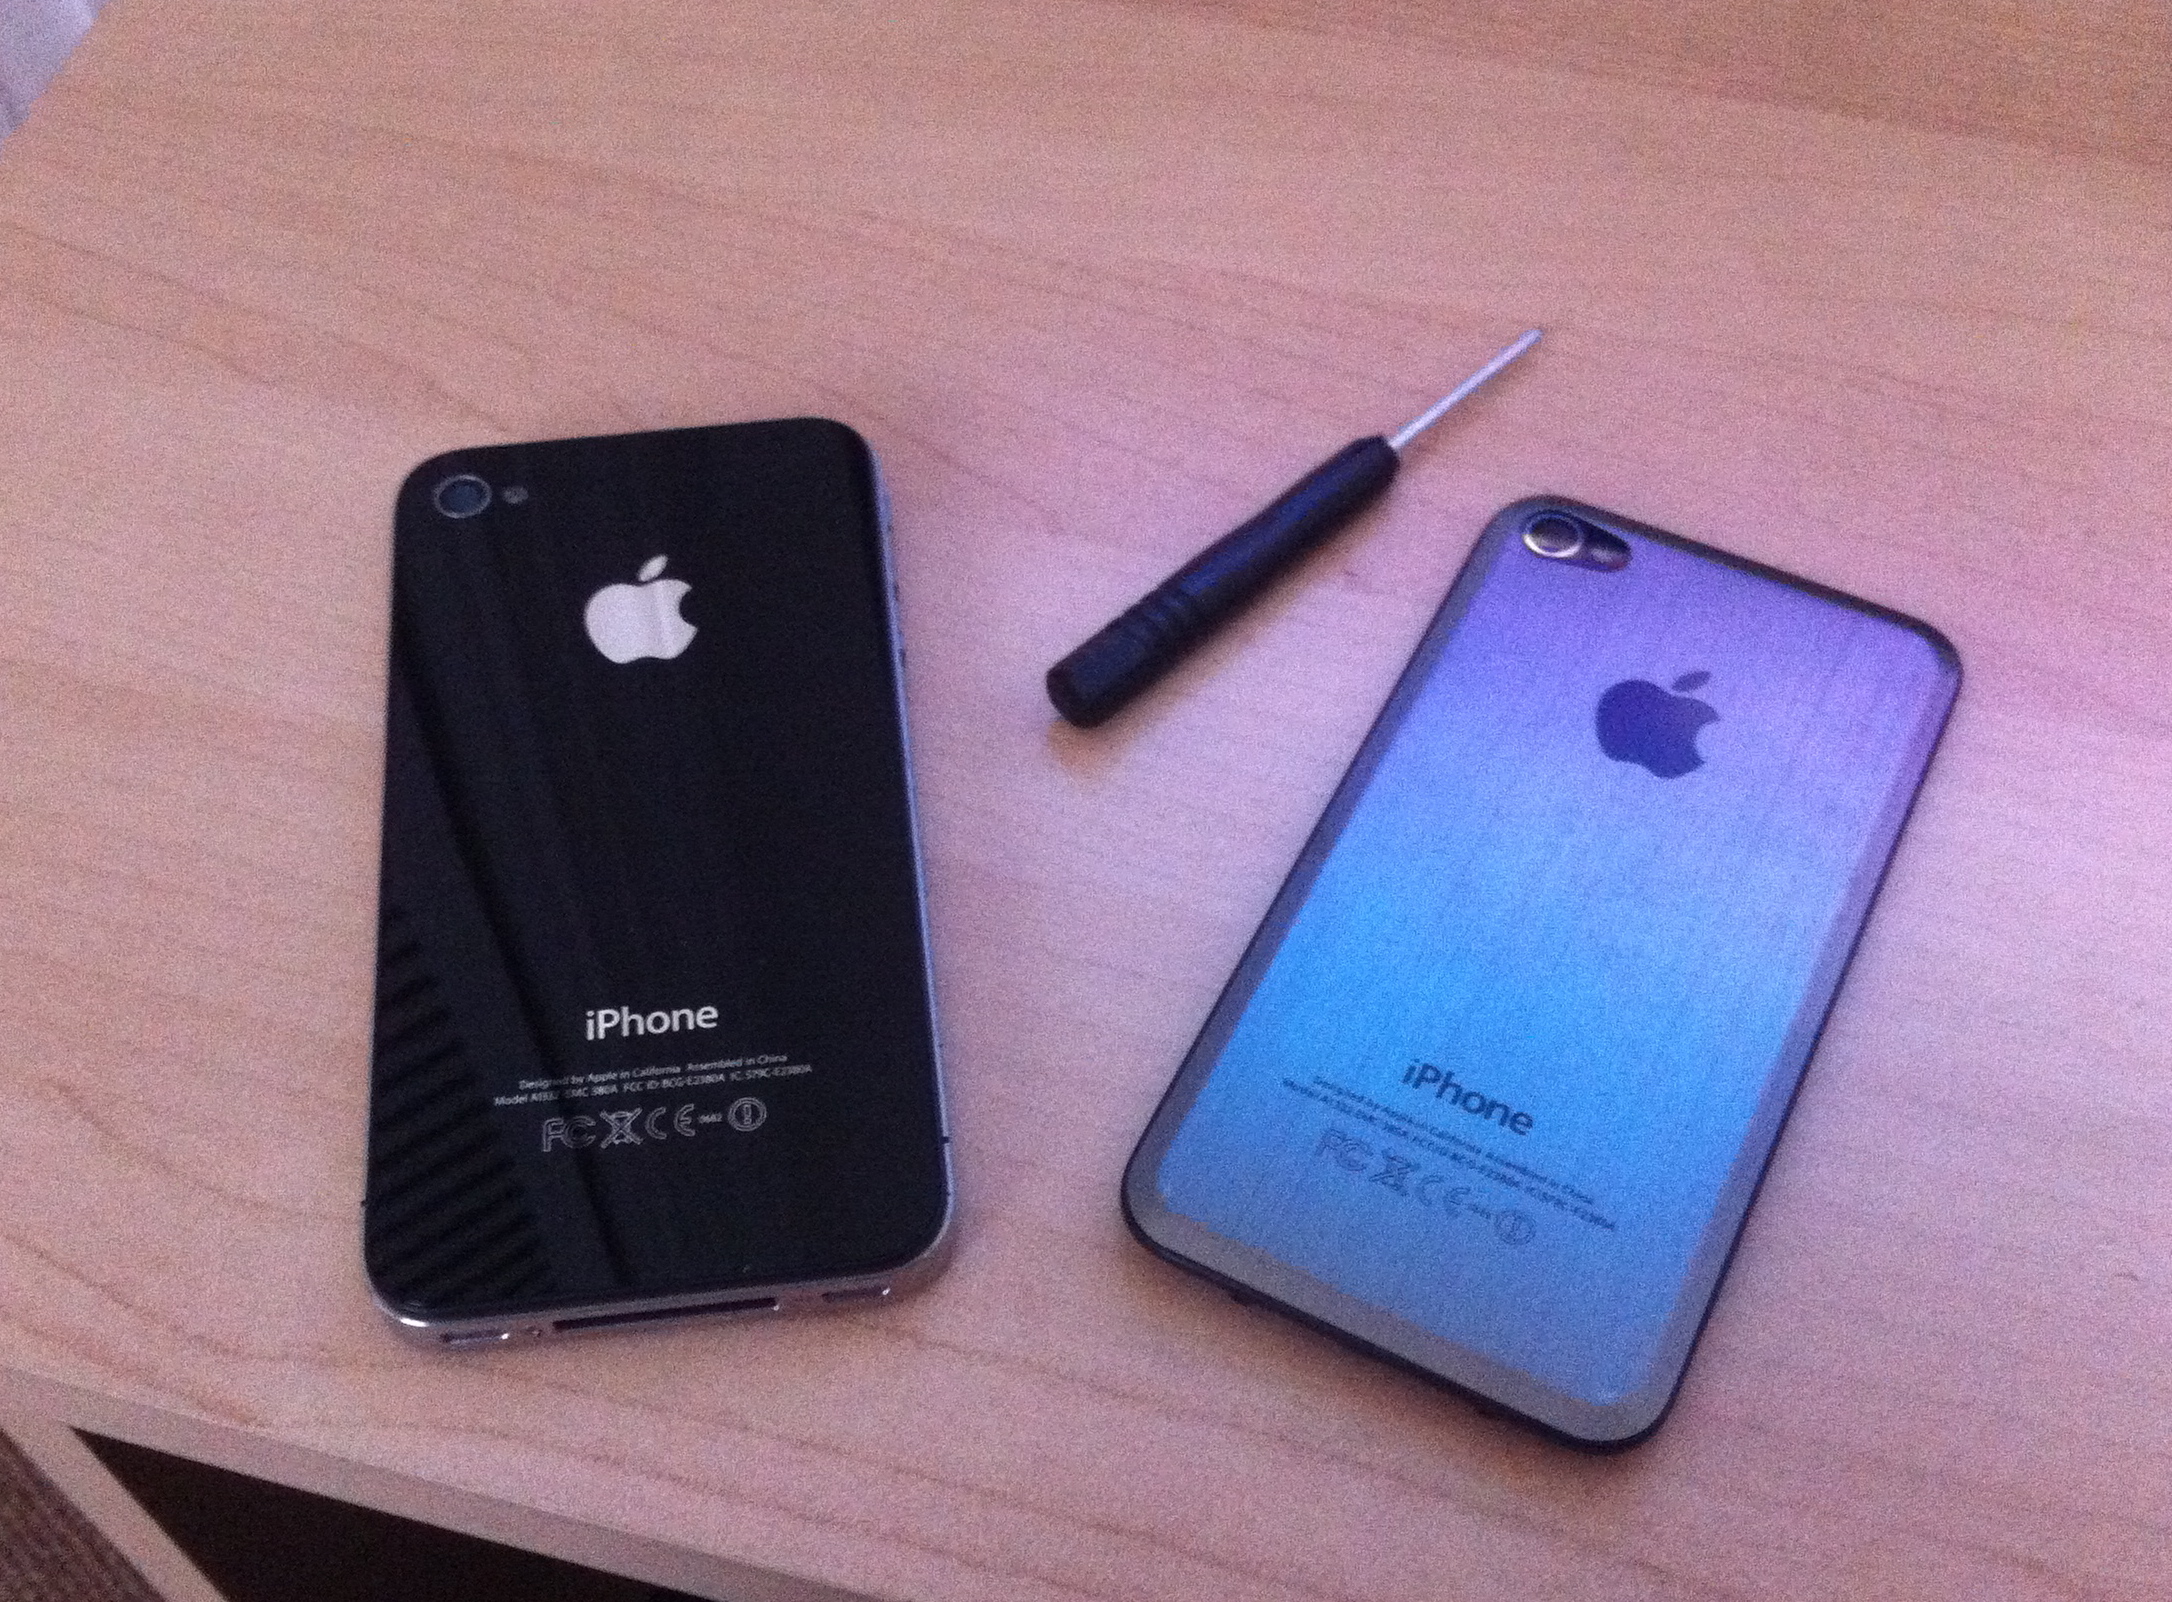
How to replace the back cover of an iPhone 4 or iPhone 4s

Not only that, this particular iPhone repair is one of the simplest of them all. The process is the same for both the iPhone 4 and iPhone 4s. Replacing the back panel also fixes any issues you may have with a hazy camera or cracked lens since it's built in to the back panel. So if any of these issues sound like you, follow along and we'll walk you through.

Anytime you make any hardware repairs, make sure to do them in a dry, clean place. You don't want any liquid or dirt getting inside your device. I typically perform repairs on a cool, clean surface and use a few white sheets of printer paper. The paper makes it easy to spot screws. As always, be careful. With this particular walkthrough, remember that if you ever need to take your phone back to Apple for repair or replacement, you'll need to replace the default back.
What you need to replace the back of an iPhone 4 or iPhone 4s
iMore recommends using only quality and genuine parts from a reputable supplier like eTech Parts. They have quality parts, tools, and much more for all your repair needs.
Note that the back covers are different for different models of the iPhone 4 so be sure that you select the correct link below. For example, if you have a Verizon or Sprint iPhone 4, you'll want to choose the CDMA back cover in whatever color you want. If you have an AT&T iPhone 4, you'll want to choose the GSM in whatever color iPhone 4 you have.
You can of course browse eTech's site for colors and designs. Many other companies make them as well. Just be aware that some backs that aren't OEM could cause reception issues, especially if they're metal. They also could be low quality. So just be certain you're checking reviews or asking for feedback before buying a non-stock back cover.
- iPhone 4 GSM back cover - Buy black, Buy white
- iPhone 4 CDMA back cover - Buy black, Buy white
- iPhone 4s back cover - Buy black, Buy white
- 5-point security screwdriver - Buy now
- Standard #000 Phillips screwdriver - Buy now
Taking off the back casing

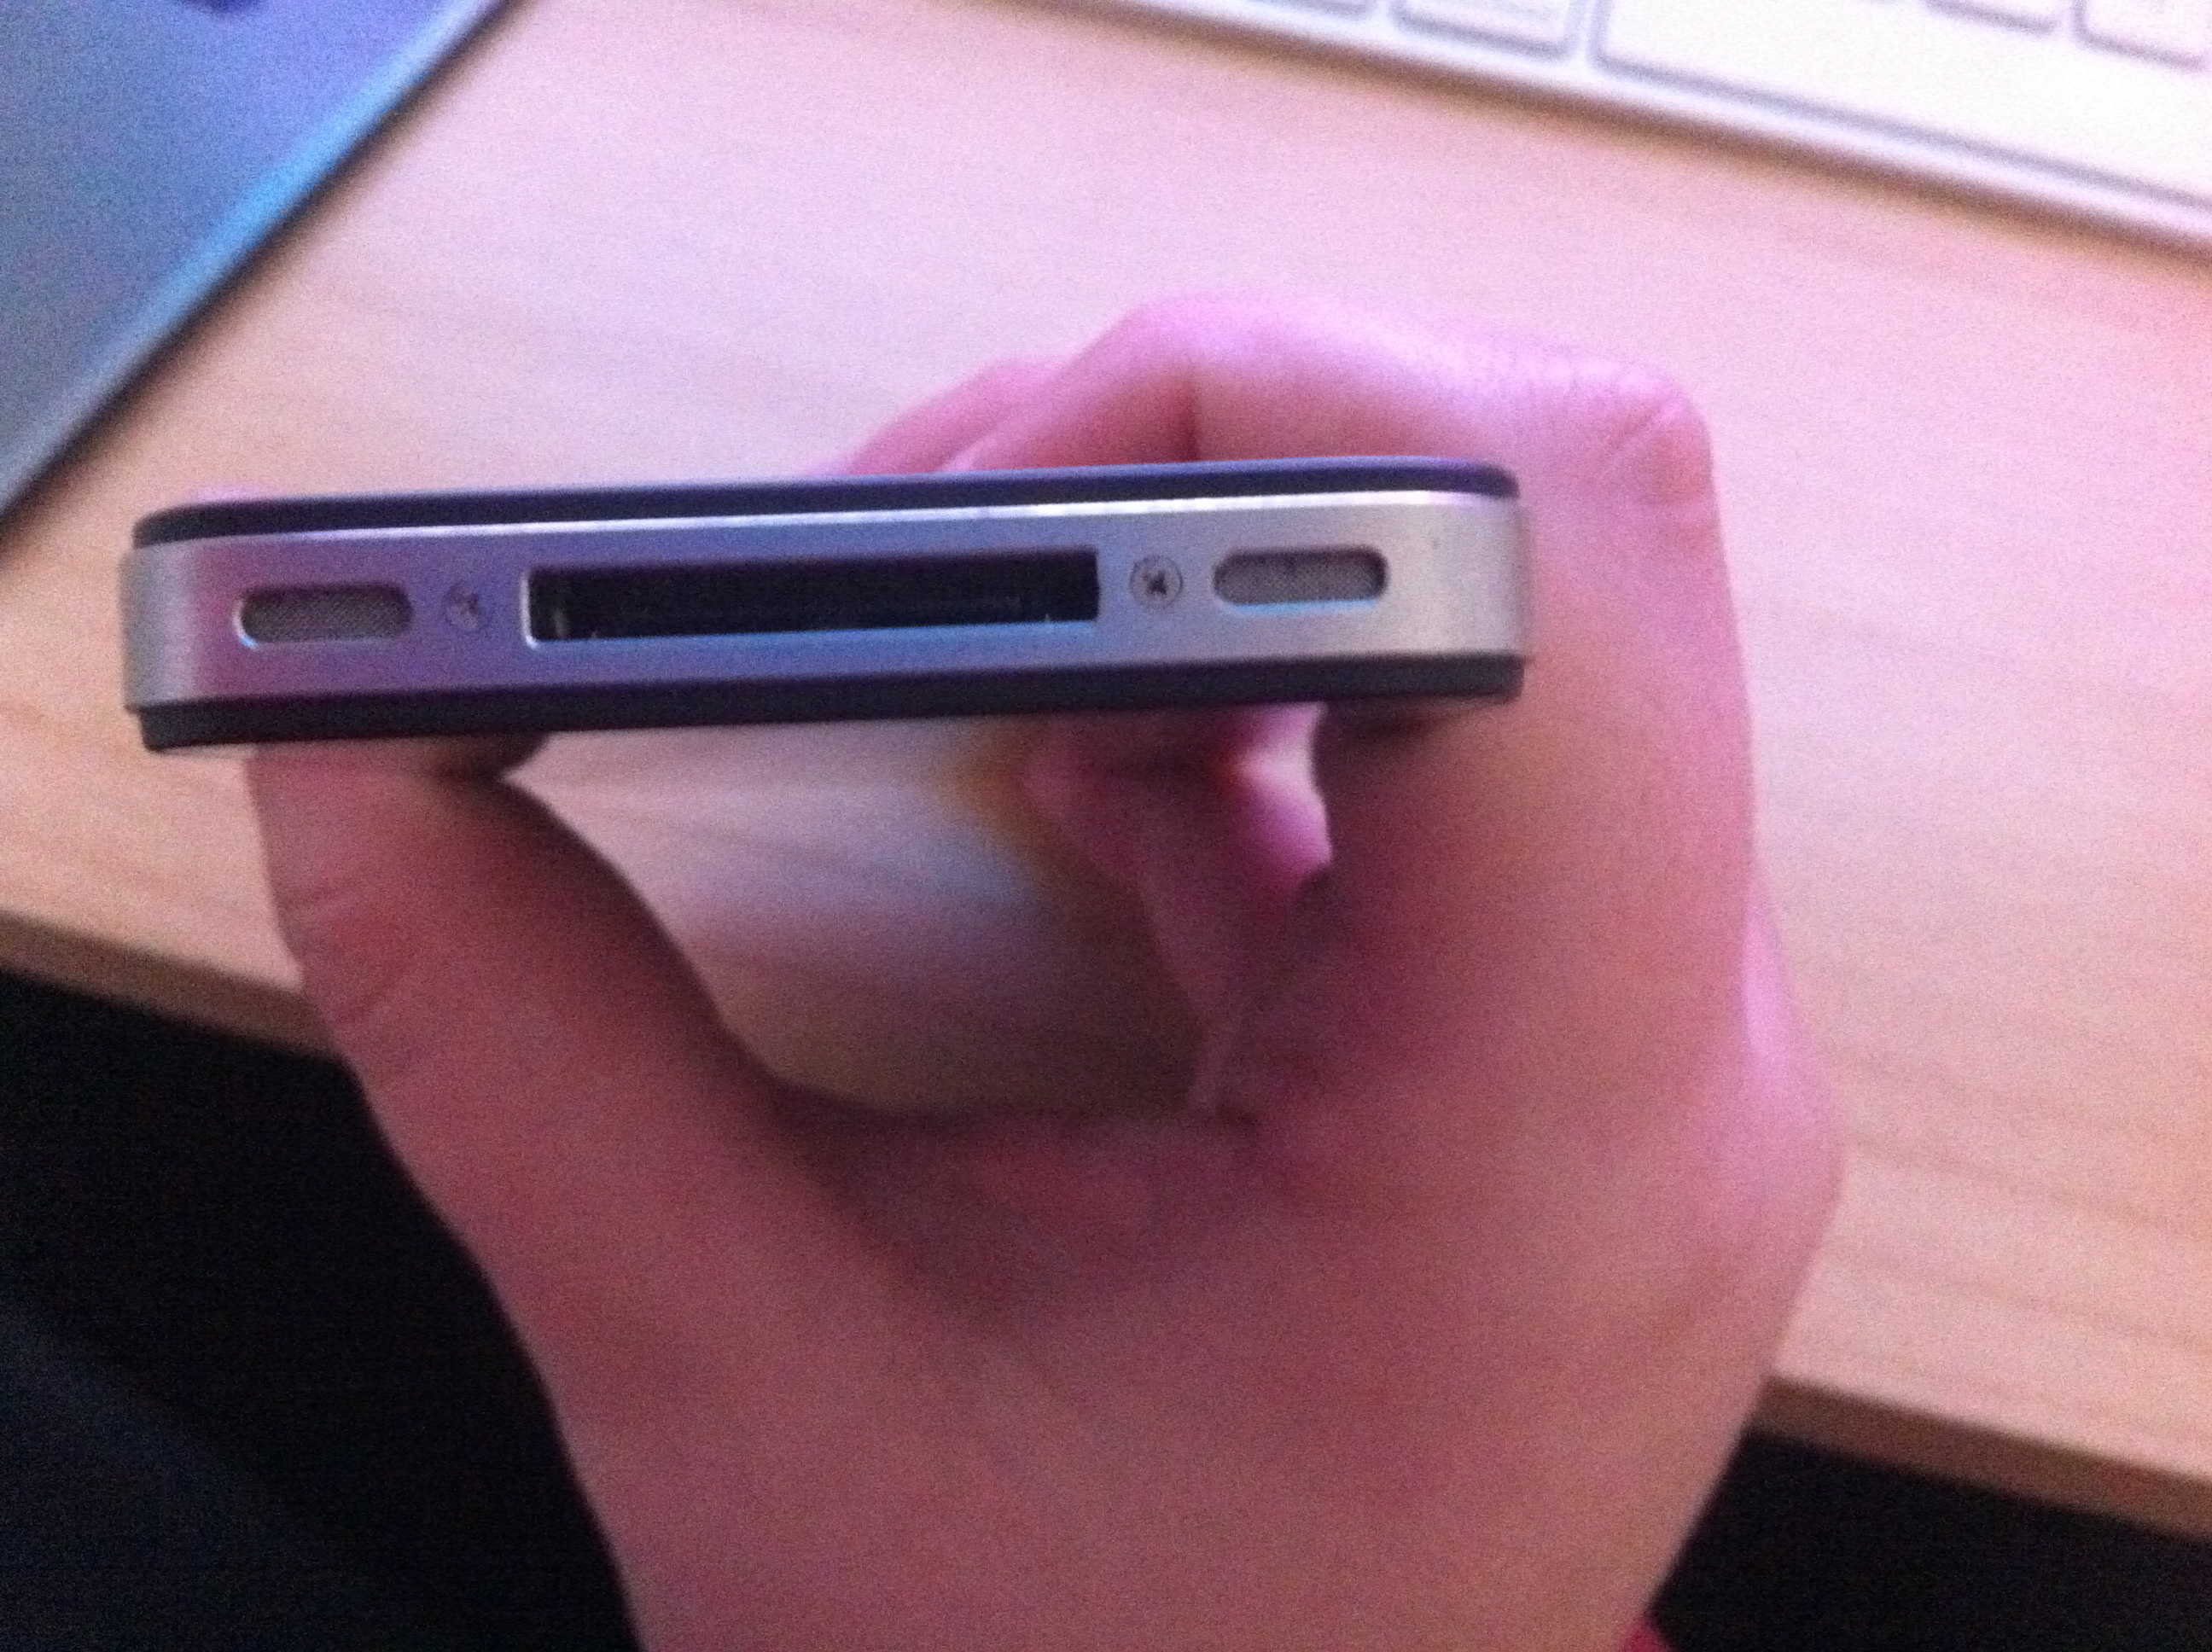
- With a #00 Phillips screwdriver, carefully remove the 2 screws located on each side of the charging port
- Set the screws aside
- Hold your phone with both hands and firmly but gently slide the back casing up by applying even pressure and pushing up
- The back casing should simply slide up, you should then be able to lift it up and set it aside
Putting on the replacement
- Line up the casing by sliding it in place from the top (slide down, opposite of how you removed the original back)
- Firmly (still gently) slide the casing into place, you should hear it click into place
- Replace the 2 screws by the charging port. Be careful not to screw them in too tight, as you could strip them.

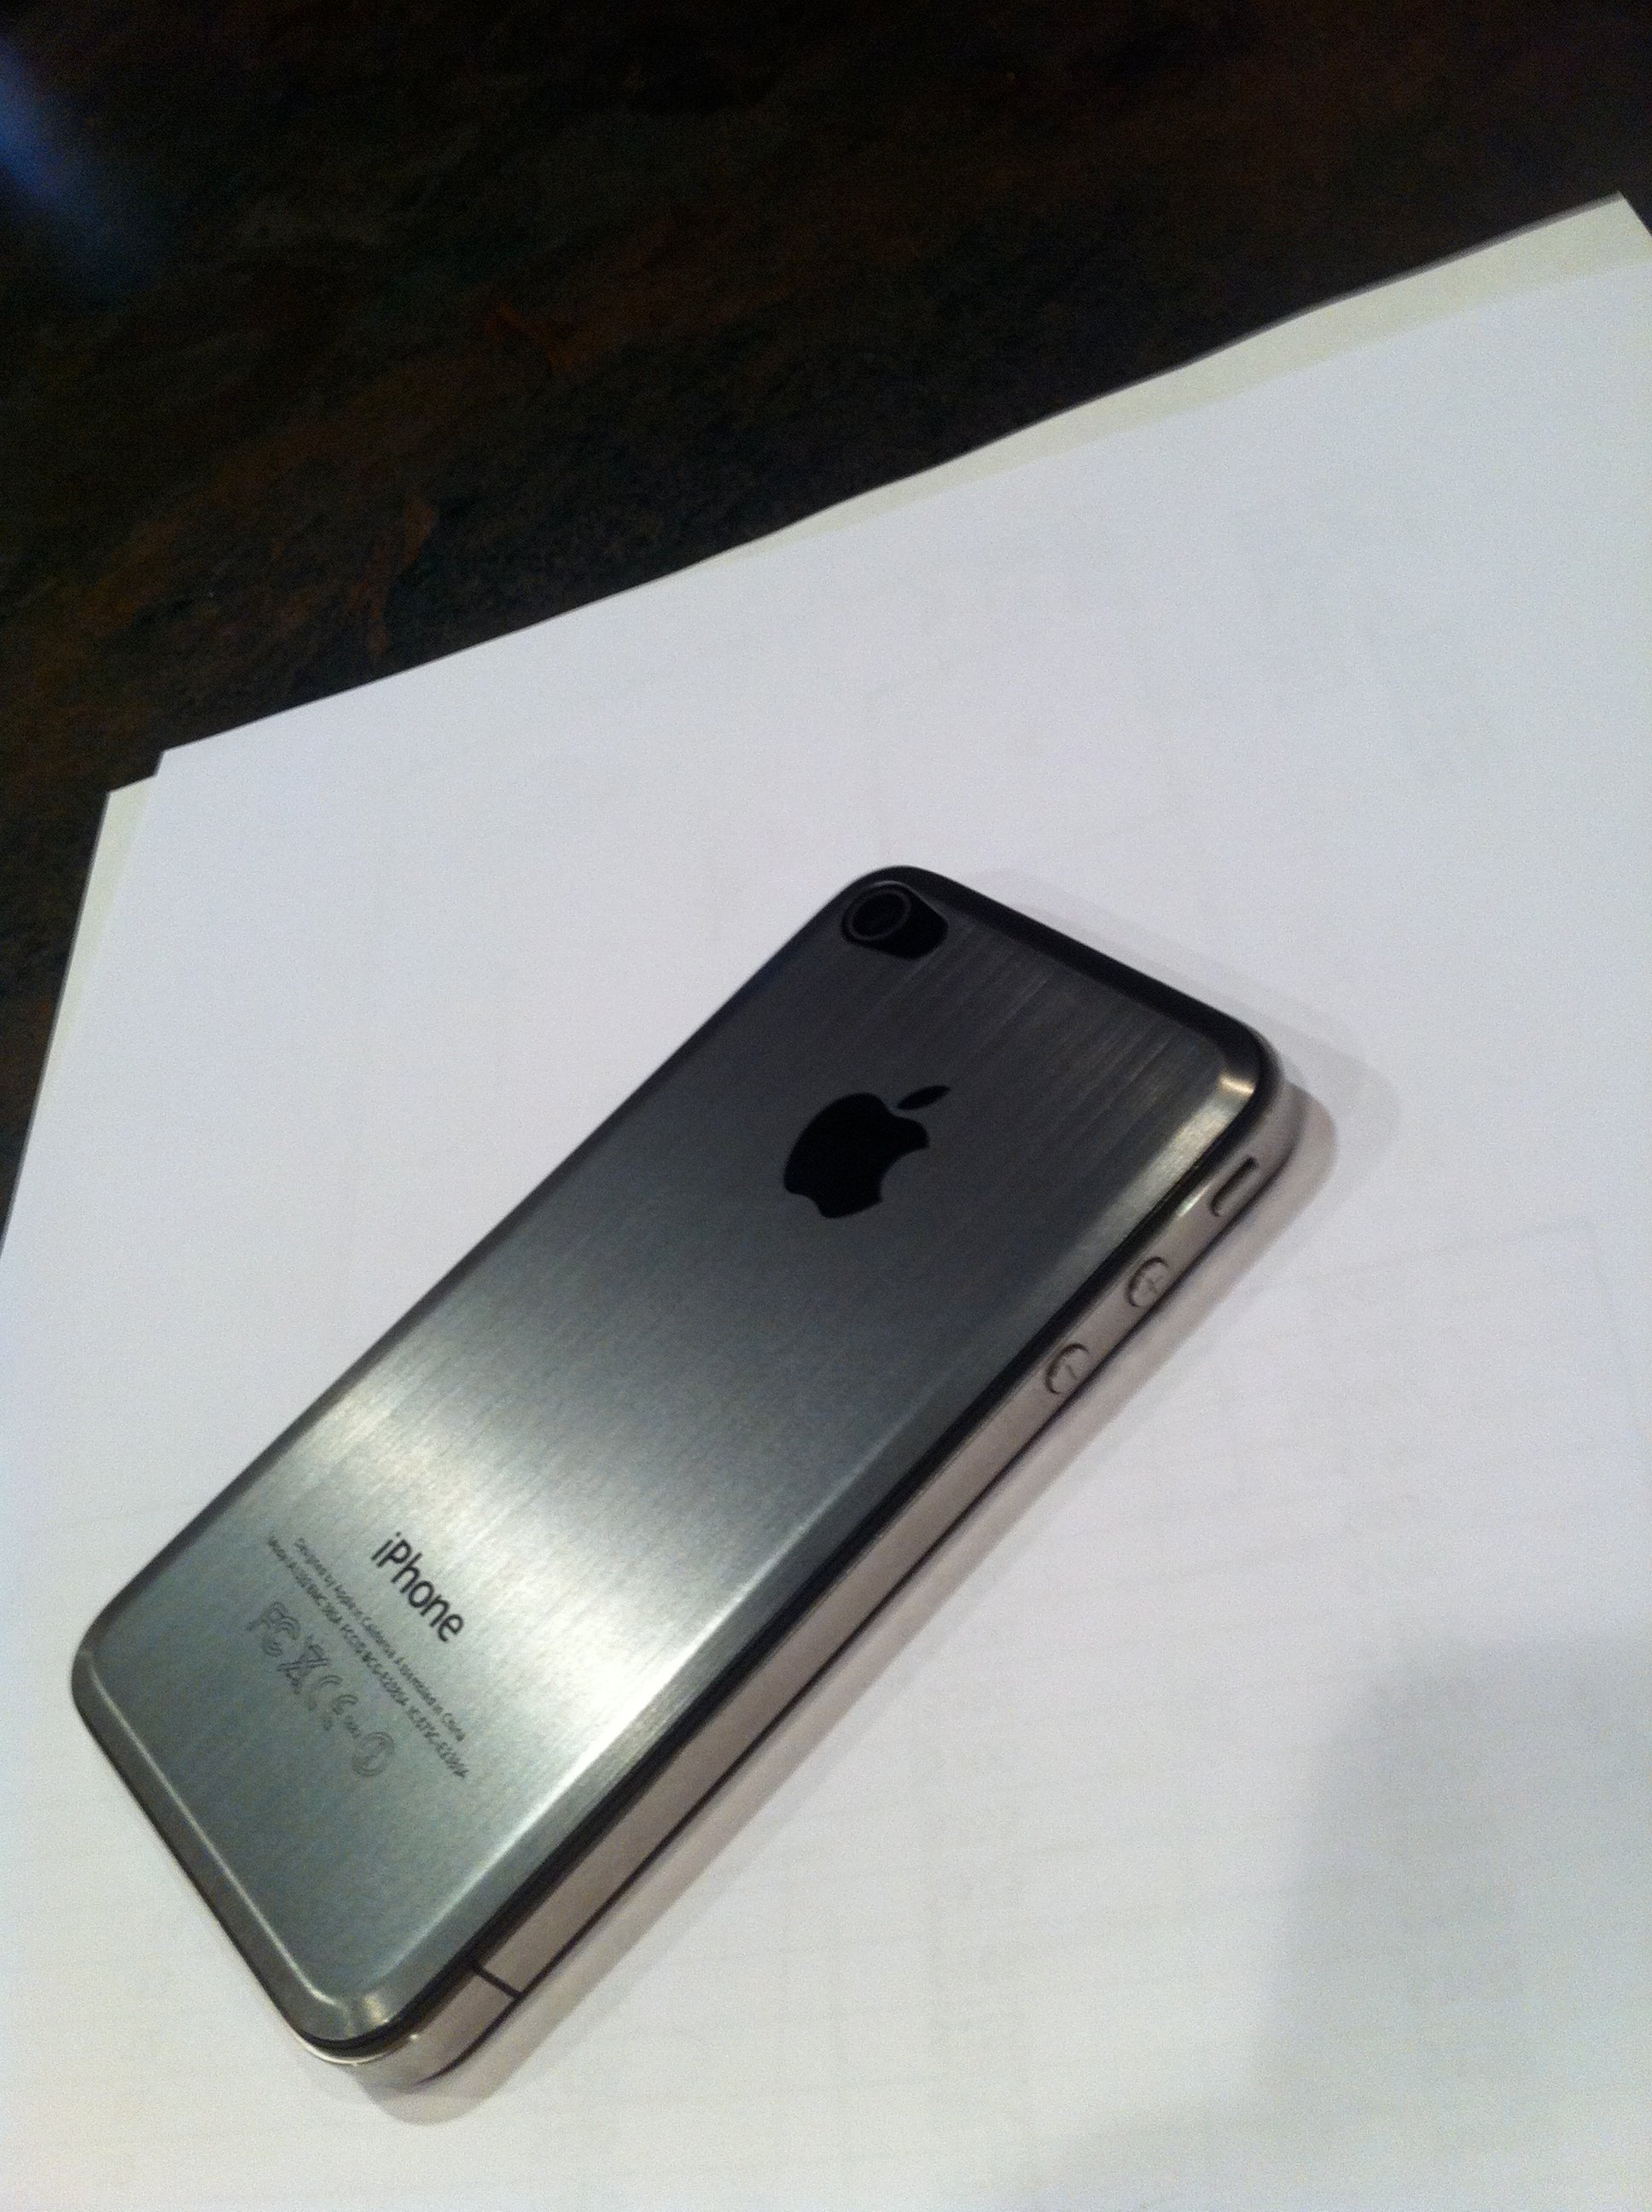
You're done! You can now enjoy having a different back on your iPhone 4. This is great for users who have been waiting for the white iPhone as long as you're okay with the front not being white. (The front panel is replaceable as well, but the process is much more extensive.)
If you've modded your iPhone 4 (or any iPhone for that matter), post your pics in our forums and let us know how it went!
Master your iPhone in minutes
iMore offers spot-on advice and guidance from our team of experts, with decades of Apple device experience to lean on. Learn more with iMore!
iMore senior editor from 2011 to 2015.

