How to replace your iPhone 3G or iPhone 3GS screen
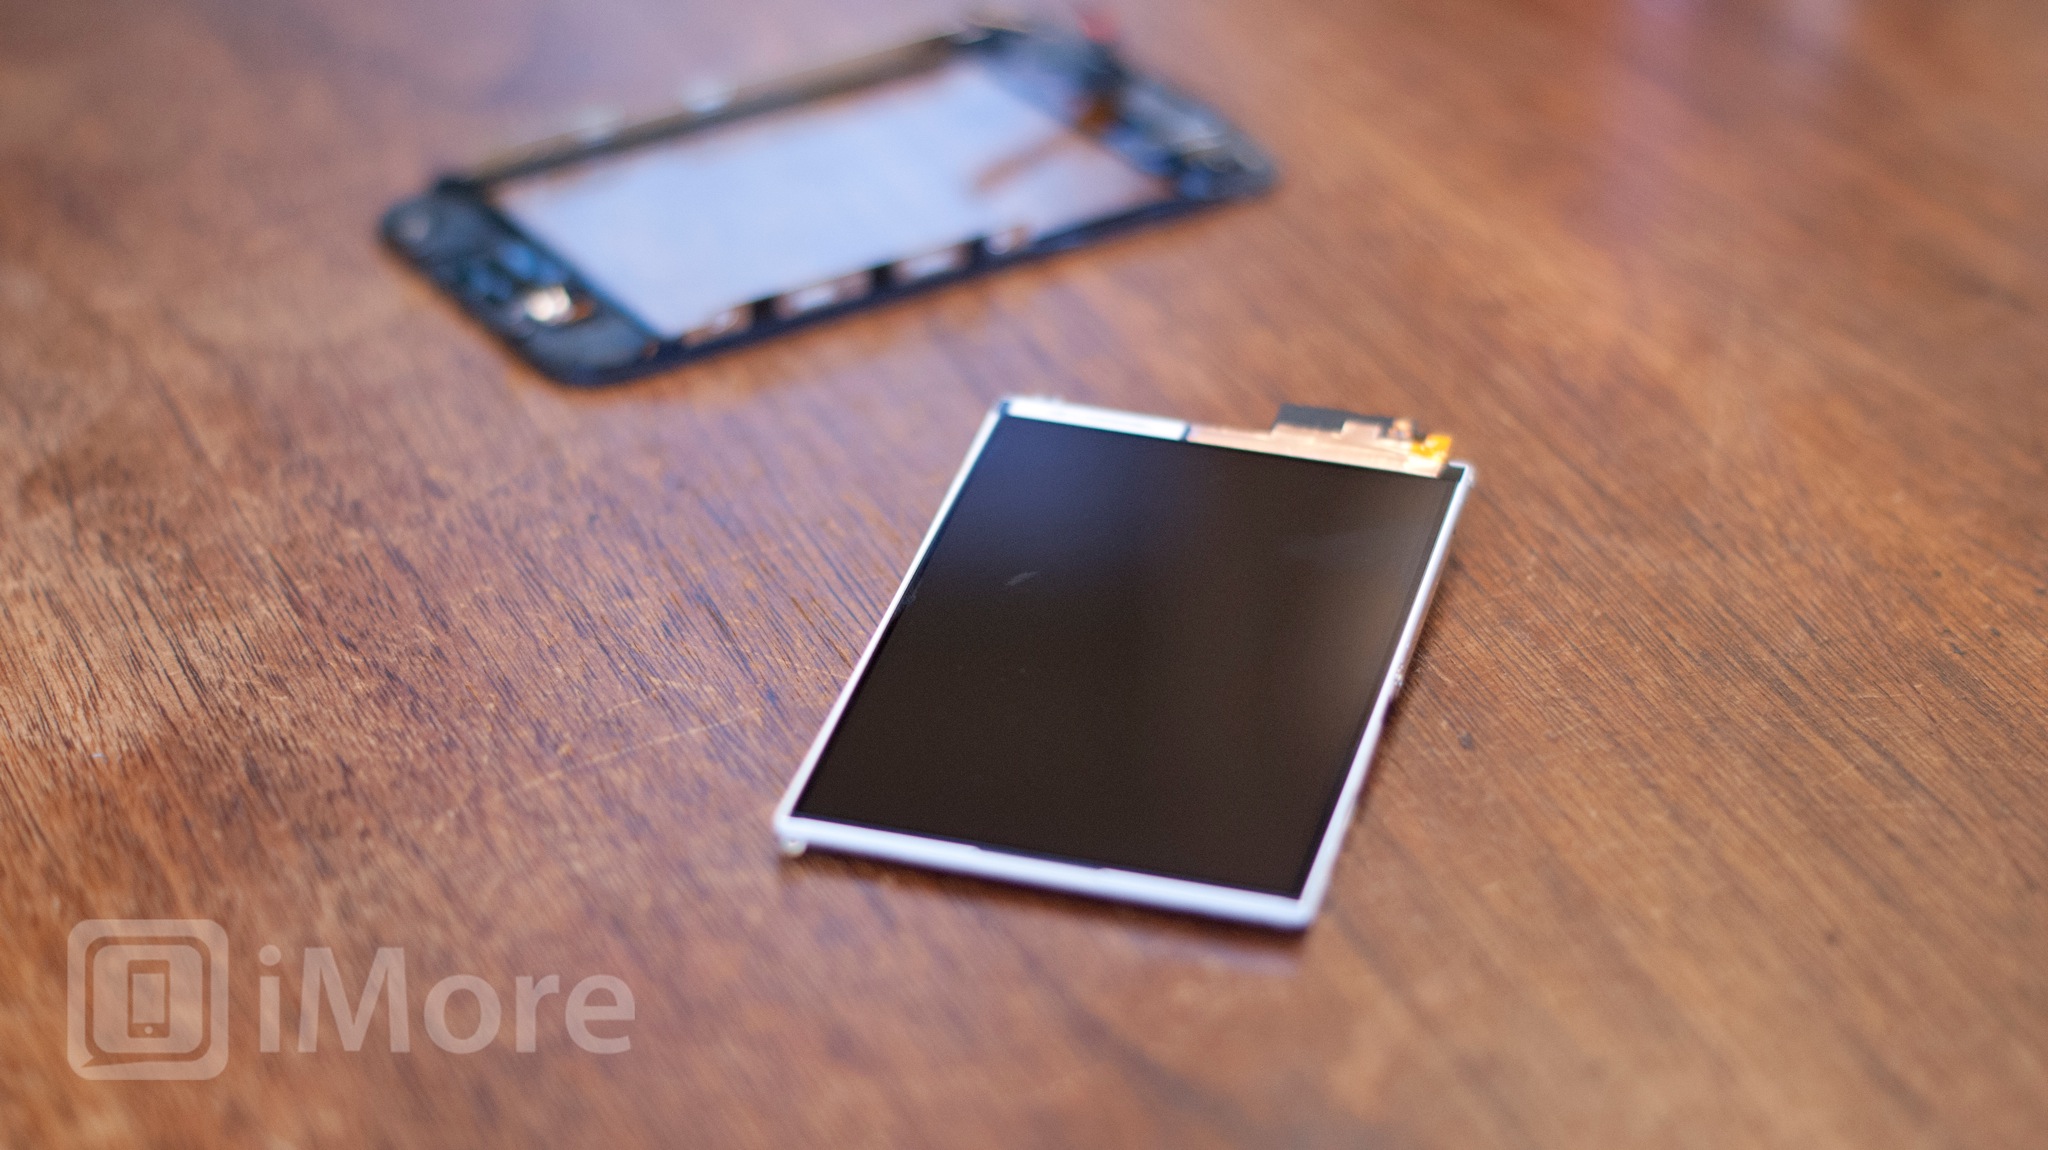
The iPhone 3G and iPhone 3GS are some of the easiest iOS devices to DIY repair. With the right tools and parts, swapping out your bad LCD is much cheaper than purchasing a new iPhone.
Disclaimer: As with any repair, iMore can not be held responsible for any damage you may do to your device. It's also worth considering that opening up your device to perform any repair or modification can and will void your Apple warranty. If you don't feel comfortable opening your device, don't. Use extreme care and caution when performing a repair on any device.
Symptoms
- Screen is very dim or you can barely see an image
- Lines or pixels distorting the screen
- If your iPhone seems to work aka you can hear system sounds, slide to unlock, but can't see an image - your LCD probably went out
What you need for a DIY earpiece speaker replacement
iMore recommends using only quality and genuine parts from a reputable supplier like iFixYouri. They have quality parts, tools, and much more for all your repair needs.
- A replacement LCD
- Suction cup
- Standard #000 Phillips screwdriver
- Spudger tool
- Razor blade
- iSesamo Opening tool (not necessary but awesome for prying up cables and getting under adhesive)
This repair will be performed in exactly the same manner regardless whether you have an iPhone 3G or iPhone 3GS.
Power off your iPhone
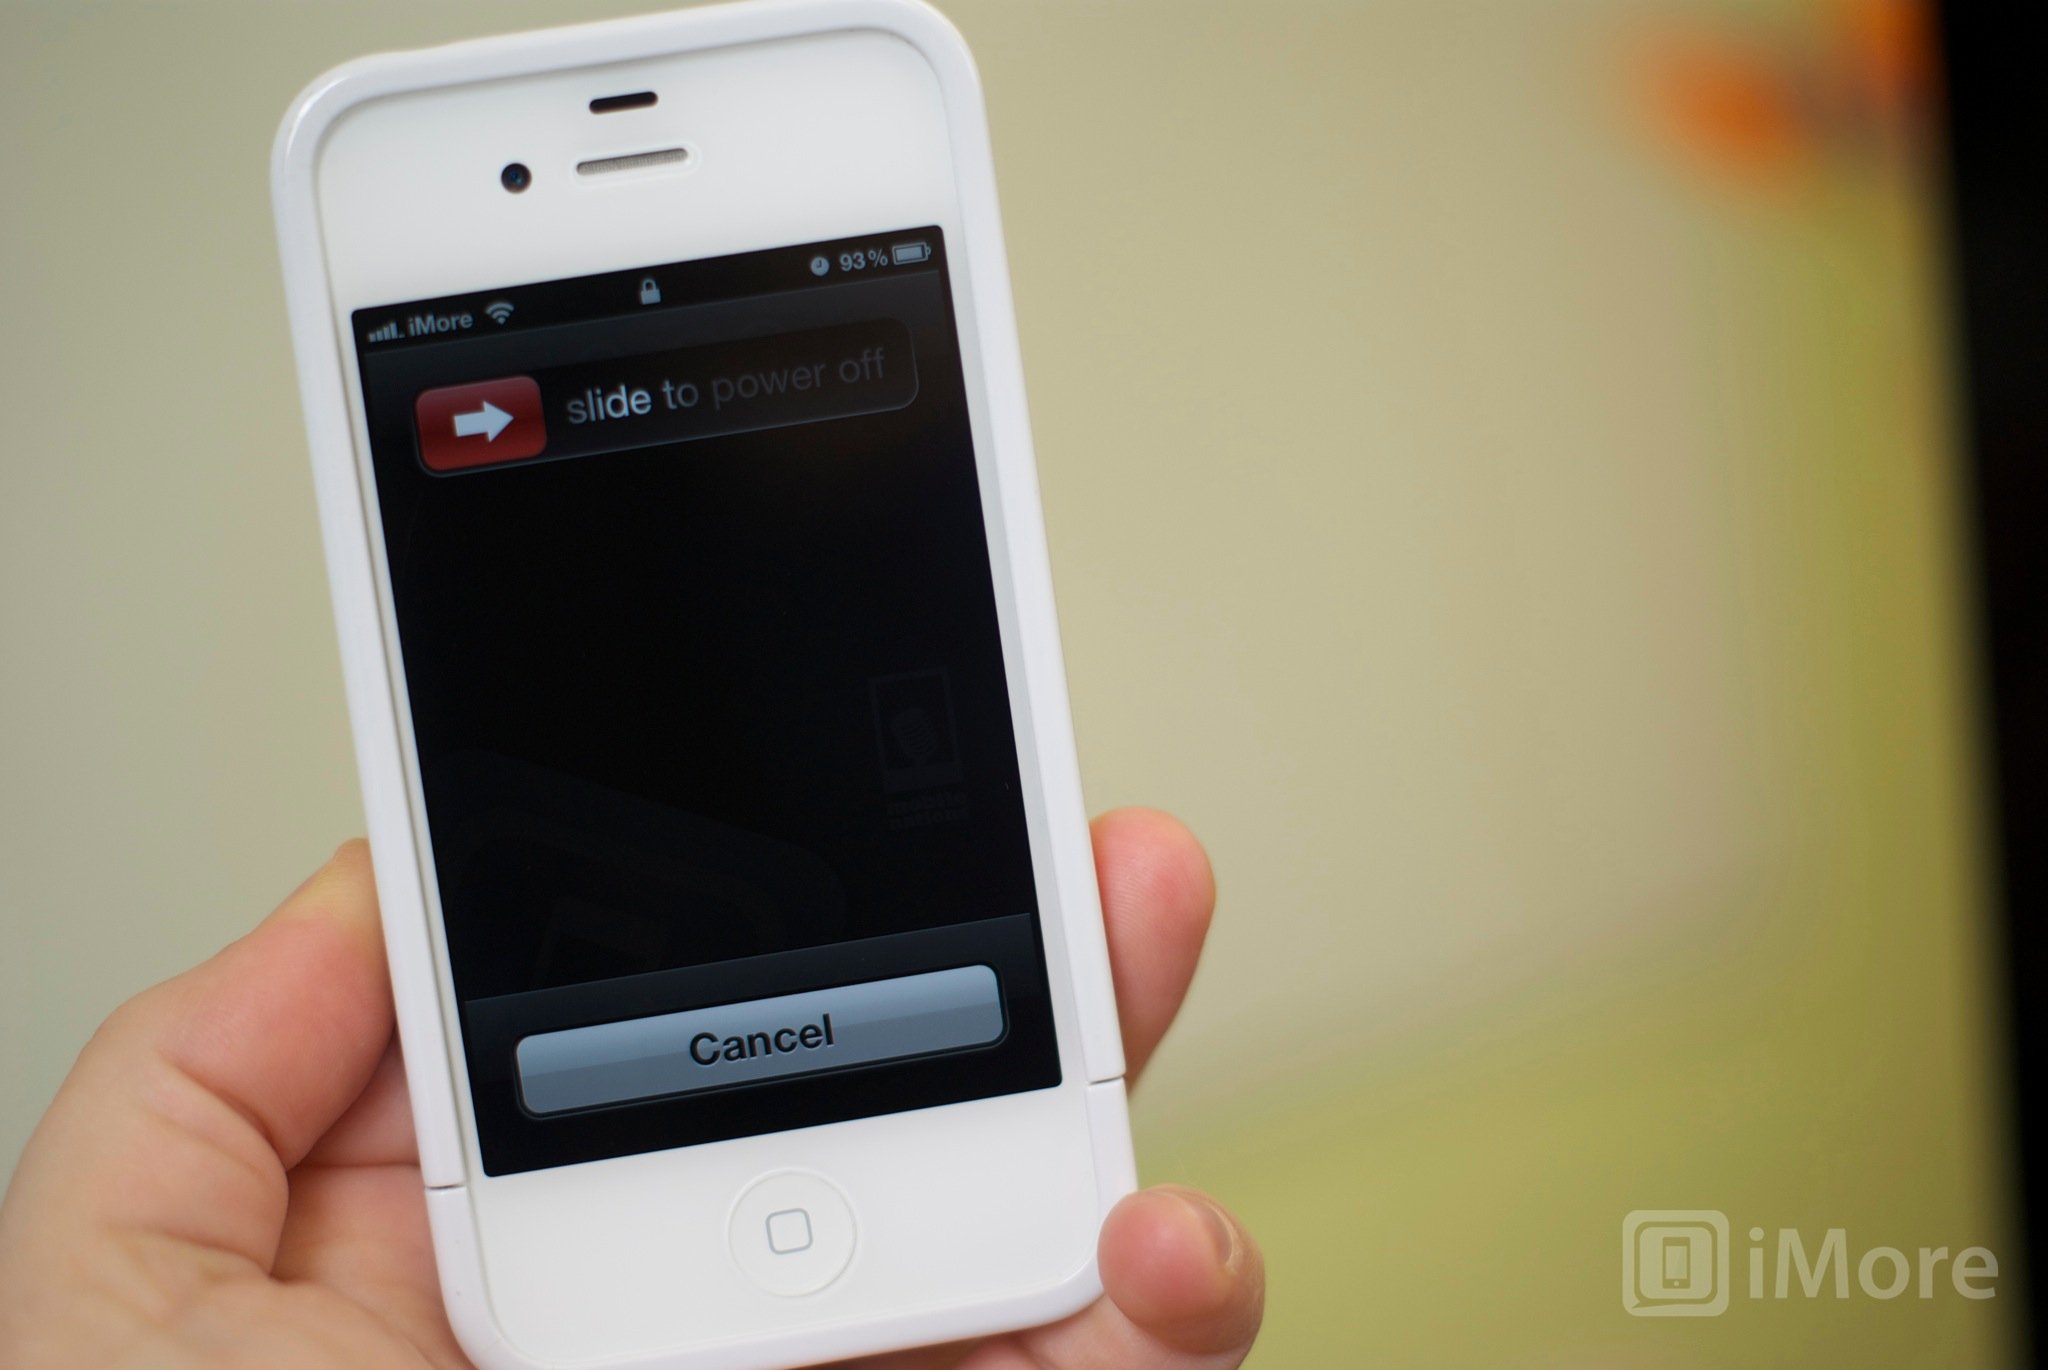
Before performing any repair or removing any screws or parts, always power off your device.
Remove the dock connector screws
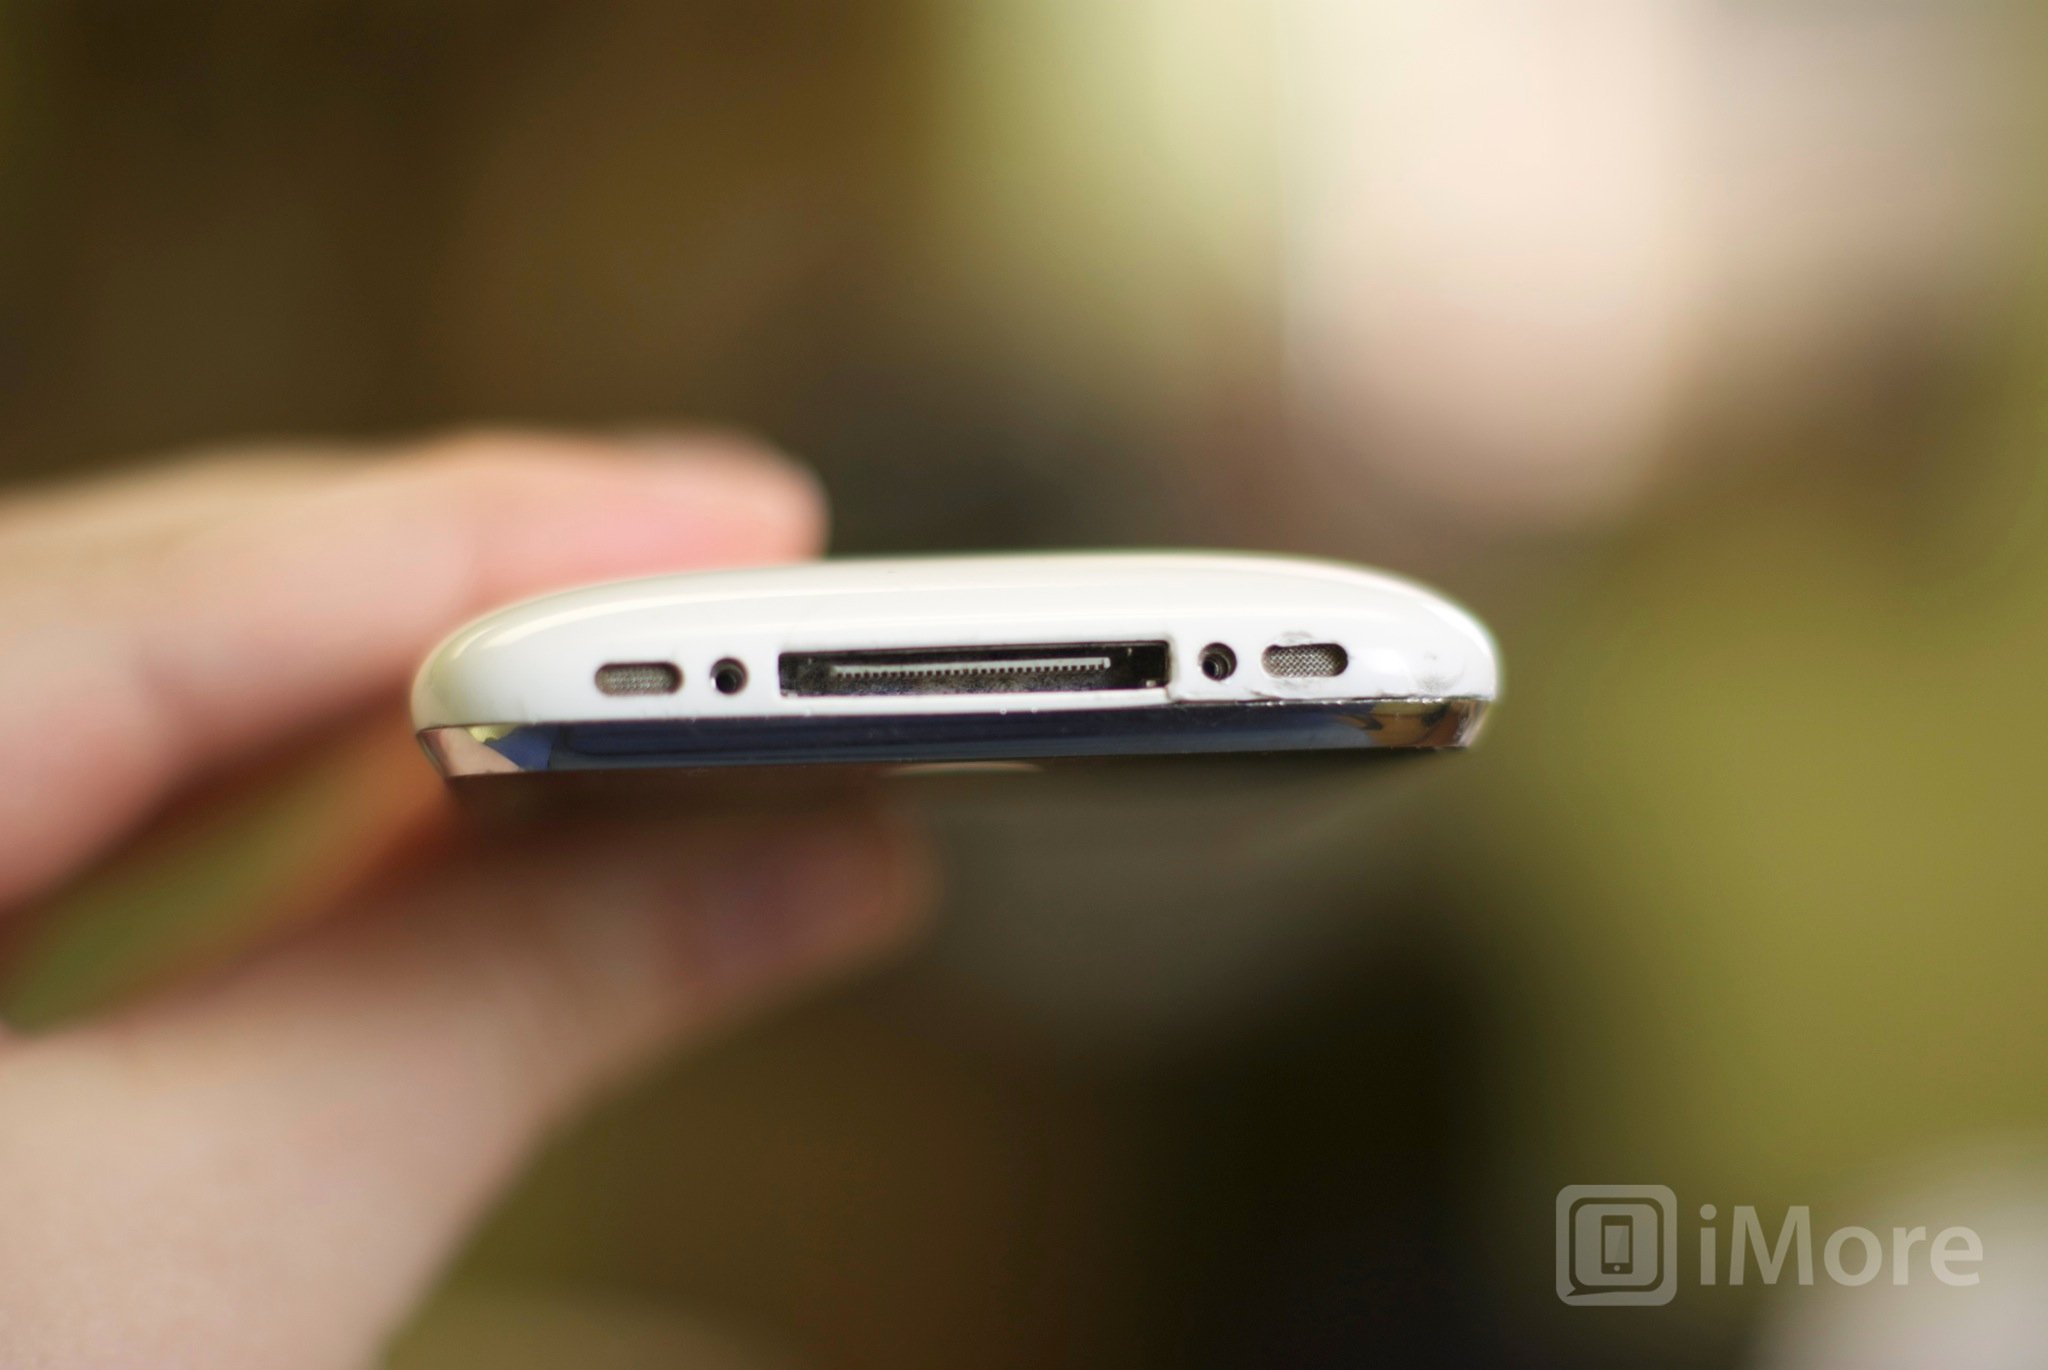
Using your #00 Phillips screwdriver, remove the 2 screws located on each side of the dock connector.
Remove the digitizer & LCD assembly
This part can be a bit tricky so please do this with extreme care so you don't tear any cables during the process.
Master your iPhone in minutes
iMore offers spot-on advice and guidance from our team of experts, with decades of Apple device experience to lean on. Learn more with iMore!
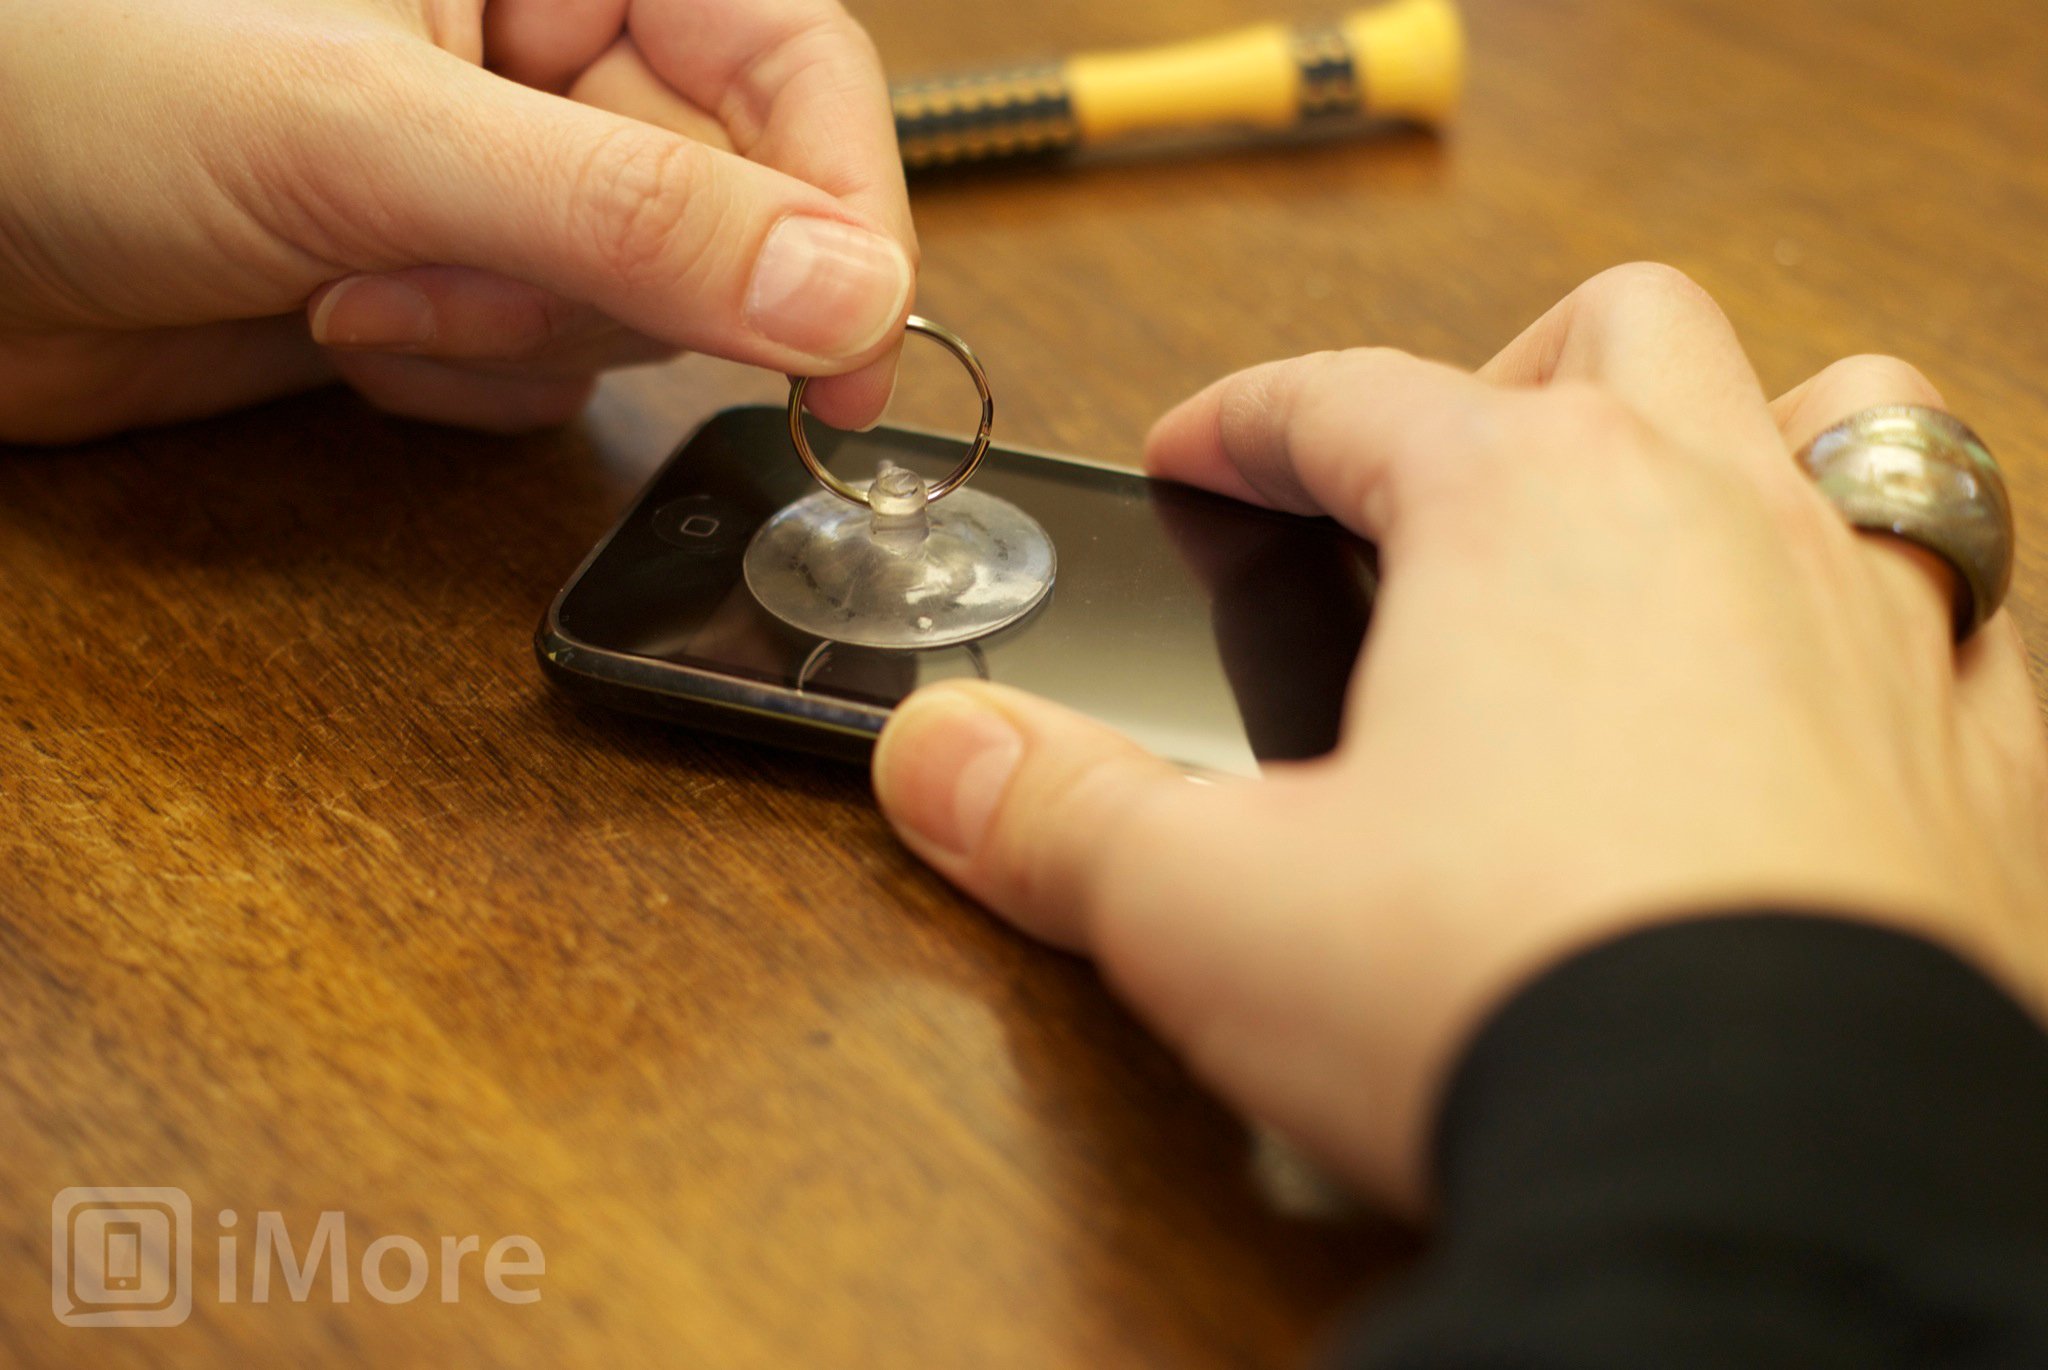
The easiest way to remove the digitizer assembly is by using a suction cup.
- Position the suction cup on the screen directly above the home button.
- Using your other hand, hold down the frame while gently pulling up on the suction cup.
- The goal is to get the bottom of the digitizer loose. Do not pull directly up. There are 3 cables attached in the top right of your iPhone. You do not want to tear these. Just pull up until the bottom of the assembly pops out.
- After you have the bottom up you can remove the suction cup.
Remove the cables that attach the digitizer assembly to the logic board:
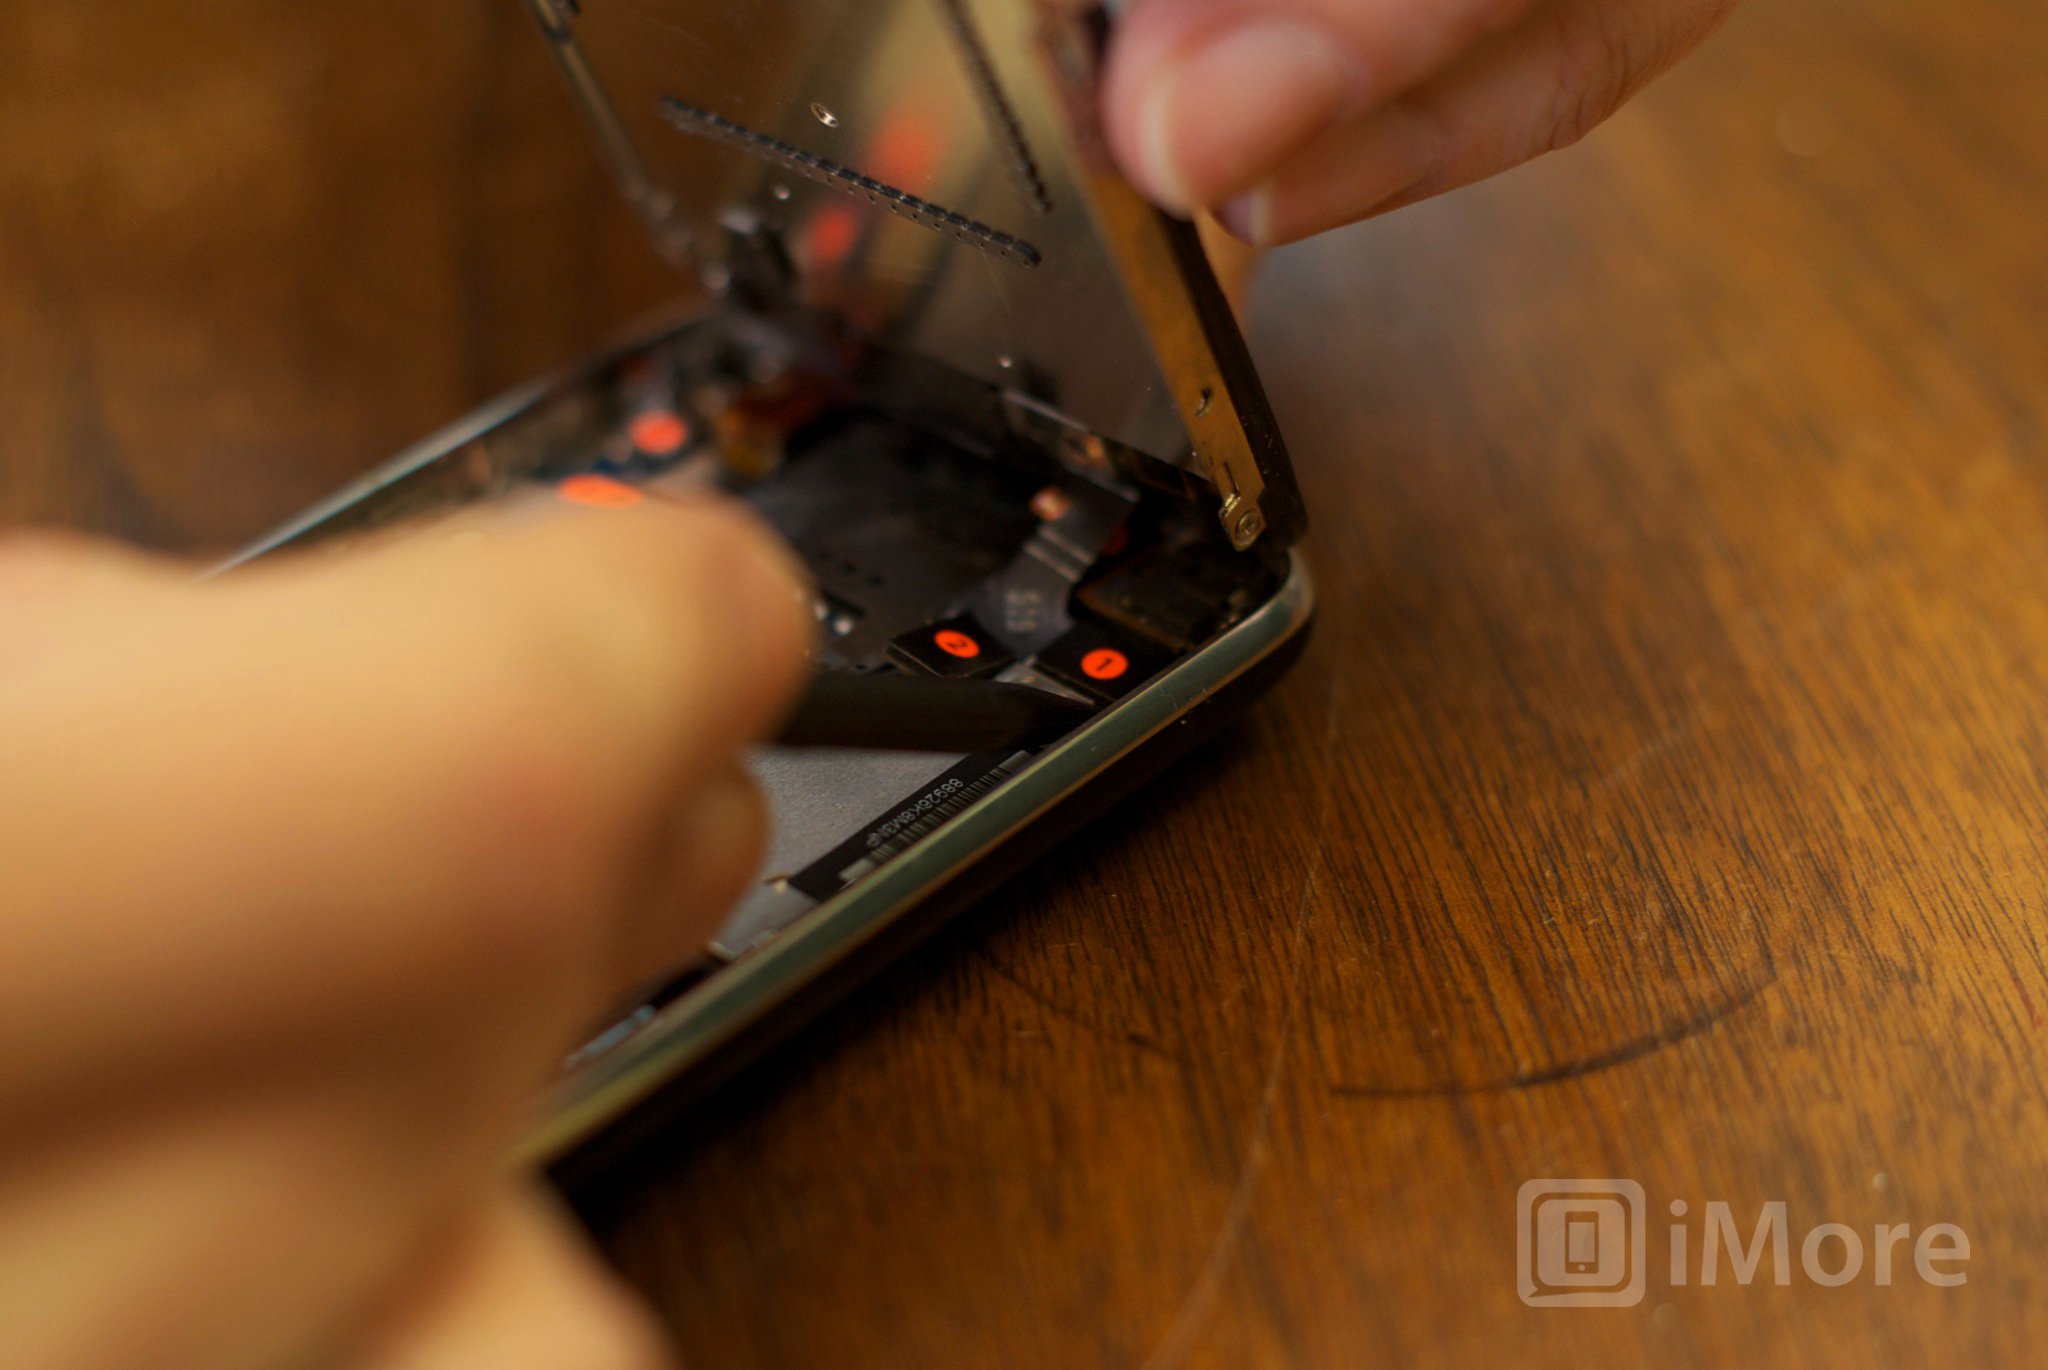
Once you have the bottom of your digitizer assembly popped up we can remove the cables attaching it to the logic board.
- Gently lift up your digitizer enough to have a clear view of the 3 cables in the top right of your iPhone.
- With your plastic spudger or pry tool, you'll need to pry up the first two cables that attach the digitizer and LCD. They should be labeled with orange stickers numbered 1 and 2. Simply pop them off the logic board gently.
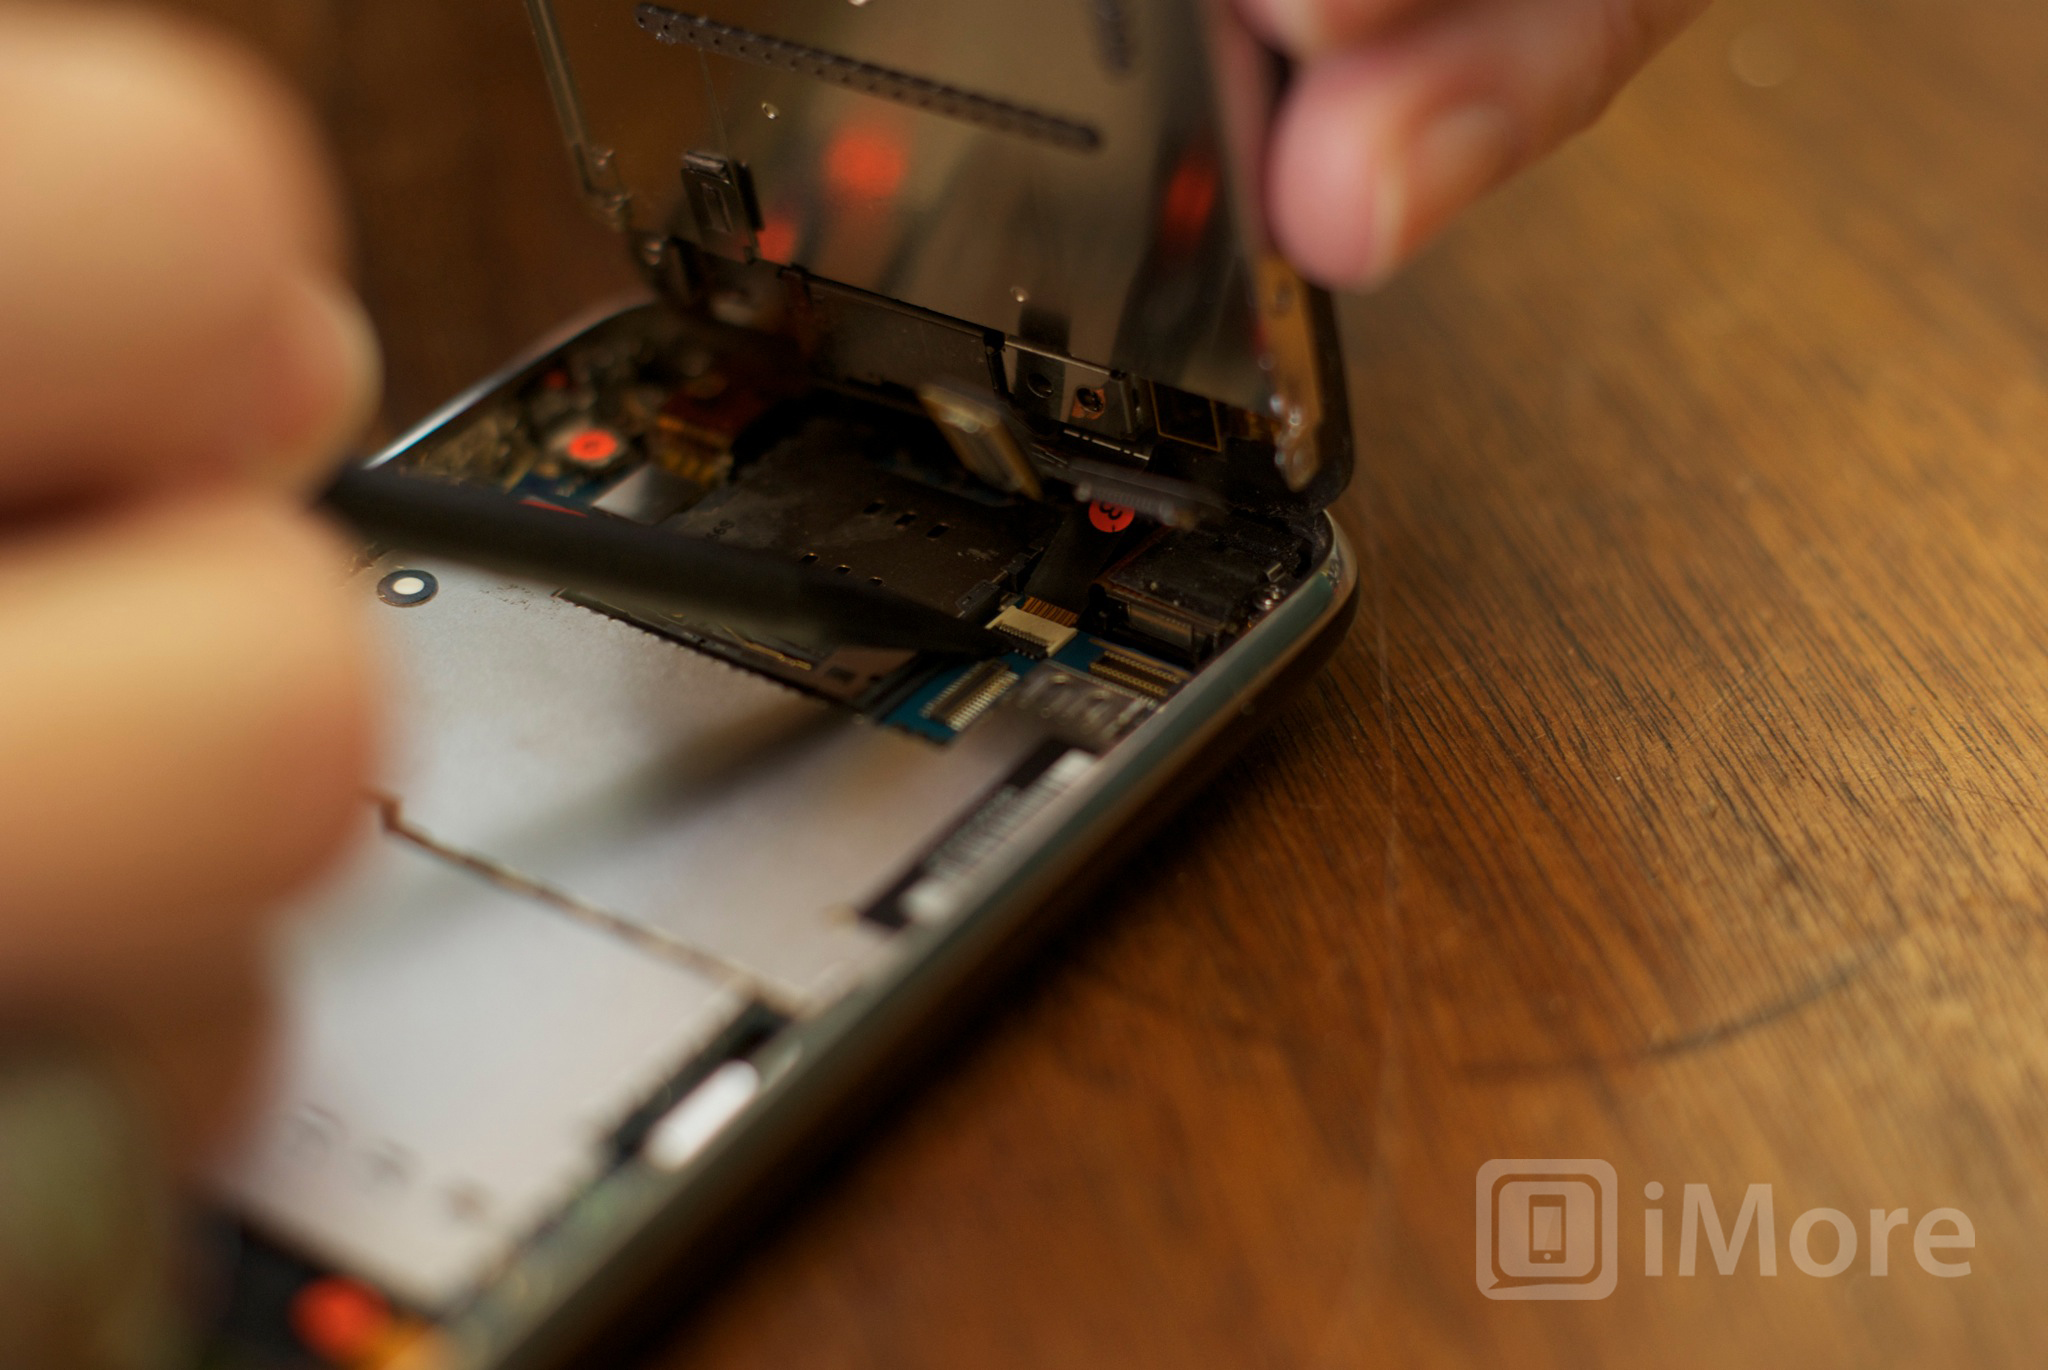
- Underneath these cables you'll see one other labeled as cable 3. This one is a bit trickier as it is clipped down. You'll need to gently pop up the clasp holding it into the fastener. It is a tiny white clip. Simply pop it upwards and the number 3 cable should then slide right out.
- Remove the digitizer & LCD assembly.
At this point you can set the body of your iPhone aside and flip over the front screen assembly, which contains your earpiece.
Remove the LCD assembly
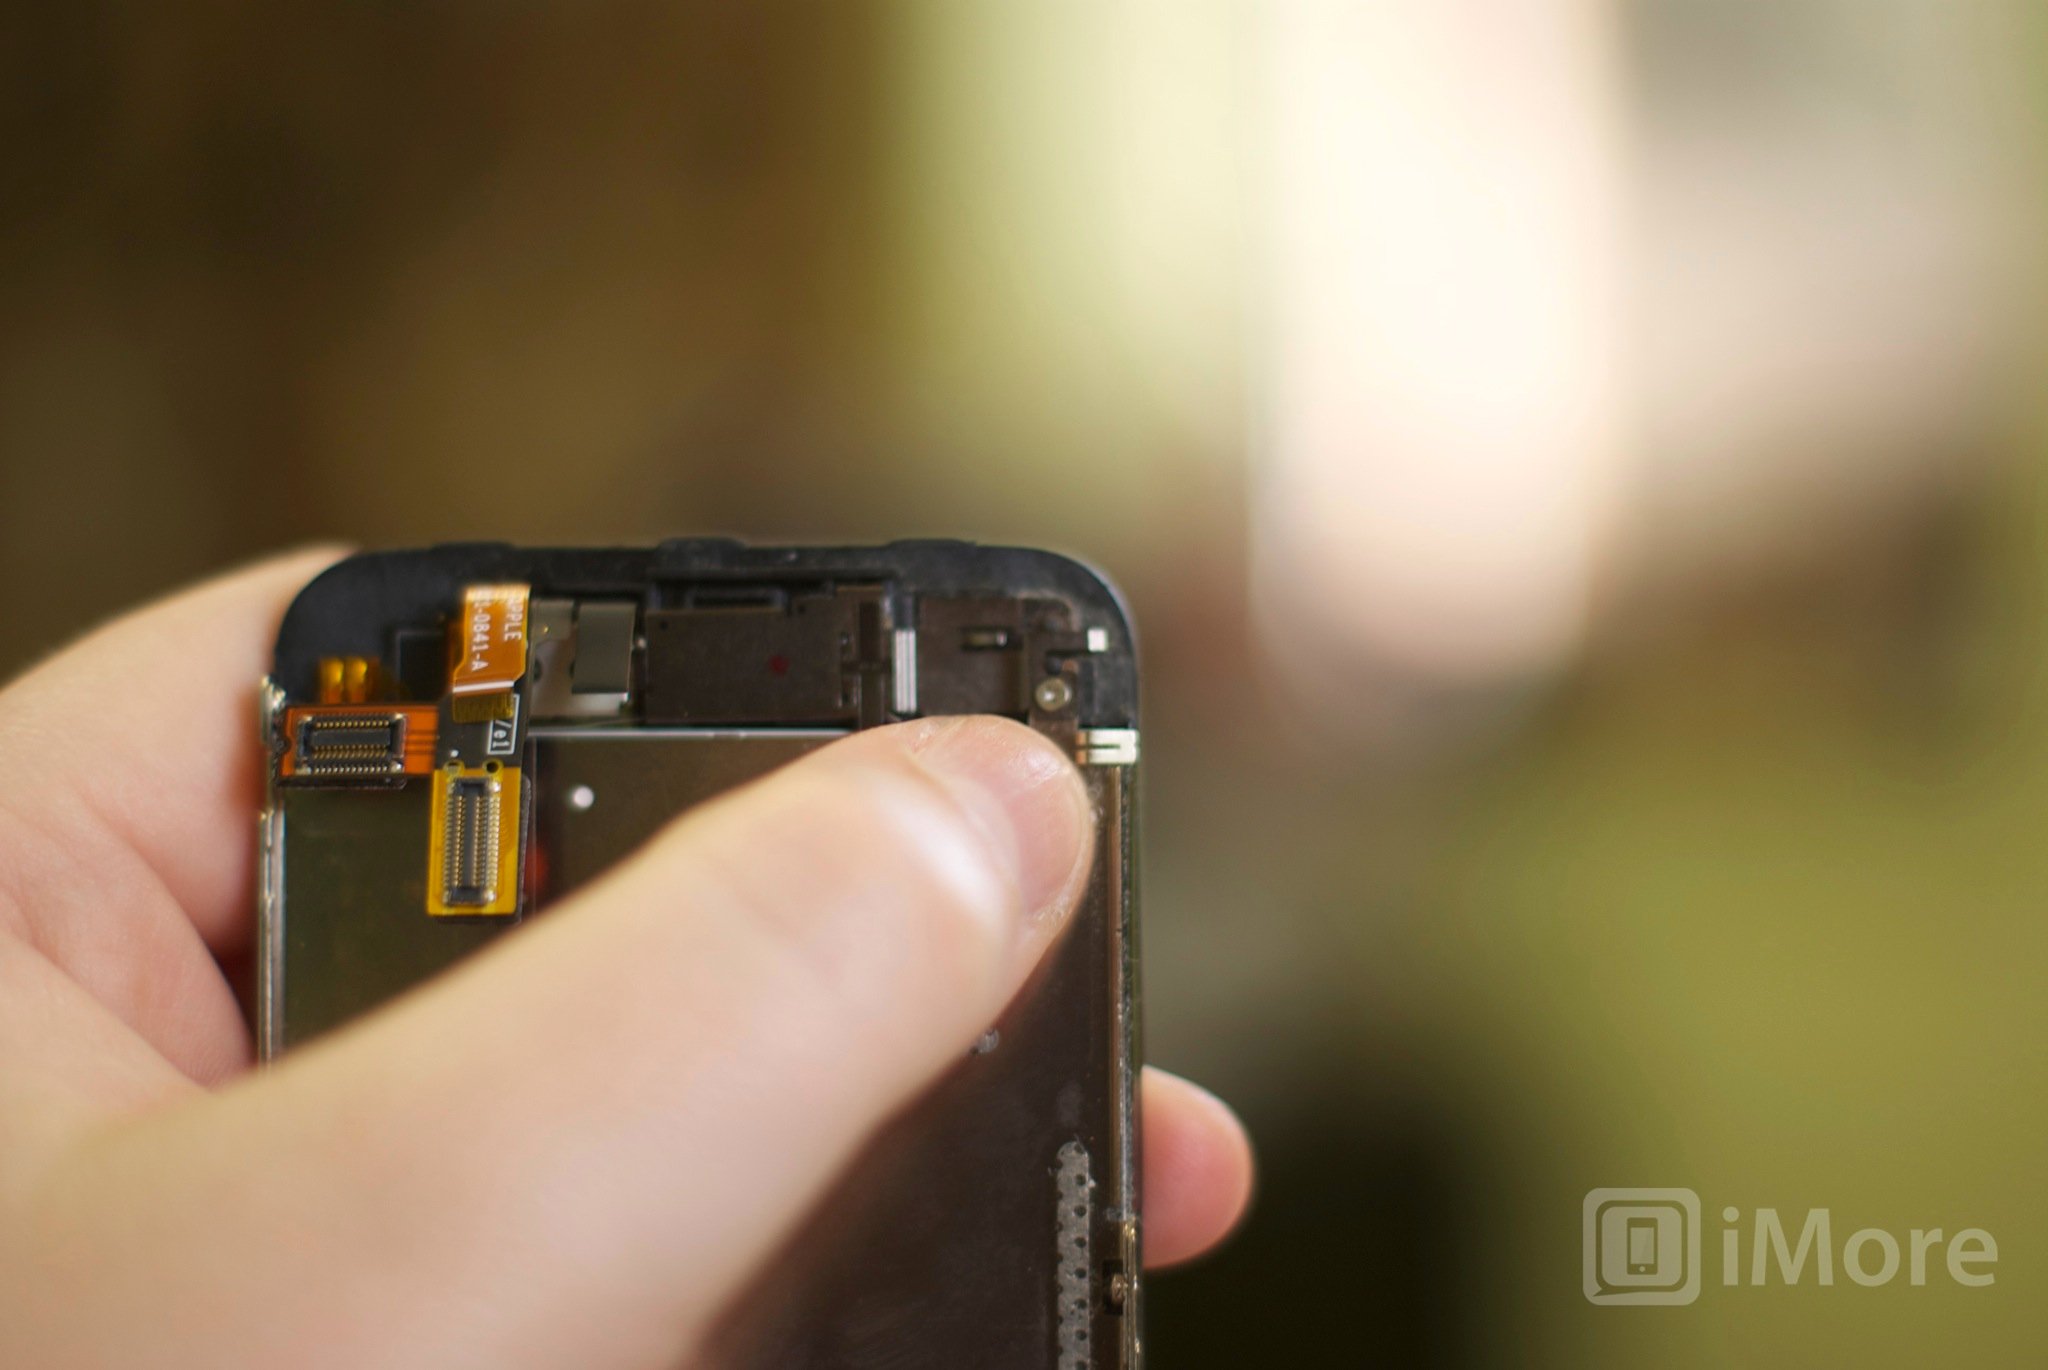
For this step, you'll need to remove 6 screws that hold the LCD in place. If you've replaced your digitizer before, you should be familiar with the screw locations and how to remove the LCD.
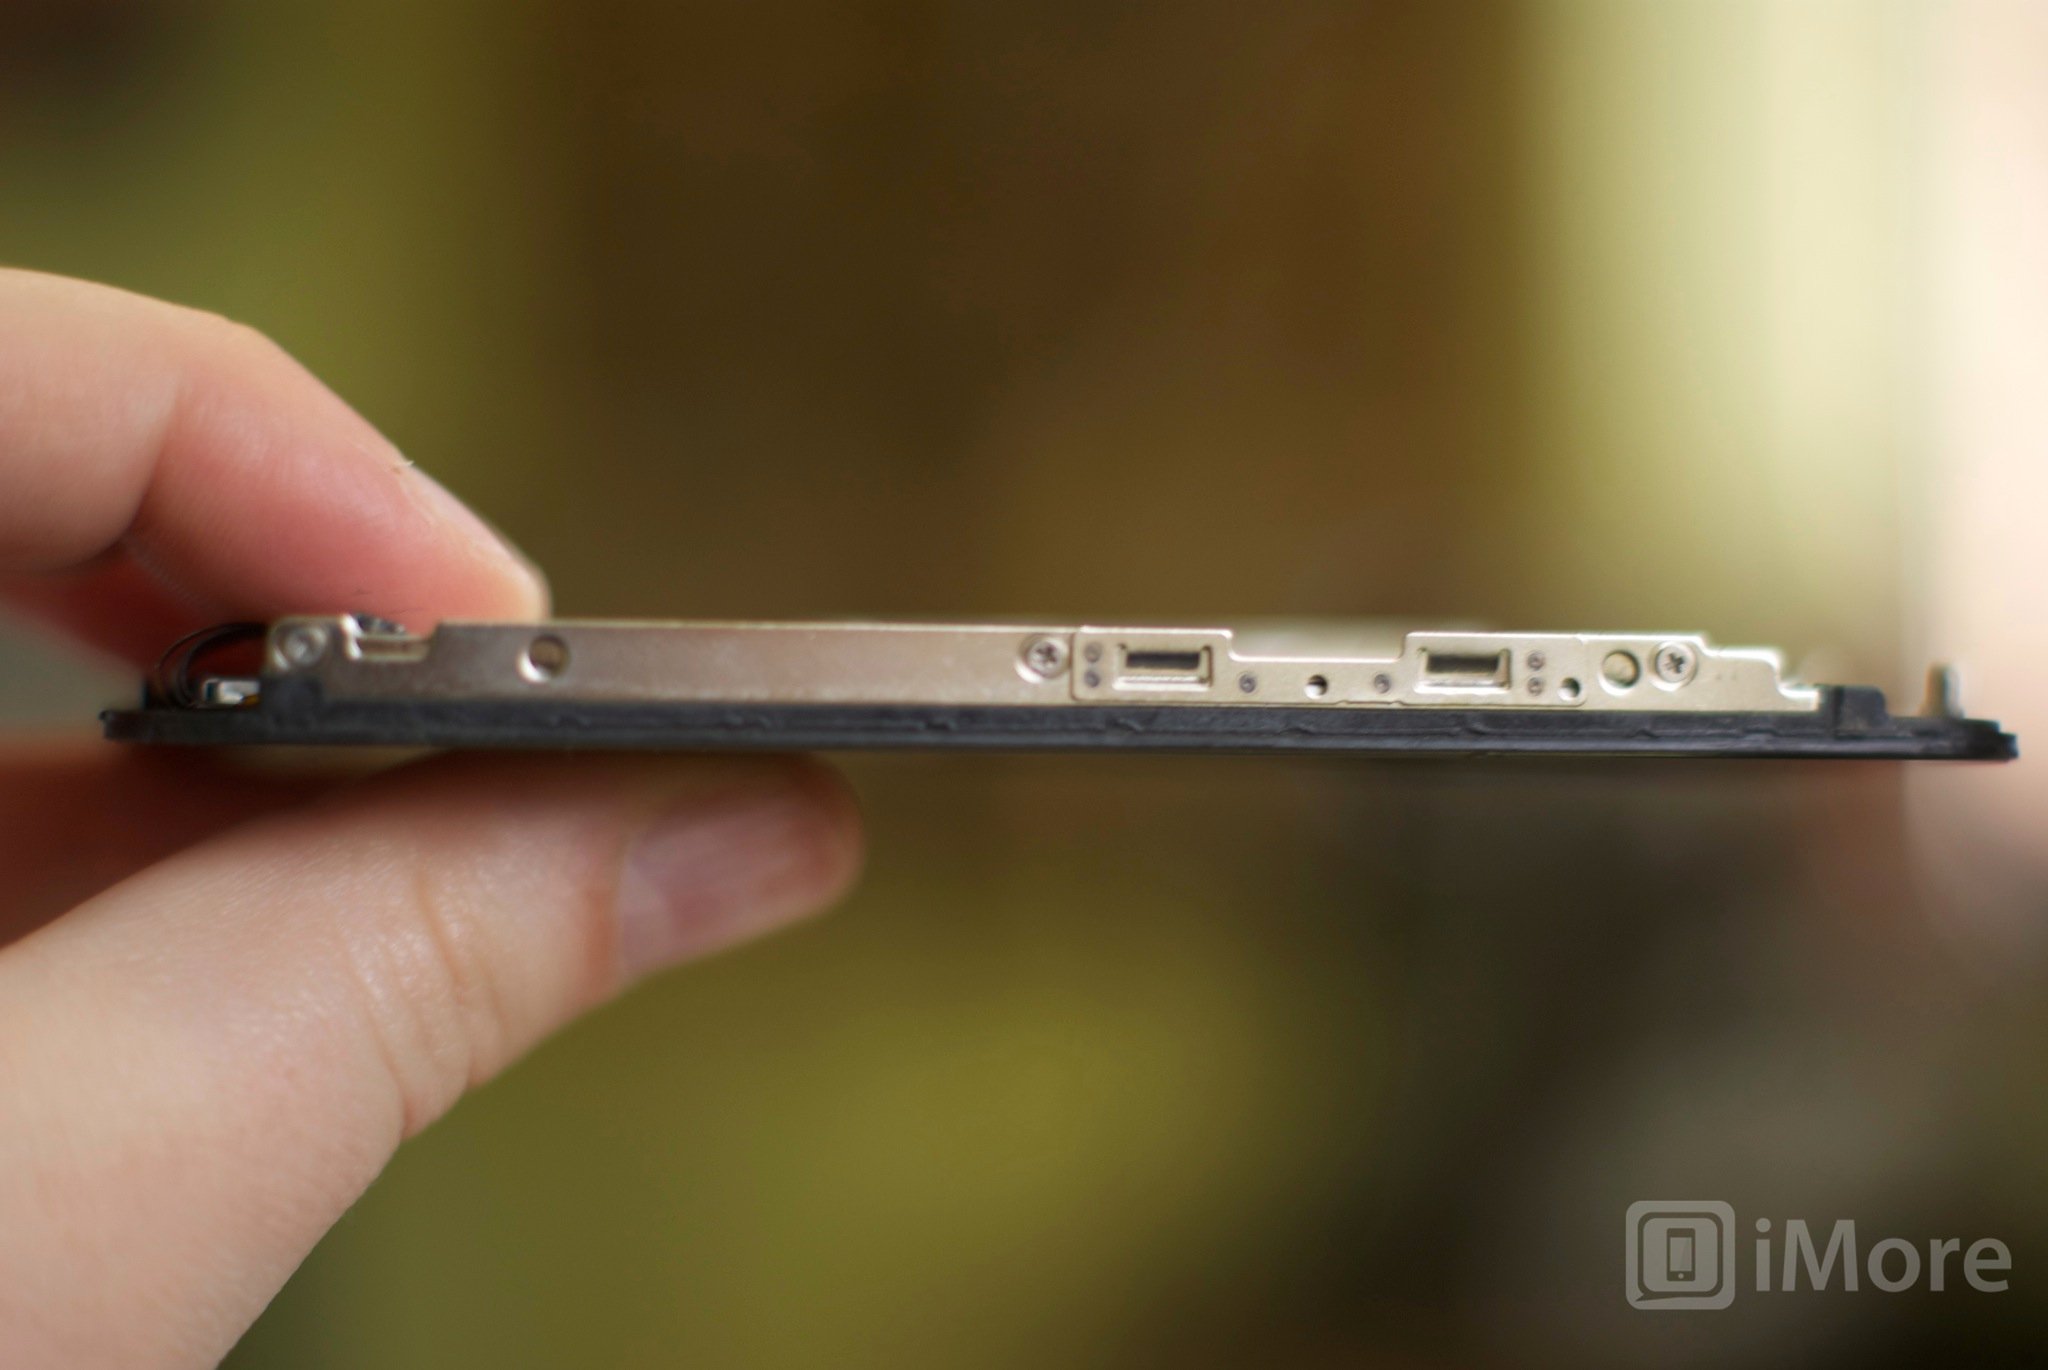
- There are 6 screws holding the LCD in place. They are all the same size. Three on the left side of the frame, 2 on the right side of the frame, and 1 on the top right holding down the induction flex. Remove all 6 screws with your #00 Phillips screwdriver and set them aside.
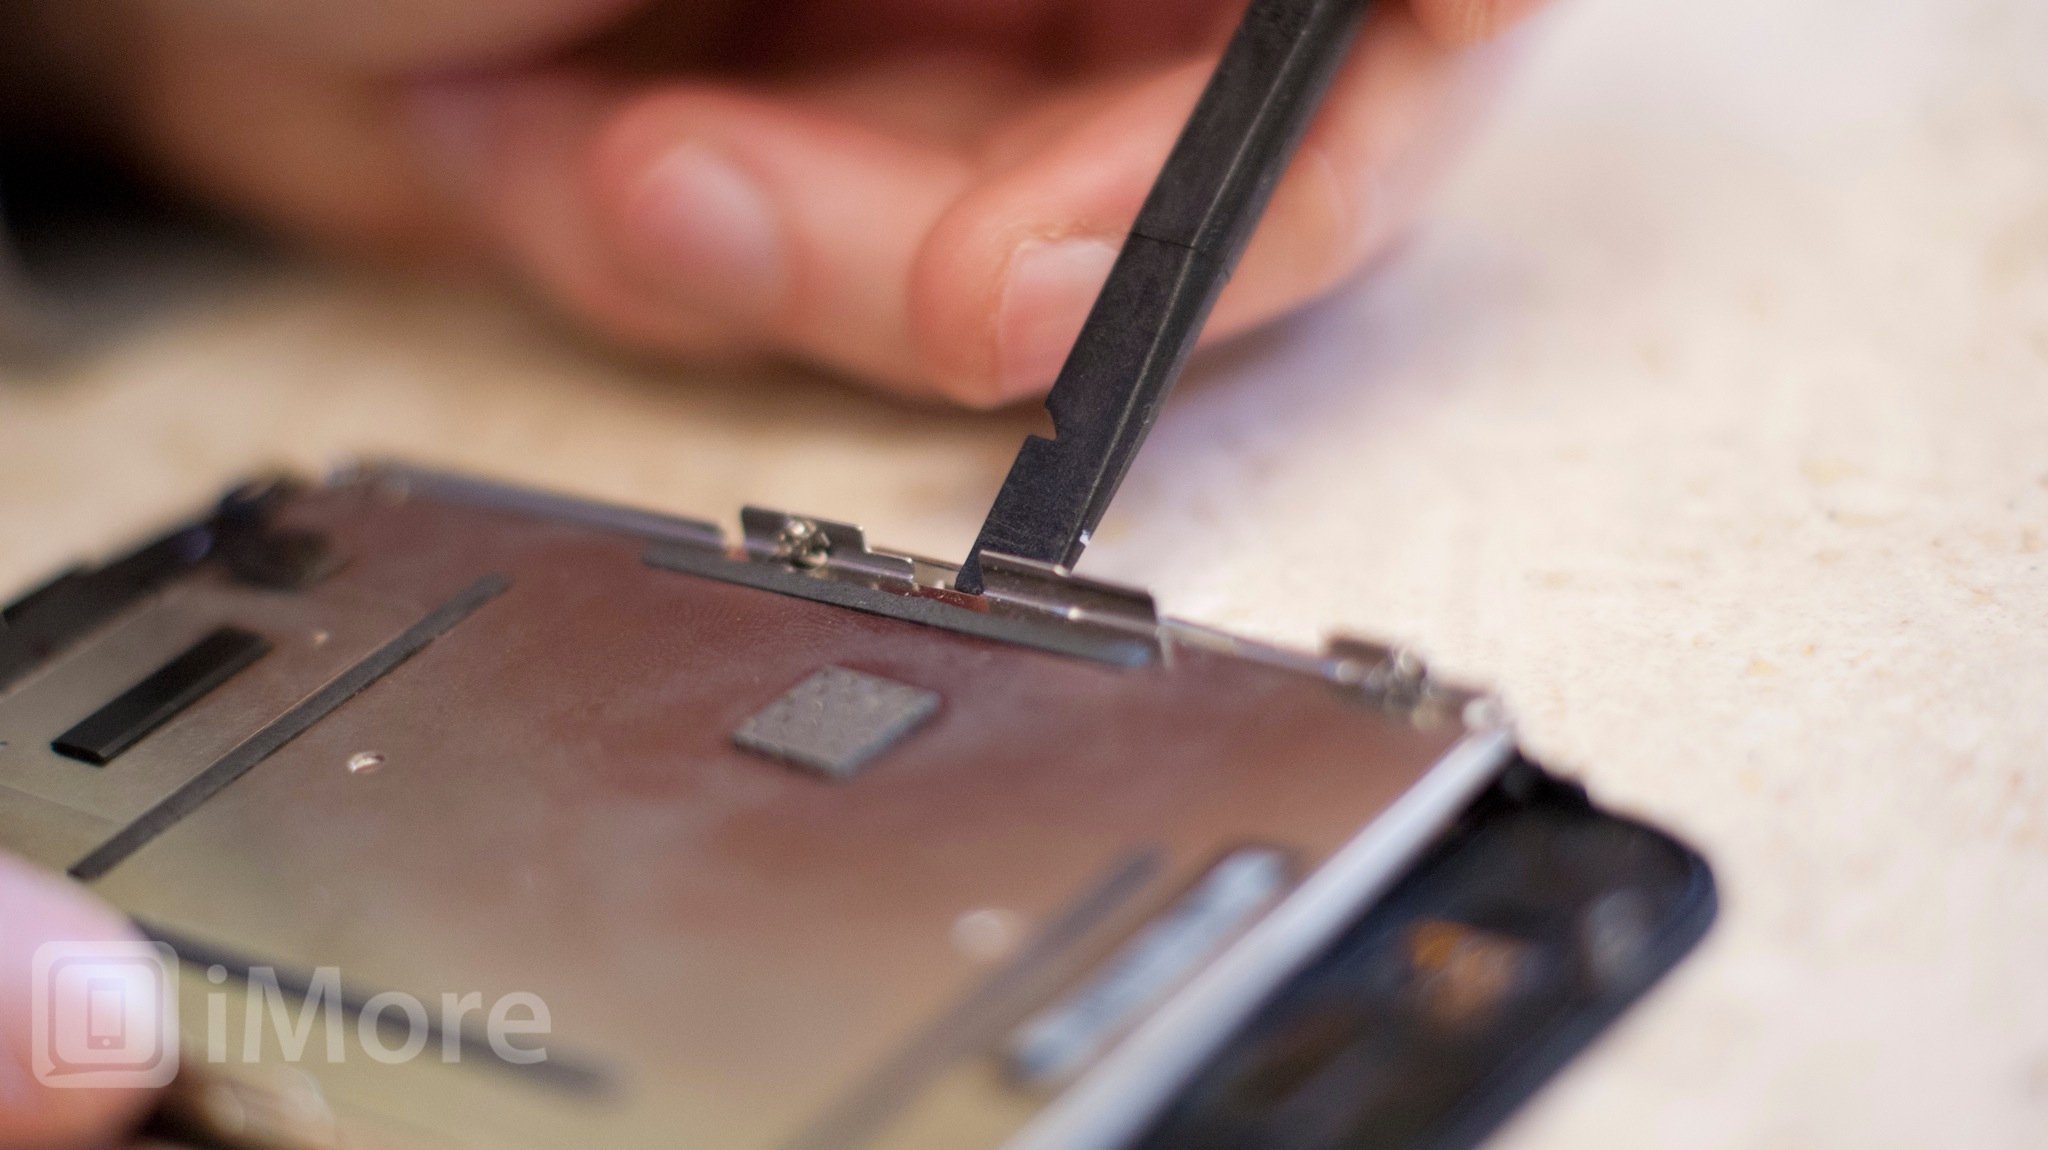
- Next use your pry tool to slowly work the LCD out of the old assembly on the left and right sides. It should come out fairly easily. Just take special care not to scratch it while removing it. The LCD and back plate will remove in one piece as they are glued together.
Remove the frame from the old LCD
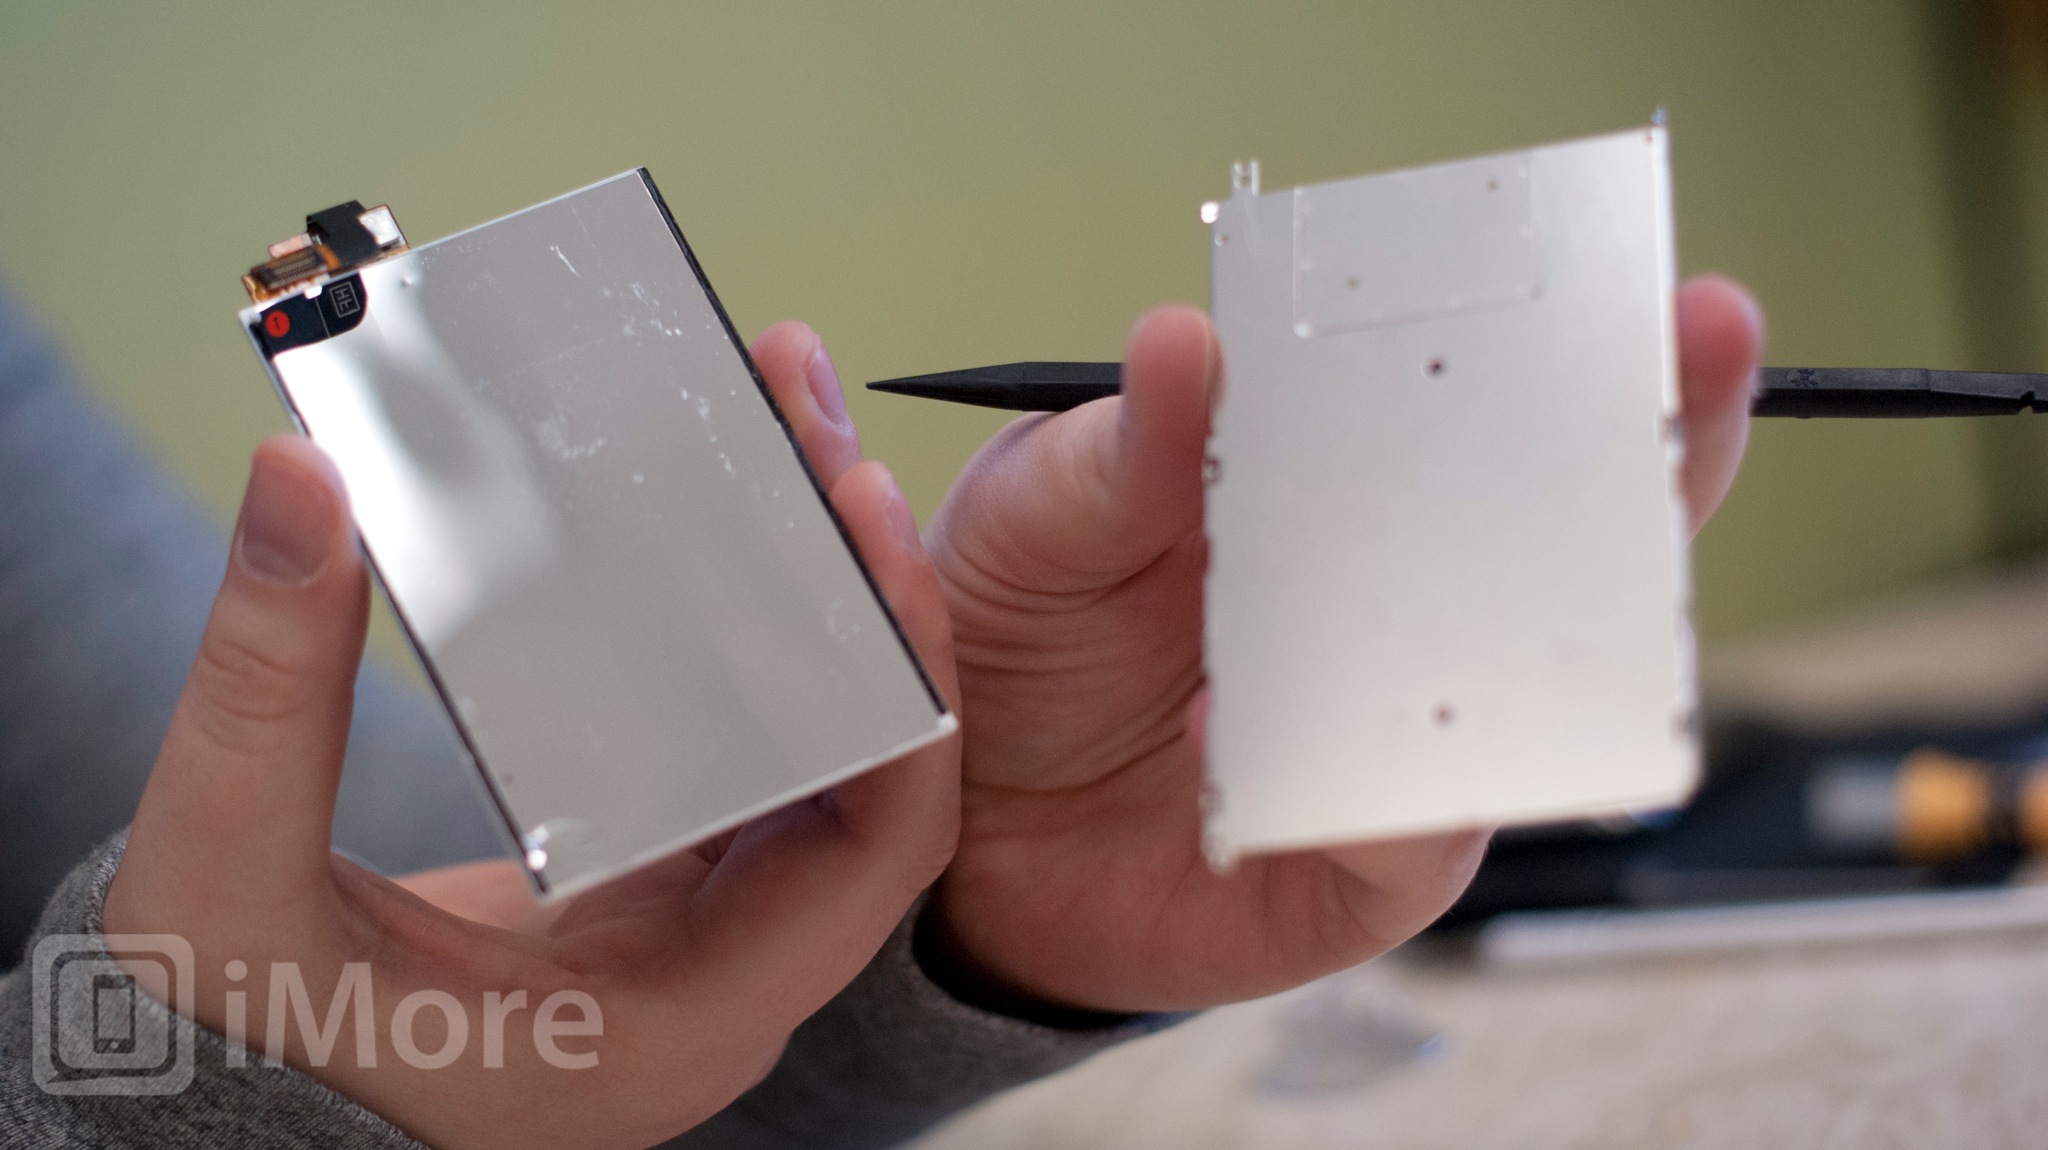
Most LCDs will not come with a new back frame so you'll need to remove the frame off your old LCD and place it on the new one.
- Using a pry tool, spudger, or razor blade edge - run your tool between the frame and old LCD to break the adhesive. There isn't a ton so you won't have to pry very hard.
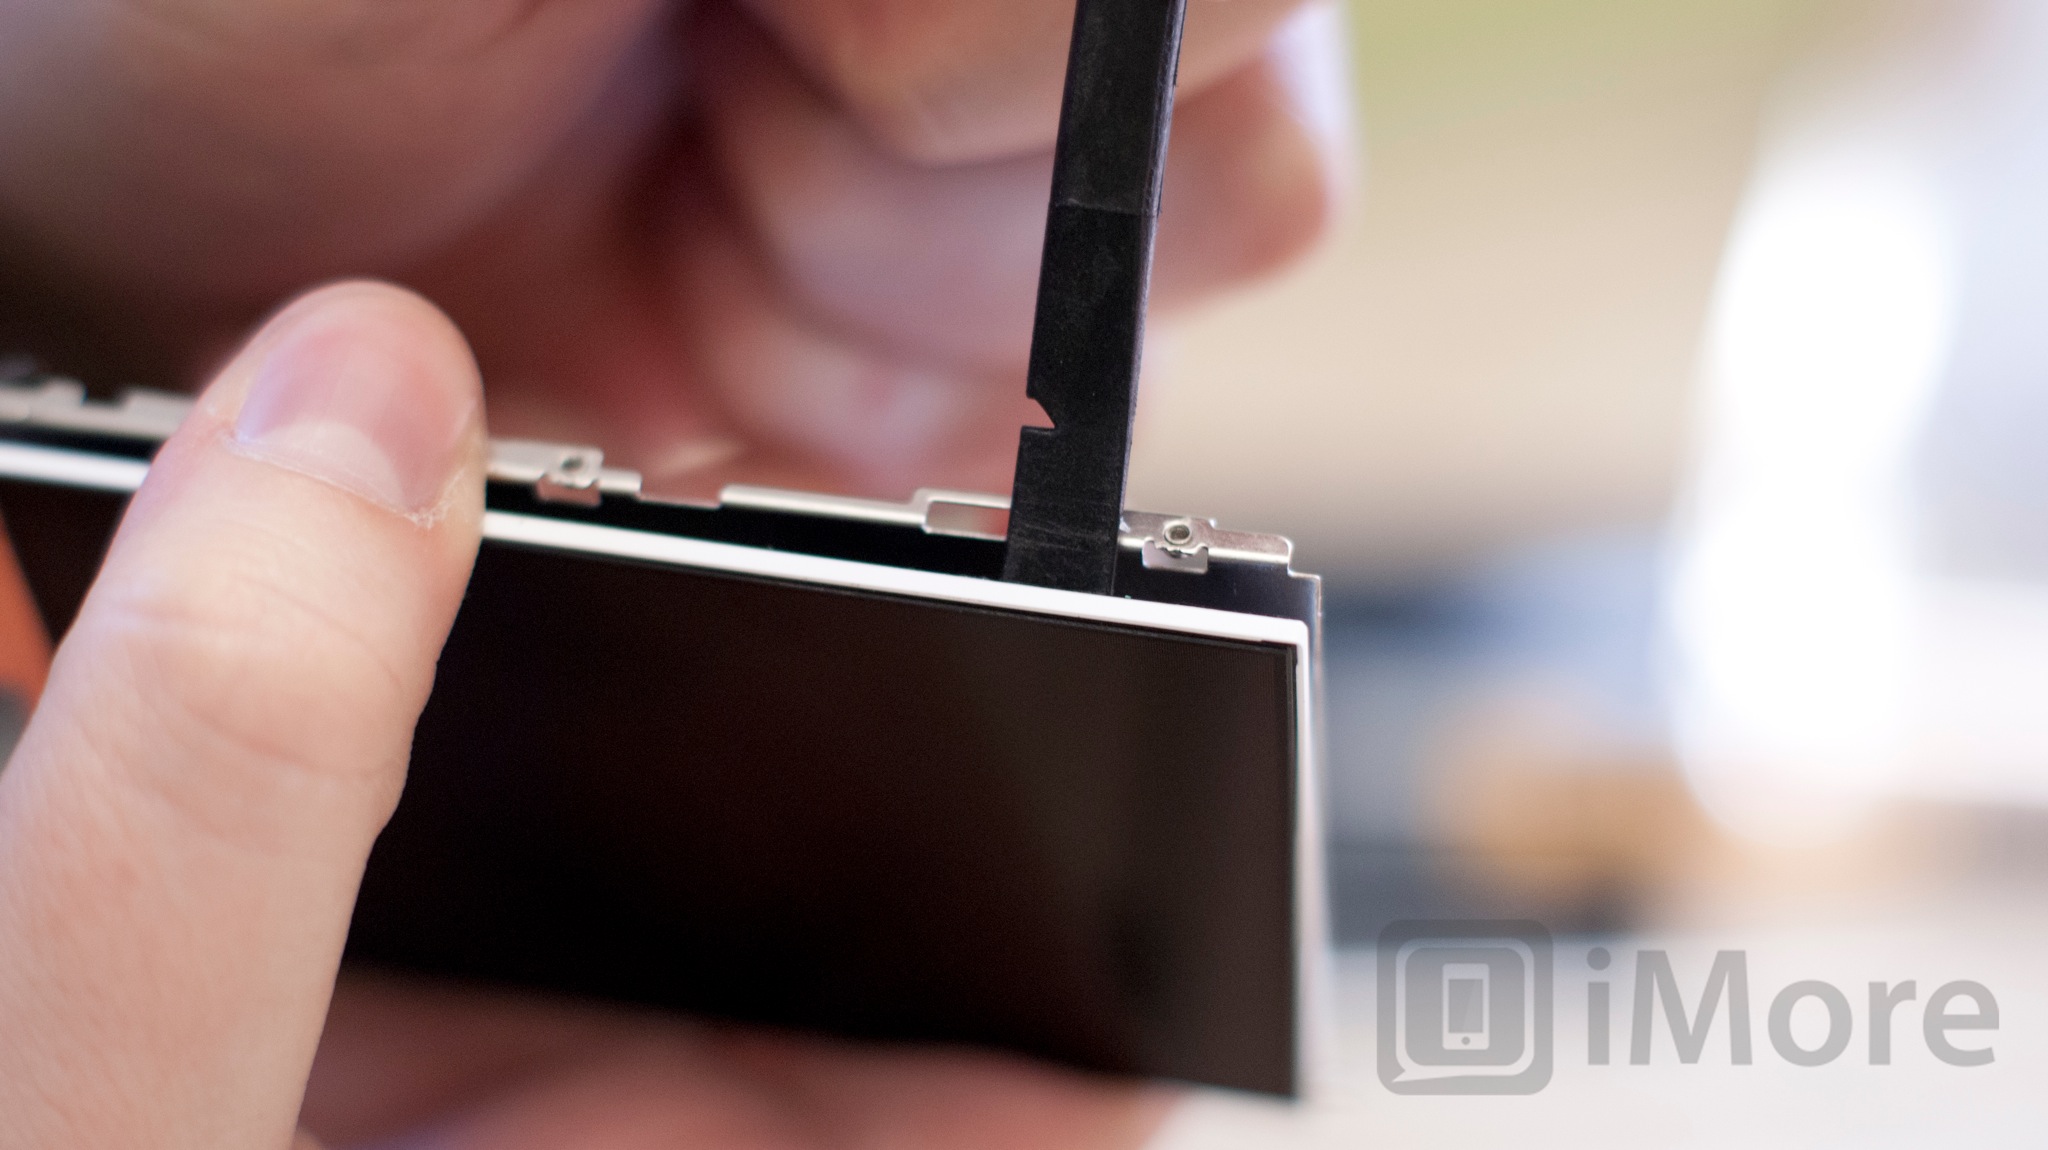
- As the frame separates from the LCD, separate the 2 completely.
Place the frame onto the new LCD
Peel the backing (protective cover) off the new LCD and place the frame onto the back of the new LCD. Most replacement LCDs will come with adhesive already installed. If not, you can use any type of electronic adhesive you'd like. I personally prefer using a universal double-sided adhesive
Reassemble your iPhone
Now that you've gotten the new LCD placed onto the frame, it's time to reassemble your iPhone 3G or iPhone 3GS. To do so, simply follow these instructions in reverse order or watch the video above for a walk-through of reassembly.
And... done!
When you power your iPhone up you should now have a fully functioning LCD again. If for some reason the LCD doesn't work, first check the cables and make sure they are secured to the logic board correctly and securely. If you run into any other issues, check out our mod and DIY forum.
○ Fix a broken iPhone 7 or 7 Plus
○ Fix a broken iPhone 6s or 6s Plus
○ Fix a broken iPhone SE
○ Fix a broken iPhone 6 or 6 Plus
○ Fix a broken iPhone 5c
○ Fix a broken iPhone 5s
○ Fix a broken iPhone 5
○ Fix a broken iPhone 4s
○ Fix a broken iPhone 4 (GSM)
○ Fix a broken iPhone 4 (CDMA)
○ Fix a broken iPhone 3GS or 3G
iMore senior editor from 2011 to 2015.
