How to downgrade from Yosemite to Mavericks

Installed Yosemite developer preview and regretting it? Downgrade to Mavericks by following these instructions
You've installed a developer preview of OS X Yosemite, and you didn't take my previous advice to partition your hard drive. Now you're in a pickle: For whatever reason, you need to downgrade to Mavericks. How do you do it? Let's take a look.
To be frank, Apple doesn't make this process consistent and easy like they do with so much else. Upgrading your operating system, whether you're using a Mac or an iOS device, is typically a one-way journey. Even Apple warns developers not to use Yosemite on a live system until it's ready for prime-time.
But many of us give in to temptation and make decisions that we later regret. Whatever the case, you can recover, though how you can recover will depend on circumstances.
Recovery System
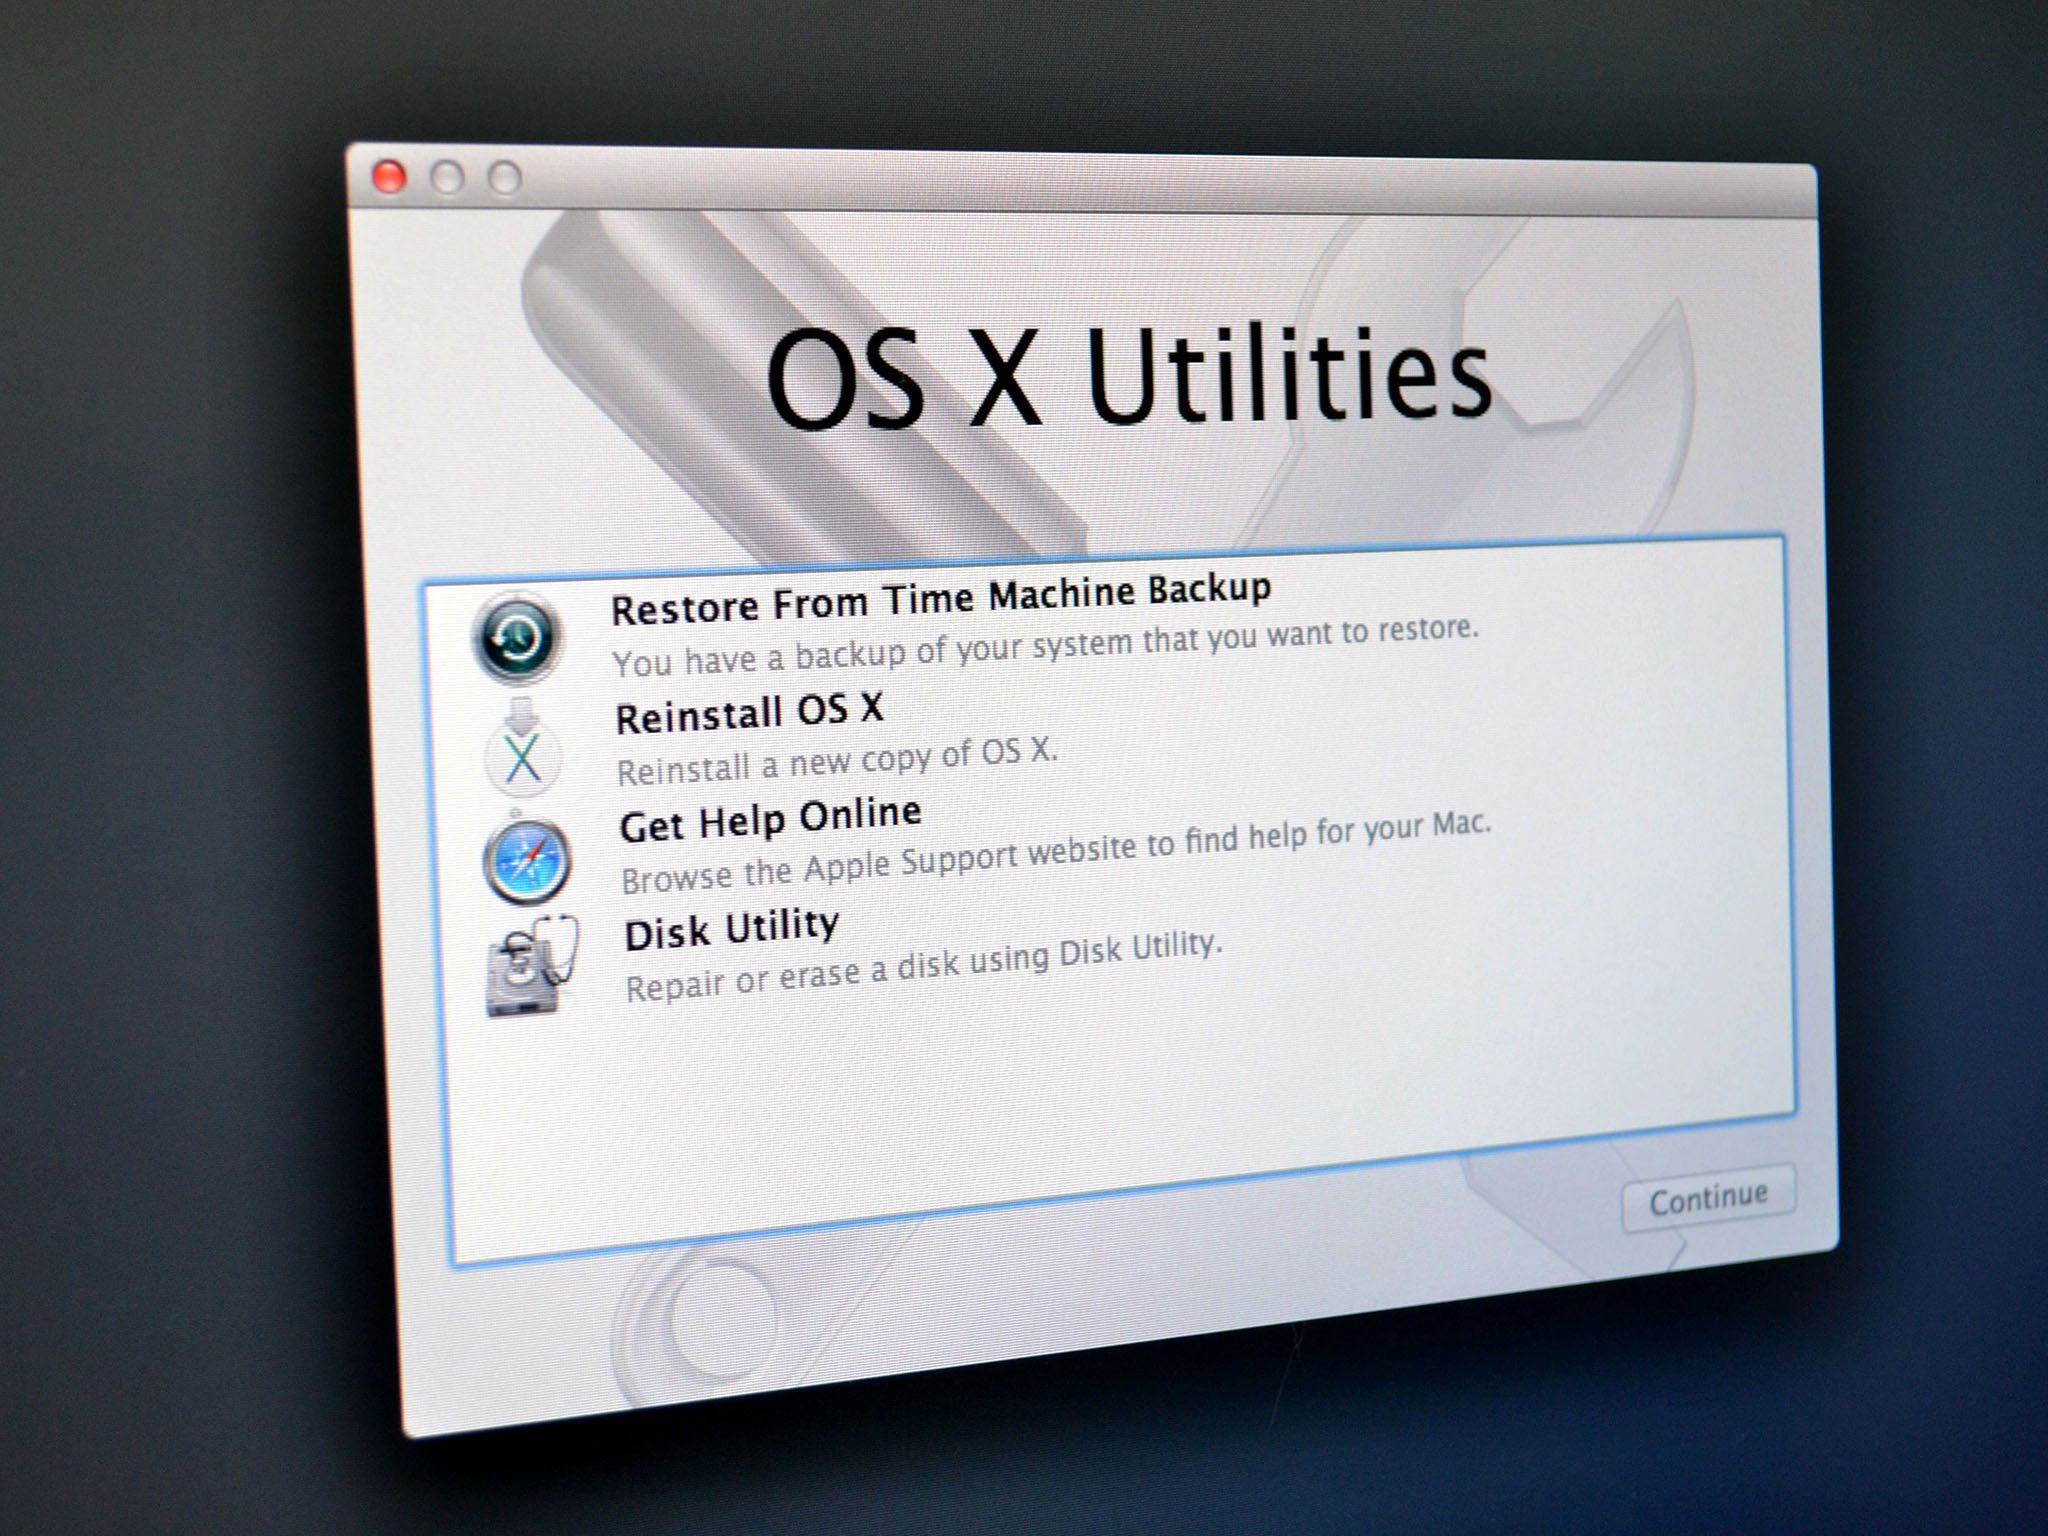
Some folks experimenting with Yosemite have been able to boot into the Mac's recovery system (accessed holding down the command and R keys on boot) and reinstalling Mavericks from there. I've seen it written about in plenty of places, and I spoke to a few of you on Twitter who had done it too.
I tried using this method myself on my Yosemite machine, but I couldn't get it to work. Each time it would tell me it wanted to reinstall 10.10 instead. What's more, it would hang indefinitely when it got to the authentication stage.
OS X Internet Recovery
The alternative solution is to use OS X Internet Recovery instead. Mac models introduced since OS X Lion debuted in 2011 have the ability to restore themselves as long as they're connected to the Internet. Some Mac models that shipped before Lion will work with OS X Internet Recovery too (with a firmware patch) — Apple has a list on their support site.
To access OS X Internet Recovery, hold down the command, option, and R keys simultaneously on boot.
Master your iPhone in minutes
iMore offers spot-on advice and guidance from our team of experts, with decades of Apple device experience to lean on. Learn more with iMore!
You'll know if you're in OS X Internet Recovery if you see a spinning globe on your Mac screen, with a progress bar showing a countdown in minutes. That's Internet Recovery telling you it's downloading from Apple's servers.
Because OS X Internet Recovery is, literally, restoring over the Internet, it takes longer to work, since it has to download everything from Apple's servers to get going. We're talking about the initial recovery software plus a 5 GB Mavericks installer download. So be patient.
There are a few caveats you have to bear in mind if you use this method: First of all, you'll need to be on a network that supports Wi-Fi Protected Access (WPA or WPA2) security protocol. Secondly, when the Mac restores, it will be running the version of OS X it came with, so you may actually have to upgrade again via the Mac App Store to get back up and running with Mavericks. You can read more on Apple's support site.
The bottom line
Once you've restored your system, use your preferred backup method to restore your files and applications.
One way or the other, rest assured that you can dial back your Mac to Mavericks if you run into Yosemite show-stoppers that keep you from using the new operating system software, at least for now.
Got questions? I have answers. Fire away in the comments!
