Accessibility for iPhone and iPad: The ultimate guide
- Voice control with Siri
- VoiceOver
- Magnify your screen with zoom
- Use your camera as a magnifying glass
- Display Accommodations and Color Filters
- Speak selection
- Large and bold text
- Touch Accommodations
- Button shapes and labels
- Increase contrast and reduce motion
- Use FaceTime to make video calls
- Connect to hearing aids and use audio accessibility
- Guided Access
- AssistiveTouch
- Switch Control
- Change Home button behavior
- Reachability
- Set a triple-click Home button shortcut
Accessibility is all about making the iPhone, iPod touch, and iPad work for as wide a range of people as possible. That can include the very young, the very old, people brand new to computers and mobile devices, as well as people with disabilities or special needs.
With iOS, Apple has added features to specifically help those with visual impairments, including blindness, color blindness, and low vision; and auditory impairments including deafness in one or both ears; physical or motor skill impairments, including limited coordination or range of motion; and learning challenges, including autism and dyslexia. It also includes features like Siri and FaceTime which can provide significant value for the blind or the deaf. Many of these features can be found in Settings and all of them can be found on the iPhone and iPad.
How to use voice control with Siri for iPhone and iPad
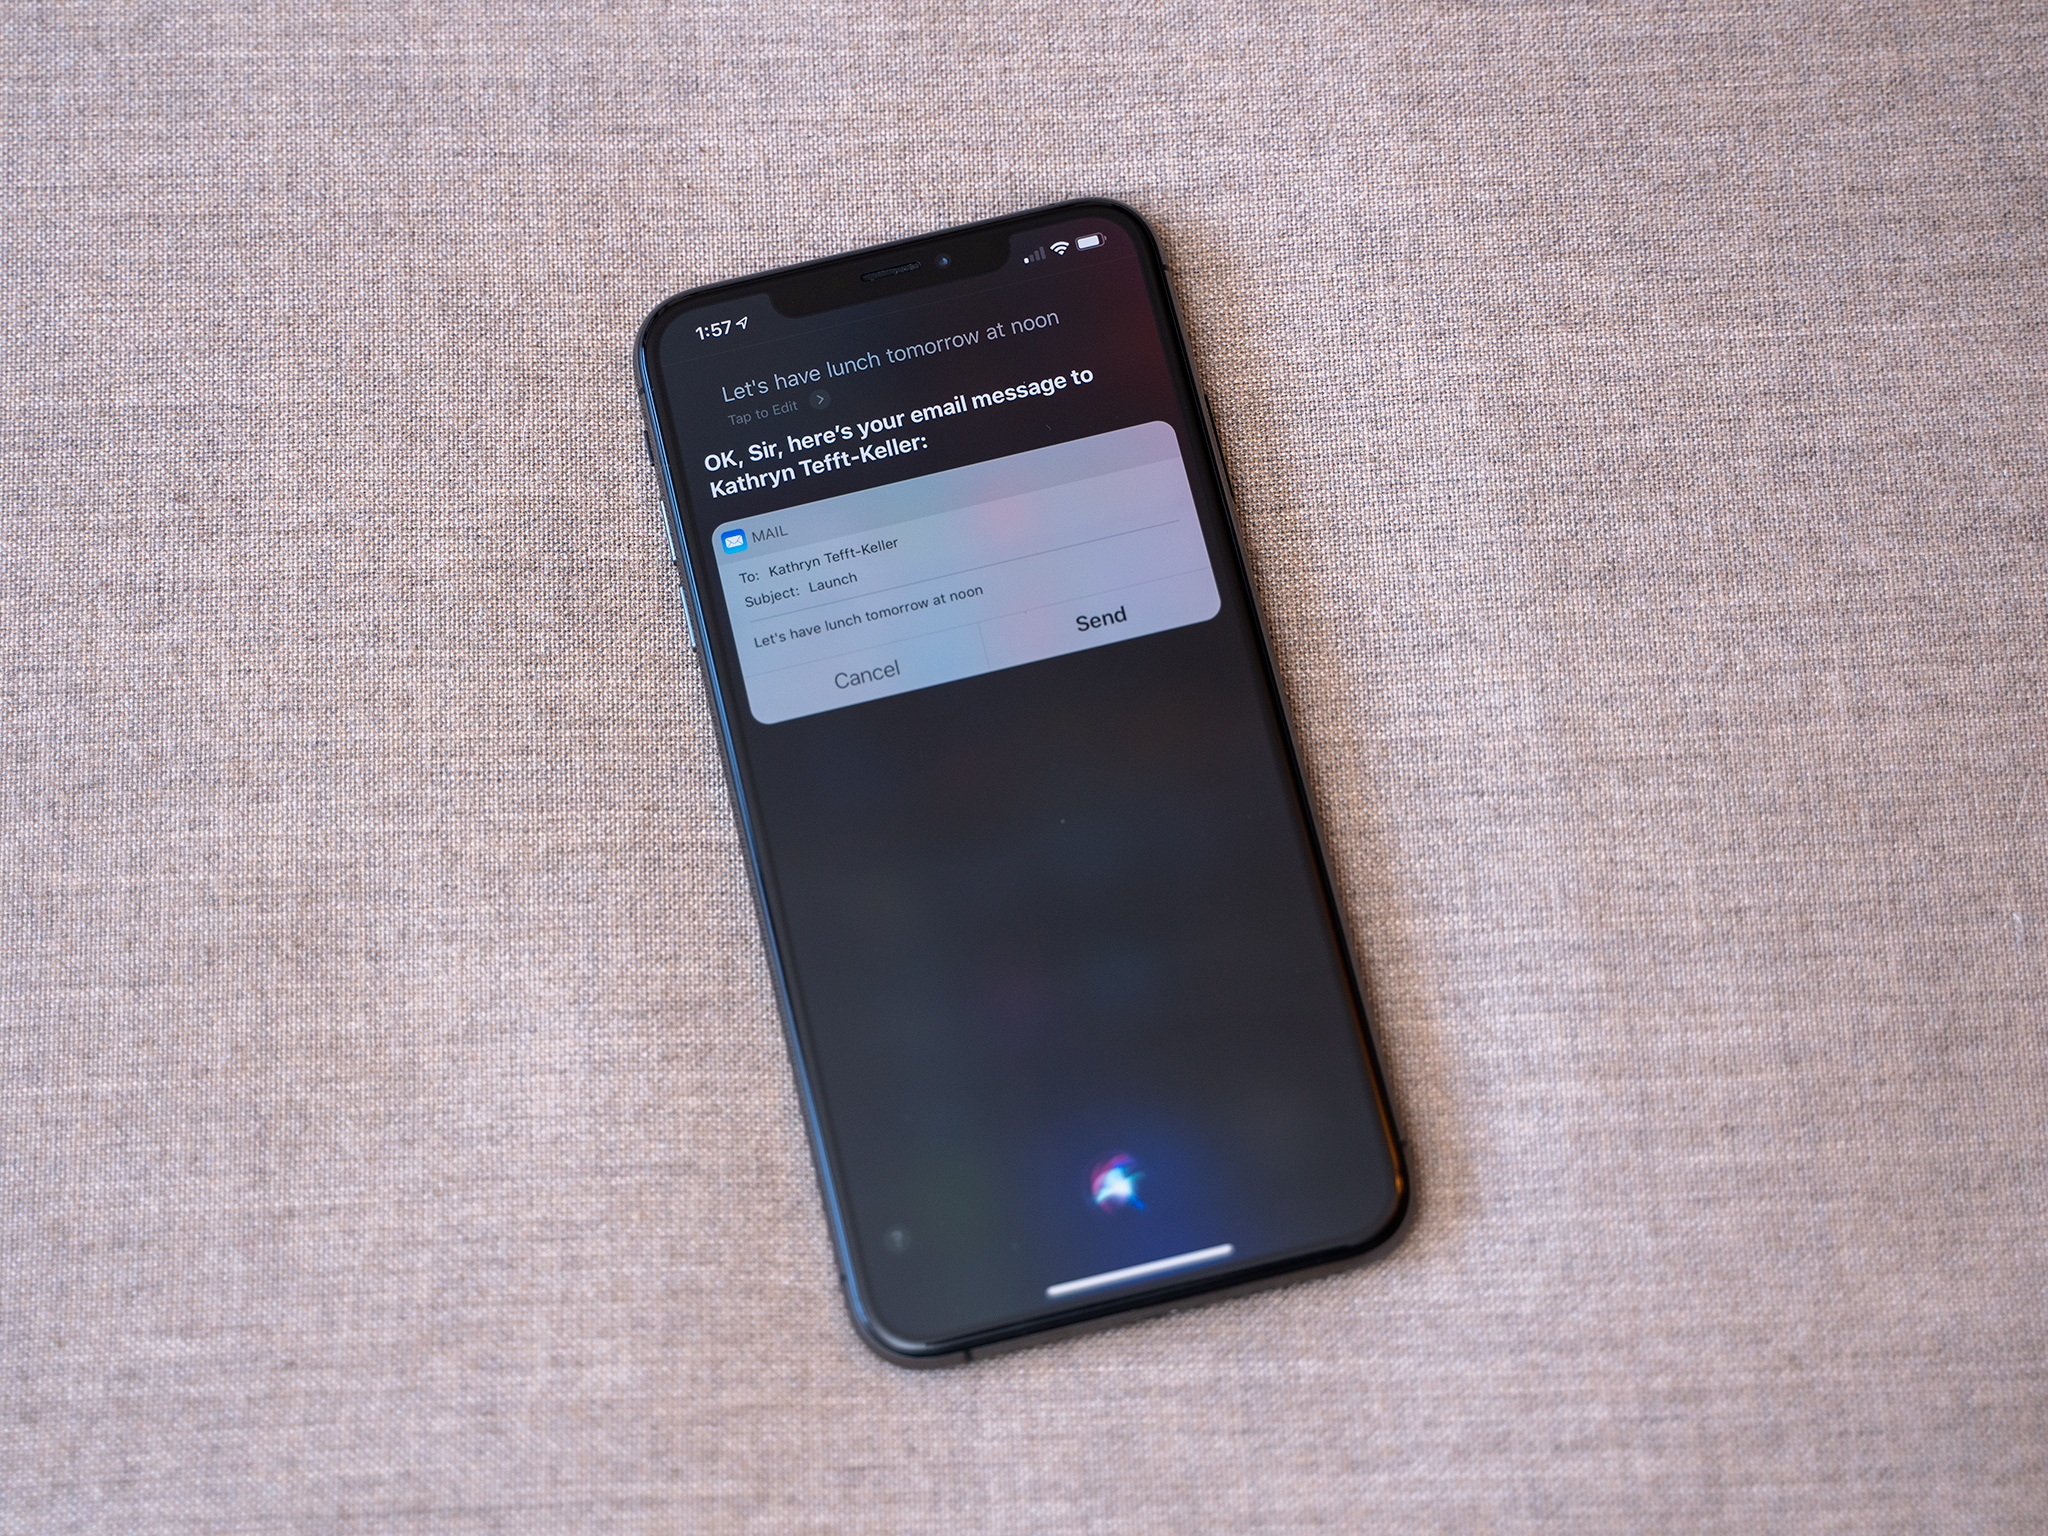
Siri is the name of Apple's personal digital assistant, and one of its most important accessibility features. That's because Siri is voice control that talks back to you, that understands relationships and context, and with a personality straight out of Pixar.
Use voice control with Siri to get answers to questions or get Siri to do things for you, just like you would ask a real assistant, and Siri will help keep you connected, informed, in the right place, and on time. You can even use Siri's built-in dictation feature to enter text almost everywhere by simply using your voice.
How to use VoiceOver on iPhone and iPad
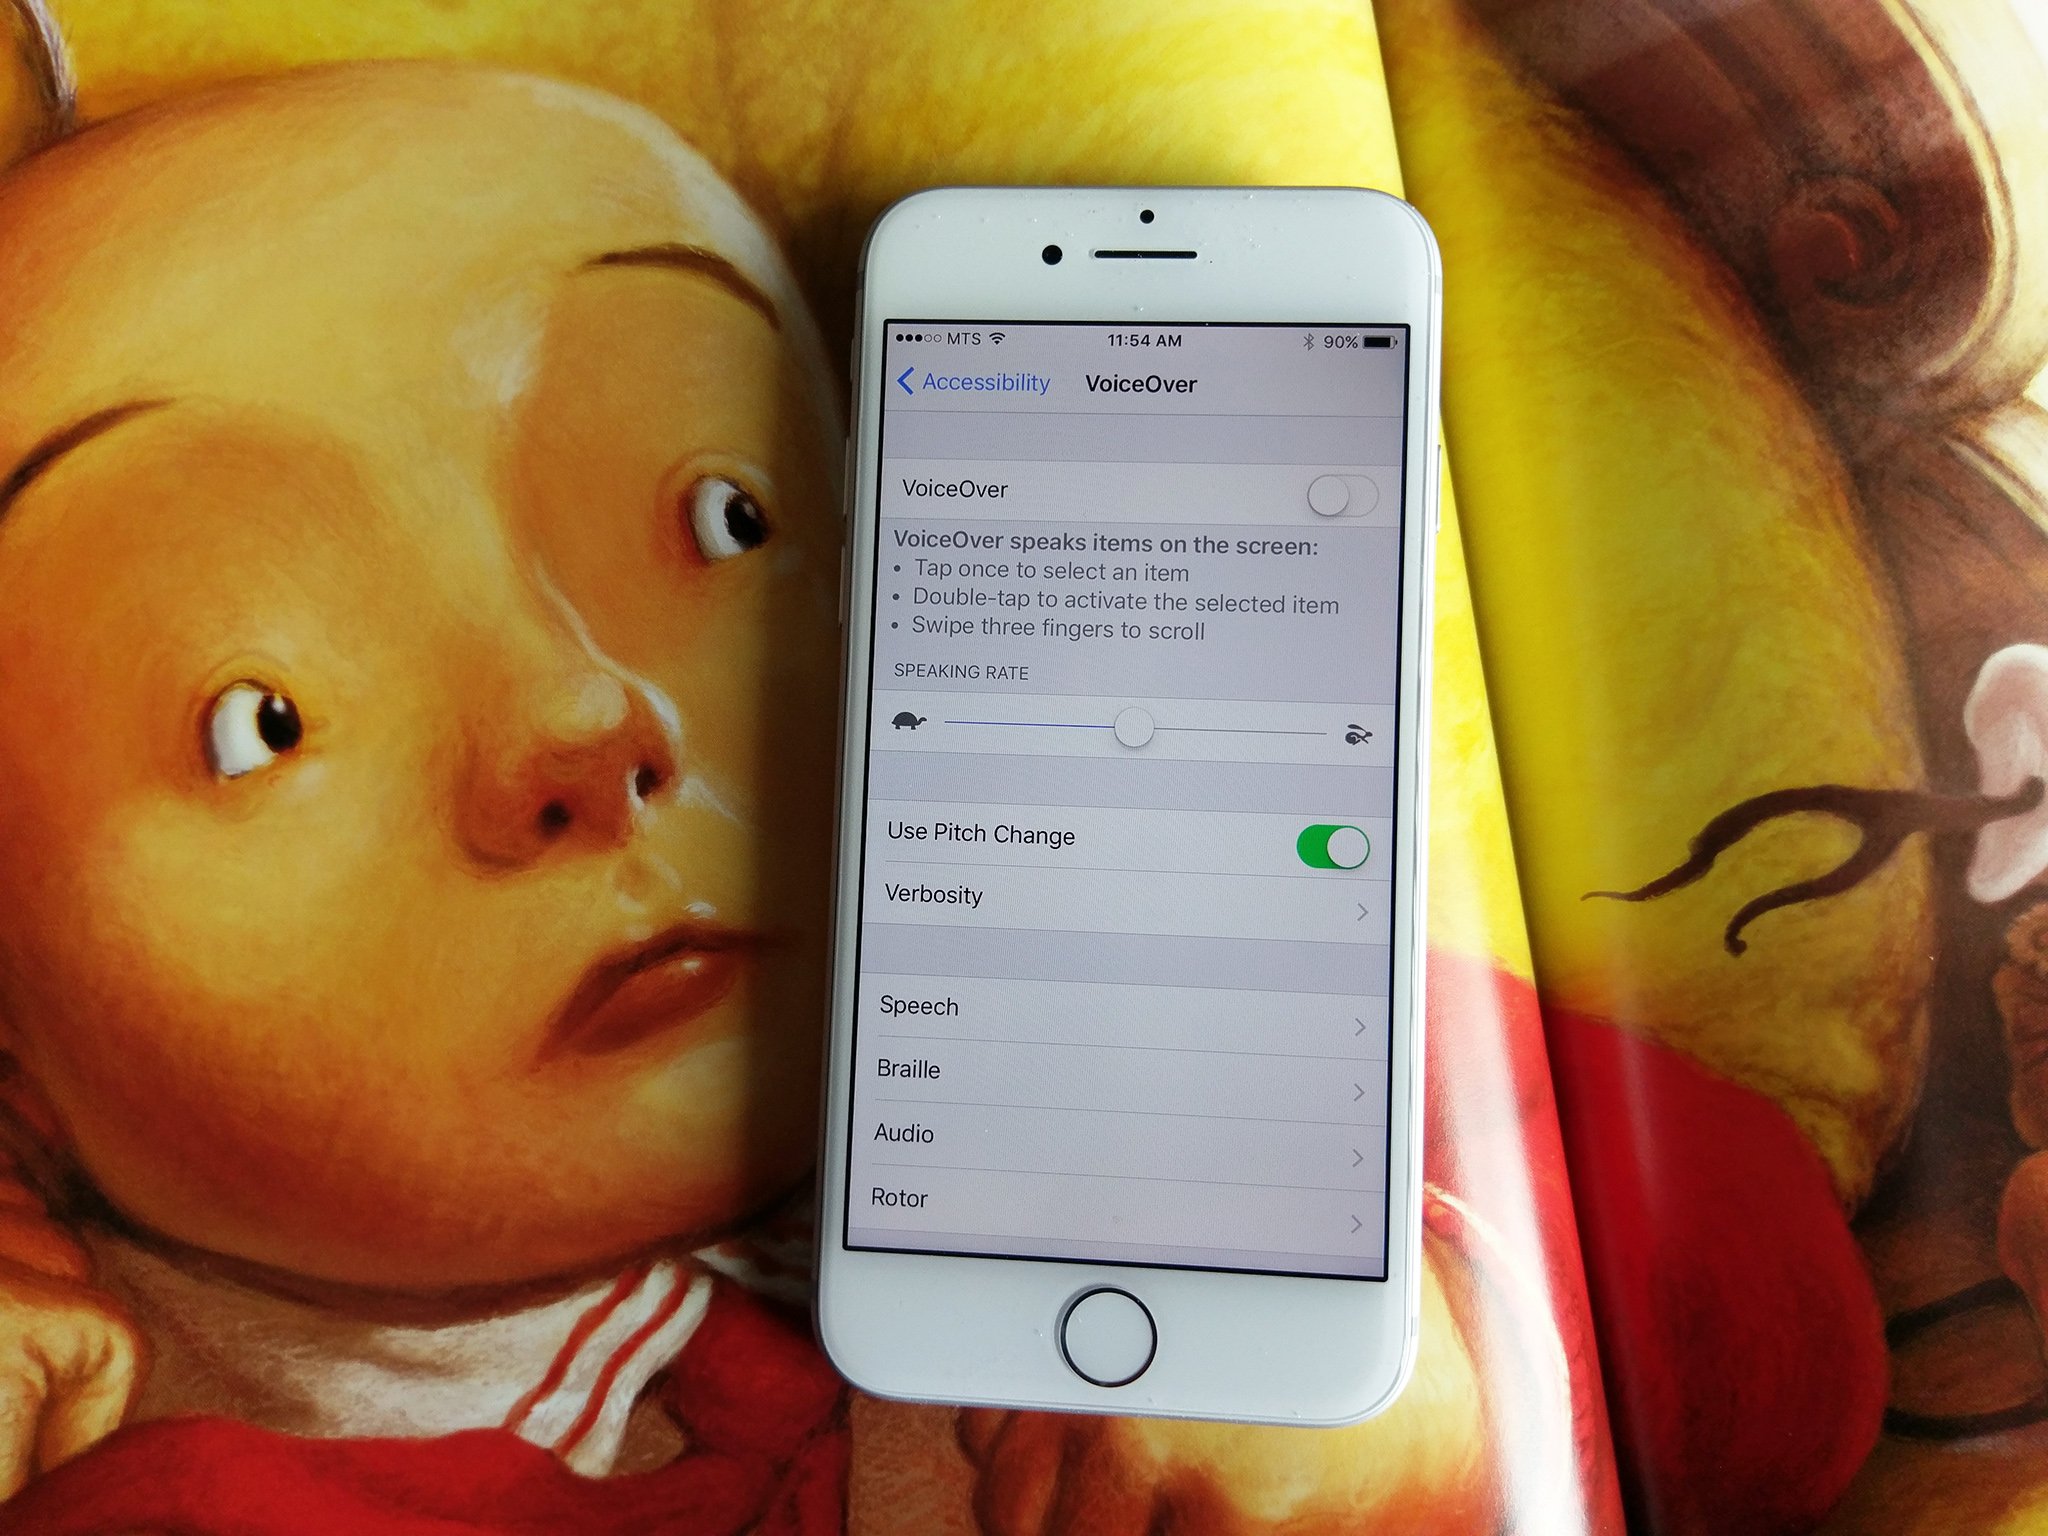
VoiceOver is an accessibility feature that makes the iPhone and iPad easier to operate for blind people or people with low vision. With VoiceOver, anyone with a visual impairment can have their iPhone or iPad's screen read to them, including buttons, icons, links, and other interface elements, and use gestures to navigate and select options. Because VoiceOver is included in Apple's framework for developers, any app using default controls gets VoiceOver support built right in.
How to magnify your screen with zoom for iPhone and iPad
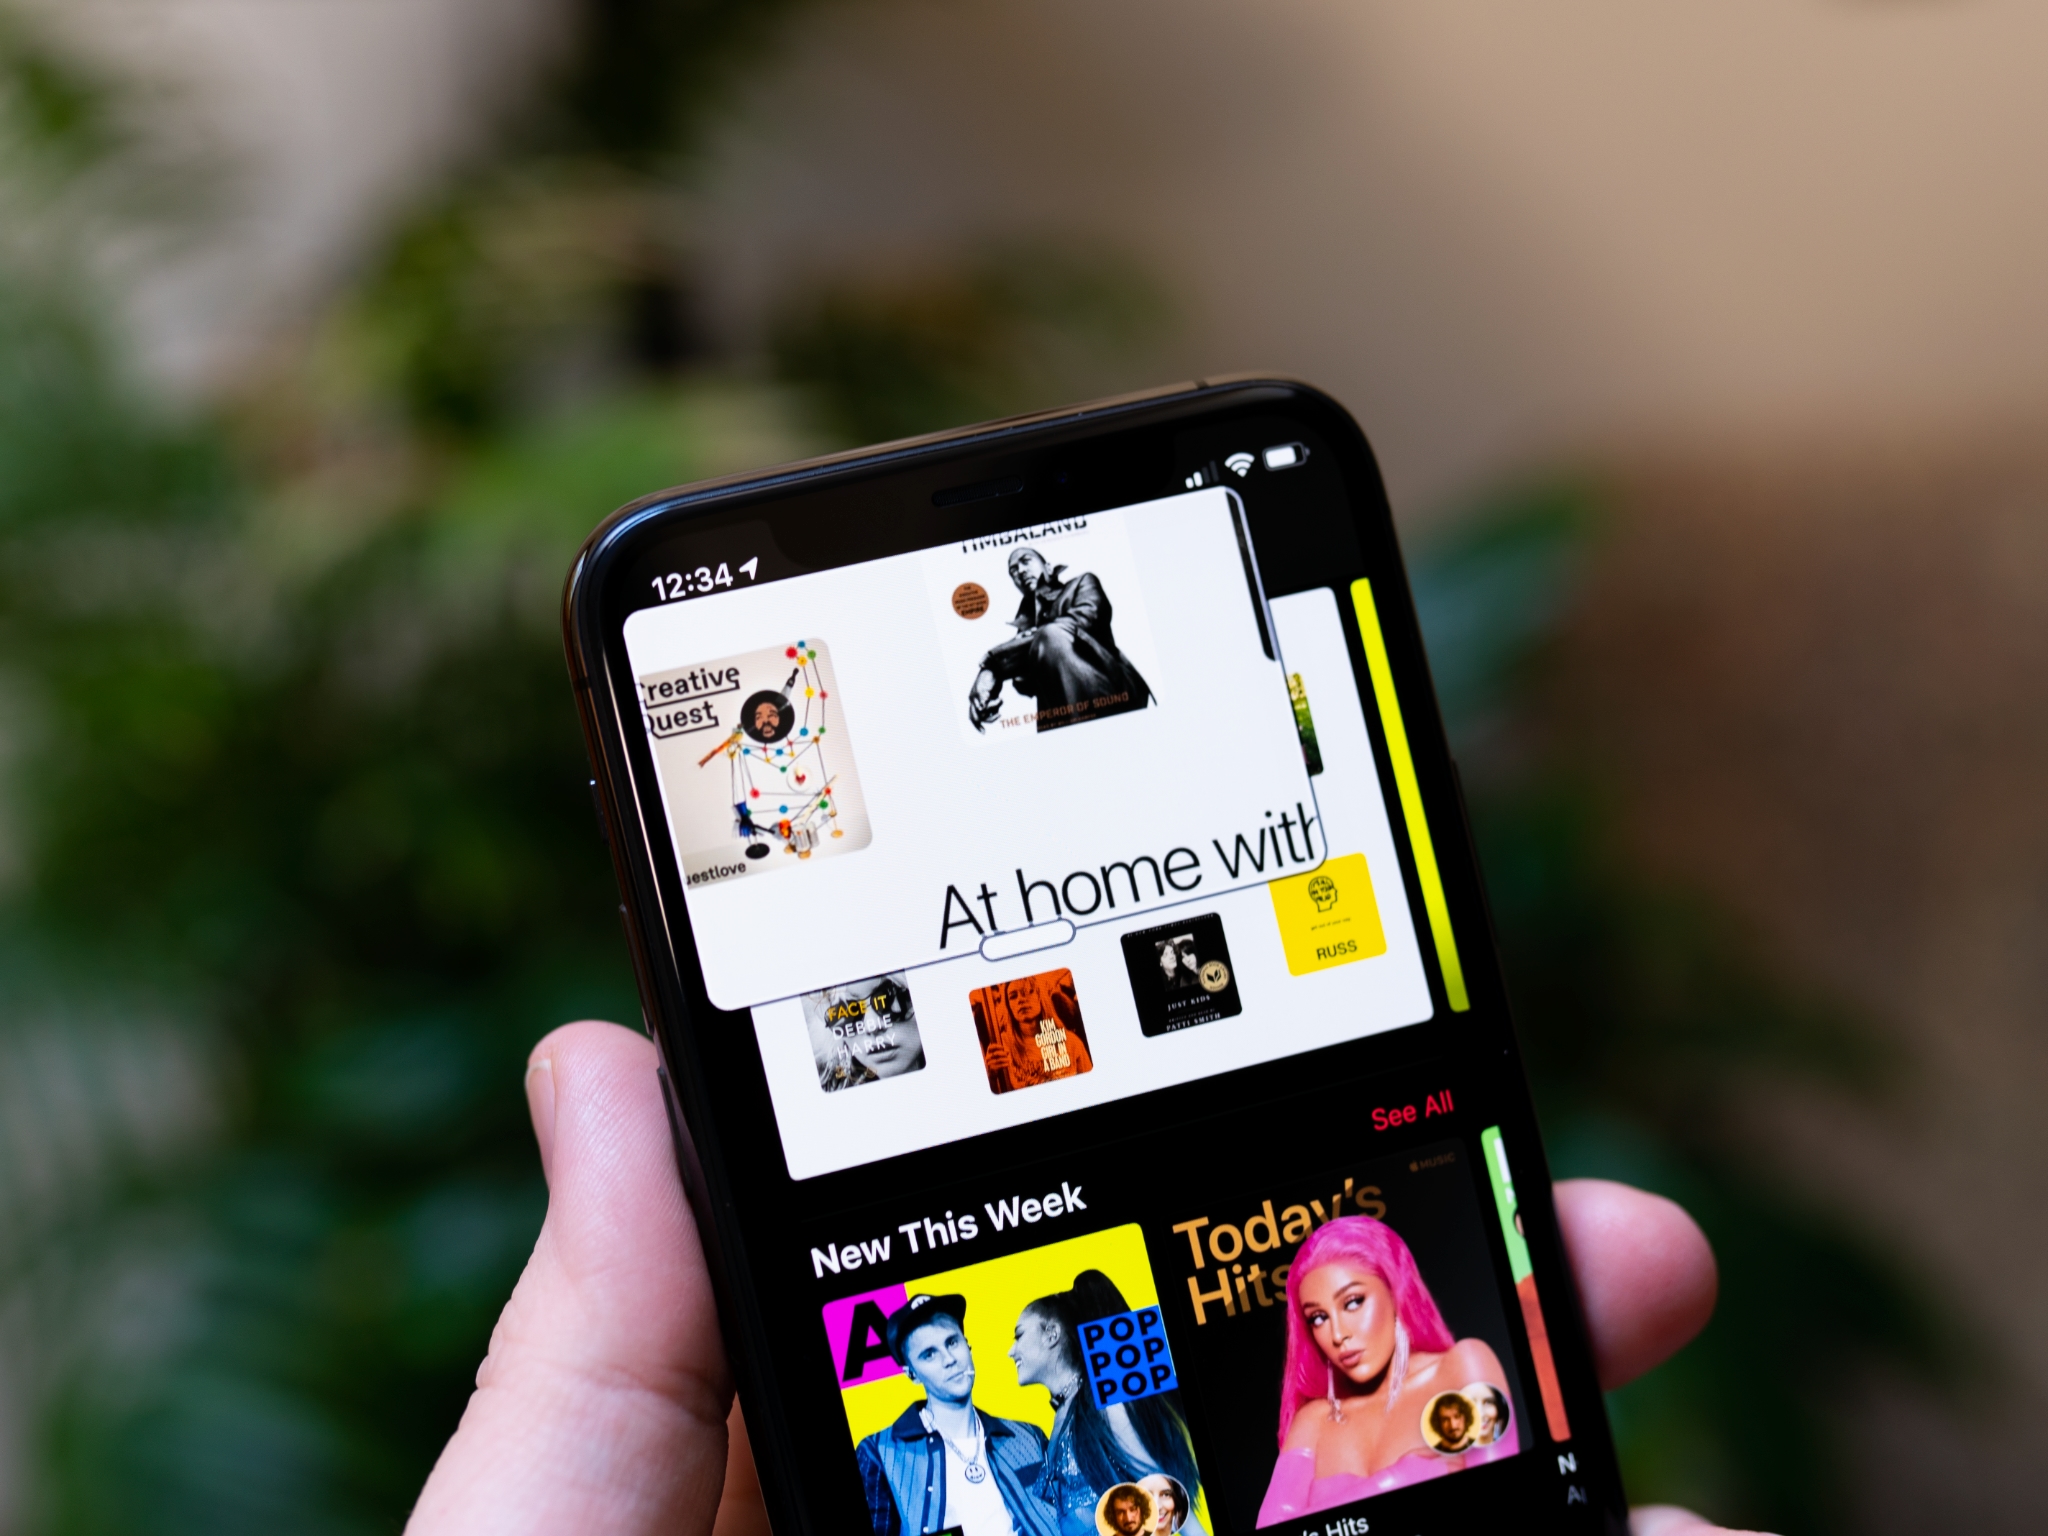
Zoom is an accessibility feature that makes everything from text to icons to interface elements bigger and easier to see on the iPhone and iPad. Zoom magnification on iPhone and iPad defaults to 200% but can be set from 100%-500% to help anyone with low vision of any level. When in zoomed mode, all the standard navigation and selection gestures — tap, swipe, and pinch — work just like normal.
Zoom can work alongside VoiceOver to provide even greater assistance for those with visual impairments and it could be a useful tool for designers, too, who can use zoom as well to help check pixel-level details on-screen.
Master your iPhone in minutes
iMore offers spot-on advice and guidance from our team of experts, with decades of Apple device experience to lean on. Learn more with iMore!
How to use your camera as a magnifying glass on iPhone and iPad
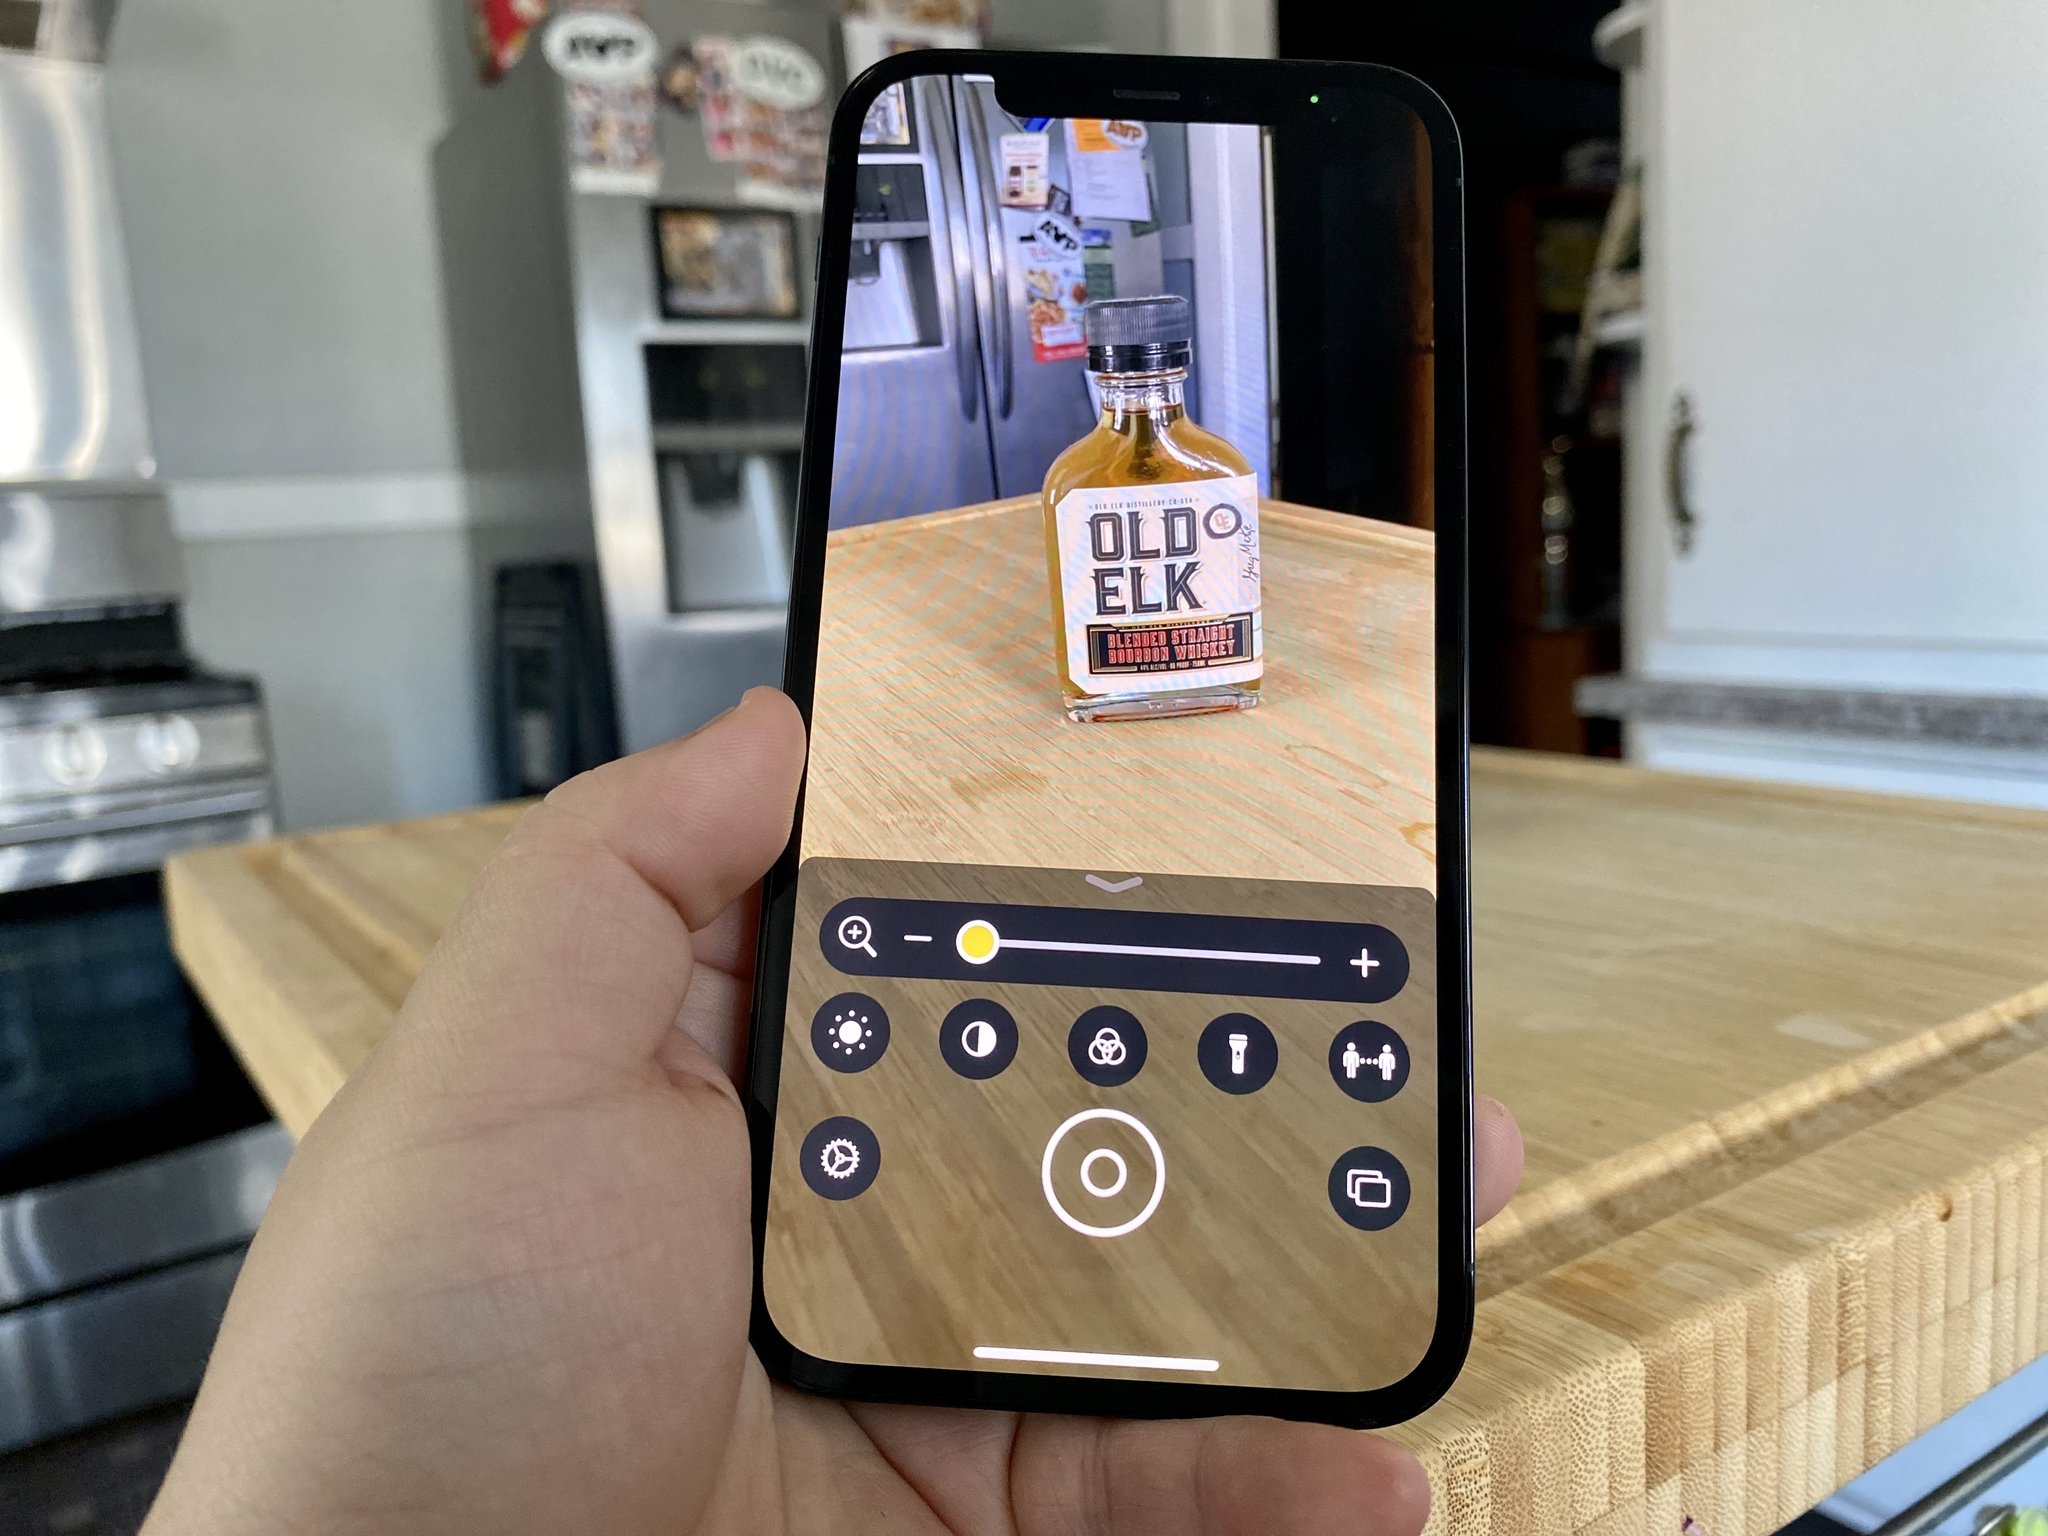
The Magnifier for iPhone and iPad essentially turns your device into a magnifying glass, using the built-in camera. If you have trouble reading the newspaper or need to see the fine print on a label, just fire up the Magnifier and it'll magnify things up to 500%!
How to use Display Accommodations and Color Filters on iPhone and iPad
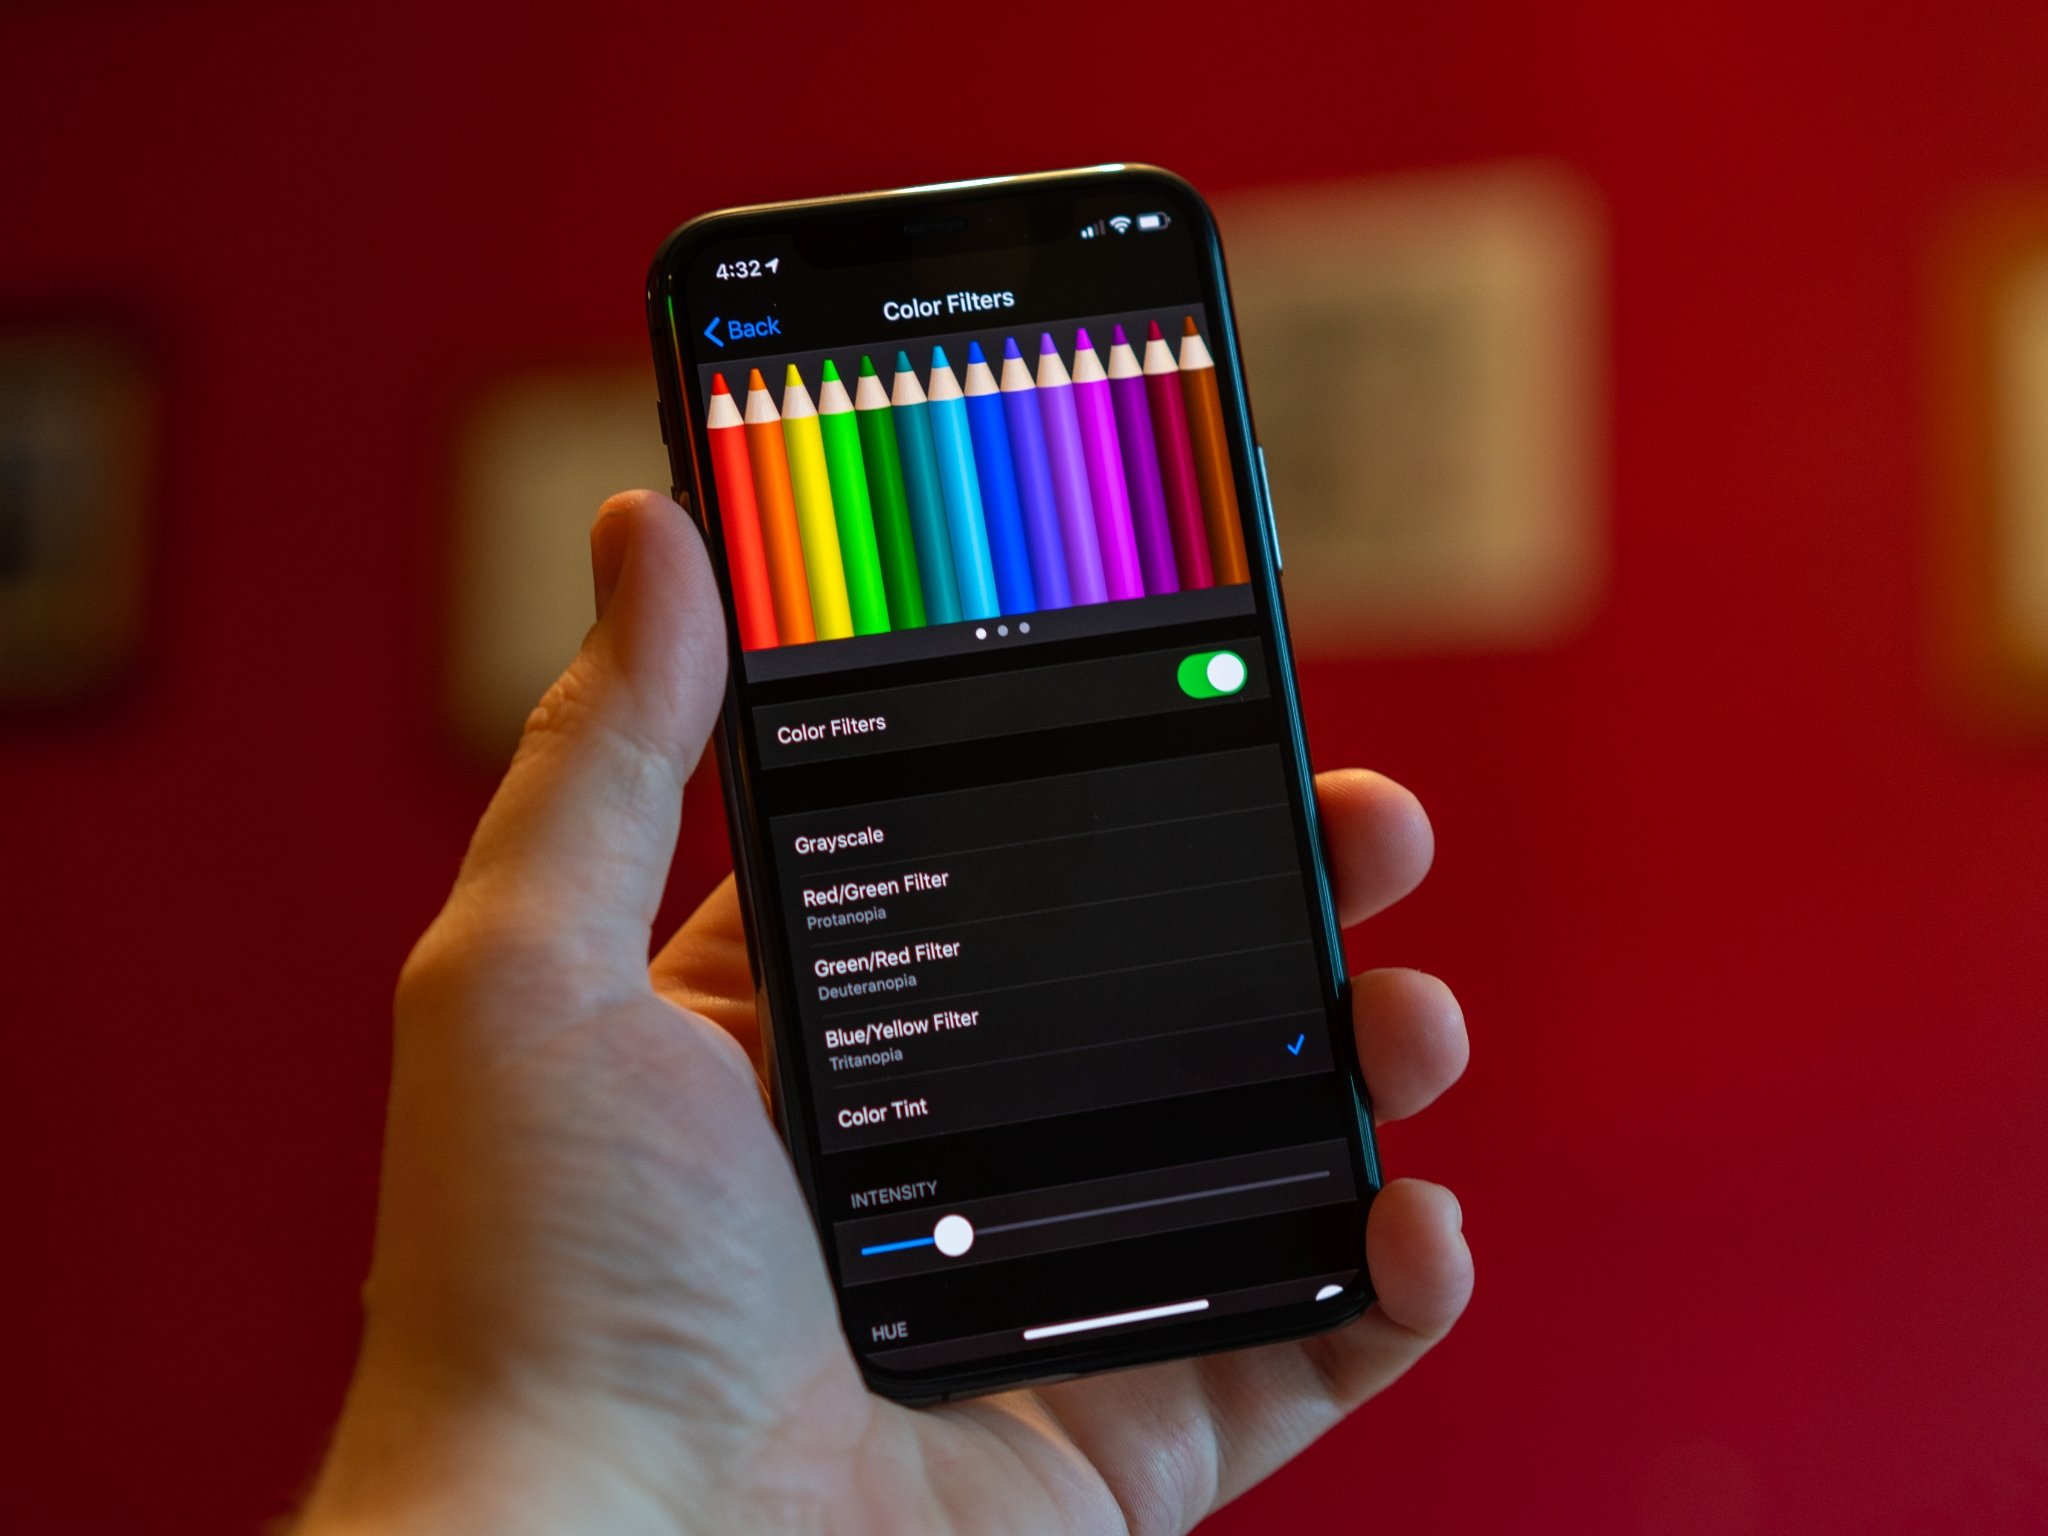
Display Accommodations in iOS is an accessibility feature that makes the iPhone and iPad easier on the eyes for some people with a sensitivity to brightness, easier to distinguish for some people with color blindness, and easier to make out for some people with low vision. It can even be used in combination with Zoom to greatly increase legibility for anyone with a visual impairment.
How to have text read with speak selection on your iPhone and iPad
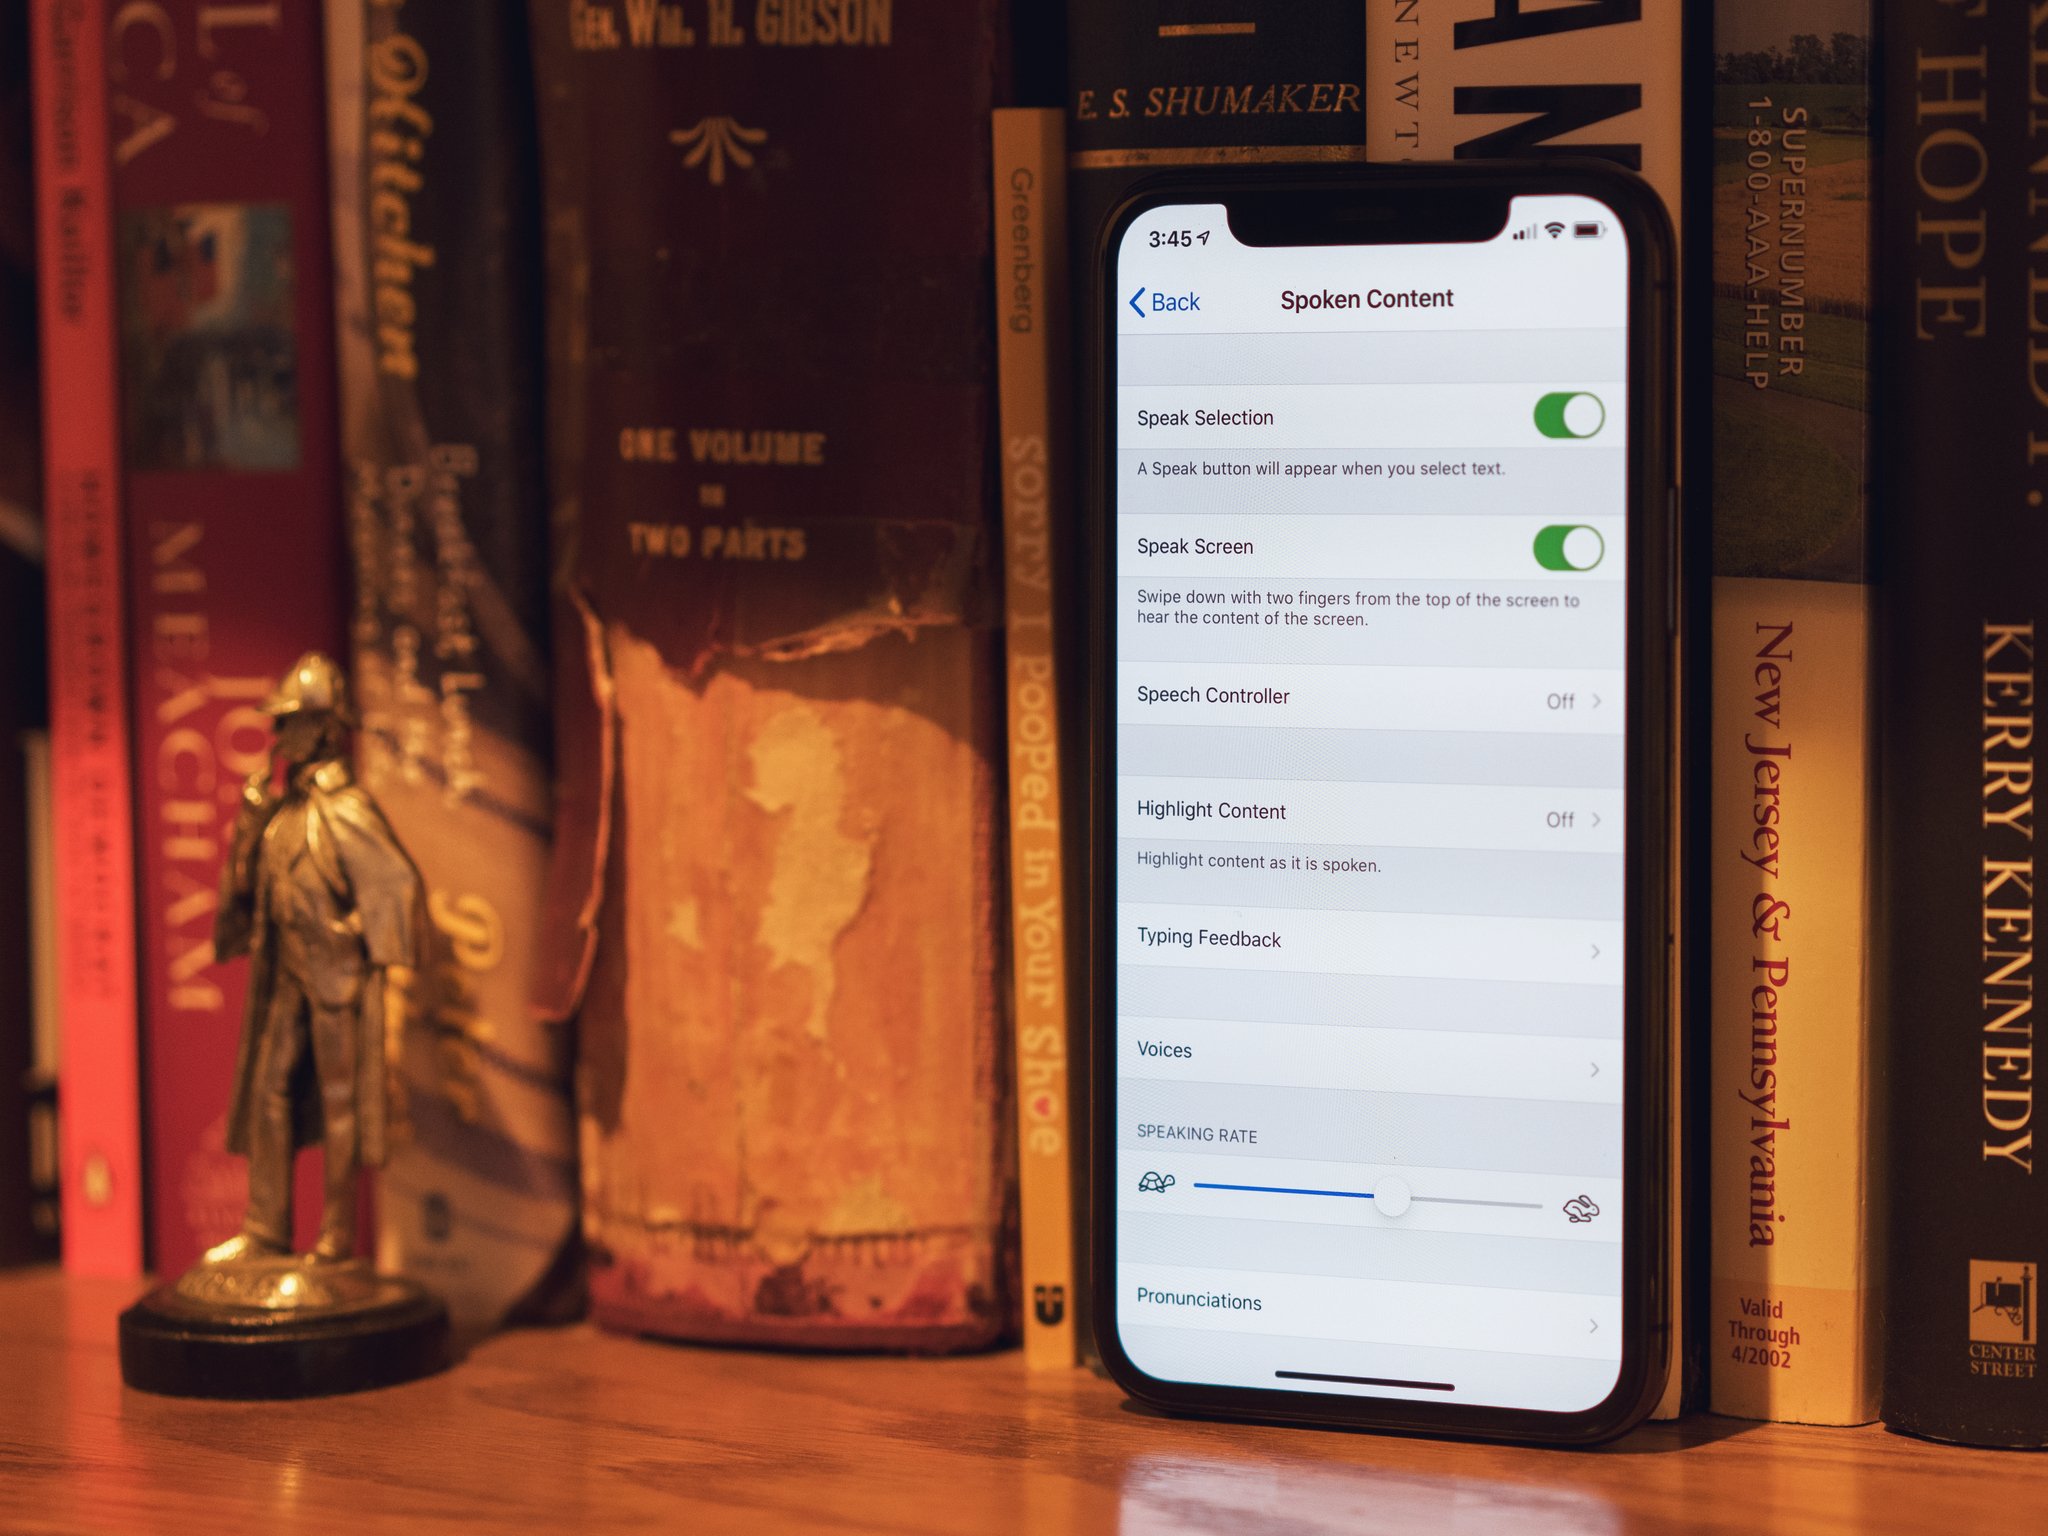
Speak selection is an accessibility feature that reads aloud any text you've highlighted on your iPhone or iPad. It's ideal for anyone who has difficulty making out text because of small size or style, has dyslexia, or is just learning a written language. Speak selection can even highlight words as they're read to aid in comprehension and adjust dialect and speed so you or a family member can better follow along. It's simple enough to set up Spoken Content on your iPhone or iPad.
How to increase legibility with large and bold text on iPhone and iPad
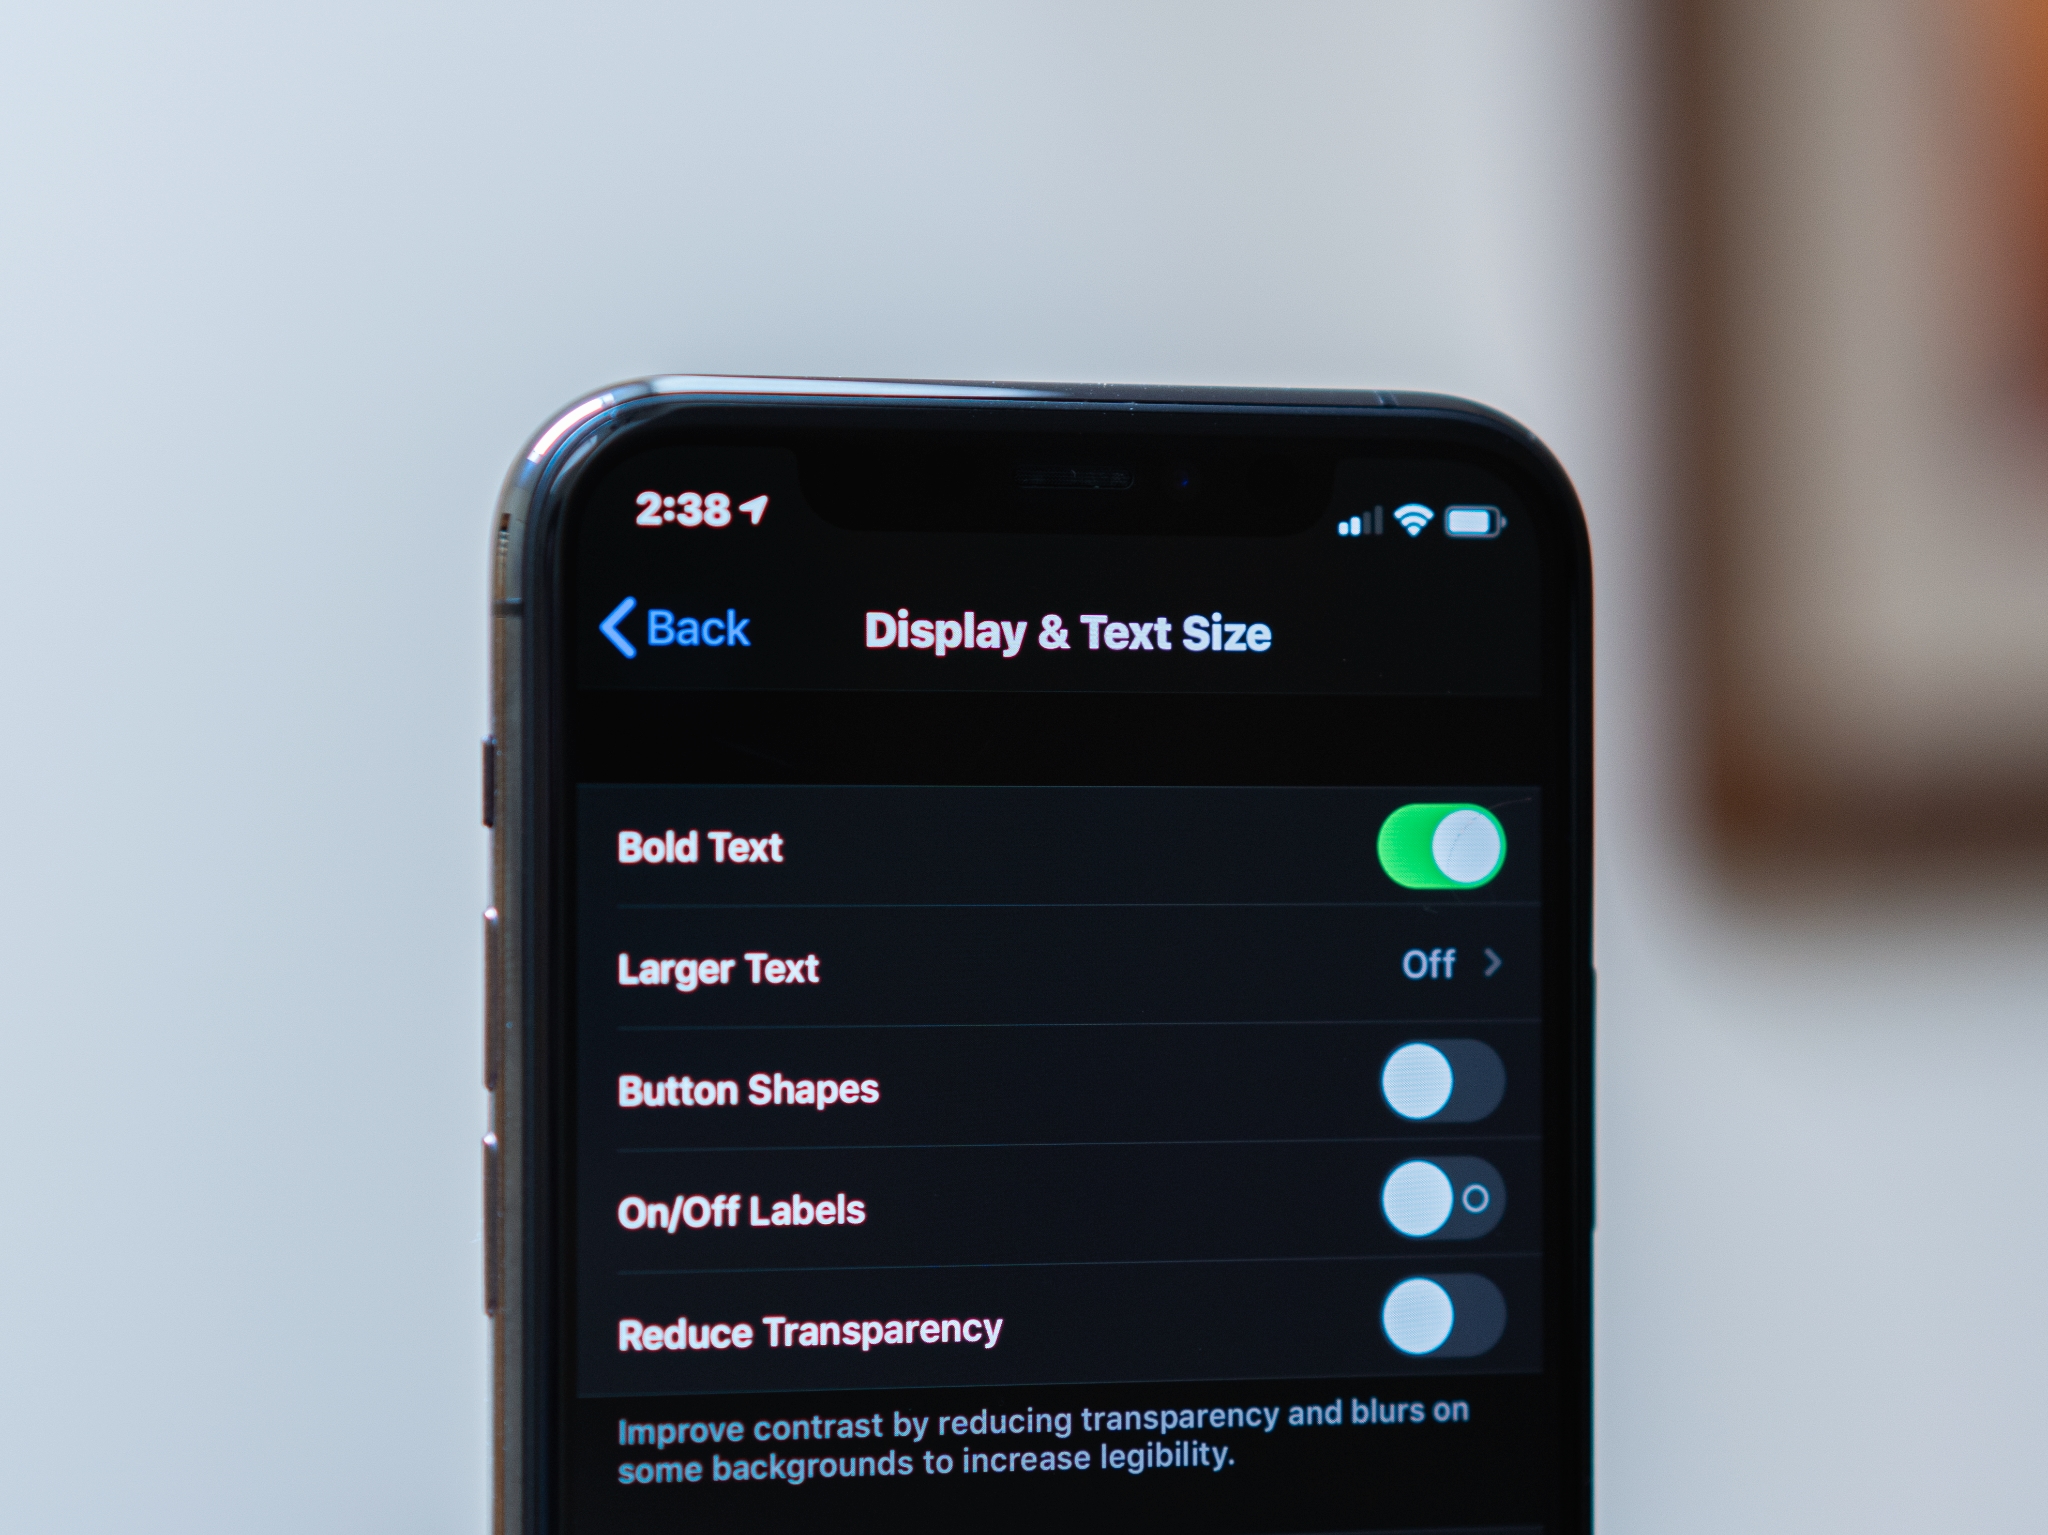
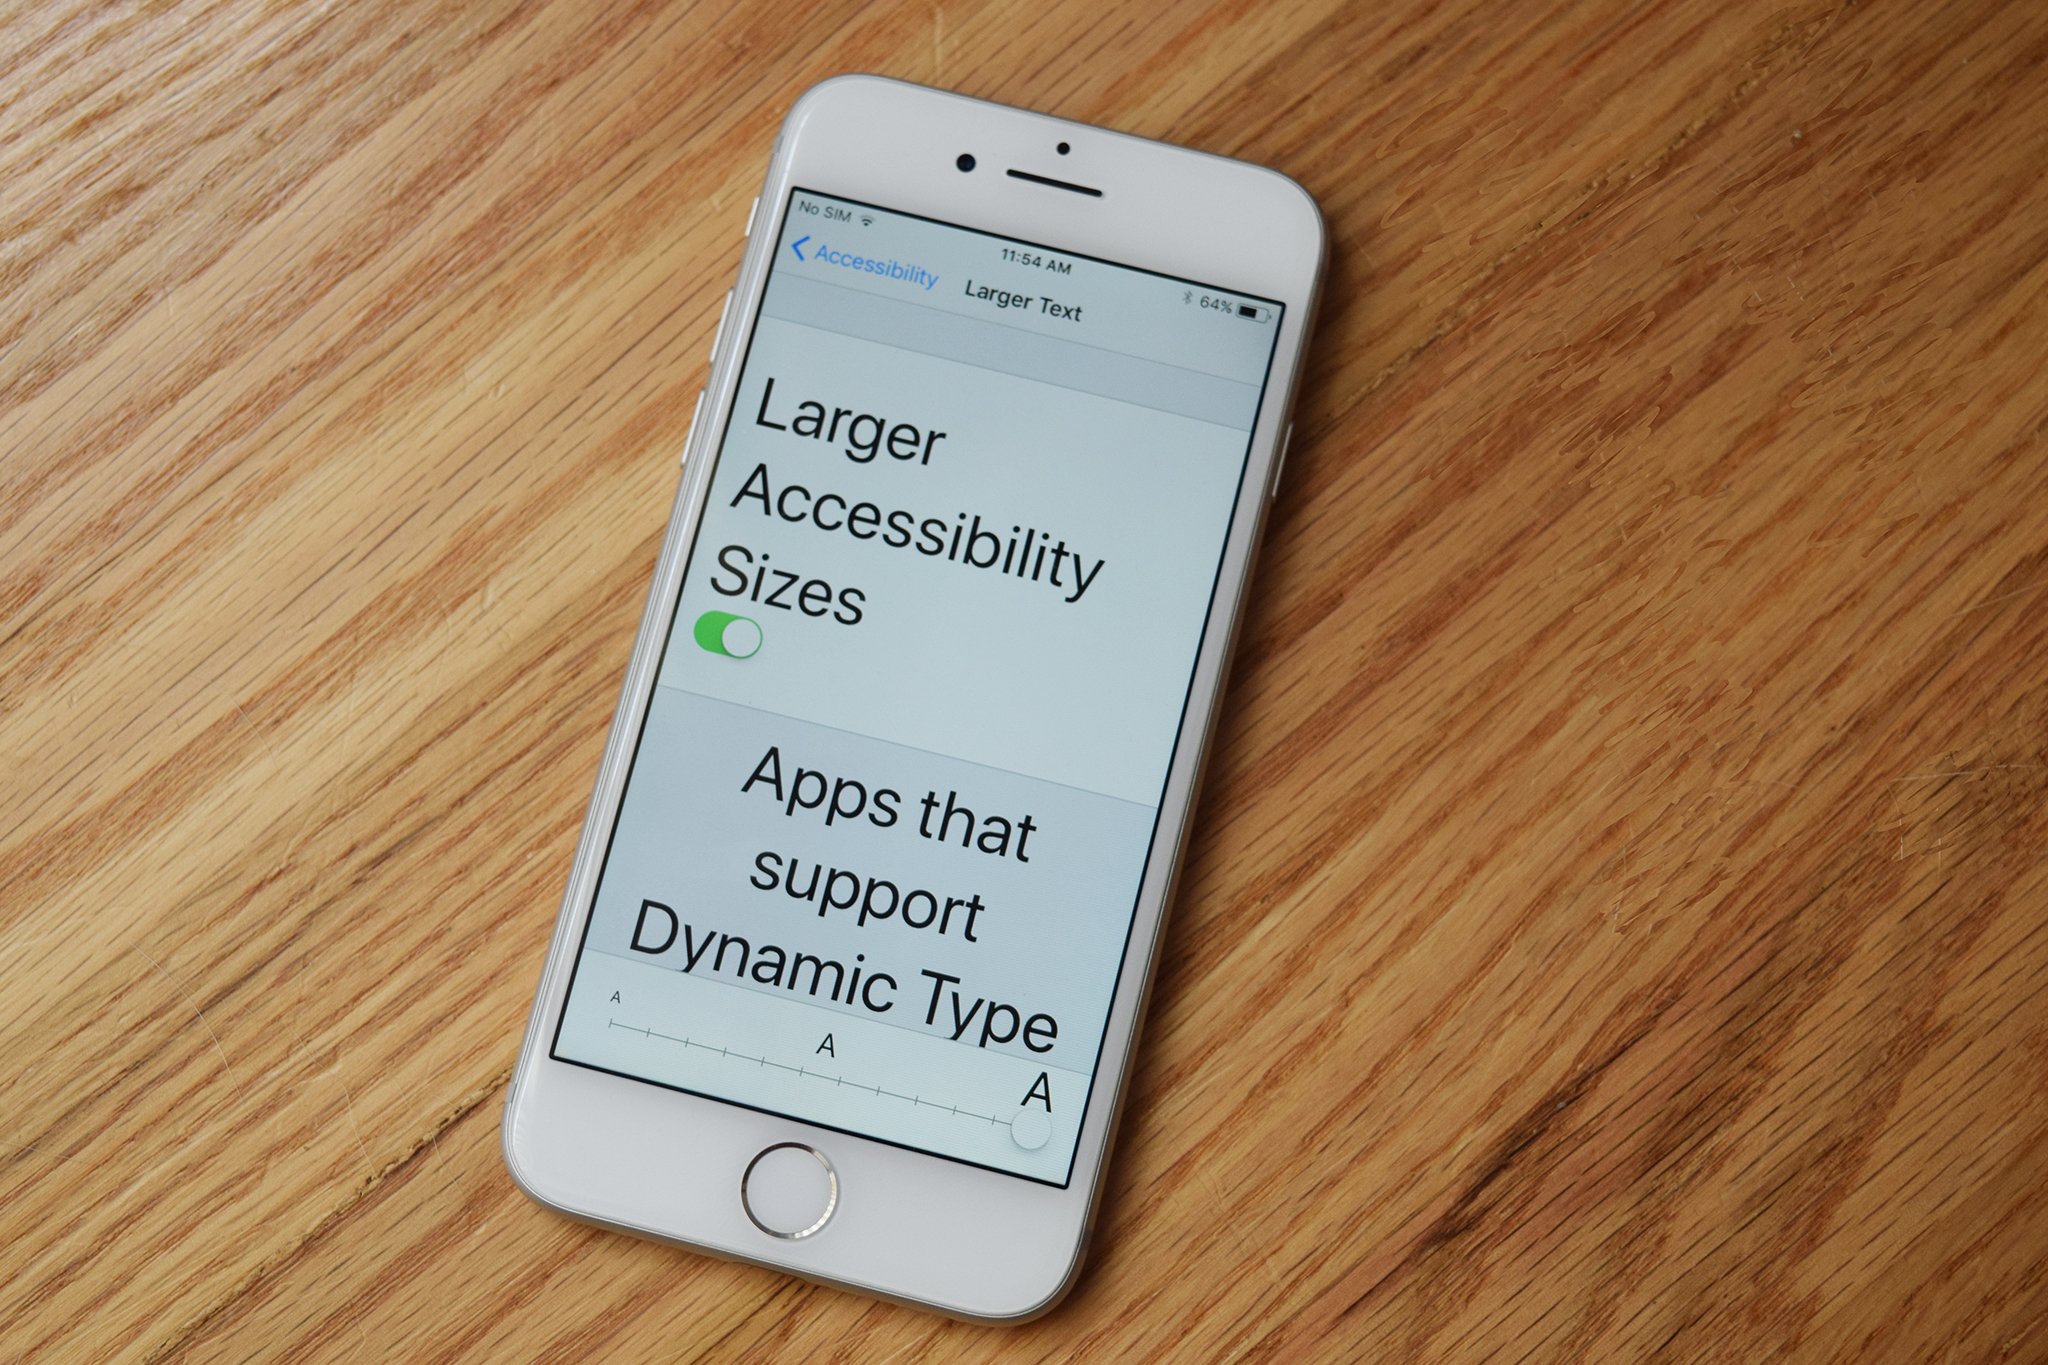
Large and bold text is an Accessibility feature that helps increase legibility by using the iOS dynamic type engine to make fonts bigger and/or heavier and generally easier to read. For people with low vision, making text larger can magnify words without also magnifying interface elements. For people who need more contrast, making text bold can turn thin, hard-to-see lines into thicker, easier-to-see lines. Applying large or bold text in iOS will make text larger and bolder in all of Apple's apps, and in any App Store apps that support the dynamic type framework.
How to use Touch Accommodations on iPhone and iPad
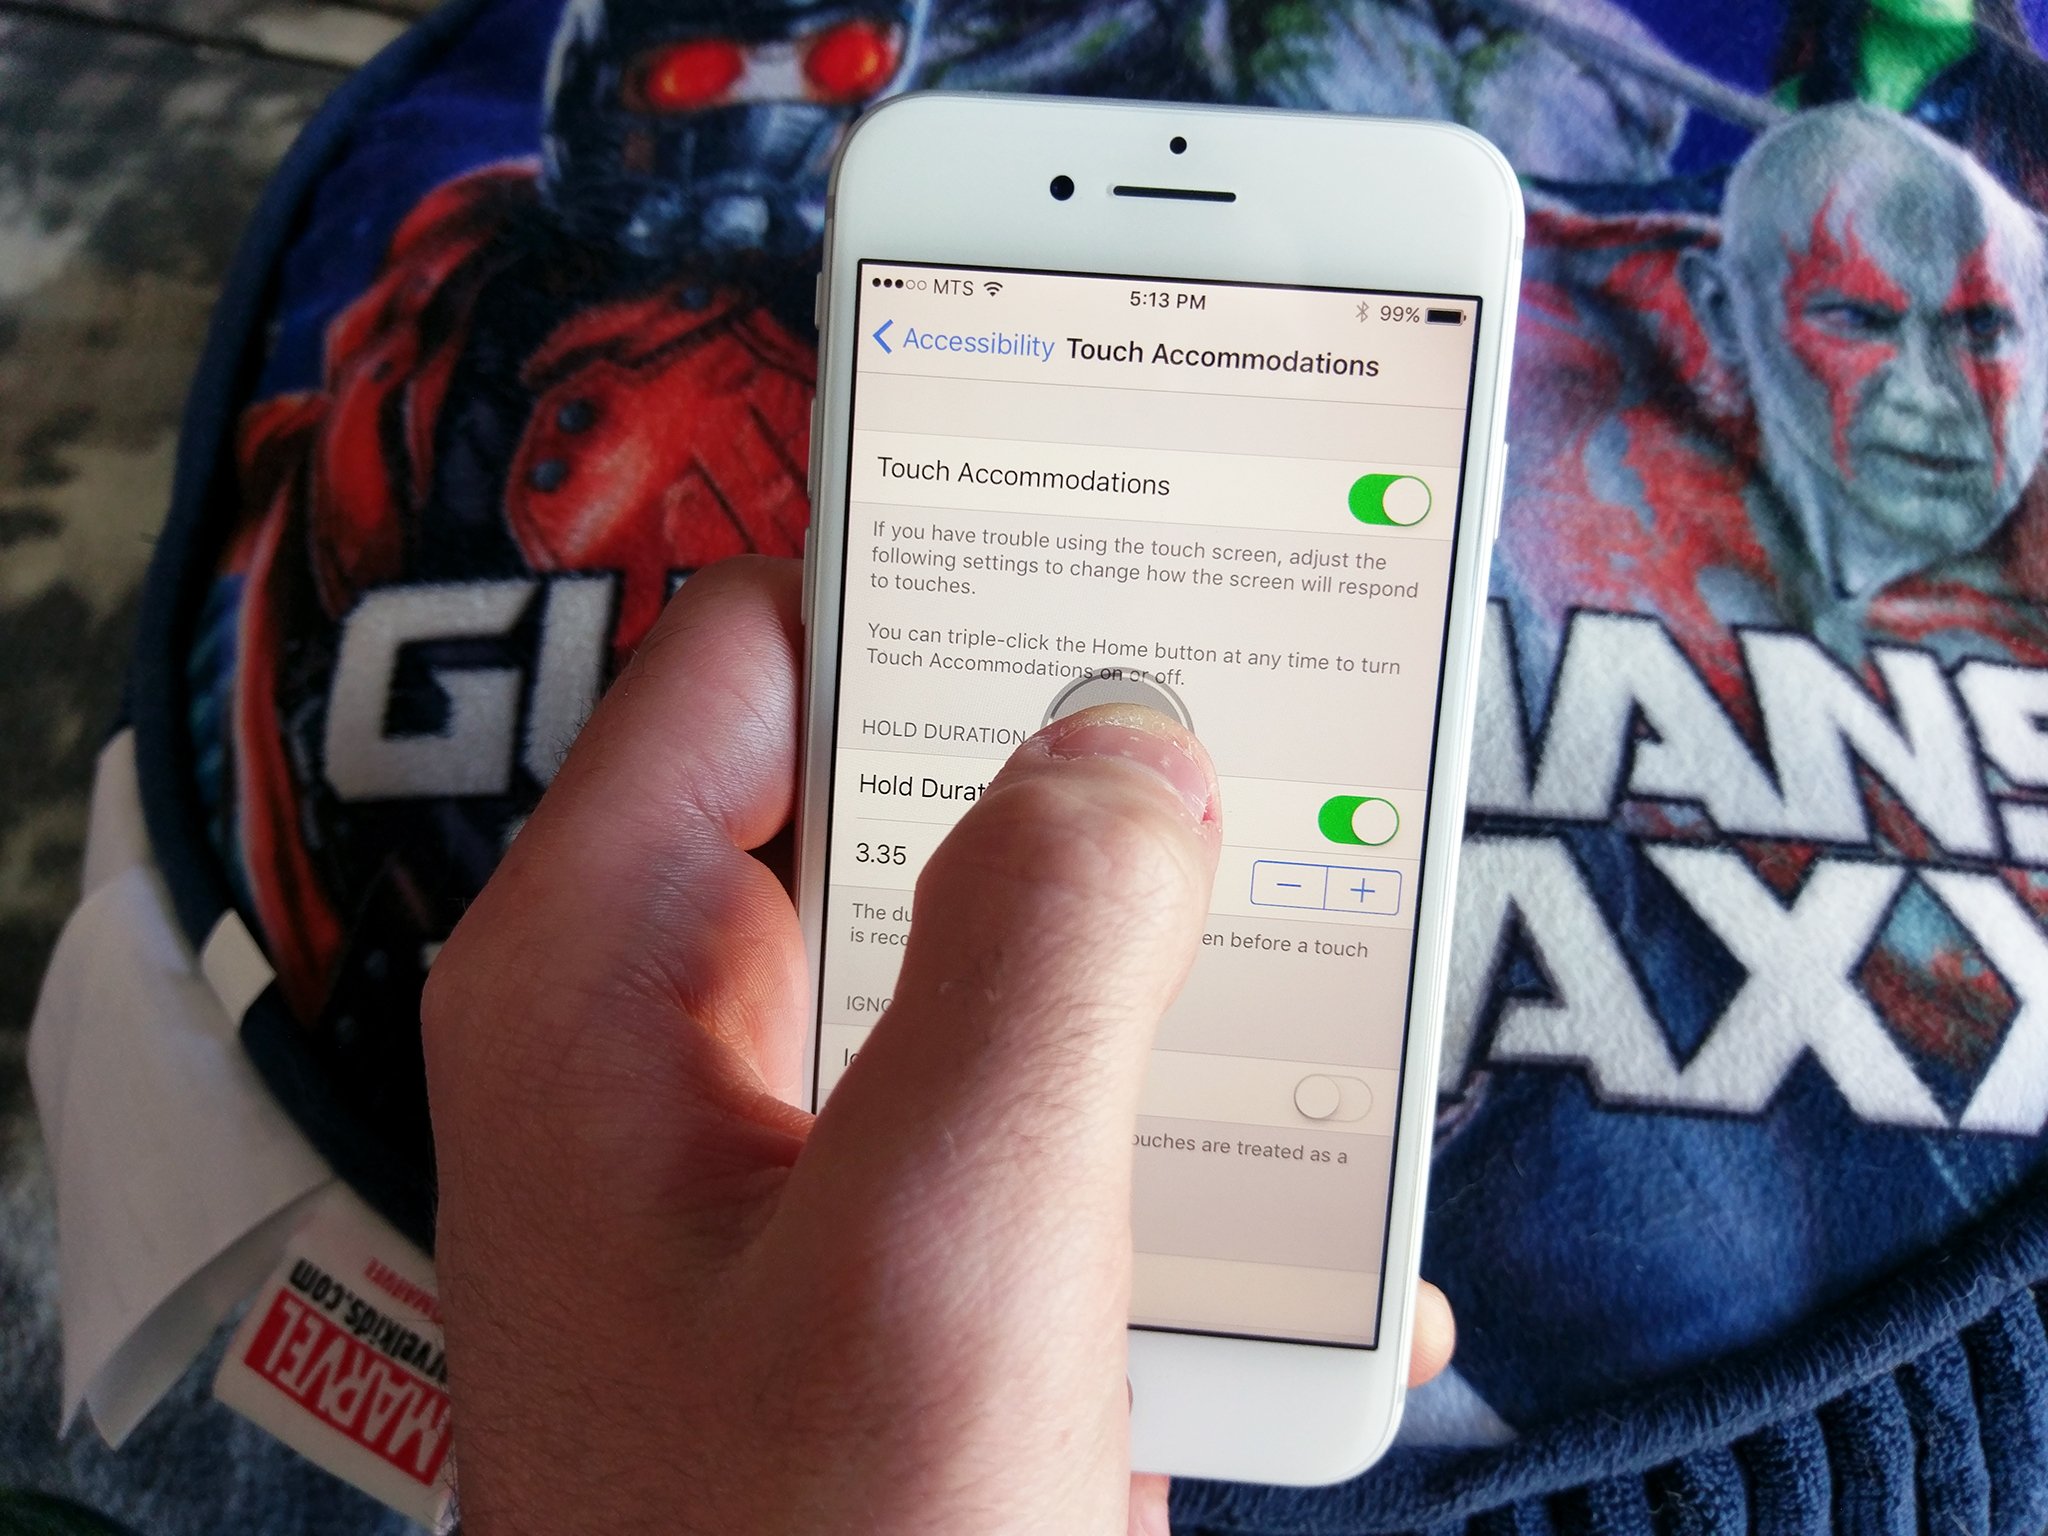
For people with motor skill impairments, Touch Accommodations is a useful and convenient accessibility feature that helps make using a touchscreen much easier and much less frustrating. These accommodations allow you to set a duration for tapping and holding, ignore extra taps, and more.
How to make buttons more tappable by enabling shape outlines on iPhone and iPad
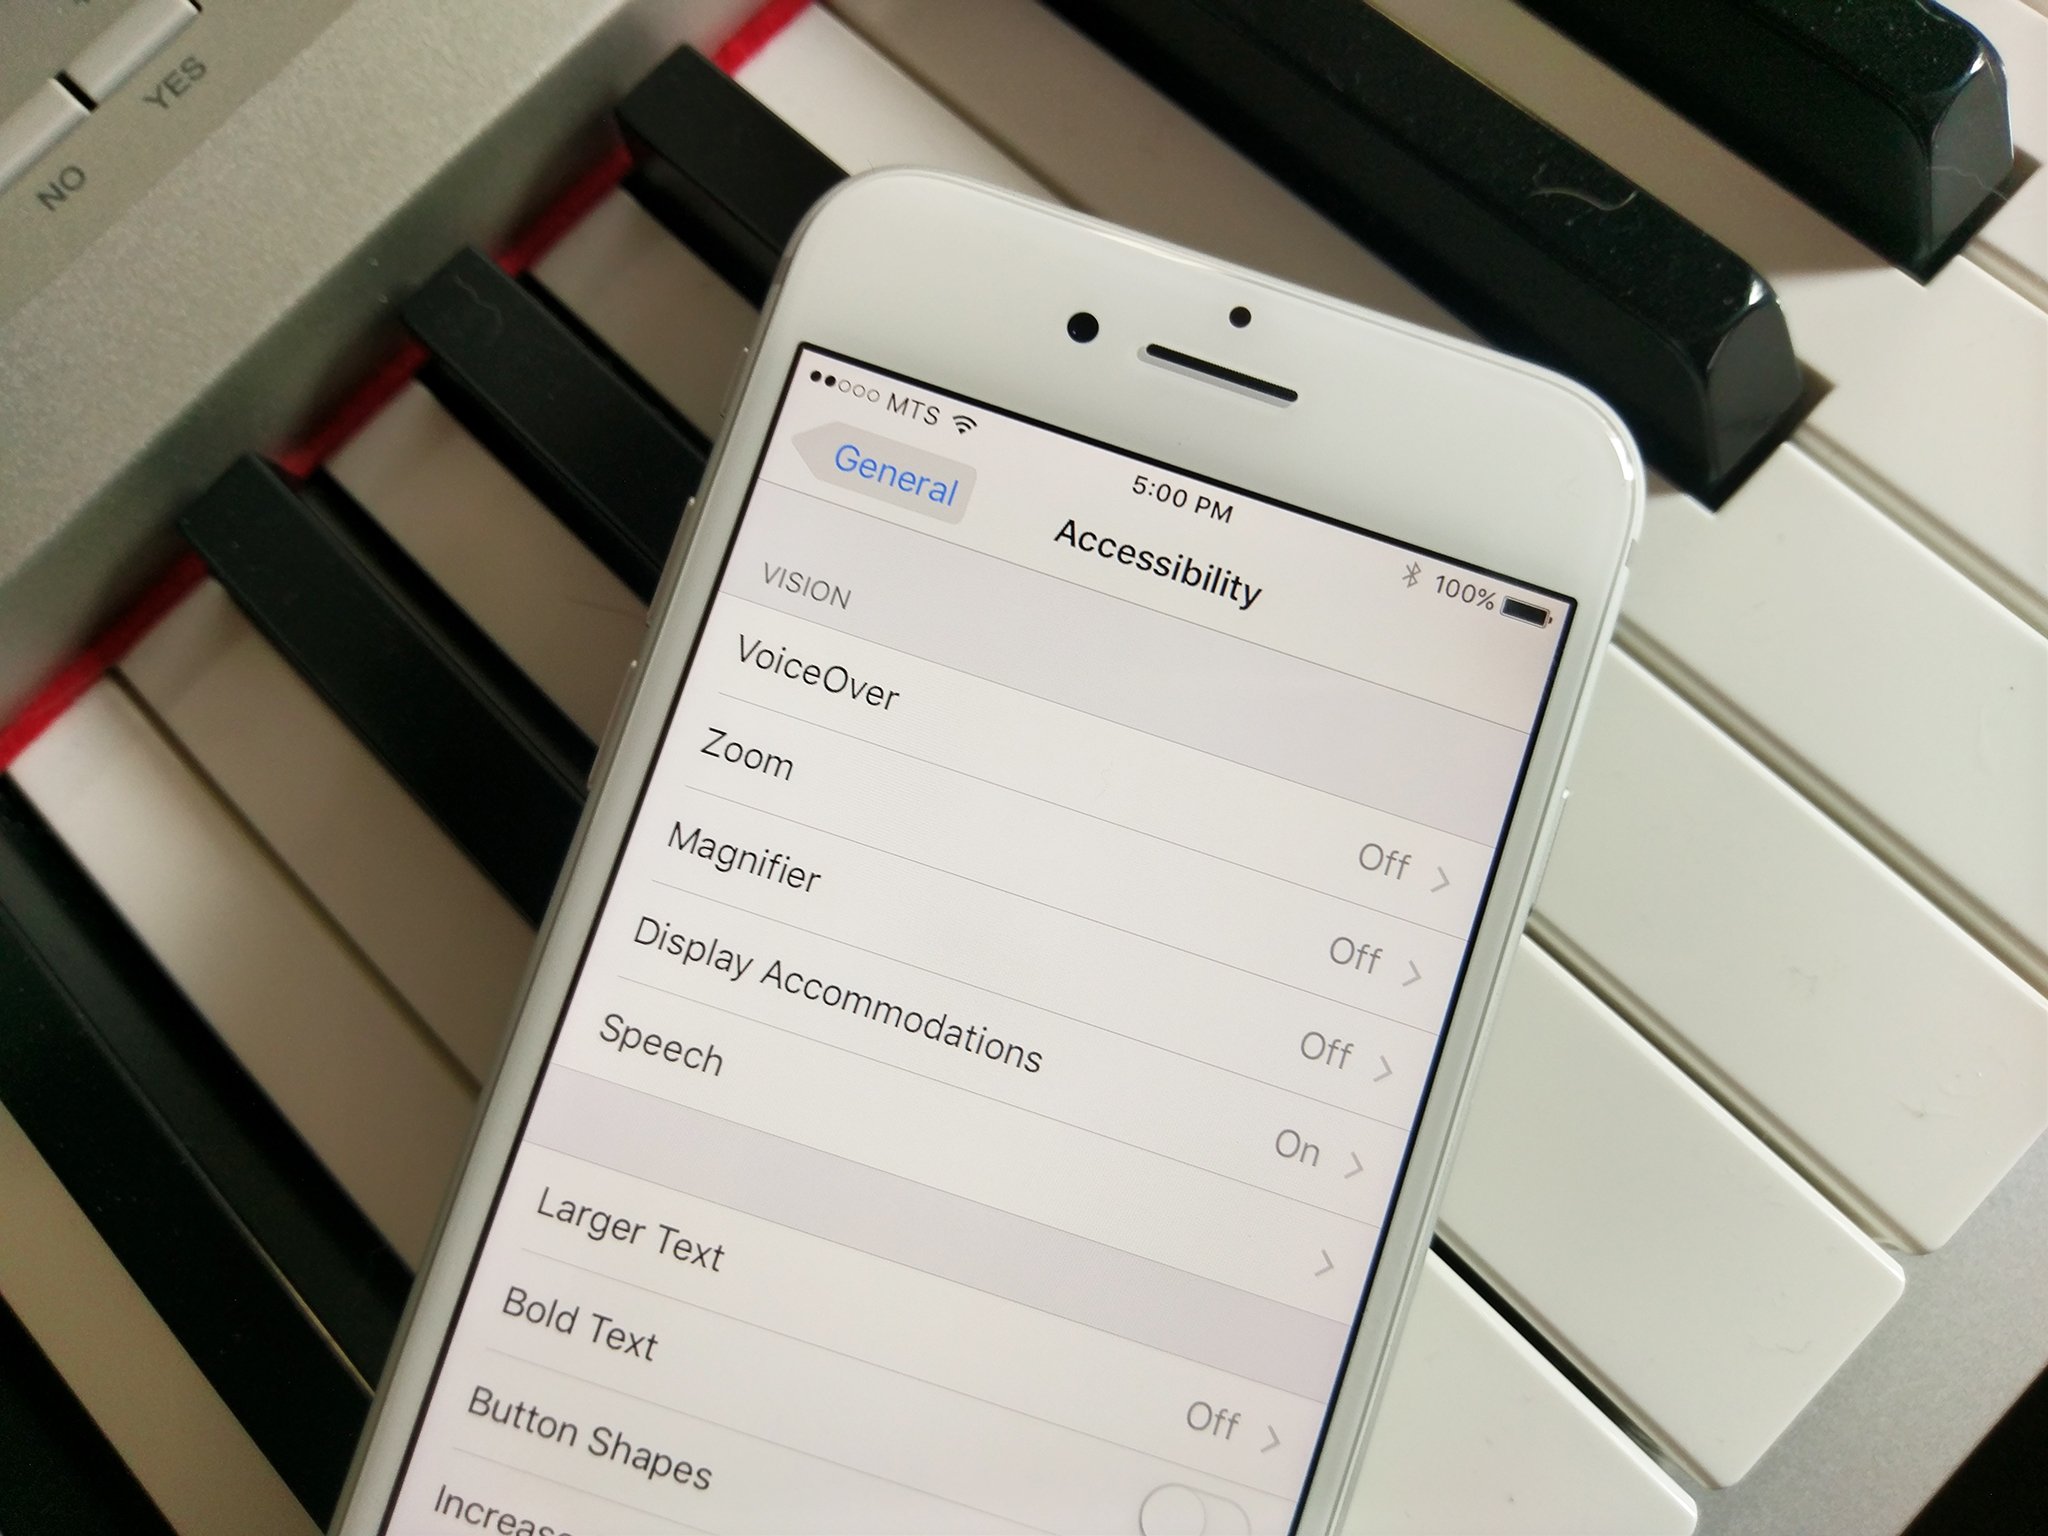
Button shapes is an accessibility feature that underlines or re-creates the outlines found around tappable interface elements in previous versions of iOS. Since a lot of iOS interface elements are tappable button targets without outlines, it can be hard to know exactly where that target is and where it ends. For anyone with eye-hand coordination impairment, button shapes can help increase accuracy and reduce frustration.
How to increase contrast and reduce motion on iPhone and iPad
Increasing contrast on your iPhone and iPad makes it easier to make out text and interface elements. In some apps, it's not always super easy to differentiate between background and foreground elements, especially for those with visual impairments, but increasing the contrast between the two can help to make things clearer.
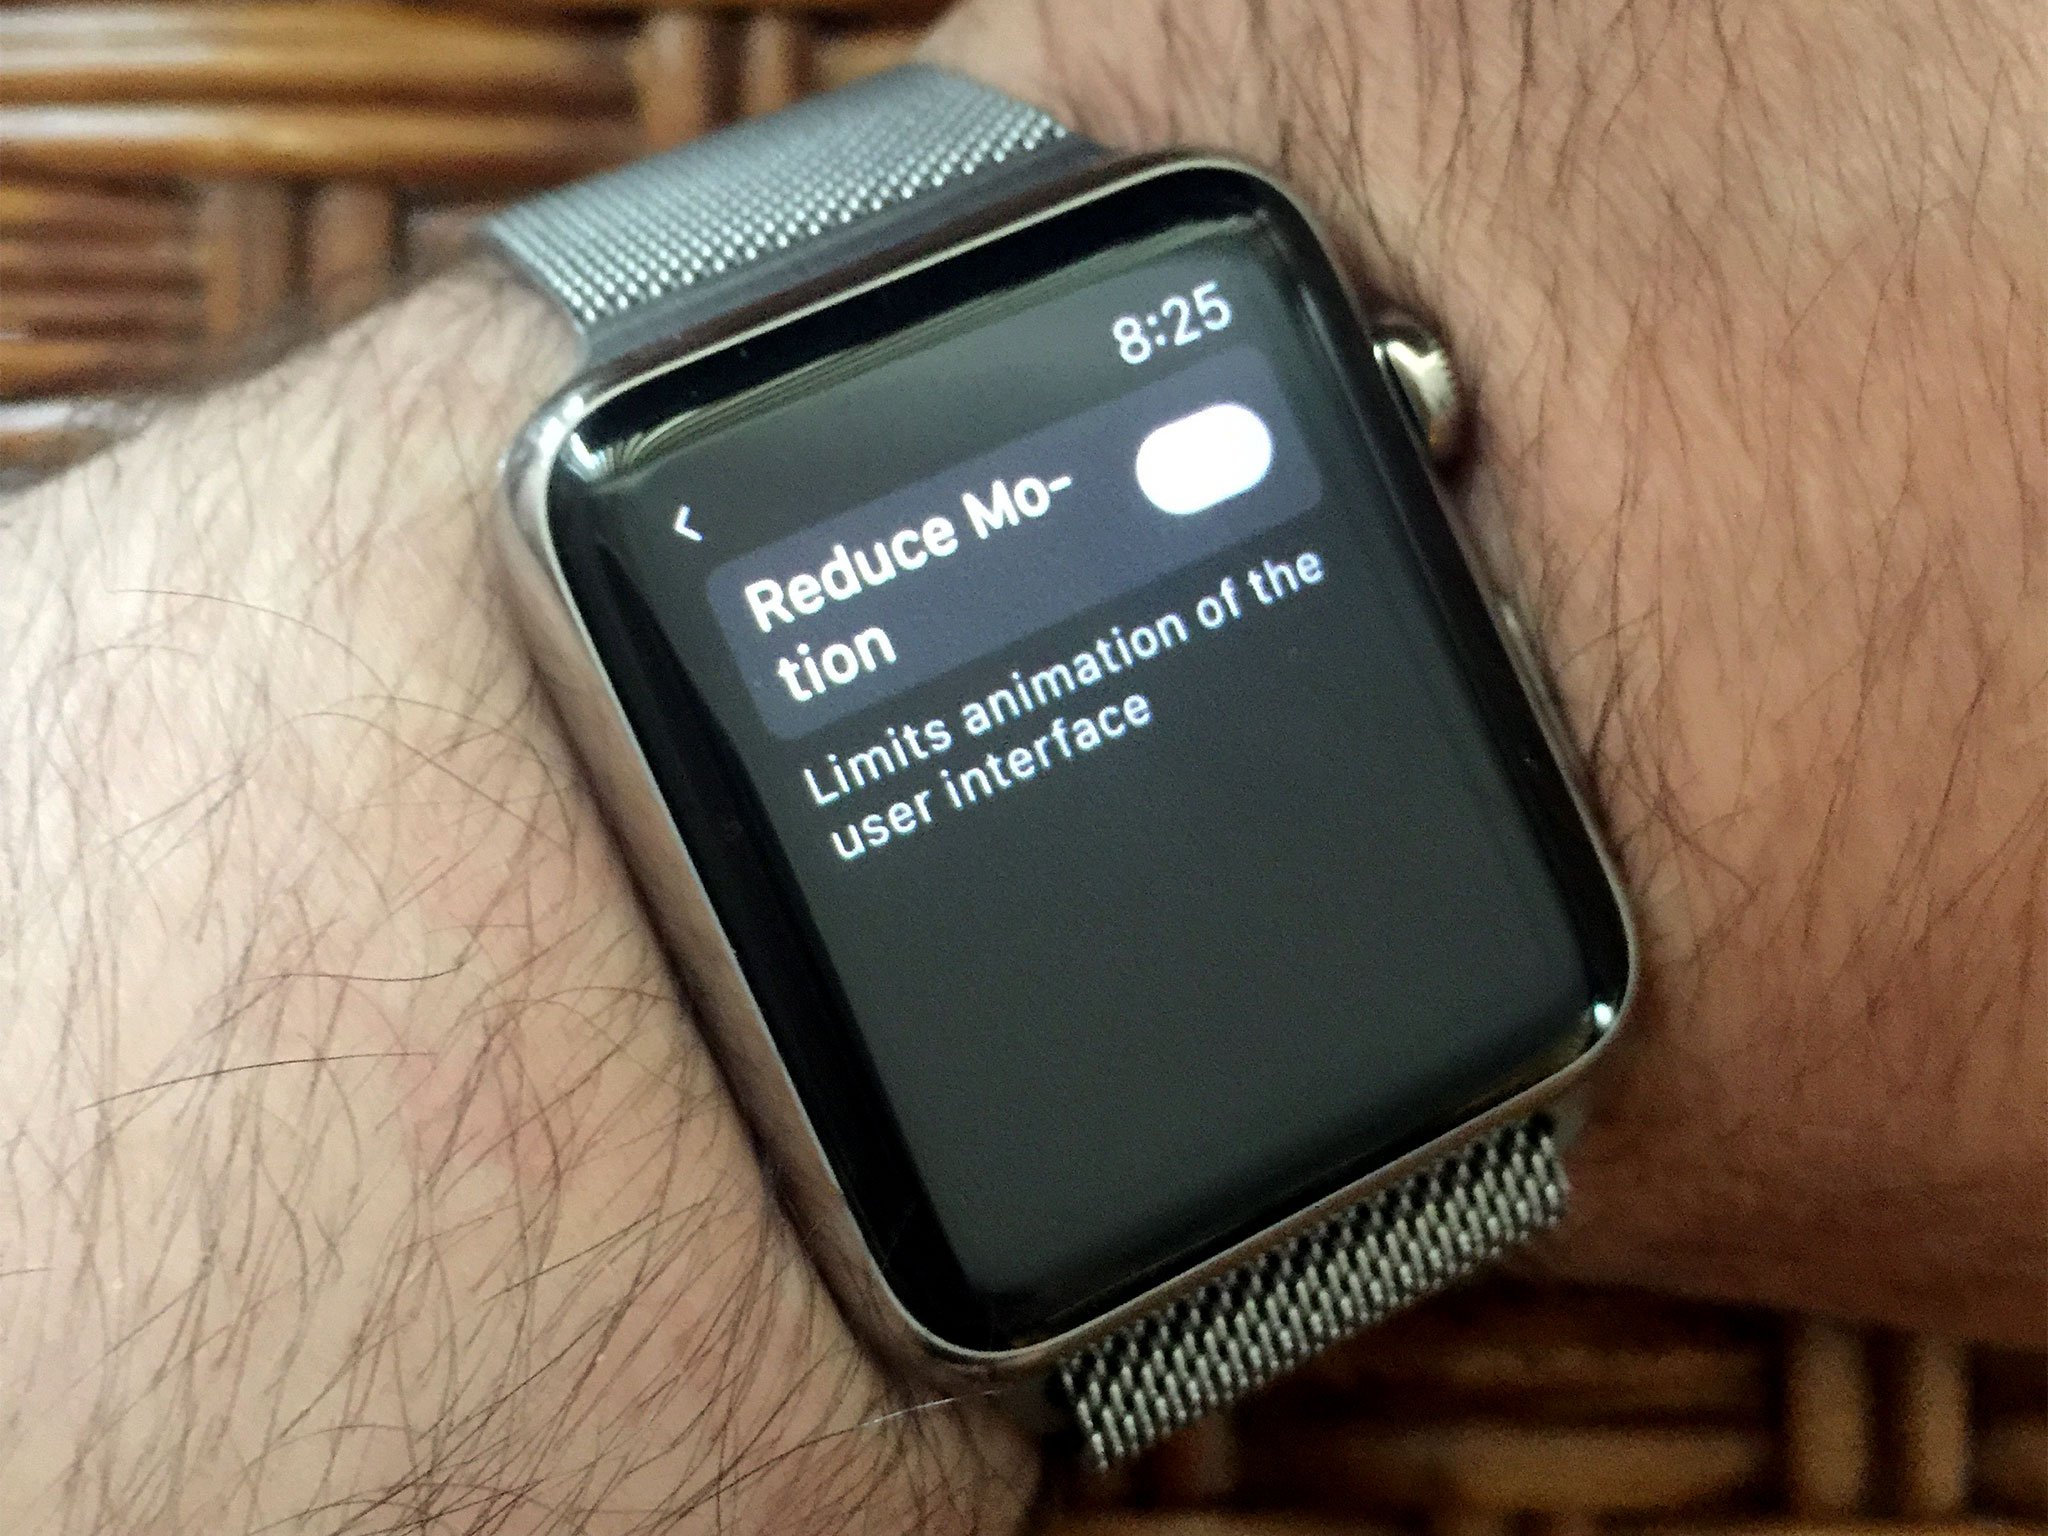
The reduced motion settings do away with a lot of the graphical movements of iOS, like those triggered by swiping gestures or even the subtle parallax effect of icons on the Home screen. These are touches of whimsy that can actually be of detriment to some users' experience. You can also reduce motion on Apple Watch.
How to use FaceTime to make video calls on your iPhone or iPad
FaceTime is Apple's voice over IP (VoIP) calling service. It allows anyone with a recent iPhone, iPod touch, iPad, or Mac to make free video (or audio) calls to any other Apple user over Wi-Fi or cellular connection. That makes it perfect for keeping in touch with family who lives far away, with the kids while traveling, with business partners at distant offices, or even with that special someone while shopping for the perfect gift. It also makes it a great accessibility feature for anyone who is deaf or hard of hearing — you can visually communicate with sign language over a FaceTime video call.
How to connect to hearing aids and use audio accessibility on your iPhone or iPad
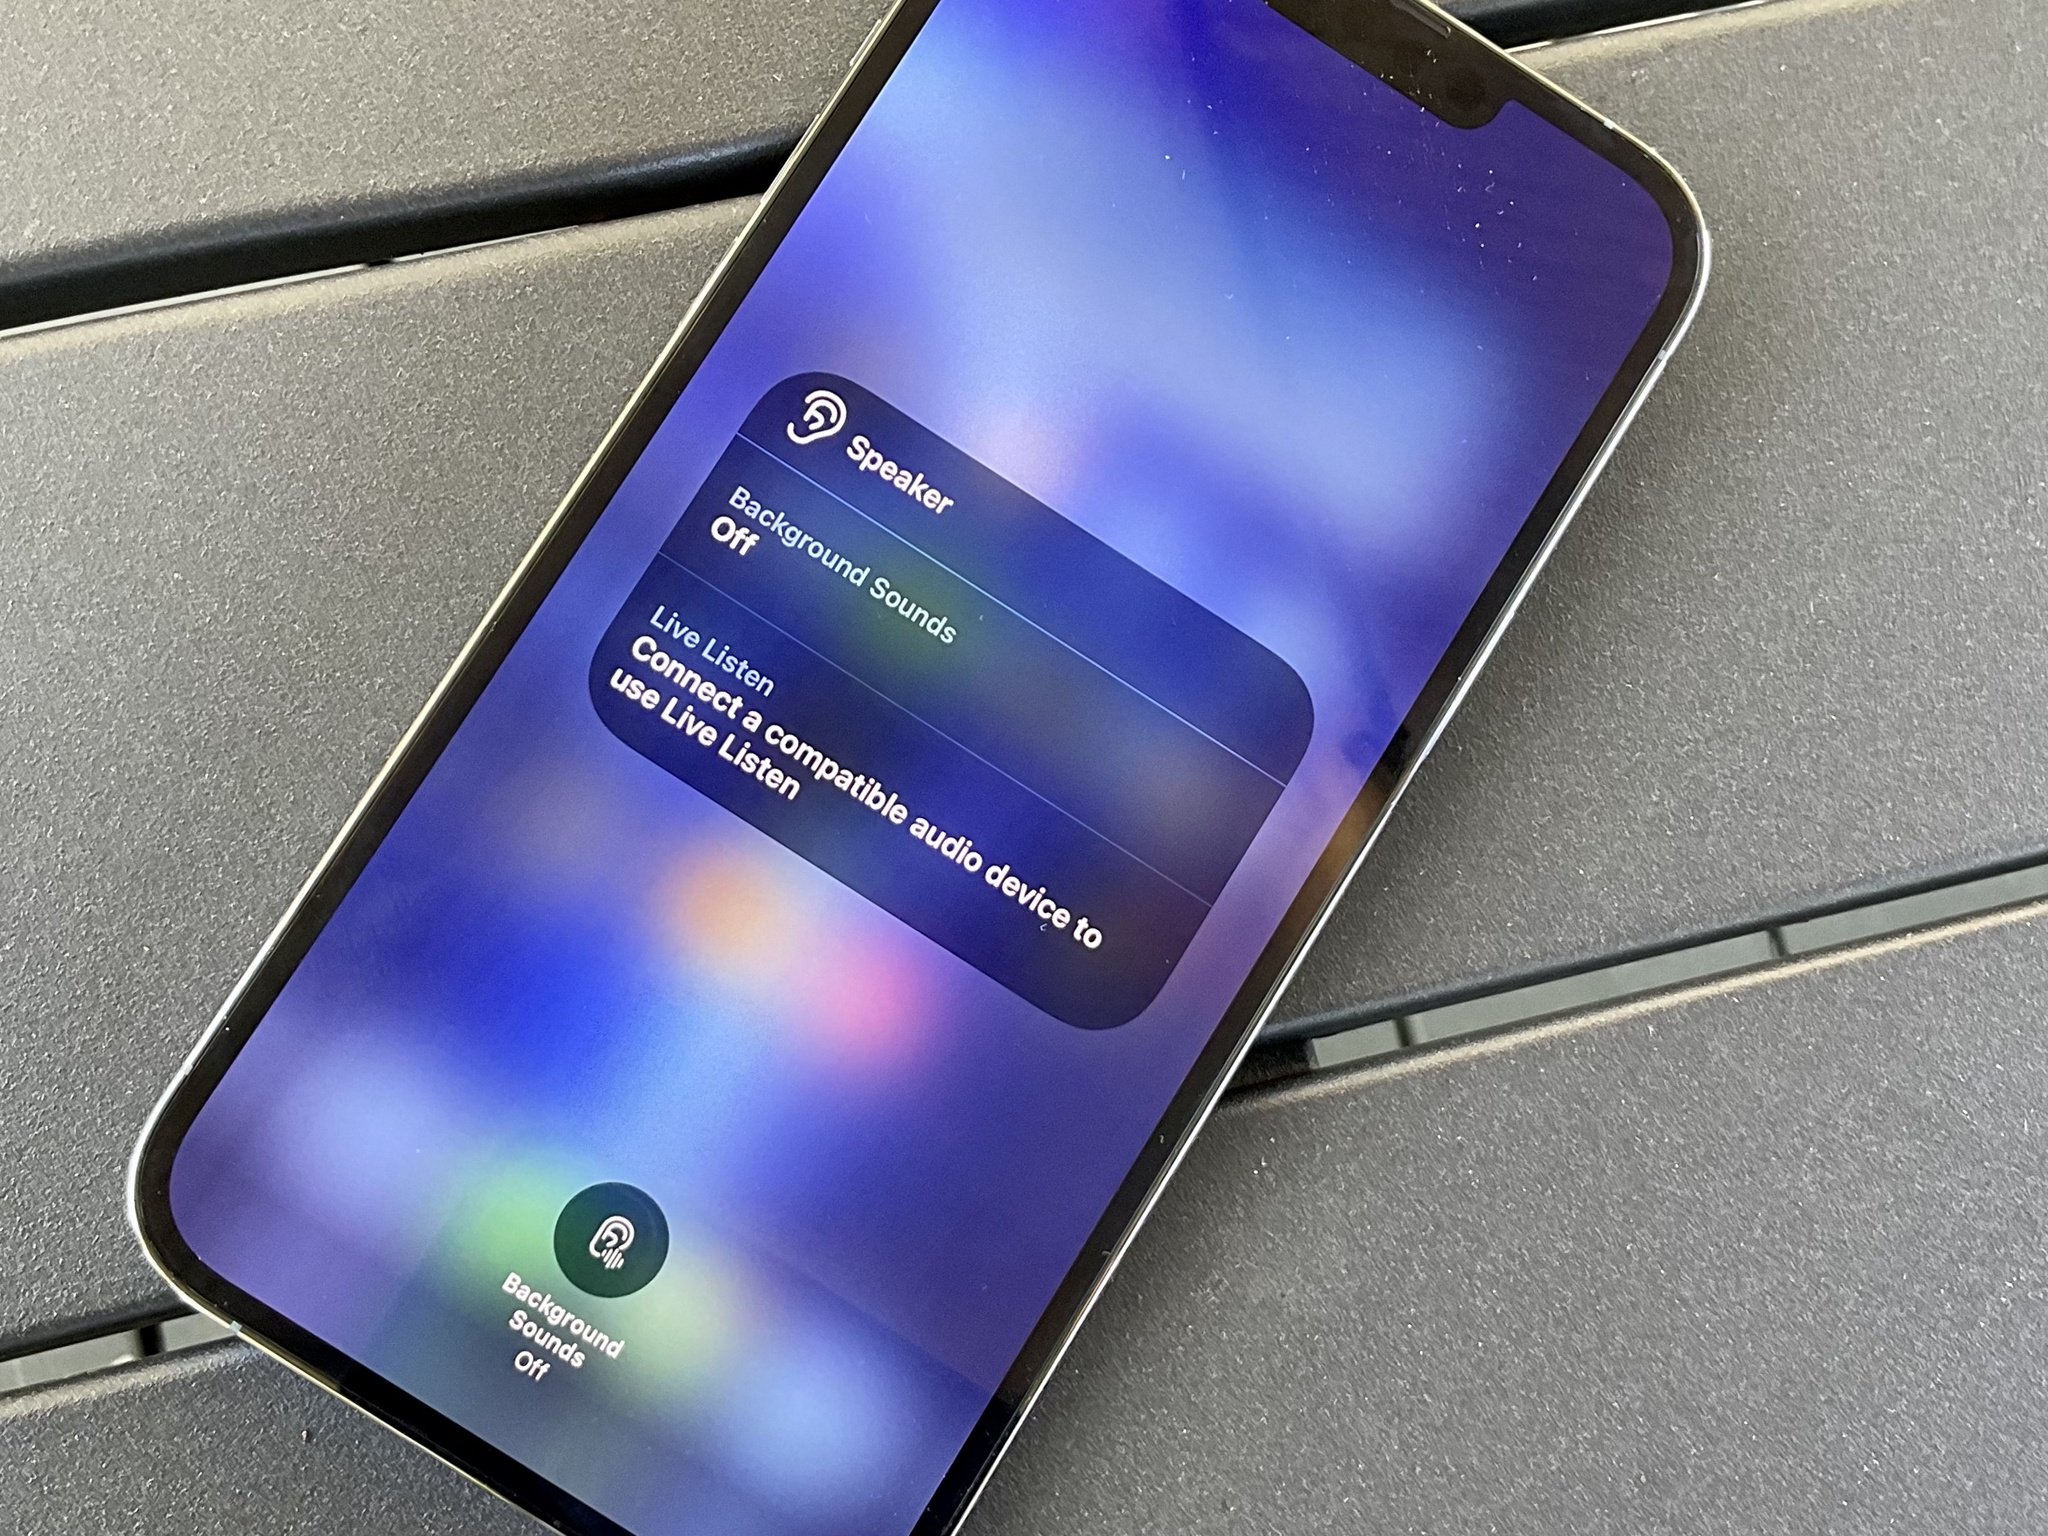
Hearing aid support is an accessibility feature that allows the iPhone and iPad to connect with and manage compatible hearing aids. You can connect to most Bluetooth-enabled hearing aids as well as special Made of iPhone (and iPad) hearing aids that use a special version of Bluetooth to provide greater power efficiency and higher quality digital audio. Made for iPhone (and iPad) hearing aids can also be placed into Live Listen mode where anyone with a hearing impairment can use the iPhone's mic to help pick up conversation and sound.
How to lock attention to a specific app with Guided Access for iPhone and iPad
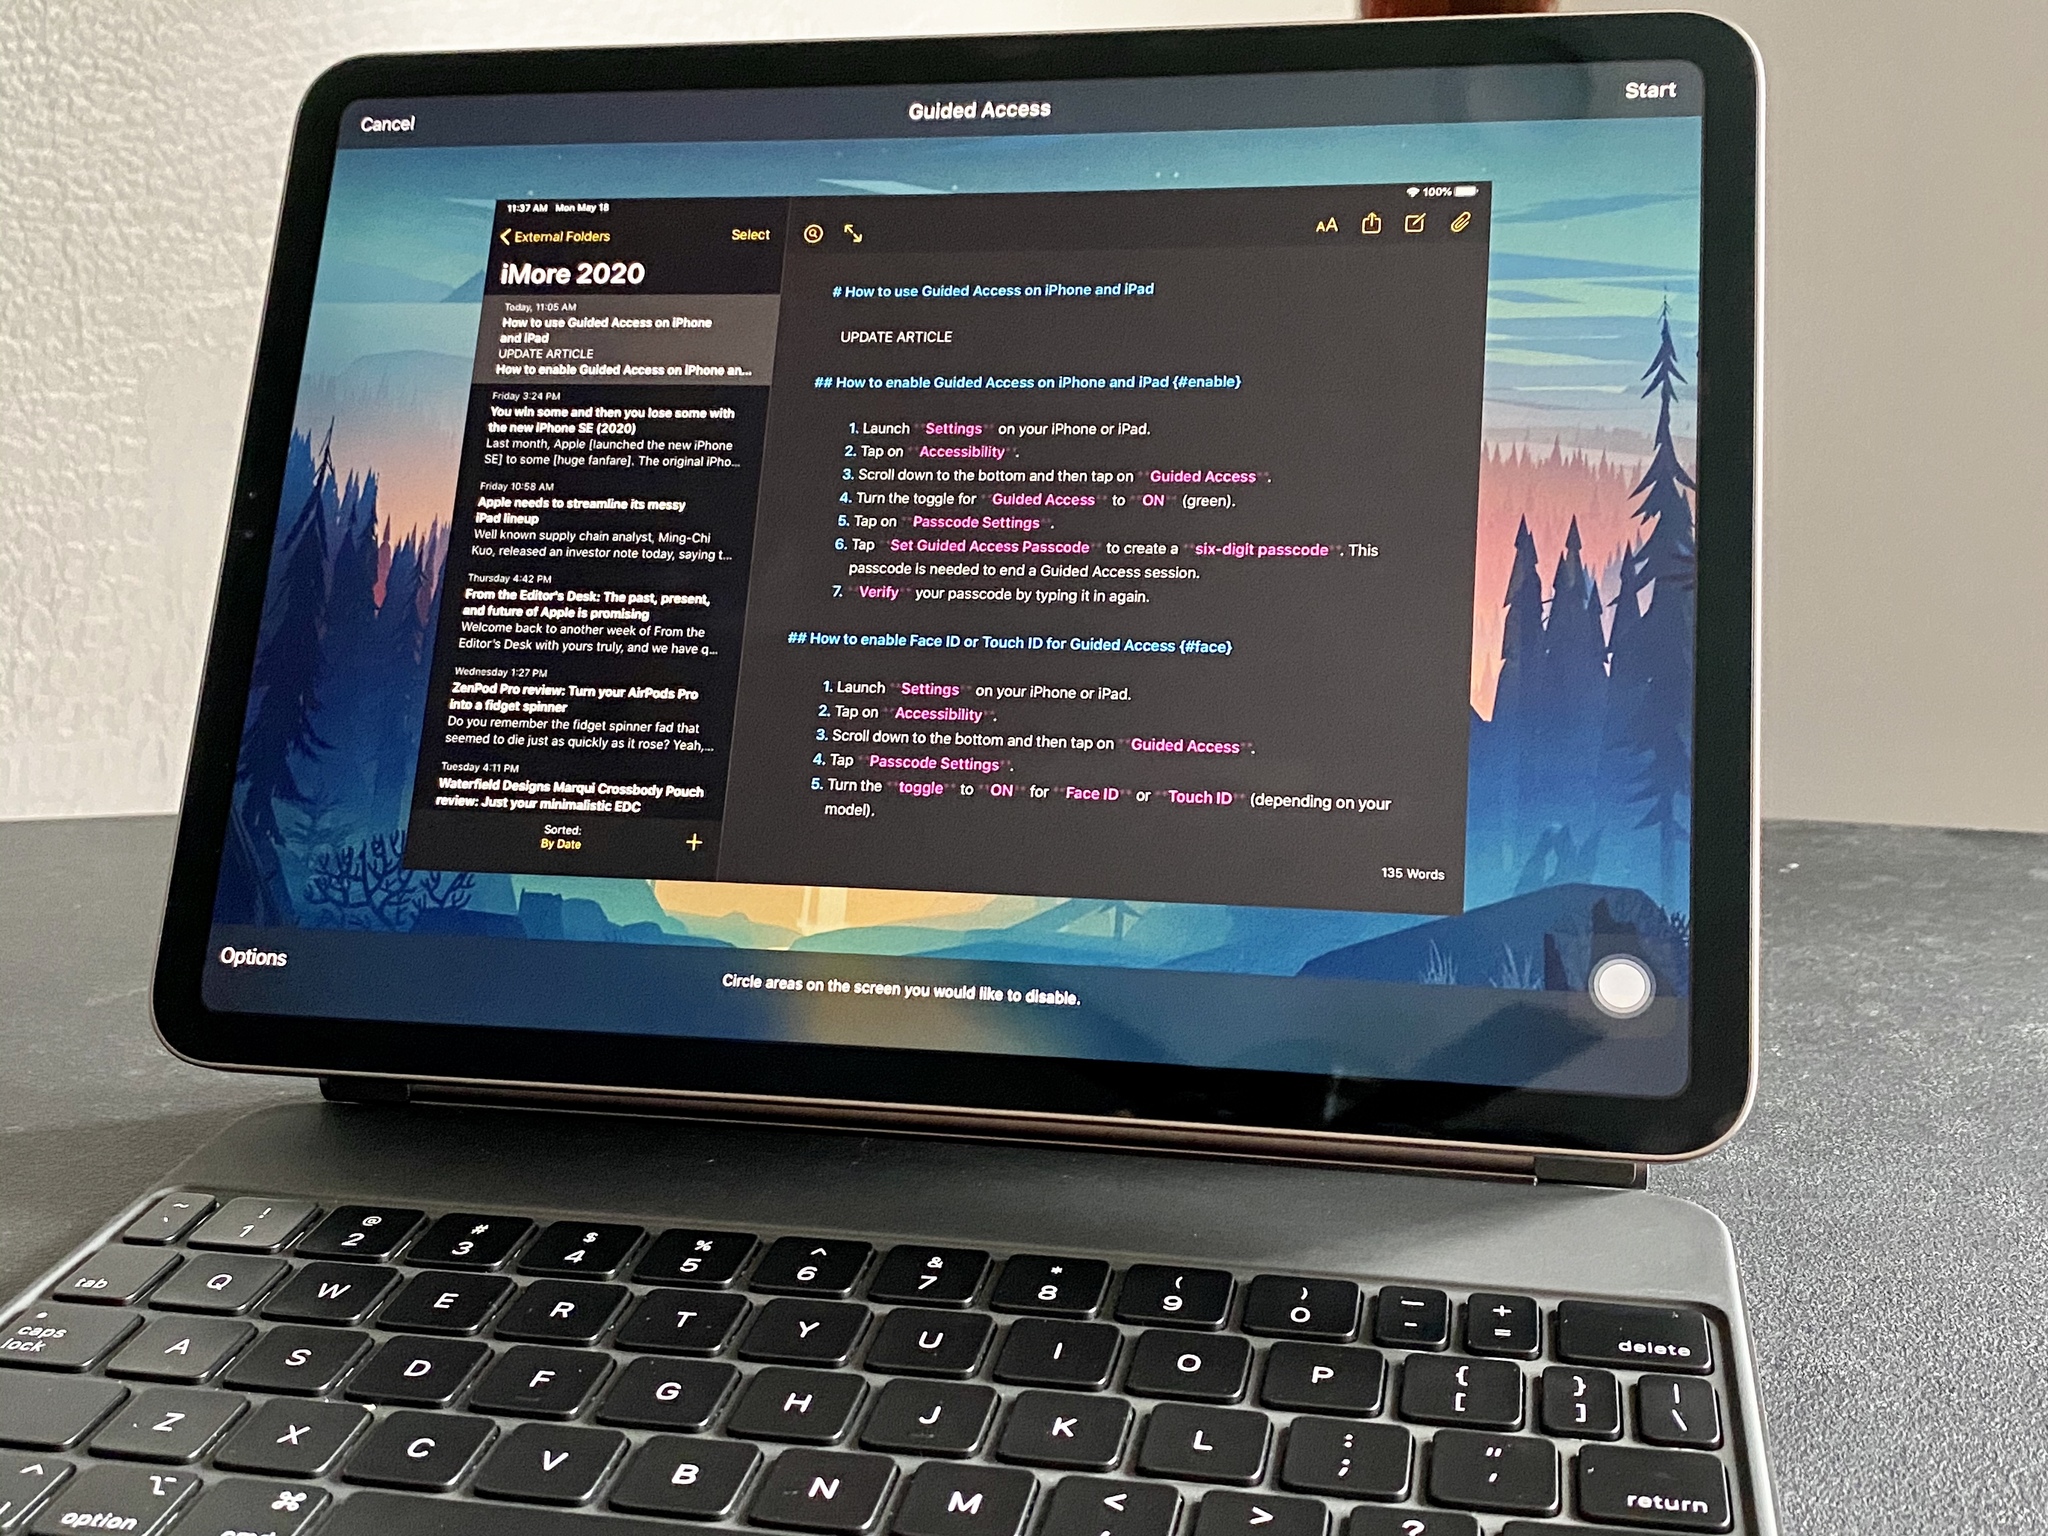
Guided Access lets you lock the iPhone or iPad to a single app. For as long as guided access is enabled, only that one specific app can be used, and there's no way to exit it for the Home screen or any other app. Guided Access can be extremely useful in education settings, to help kids focus on learning math, language, and other skills, and for working with people on the autistic spectrum. Whether it's a writing app, drawing app, music app, math app; or a story, video, or reading app, guided access helps make sure that all attention remains on that app.
Guided access can also be used by kiosks, restaurants, stores, and other businesses to create a dedicated information or transaction device, and it can even be used to create a "guest mode" so you can hand your device to someone and let them use Safari, iBooks, Video, or a game without having to worry about them snooping through your personal information.
How to enable AssistiveTouch on iPhone or iPad
AssistiveTouch is an accessibility feature that makes the iPhone and iPad easier to use for anyone with motor control, coordination, or other forms of physical impairment. With AssistiveTouch a special on-screen menu lets you easily tap or perform other gestures instead of potentially more difficult or complex manipulations like pressing the hardware Home button, pressing multiple buttons at the same time, or performing other gestures that are uncomfortable or impossible. The iPhone and iPad can even interface with third-party assistive devices to make sure that, even if they're wheelchair mounted, they remain as accessible and functional as possible for as many people as possible.
How to enable Switch Control on iPhone and iPad
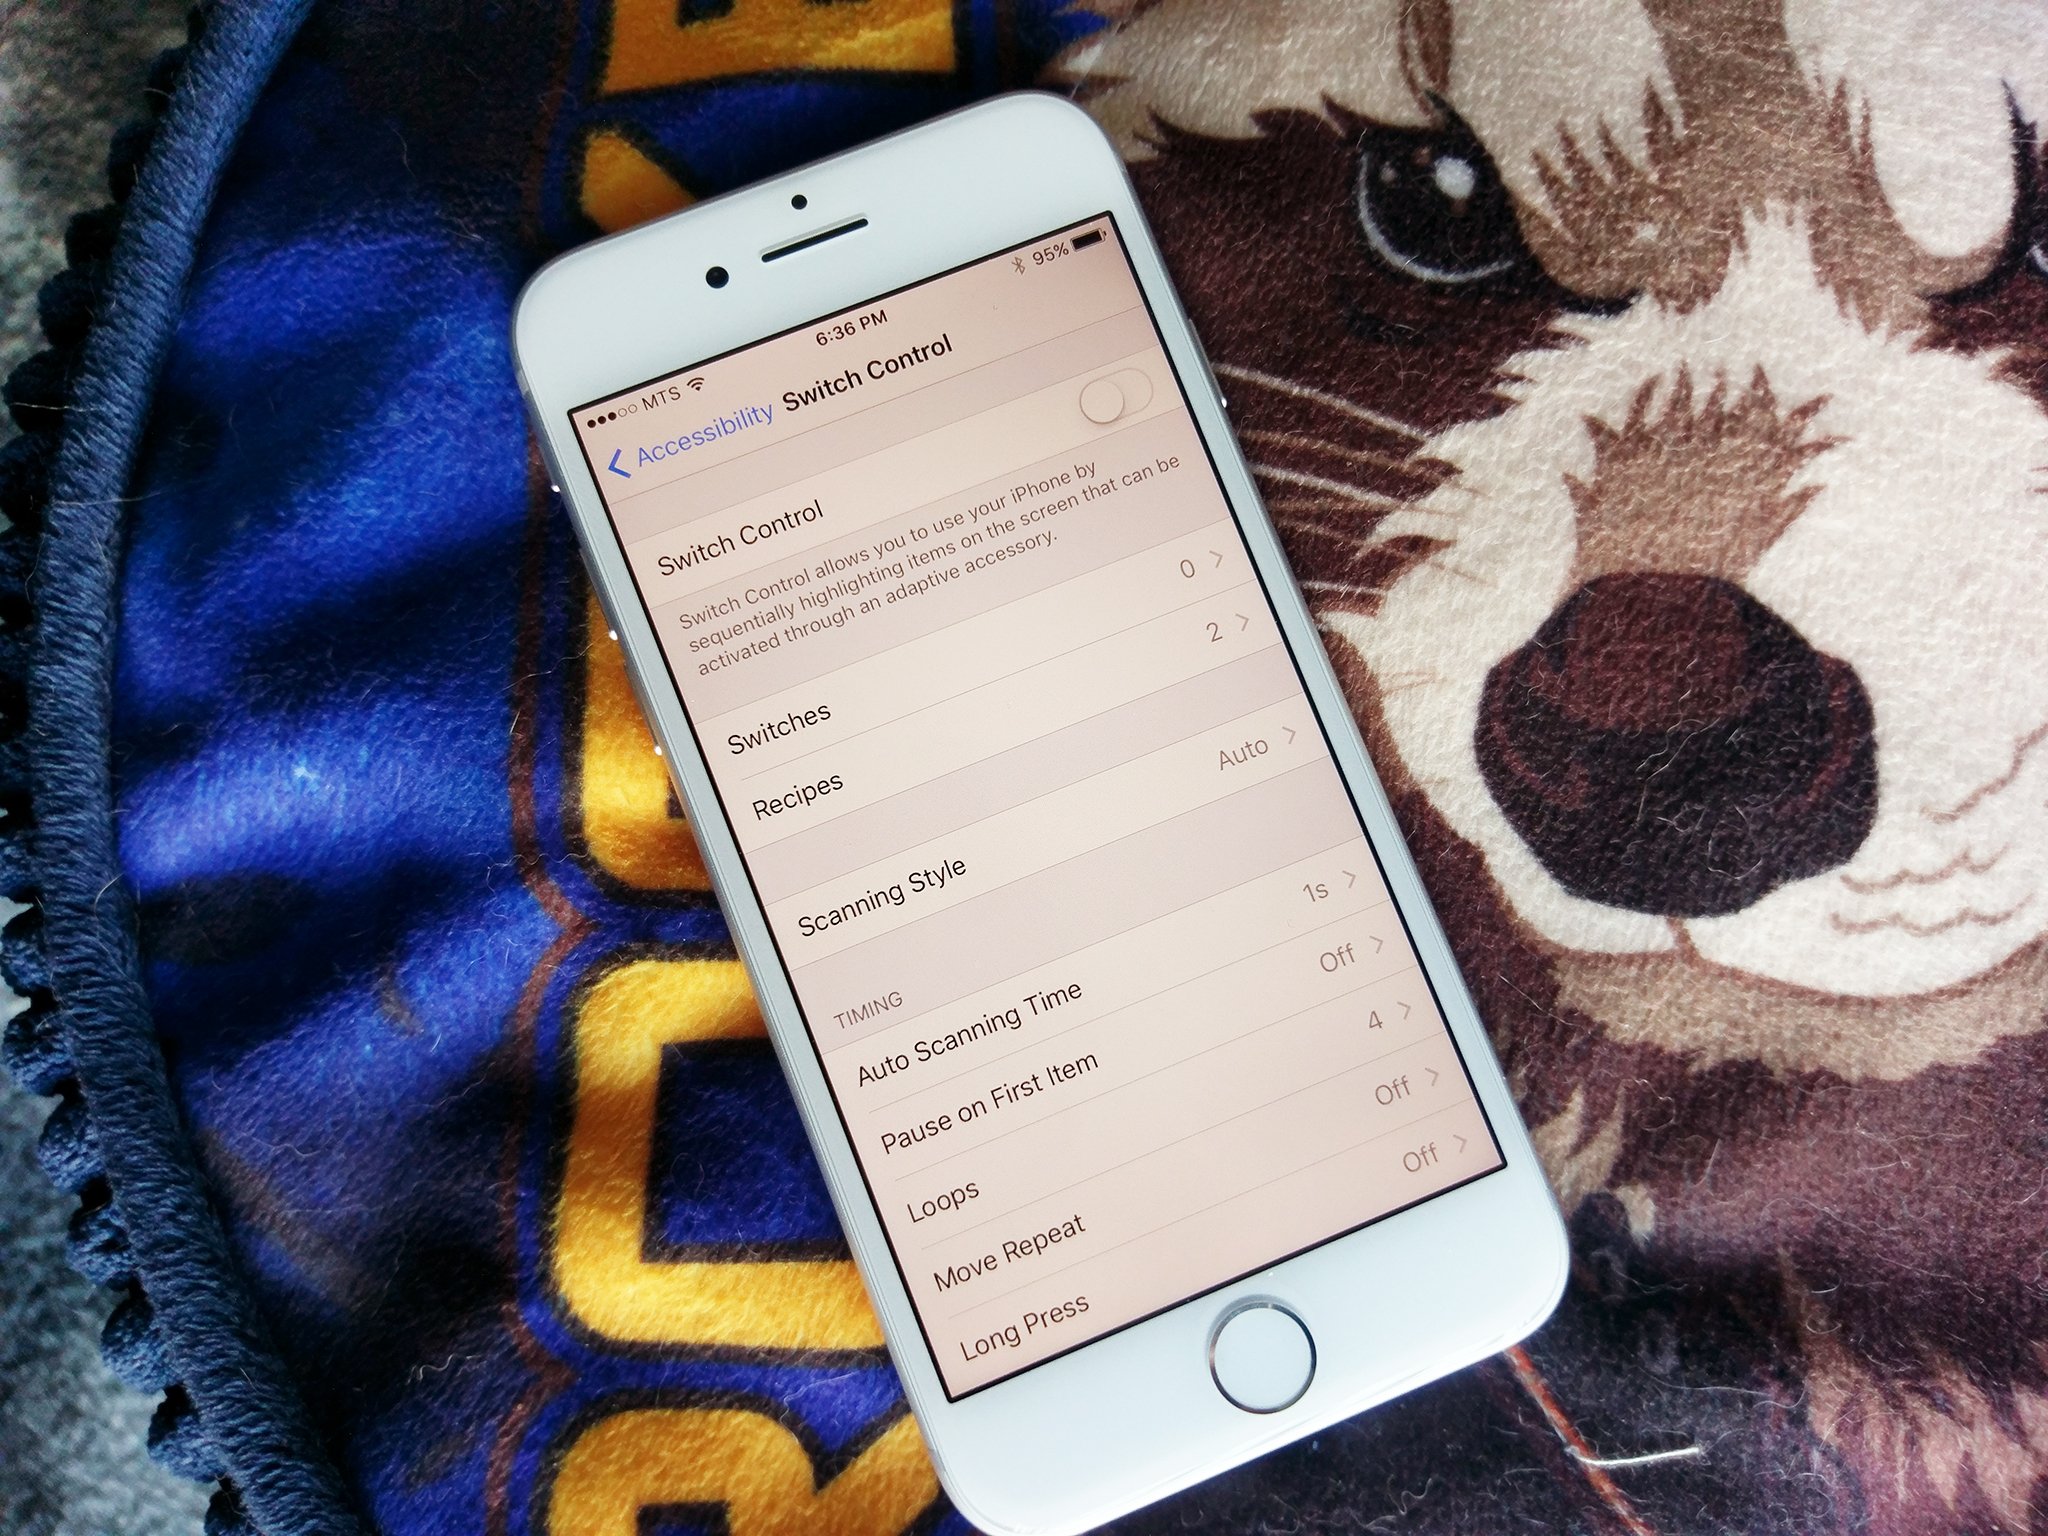
Switch Control is designed to make the iPhone and iPad easier to use for anyone with a physical and/or motor skills impairment. With Switch Control, you can scan between items, use crosshairs to pick specific points, or manually select items using multiple switches, and then use an external adaptive switch, your iPhone or iPad screen itself, or even the front FaceTime camera to trigger the switch. Both hardware buttons and software interface elements can be selected and triggered with switches and a variety of options let you set them up just exactly the way you want or need them.
How to change the Home button and Face ID behavior on iPhone and iPad
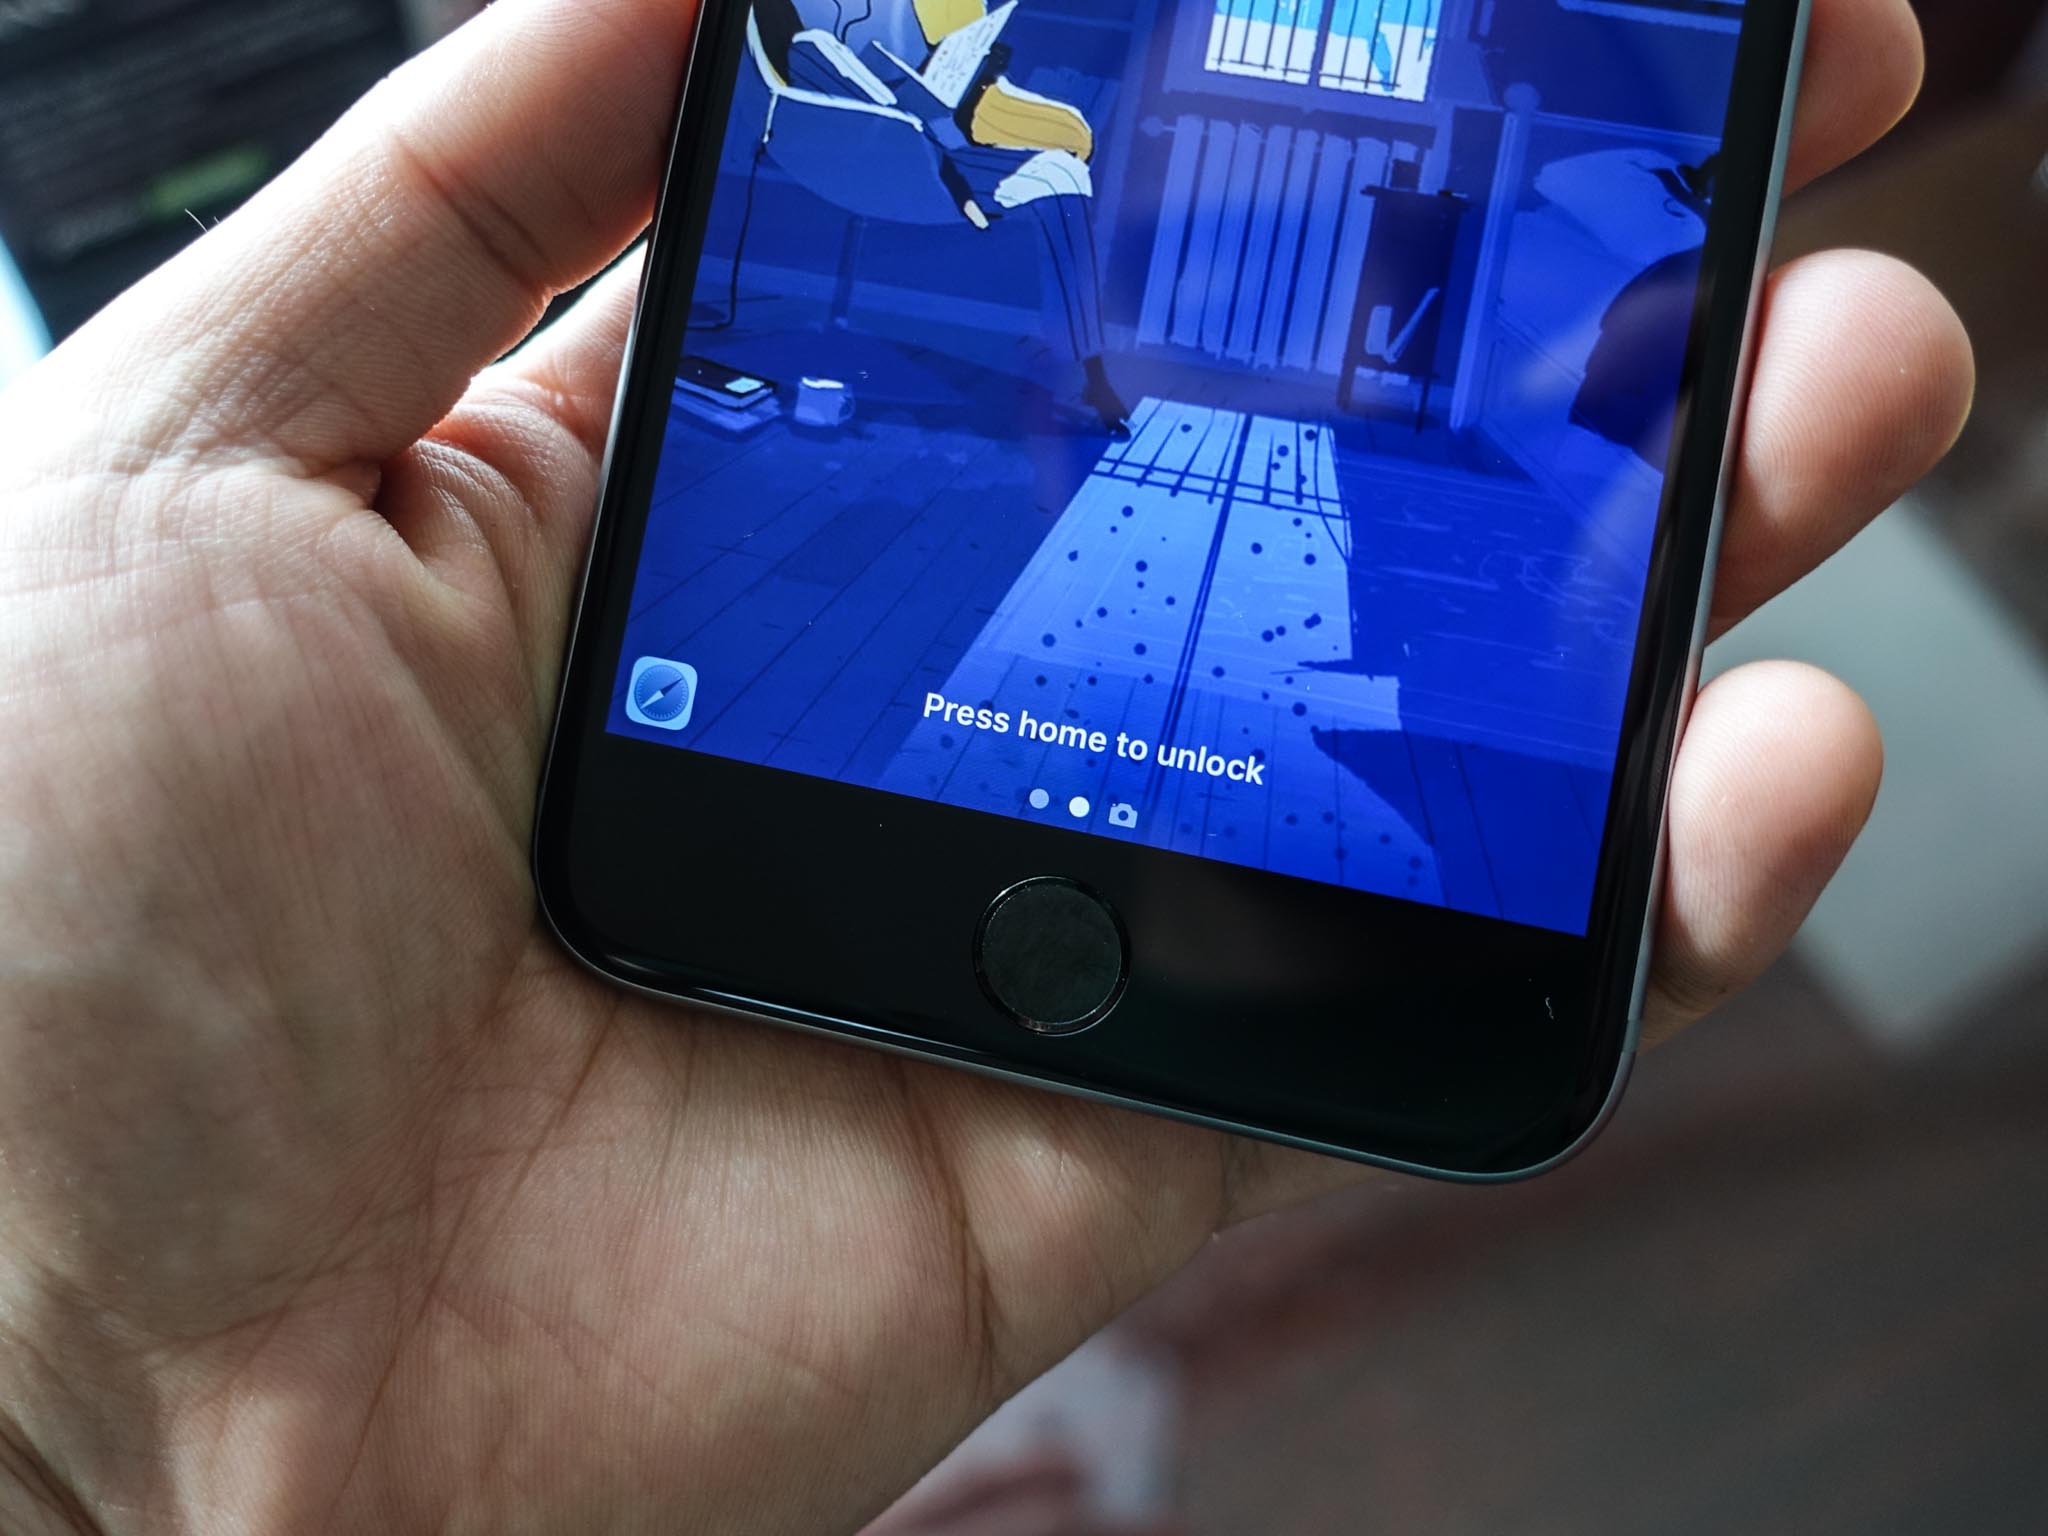
Changing how Face ID works on modern iPhone models like the iPhone 13, or the Home button behavior on iPhone SE and other classically-shaped iPhones, is a great accessibility feature for those with motor impairments. Home-click speed lets you increase the interval of time needed for your iPhone or iPad to recognize a double- or triple-click. Disabling Face ID Attention Awareness allows you to unlock your iPhone or iPad with Face ID if you're not able to look directly at it.
For the Home button, by default, if you want to enter multitasking app switcher or bring up the accessibility shortcut you need to double or triple tap quickly, each click following in a very short period of time. Adjusting the speed lets you set a slow or even slower pace, so you have all the time you need to get the right amount of clicks in.
How to enable Reachability for one-handed use of your iPhone
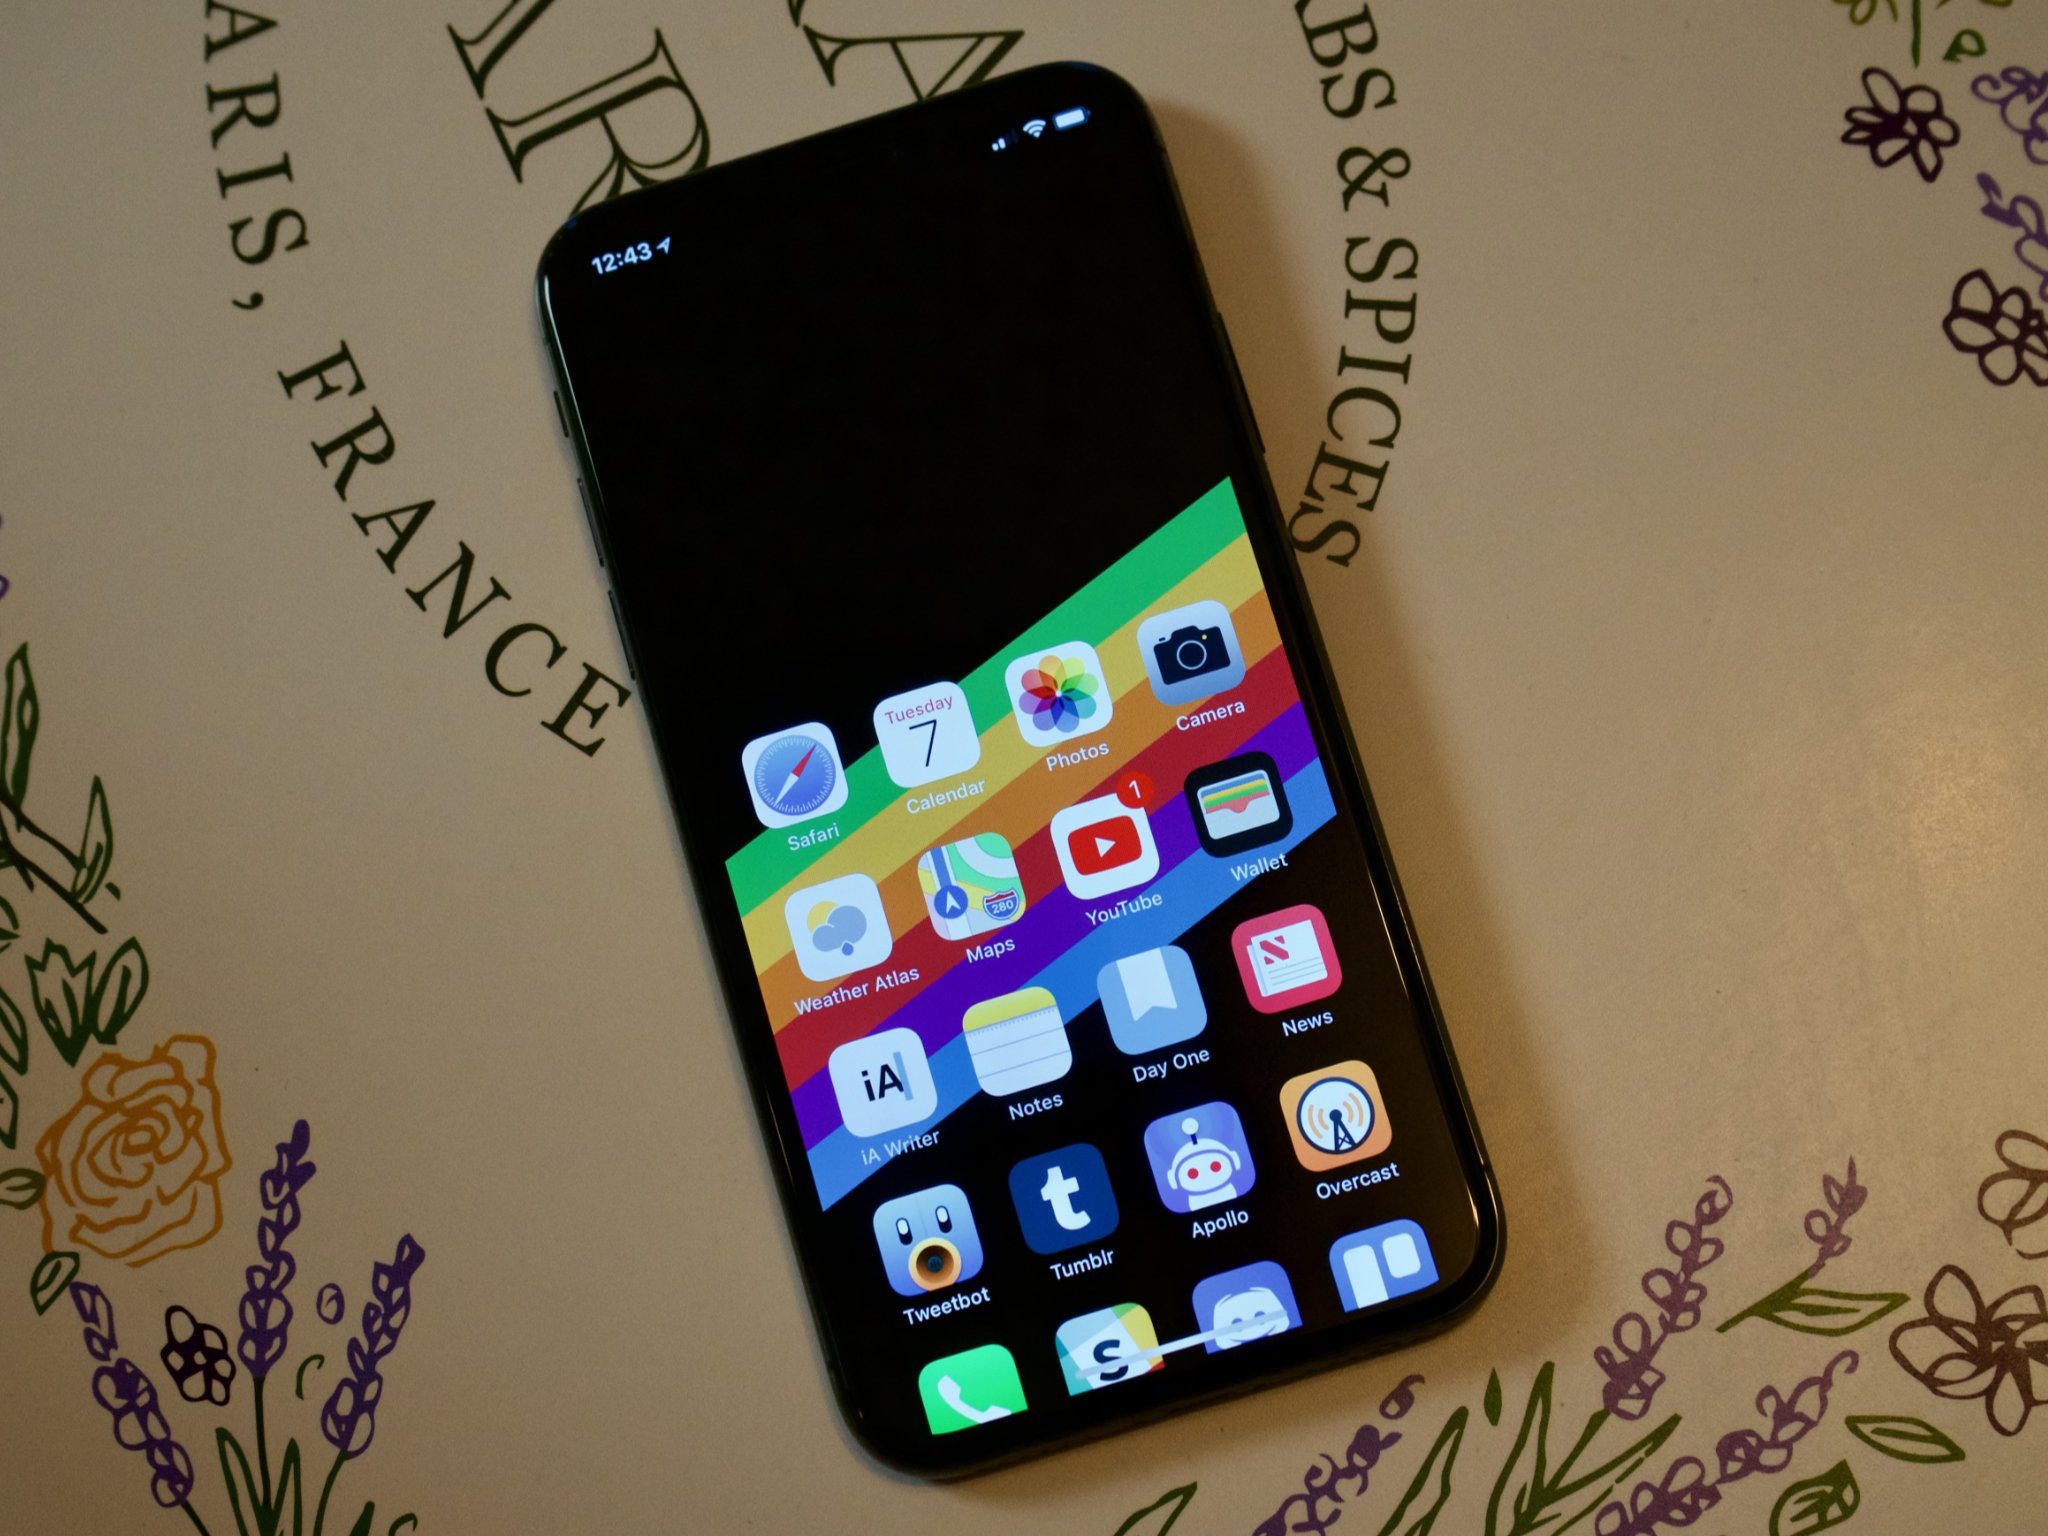
All models of iPhone have a large screen size these days. That's great for watching movies and playing immersive games, not so great for reaching to the top of the screen with the same hand you're holding the iPhone with. With Reachability, you can access buttons and icons at the top of the screen without having to use two hands.
How to set the triple-click Home or Side button shortcut on iPhone and iPad
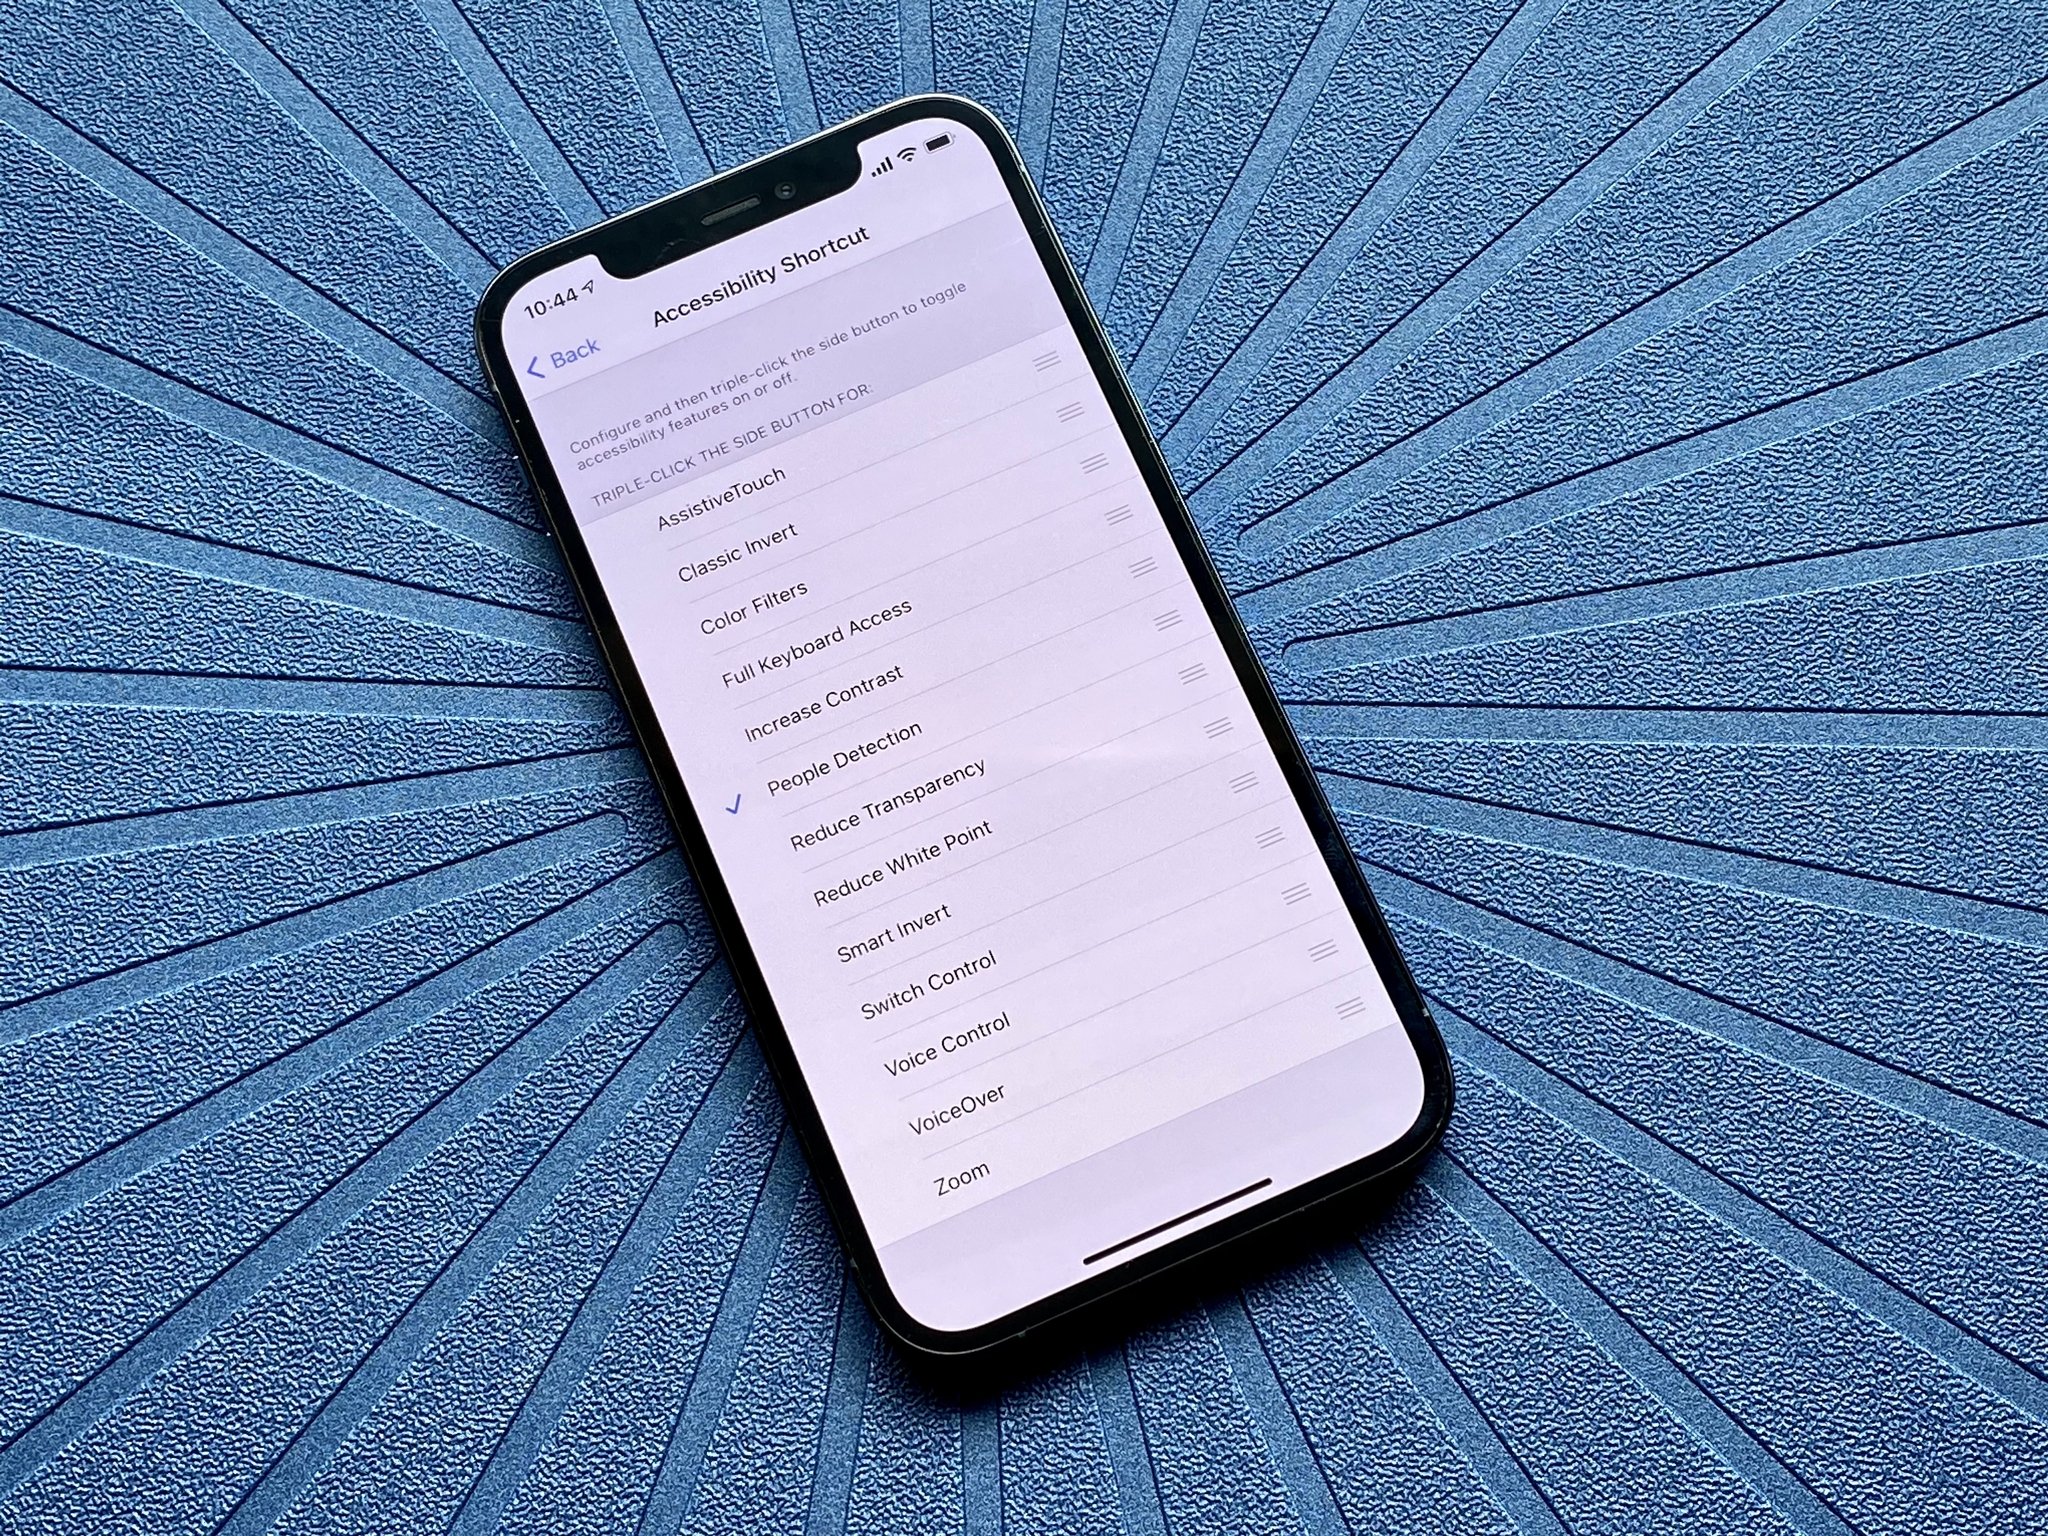
The triple-click accessibility shortcut lets you rapidly access one or more features without having to dive into Settings each time. With the shortcut, a quick triple-click of the Home button on iPhone and iPad (or the Side button for Home button-less models) can trigger VoiceOver or Zoom, invert colors, enable AssistiveTouch, or can even bring up a menu so you can choose from several options.
If you don't want one or more accessibility features on all the time, but you use them often enough that you want to access them easily at any time, or different members of the family or group who share a device have different accessibility needs, the triple-click shortcut is for you.
A more inclusive iOS
As you can see, there are a lot of useful accessibility-related tools and settings that can help customize the iOS experience to your particular needs.
Ultimately, the best iPhone or iPad experience is going to depend on what you can get out of the devices you are using each day. While you likely won't need all of the features above, you'll be glad that the few you may need are ready and waiting to be used.
Updated March 2022: Updated for iOS 15 and iPadOS 15.

Rene Ritchie is one of the most respected Apple analysts in the business, reaching a combined audience of over 40 million readers a month. His YouTube channel, Vector, has over 90 thousand subscribers and 14 million views and his podcasts, including Debug, have been downloaded over 20 million times. He also regularly co-hosts MacBreak Weekly for the TWiT network and co-hosted CES Live! and Talk Mobile. Based in Montreal, Rene is a former director of product marketing, web developer, and graphic designer. He's authored several books and appeared on numerous television and radio segments to discuss Apple and the technology industry. When not working, he likes to cook, grapple, and spend time with his friends and family.
