Camera app: The ultimate guide
- How to quickly access the Camera app
- How to take photos, bursts, panoramas, and more
- How to take and share Live Photos
- How to lock focus, bias exposure, enable grid, and geo-locate your photos
- How to record video, slow-mo, and time-lapse with your iPhone
- How to use the Telephoto lens
- How to shoot RAW and manual-mode photos
- How to quickly edit and share photos and videos from the Camera app
- How to use the Camera app on iPhone 11 and later
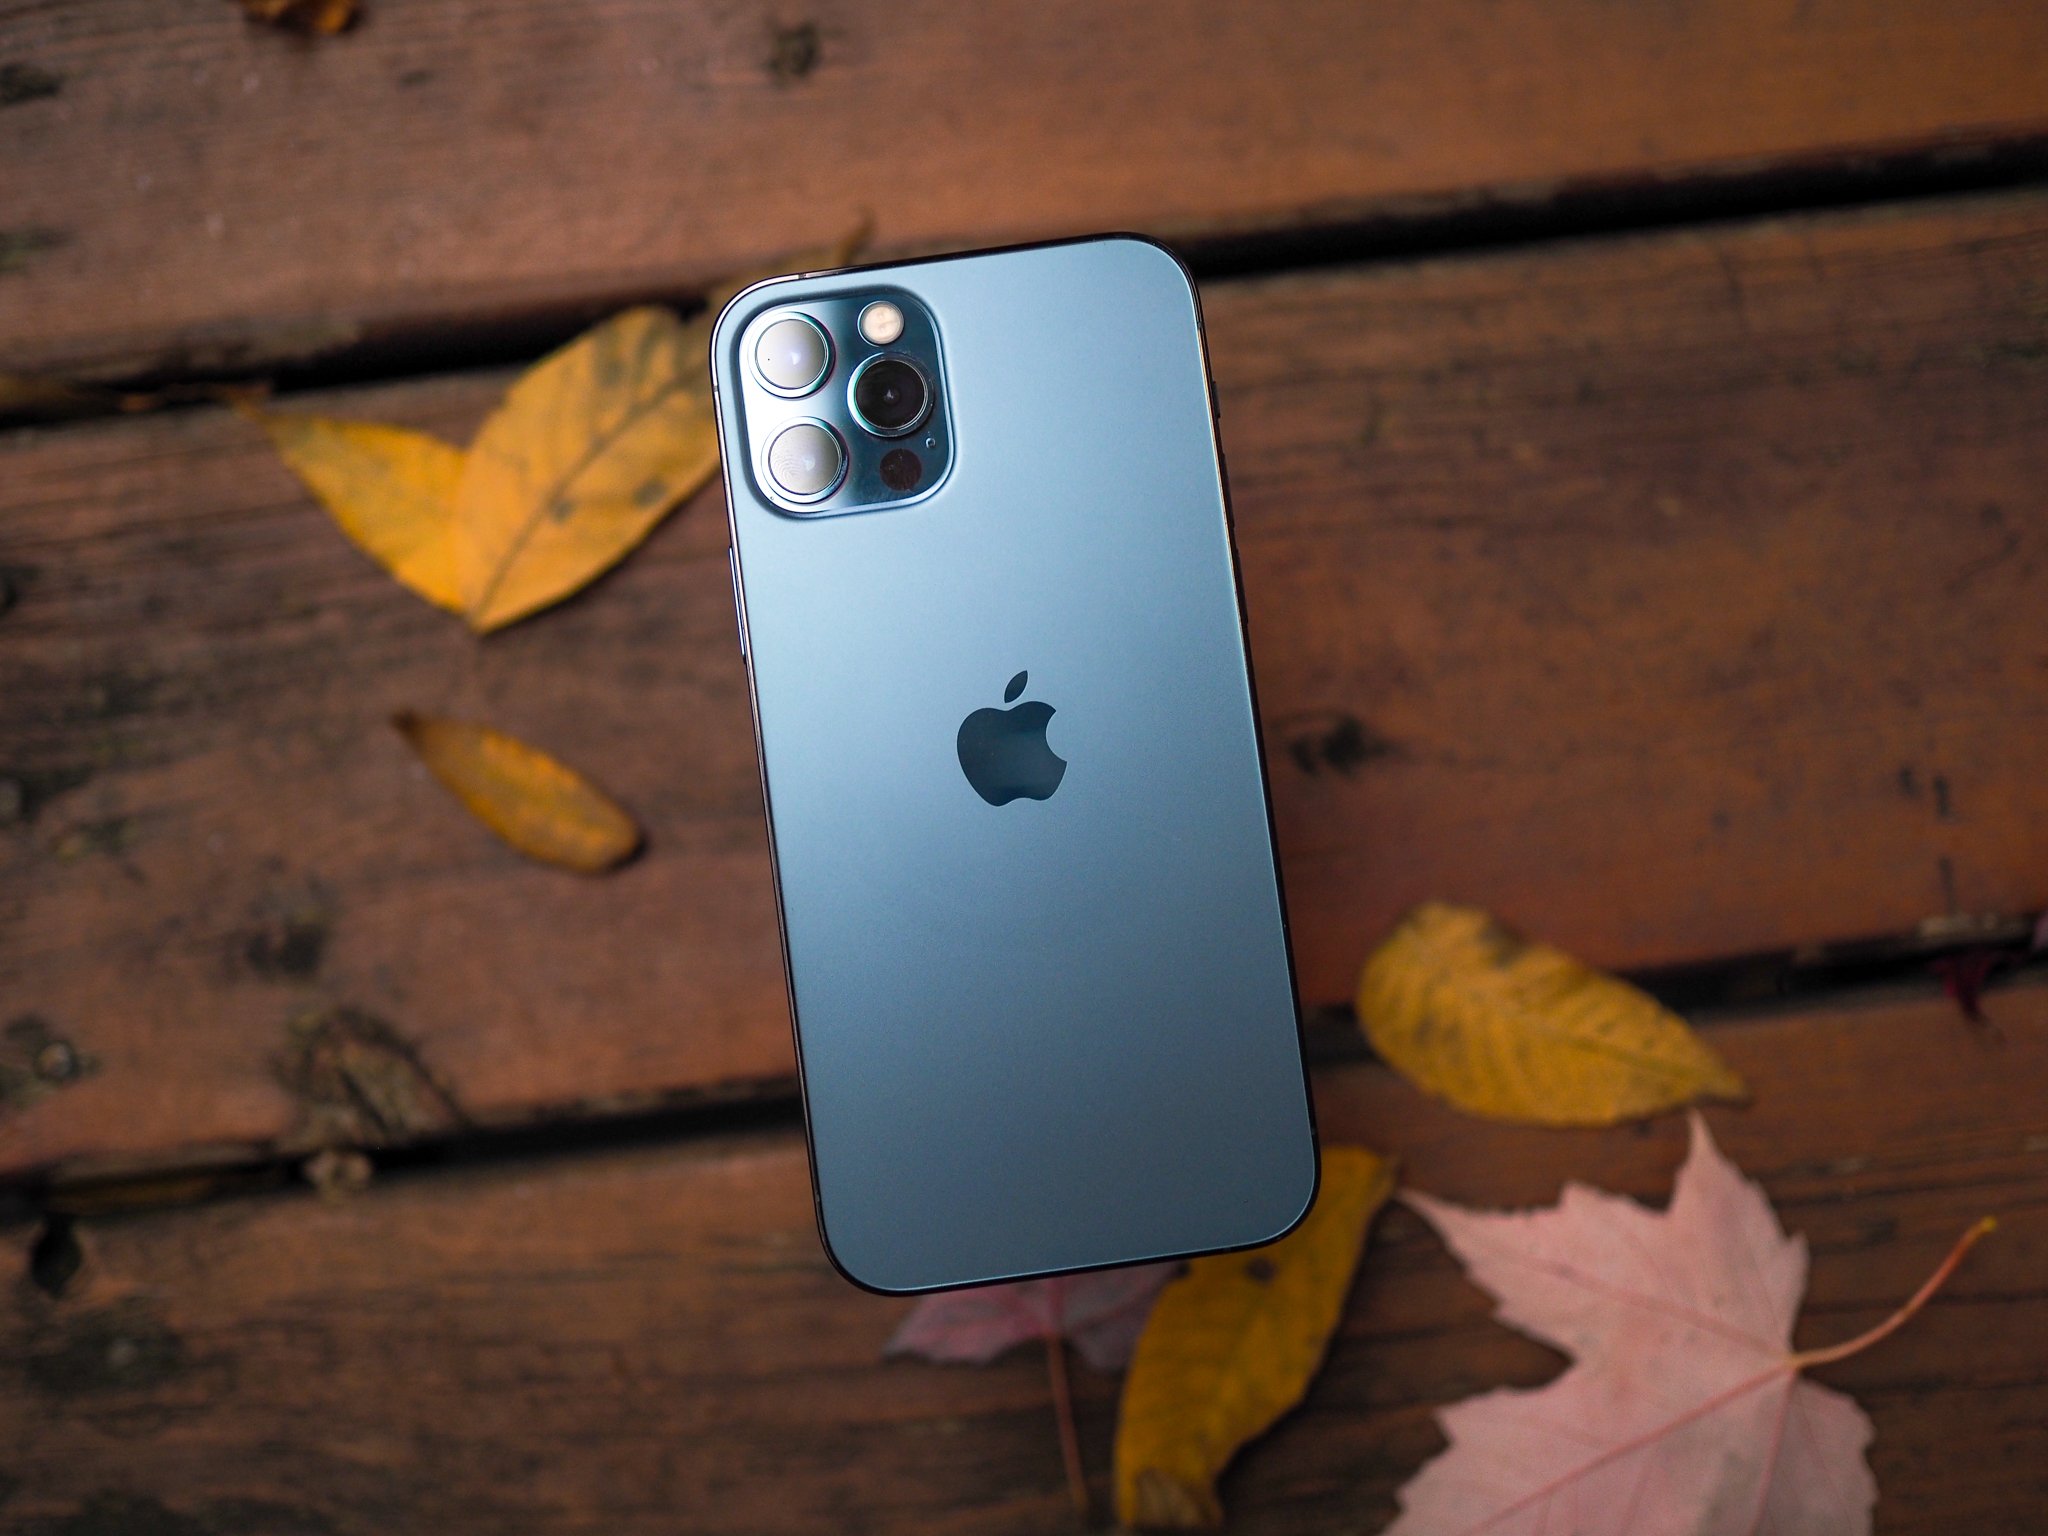
For a lot of us, our favorite iPhone or iPad is going to be the best digital camera that we have on hand. You know what they say: "the best camera is the one you have with you," after all. And when you have your iPhone in your hand, you are able to quickly capture selfies, portraits, panoramas, 4K digital video, high dynamic range (HDR), action shots with burst, and so much more.
The Camera app on your iPhone, and even the iPad, will help you capture all of life's whimsical moments, whether they're planned or completely spontaneous. Here is a full guide on how to use the Camera app on your iPhone to its full potential.
How to quickly access the Camera on iPhone and iPad
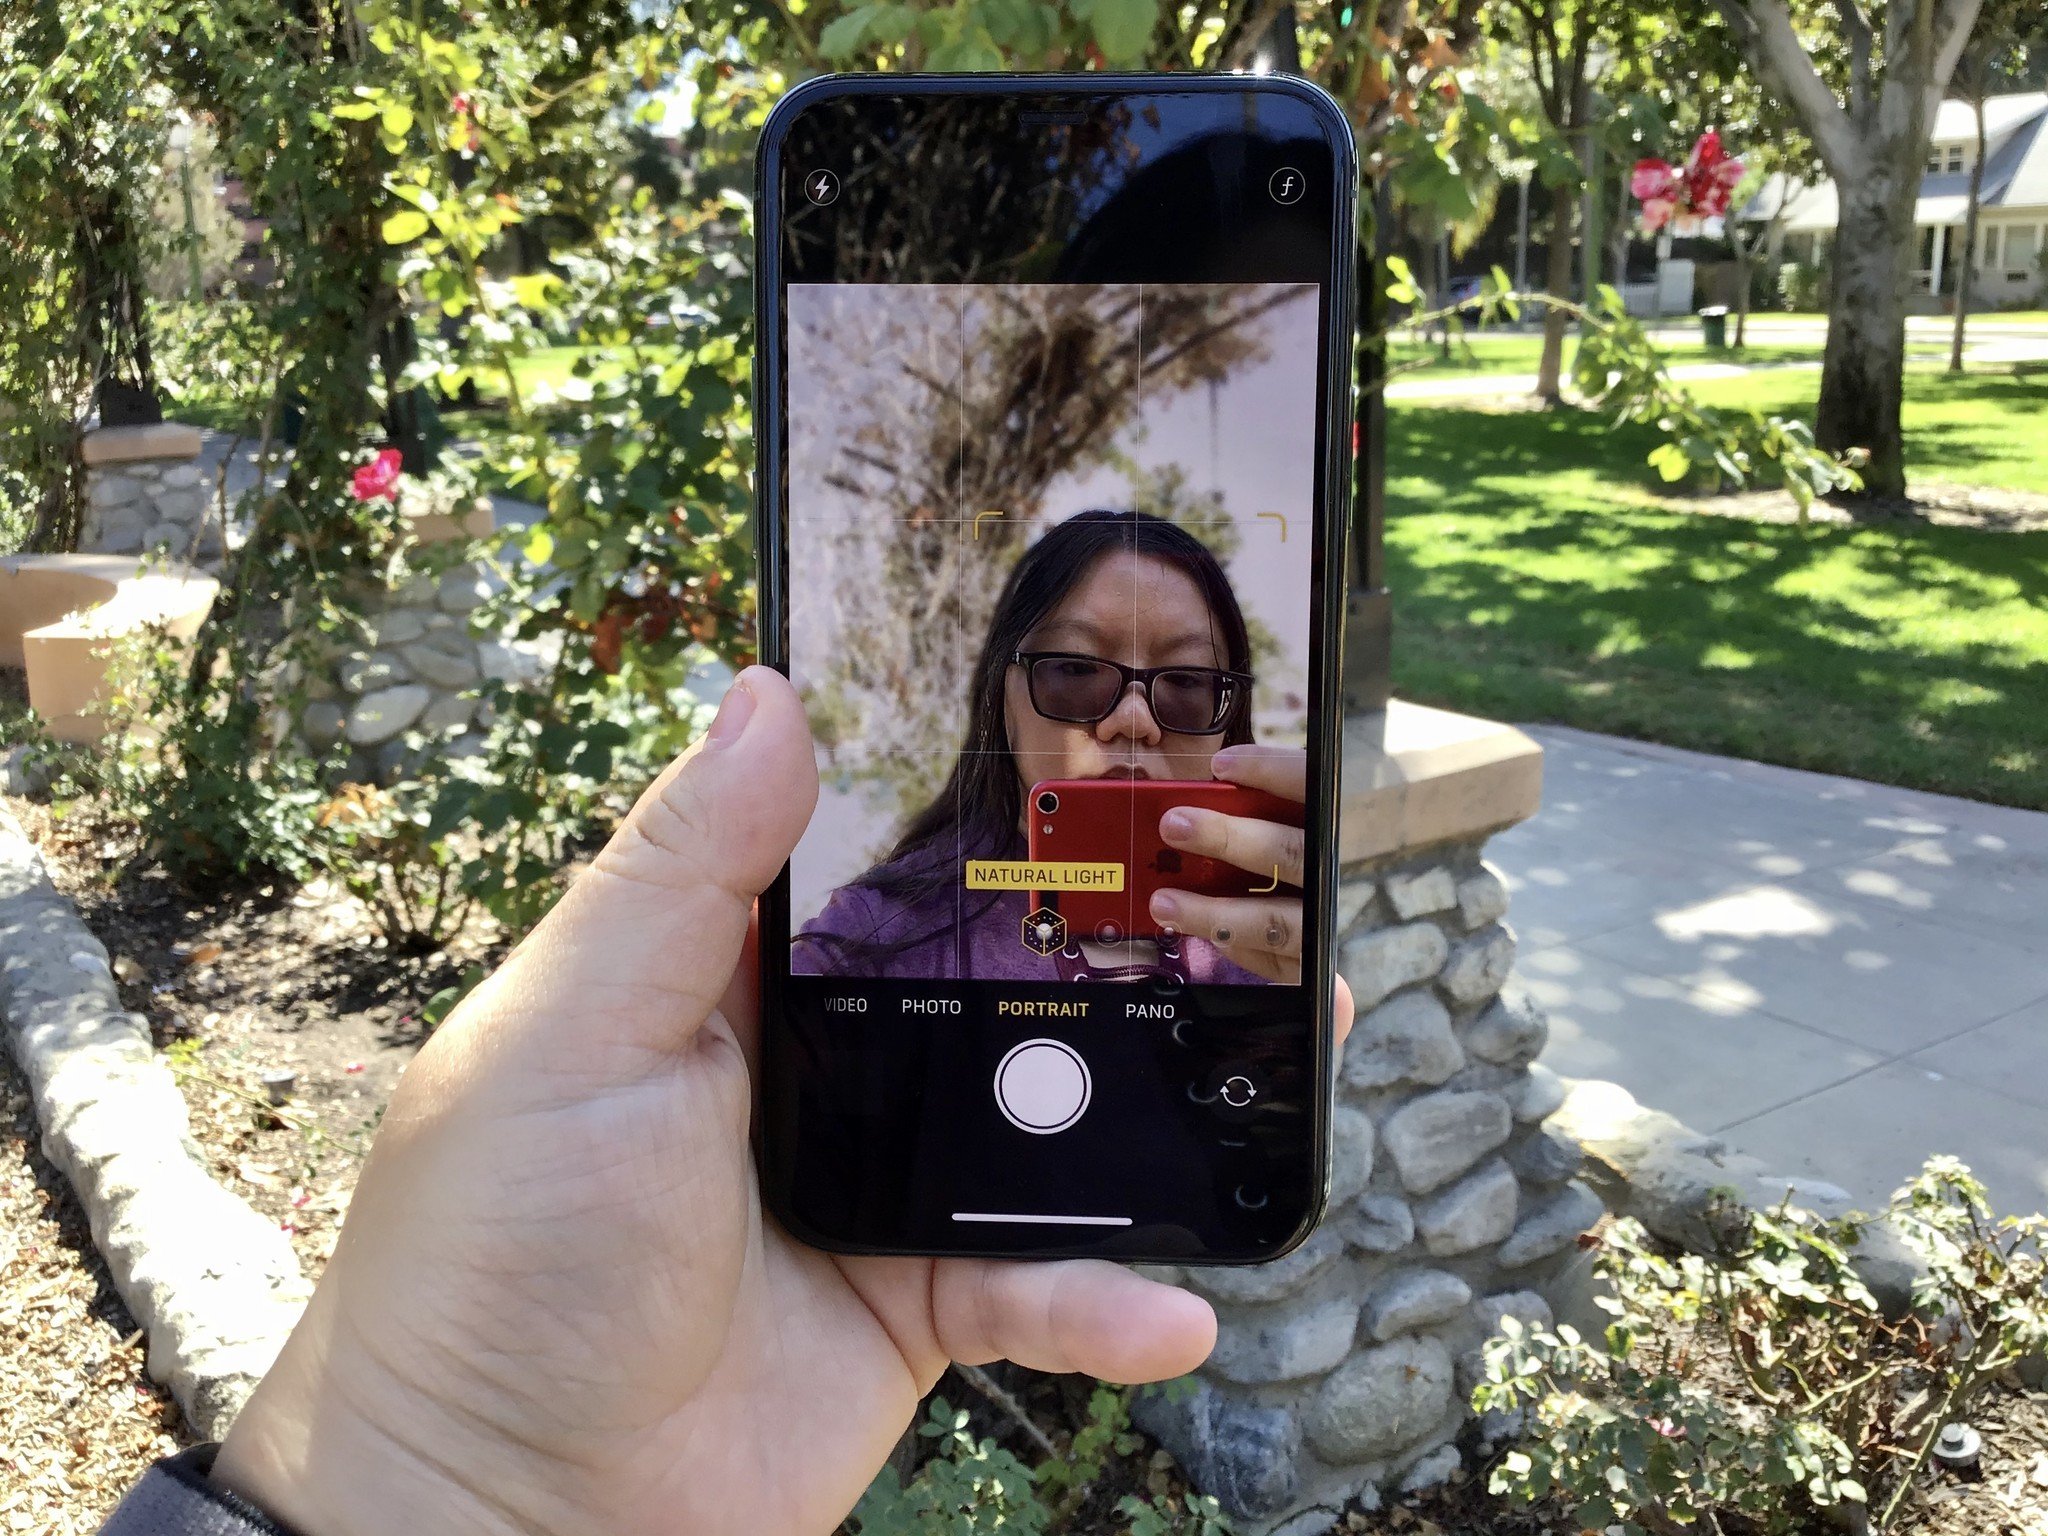
When you want to take a photo of the moment, you'll want to be fast to make sure that the particular scene doesn't escape you. Thankfully, when you use the native Camera app, getting to it can be done quickly and easily since there are a few different ways to do so.
The easiest way is to start the Camera app from the Lock Screen since there's a button right there for it. You can also use the Control Center Camera toggle, or even use Haptic Touch to get right to a selfie, video, Portrait mode, or Portrait selfie.
For those who enjoy using voice commands, you can even tell Siri to help you take a picture.
How to take photos, bursts, panoramas, and more
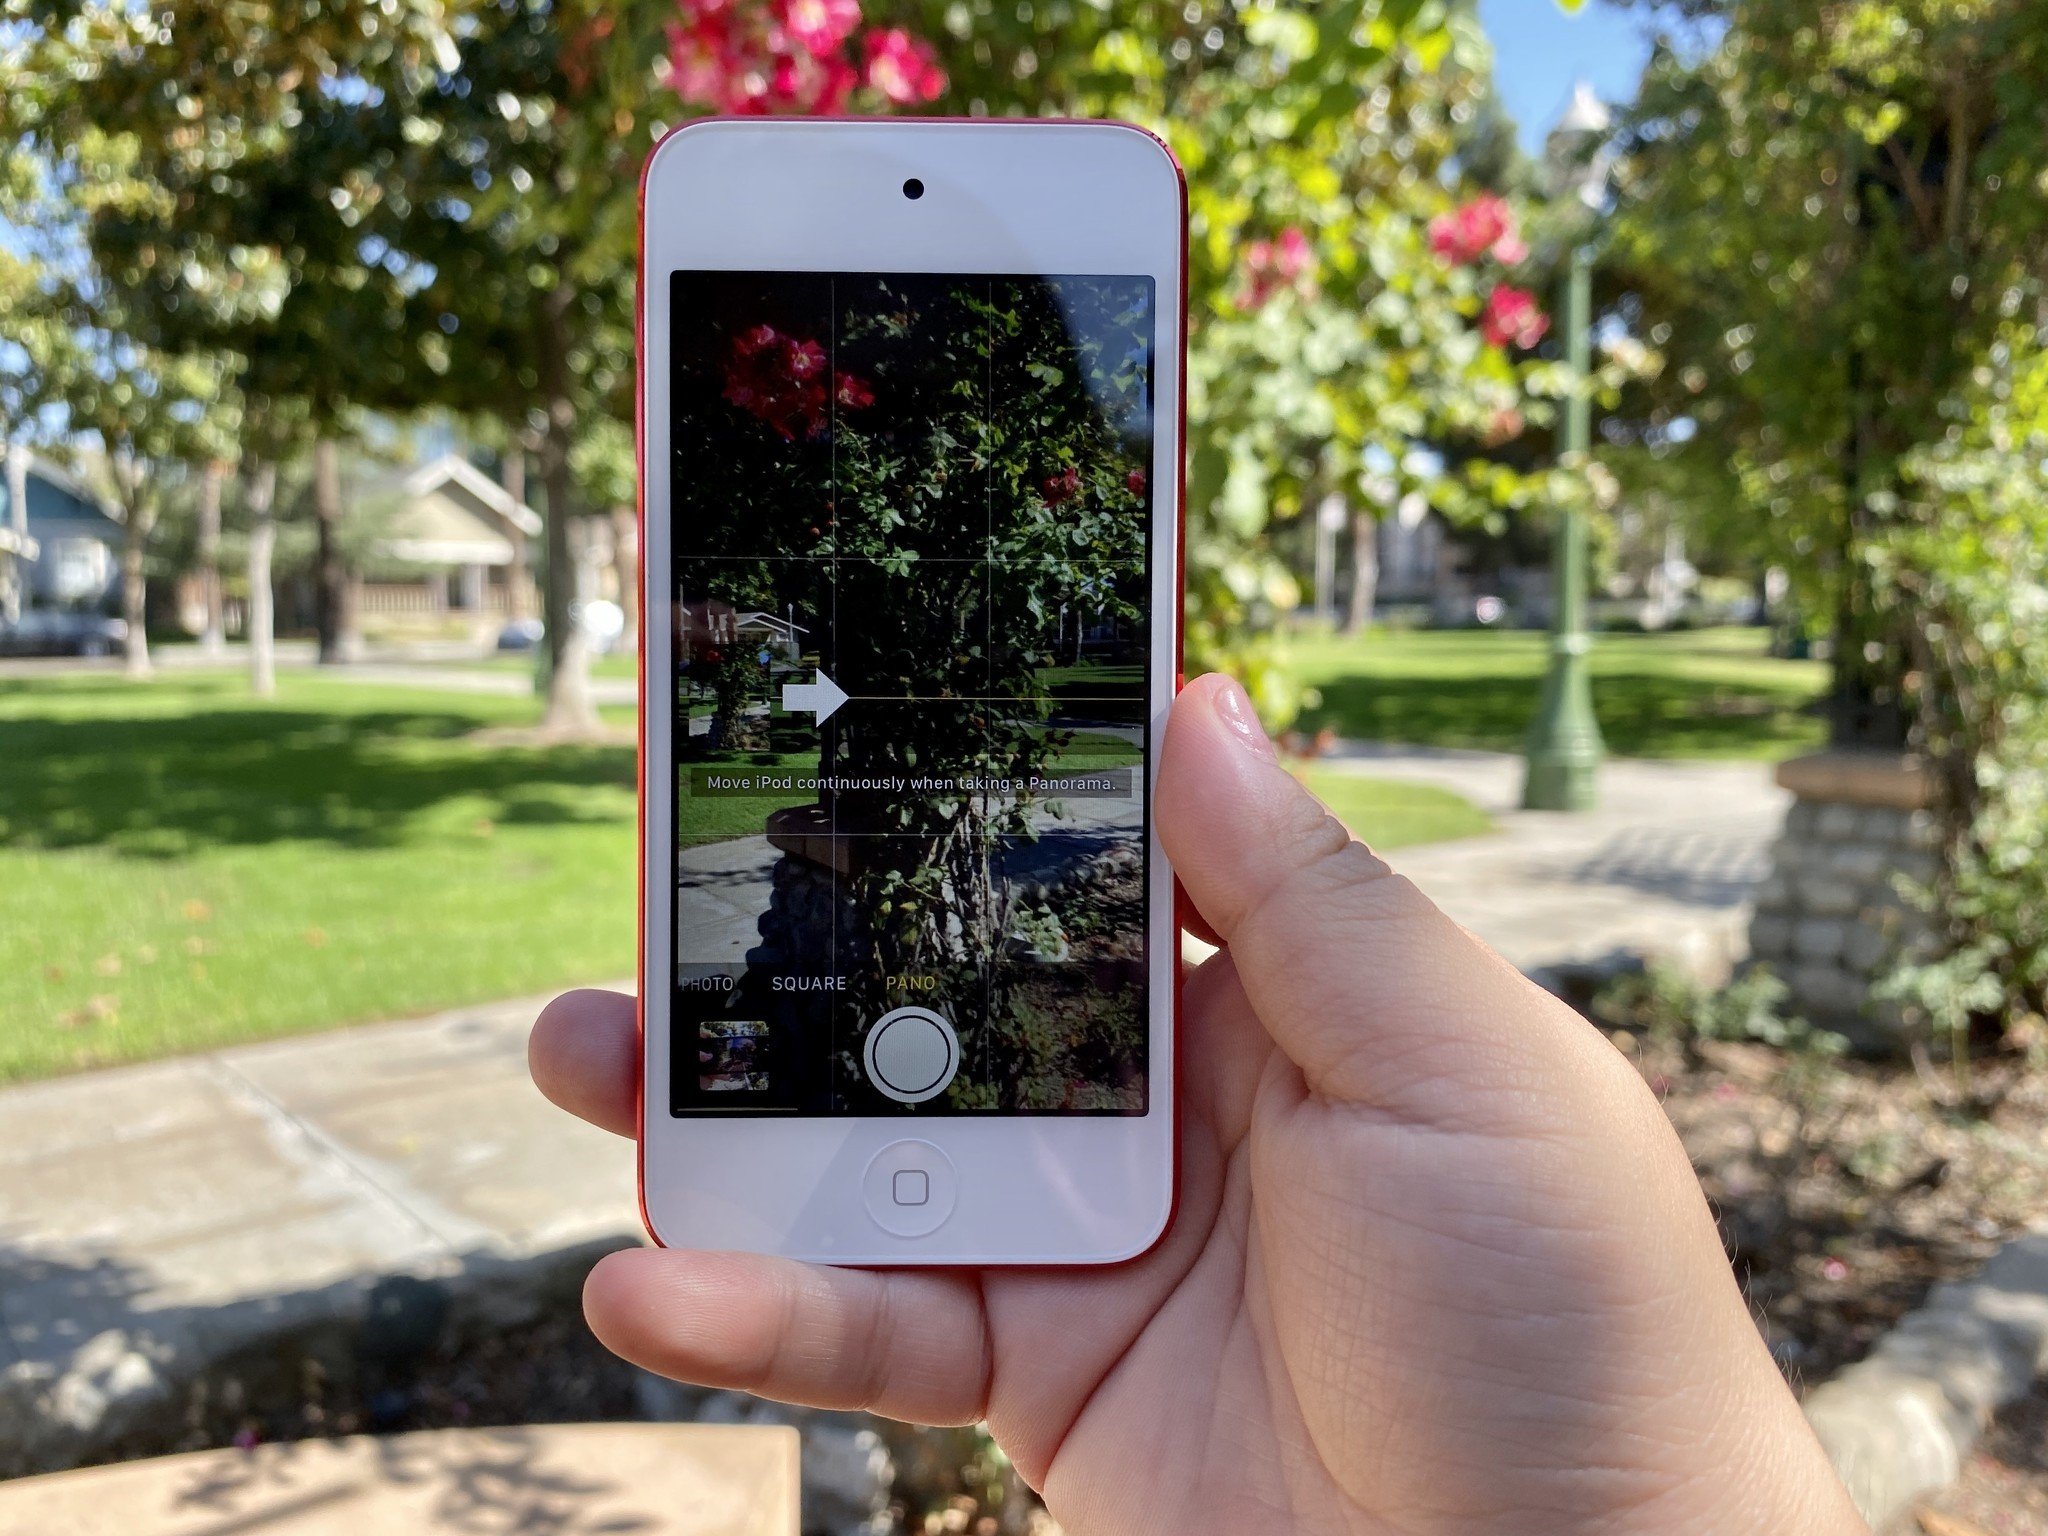
Even though it looks barebones compared to third-party camera app replacements, the native Camera app is capable of taking a wide variety of different photo types. You can take a regular, standard photo, but you can go a step further with burst mode for action shots, Portrait mode and Portrait selfies, HDR photos for landscapes, square photos for the Instagram, timed photos for group shots, panoramas, and a ton more. Plus, the iPhone has a built-in LED flash to help you with in dim light, which is always useful to have.
For all of the other stuff, take a look at our guide on how to shoot photos, selfies, burst, and more on your iPhone.
Master your iPhone in minutes
iMore offers spot-on advice and guidance from our team of experts, with decades of Apple device experience to lean on. Learn more with iMore!
How to take and share Live Photos
One of the fun things about the iPhone is the ability to take Live Photos. These are more like moving photos — kind of a hybrid between a JPG image and a MOV file. You know in Harry Potter, where they have those photos that are animated? Yeah, it's kind of like that. With a Live Photo, what you capture the moment you hit the shutter button is the mid-point of the Live Photo, because it will also record the 1.5-seconds before and after that point.
If you want to master the art of Live Photos and how to take, view, and share them, check out our full Live Photos guide.
How to lock focus, bias exposure, enable grid, and geo-locate your Photos
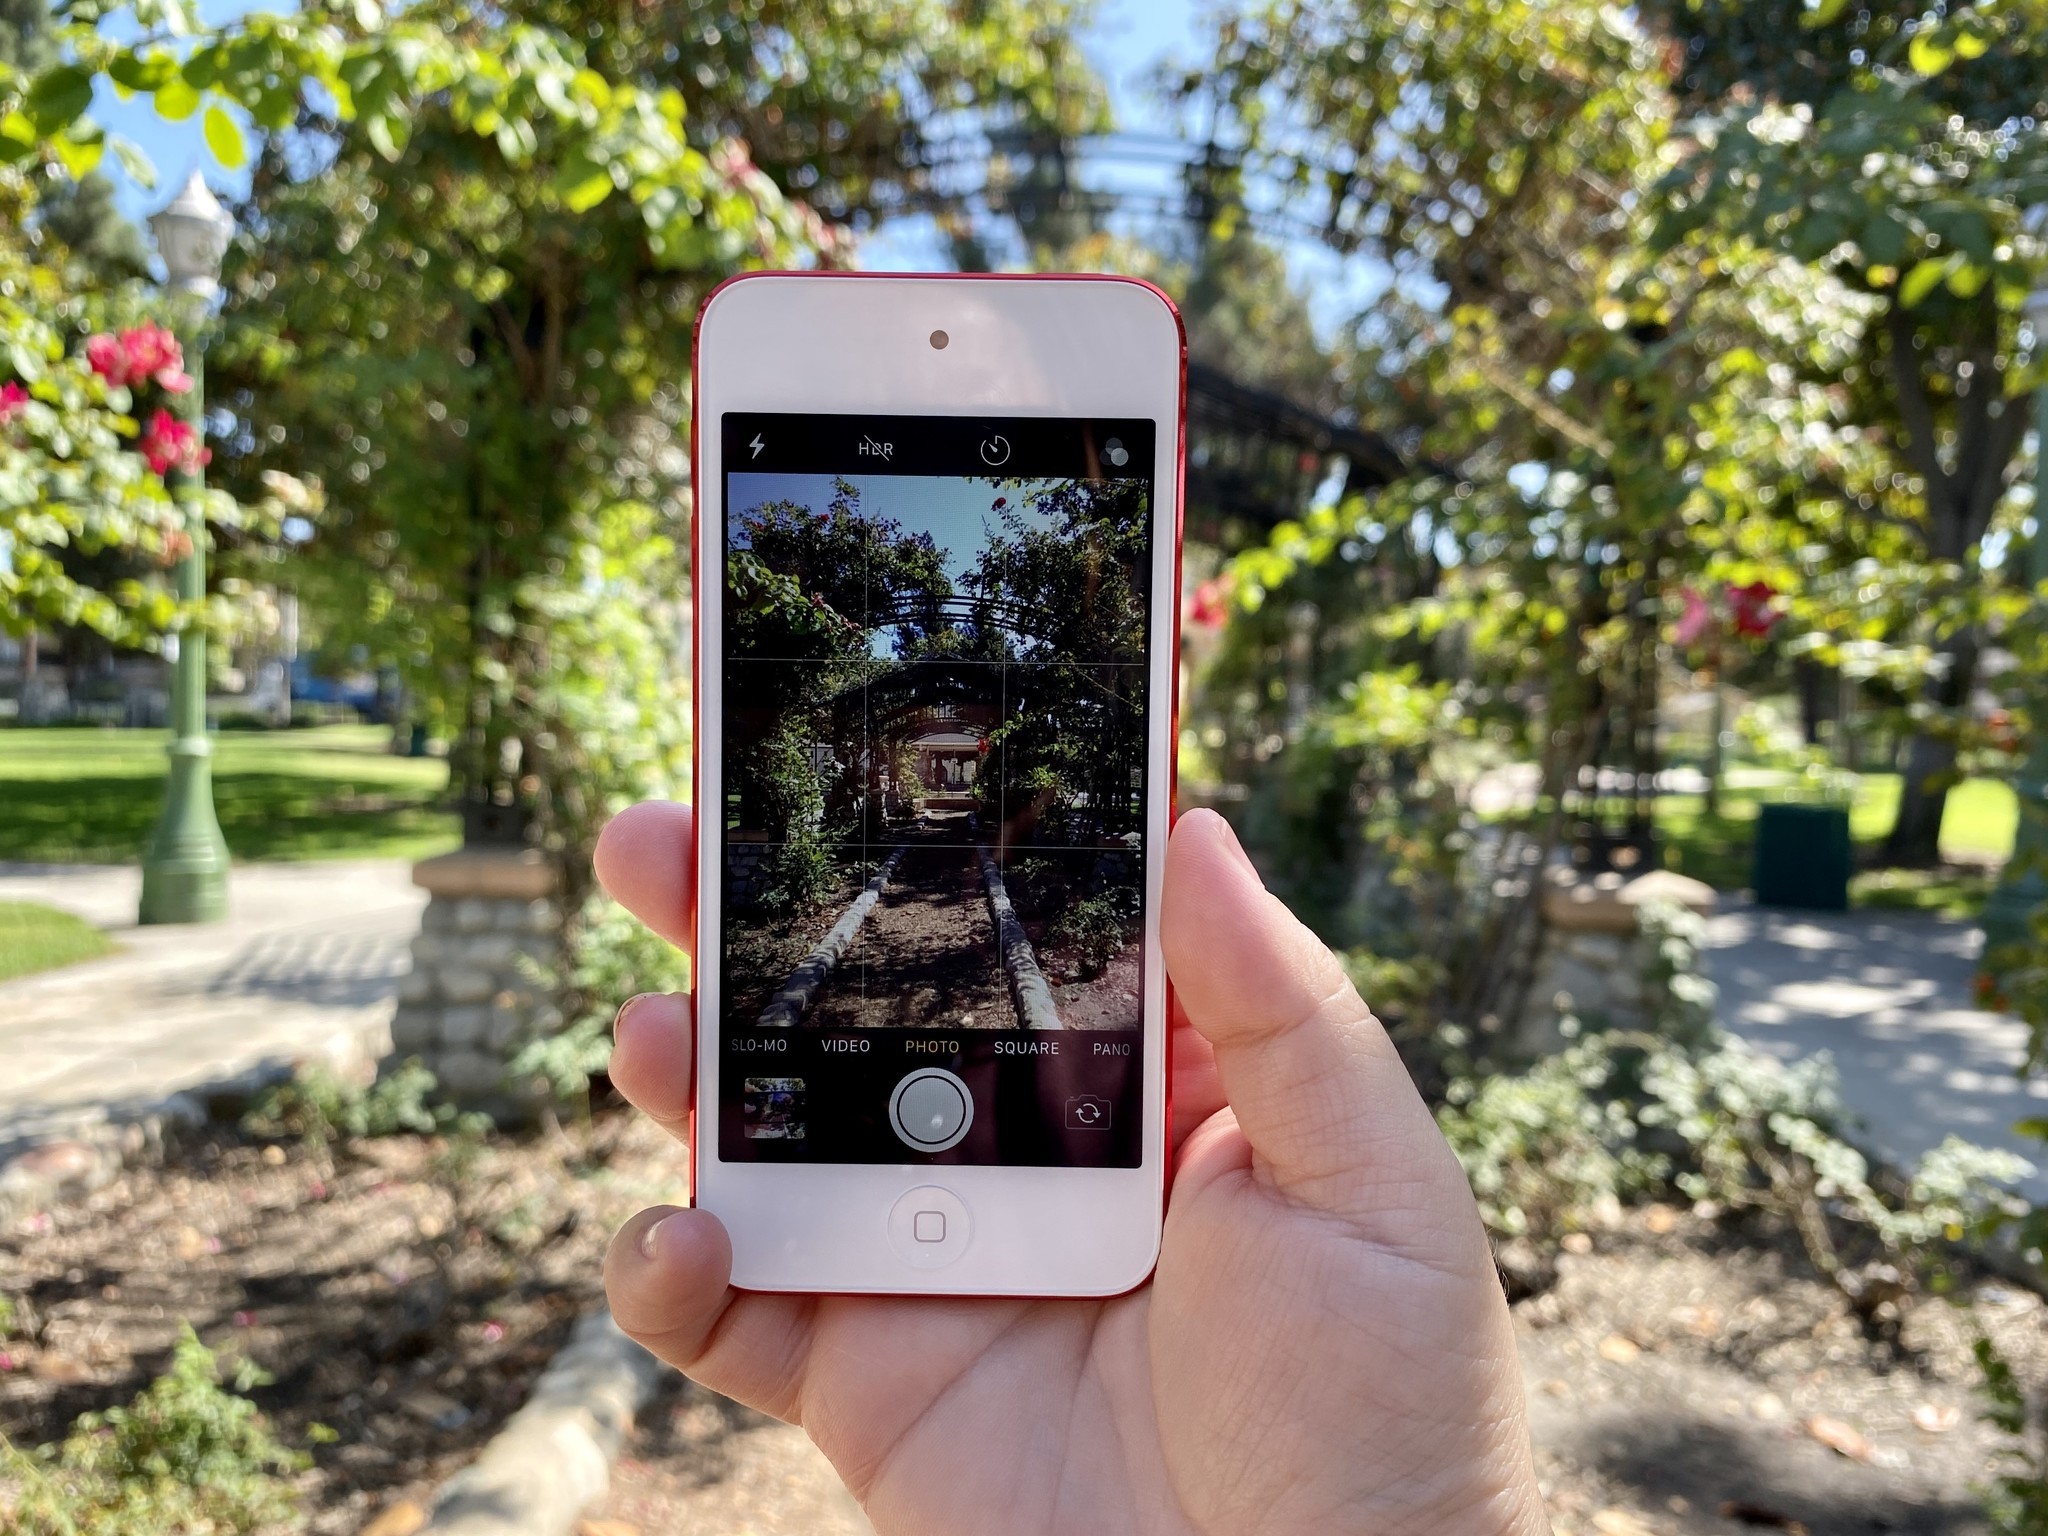
You know how you can tap on the screen in the Camera app to set the focus point for your shot? I bet you didn't know that you can also do some advanced things like lock the focus point, change the exposure, and even enable a grid to make it easier to get the perfect composition. Enabling these features is not as obvious as the various photo modes, but don't worry! We show you exactly how to lock focus, adjust exposure, enable the grid, and even turn on geo-location for your iPhone photos.
How to record video, slow-mo, and time lapses on your iPhone
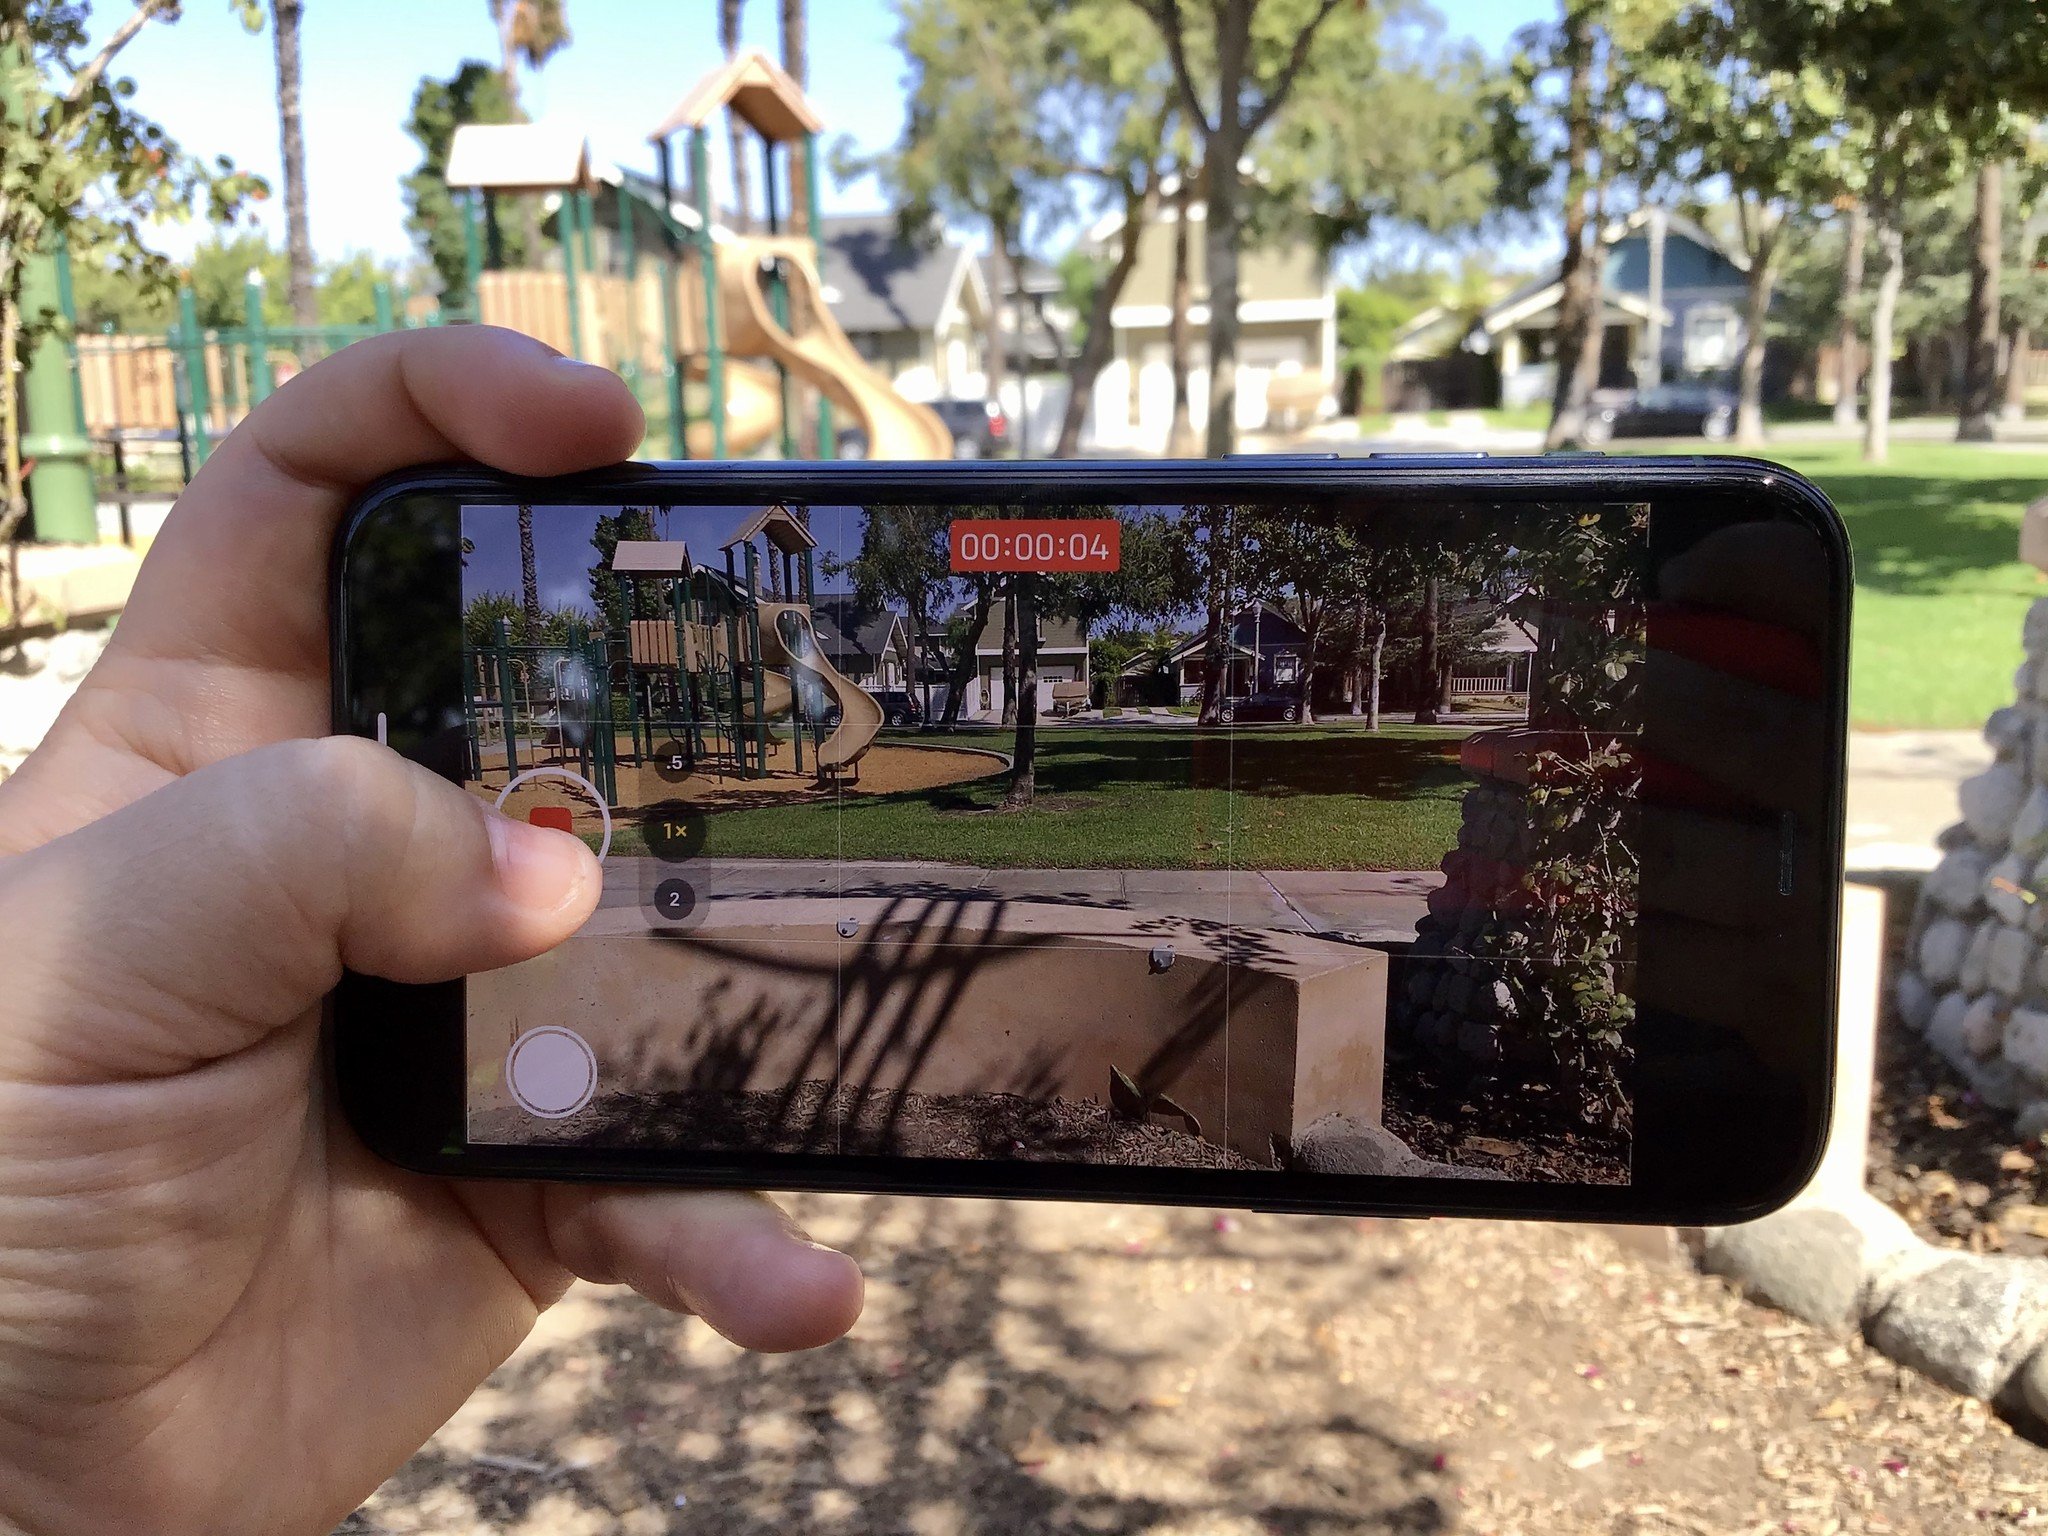
Your iPhone isn't just a great camera for still photos, but it is a powerful video recorder too. With the iPhone, you're able to record standard video up to 60 fps, and some of the more recent models, like the iPhone 12, are capable of 4K recording at 60 fps.
Check out our full guide on how to record video with your iPhone or iPad for all of the basics, plus shooting in slow-mo, making time lapse videos, and more.
How to use the Telephoto lens on your iPhone
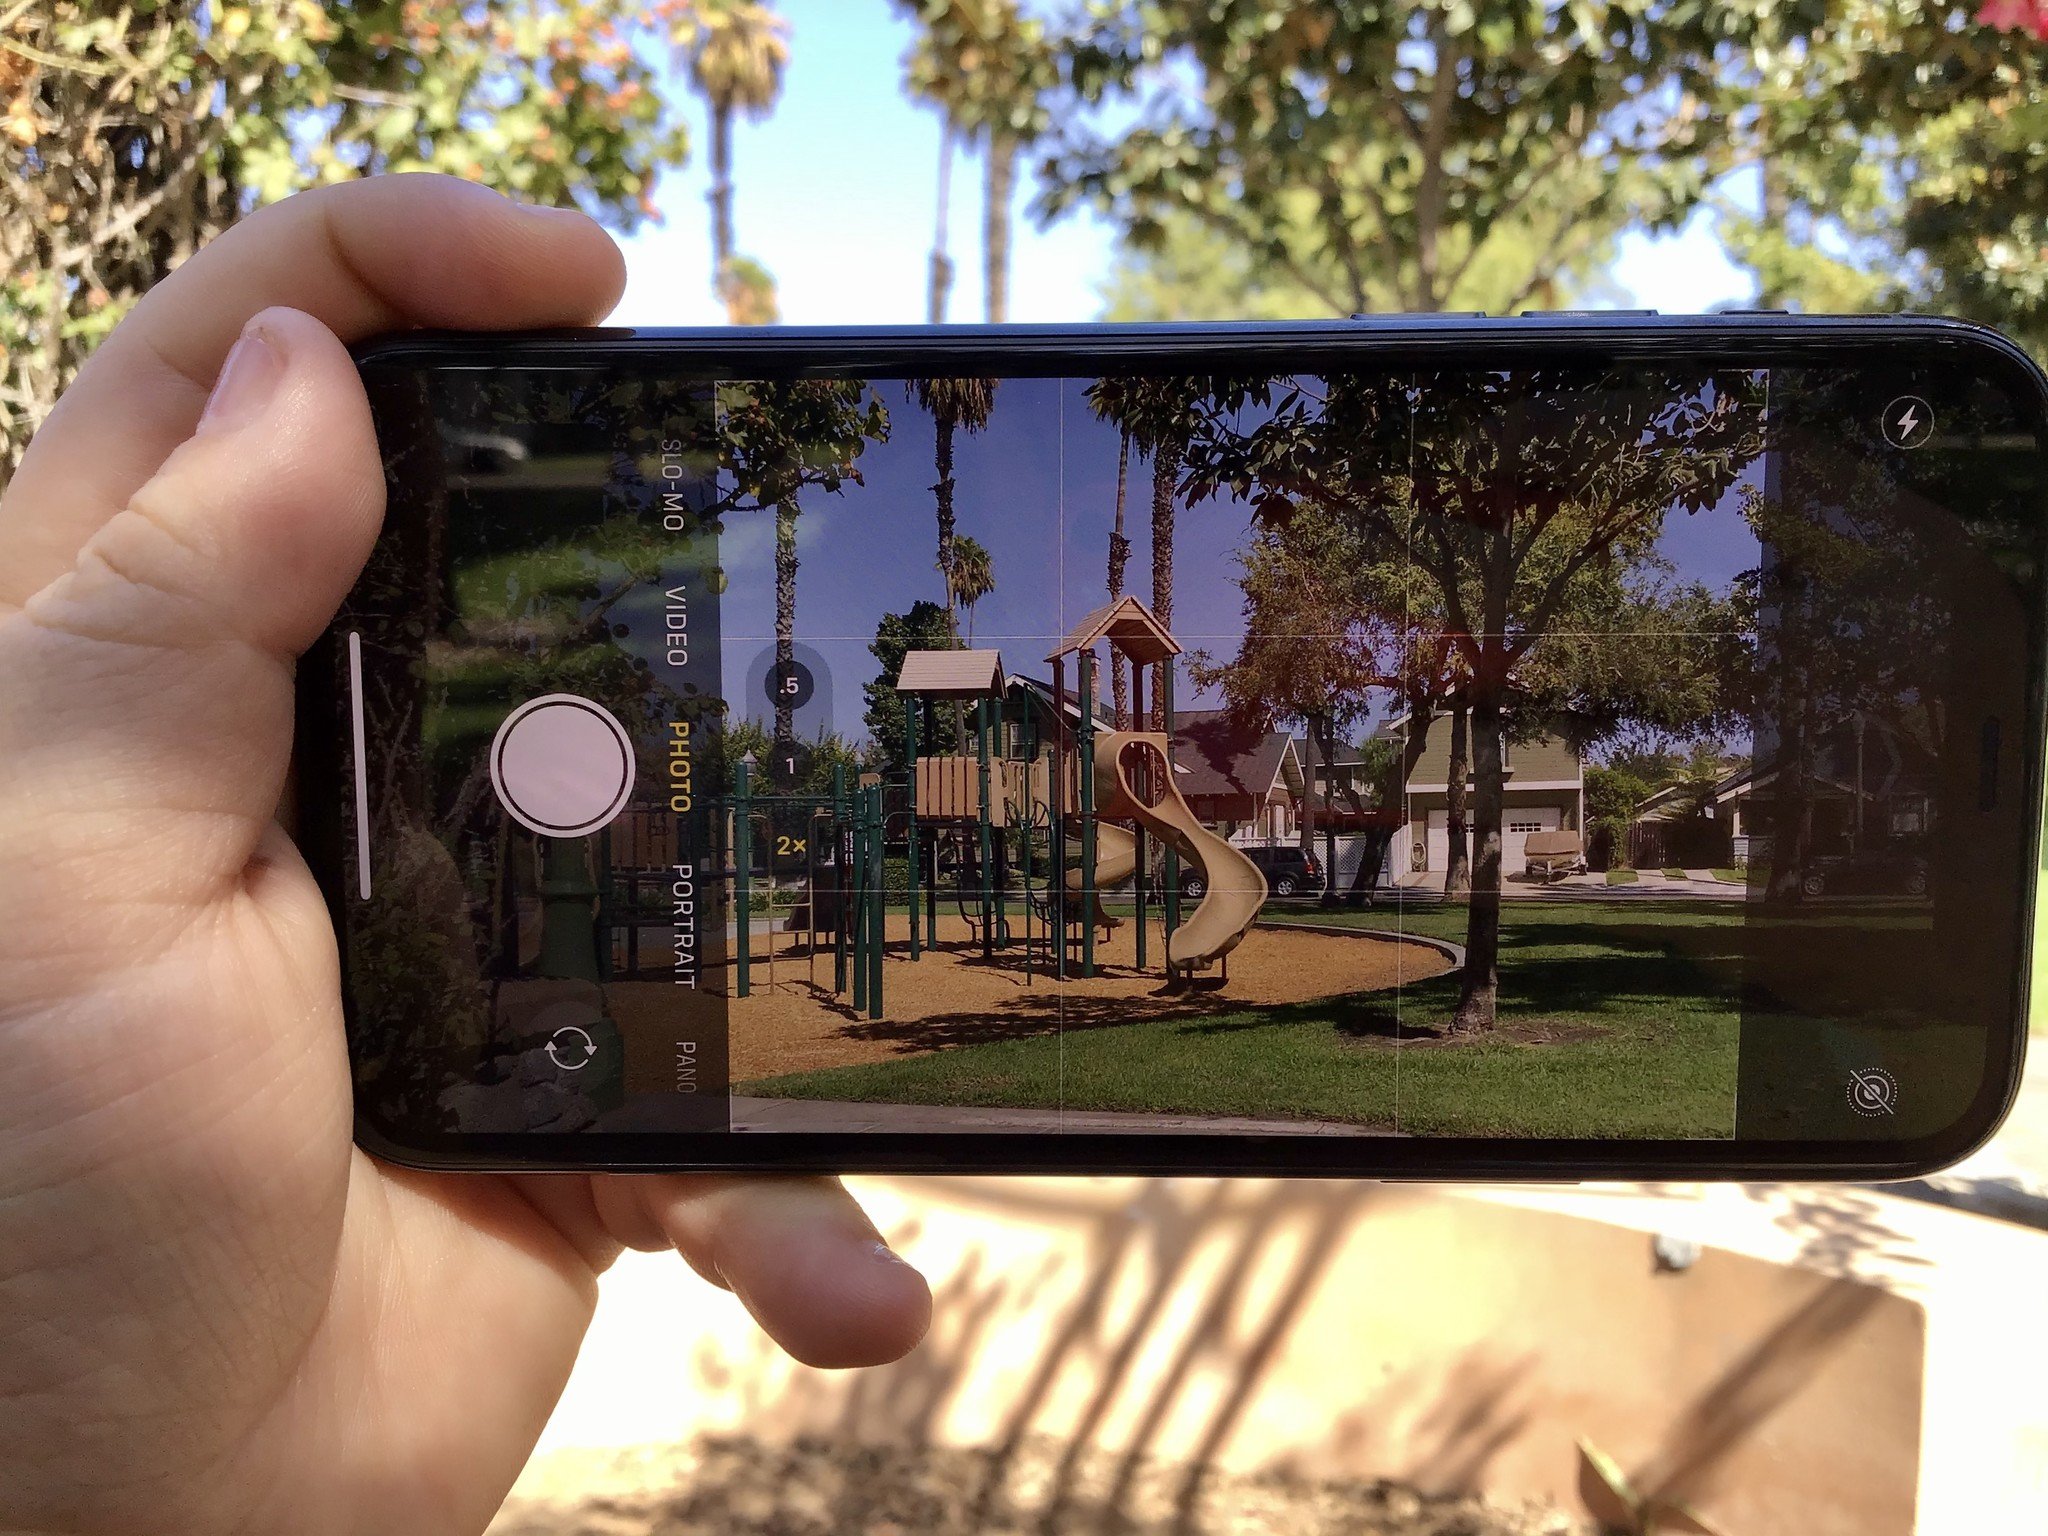
Ever since the iPhone 7 Plus, Apple has added a telephoto lens on the more expensive flagship devices. The telephoto lens allows you to get at least 2x optical zoom, and it can go up to 10x digital zoom, so you can get up close and personal with your photographs. So if you have at least an iPhone 7 Plus or later, here's how to use photographic zoom with the telephoto lens.
Once you have zoomed in enough with the telephoto lens, shooting a photo is just like snapping a regular photo — just tap that shutter button and voilà!
The telephoto lens also made Portrait mode possible because of the multi-lens system. However, recent advancements in software has made it possible for iPhones with single-lens camera systems (like the iPhone SE (2020)) to get Portrait mode as well, with some limitations.
How to shoot RAW and manual-mode photos
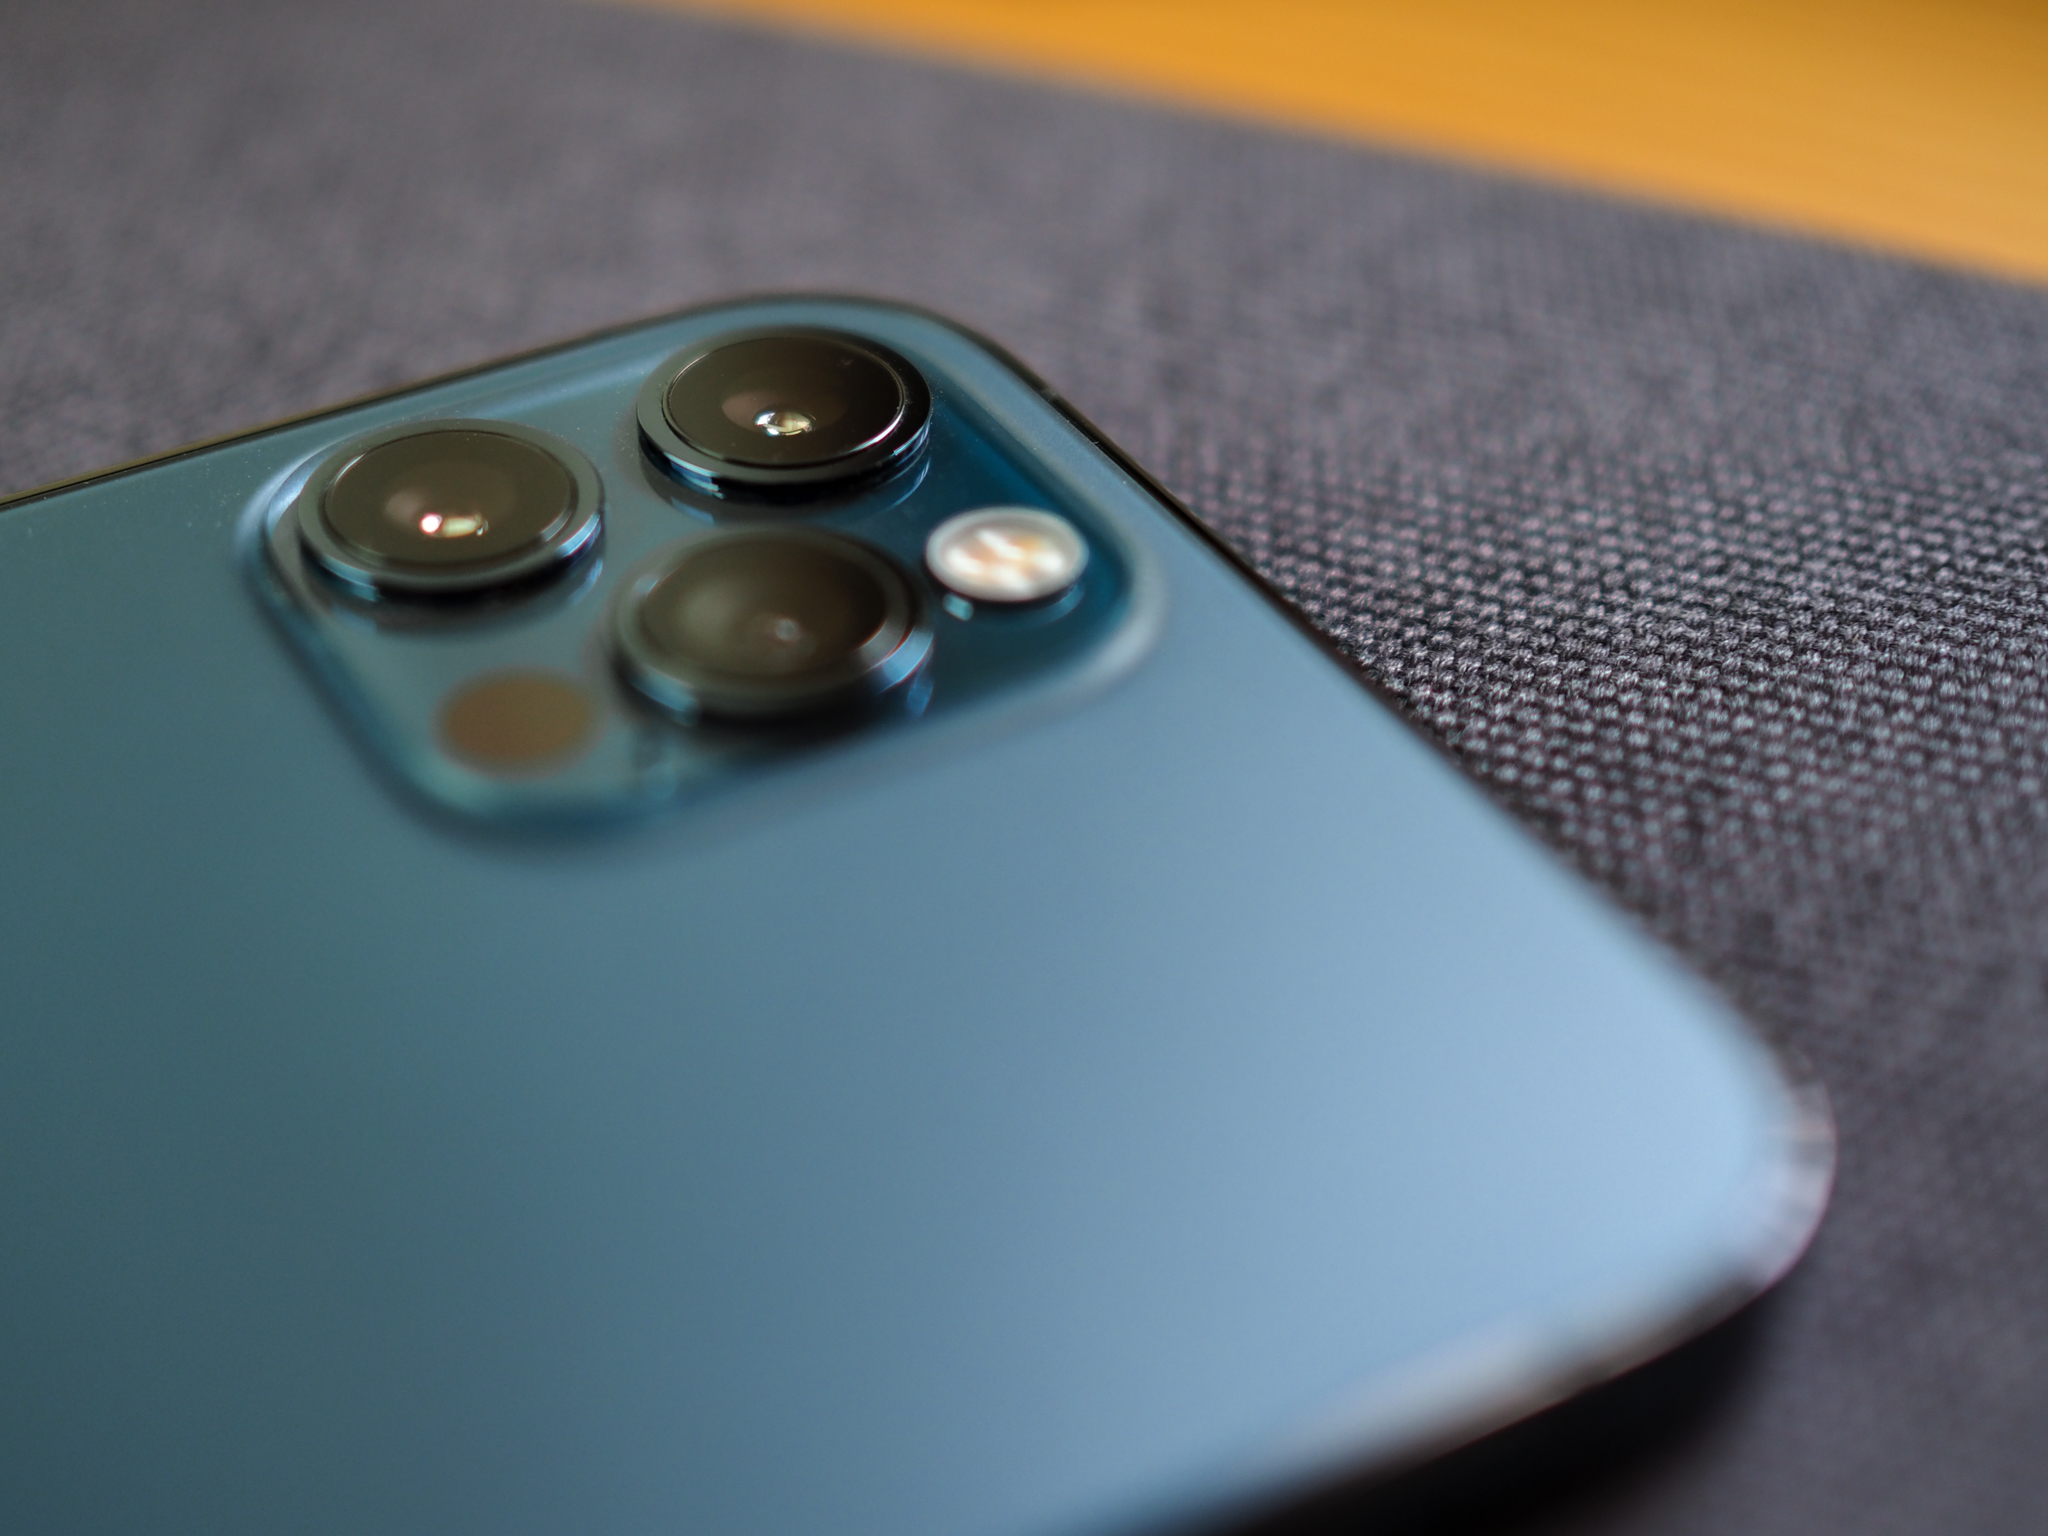
If you have an iPhone 12 Pro or iPhone 12 Pro Max, then you have the ability to shoot in Apple's new ProRAW format. Think of it like a hybrid between true RAW and a JPEG/HEIC image. It uses Apple's signature computation photography features with a 12-bit RAW DNG file that has 14 stops of dynamic range. Editing a ProRAW image gives us as much of the pure data as possible, so we have even more control of what happens in the post-editing process. But ProRAW image files can be large — up to 25MB each, so use them sparingly.
If you don't have an iPhone 12 Pro or Pro Max, then you'll have to know how to use a third-party app to shoot in RAW format on iPhone 11 and earlier. We have some manual camera apps that we highly recommend for shooting in manual or RAW modes.
How to quickly edit and and share photos and video from the Camera app
While there's a dedicated Photos app on your iPhone and iPad for all of your post-processing needs, sometimes you just want to make a very quick edit or share immediately after snapping a photo in the Camera.
This is actually possible right in the Camera app, and all you need to do is tap on the thumbnail of the photo you just took. You can then access your Camera Roll, make basic edits, and share your results with friends and family. Or if you just aren't satisfied with a photo, deleting it has never been faster!
How to use the Camera app on an iPhone 11 and later
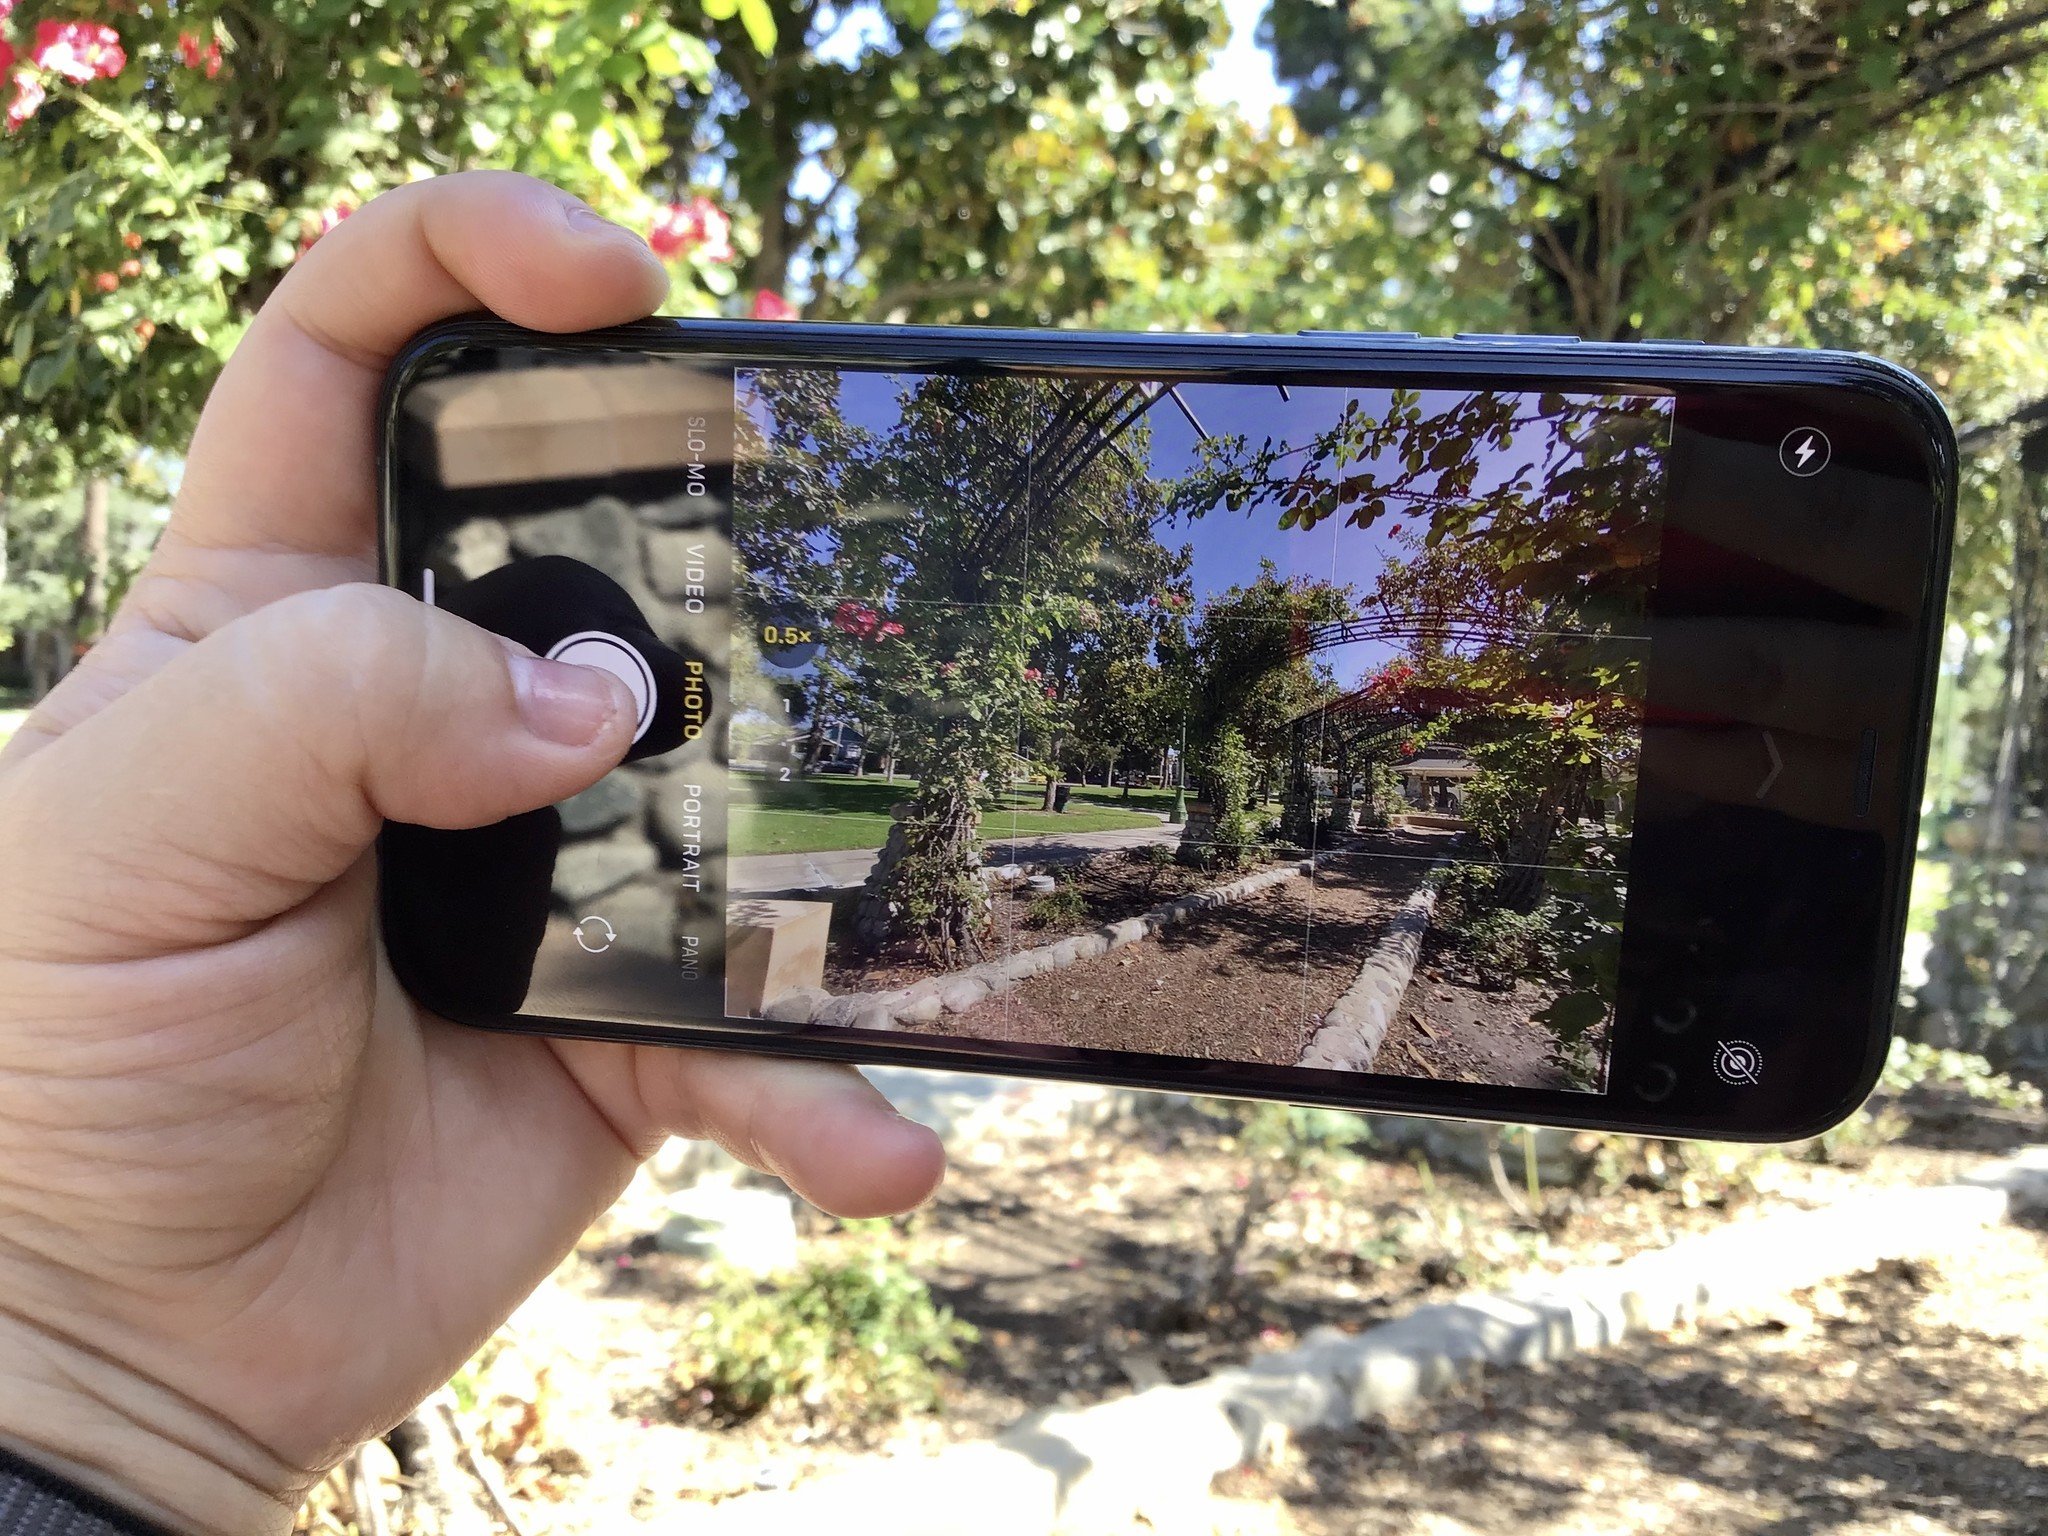
If you have an iPhone 11 series or later, then you have some extra controls and features in the Camera app that aren't available on older models. This includes the new dual and triple lens camera systems with the Wide, Ultra Wide, and Telephoto lenses, Night Mode, QuickTake videos, wide-angle selfies, photo capture outside the frame, Deep Fusion, "slofies" (slow motion selfies), and more. To make sure that you don't miss out on any of these awesome new Camera features, check out our full guide on how to use the camera on iPhone 11 and later.
Questions?
That about covers everything you need to know about how to use the Camera app on your iPhone or iPad. If you have any questions, make sure to drop them in the comments below and we'll do our best to help.
Christine Romero-Chan was formerly a Senior Editor for iMore. She has been writing about technology, specifically Apple, for over a decade at a variety of websites. She is currently part of the Digital Trends team, and has been using Apple’s smartphone since the original iPhone back in 2007. While her main speciality is the iPhone, she also covers Apple Watch, iPad, and Mac when needed. When she isn’t writing about Apple, Christine can often be found at Disneyland in Anaheim, California, as she is a passholder and obsessed with all things Disney, especially Star Wars. Christine also enjoys coffee, food, photography, mechanical keyboards, and spending as much time with her new daughter as possible.

