All Legendary Pokémon and how to catch them in Legends: Arceus
Complete your Pokédex, going all the way up to the titular Arceus.
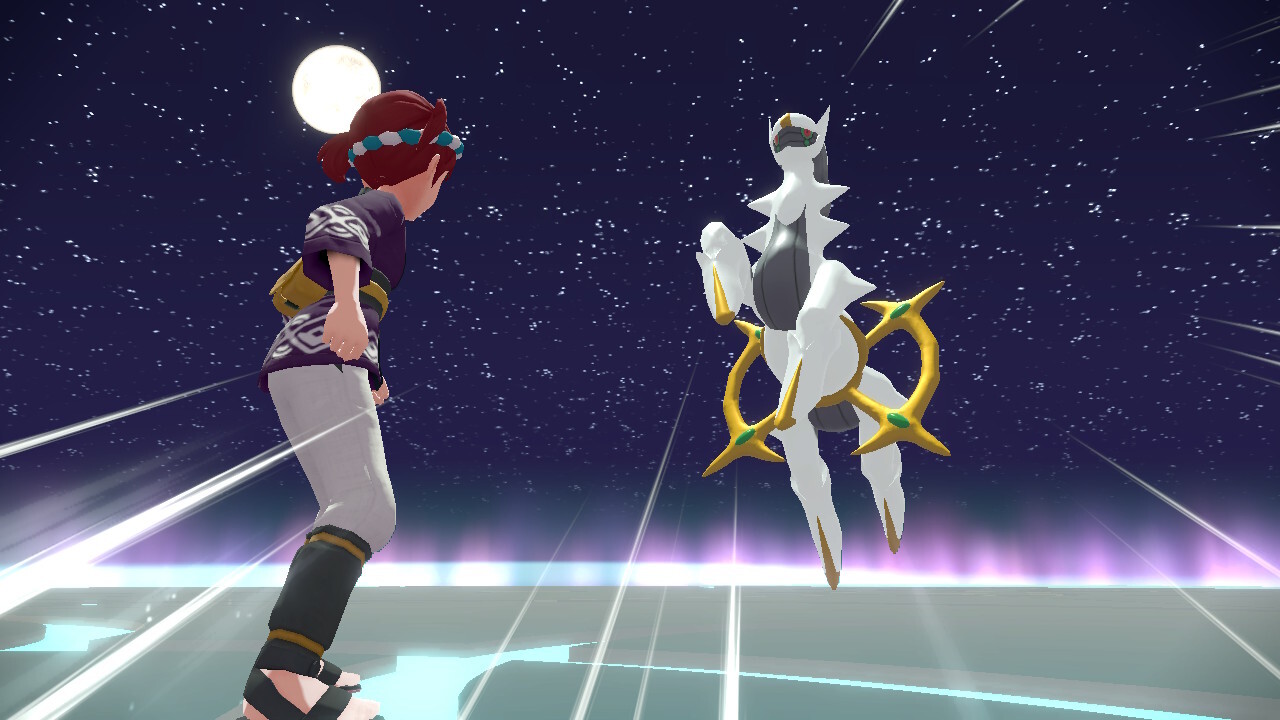
One of the biggest goals in any Pokémon game is tracking down and catching all of the various Legendary Pokémon available. Pokémon Legends: Arceus is no exception here, with a roster of Legendary Pokémon to track down so you can truly master the game, even after finishing the main story.
What you'll need
To catch legendary Pokémon in Legends Arceus you'll need access to a copy of the game and a Nintendo Switch. In our opinion, the Nintendo Switch OLED is the best version of the hybrid console to buy right now.
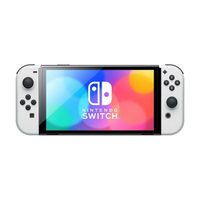
Nintendo Switch OLED $337 at Amazon
Visuals from your favorite games can be enjoyed even more on this bigger 7-inch screen. The colors come through more vibrantly, and the details are crisper than previous Switch iterations.
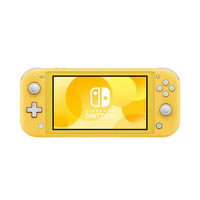
Nintendo Switch Lite $189 at Amazon
A lighter console that is perfect for smaller hands. If you're only looking for a handheld experience and want a Switch you can throw in your bag without much hassle, then look no further than the Lite.
List of Legendary Pokémon in Pokémon Legends: Arceus
In Pokémon Legends: Arceus, you'll spend possibly dozens of hours completing every possible task and filling up your Pokédex. There's a lot of differences between Pokémon Legends: Arceus and past titles, including how there's only one mainline version of the game.
This means that unlike in most Pokémon games, you don't have to trade with a friend to acquire special version exclusives, instead, every Pokémon can be caught by you as you progress through the game. Here's the full list of Legendary Pokémon in Pokémon Legends: Arceus.
- Arceus
- Azelf
- Cresselia
- Darkrai
- Dialga
- Enamorus
- Giratina
- Heatran
- Landorus
- Manaphy
- Mesprit
- Palkia
- Phione
- Regigigas
- Shaymin
- Thundurus
- Tornadus
- Uxie
Before taking on any of them, we recommend you use crafting to get plenty of high-quality Poké Balls. You'll also want to get lots and lots of stunning items, such as Mud Balls.
Dialga and Palkia
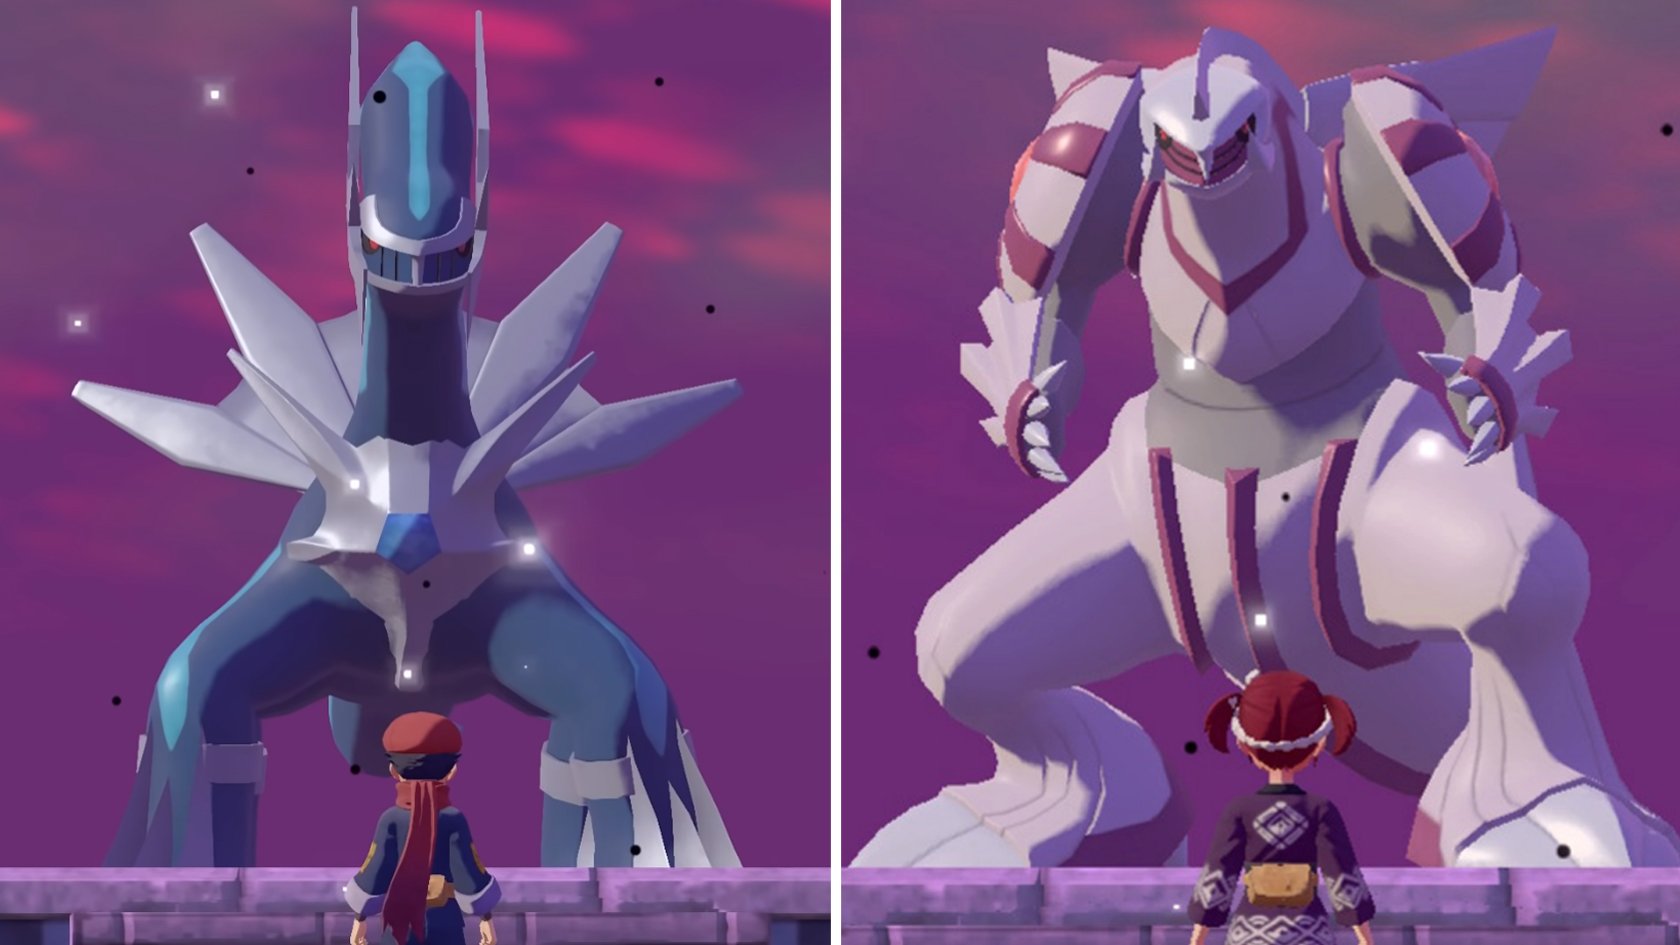
- Dialga (Level 65) weaknesses: Fighting, Ground
- Palkia (Level 65) weaknesses: Fairy, Dragon
First up in acquiring Legendaries are Dialga and Palkia, back so soon after Pokémon Brilliant Diamond and Shining Pearl.
Unlike many of the Legendaries in this list, which are firmly acquired after finishing the main path, you'll run into both of these Legendary Pokémon as part of the initial main story, though close to the end. After progressing through Mission 13: Disaster Looming, you'll be asked to choose between Adaman of the Diamond Clan and Irida of the Pearl clan. This determines the order in which you'll see Dialga and Palkia later on, as well as determining which one you can acquire the Origin Form of. Siding with Adaman will have you see Dialga first, while you'll see Palkia first if you chose Irida.
Master your iPhone in minutes
iMore offers spot-on advice and guidance from our team of experts, with decades of Apple device experience to lean on. Learn more with iMore!
After, progress through the various missions until you make it to Mission 17: Atop Mount Coronet, where you'll acquire either Dialga or Palkia, depending on your prior choice. You'll acquire the second of the pair in Mission 18: The Counterpart.
Manaphy and Phione

- Manaphy (Level 50) weaknesses: Grass, Electric
Now begins the collection of Legendaries after finishing the main story. To begin the search for Manaphy and Phione, you'll have to head back to Jubilife Village. Head to the professor's room, interact with the blackboard and accept Request 66: The Sea's Legend.
Put three specific Pokémon in your party: Buizel, Mantyke, and Overquil. Now head to Sea Side Hollow within the Cobalt Coastlands. Inside the cave, you'll find one Manaphy and three Phiones.
Uxie, Mesprit, Azelf
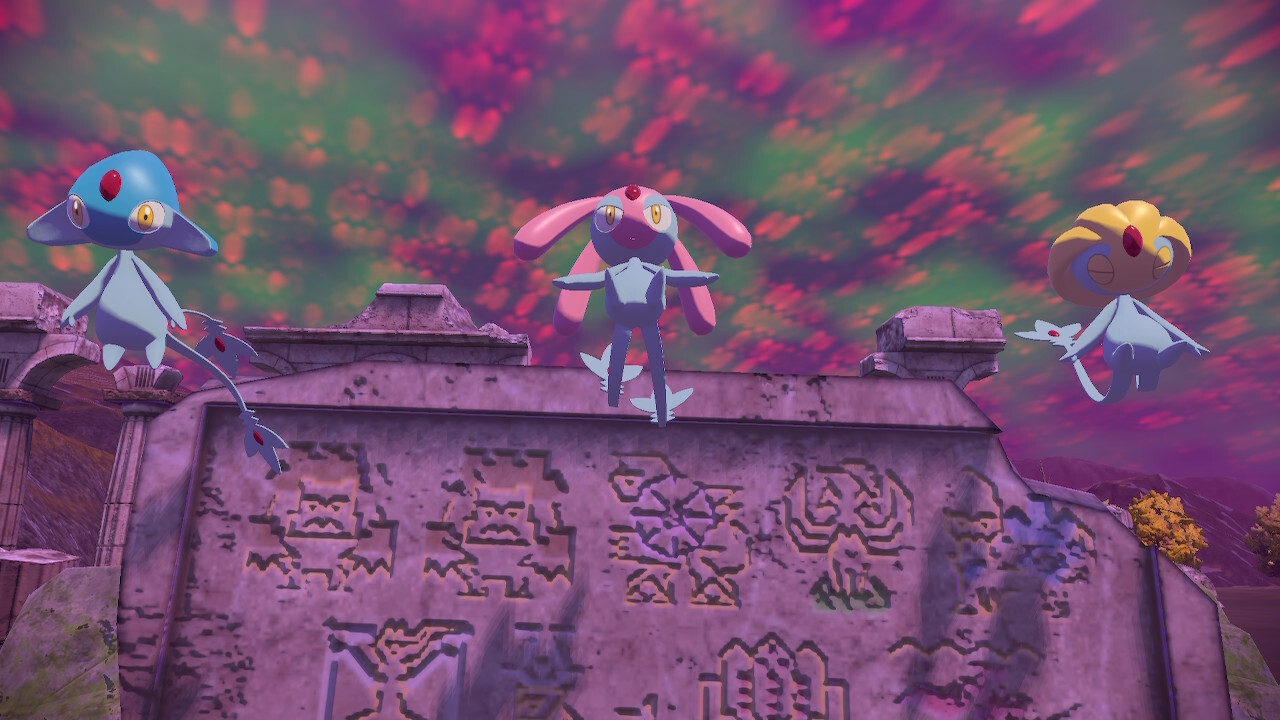
- Uxie (Level 70) weaknesses: Bug, Ghost, Dark
- Azelf (Level 70) weaknesses: Bug, Ghost, Dark
- Mesprit (Level 70) weaknesses: Bug, Ghost, Dark
Uxie, Mesprit and Azelf are part of a post-game mission, specifically, Mission 21: The Plate of the Lakes. After finishing Mission 20, go talk to Cogita and listen to everything she has to say in order to receive this new task.
Mesprit can be found at Lake Verity in the Obsidian Fieldlands. Azelf is located at Lake Valor's cave, in the Crimson Mirelands. Finally, head to Lake Acuity in the Alabaster Icelands to face Uxie.
Once you've gathered all three Legendaries, you'll receive the Draco Plate, a vital step for grabbing other Legendary Pokémon further down on this list.
Heatran
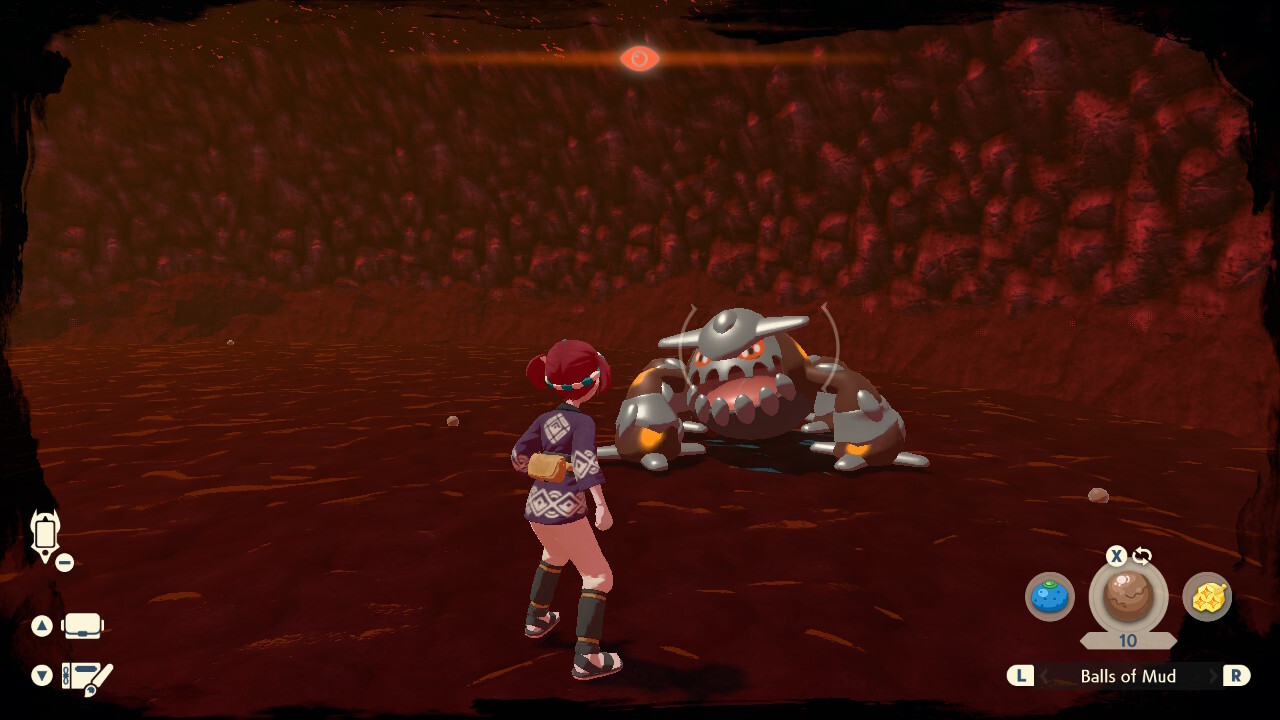
- Heatran (Level 70) weaknesses: Fighting, Ground, Water
It's time to gather Heatran as part of Mission 22: The Plate of Firespit Island. Head to Firesprite Island, which is located within the Cobalt Coastlands. You'll need to use stunning items on Heatran before you can battle it, so stock up beforehand if need be. After you've got Heatran, you'll receive the Iron Plate, which allows you to take on the next mission.
Cresselia
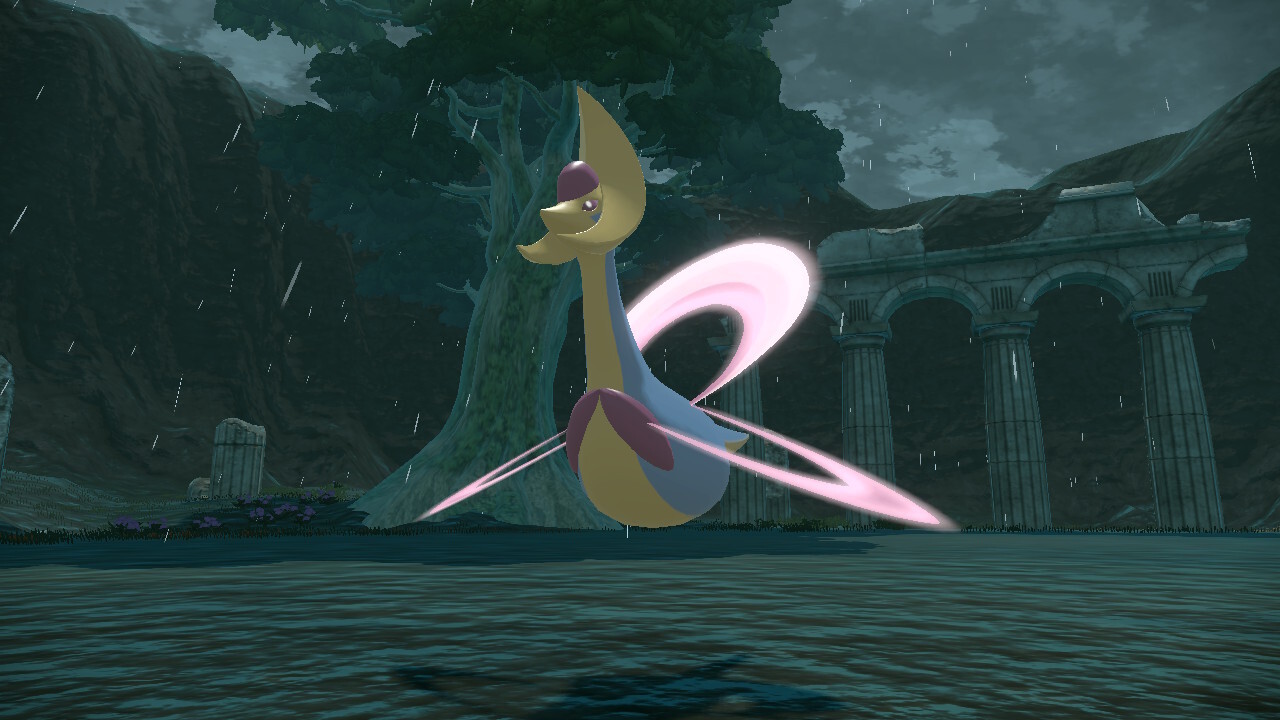
- Cresselia (Level 70) weaknesses: Dark, Bug, Ghost
Cresselia is found as part of Mission 23: The Plate of Moonview Arena. Time to jog on over to Moonview Arena, located within the Coronet Highlands. Be stealthy: You'll have to sneak up on this particular Legendary in order to get close and fight. Once you're close enough, start the battle. After this fight, you'll have the Dread Plate.
Regigigas
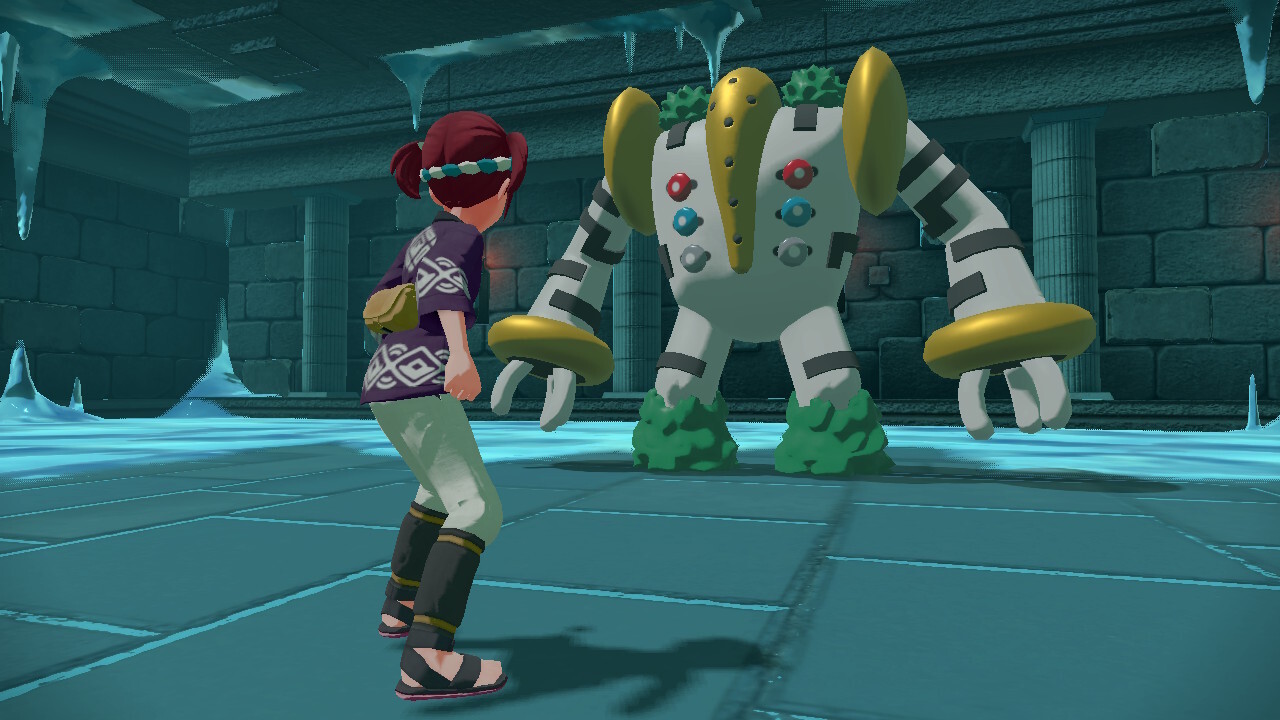
- Regigigas (Level 70) weaknesses: Psychic, Flying, Fairy
Time for Mission 24: The Plate of Snowpoint Temple. Take a trip to Snowpoint Temple within the Alabaster Icelands. You'll hit a door that requires the the Icicle Plate, Stone Plate, and Iron Plate in order to open. Proceed in and engage Regigigas in battle. You'll acquire the Blank Slate once you're done here.
Giratina
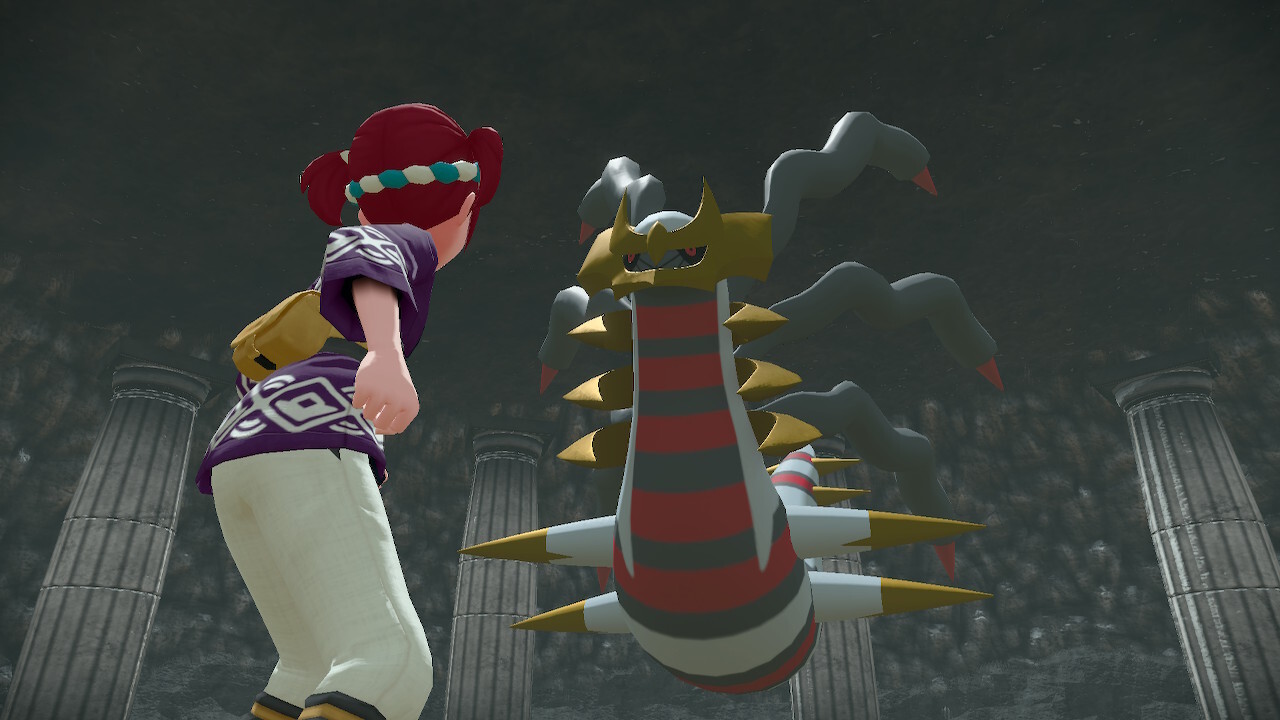
- Giratina (Level 70) weaknesses: Dark, Fairy, Ghost, Ice, Dragon
This one is a bit of a multi-step doozy. You'll need to beat Giratina in a fight initially before later being able to capture it.
After collecting every plate and speaking with Cogita in Jubilife Village, you'll want to stock up and head to the top of Mt. Coronet, in the Coronet Highlands. After a protracted battle against Volo and his Pokémon team, you'll face Giratina. You'll have to beat Giratina, but you won't be able to catch it right now.
After all of that, head back to Jubilife Village again and speak with Professor Laventon. This kickstarts Request 91: On the Trail of Giratina. To find it, go to Turnback Cave within the Cobalt Coastlands. You'll see Giratina upon entering the cave. Engage Giratina in a fight and emerge victorious!
Shaymin
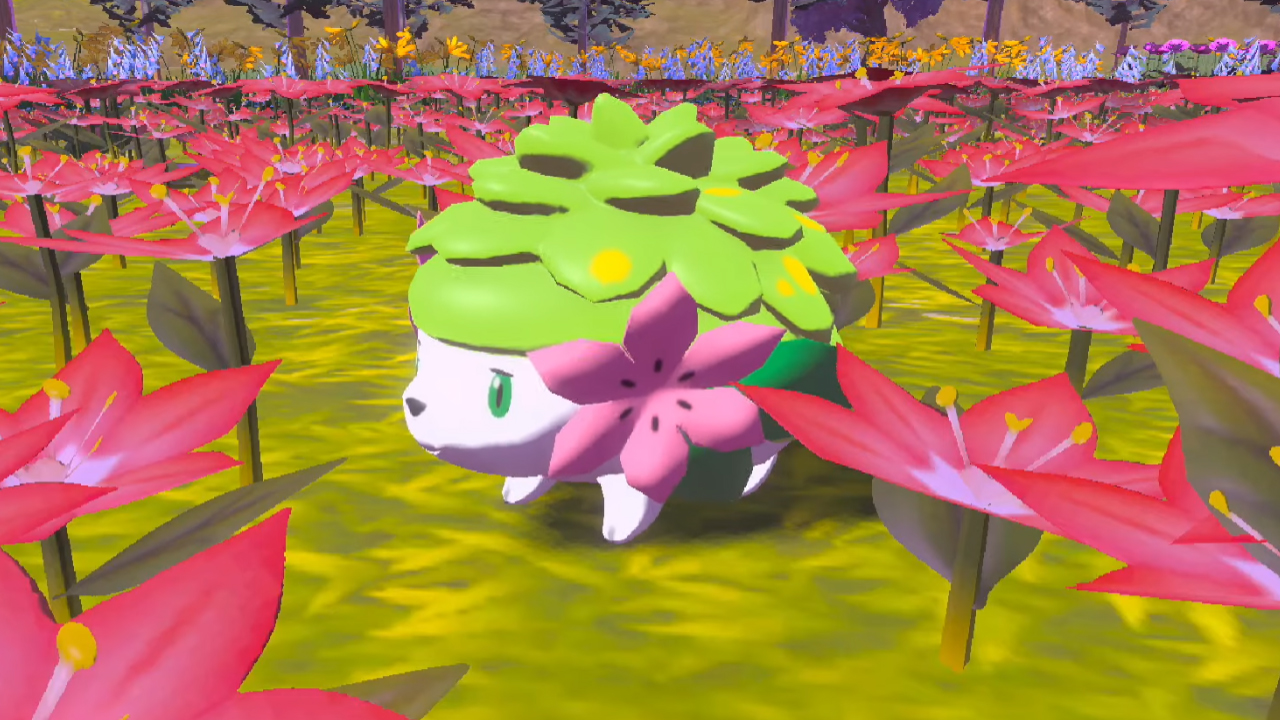
Shaymin is found with Request 92: A Token of Gratitude. In order to receive this request, you have to have save data from Sword and Shield on your Nintendo Switch. If you have that file, after beating the main story, head to the professor's room at Galaxy Hall and accept the request on the blackboard.
From there, travel to Floaro Gardens in Obsidian Fieldlands. After a cutscene upon reaching the flower patch, just throw some Poké Balls. Shaymin is Level 70 but in a refreshing change of pace, won't fight you, so capturing it is a bit of a breather.
Darkrai
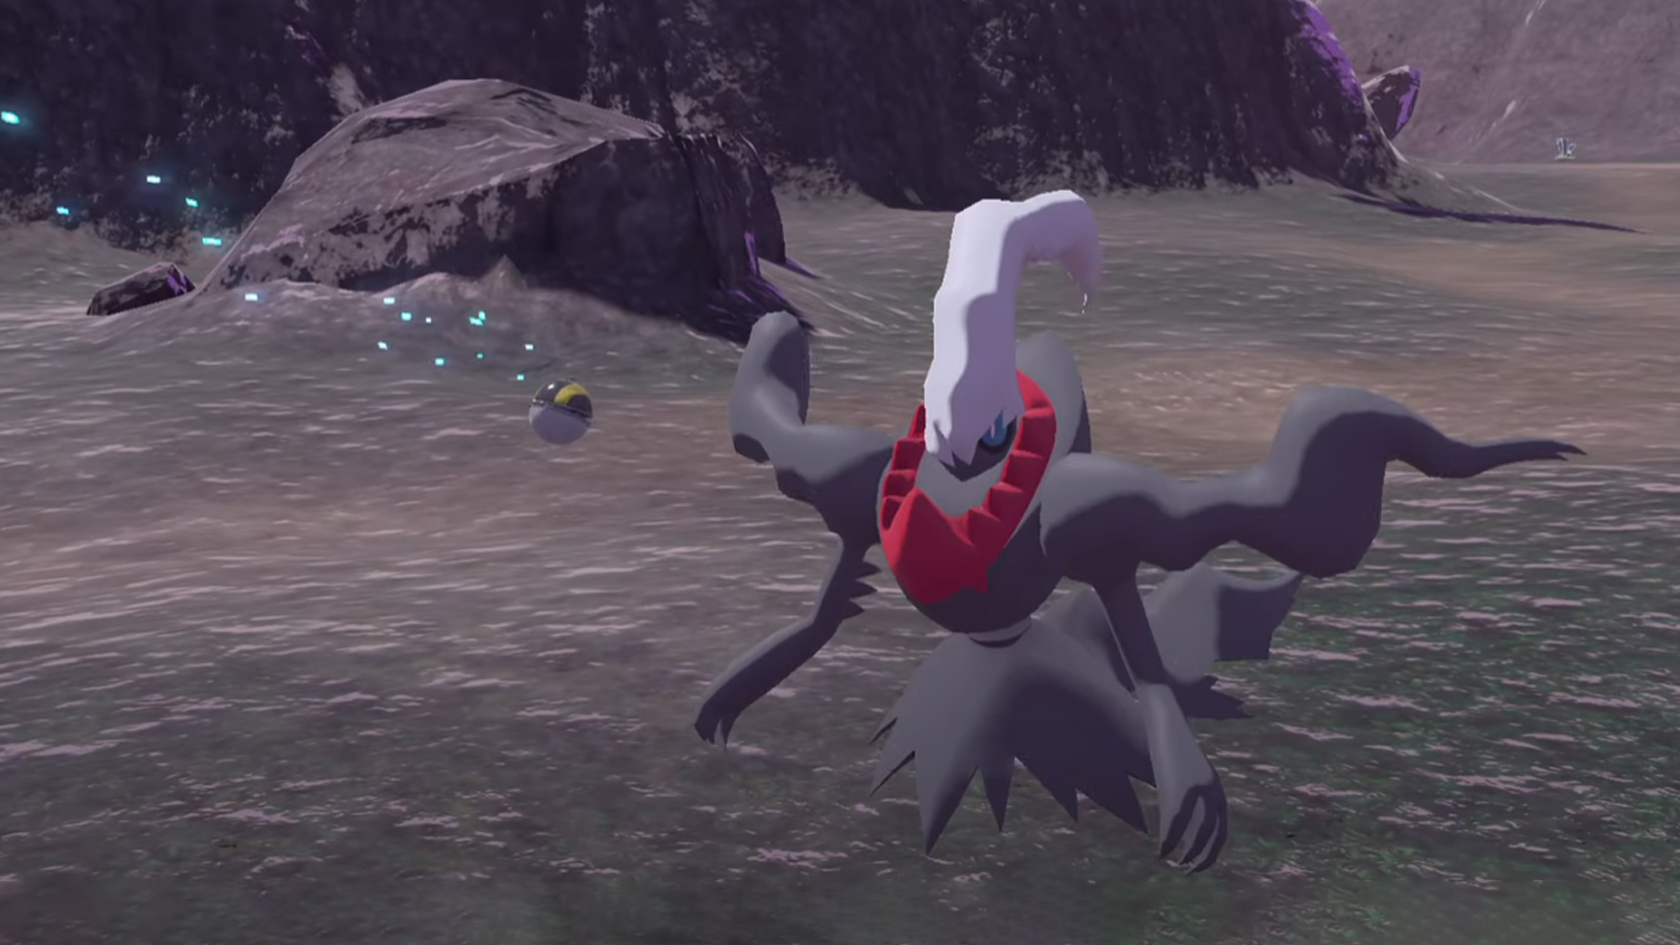
- Darkrai (Level 70) weaknesses: Fighting, Dark, and Fairy
Darkrai is the focal point of Request 93: The Darksome Nightmare. This request only shows up on the professor's blackboard if you have save data from Brilliant Diamond and Shining Pearl.
After accepting it, head off to Coronet Highlands. If it isn't nighttime, use your camp and wait until nightfall. Follow the marker for the quest, which leads you just south of Clamberclaw Cliffs. Prepare for a tough fight once you spot it. Note that you'll only be able to throw a Pokémon and start fighting Darkrai when it screams.
Tornadus, Thundurus, Landorus, and Enamorus
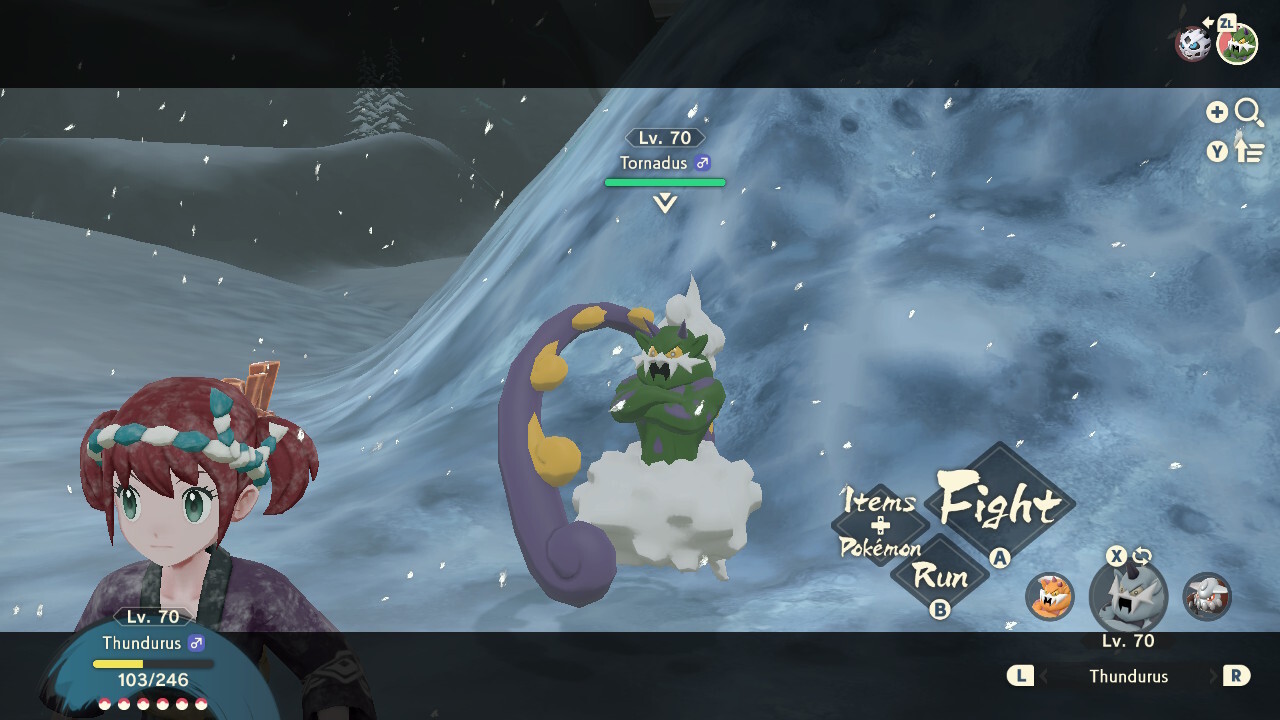
- Thundurus (Level 70) Weaknesses: Ice, Rock
- Tornadus (Level 70) Weaknesses: Ice, Rock, Electric
- Landorus (Level 70) Weaknesses: Water, Ice
- Enamorus (Level 70) Weaknesses: Electric, Ice, Rock
It's time to take on Tornadus, Thundurus, Landorus, and Enamorus. These four are found as part of Request 94: Incarnate Forces of Hisui, which you unlock by finishing Mission 26 and then speaking with Cogita. Note that you can tackle Thundurus, Tornadus and Landorus in any order you want, but Enamorus will have to wait until last.
Thundurus is found in the ocean area near Sand's Reach, within the Cobalt Coastlands. Thundurus will only appear if there's a thunderstorm. Once it pops up, you'll need to use stunning items to drop Thundurus' barrier before fighting it.
Tornadus is located in the Bonechill Wastelands within the Alabaster Icelands. Tornadus will only appear if there's a snowstorm. Once it shows, use stunning items, as you'll have to drop Tornadus' barrier twice in order to begin a battle.
Landorus is waiting at Ramanas Island in the Obsidian Fieldlands. There's no waiting for a storm this time, just charge forward. Be careful and use stunning items plentifully: You have to take Landorus' barrier down three times in order to fight it.
Now, after catching those three, head back to Cogita. She'll reveal there's a fourth and final Pokémon to catch as part of this request.
Enamorus can be found at the Scarlet Bog in the Crimson Mirelands. Get ready for a literal slog: You have to take Enamorus' barrier down four times before you can fight it and capture it.
Arceus
- Arceus (Level 75) weaknesses: Rock, Ghost, and Steel
At long last, it's time for the titular Arceus. You'll go after this literal god with Mission 27: The Deified Pokémon. To unlock this mission, you have to complete the Pokédex. Once that monumental task is done, head over to Professor Laventon and speak with him. He'll have you head to the Temple of Sinnoh, which is on Mt. Coronet.
The fight against Arceus is spread across four phases, with you hurling balms to calm Arceus before sending in some of your Pokémon to fight. When you finally win, you don't have to worry: Arceus will join you without having to be caught through a Poké Ball.
Caught them all
With Arceus on your team, that's it, at least for now! You'll have finished the Pokédex and collected every Pokémon within Pokémon Legends: Arceus. Bask in the fact that you really did catch them all.

Samuel Tolbert is a freelance gaming writer who started working for iMore and its sister sites Windows Central and Android Central in July 2019. He handles news, previews, reviews, and exclusive original reporting, and has also been featured on TechRadar. With a background studying engineering before he shifted his focus to gaming journalism, he's skilled at identifying technical advantages and disadvantages provided by different hardware. If he’s not writing something, he’s off playing video games, spending time with his pets, exercising, or reading. He's also fond of trying to draw things with his iPad.
