How to stream Switch on Twitch with a capture card
You can literally spend hundreds of hours playing the best Nintendo Switch games since there are so many to choose from. If you're already playing all of the time, why not let other people see what you're up to? If nothing else, it's fun having other people see your reactions when you're chased by a giant monster or you just barely beat a boss. All you need is a capture card such as one of the best Mac compatible capture cards, some screen capture software, and a decent computer or laptop. Here's how to stream your games on Twitch using your Nintendo Switch.
Products used in this guide
- Capture Card: Elgato HD60 S ($180 at Best Buy)
- Streaming software: OBS Studio (Free at OBS)
- A good game: Animal Crossing: New Horizons ($60 at Best Buy)
How to stream Switch on Twitch
Note: You cannot stream from a Nintendo Switch Lite by using this method.
The equipment you need to stream on Twitch
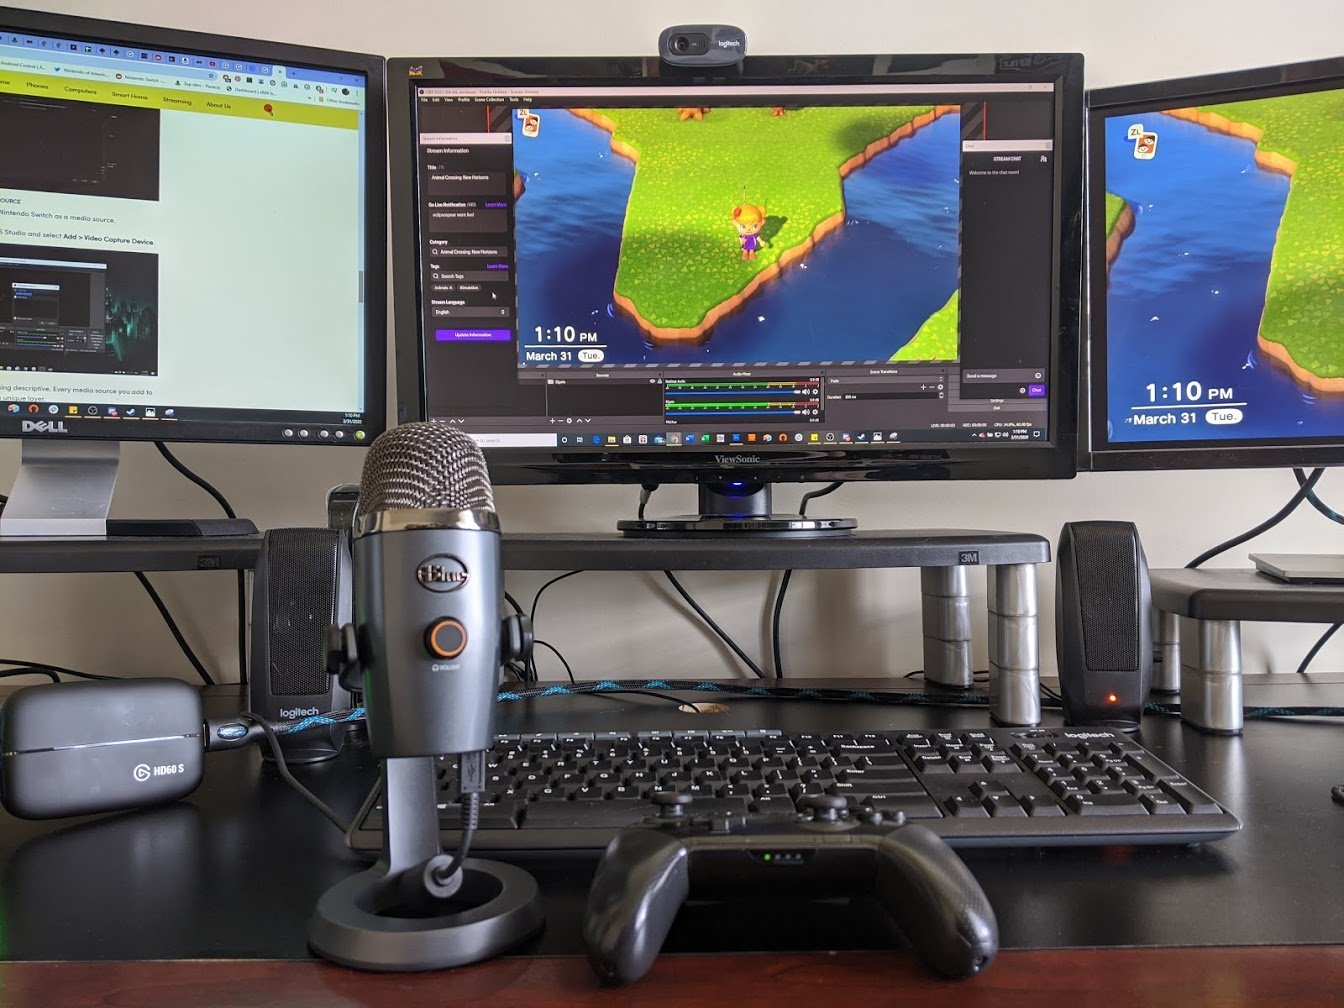
You'll need equipment and software to stream your gameplay successfully. While not everything on this list is vital, some of the equipment will definitely make things easier for you.
Required
- Computer or Laptop - It needs to be powerful enough that it won't freeze or run too slowly while you're streaming. Additionally, this computer must have a USB 3.0 port to be compatible with the capture card.
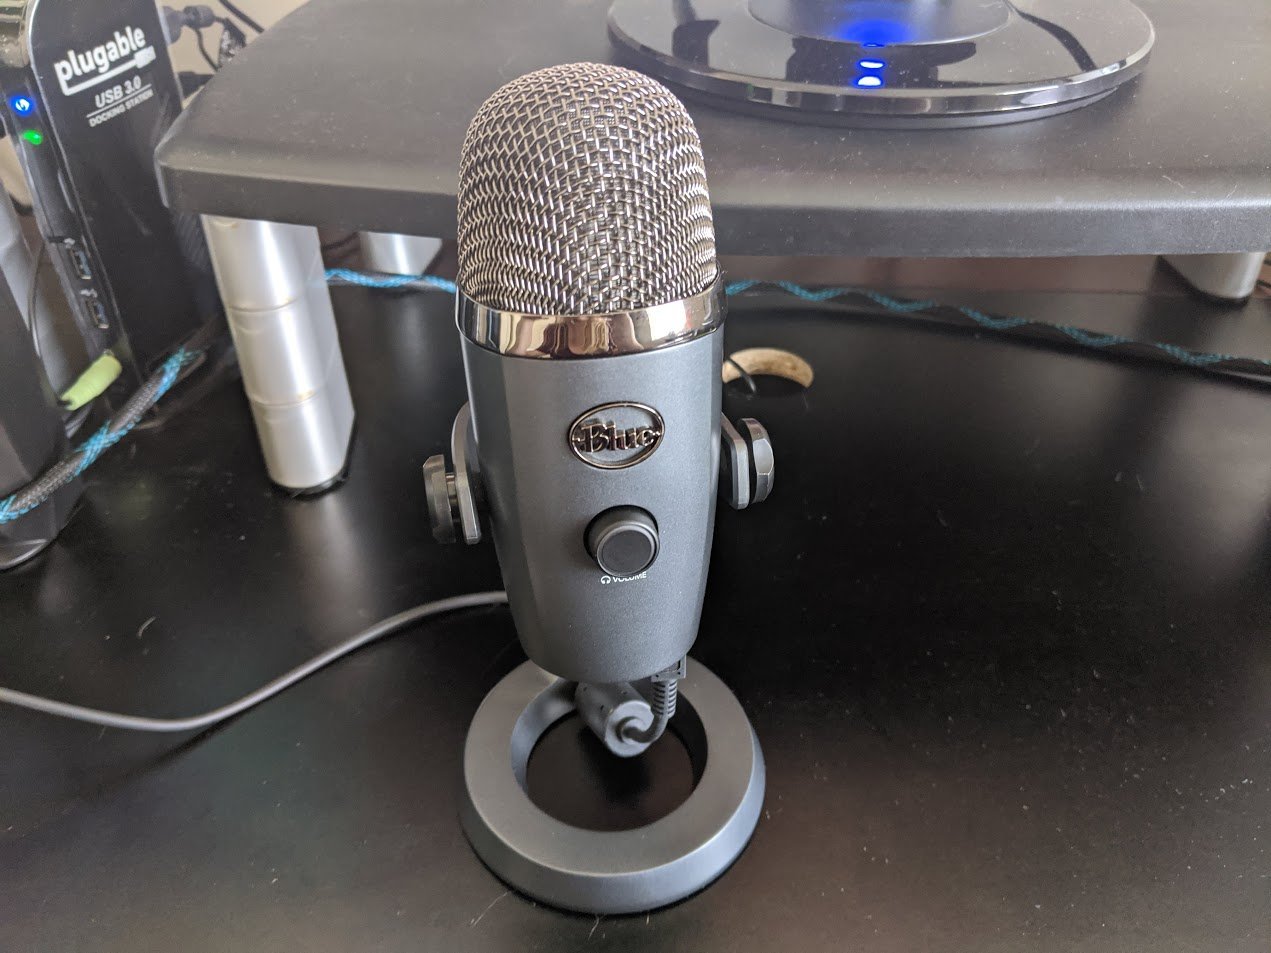
- Microphone - This can be either a quality headset or a standalone mic. You just want to make sure that any voice recordings you do while playing come through clearly for your audience to hear.
- Capture Card - Since the Nintendo Switch doesn't support internal streaming, you'll need to purchase a capture card. I personally recommend the Elgato HD60 S, a phenomenal choice that works with several different gaming platforms.
- HDMI cable - You'll need to supply an HDMI cable and run it to your monitor or TV.
- Nintendo Switch Dock - You're going to be hooking cables into this device.
Recommended
- Webcam - If you intend to film yourself while you play, then it's best to have a camera that can support HD.
- Lighting - To look your best while streaming, you might want to pick up some lighting devices. Otherwise, it could be hard for viewers to see your face.
How to set up the capture card
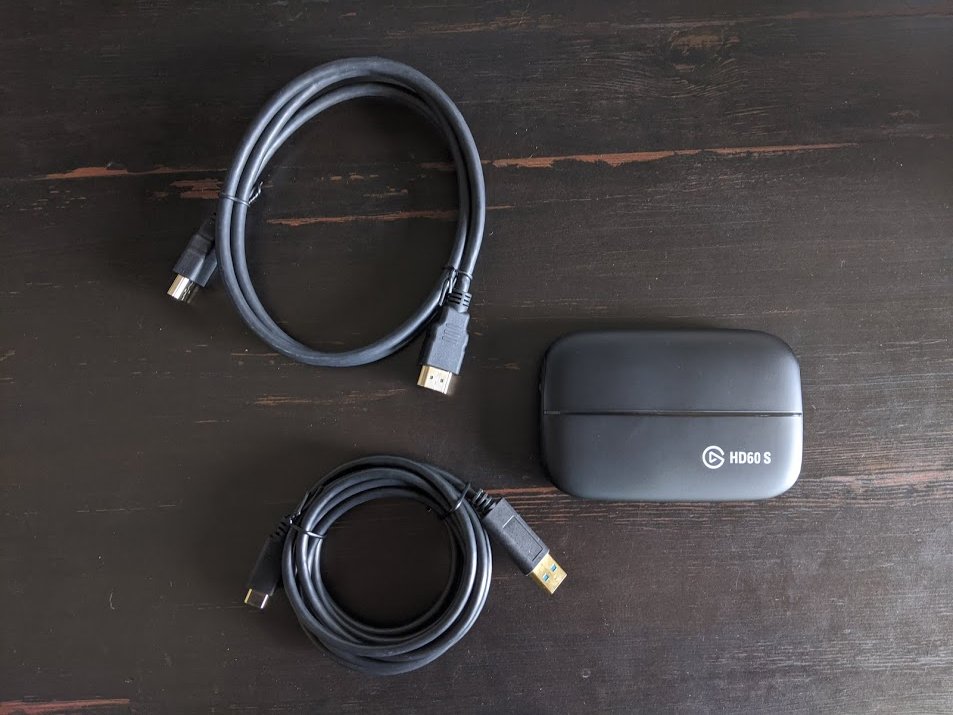
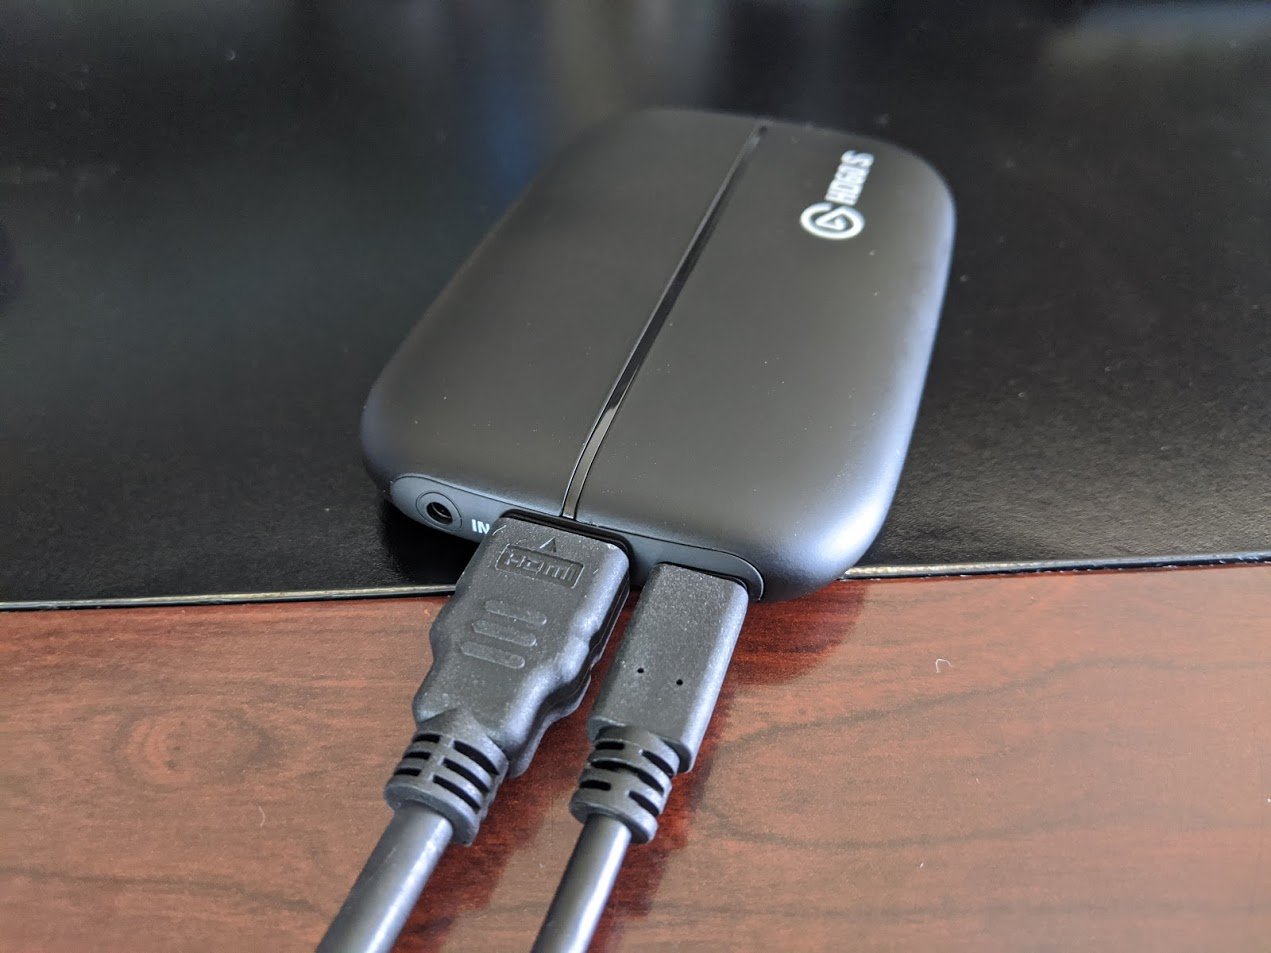
- The Elgato HD60 S comes with both a USB-C to USB 3.0 cable as well as an HDMI cable. Plug the USB-C cable into the Elgato's USB-C port.
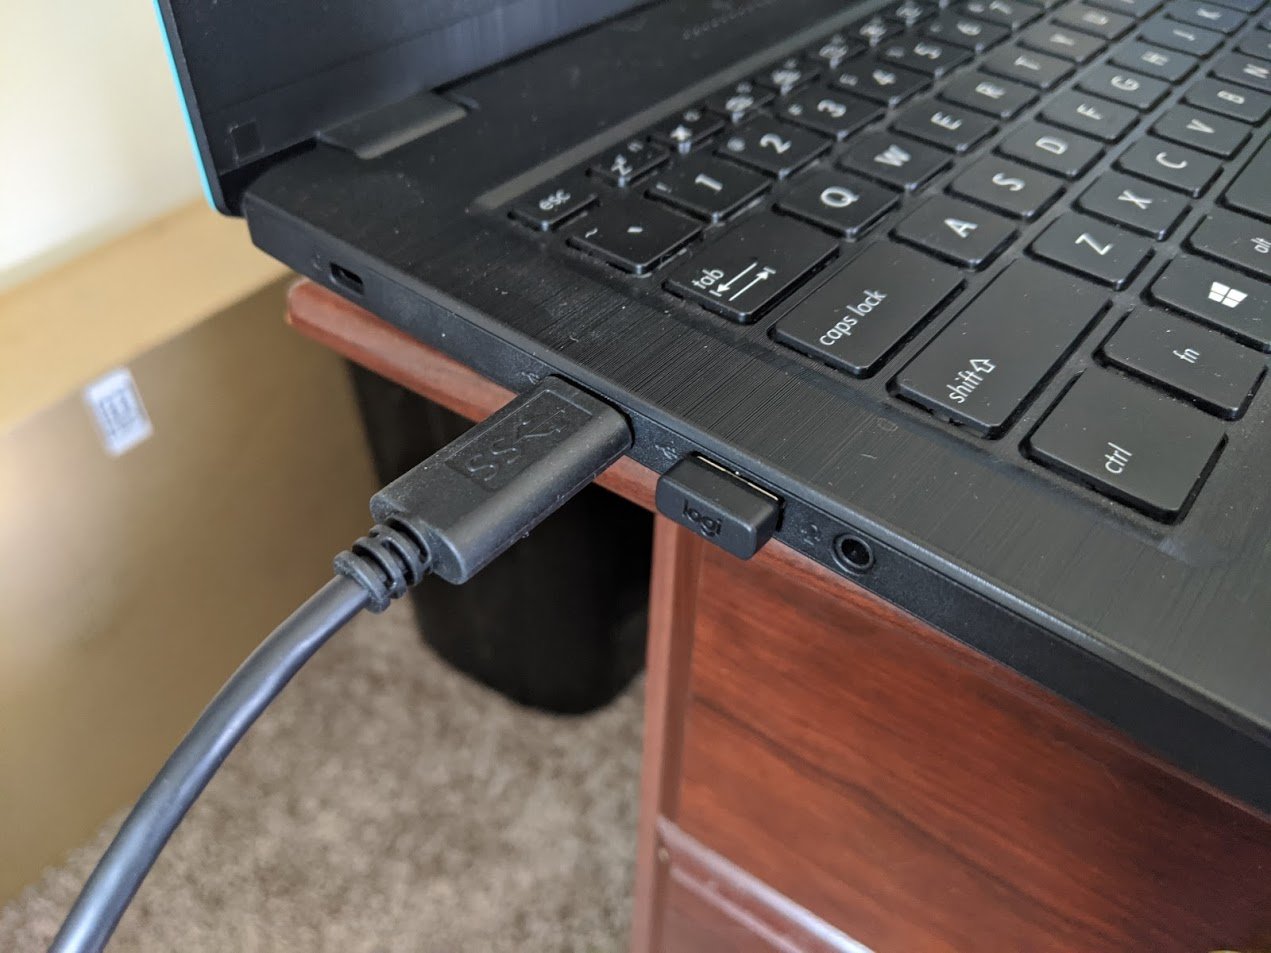
- Plug the USB 3.0 end of the cable into your computer or laptop. It must be plugged into a USB 3.0 port, or else the Elgato won't function properly.Source: Rebecca Spear / iMore
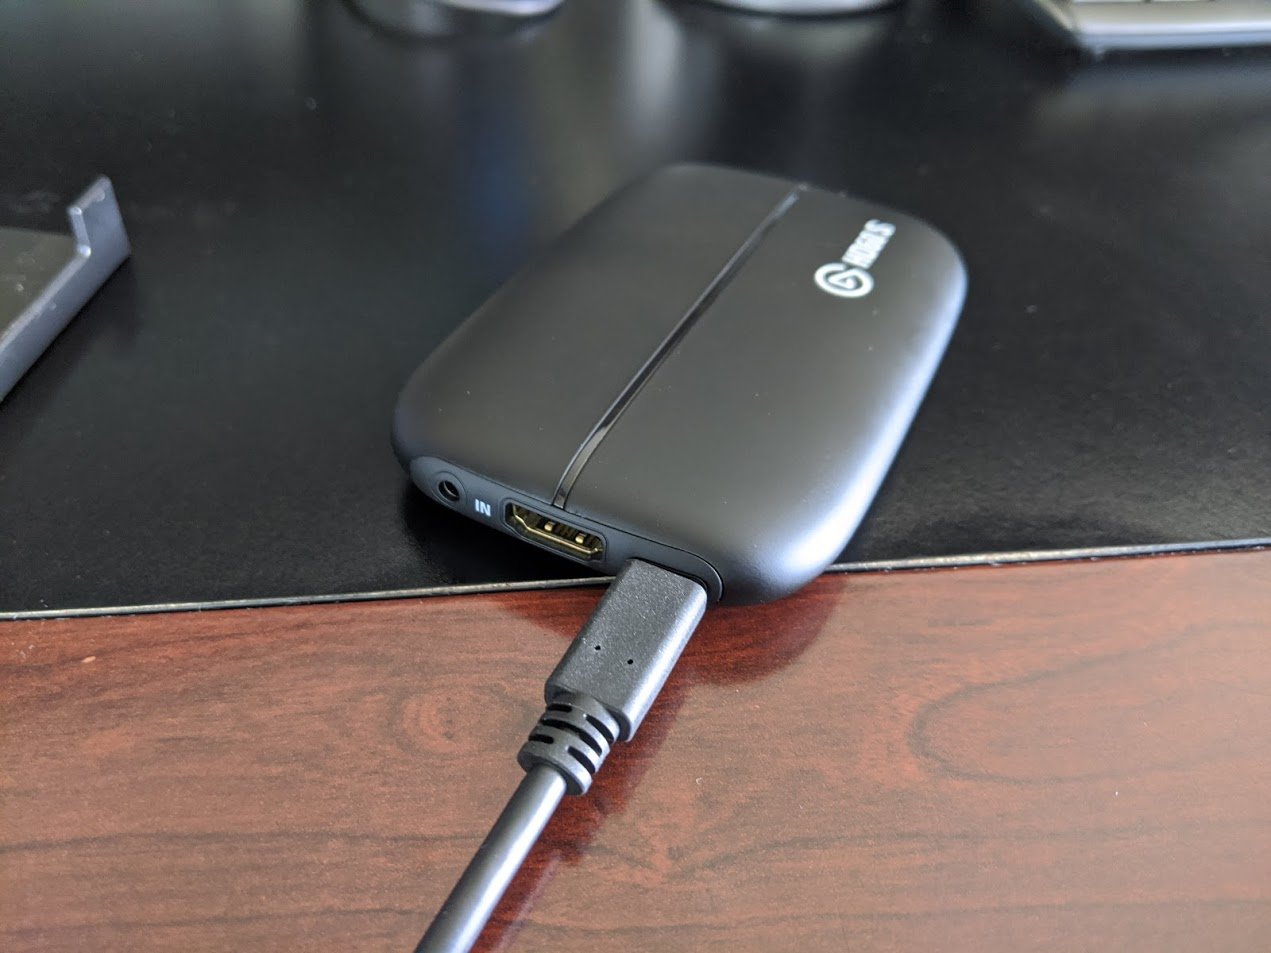
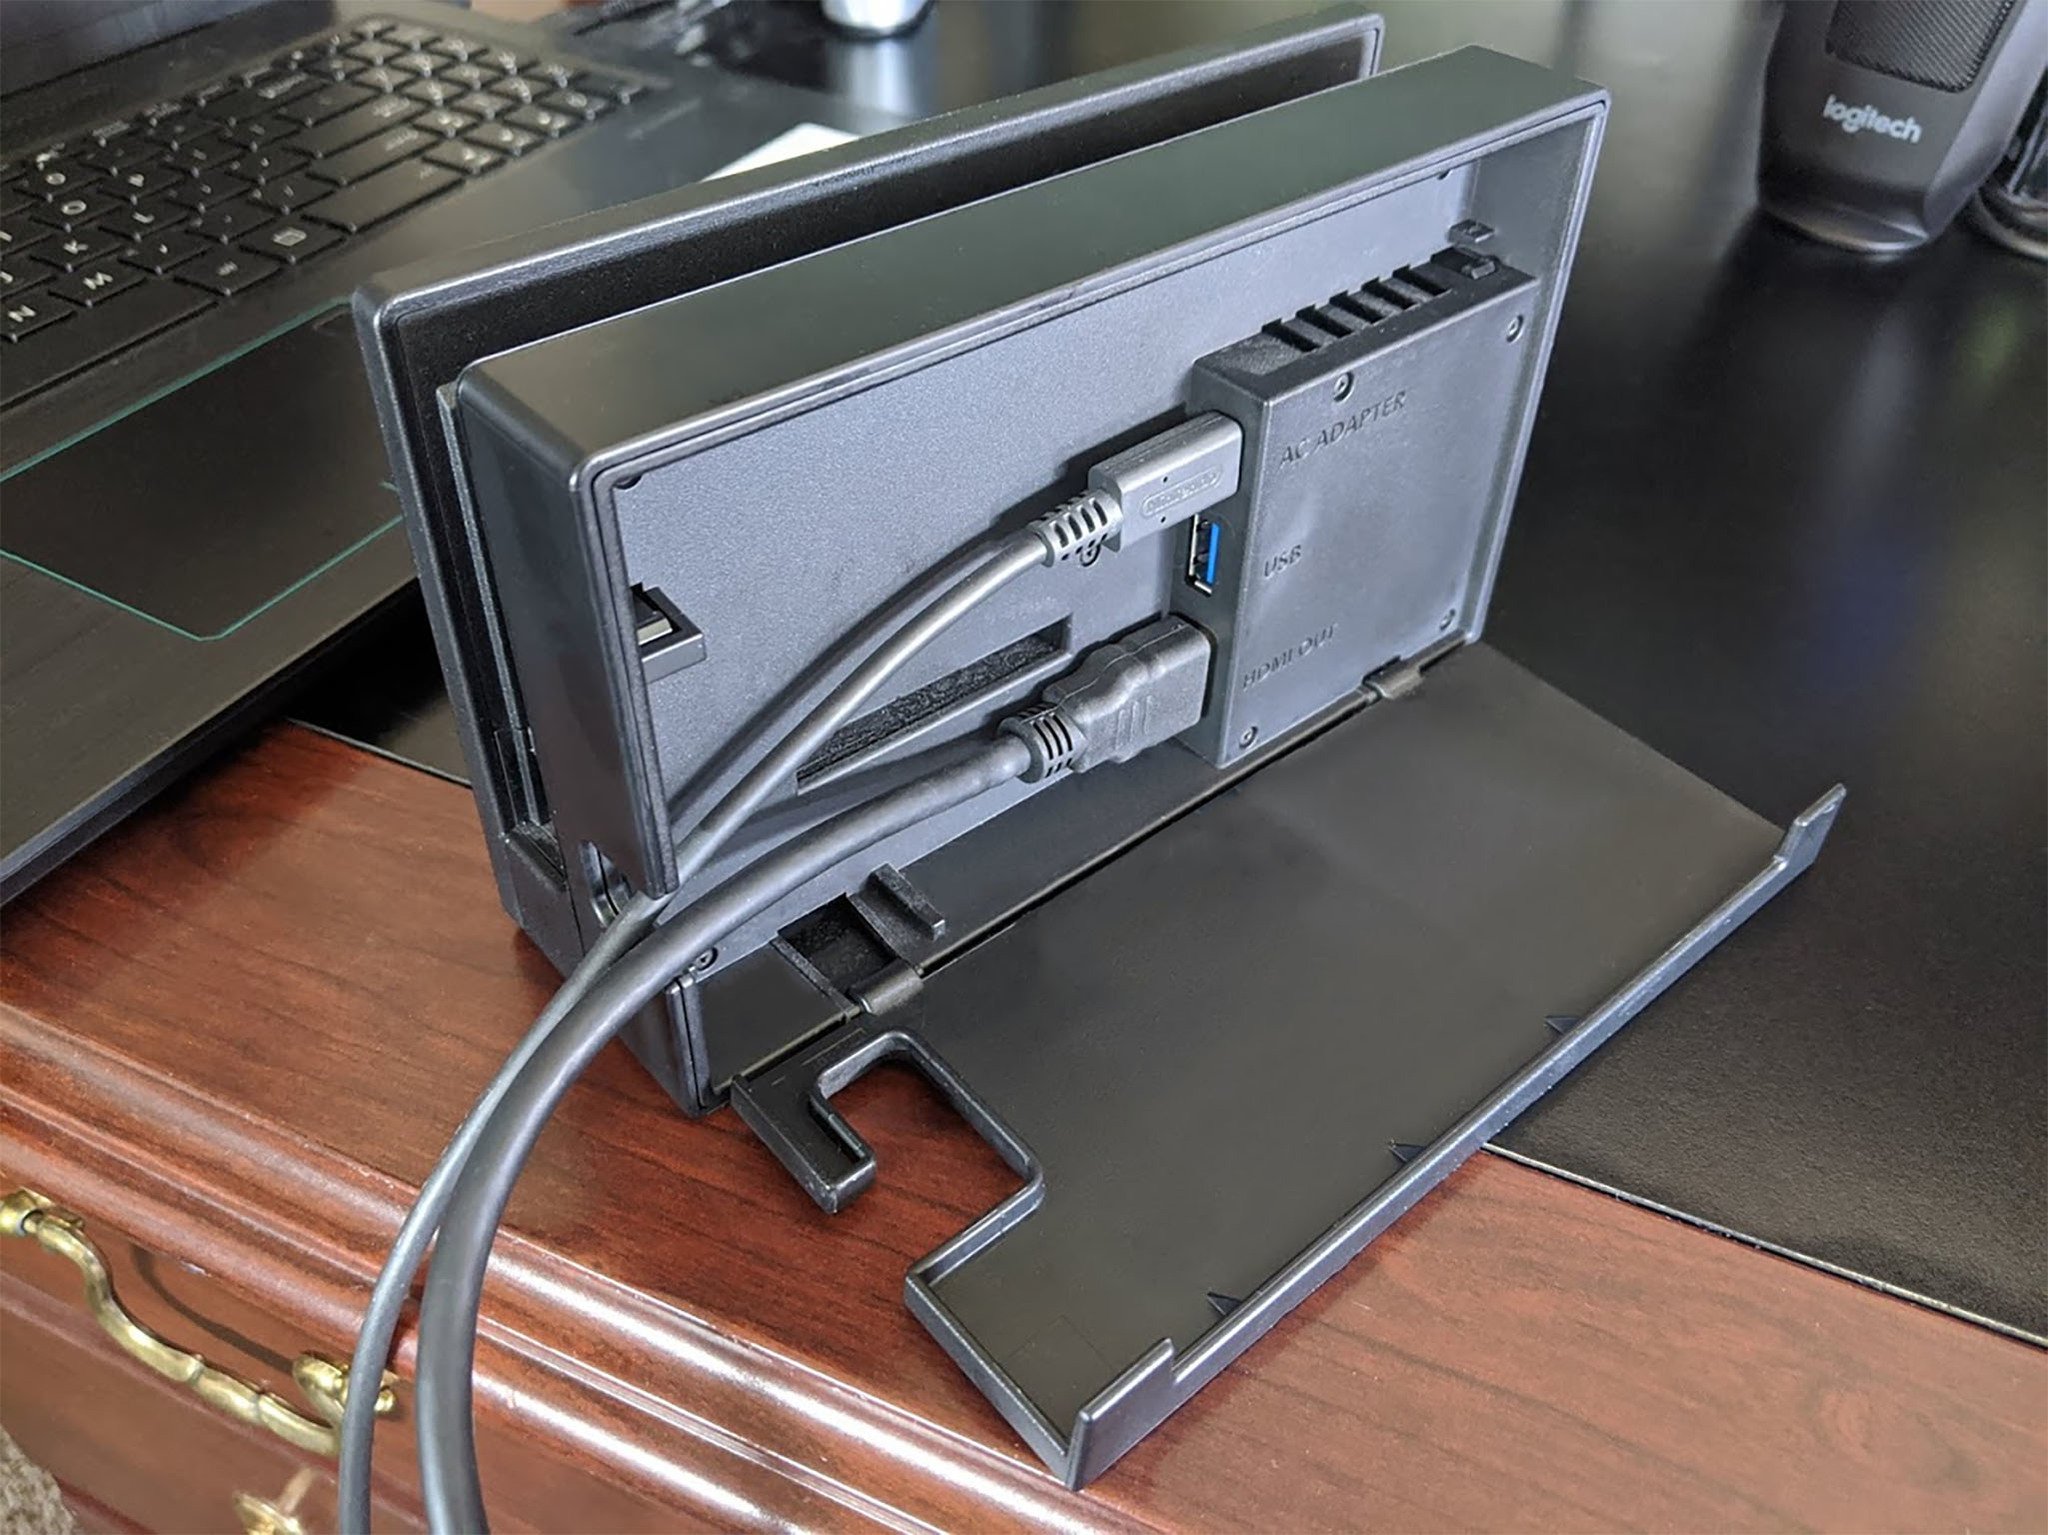
- Plug one end of the HDMI cable that came with the Elgato into the Switch Dock.
- Plug the other end of this HDMI cable into the Elgato's HDMI IN portSource: Rebecca Spear / iMore
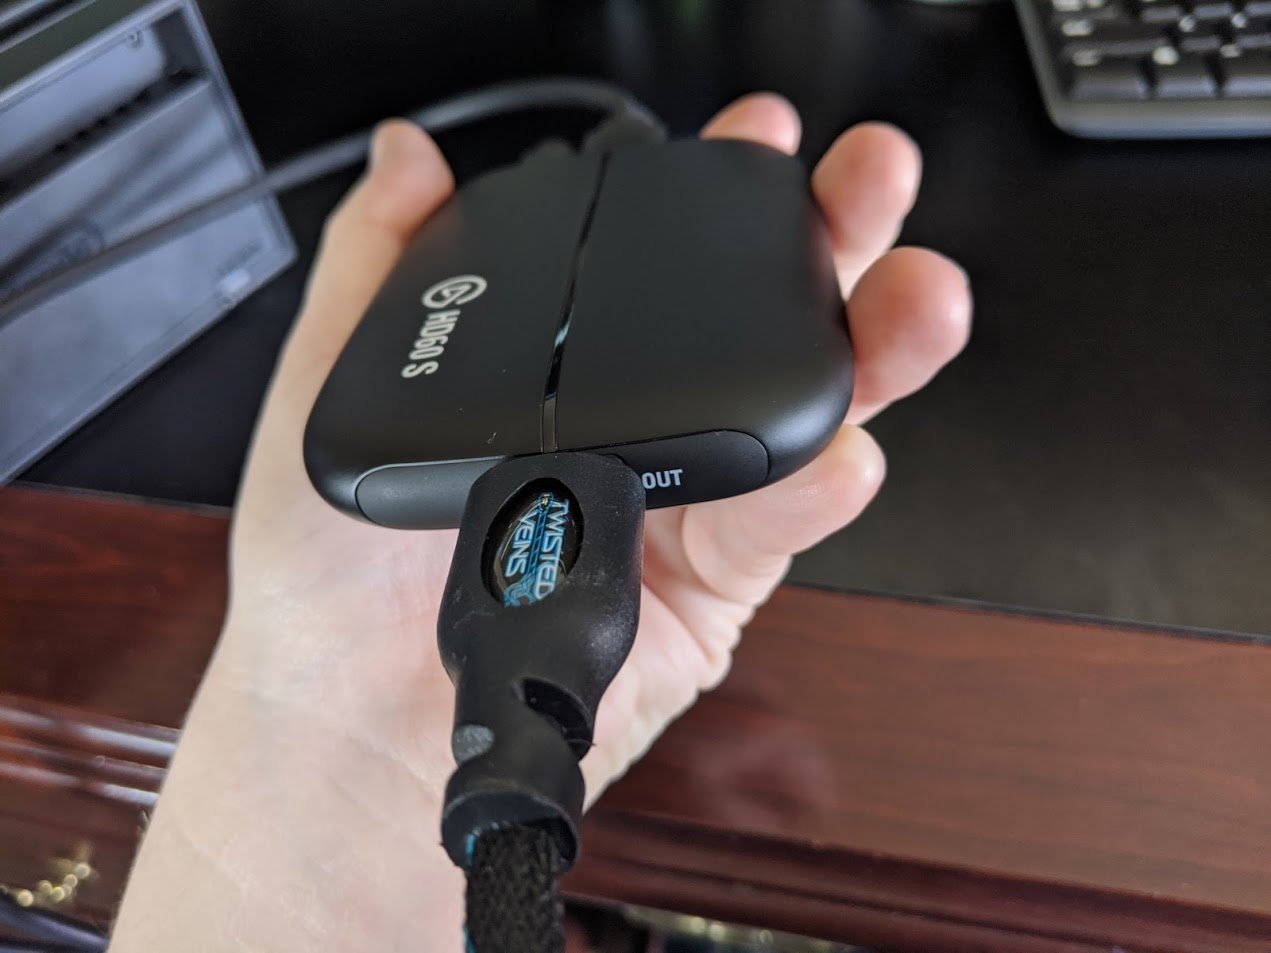
- Grab another HDMI cable and plug it into the HDMI OUT port.
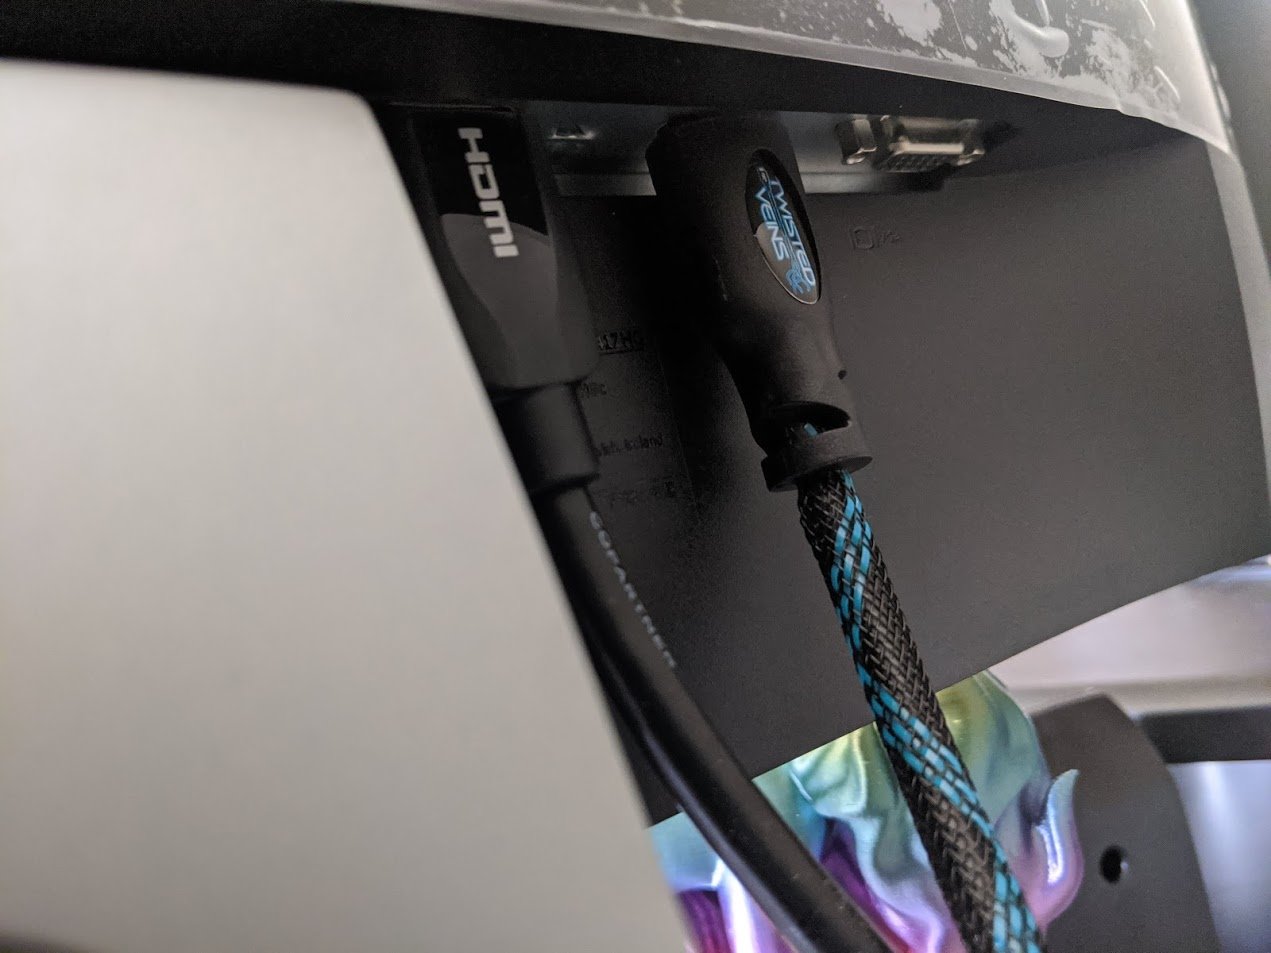
- Plug the other end of this second cable into your monitor or TV.Source: Rebecca Spear / iMore
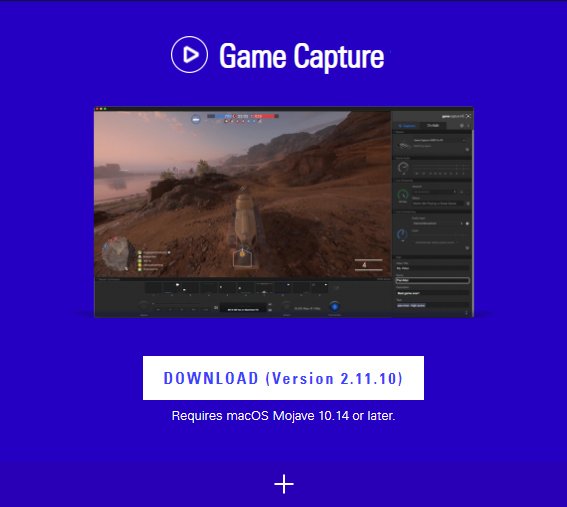
- Download Elgato Game Capture. I don't like using the Elgato software when streaming, but downloading it to your computer makes it easier to use the device with other streaming software.
How to download and set up the streaming software
While Elgato has its own software that you can use for streaming, I find that OBS Studio is better to use. Plus, it's free! Here's how to download and set up OBS Studio.
- Download OBS Studio. Your computer might start acting strangely after downloading the software. If that's the case, make sure to restart your computer, and that should hopefully fix the issue.
- If you don't already have a Twitch account, create one now.
- Open OBS Studio after the program has finished downloading on your computer.
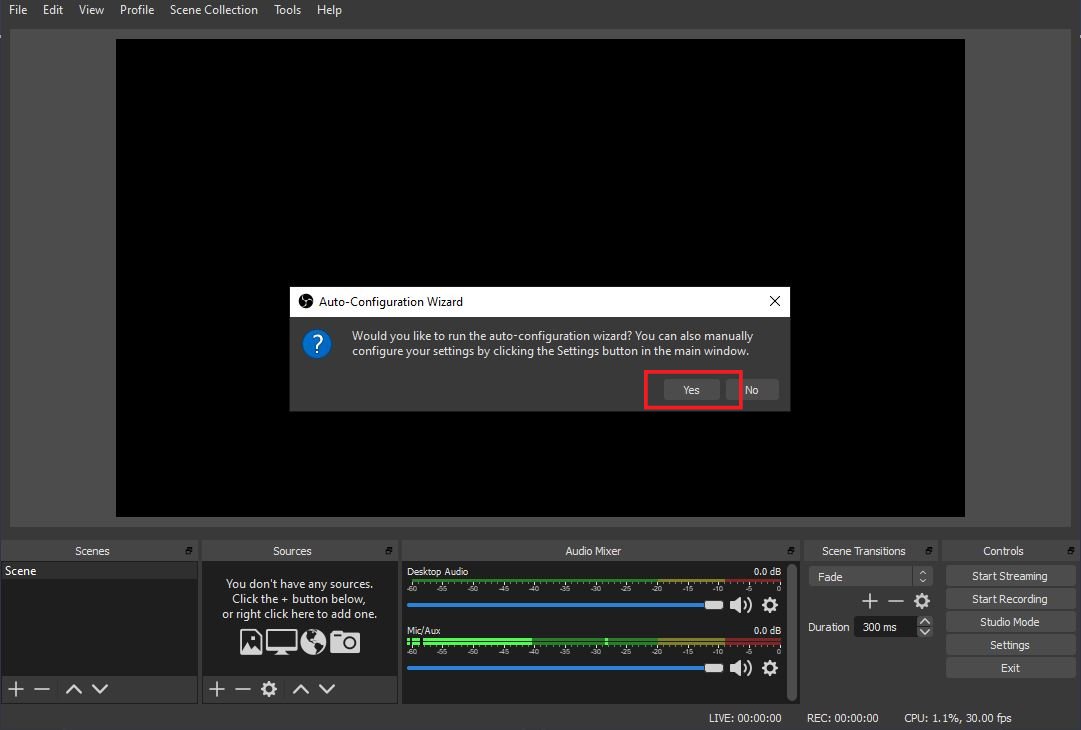
- The auto-configuration wizard will pop up. Select Yes.
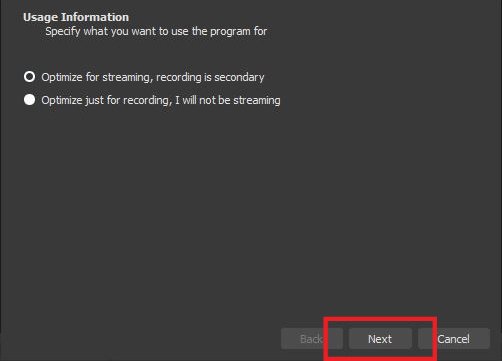
- The Usage information window will appear. Make sure that Optimize for streaming, recording is secondary is selected, and then click Next.Source: iMore
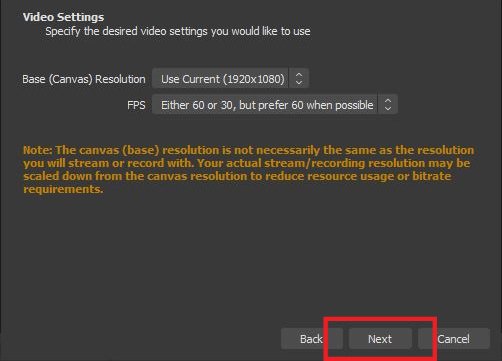
- If possible, you'll want to stream with the settings we have here. If that's not going to work, then adjust the resolution and FPS accordingly. Select Next when done.
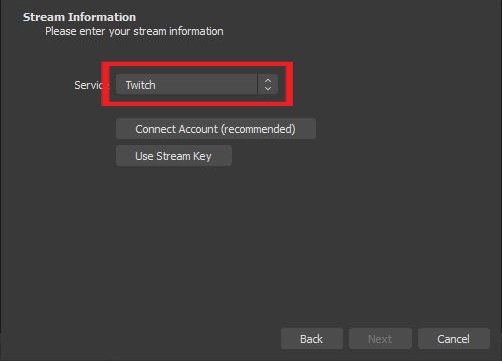
- Choose the streaming service you want to use. The software automatically defaults to Twitch, but you can also select several other options.Source: iMore
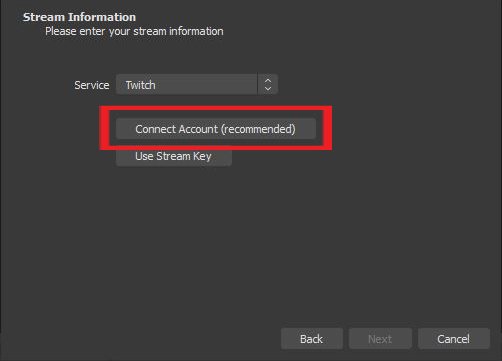
- Click on Connect Account.
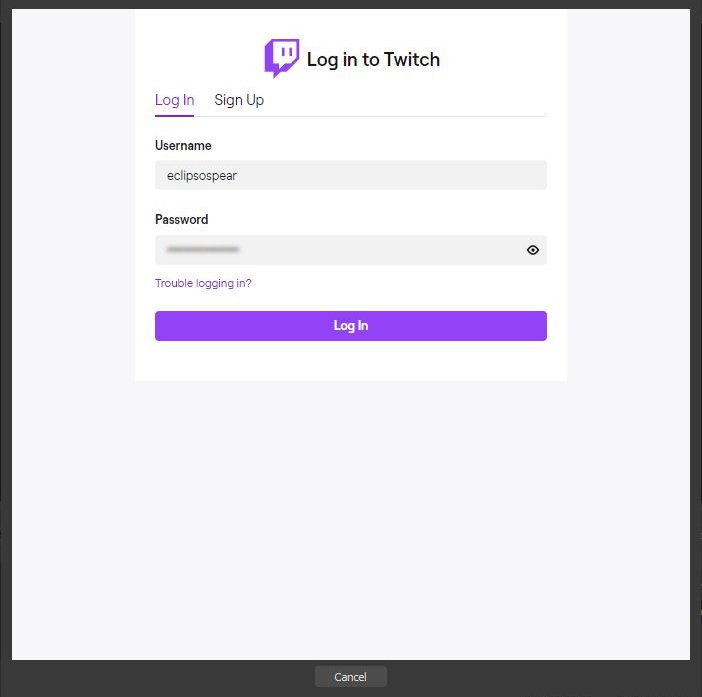
- A login window will appear. Enter your information and then click Log In.Source: iMore
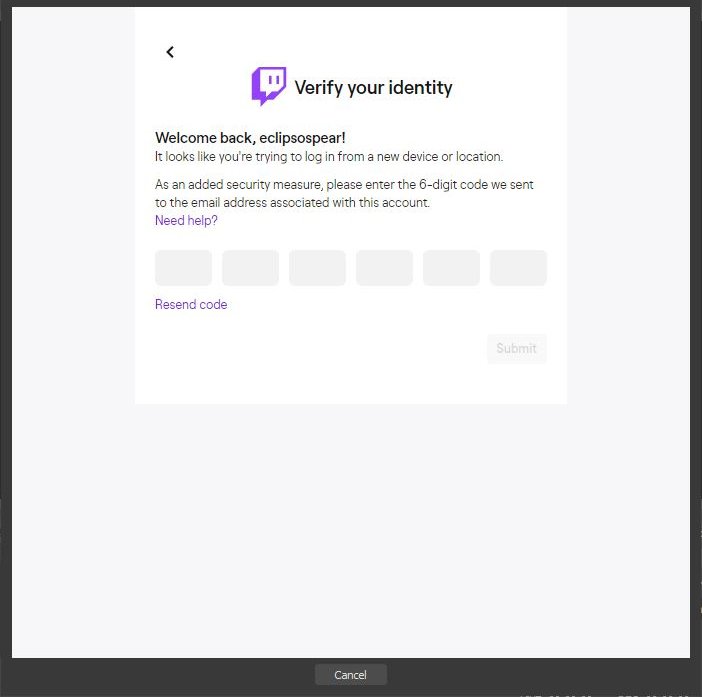
- A 6-digit code will get sent to the email that's connected to your Twitch account. Check your email and then enter the code.
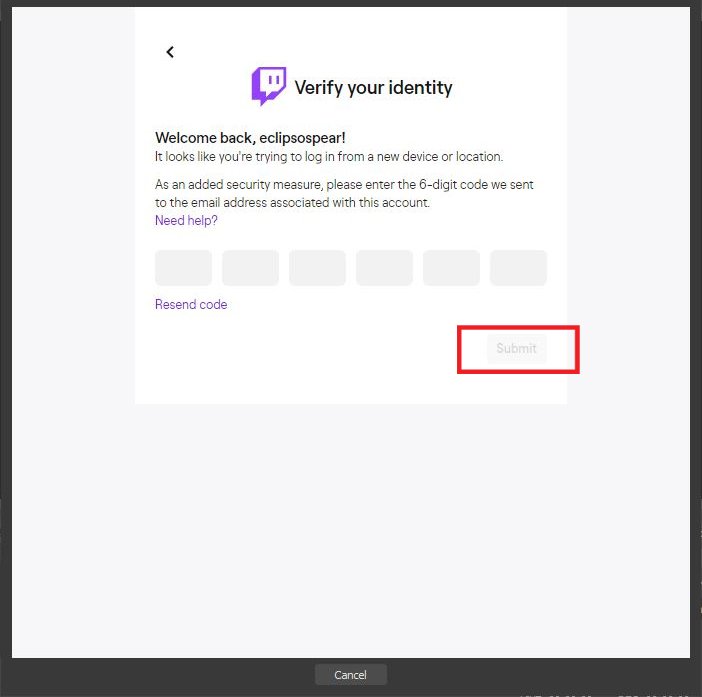
- Select Submit.Source: iMore
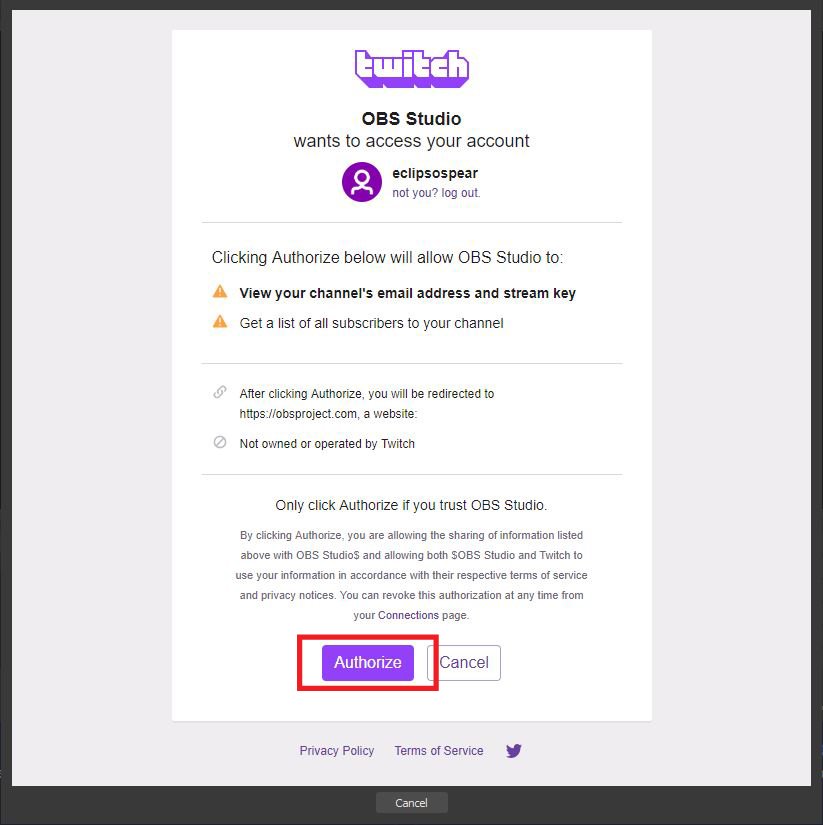
- Another window will pop up. Select Authorize.
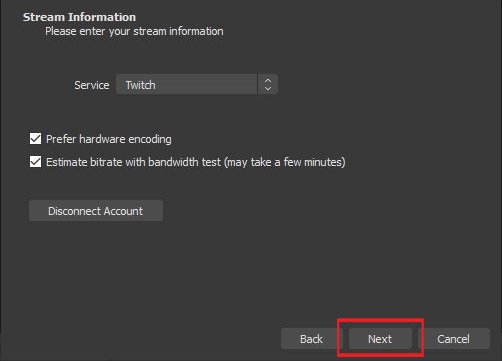
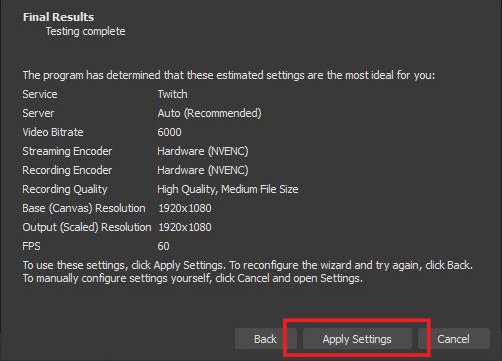
- If these settings work for you, select Next.Source: iMore
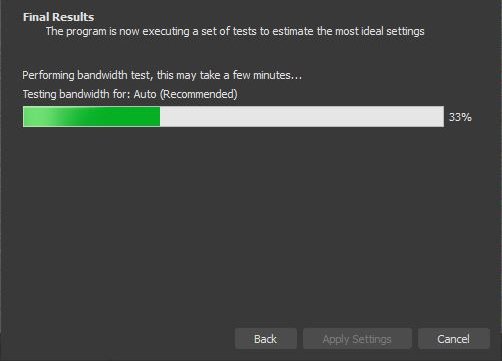
- Wait for OBS Studio to finish configuring your settings.
- Now select Apply Settings.Source: iMore
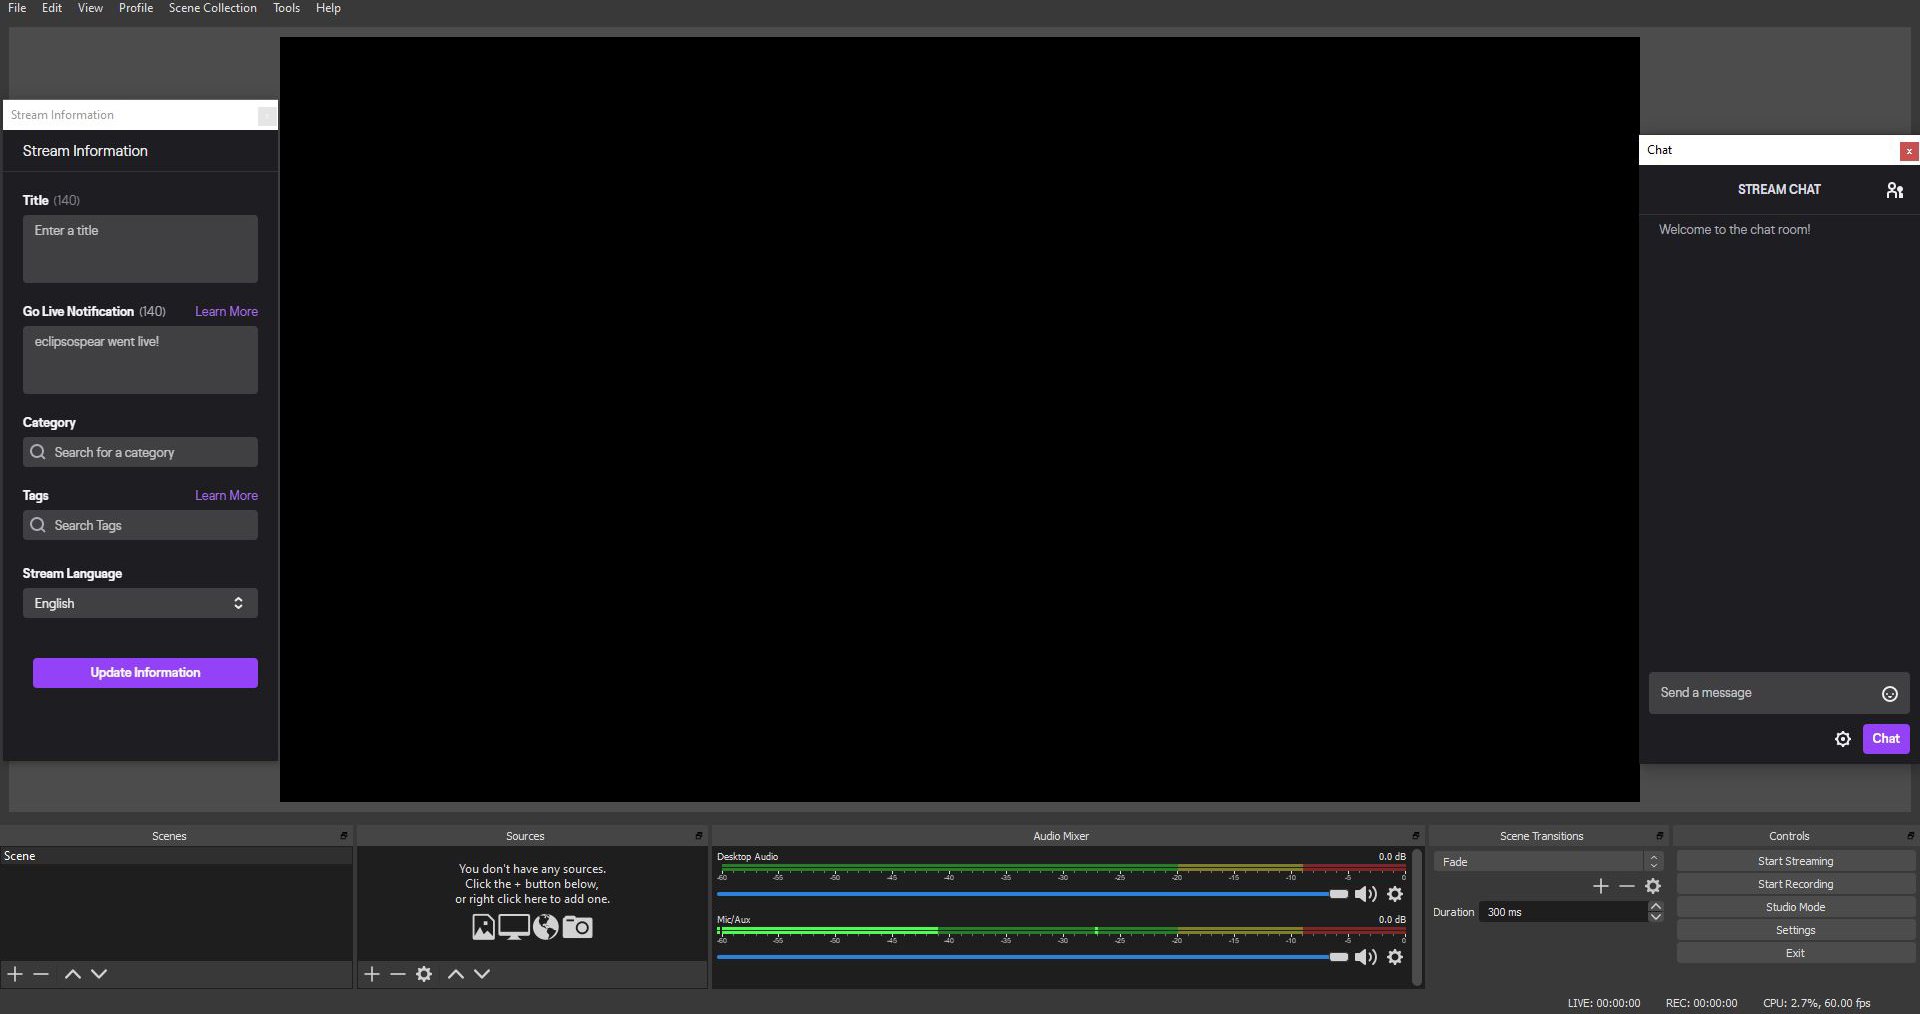
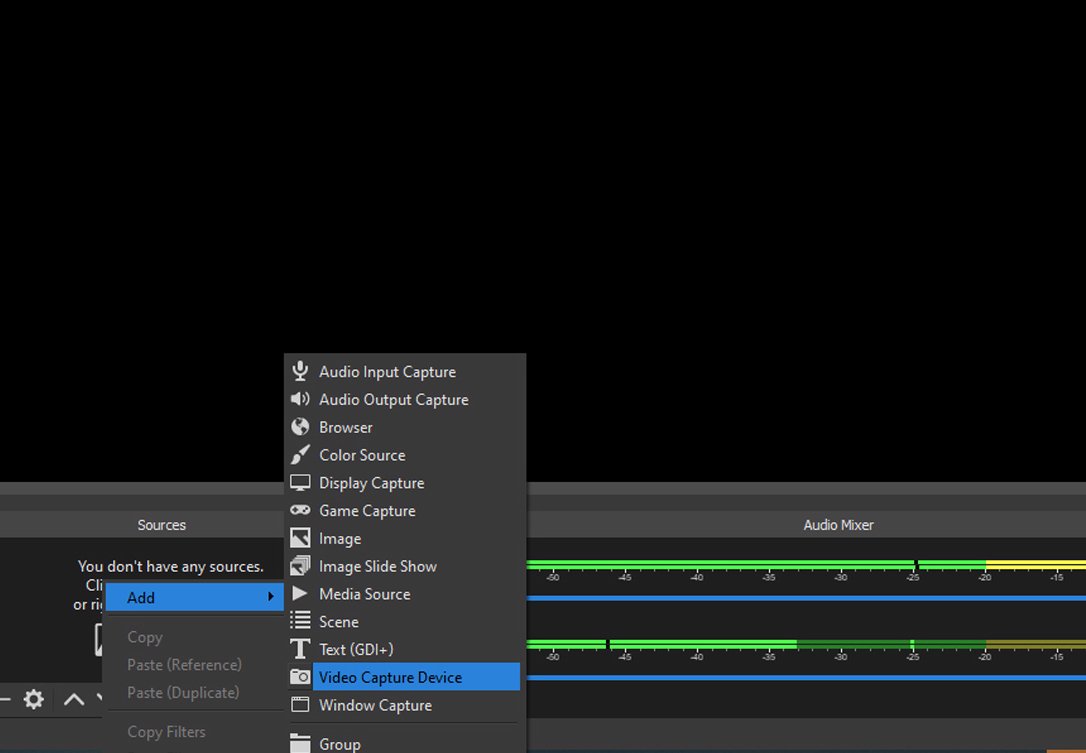
- Now we're ready to set everything up. You'll see a window on the screen that's labeled Sources. Right-click within this window.
- Select Add > Video Capture Device.Source: iMore
- If you like, go ahead and name the device.
- Select OK.Source: iMore
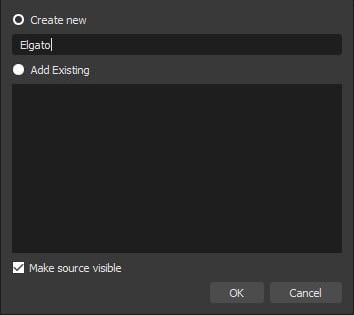
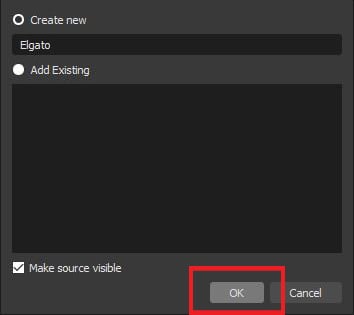
- Now we need to adjust some settings. First, change the Device tab to Elgato Game Capture HD.
- Next click on Resolution/FPS Type and change the setting to Custom.Source: iMore
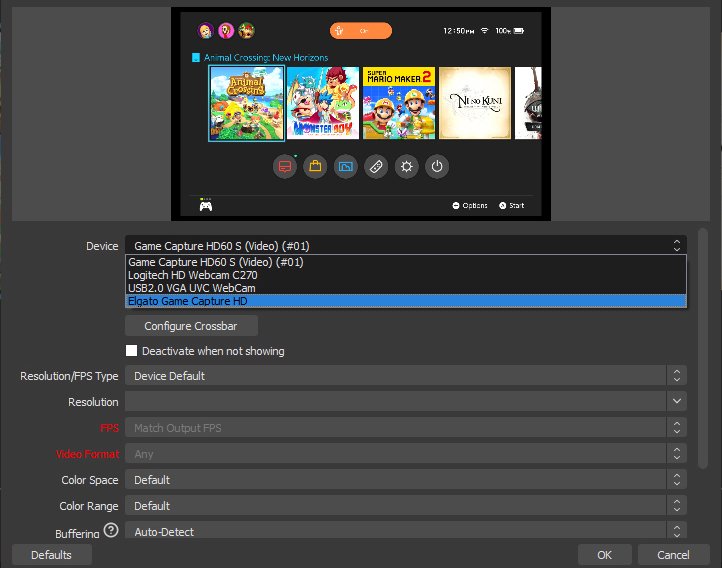
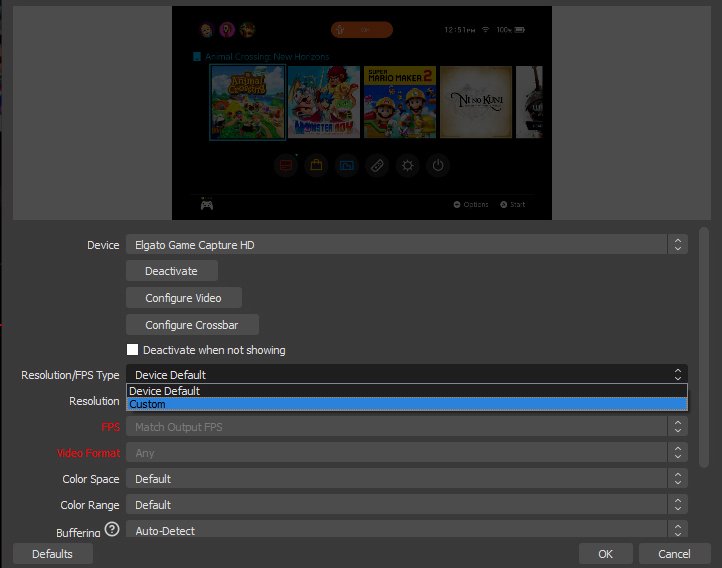
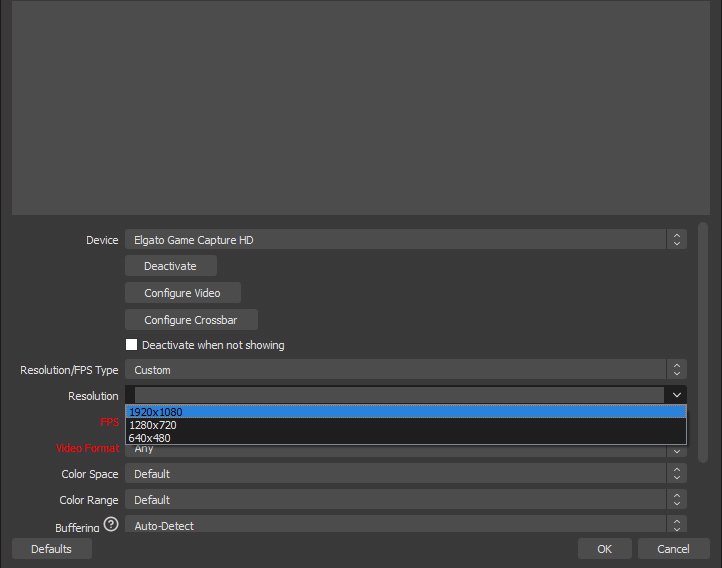
- Now select 1920x1080 from the Resolution dropdown menu.
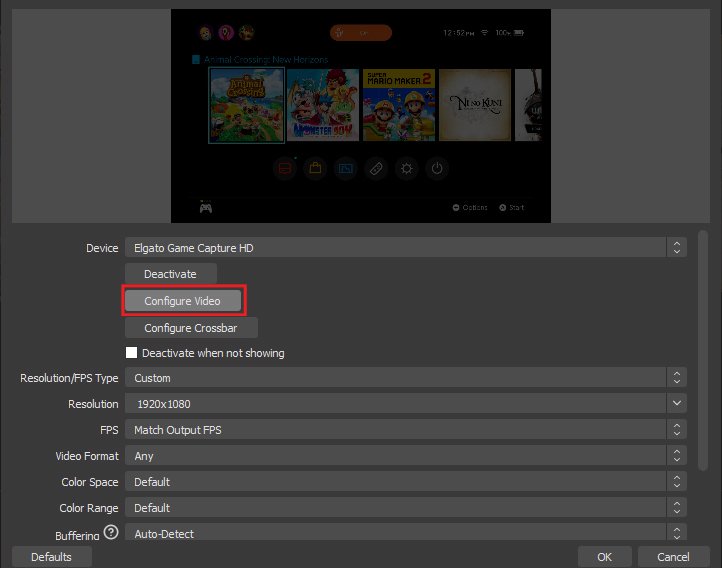
- Next, click on Configure Video.Source: iMore
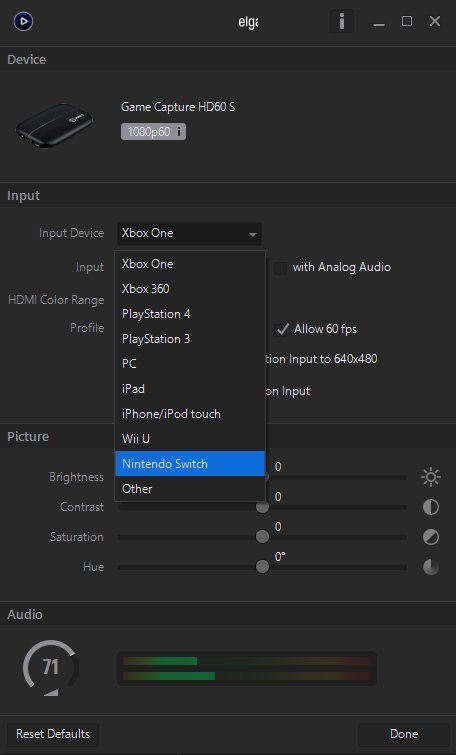
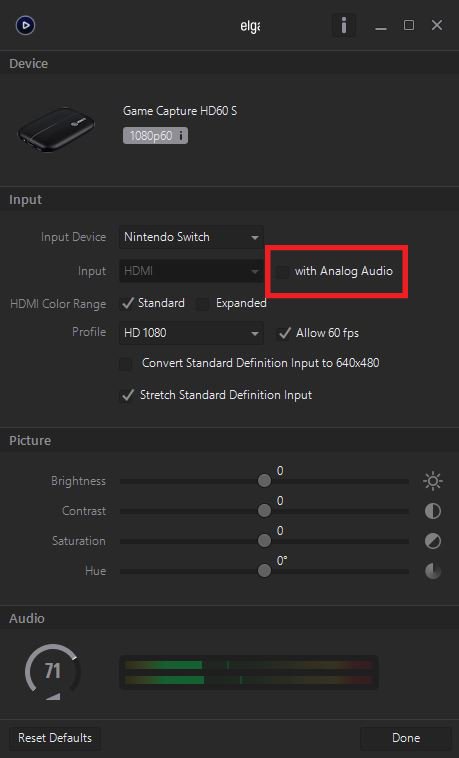
- Change Input device to Nintendo Switch.
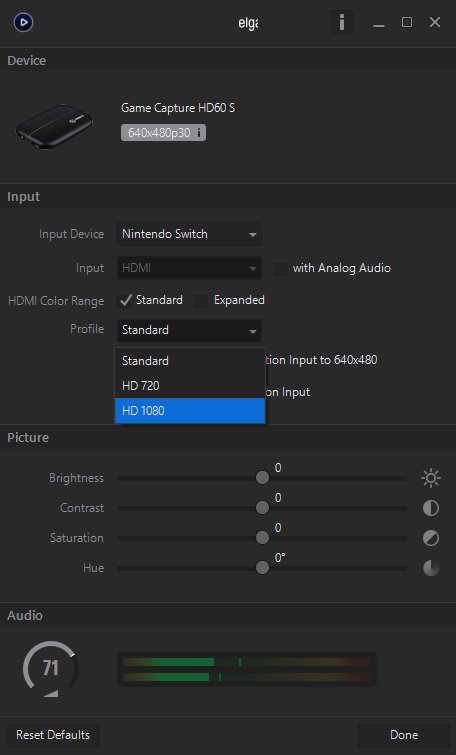
- Change Profile to HD 1080.Source: iMore
- Make sure that the "with Analog Audio" section is unchecked. This allows you to hear your game's sound through your speakers or headset.
- Next, we want to make sure that the images captured from your Switch are displayed to their best advantage. Right-click on the device you recently added to the Sources window.

- Select Transform > Edit Transform.
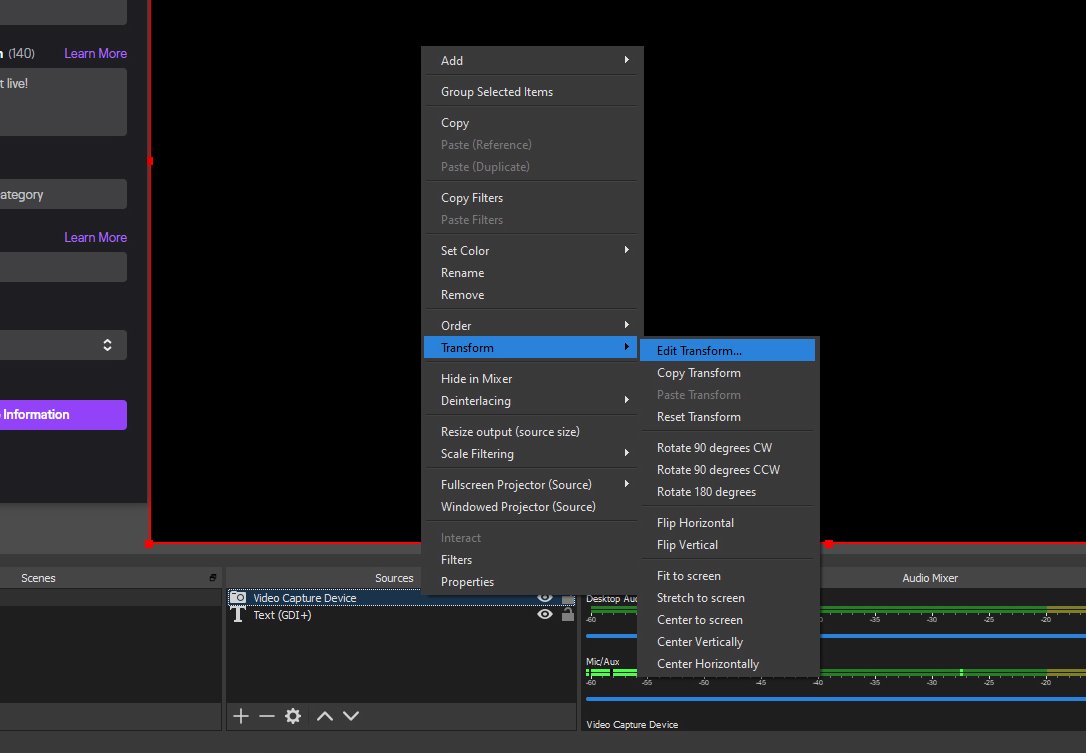
- Enter the same information found here into your own software.
- Position (box one): 960.000
- Position (box two): 536.000
- Rotation: 0.00
- Size (box one): 2133.0000
- Size (box two): 1232.0000
- Positional Alignment: Center
- Alignment in Bounding Box: Center
- Bounding Box Type: No Bounds
How to stream your Switch gameplay
You must have completed all of the steps in the previous two sections to start streaming.
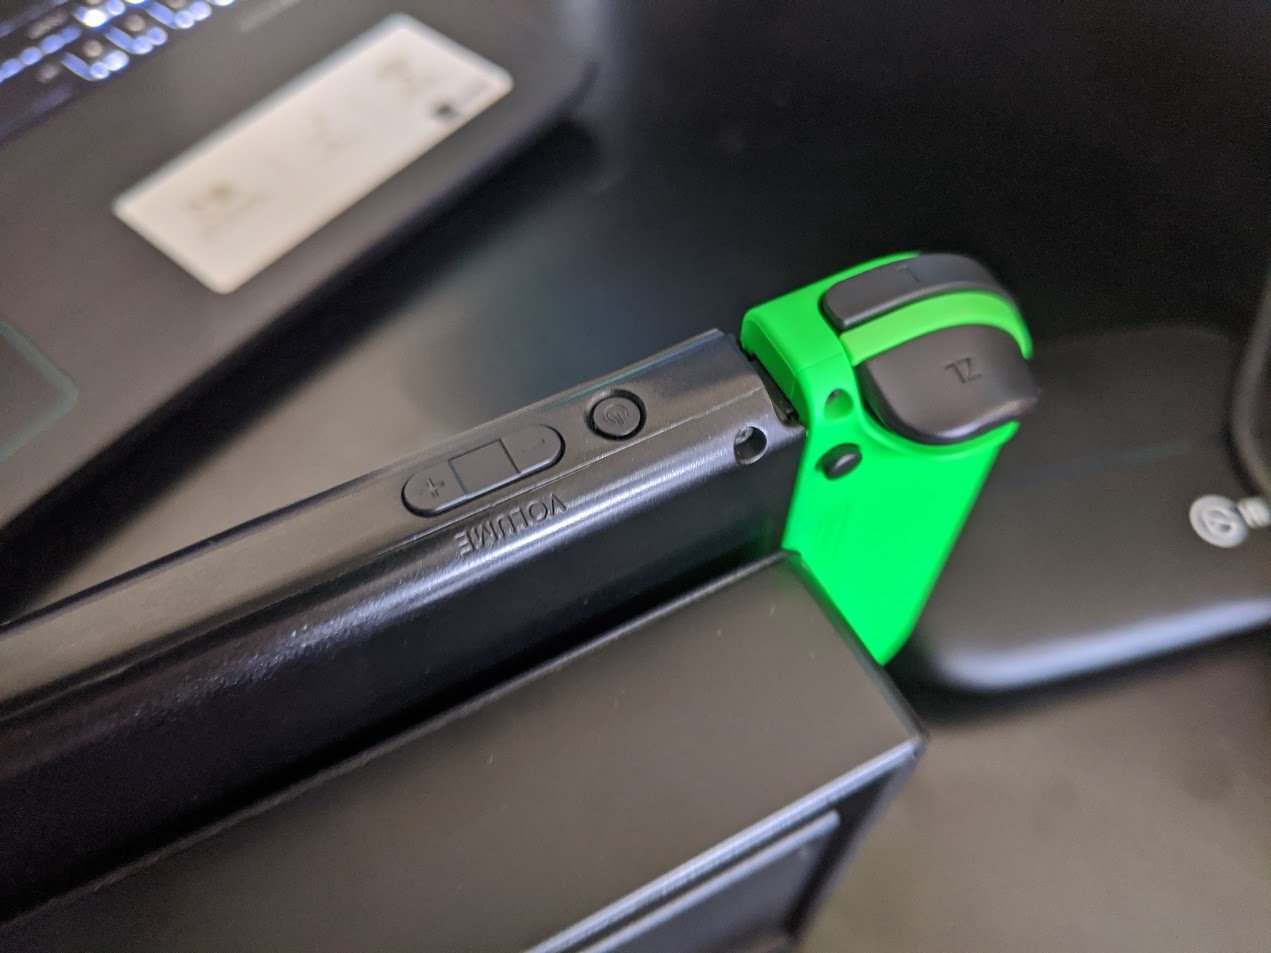
- Turn on your Nintendo Switch.
- Make sure your mic or headset is connected and ready to go.Source: Rebecca Spear / iMore
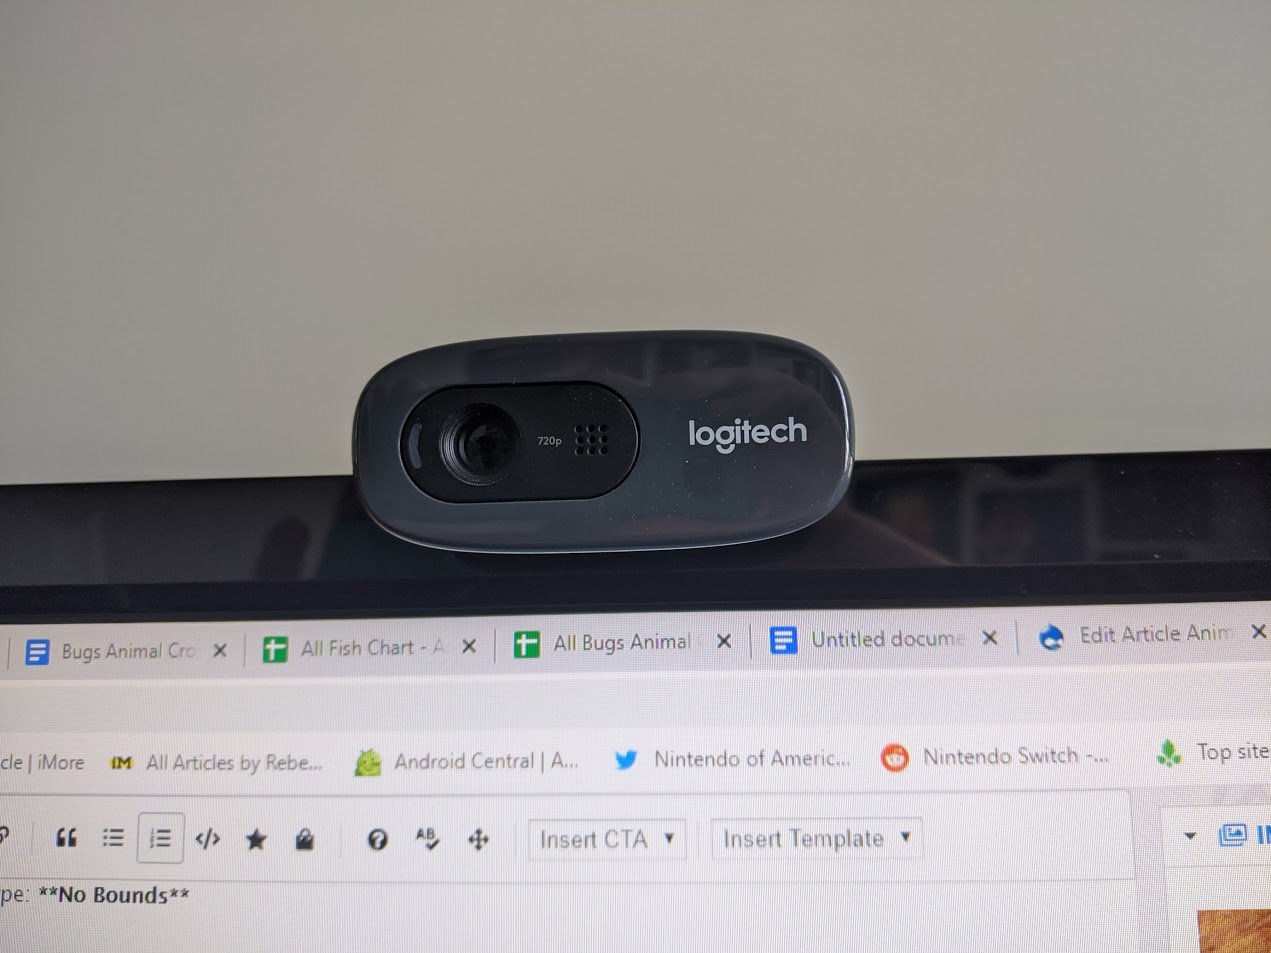
- Make sure your webcam is positioned in such a way that you are displayed well on screen.
- Open OBS Studio.Source: Rebecca Spear / iMore and iMore

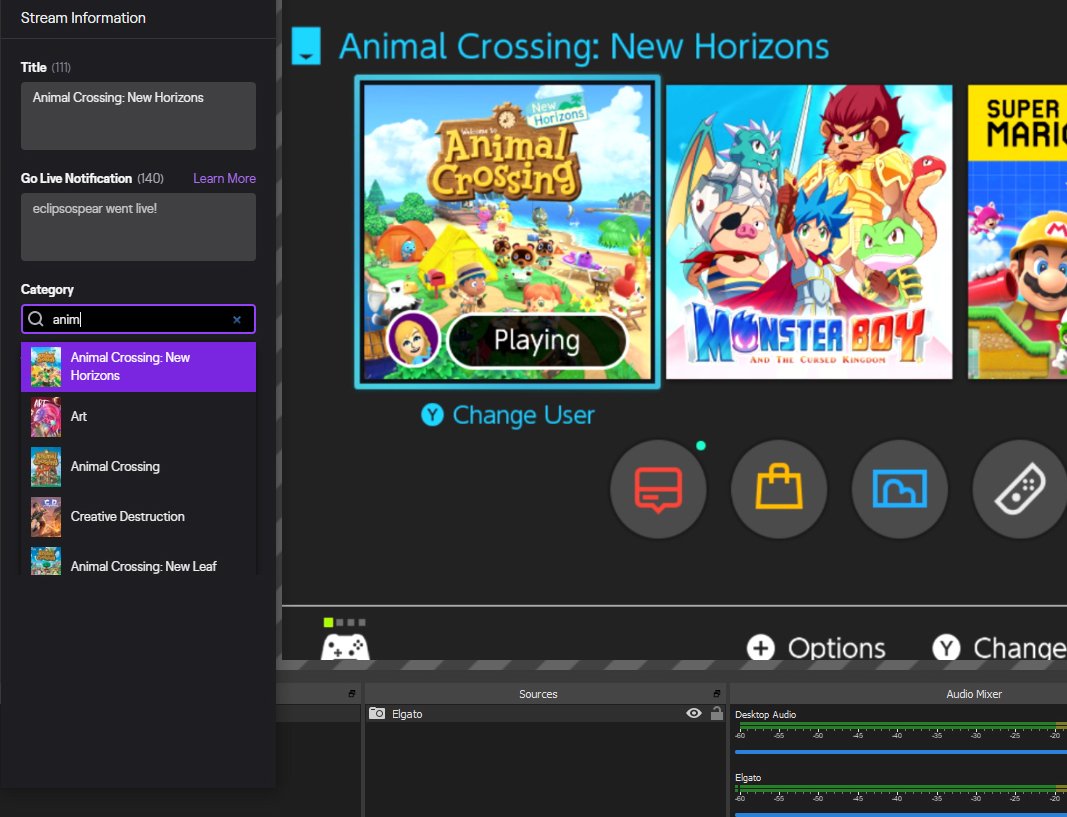
- If you want to make it easier for players to find your videos, you'll want to enter information into the Stream Information tab within OBS Studios. For instance, I titled my stream "Animal Crossing: New Horizons," added the Category as Animal Crossing: New Horizons and then added two tags: Animal and Simulator.
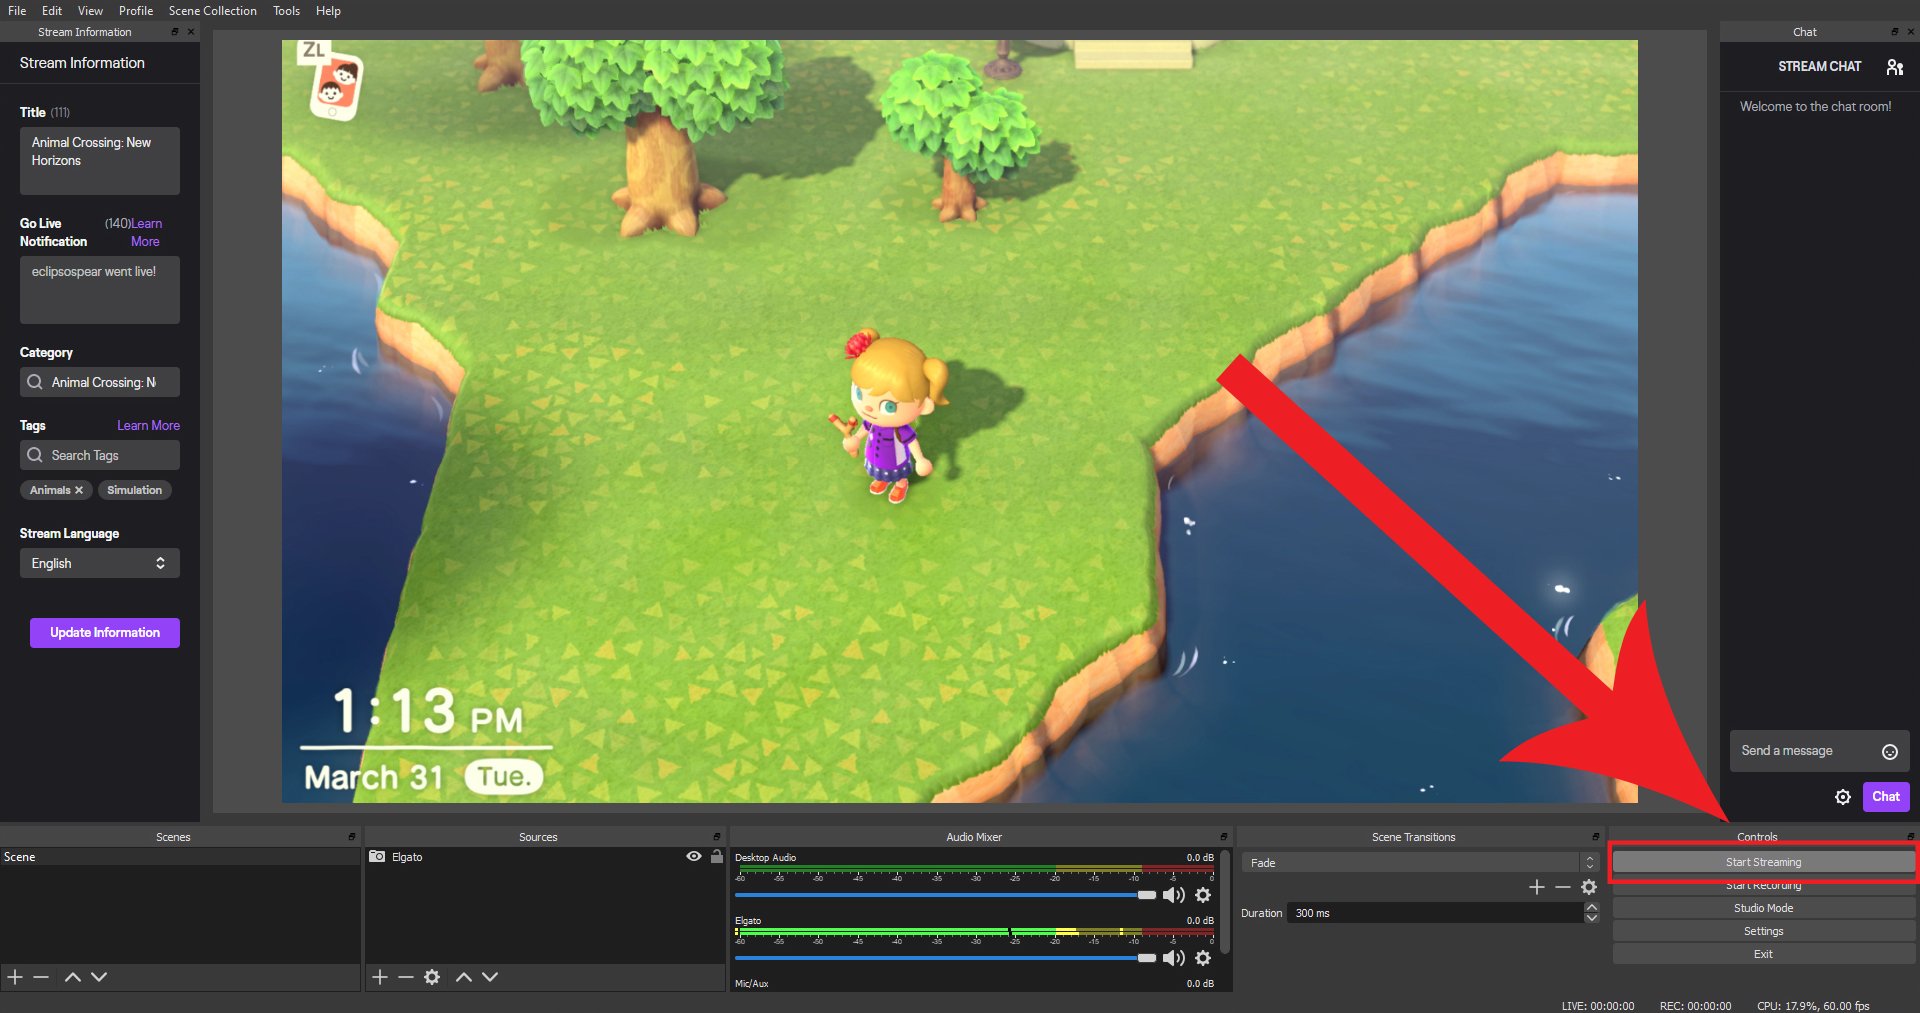
- When you're all ready to go, click on the Start Streaming button.Source: iMore
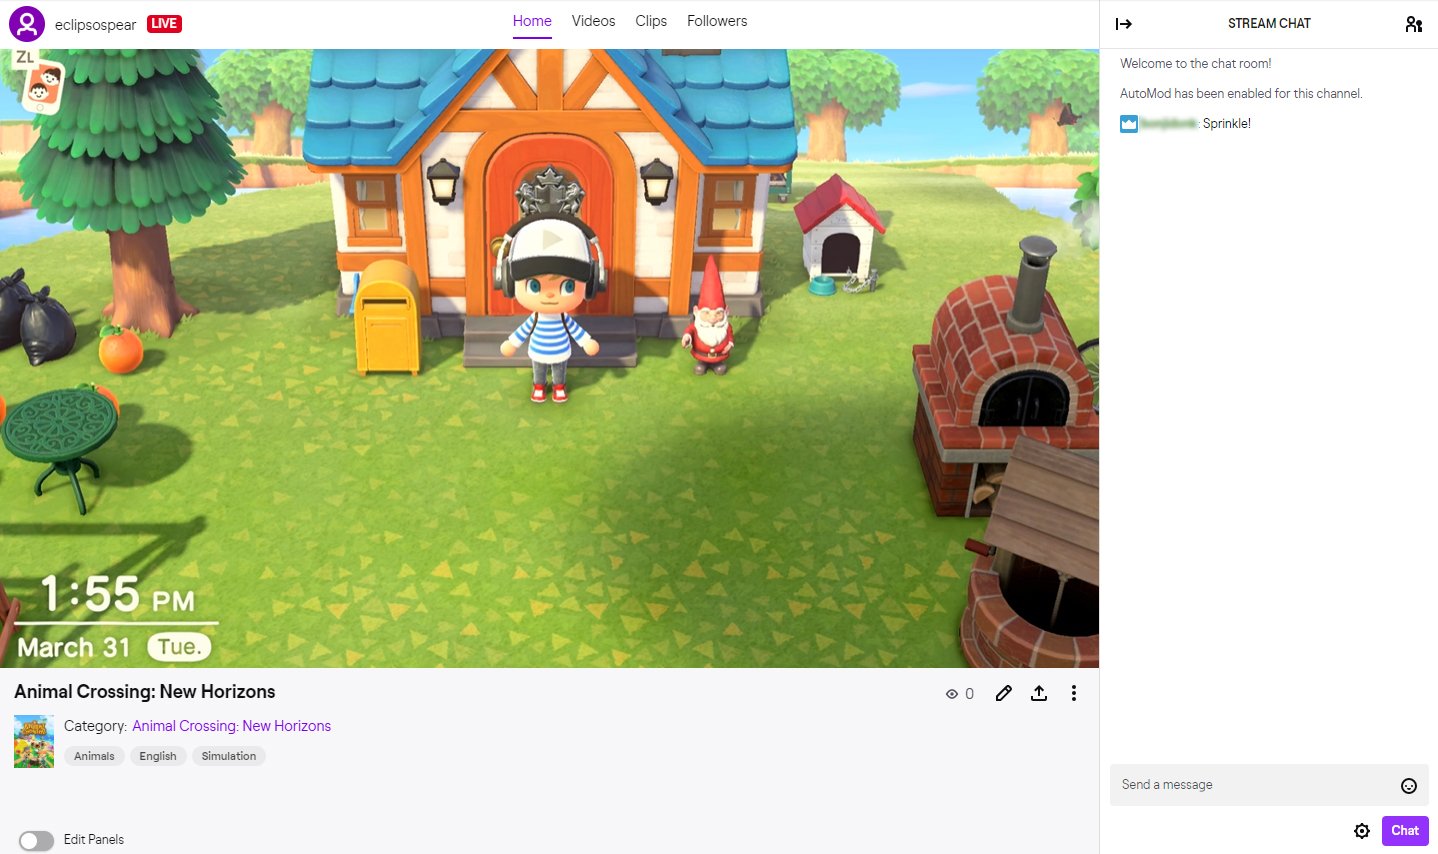
- If anyone chats with you from Twitch, you can read their comments in the Stream Chat window.
How to stream Switch on Twitch
There you have it. Now you know how to stream your games from Nintendo Switch onto Twitch or other similar streaming services. Let others see your near-fatal escapes, your awesome finds, or just show off your love for your favorite games for others to enjoy. I hope you're able to have a blast while sharing your games with others.
Our top equipment picks
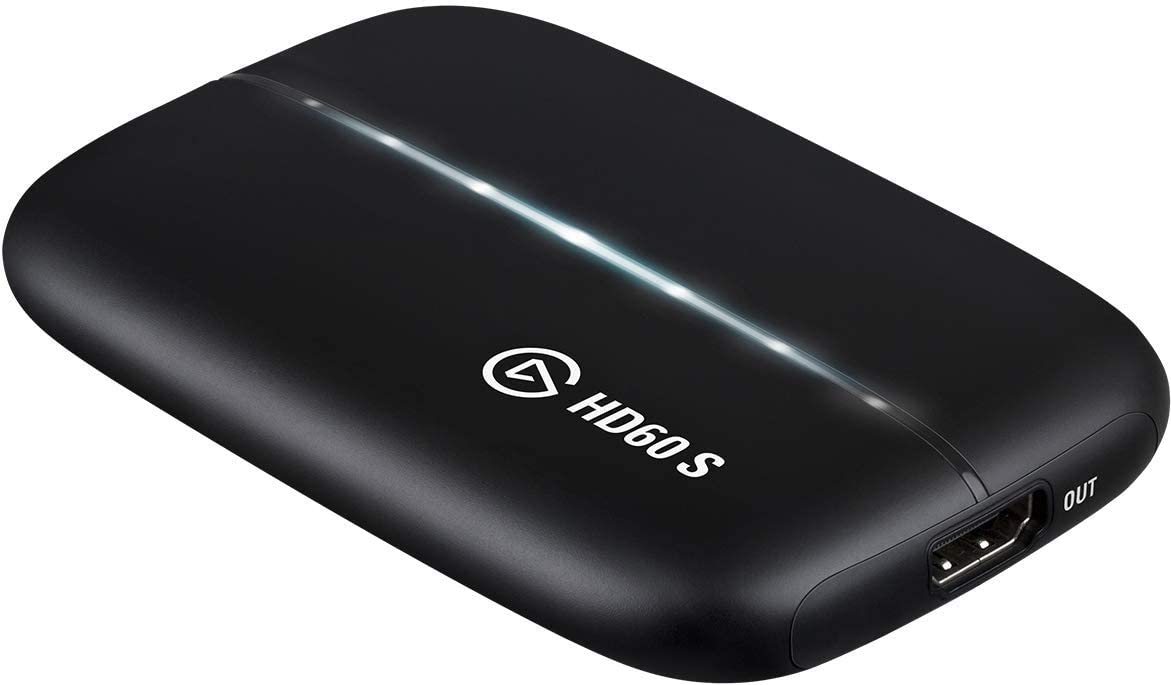
Game streaming device
Connect this device to your Nintendo Switch, Xbox, or PlayStation to stream your favorite video games to Twitch or YouTube.

The software you need
This free software allows you to record and manage your streaming content. It works on Windows, Mac, and Linux.
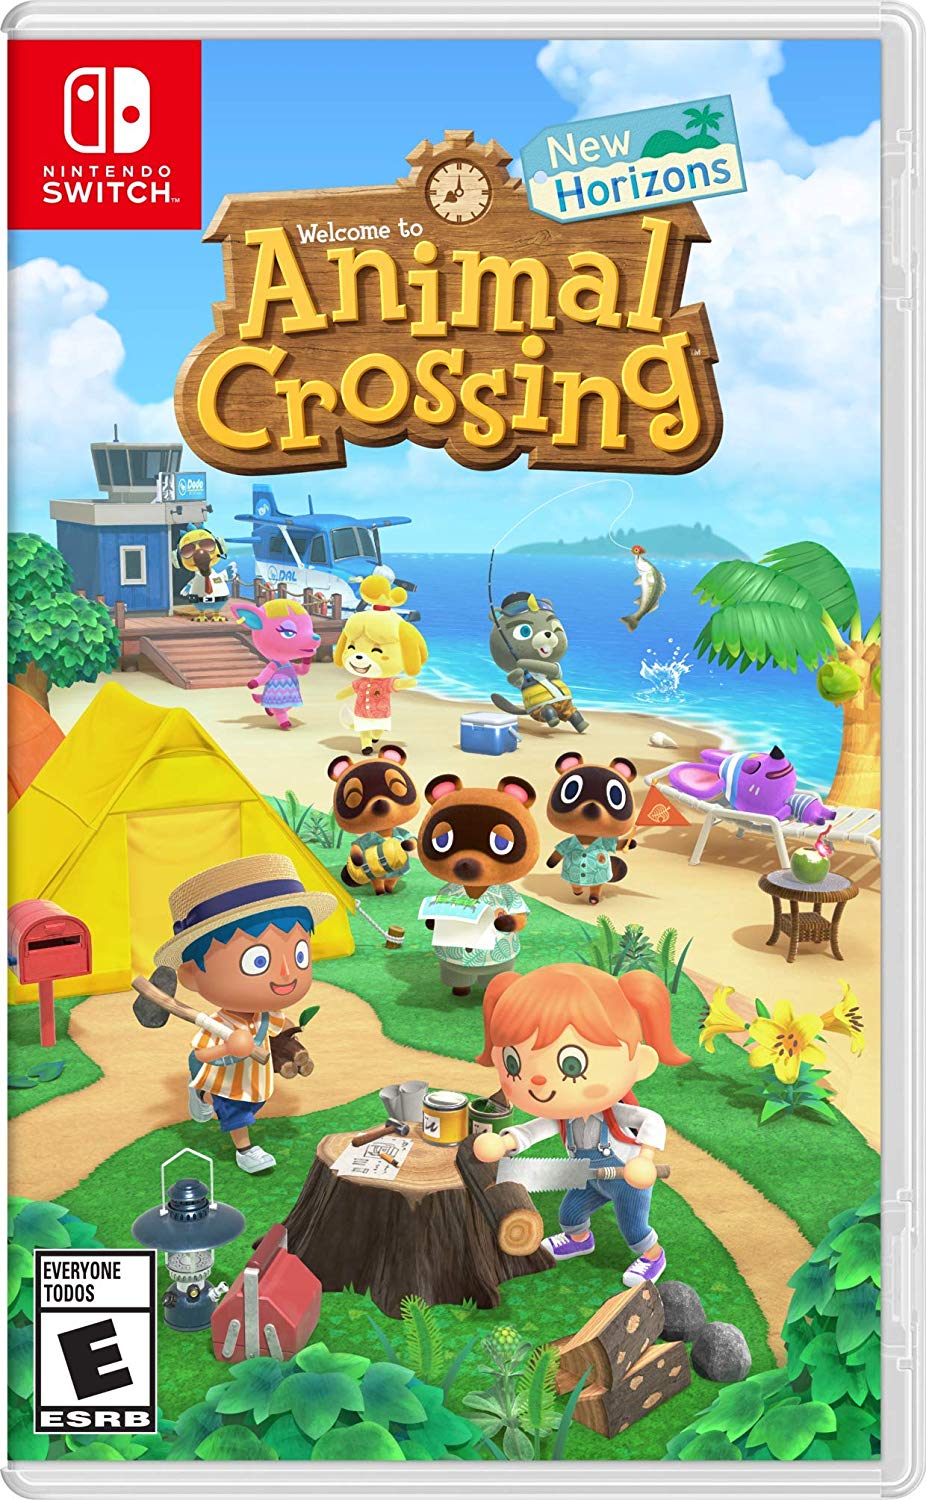
Perfect tropical retreat
Spend your days collecting shells, fishing, and catching bugs. If you earn enough money, you can repay your house loan and build the perfect little village.
Other helpful items to enhance your streaming experience
If you want to stream yourself playing Nintendo Switch games, there are a few other helpful devices that you should consider getting.
Master your iPhone in minutes
iMore offers spot-on advice and guidance from our team of experts, with decades of Apple device experience to lean on. Learn more with iMore!
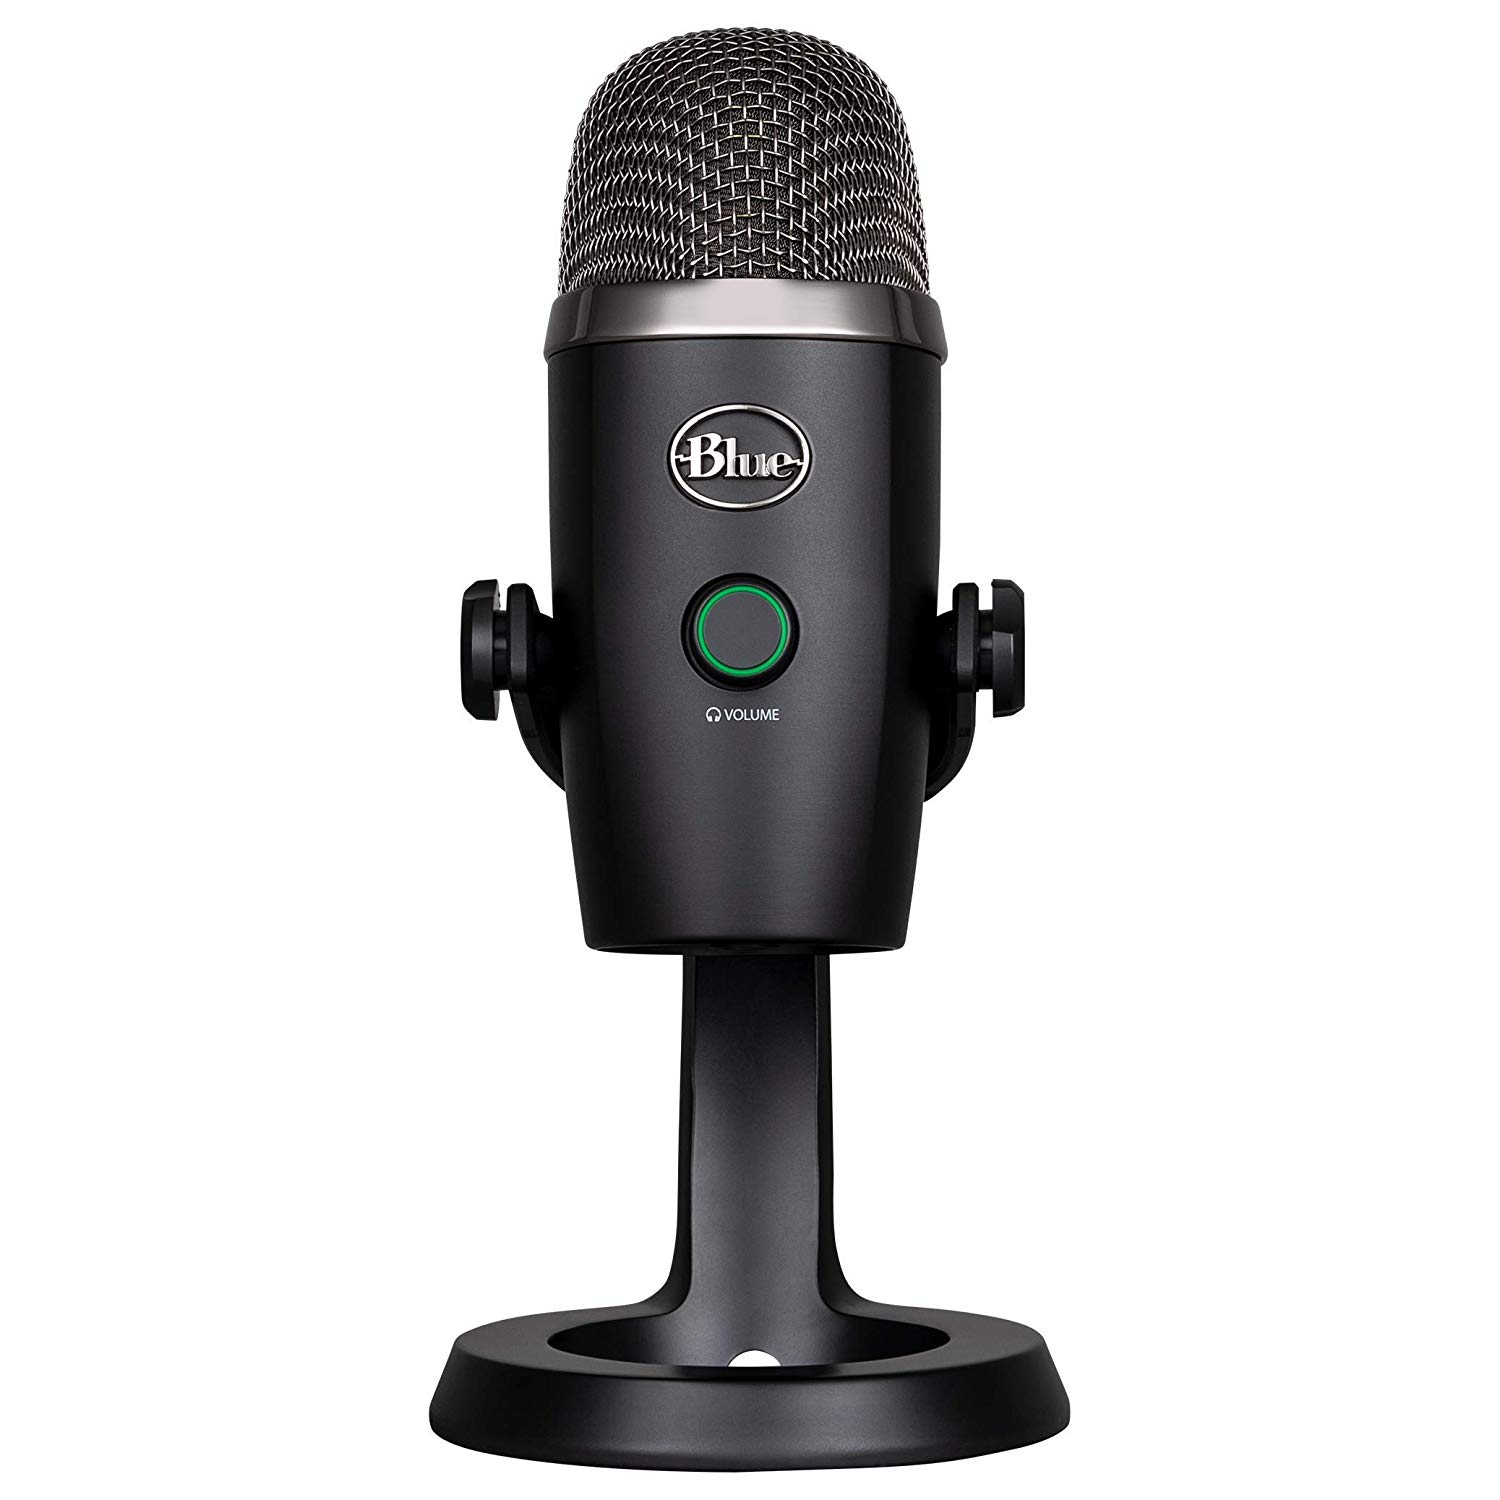
Yeti Nano ($100 at Best Buy)
This microphone will help you sound your best when recording yourself or while live streaming. It's relatively small and doesn't take up a lot of room on your desk or table.
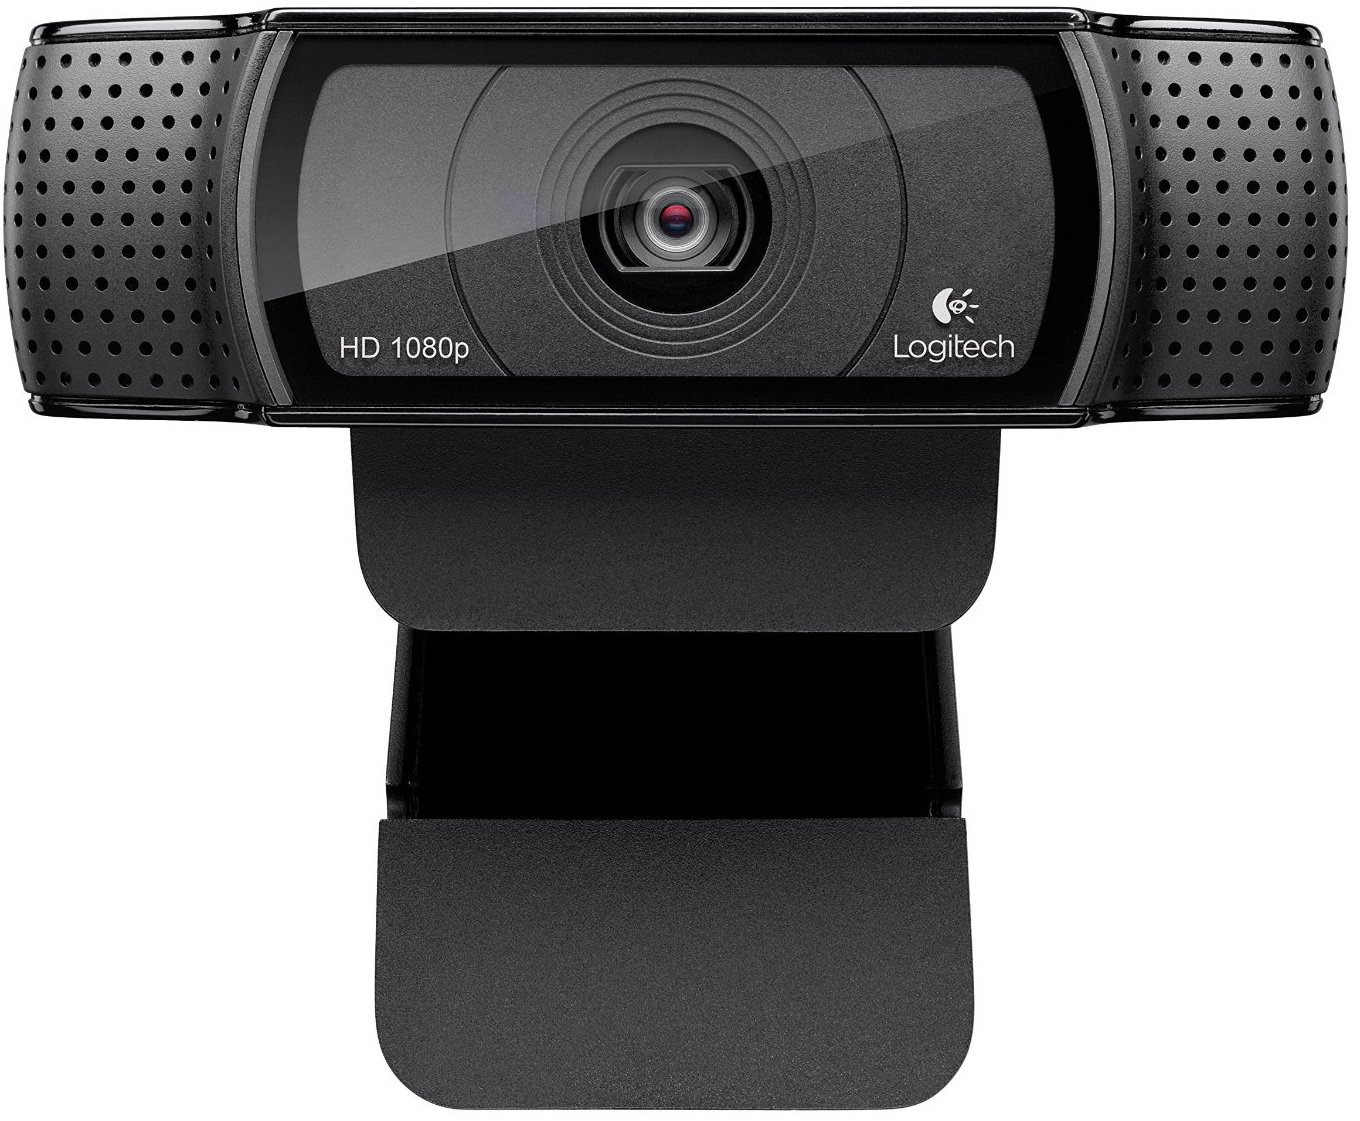
Logitech C920 HD Pro Webcam ($90 at Adorama)
This webcam supports Full HD 1080p video and produces bright images. It's a great option for anyone looking to stream content on YouTube or Twitch.
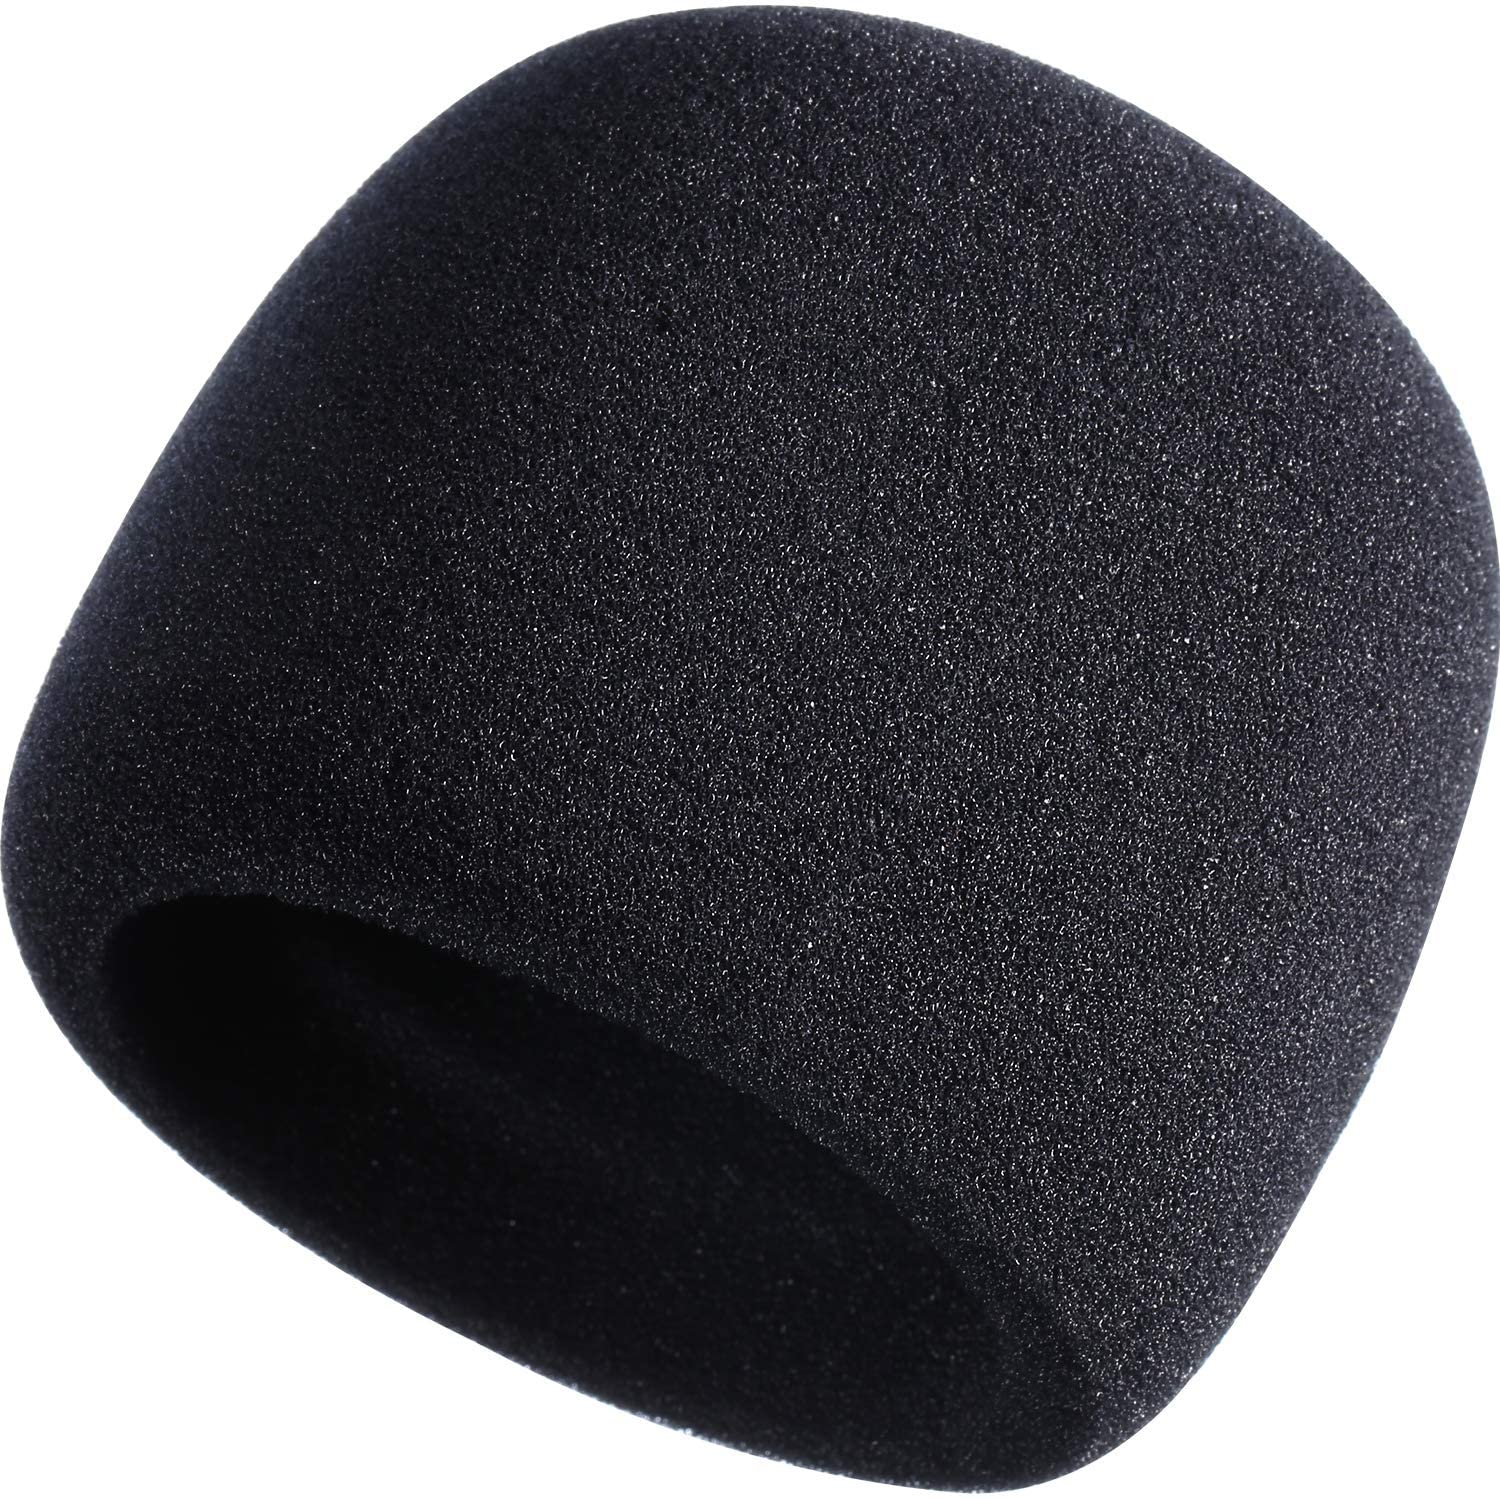
Foam mic cover ($8 at Amazon)
Place this over your microphone to prevent spit, wind, or hissing from making its way onto your recordings. It easily fits into place and doesn't cost much either.
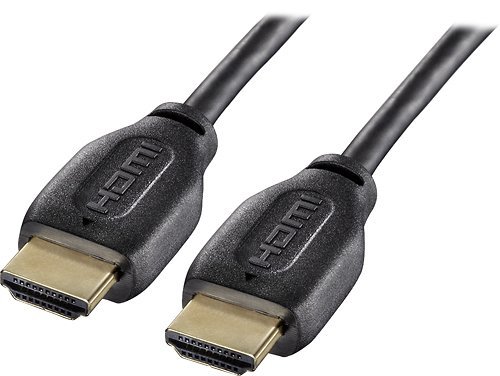
HDMI cables ($7 at Best Buy)
You're going to need an extra set of HDMI cables to connect your capture card to a monitor or TV. These are inexpensive, six feet long, and will get the job done.

Gaming aficionado Rebecca Spear is iMore's dedicated gaming editor with a focus on Nintendo Switch and iOS gaming. You’ll never catch her without her Switch or her iPad Air handy. If you’ve got a question about Pokémon, The Legend of Zelda, or just about any other Nintendo series check out her guides to help you out. Rebecca has written thousands of articles in the last six years including hundreds of extensive gaming guides, previews, and reviews for both Switch and Apple Arcade. She also loves checking out new gaming accessories like iPhone controllers and has her ear to the ground when it comes to covering the next big trend.
