5 Photoshop tricks that will make every beginner feel like a pro
Use these tools to enhance your photos to perfection in Photoshop.
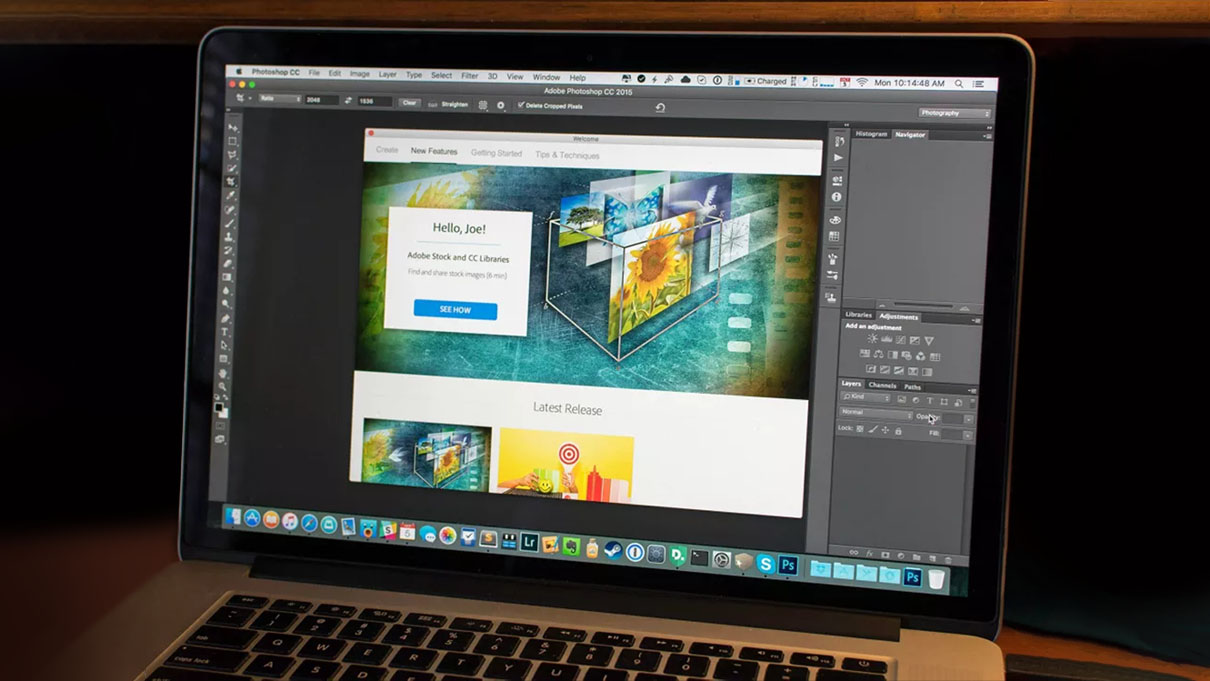
It's no secret that Photoshop is the best photo editing software out there, but it can also be a daunting program to learn. With the right skills and features applied, your images can go from good to fabulous.
We'll take a look at the five most important tricks you want to know in order to get the most out of your editing or digital drawing experiences on the best Mac hardware out there.
Before we get started on the Photoshop tips, it's important to remember that your editing job will be far easier if the initial image you're working with is a good one. So take time to really set up your shots before heading to the editing process.
1. Select things the easy way
Though basic, being able to select things efficiently is the first step for making important edits. There are several Selection Tools and mastering each will give you far more control. The Rectangular Marquee Tool selects anything within a square while the Lasso Tool just below it allows you to draw whatever shape you'd like.
For more detailed selections, you want to use the three selection tools on the fourth slot of the toolbar just below the Lasso Tool. Quickly clicking the icon changes to this Tool while holding down the mouse allows you to swap between the three options:
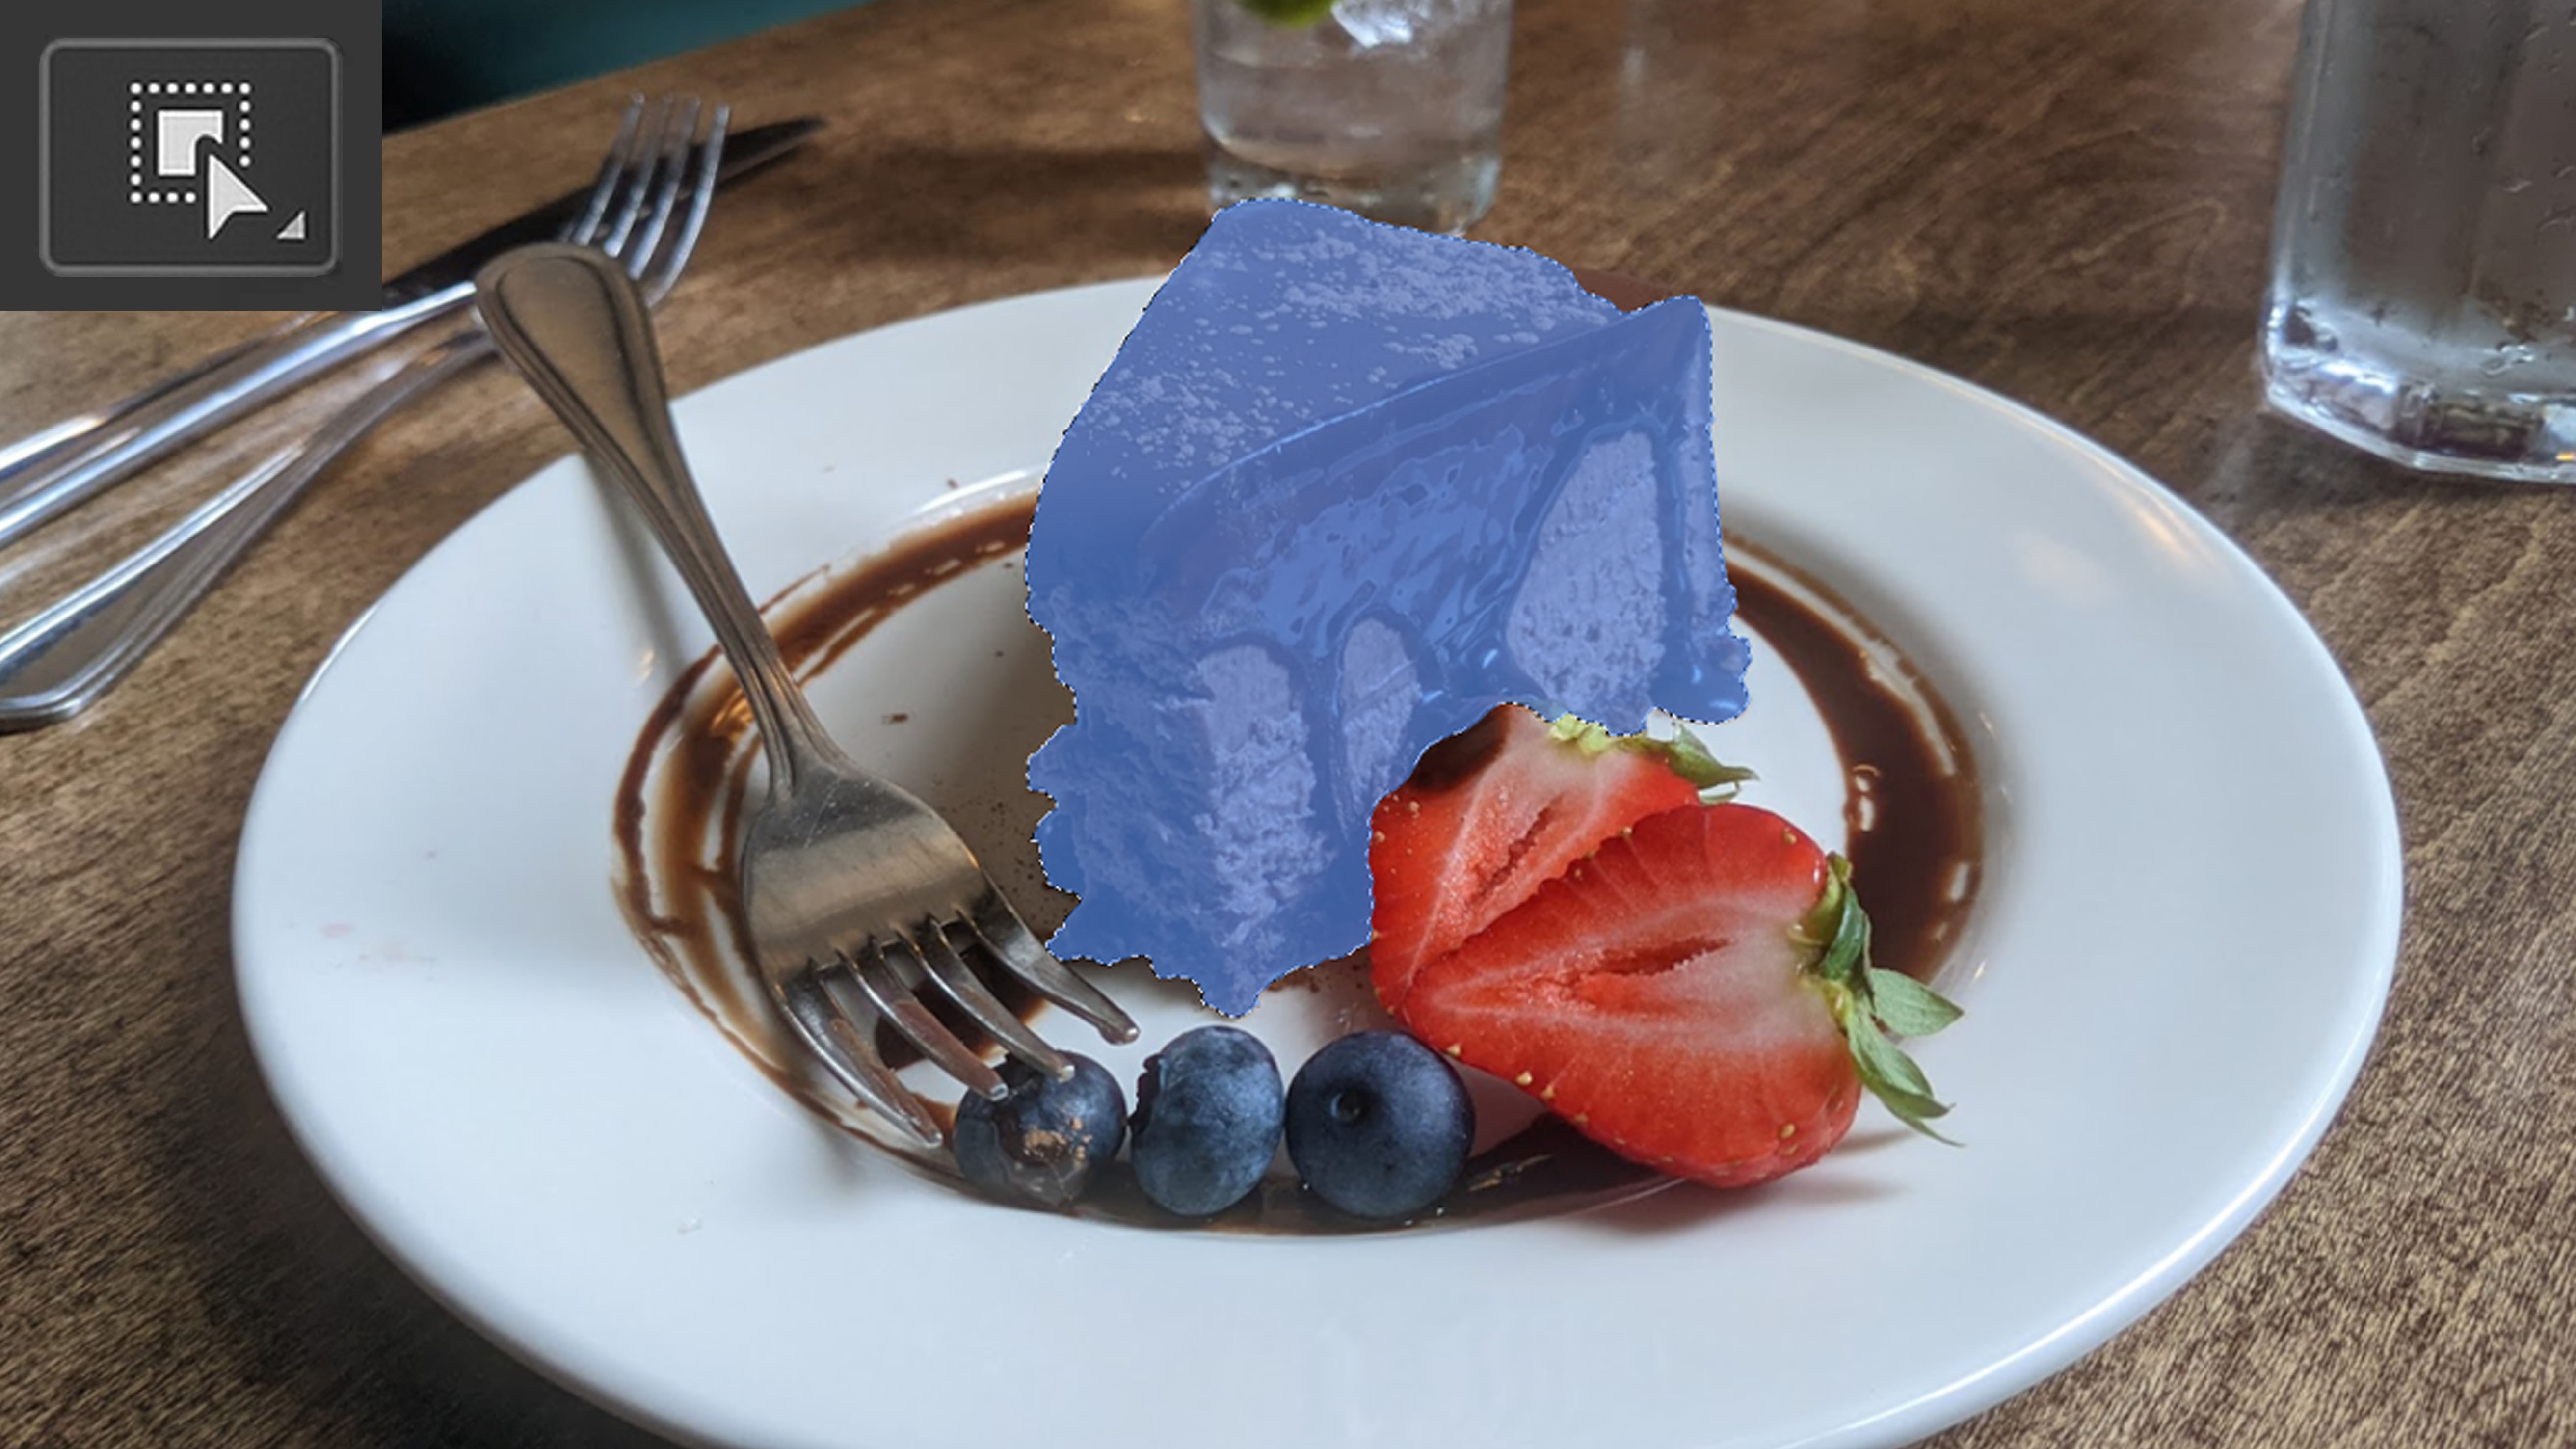
Object Selection Tool: This tool simplifies the selection process by attempting to analyze and select an object in your image with just one click. Just make sure the Object Finder box is ticked near the top of the window. It isn't always perfect on the first attempt, but you can click the Add to Selection or Subtract from Selection options at the top and then use the mouse to add more to the initial selection or take parts away until it's perfect. For instance, I used Object Selection to select a cake on a plate.
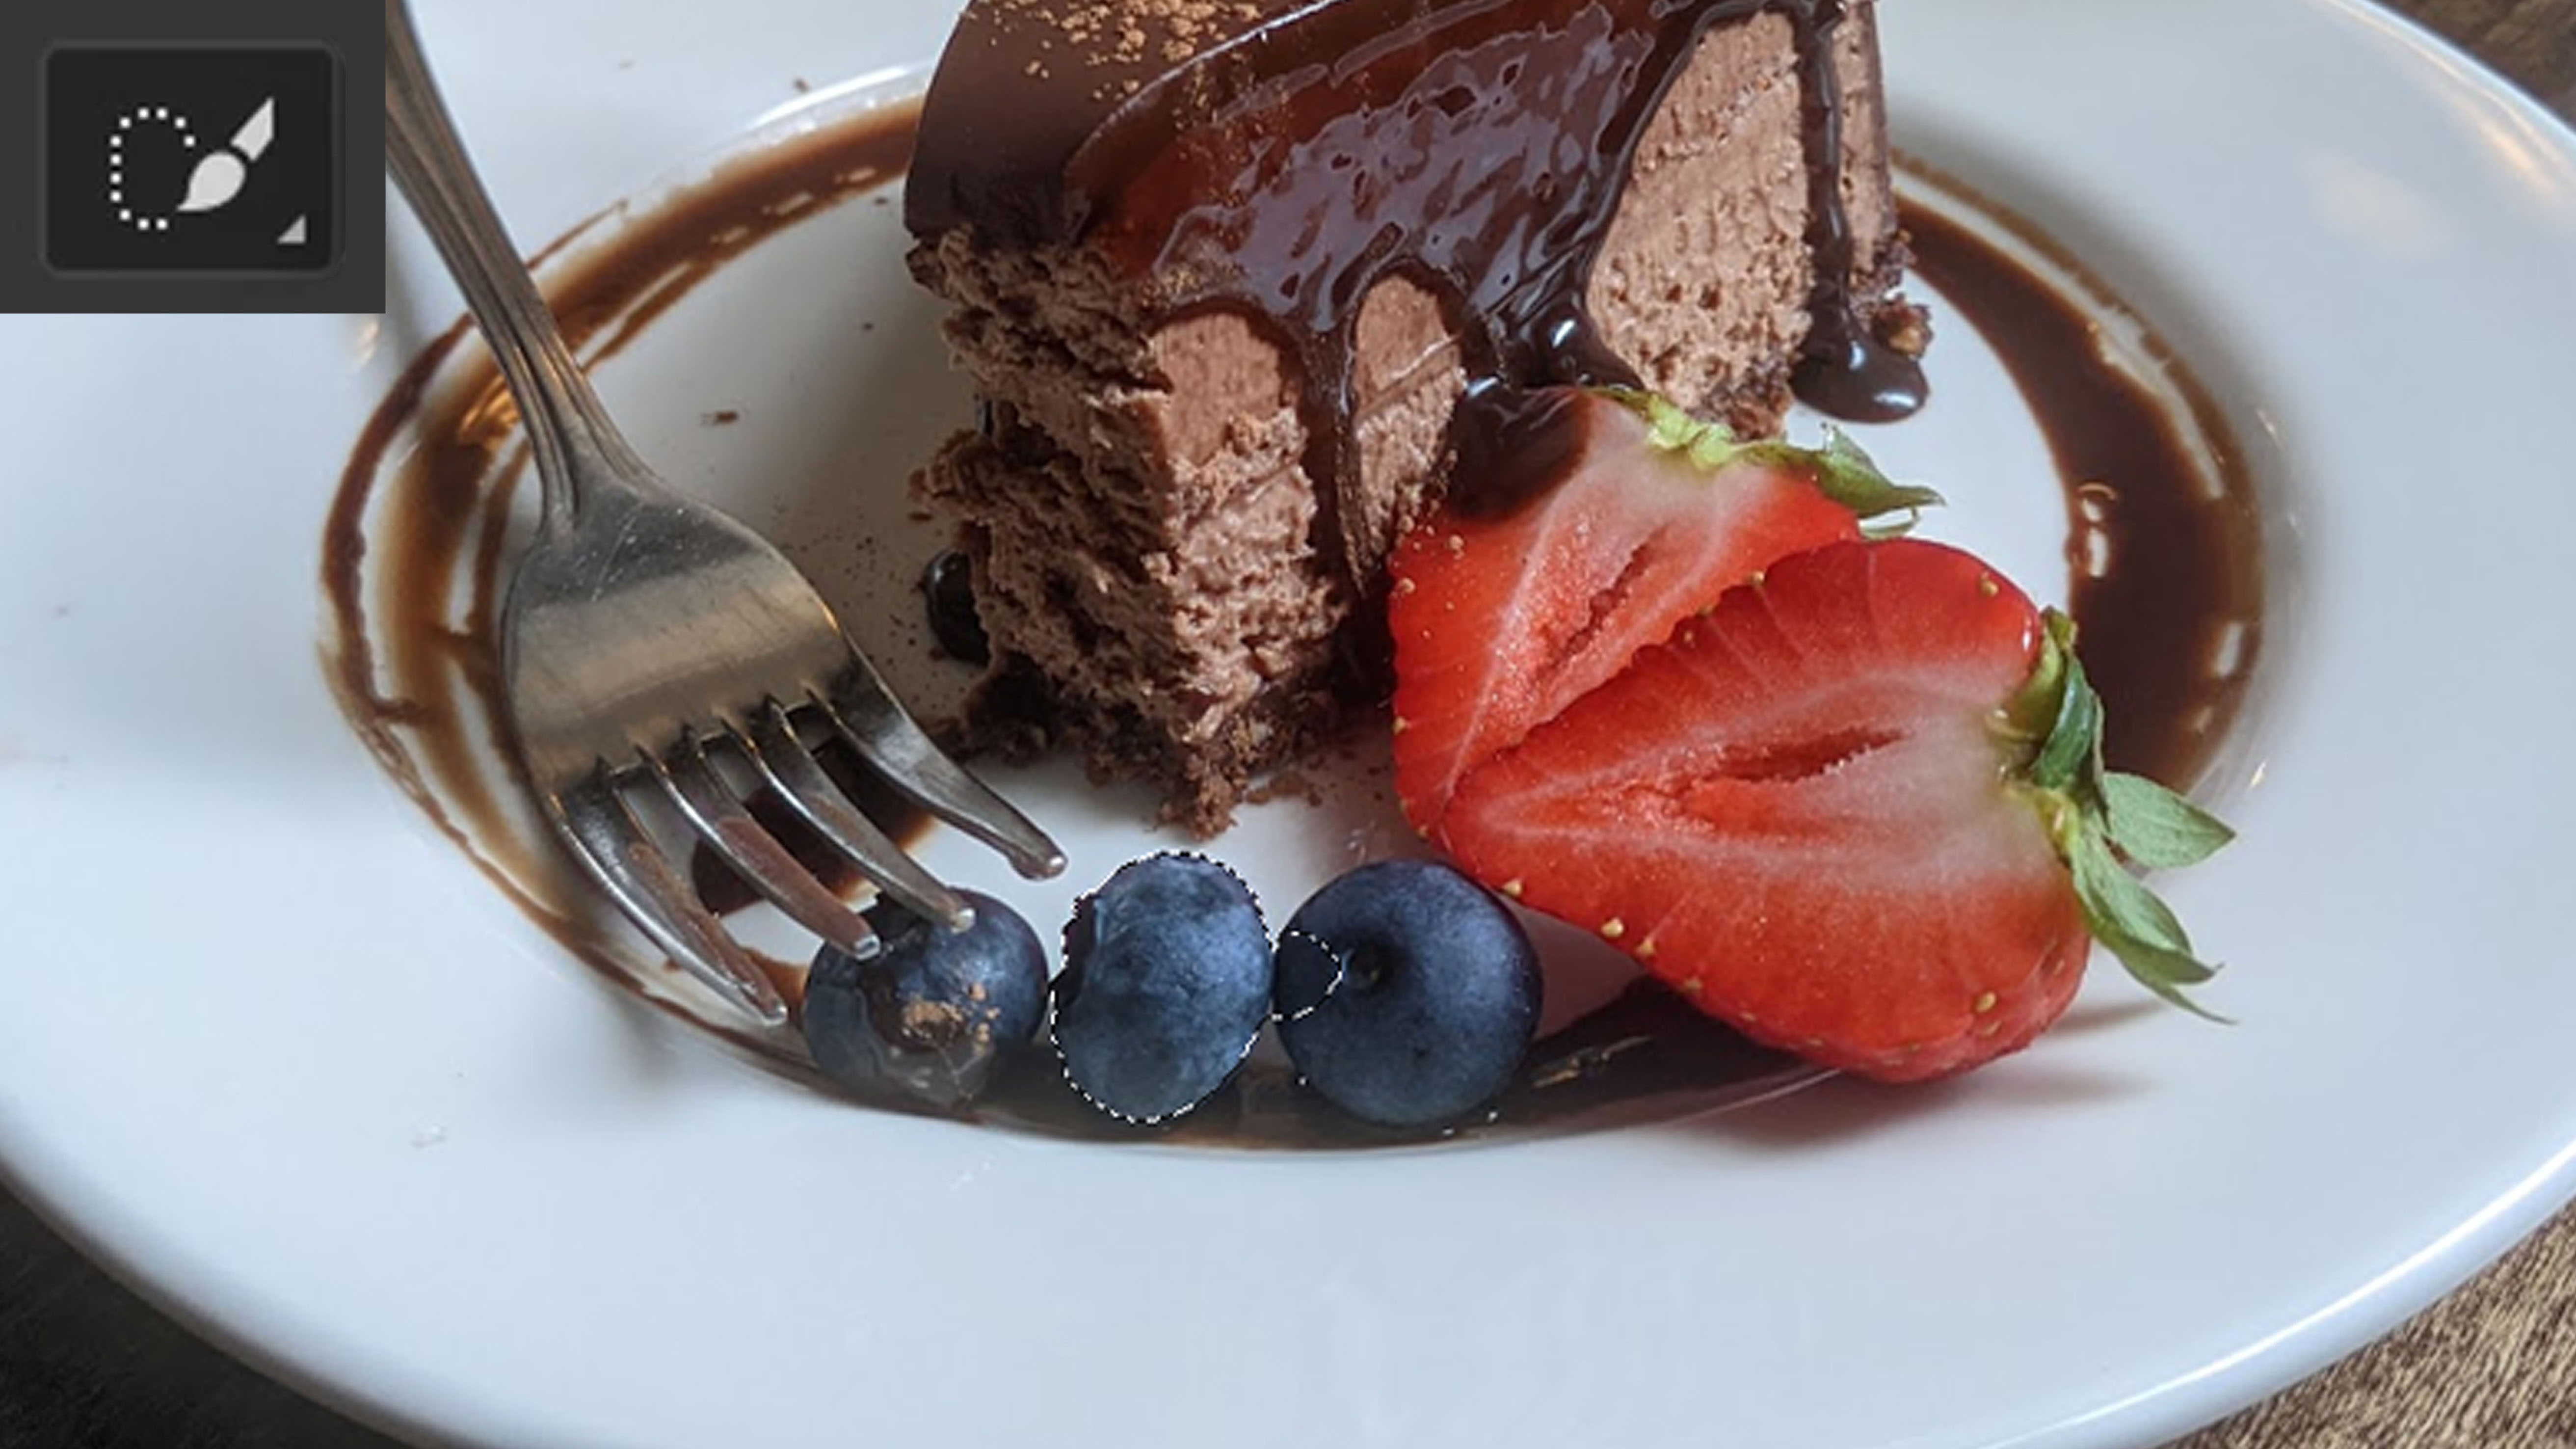
Quick Selection Tool: It permits you to drag the mouse across the image and the software automatically detects the parts you go over and selects them. If you hold down the Command key while clicking and dragging, you can remove parts of the selection.
Master your iPhone in minutes
iMore offers spot-on advice and guidance from our team of experts, with decades of Apple device experience to lean on. Learn more with iMore!
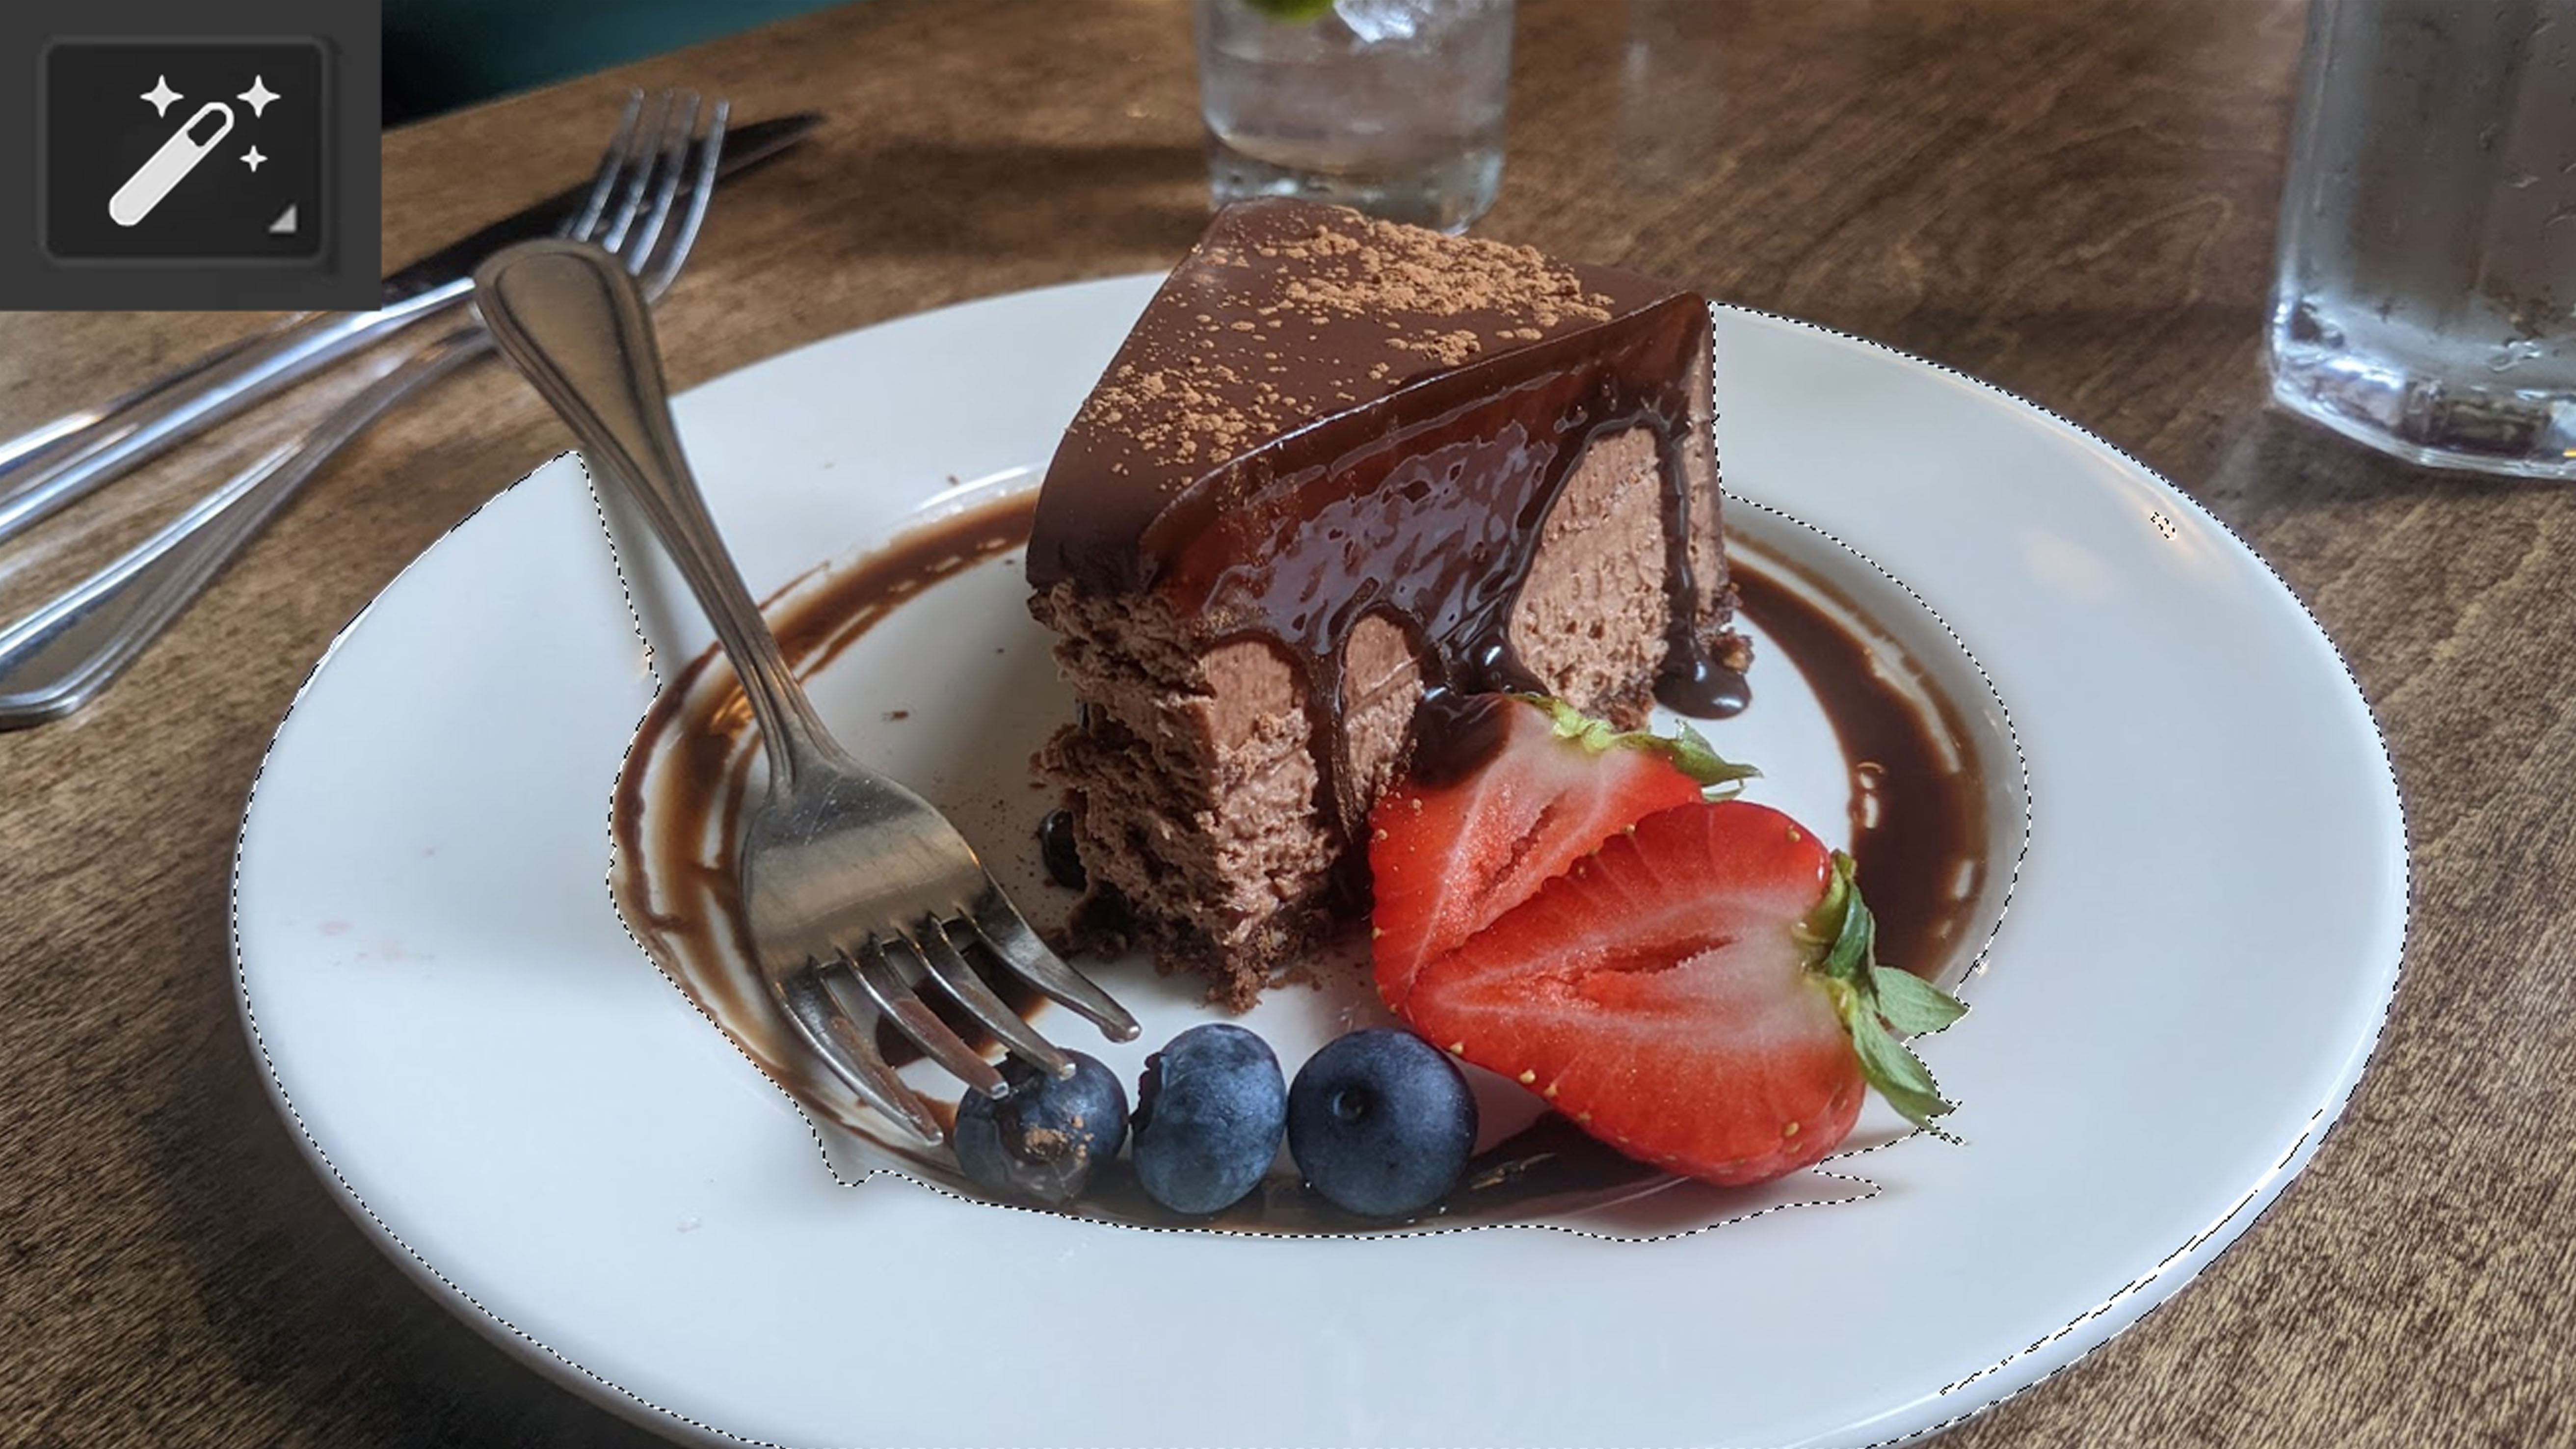
Magic Wand Tool: With one click, this tool will attempt to select pixels of the same color that are touching. For instance, clicking on a white plate on a brown table ensures that only the touching white sections are selected. To get the most out of it, you need to adjust the Tolerance on the Options bar. It can be anywhere from 0 to 255. The higher the number, the more pixels it selects, but you're usually serviced better if it's somewhere between 10 and 80. It's great for removing skies or backgrounds from images.
Pro Tip: You can also select everything but your initial selection if you first select something and then go to Select > Inverse. Additionally, the hotkey Command + D will quickly deselect anything you have selected.
2. Content-Aware Fill and Spot Healing
Sometimes you take an amazing photo only to realize that there's something in the shot that detracts from its perfection. Fortunately, Photoshop can easily help you get rid of these unsightly distractions.
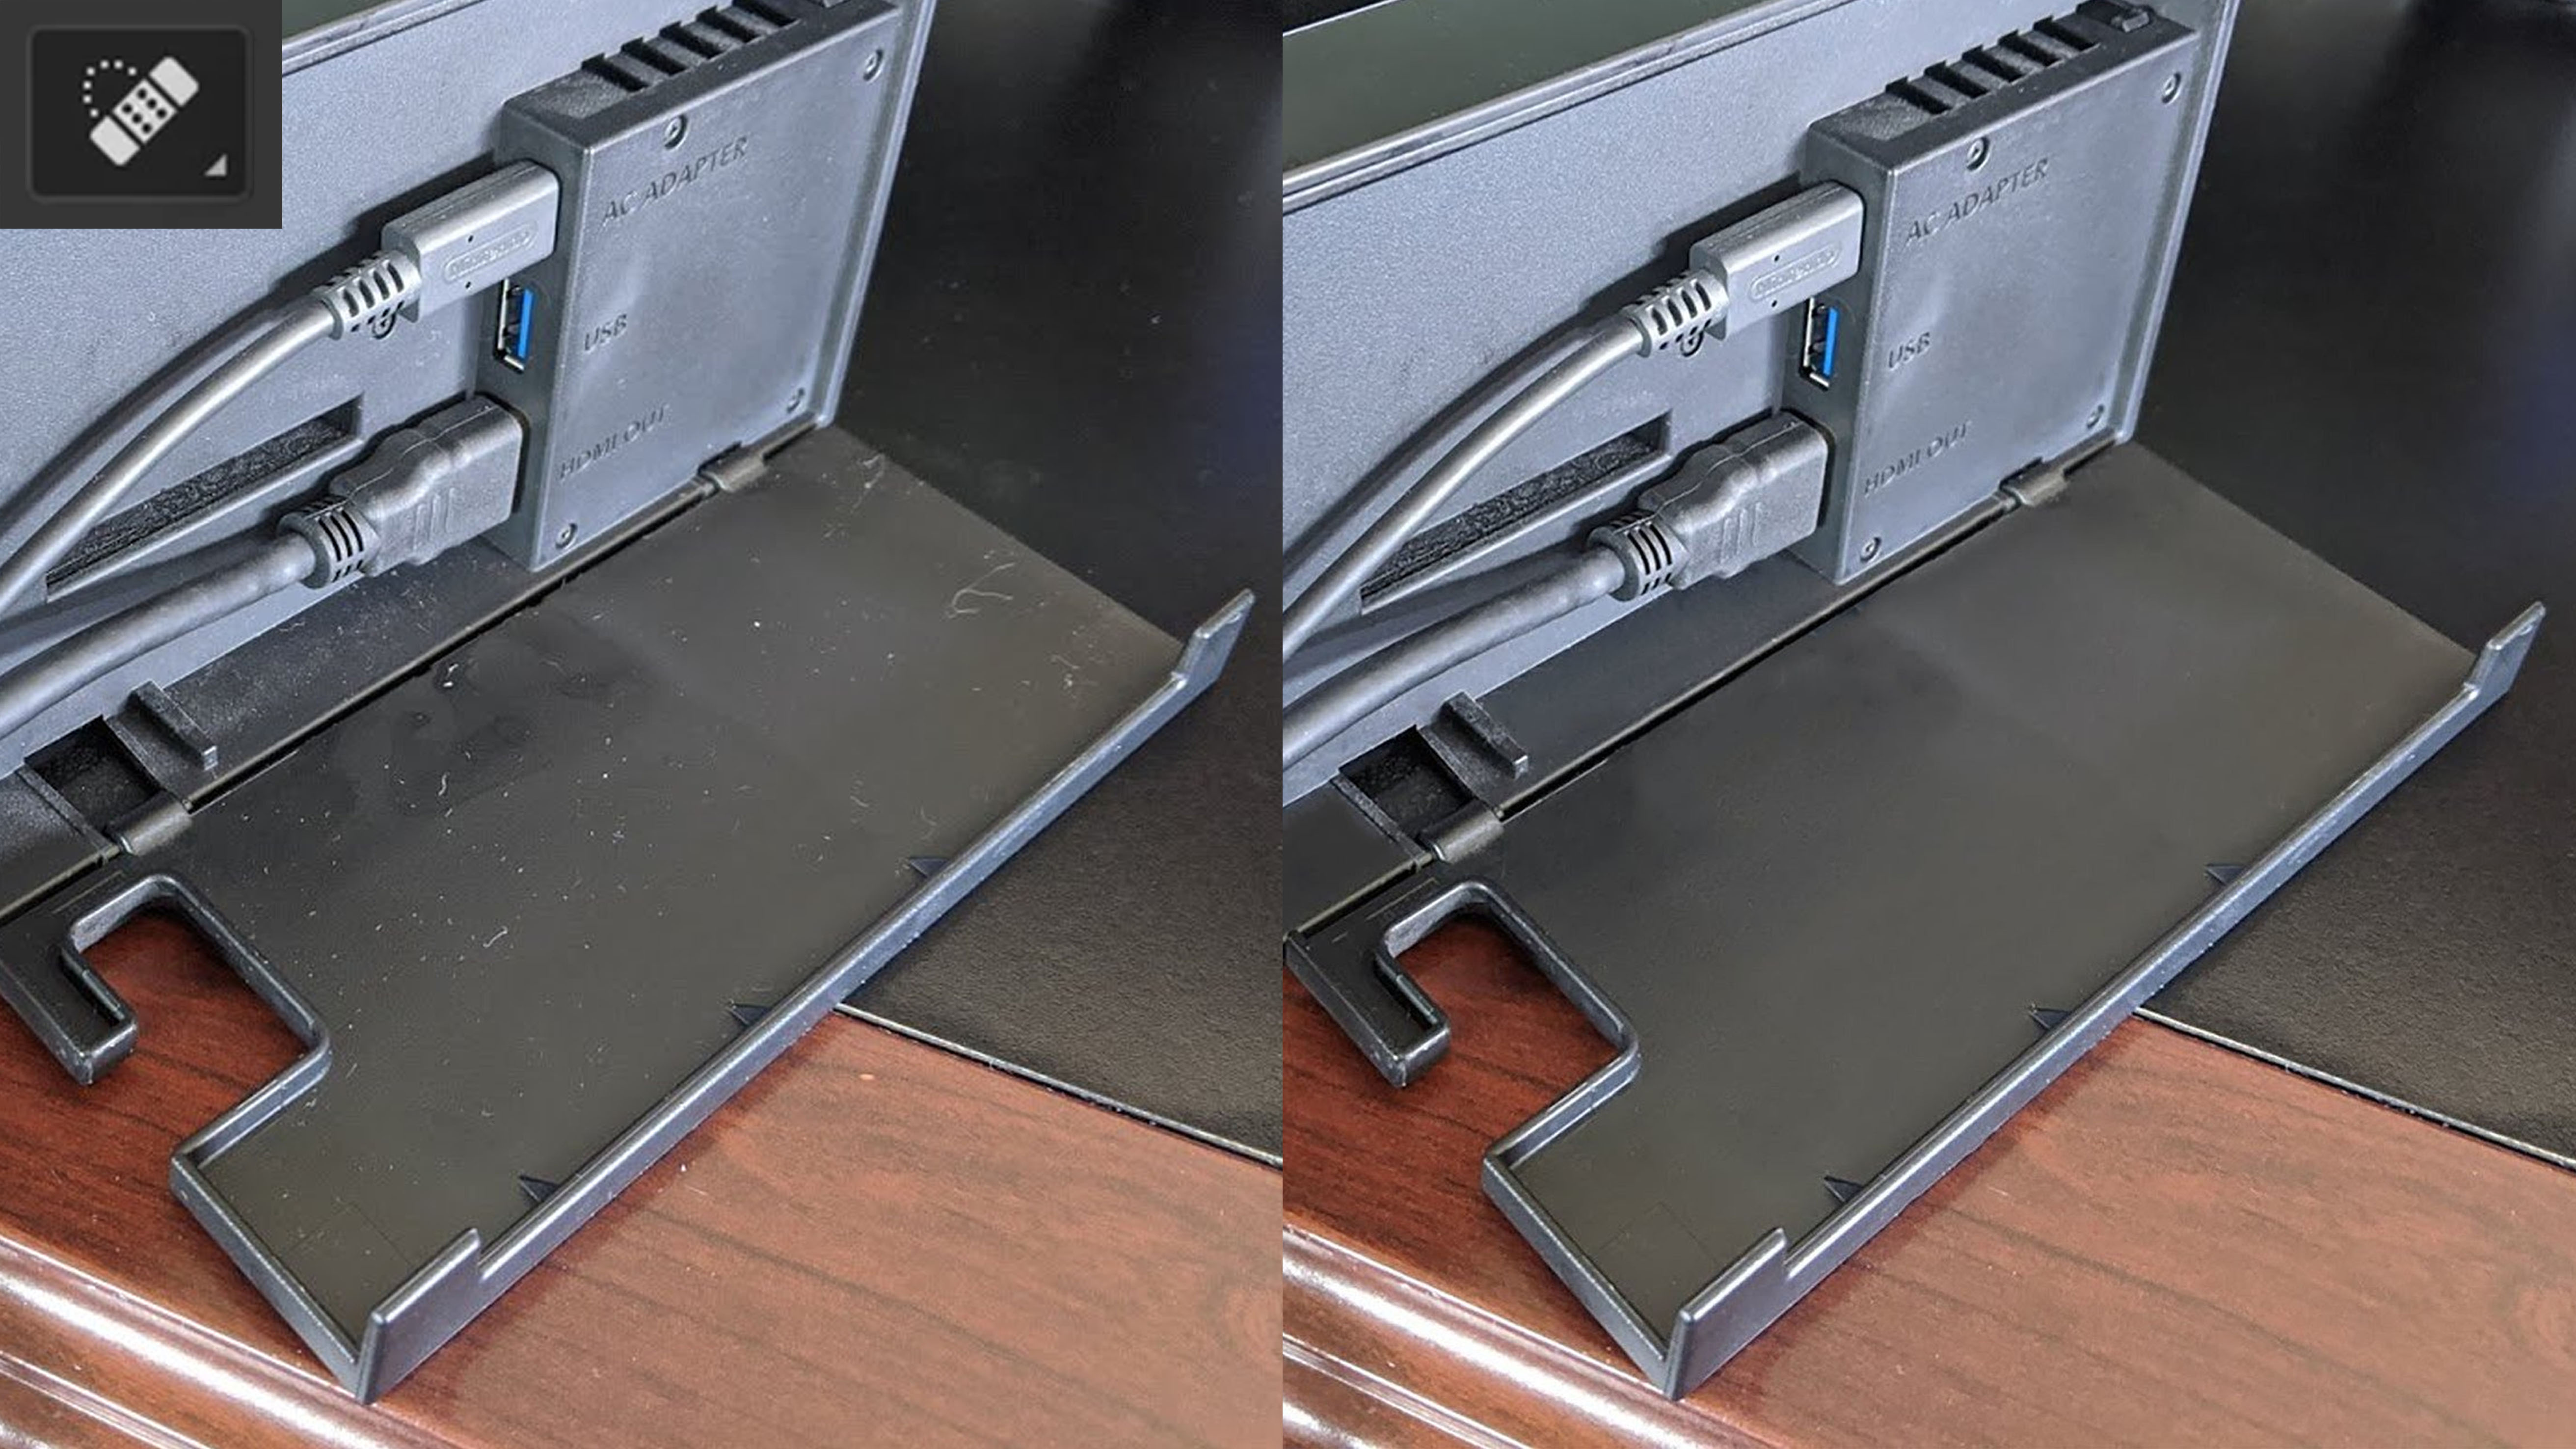
Spot Healing Brush: This tool is represented by a bandaid icon with a selection circle and is found on the toolbar. Long-click on the icon to bring up additional tools. You can use this brush to remove dust on objects, dog hair on clothes, zits on people's faces, or any other distracting marks simply by drawing over them. The closer the brush is to the size of the area that needs healing, the more accurate the tool will be.


Clone Stamp Tool: This is a very useful tool that lets you select an area of your image and then paint using what's there. For instance, selecting an area of sand in an image and using it to paint over beach toys or people in the background.
To use it: Select the Clone Stamp Tool, use hotkey Option + click where you want to pull from, now let go of the keys and use the mouse to paint over areas you don't want to see.


Content-Aware Fill: This is one of the tools that really makes Photoshop the best photo editing software out there. You can think of this like the cavalry that gets called in when a large area needs to be fixed rather than a small spot. Photoshop's AI attempts to fill in a selected area based on what it detects in the image. For instance, getting rid of distracting objects in the background of a beach picture and replacing it with sand.
To use it: Select an area that you want to have replaced then use the hotkey, Command + F5. Make sure Content-Aware is listed in the Contents drop-down menu, then select OK.
Photoshop will now work to replace the selected parts of the image. Sometimes it doesn't do a perfect job, so you might need to do it a few times to get it right. Then go in with the Healing Brush or the Clone Stamp Tool to clean any small bits up.
3. Perfect color and lighting with Adjustment masks
Sometimes you take a picture and the shot comes out a bit too dark or doesn't stand out as much as you'd like it to. Thankfully, Adjustment masks allow you to tweak elements of your images without permanently altering the original layer. There are several Adjustment masks to choose from, but the ones you'll want to master first are Brightness/Contrast and Hue/Saturation.


Brightness/Contrast: Use this when dealing with a picture that came out a whole lot darker or muddled than you expected. Just note, that if an image is too dark or too bright to start with, it will be filled with noise (look pixelated) and cannot be saved.
To do this: Go to Images > Adjustments > Brightness/Contrast > Slide the bars until the image looks good.
Once a Brightness/Contrast layer has been made, you can adjust the sliders at any time from the Layers tab while selecting the Adjustment Layer.


Hue/Saturation: You can completely alter the colors and tones within your image just with a few clicks and drags. Changing slightly can help you correct colors that came out too muted. Alternatively, you can also make drastic adjustments for a crazy effect.
Hue determines what base colors the pixels in the picture pull from. Saturation determines the intensity of those colors. Finally, Lightness determines how bright or dark the image is.
To do this: Go to Images > Adjustments > Hue/Saturation > Slide bars.

Changing just one color with Hue/Saturation: If you only want to change one color in the image you can do so. For example, changing the color of a spatula but nothing else. Click the pointing finger icon while in Hue/Saturation menu, then click on a specific color on the image. Finally, adjust the Hue, Saturation, and Lightness sliders as you will for that color.
4. Three most important Filters: Sharpen, Blur, Dehaze
Filters in Photoshop (located along the top menu bar) are more than just choosing a Sepia overlay. They allow you to minutely adjust various settings on your image to really help things stand out. The ones you'll want to acquaint yourself with the most are Sharpen, Blur, and Dehaze.
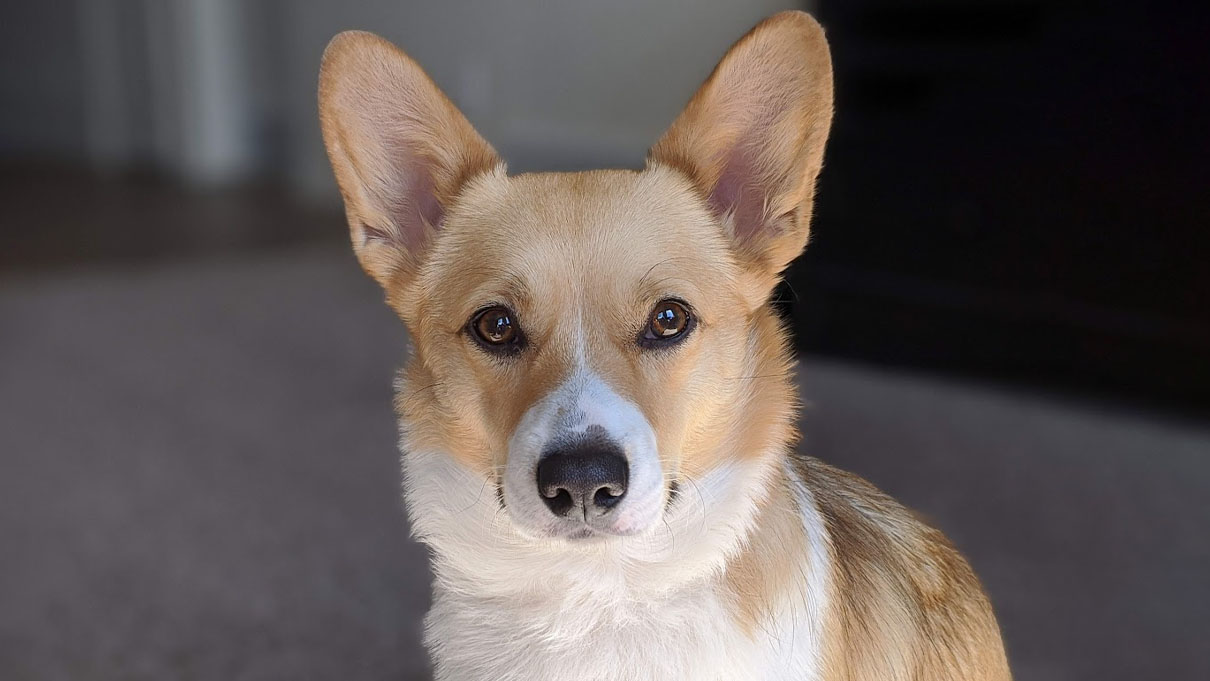
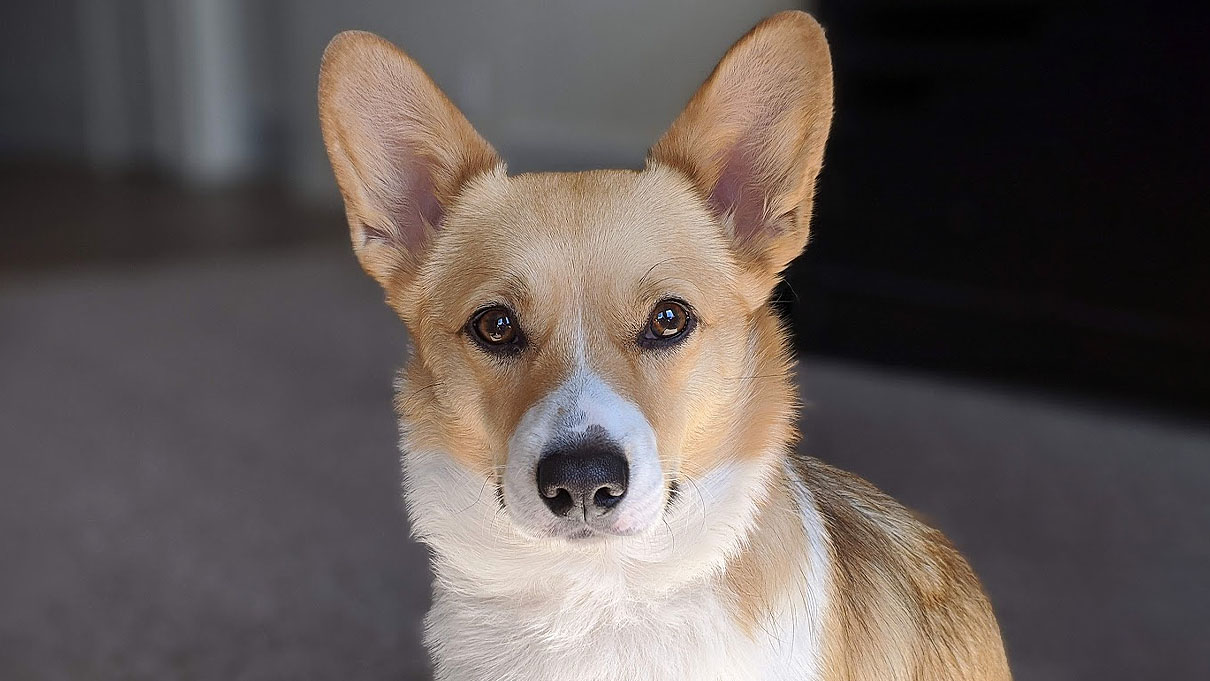
As the name implies, Sharpen increases the focus of your image making the shot look clearer. This can sometimes save a shot if it's just barely not clear enough, but don't expect it to perform miracles on really blurry shots. When used on a picture of my dog, Penny, her eyes became clearer as did each individual strand of her fur.
There are five options within the Sharpen Filter menu, so experiment to see which ones work best for any given scenario. Just don't do it too much or your image will look pixelated.
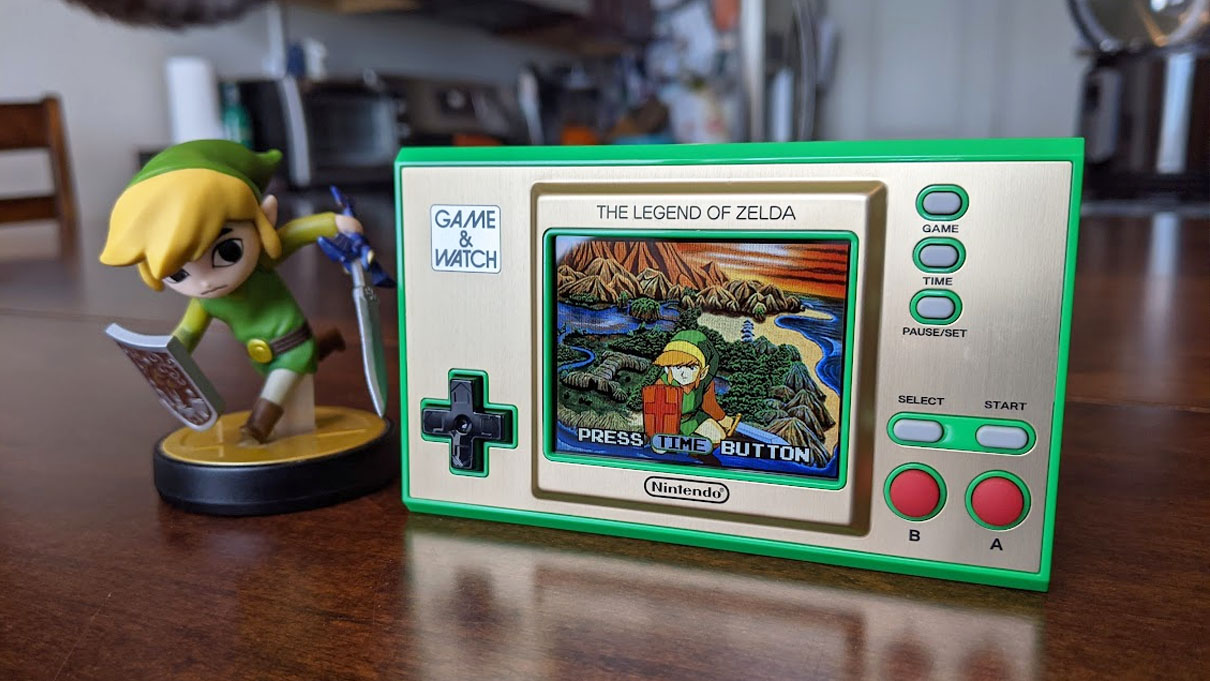

The Blur Filter can be used to muddle certain elements of your shot, bringing better attention to the focused parts. For instance, I took an image of a Nintendo Game & Watch, but my messy kitchen in the background is distracting so I blurred it out. There are 16 options under the Blur and Blur Gallery Filters, so try them all out to get a feel for them.
To do this: First, create a Duplicate layer of the image. Next, on the bottom image, go to Select > Subject. If you need to use the selection tools to clean up the subject selection, do so now. Now go to Select > Modify > Expand > Enter 5 pixels > OK. When that's done, go to Edit > Content-Aware Fill. The main subject will get removed from the image.
Go to the top layer that still has the subject selected. Select the Mask Layer tool at the bottom of the layers tab. With the Mask Layer selected, Filter > Other > Minimum > Enter 6 pixels > OK.
Select the bottom layer where the subject has been removed. Press Control + click on the bottom layer > Convert to Smart Object. Now go to Filter > Blur Gallery > Tilt-Shift. A blur field appears. You can increase the blur on the right slider or click in the center of the circle within the blurred field to move the blur location. Place the Blur Tilt-Shift field at the base of your subject so that it is in focus and the background is blurred out. If there are any areas around the subject that aren't clean looking then go around with an eraser and clean it up.
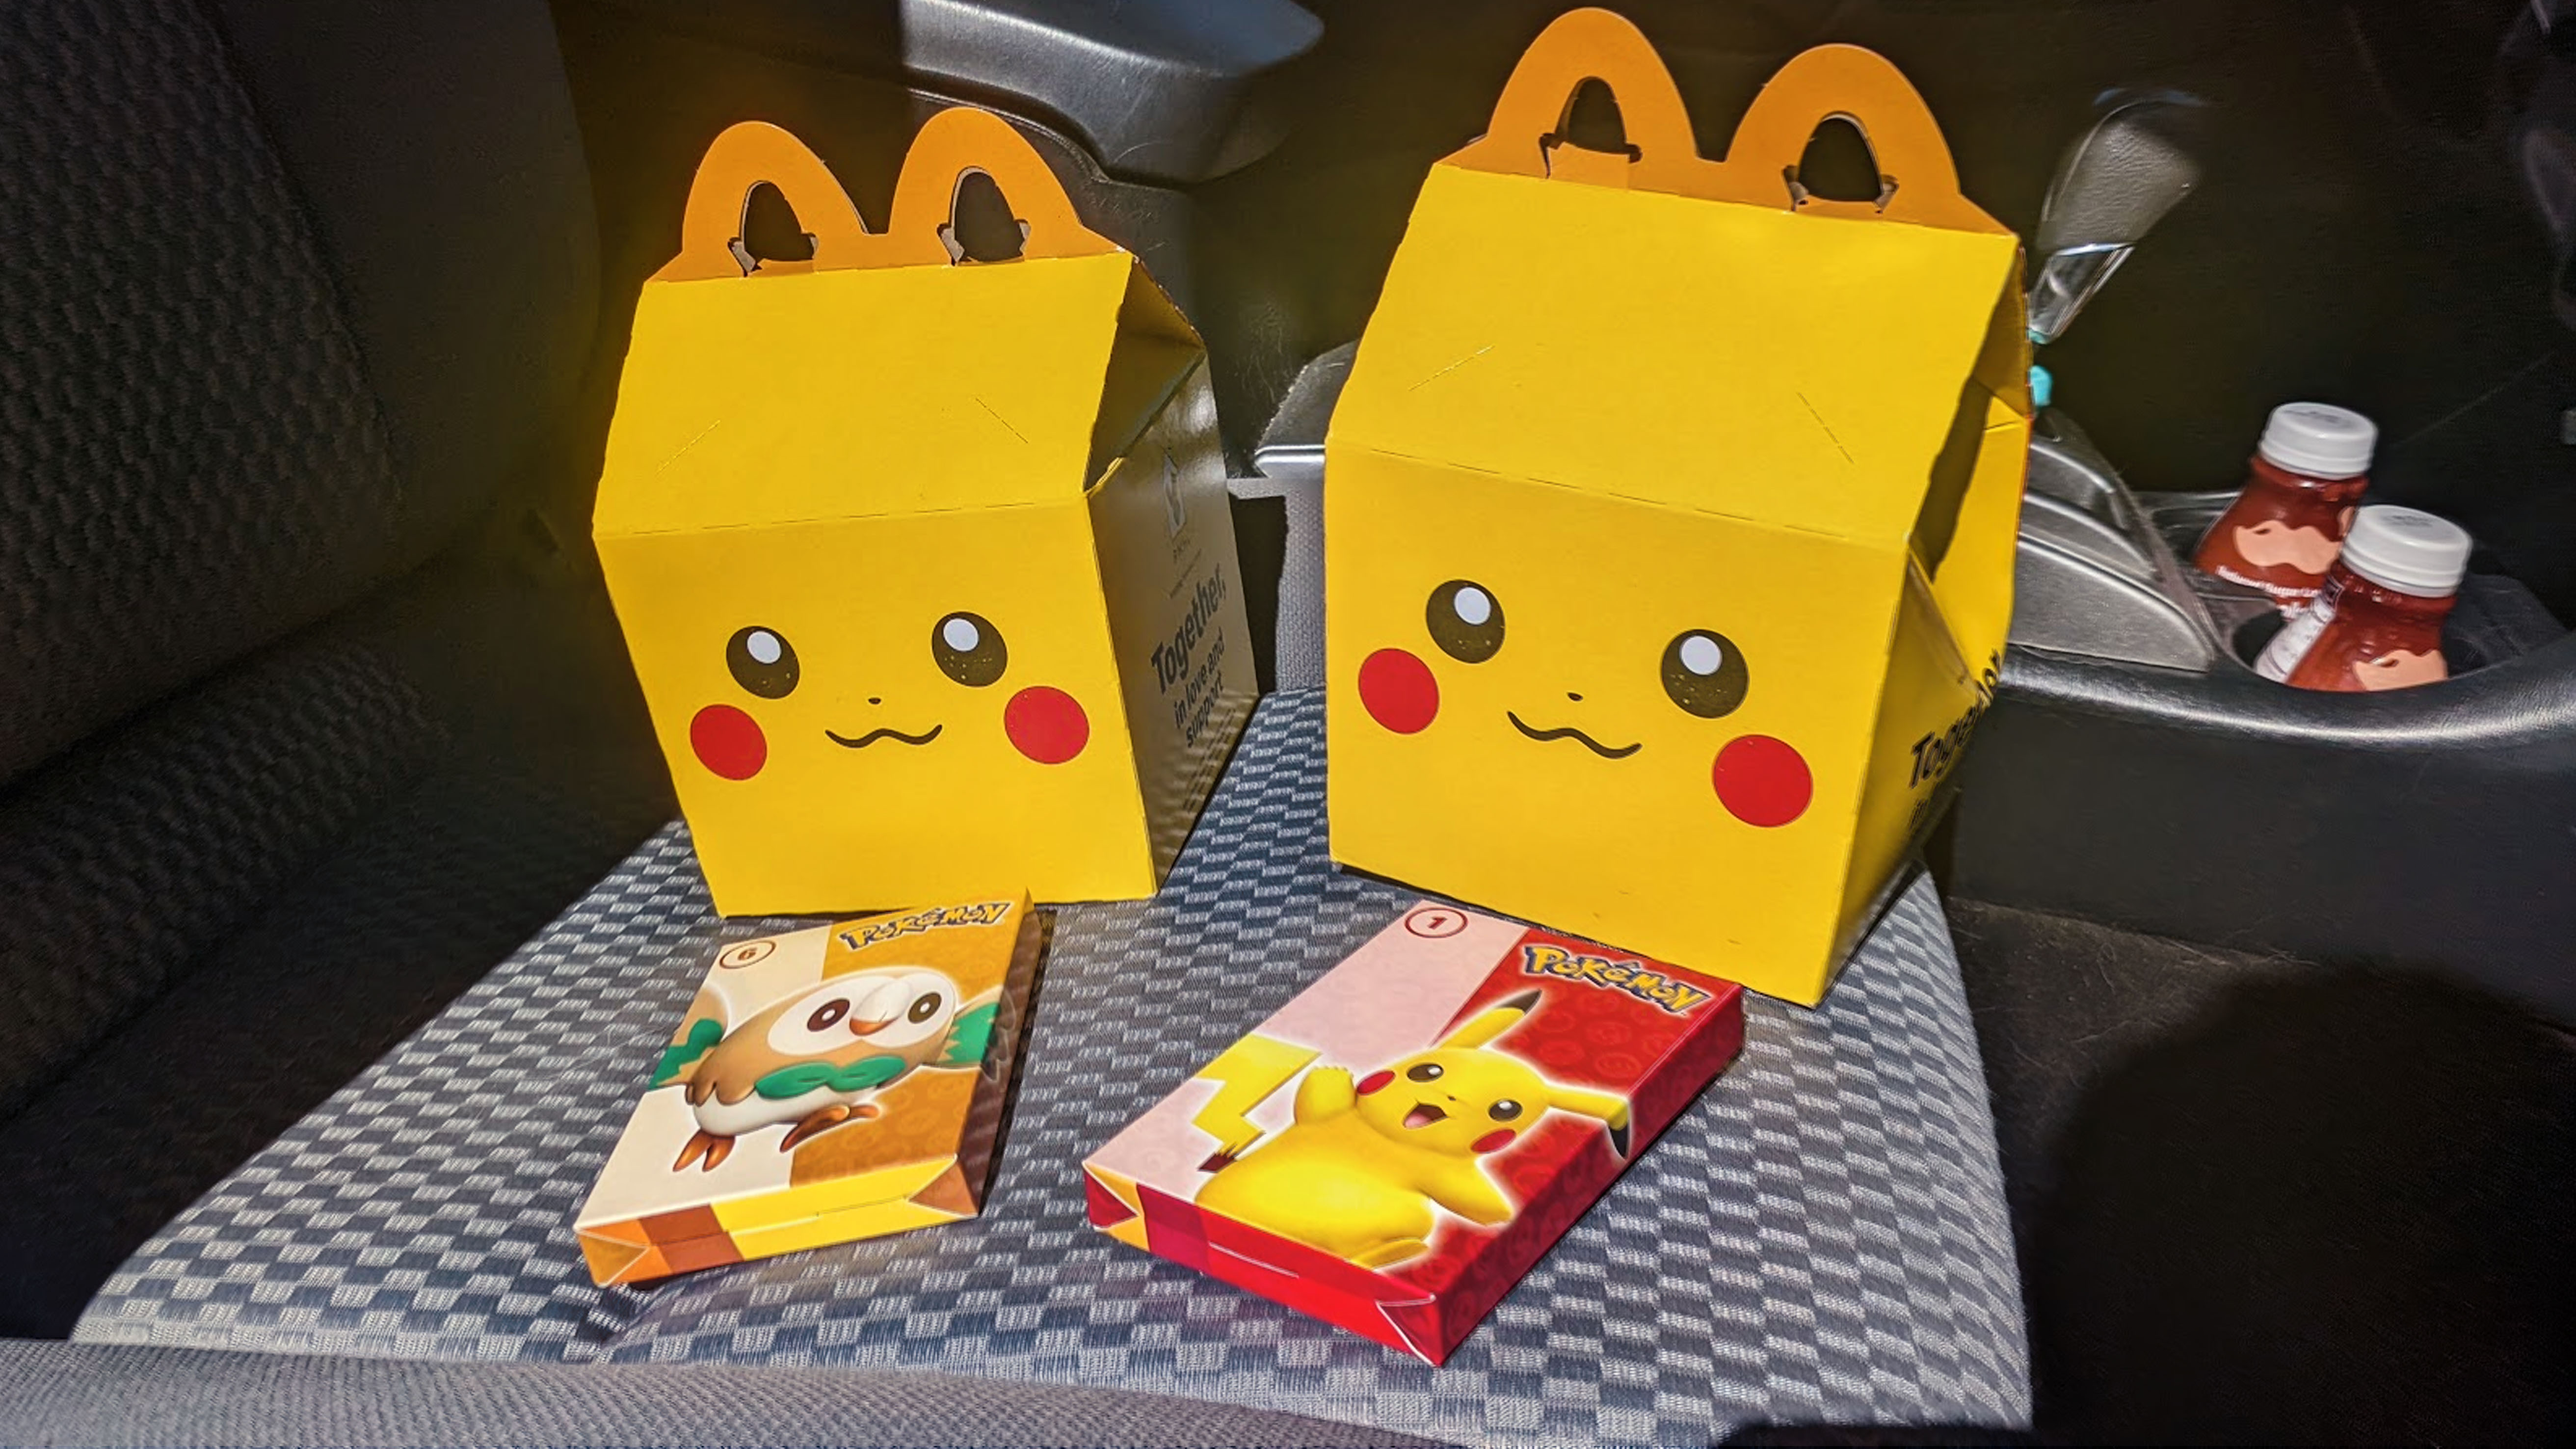
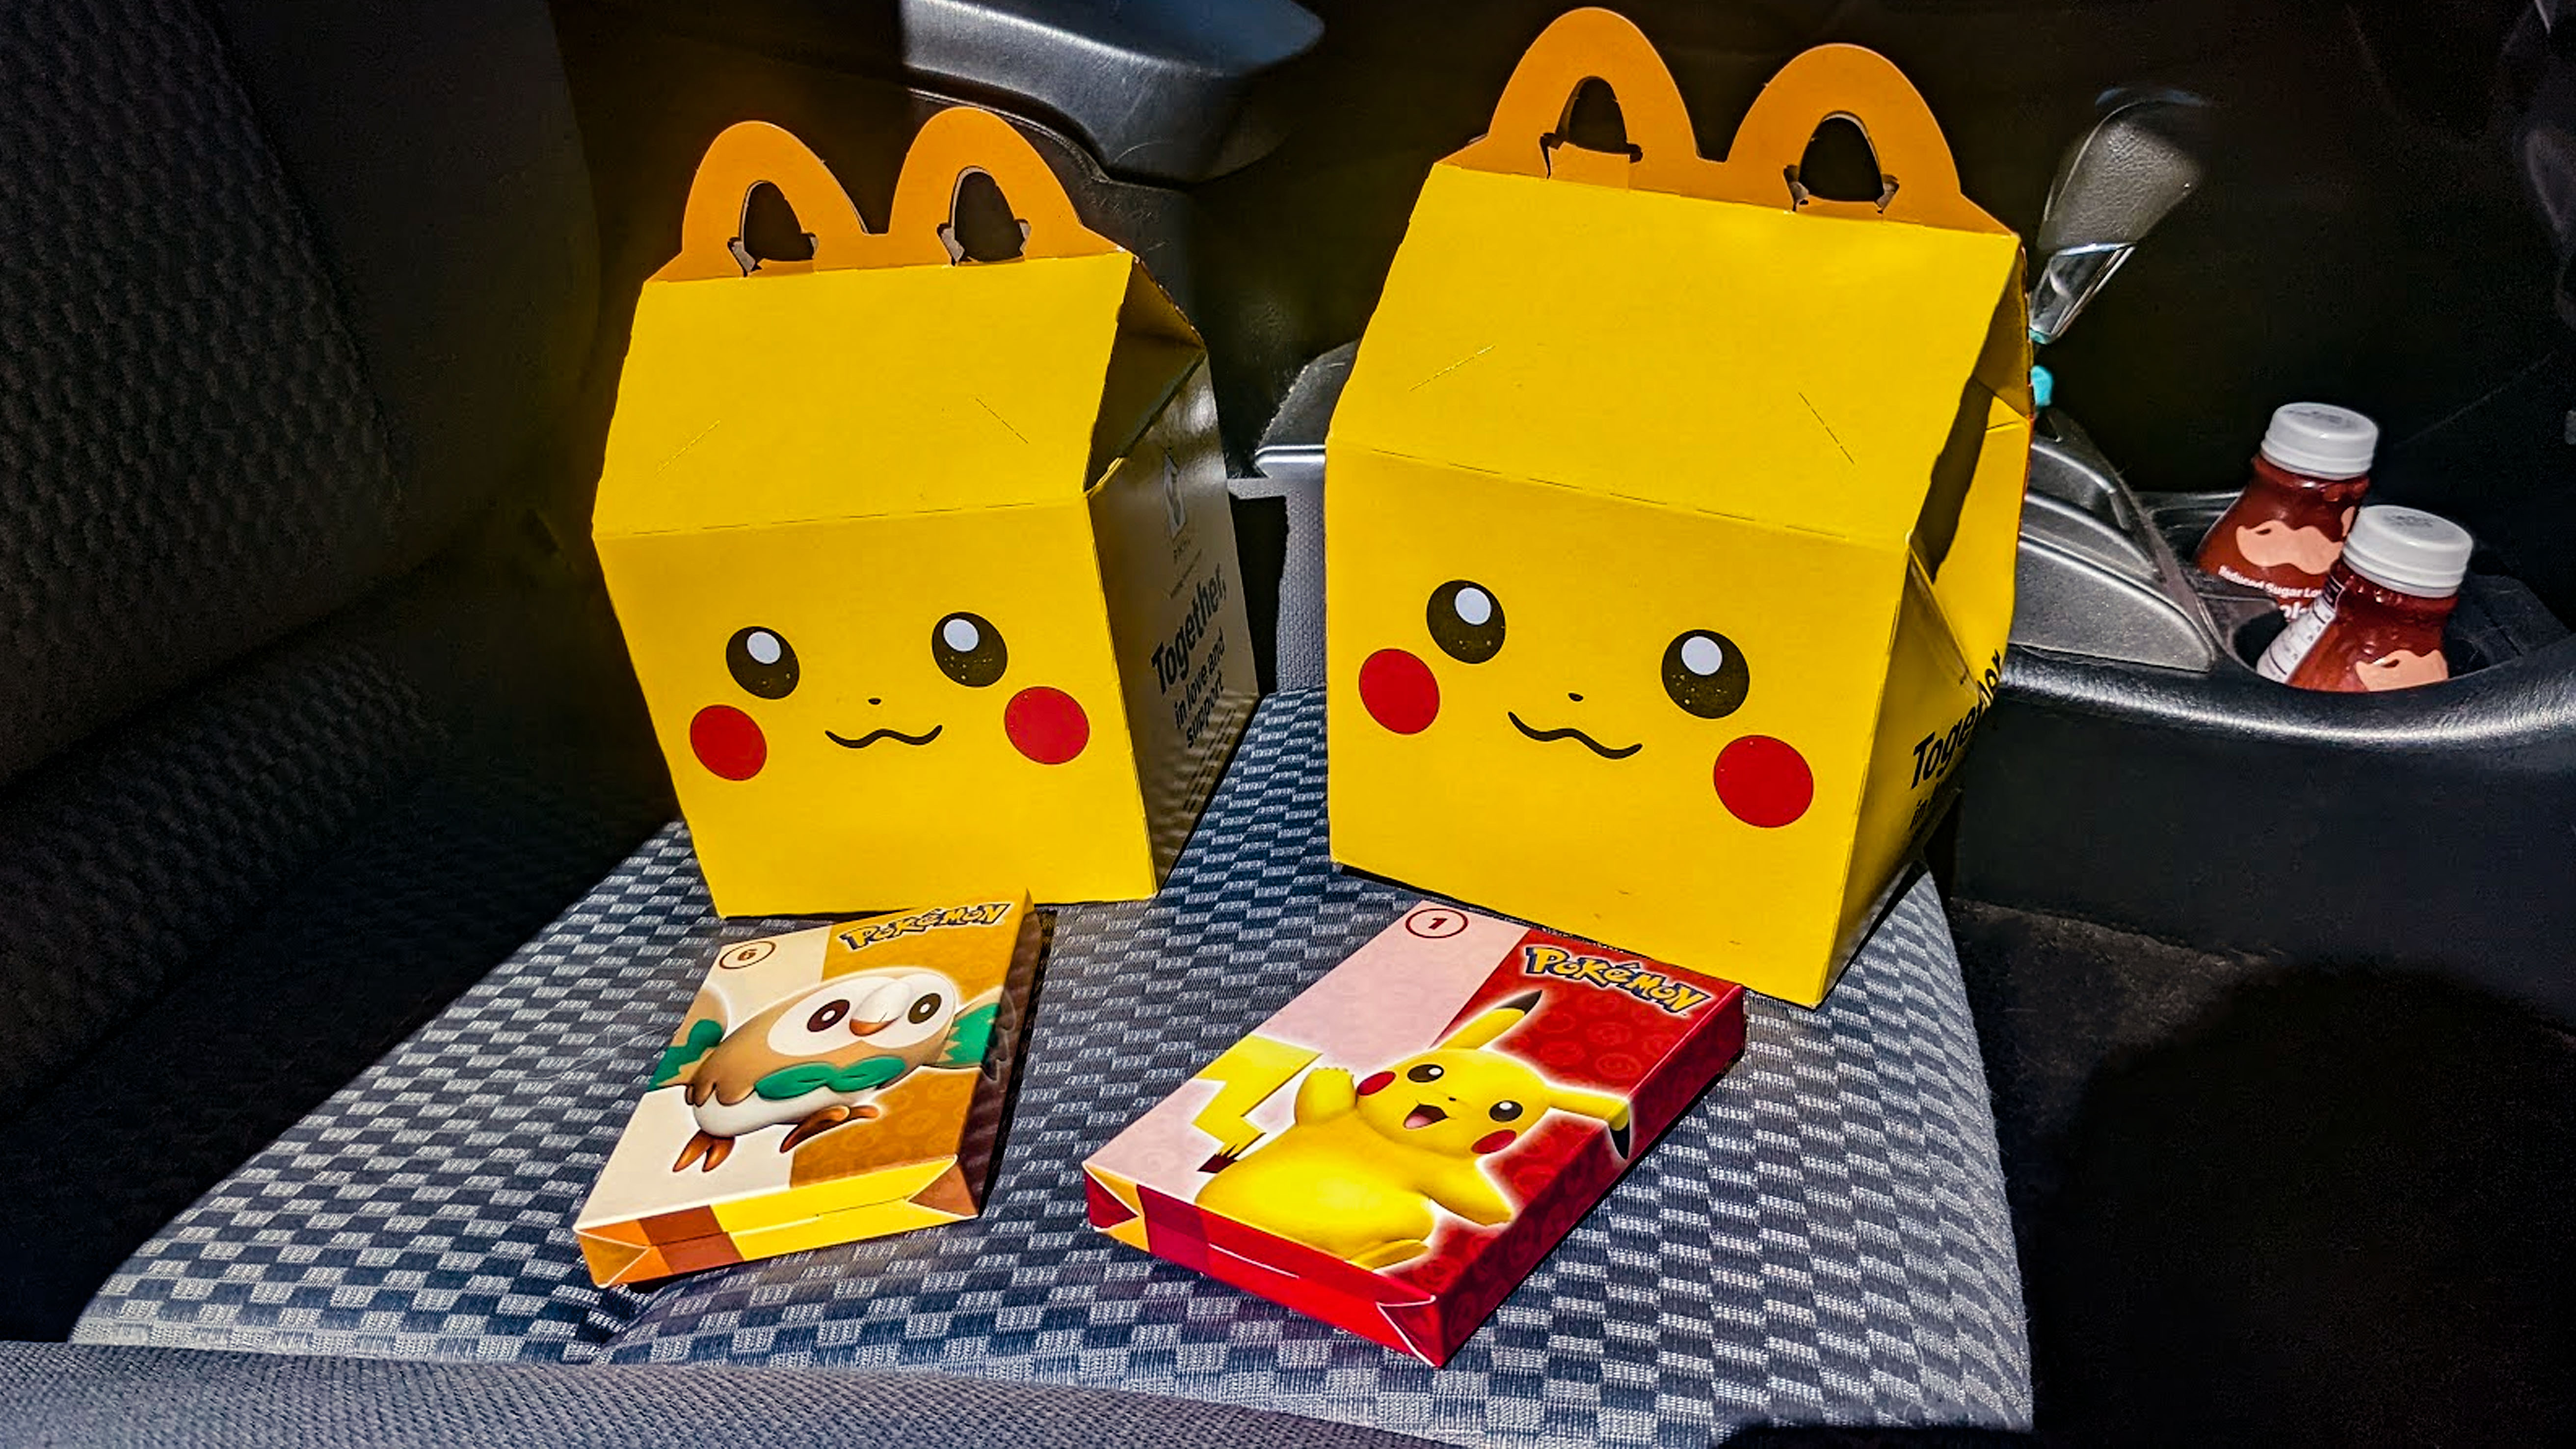
Dehaze is an option located in the Camera Raw Filter. It helps you remove atmospheric haze and thus makes an image look clearer. For instance, when I took a picture of these Happy Meals, the bright sun caused the yellow from the boxes to reflect and haze up the image. Dehaze took away those reflecting yellow rays.
How to do this: Filters > Camera Raw Filter > Slide the Dehaze bar > OK.
5. Draw with realistic pencil and paint brushes
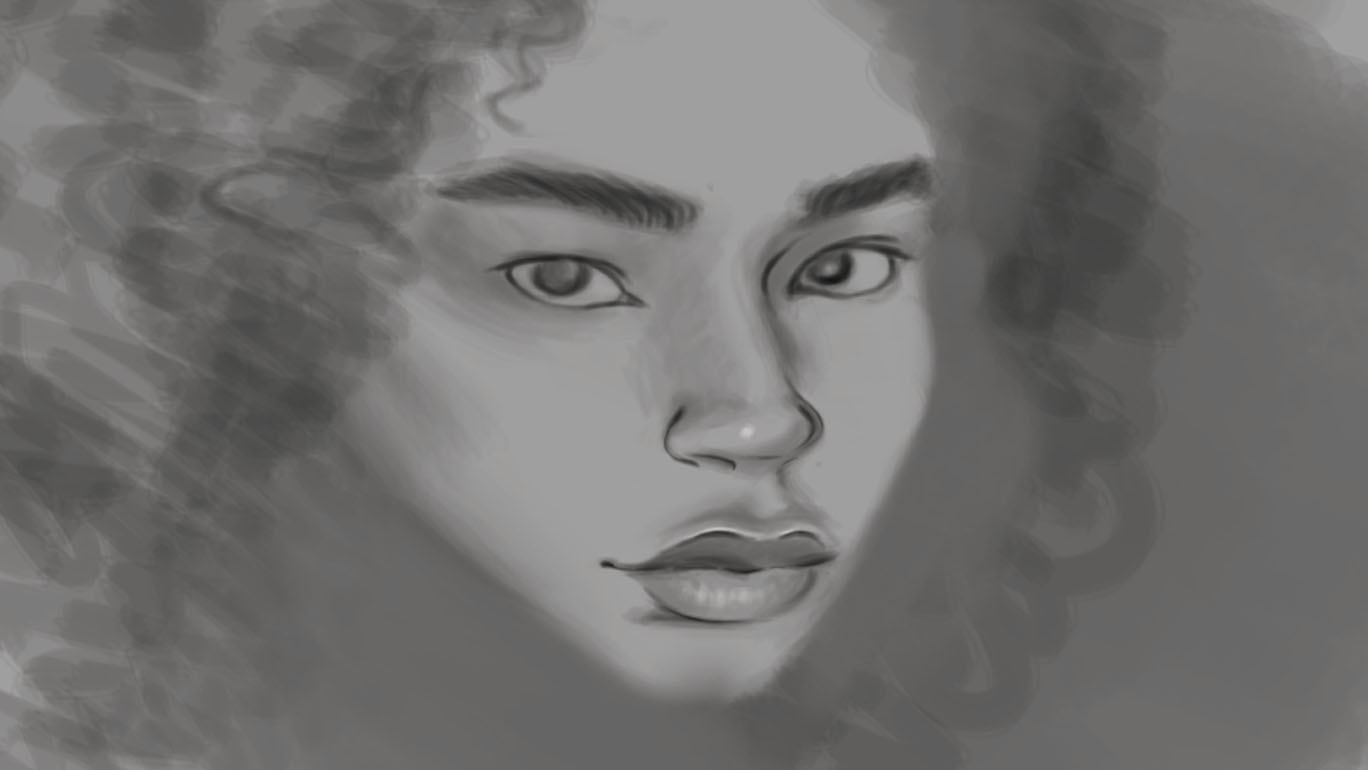
Some of us like to use Photoshop as a drawing software with the help of a drawing tablet or by using Photoshop on iPad with an Apple Pencil. In order to make the brush deliver strokes that really do look like physical media, you need to adjust the Opacity and Flow of your brushes. These adjustments are found near the top of the Photoshop window when the brush tool is selected.
The Opacity percentage determines how transparent the brush strokes are while the Flow allows you to build upon strokes to make them darker with each pass over.
How to do this: For a pencil-like stroke, use a basic round brush then set the Opacity to 25% and the Flow to 23%. Experiment with different percentages, brushes, and brush sizes to get the perfect feel for your work.
Pro tip: When painting or drawing, use a light grey background. This prevents you from making images that are too bright or too dark.
One final tip
Photoshop can be a daunting tool for beginners, but when you have a good handle on these tools and start using them together while editing an image, you'll be able to enhance your pictures to perfection. Be patient with yourself and learn from any mistakes you might make.
My final tip is to rely on the help of others. Photoshop is used by thousands of creatives who are eager to explain the software's capabilities. If you ever get stuck and can't do something then use YouTube to search for an explainer. The information is out there and you can easily get step-by-step help in no time.
Gaming aficionado Rebecca Spear is iMore's dedicated gaming editor with a focus on Nintendo Switch and iOS gaming. You’ll never catch her without her Switch or her iPad Air handy. If you’ve got a question about Pokémon, The Legend of Zelda, or just about any other Nintendo series check out her guides to help you out. Rebecca has written thousands of articles in the last six years including hundreds of extensive gaming guides, previews, and reviews for both Switch and Apple Arcade. She also loves checking out new gaming accessories like iPhone controllers and has her ear to the ground when it comes to covering the next big trend.
