Remember Time Machine? Here's how to use one of the best features of macOS
Back to the Finder.
Apple’s Time Machine utility made its debut with Mac OS X Leopard (10.5), and it’s been saving our collective bacon ever since - but many are still not taking full advantage of the backup options.
The powerful tool can bring whole drives back from the brink, but did you know it can restore individual files in a few clicks? Or that there’s a way to speed it up?
With this in mind, here are a few tips and tricks to make Time Machine more powerful for your Mac, and hopefully save you the hassle of recovering lost files.
What is Time Machine?
Time Machine is a macOS utility that periodically creates “snapshots” of specified drives. A snapshot is essentially a collection of all your files and data bundled into a disk image that’s compressed as small as it’ll go and stored in Time Machine.
This means that should the worst happen and your Mac stops working properly, you can restore it from a saved snapshot and, theoretically, lose none of your data.
You may not have used Time Machine actively because it runs in the background. Once set up, Time Machine will go about its business and keep moving through your data to ensure you have something to revert back to in a “worst-case scenario”.
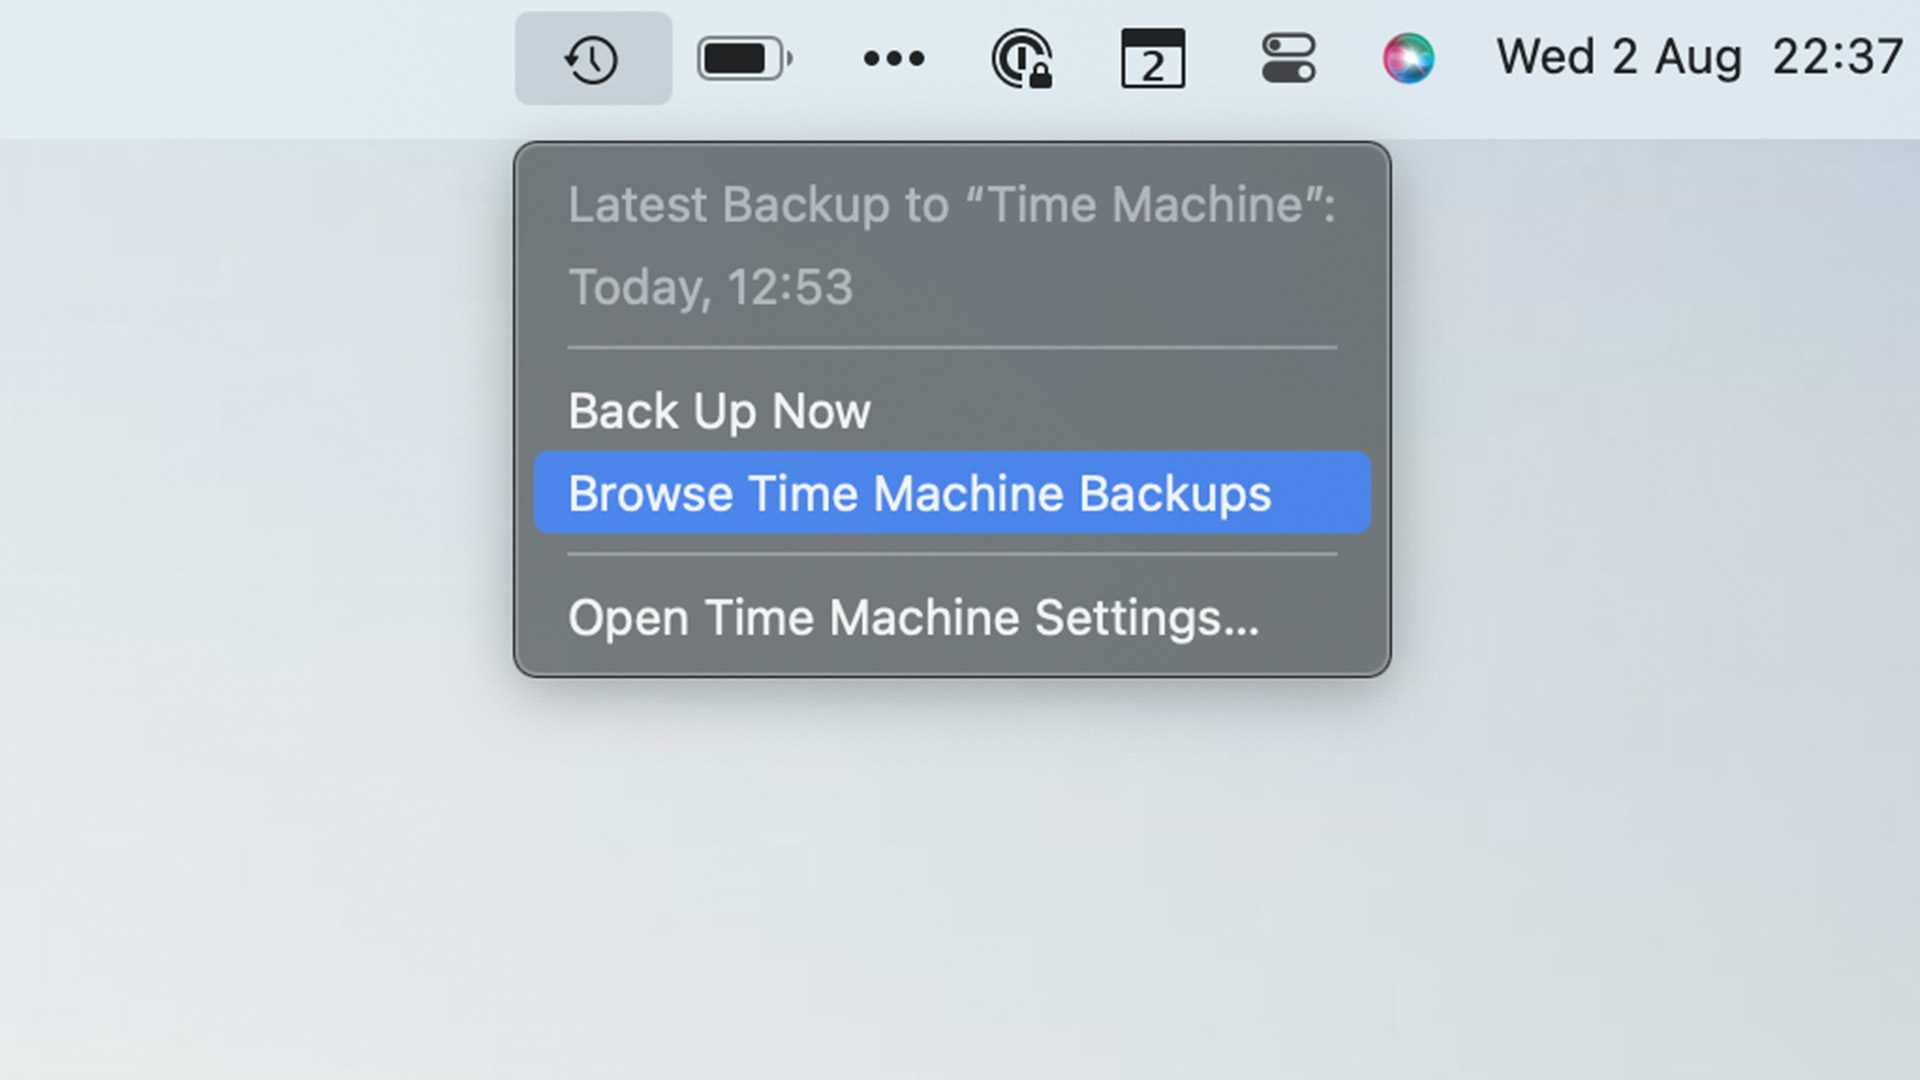
Wondering where to find it? Time Machine’s settings are found in the System Preferences app, but it has its own application shortcut, too.
Master your iPhone in minutes
iMore offers spot-on advice and guidance from our team of experts, with decades of Apple device experience to lean on. Learn more with iMore!
Starting out

To get started with Time Machine, you’ll need an external hard drive with around 150% of the storage of the main drive you’re backing up. Therefore, expect to need 750GB for your 512GB MacBook, or 1.5TB for a 1TB drive.
You’ll also need to pick between drive types. While HDD (Hard Disk Drives) were the de facto choice for years because of their price and high storage, their moving parts mean they don’t tend to last as long as faster, but pricier, SSDs.
We’d recommend the latter if you can stretch to it, however, although it may cost significantly more. You can also partition part of your internal drive if you have the space - you’ll find that option in Disk Utility.
Restoring folders
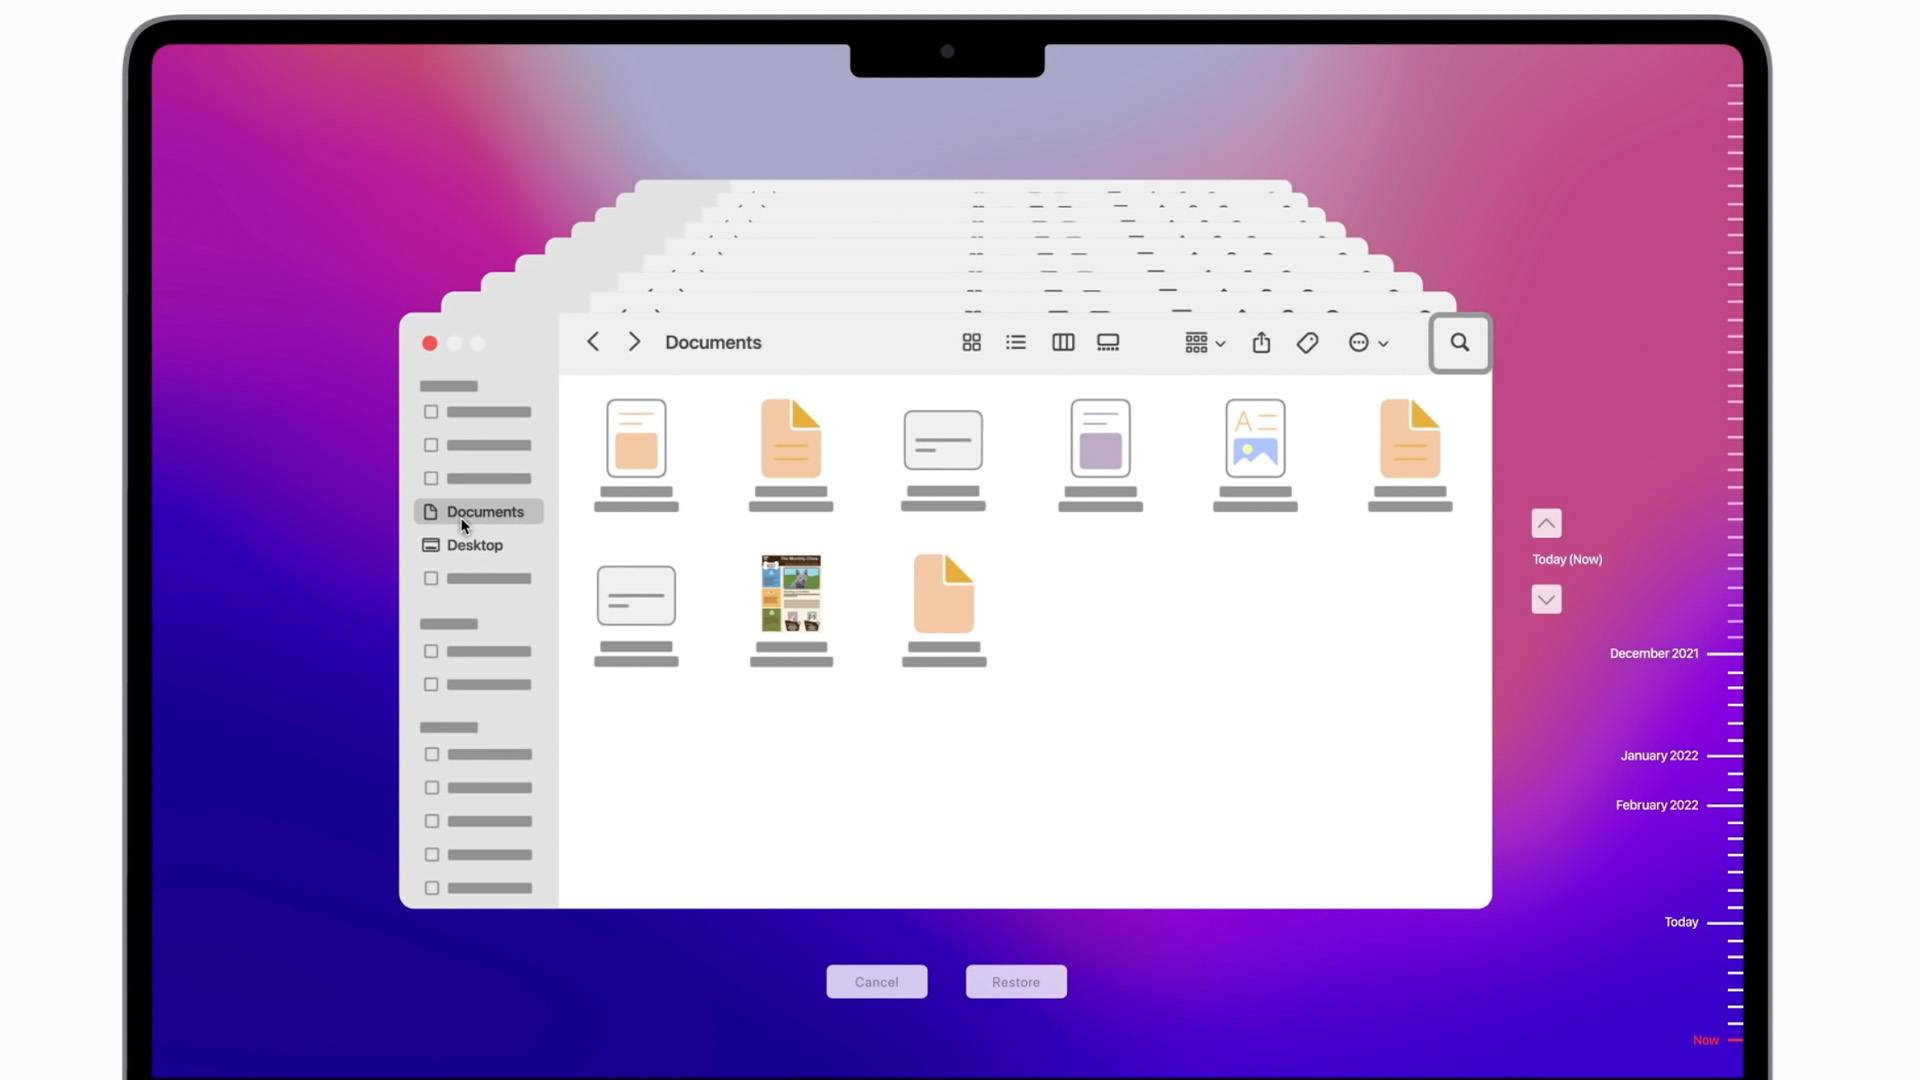
While Time Machine is ideal for restoring your Mac after a catastrophic error, it’s just as useful for restoring individual files within Finder.
To do so, open the Time Machine app from your Applications folder (or wherever you may keep it), and navigate to the folder you want to roll back.
Once there, use the timeline on the right-hand side of the screen to return to the right time, click the file, and then select Restore to bring them back from the aether - crisis averted.
Change backup frequency
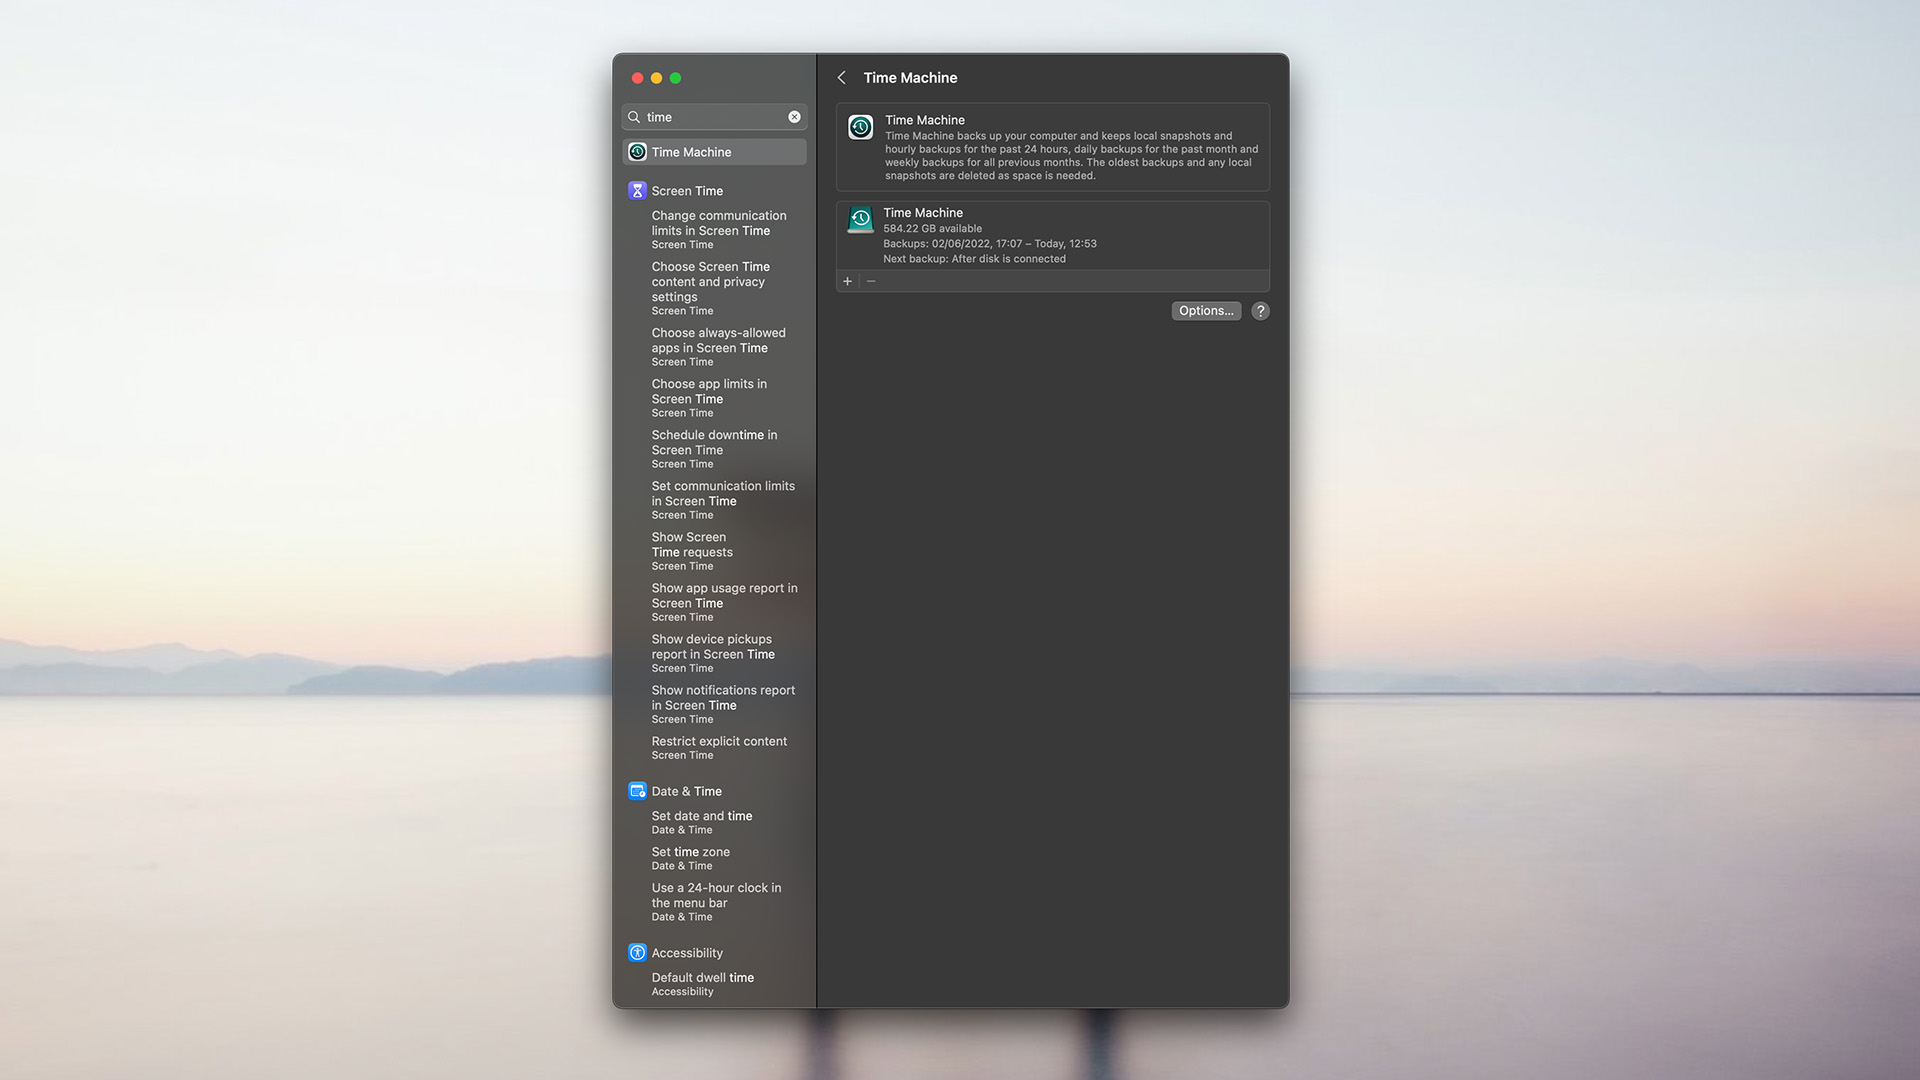
macOS does a pretty good job of keeping backup snapshots from stacking up, but if you feel like the performance drops are mounting up while Time Machine does its thing, you can switch the frequency in the Time Machine settings within System Preferences.
Options include hourly, daily, or weekly backups, but there’s also the option for manual backups if you’ve got the presence of mind to trigger it when needed.
Just remember: the more regular the snapshots, the more chance Time Machine has of recovering your lost files and folders.
In the same menu as the section above, you’ll find the option to disable Time Machine backups while on battery.
As you can imagine, this is an ideal option for MacBook users, even with Apple Silicon’s improvements to battery life.
Exclude files
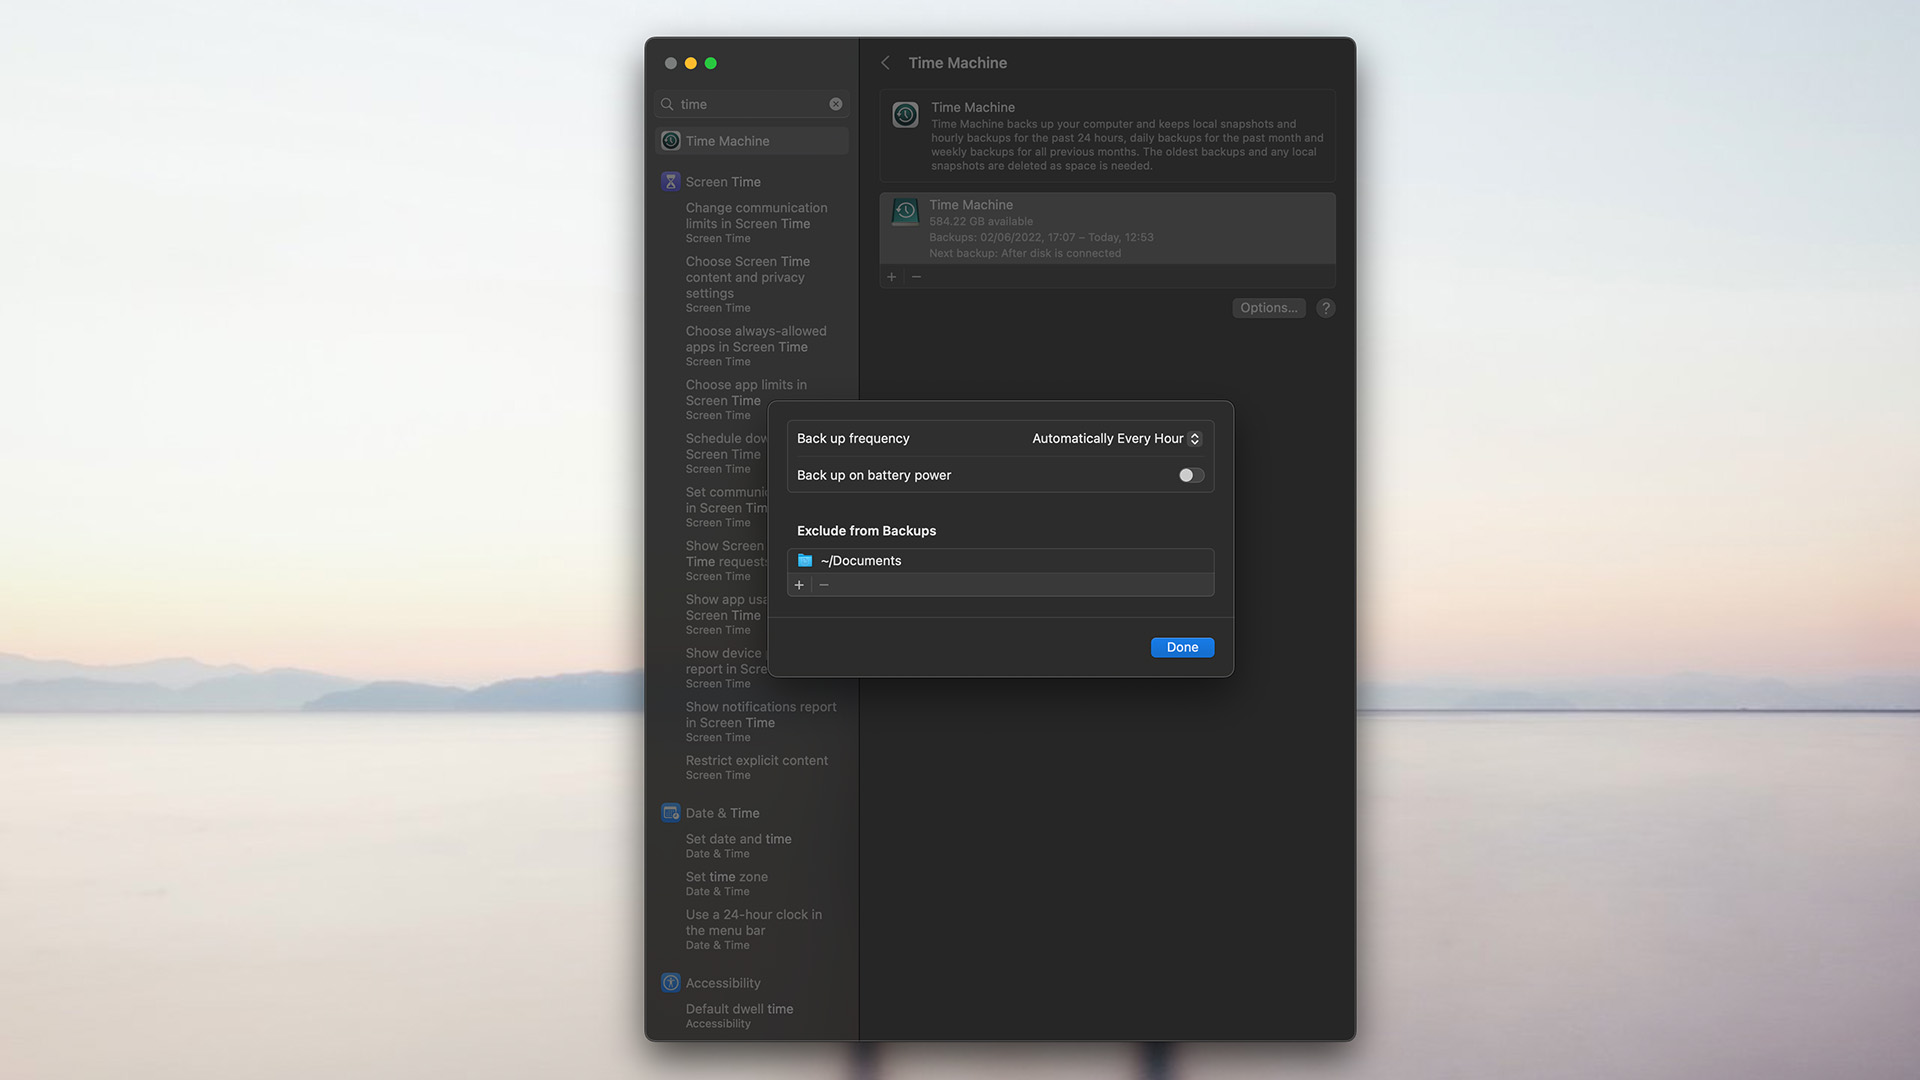
One way of speeding up your Time Machine backups is to remove the need to backup chunky files that you’re not desperate to keep, or those you have backed up elsewhere.
For example, in the screenshot above, our Time Machine backup will exclude the Documents folder, since this is already backed up in iCloud Drive.
If you’ve got files in Dropbox, Google Drive, or any other cloud backup service, you may want to do the same. Just click the “+” button in the settings to pick the file you want to exclude.
Speed up those backups
If you’ve got a big backup, you’ll know all too well how often it can take to collate everything for a snapshot - and the problem only gets exacerbated as you accrue more files.
Thankfully, there’s a nifty trick to speed up the backup process which involves removing the throttle on your CPU.
Doing so means your Mac can back itself up more quickly, but you’ll need to put the bottleneck back in place to save messing with your day-to-day performance.
Open the Terminal in Spotlight search, and enter the following:
sudo sysctl debug.lowpri_throttle_enabled=0
Hit Enter/Return, and enter your Mac’s password when prompted.
To reset things back to how it was, enter this command in the Terminal in the same way:
sudo sysctl debug.lowpri_throttle_enabled=1
Third-party alternatives
There are plenty of third-party options that you can use in lieu of Time Machine or in conjunction with it.
Backblaze, for example, costs a small monthly fee, but if your machine crashes and you aren’t able to restore from their servers, you can request a drive with your data be sent out instead.
Carbonite and Carbon Copy Cloner are easy-to-use alternatives, too. For more, be sure to check out our full list of backup tools for macOS.
We’d also like to mention CleanMyMacX. While it doesn’t back up your machine itself, it offers a handy tool for thinning out your Time Machine snapshots so they take up less room.

Lloyd Coombes is a freelance writer with a specialism in Apple tech. From his first, hand-me-down iMac, he’s been working with Apple products for over a decade, and while he loves his iPhone and Mac, the iPad will always have his heart for reasons he still can’t quite fathom. Since moving from blogging to writing professionally, Lloyd’s work can be found at TechRadar, Macworld, TechAdvisor and plenty more. He’s also the Editor in Chief at GGRecon.com, and on the rare occasion he’s not writing you’ll find him spending time with his son, or working hard at the gym (while wearing an Apple Watch, naturally). You can find him on Twitter @lloydcoombes.
