Blocs 3 for Mac: Advanced features you shouldn't miss
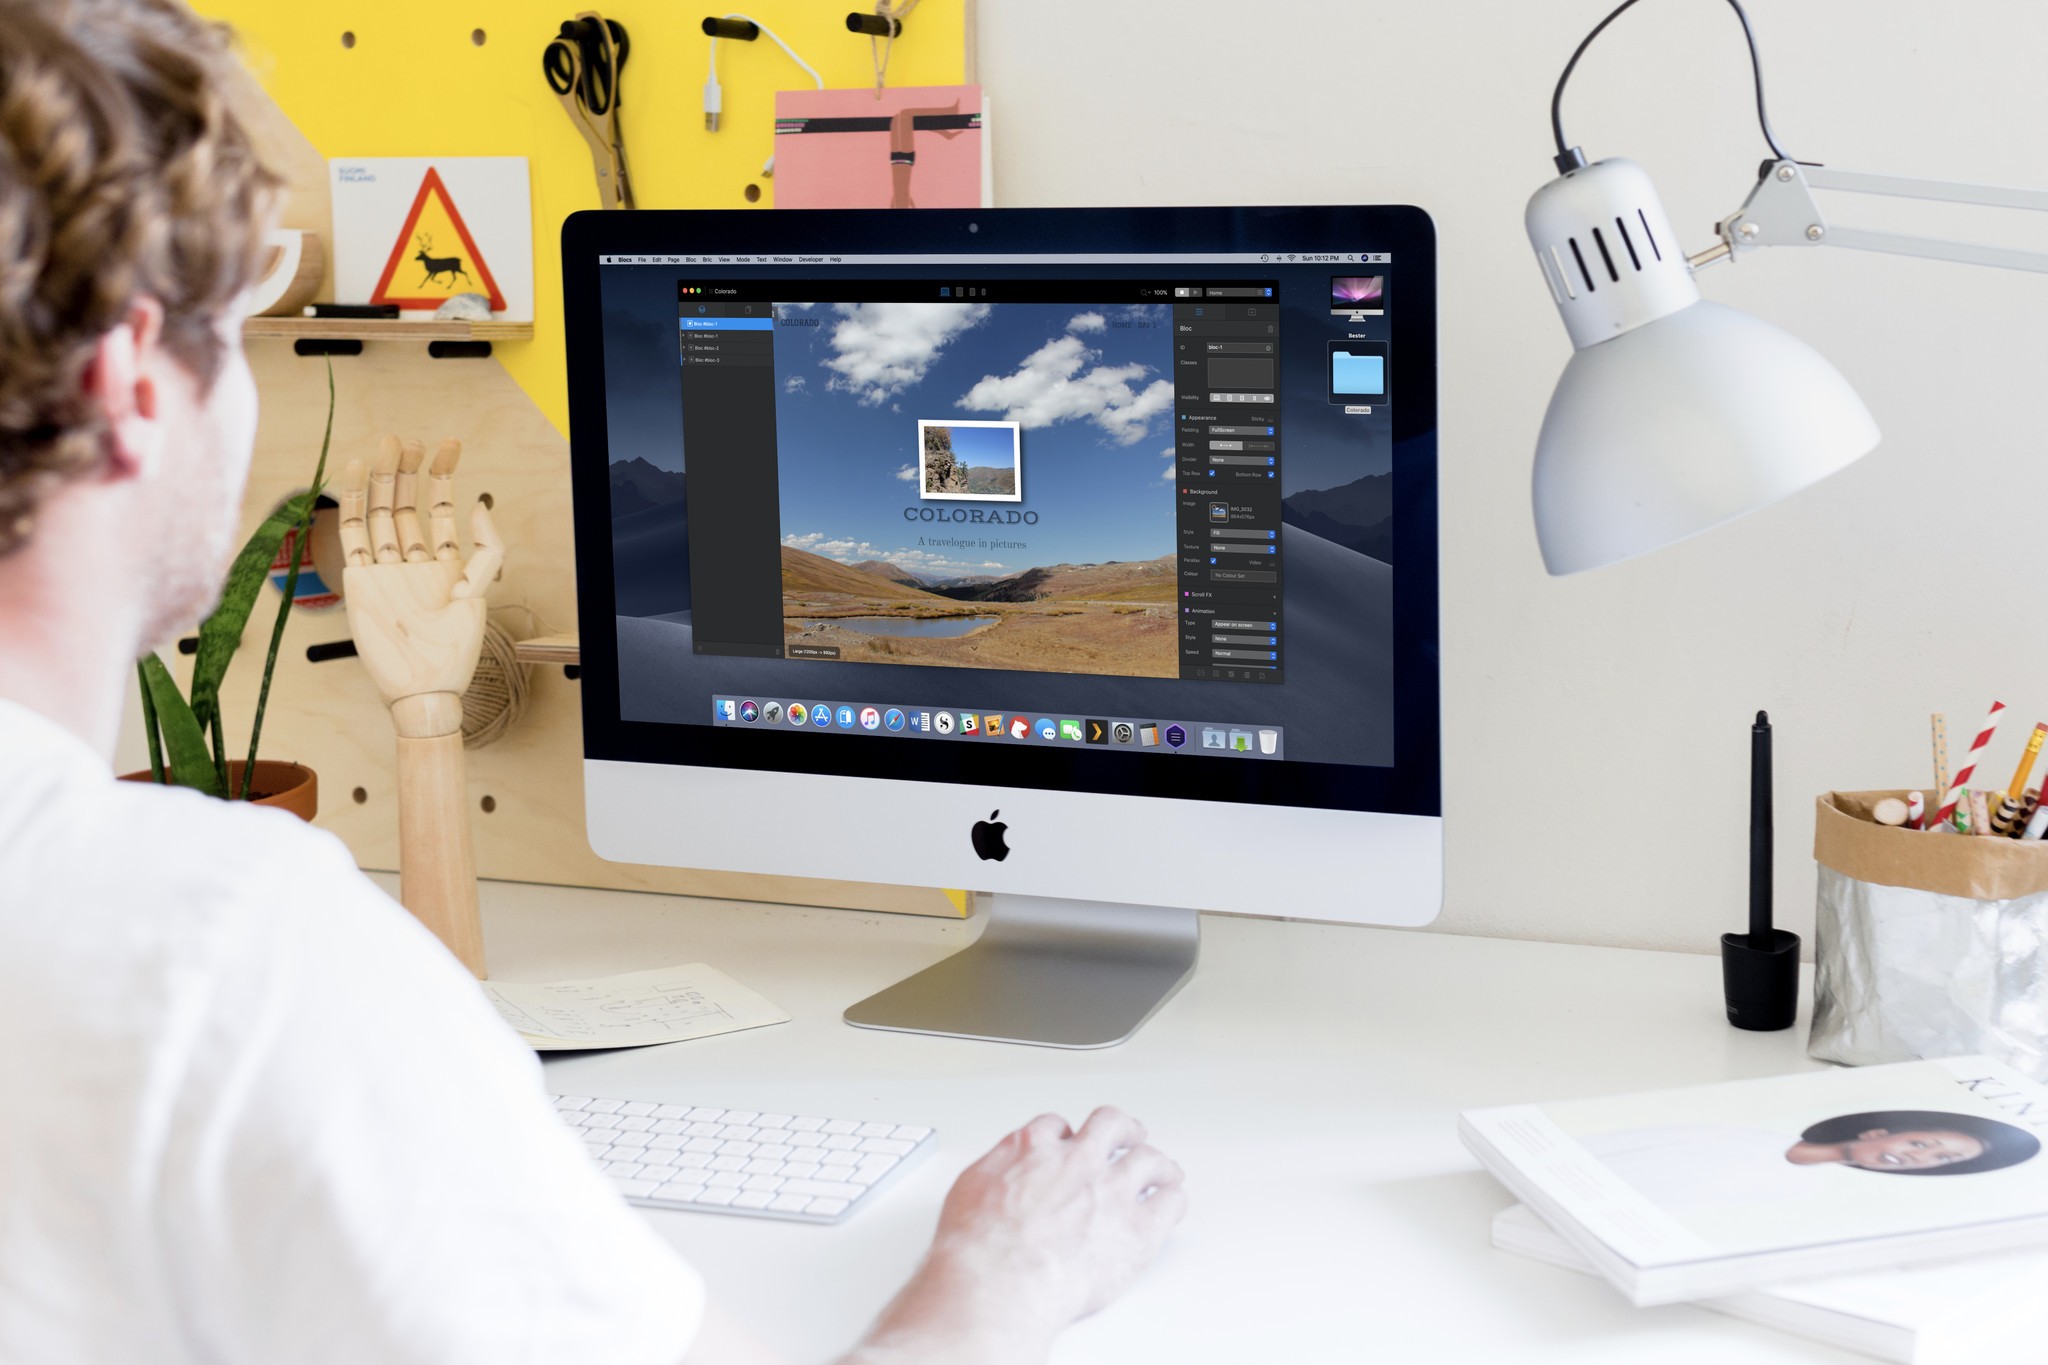
Blocs 3 is best known for putting a friendly face on relatively sophisticated Web design. Its drag-and-drop simplicity and snap-together chunks of prewritten code make HTML and CSS far less intimidating for non-experts. But with a little digging, even intermediate and advanced web designers will find reasons to love Blocs.
Here's a curated (but by no means complete) list of some of the fancier features it offers. Some are old favorites that you might have overlooked, while others are brand new for Blocs 3.
Custom web fonts
Blocs 3 comes with a small but decent selection of Web-friendly fonts. But if you find them too limiting, you can easily add your own. In Blocs > Preferences , you'll find a button to open Blocs's Font Manager.
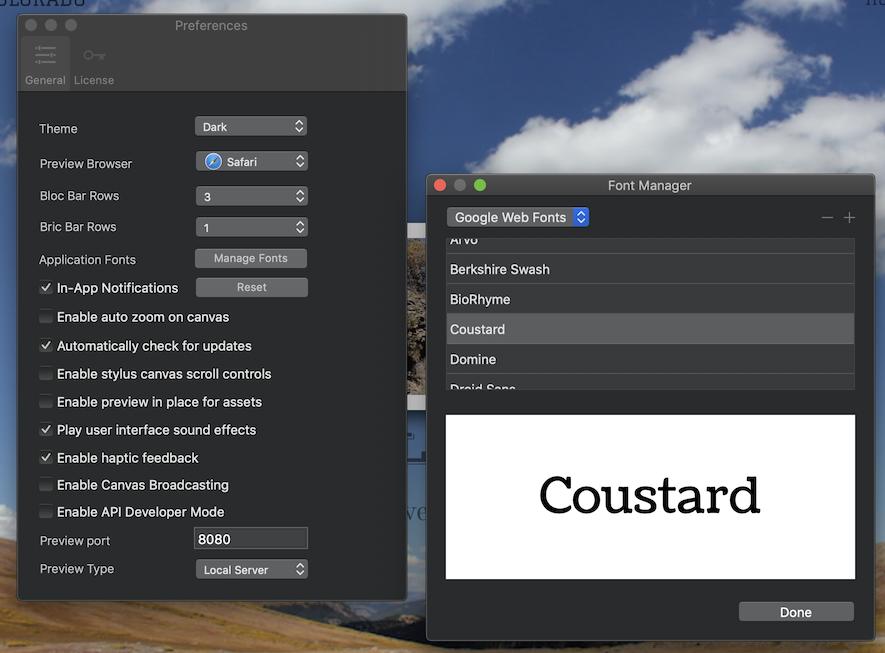
From here, you can use the + button to add new fonts, either from Google's library of Web fonts or from local font files, depending on what you select in the pulldown menu.
For local files, Blocs requires at least a .ttf or .woff font file, but suggests you select a folder containing the font in both those formats, plus .eot and .svg form, for maximum browser compatibility.
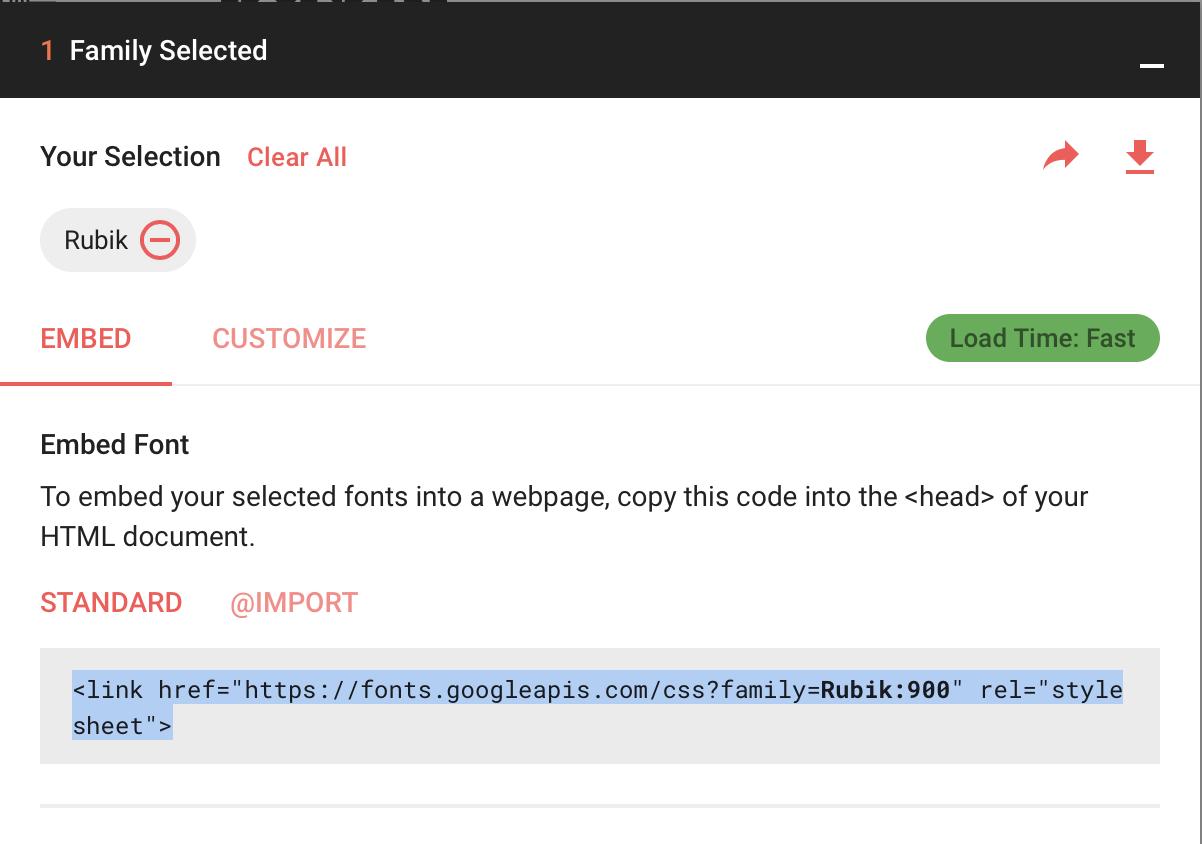
For Google web fonts, select the font you want from Google's extensive online library, then copy the HTML code under "Embed Font."
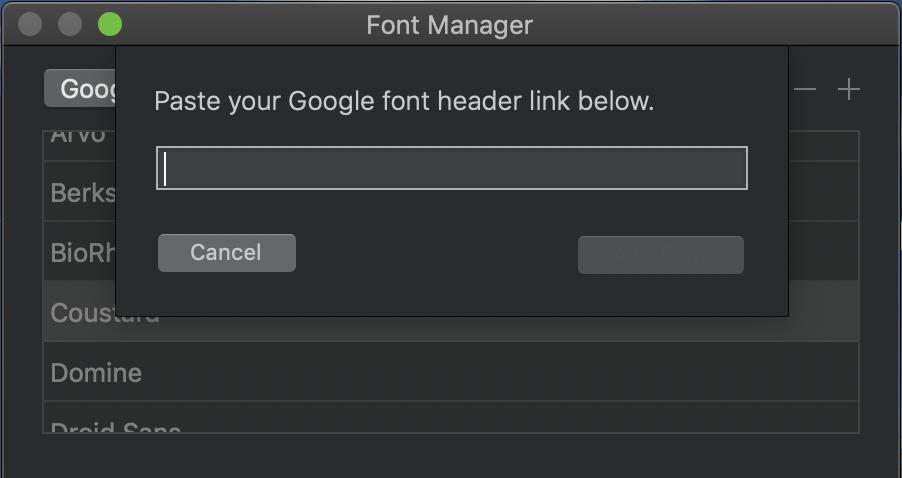
In Blocs's Font Manager, add a new Google Web font, then paste that HTML code into the box that appears, and click "Create."
Master your iPhone in minutes
iMore offers spot-on advice and guidance from our team of experts, with decades of Apple device experience to lean on. Learn more with iMore!
Whichever way you add new fonts, you'll need to quit and reopen Blocs before you can use any of your newly incorporated typefaces. When you export a site that uses these typefaces, Blocs will make sure to include the right links or files. (Just make sure any non-Google fonts have a license that allows Web use.)
Asset Manager
Blocs's asset manager has your back when your project gets stuffed with auxiliary images, text files, PDFs, and more. With a few clicks, you can sort those files into groups for quicker access.
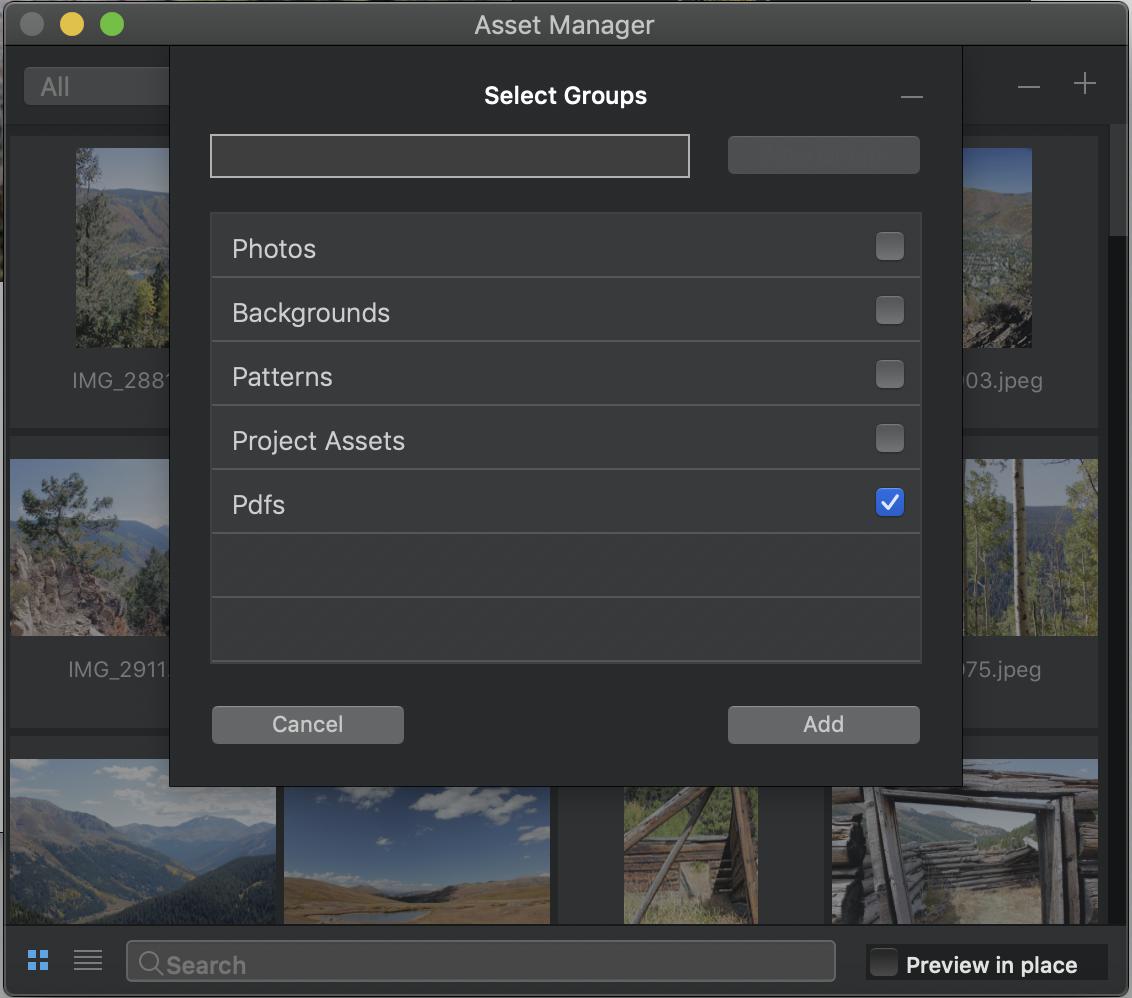
Within the Asset Manager, click "Select" at the top of the window, then select the items you want to categorize and click the blue "Add to" that appears at the top of the window. You can then move the selected items into any of Blocs's preset groups, or create entirely new groups in which to store them.
Video backgrounds
It's easier than you'd think to add a video background to any element in Blocs. Just make sure your video's in MP4 format and less than 10MB in size (anything larger, and Blocs will scold you; anything over 20MB won't work at all), and add it to your Asset Manager. From there, drag it straight to any Bloc to make it the background.
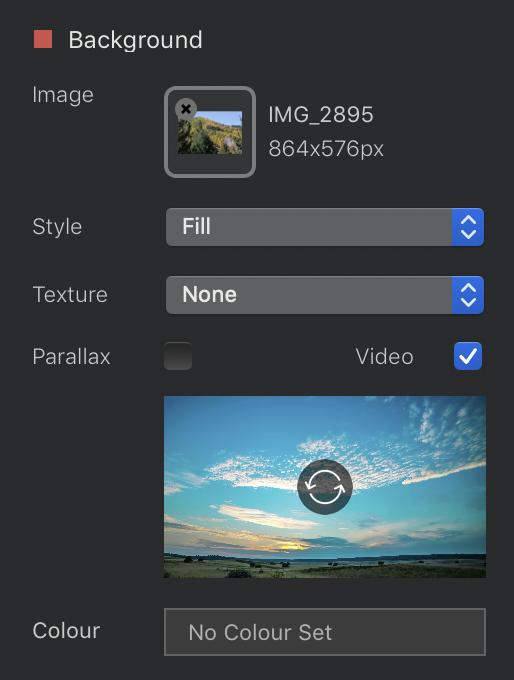
Alternately, select the desired Bloc, look for the Background palette in the Inspector pane, and click the "Video" checkbox. When Blocs's placeholder video appears, click the refresh icon in the thumbnail (seen below) to pick a new one from the Asset Manager.
Global swatches
The web abounds with HTML color palette pickers that can provide you with a suite of complementary colors for your site. Once you've found the hues that work for you, keep them in line by adding them to Blocs's Swatch Manager, accessible either by hitting cmd-8 , going to Window > Global Swatch Manager in the menu bar, or clicking the small grid icon in the lower right corner of the window.
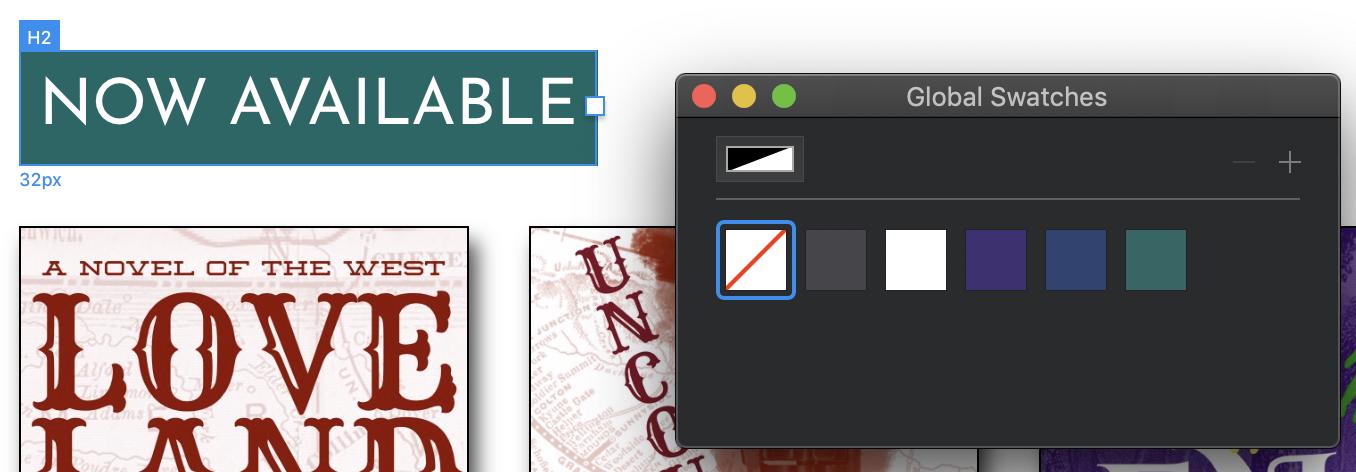
Here, you can add colors via RGB, CMYK, HSB, or hex code values, and apply them to elements with a simple click. Better yet, if you change your mind and want to swap ochre for periwinkle, doing so in the Global Swatches window will ensure that every ochre element in your site instantly becomes your preferred periwinkle instead.
Menu manager
Blocs automatically adds any new pages you create to its navigation bar element. But if you want to exclude a page from the navbar, or have nested submenus, Blocs is happy to oblige.
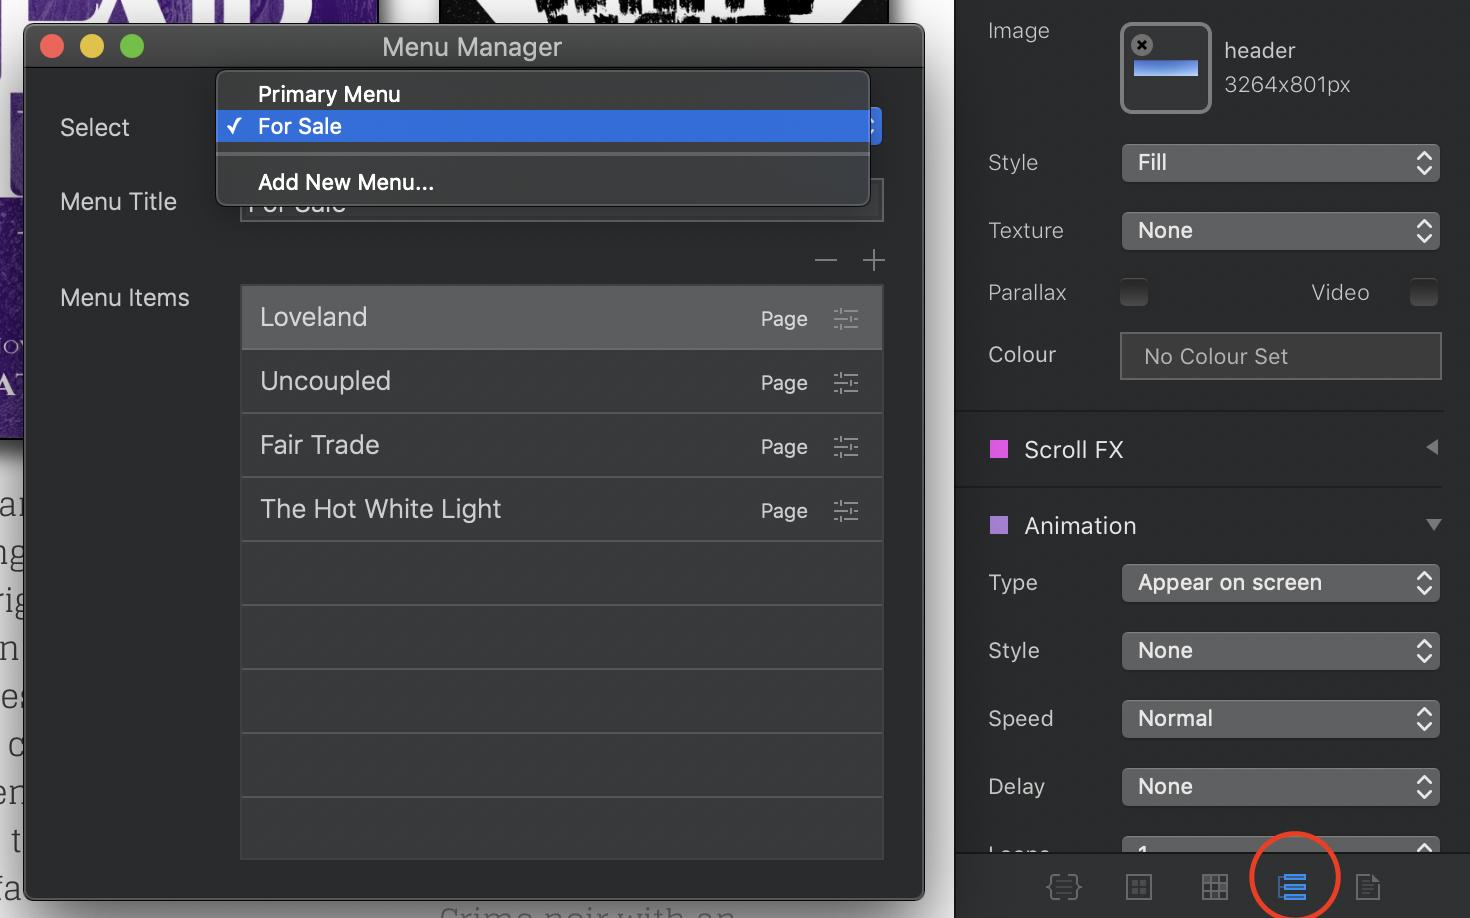
Open the menu manager by hitting cmd-9, going to Window > Menu Manager in the menu bar, or clicking the menu icon in the lower right corner (circled in red above). From there, you can add or remove items from your site's primary navigation menu, or create new menus that you can either nest within the primary menu, or attach to a selected dropdown-menu or list Bric using the Data palette in the Inspector pane.
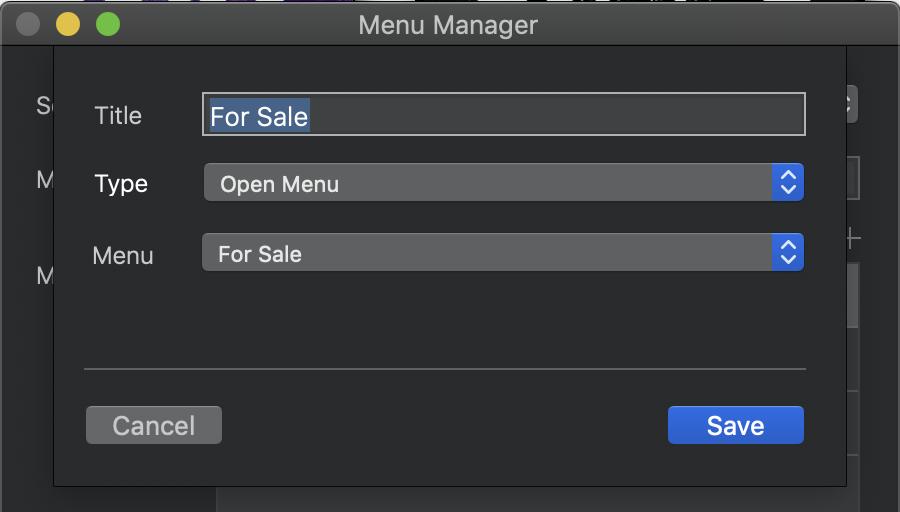
You can also edit each item in a menu – click the slider bars icon next to its name in the main list – to open another menu, navigate to a page within your site or an external URL, or just serve as a divider between other items within the menu.
Data sources
If you like a page you've designed and want to reuse it elsewhere on your site, you can make it a template via Page > Add to Template Library. But before you do that, save yourself a little time and retyping by setting some of the page's elements to change automatically.
Any text object in Blocs can pull its contents from the page's name, its SEO title, or its SEO description. For example, if your page is named "My Photos," you can set the header text at the top to automatically say "My Photos," without having to type that in manually. Just select the header, paragraph, or other text object, then head over to the Data palette in the Inspector pane at right. Use the pulldown menu to select your desired option and voila.
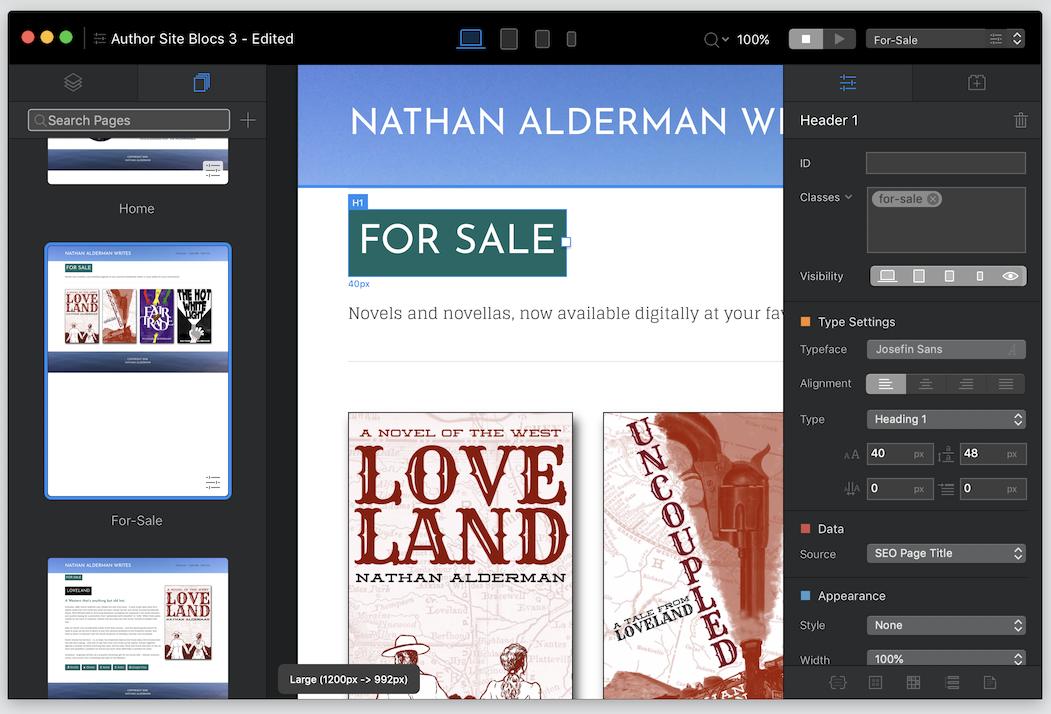
A helpful hint: Avoid "Page Name" in favor of "SEO Page Title." Blocs adds weird hyphens between each word in a page's name, and those hyphens show up when you use "Page Name" as your data source. "SEO Page Title" gives you the same thing, without the funky hyphenation.
Custom attributes
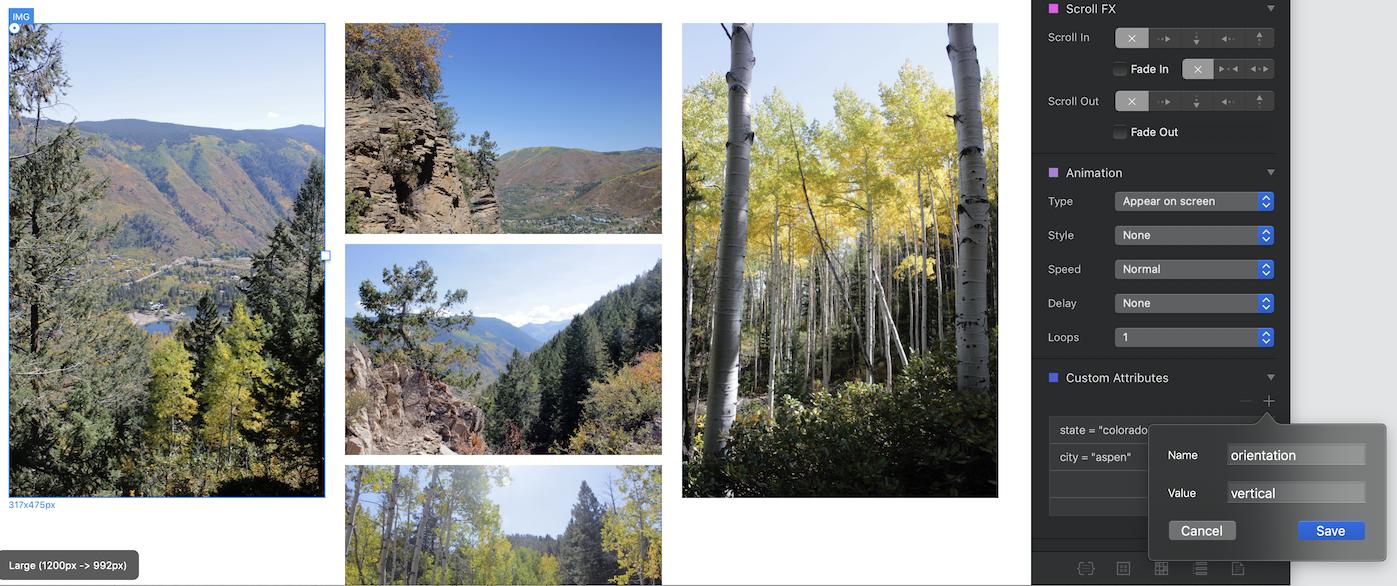
HTML5 includes a nifty ability to add database-like information to an object on the page without actually requiring a database. You can then read and manipulate these attributes with JavaScript.
Blocs makes adding custom attributes a snap. Just click on an object, go to the Custom Attributes palette in the Inspector pane, and use the + button to add names and values for as many custom attributes as you wish.
Project and page settings
But wait, you say: How am I going to pass those custom attributes to JavaScript if I can't add my own JavaScript? Happily, you can, along with any other files you'd like to include. That goes for individual pages or your entire site.
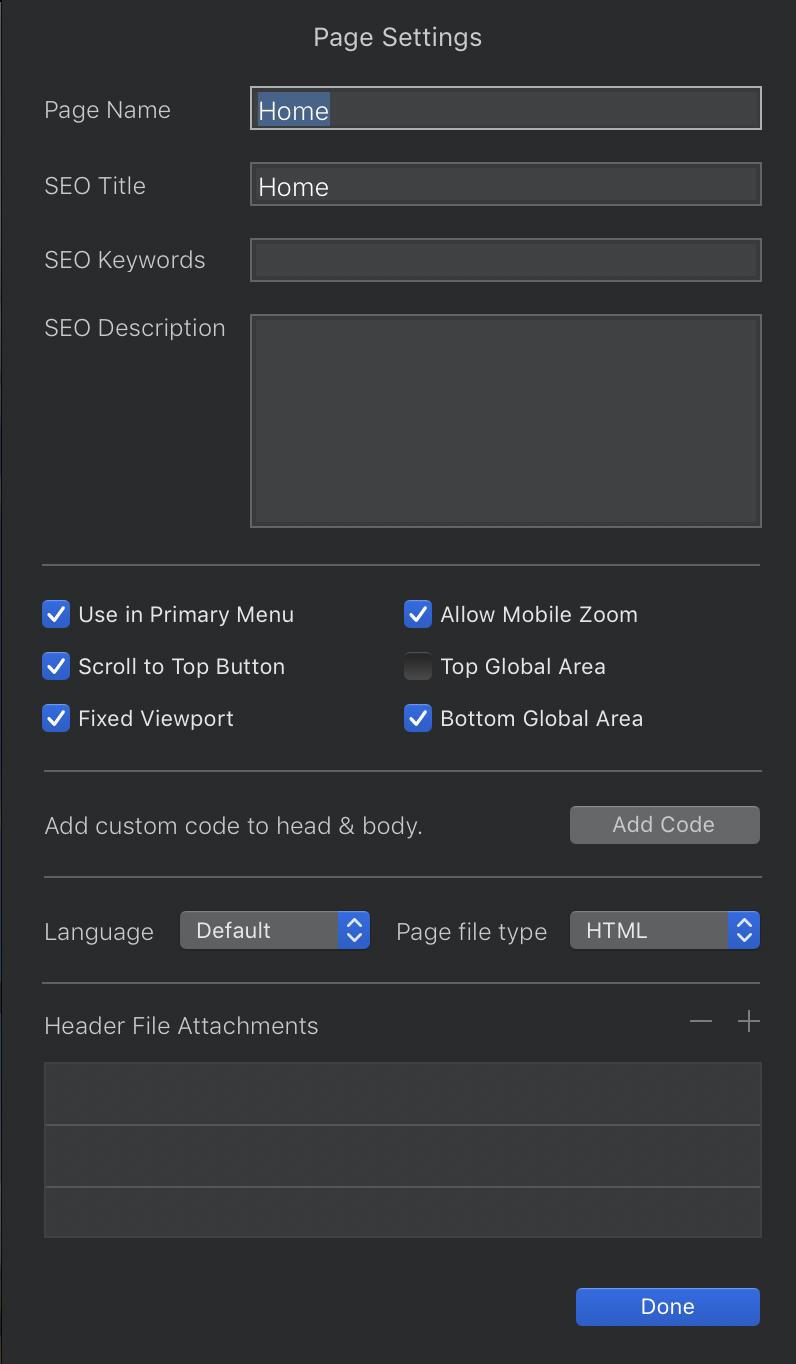
To view Page Settings, switch to page view on the left side of the screen, click the slider bar icon at the lower right of a page's thumbnail, and select Settings from the contextual menu that appears.
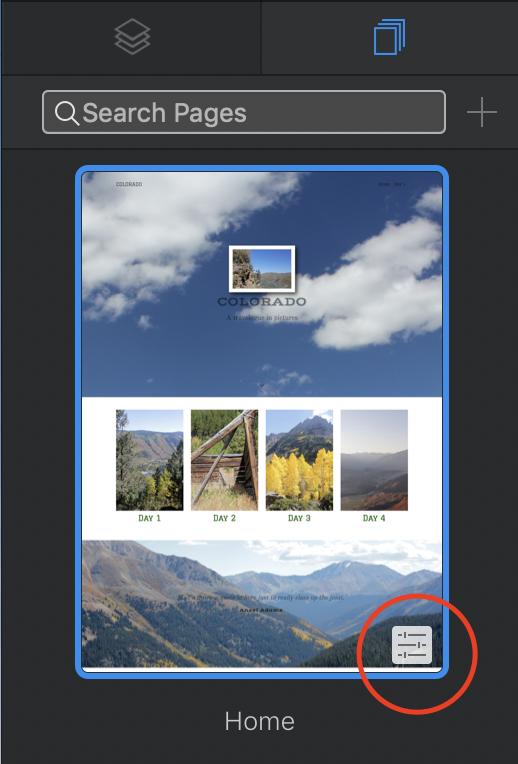
The resulting window lets you add SEO info, turn on or off the global areas on the top and bottom of each page, add custom code to the header, footer, or before the <!DOCTYPE> tag on the page, in addition to easily enabling header file attachments.
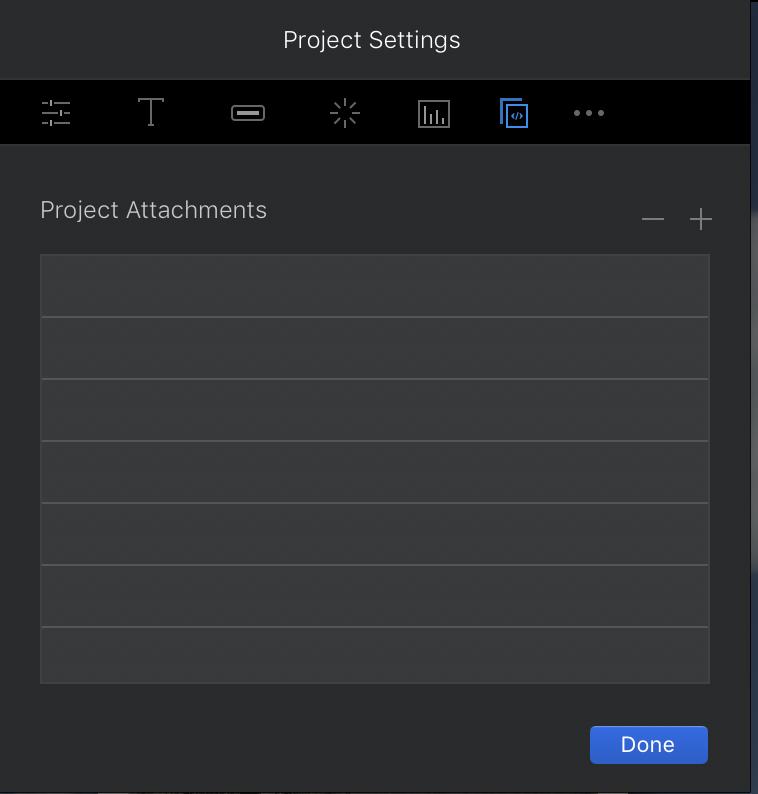
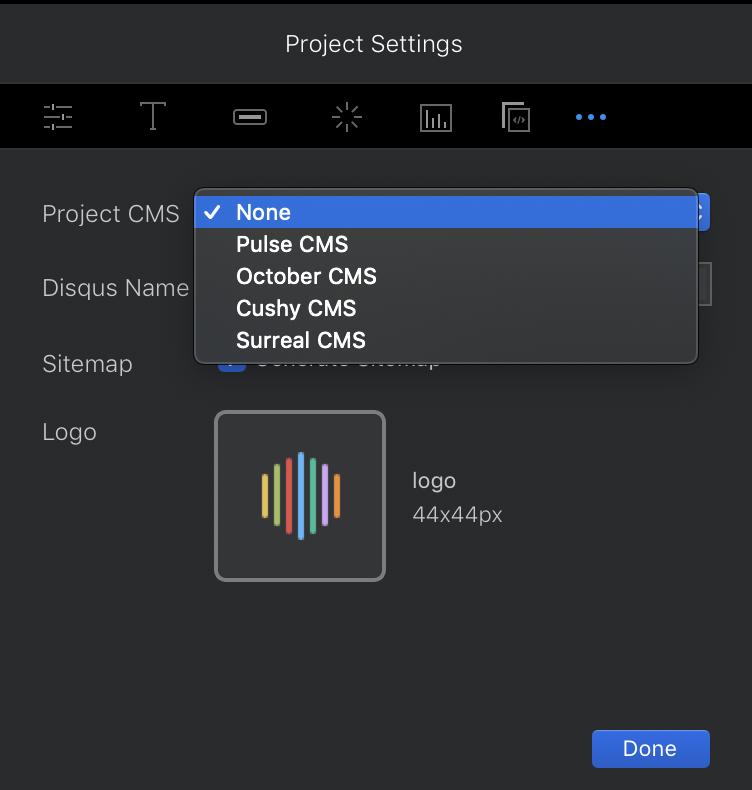
The Project Settings window, accessible via the slider bars icon next to your project's name in the upper left corner of the screen, allows similar attachments for your entire site. Other tabs in the window set you select a custom preloader graphic, add analytics tracking code, or select a CMS to work with your site.
CMS support
Blocs works with four popular content management systems: the free, open-source October, or paid options Pulse, Cushy, or Surreal.
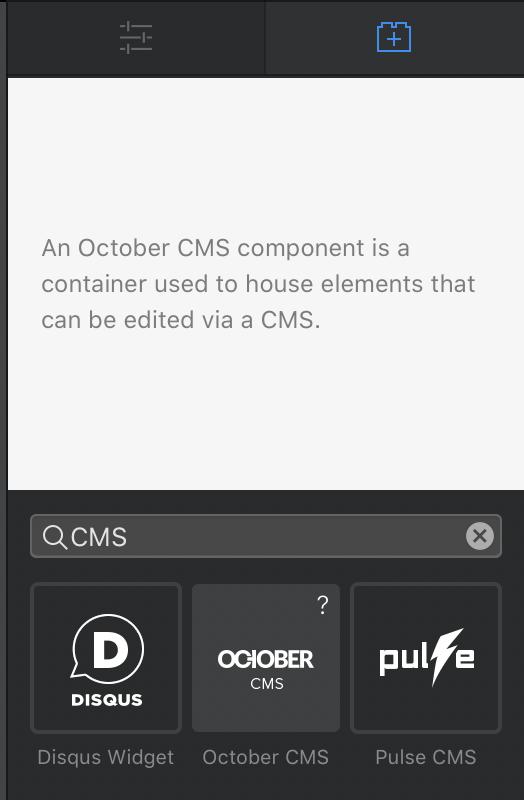
Pulse and October get their own custom Brics, to which you can assign an ID that the respective CMS will recognize. Blocs' help pages offer video tutorials on how to integrate Pulse or October with your site.
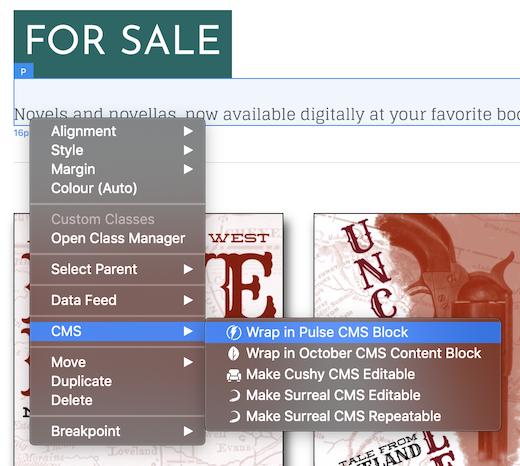
You can also right-click any element on the page to make it accessible to any of the four CMSes, under the CMS section of the contextual menu that appears:
Custom Blocs and Brics
If you happen to create a particularly cool Bloc that you'd like to reuse, or you're HTML- and CSS-savvy enough to code your own Brics, you can turn to the program's new Bloc Editor or Bric Builder, both found under the Developer menu in the menubar.
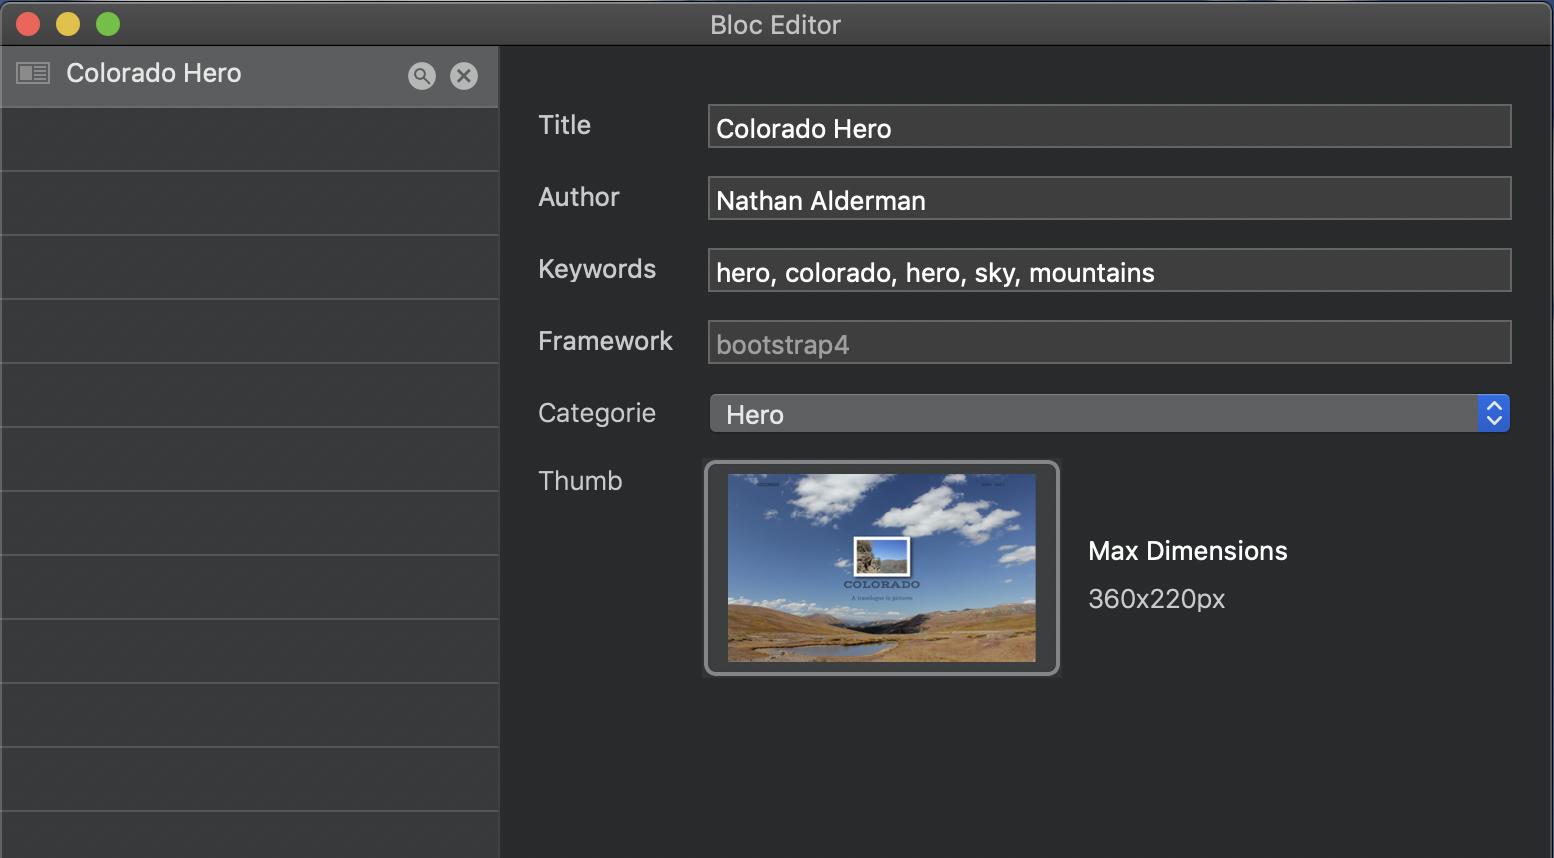
Select any Bloc you'd like to save for later, then either right-click it and select Add Bloc to Library from the contextual menu, or go to Bloc > Add To Bloc Library in the menubar. Enter its name, keywords, and category, and it'll join its new friends in your Blocs bar. You can go back and tweak settings in the Bloc Editor if you like, or share your Bloc with others by right-clicking it and selecting Export Custom Bloc.
Creating your own Brics is trickier, and requires the aforementioned coding knowhow. But if you've got the skills, swing by the Bric Builder to craft your own denizens of the Bric bar.
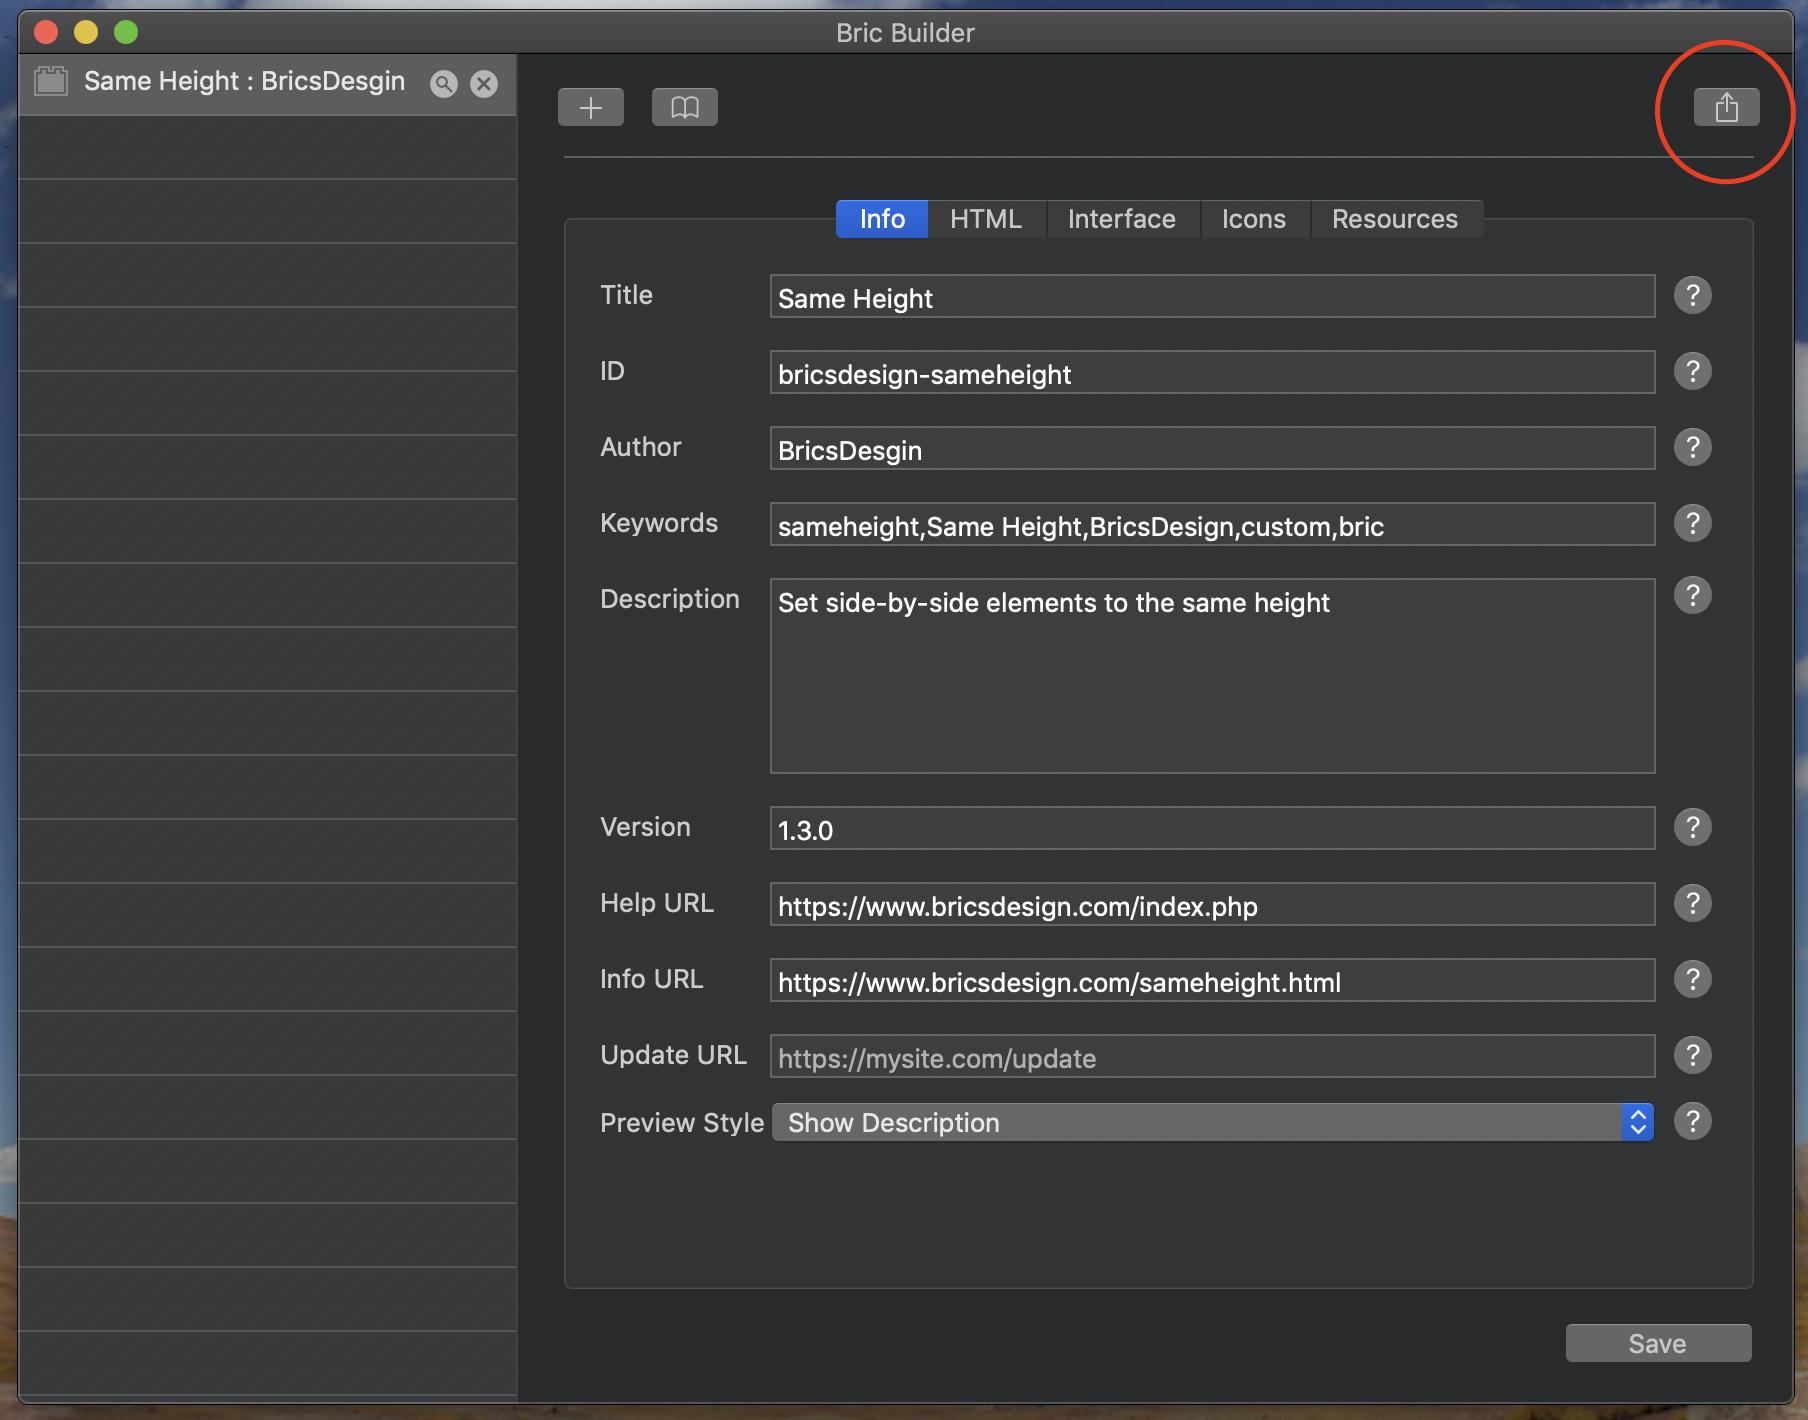
Even if you're no HTML wizard, you can download other users' custom Brics from various third-party sites or Blocs's user forums, and manage them here. These goodies come in their own .bex format, and adding them to Blocs is as simple as opening those files in the Finder. Should you wish to export your own creations for others to use, click the Share button circled in the image below.
As of this writing, Blocs is working on a full API that will better enable third parties to make, give away, or sell their own custom Brics, Blocs, and other add-ons to the app.
Project export
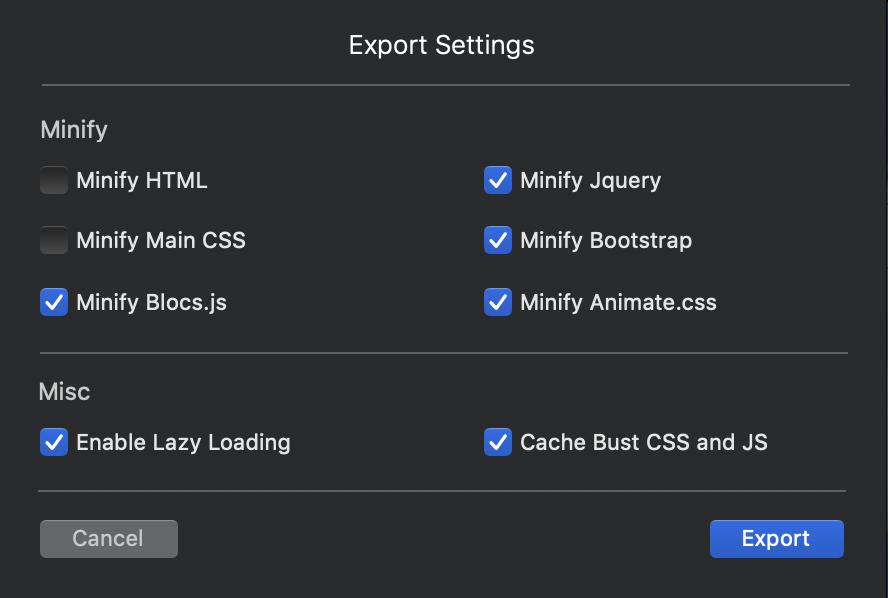
When you've finished your HTML handiwork, let Blocs offer you a parting gift on your way out. Head to File > Export > Export Project… to open a menu of options that can make your site's code sleeker and svelter, to ensure that it loads faster in your visitors' browsers.
Not just for beginners
These are just a few of the souped-up features tucked away under Blocs's hood. Consult the app's thorough Knowledge Base for more details about how this program can make your site-building easier.

Nathan Alderman is an iMore contributor. He’s been using Apple computers since his first Apple IIe in 1985, and writing professionally about Macs and their software since 2005. During his 12 years freelancing for Macworld, he covered email clients, web browsers, web design programs, writing apps, and games, and he’s continued to follow those interests at iMore since 2017. An editor and writing coach in his full-time career, he spends his dwindling spare time writing fiction for fun, volunteering for democracy, and contributing to podcasts on The Incomparable Network. Nathan adores his wife and wrangles his alarmingly large children in bucolic Crozet, VA.
