How to create your own stop-motion films on iPhone or iPad with StikBot Studio

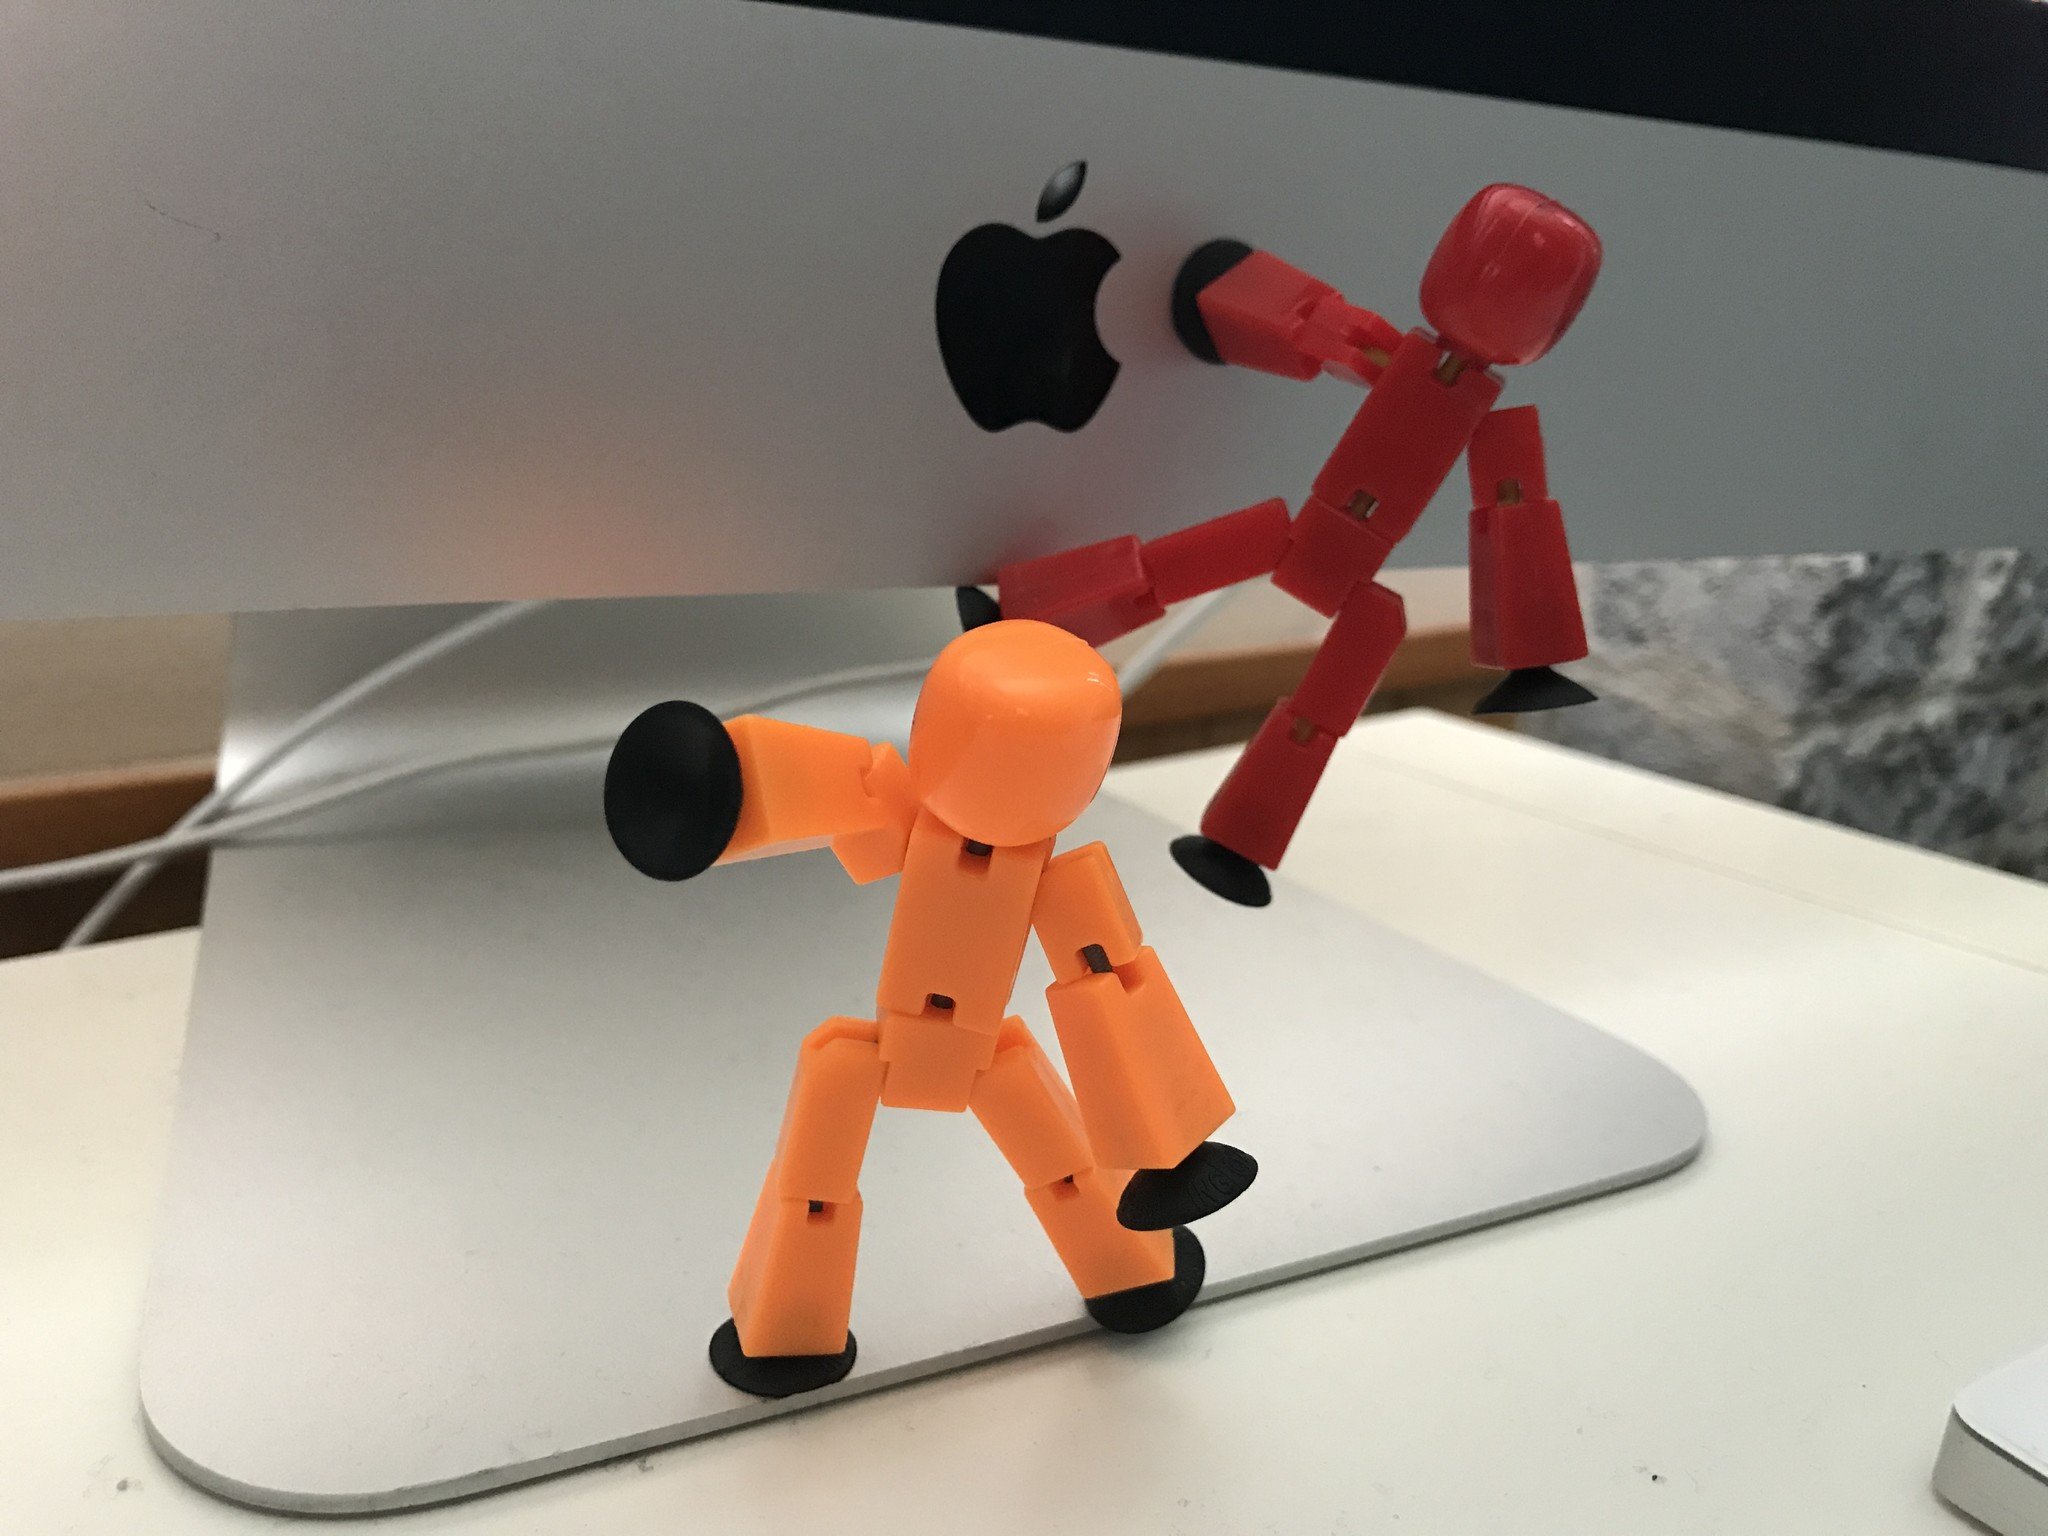
StikBot Studio from Zing Global Ltd. allows a cinematographer-to-be to easily create and share amazing stop animation movies using an iPhone or iPad. Although the studio and action packs are sold separately, the App is free to download.
You can make clips that are as long as you like but the playback is set at a default of 10 frames per second (it can go all the way to 30 frames per seconds with a settings change), therefore it would take 100 pictures to make a 10 second clip. Although the StikBots developed and sold by Zing allow for easy posing and manipulation due to their suction cup hands and feet, you're free to use any action figure or toy you want in your films and the stories are up to your imagination. Here's how to get started!
Getting started with StikBot Studio
- Download and Install StikBot Studio from the App Store.
- Tap Open.
- Tap the Video Camera icon.
- Tap OK to allow access to the camera.
Set your scene
At this point your camera will be enables and ready to start taking photos.
- Set you camera on a small stable location like a tripod for best results.
- Set up your initial scene.
- Tap the red face to take your first shot.
- Make a small adjustment to your figure. You'll see a ghost image of your previous position so that you get the motion "just right".
- Tap the red face to take your next shot. You'll notice that the ghost image in now gone awaiting your next stop motion movement.
- Continue until you have completed your scene.
- Once you've completed your scene, tap the video editor icon.
Modify your animation
Once you have your desired scene completed, you can add sound effects, dialog, text, and items from your camera roll in the video editor.
- Tap the new scene you've created.
- You can preview your video by tapping the play arrow.
- Press the pause button to stop the preview.
Adding sound
- Tap the scene marker time to add a sound to. The go in increments of 1/10 of a second.
- Tap the picture icon to add sound. You can choose pre-made effects or record your own. You'll need to tap OK to allow access to your microphone. In this tutorial we will use pre-made effects.
- Select the type of sound effect you want. You can select music my tapping the music icon.
- Various sounds like action or animal sounds can be selected by tapping the pow! icon. Here we select a Punch effect.
- Tap the effect you've just added in the effects timeline to make adjustments or to delete it.
- Go on to your next scene marker you want to add sound effects to.
- Pre-view your edits by tapping *the * play arrow**.
There are further options you can make by tapping the settings icon such as automatic looping or video recording speed. When you're happy with everything you can start to enjoy the fruits of your labor. Here's our test video!
Exporting and sharing
Once you've completed your awesome animation you're ready to save and share it!
iMore offers spot-on advice and guidance from our team of experts, with decades of Apple device experience to lean on. Learn more with iMore!
- Tap the export icon.
- Tap YES to save your movie to the camera roll.
- Choose your video format.
- Tap OK to allow StikBot to access your photos.
- Tap OK once the export to camera roll is complete.
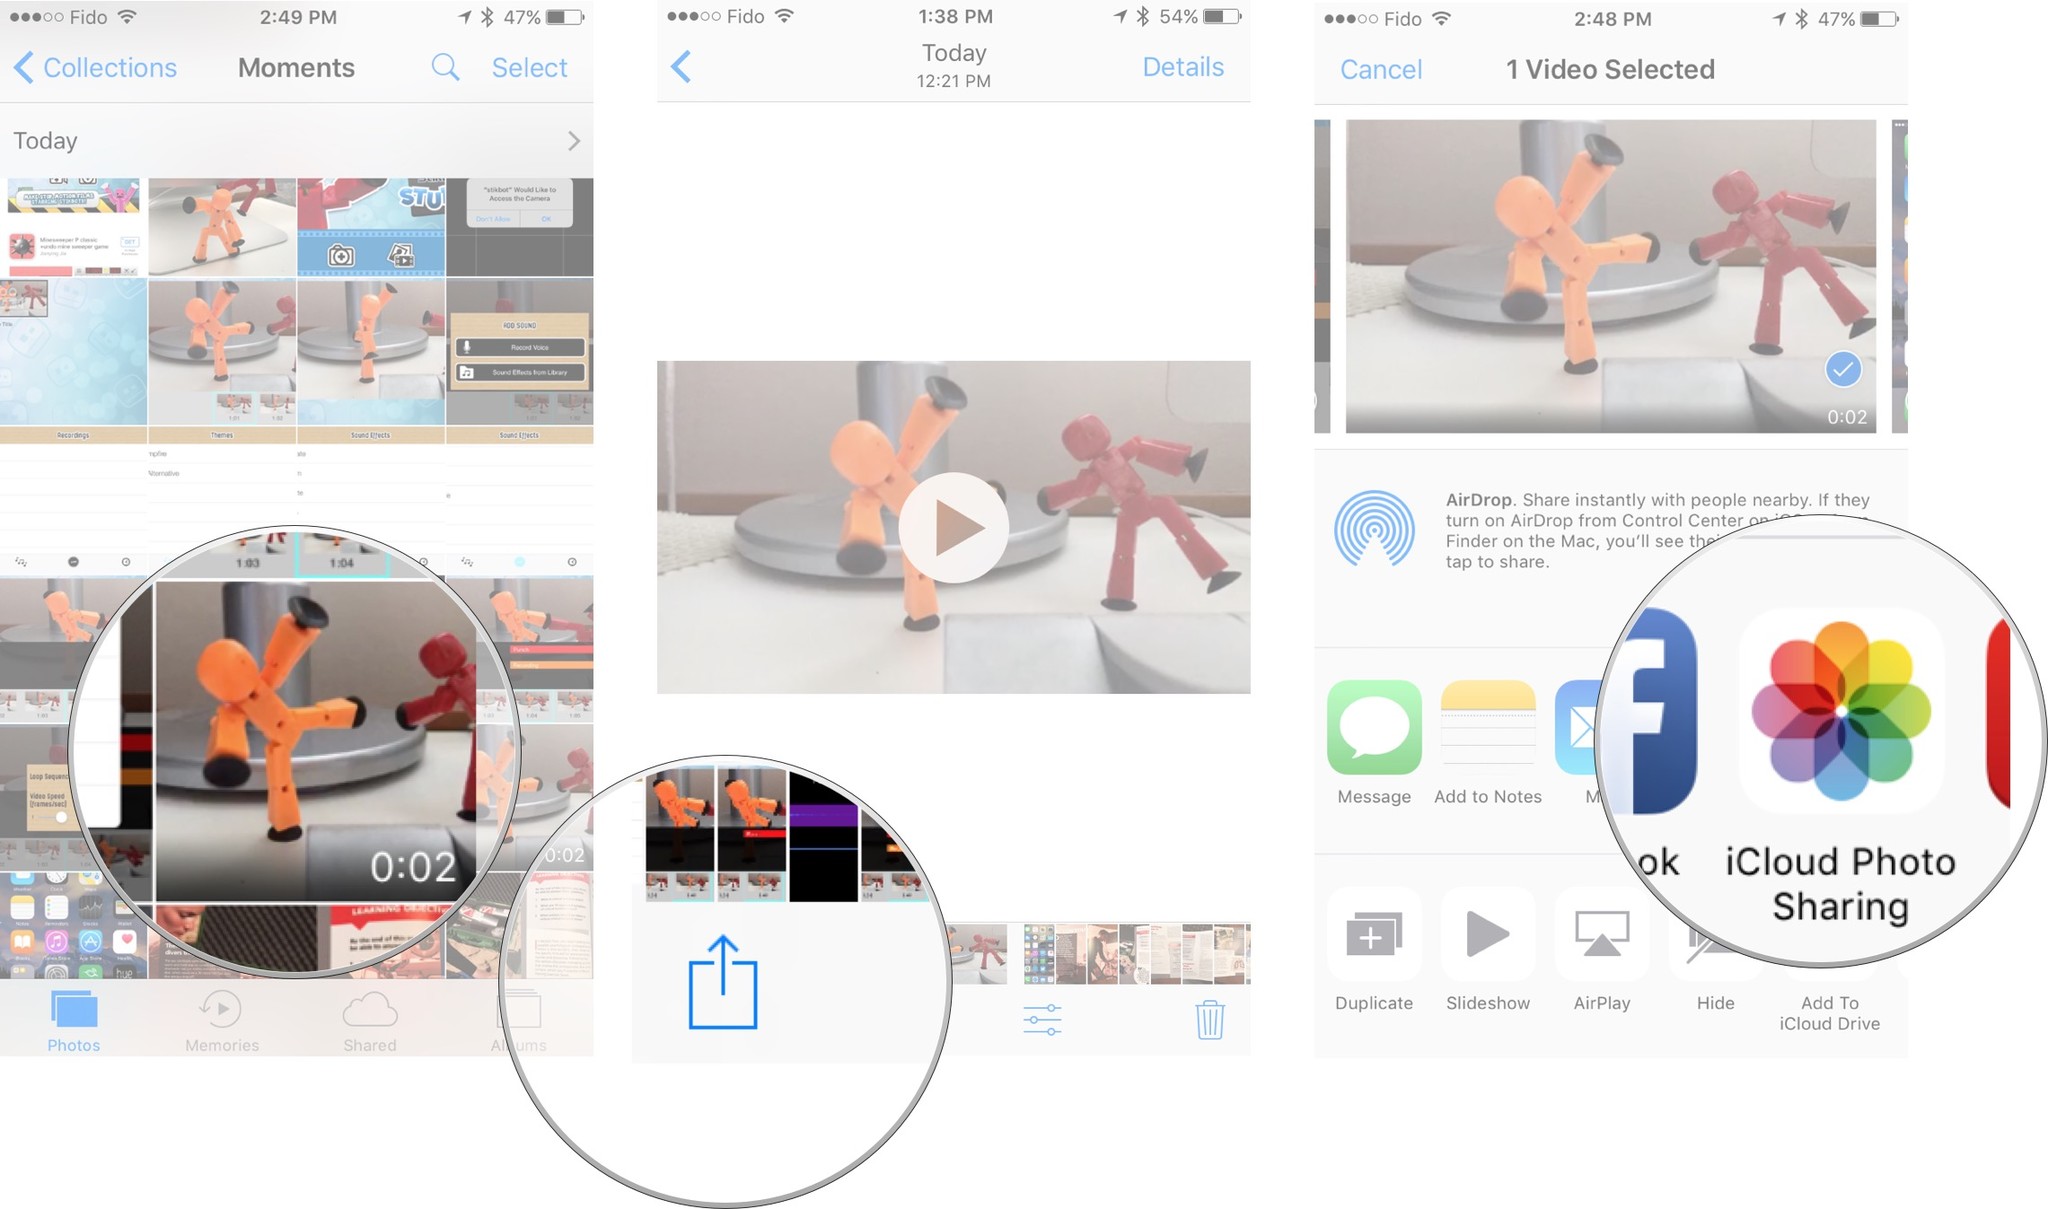
- Go into your Photos.
- Tap your movie.
- Tap the Share icon.
- Select the method your wish to share your video be it Messages, eMail, Facebook, Youtube, Twitter etc…
- Done!
Practice makes perfect
It will take some time getting used to which shots and movements look best but with some practice you can make some great animations! There are other possibilities to explore with StikBot Studio such as photo manipulations that you can add to your movie. And remember, you need't purchase the StikBot figures to make some great stop motion movies. Just take a look at some of the animations that my children have made!
Final thoughts
Do you have any suggestions for Apps that get the creative juices flowing? Let us know in the comments!


