Everything you need to install a HomeKit-enabled Light Switch
Ready to upgrade from smart bulbs to smart light switches? HomeKit-enabled light switches can be installed by almost everyone with the right tools. In fact, you may already have most of the tools required. Here are our favorite tools and accessories that will help to get the job done in no time.
Safety first
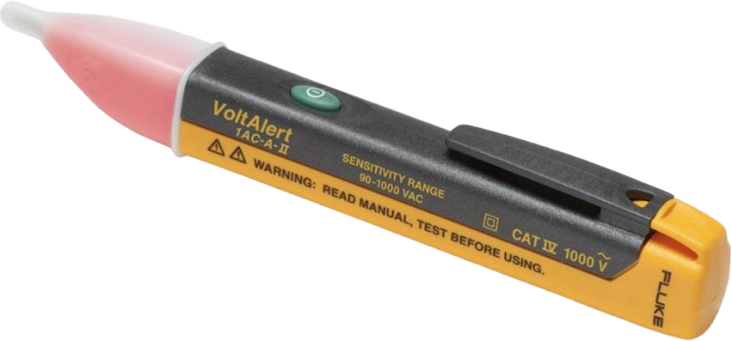
For safety, make sure you invest in a voltage tester, especially if you are going to be installing more switches in the future. The Fluke 1AC Non-Contact Voltage Tester provides additional peace of mind through a handy indicator light and has audible feedback when voltage is detected.
Tighten up
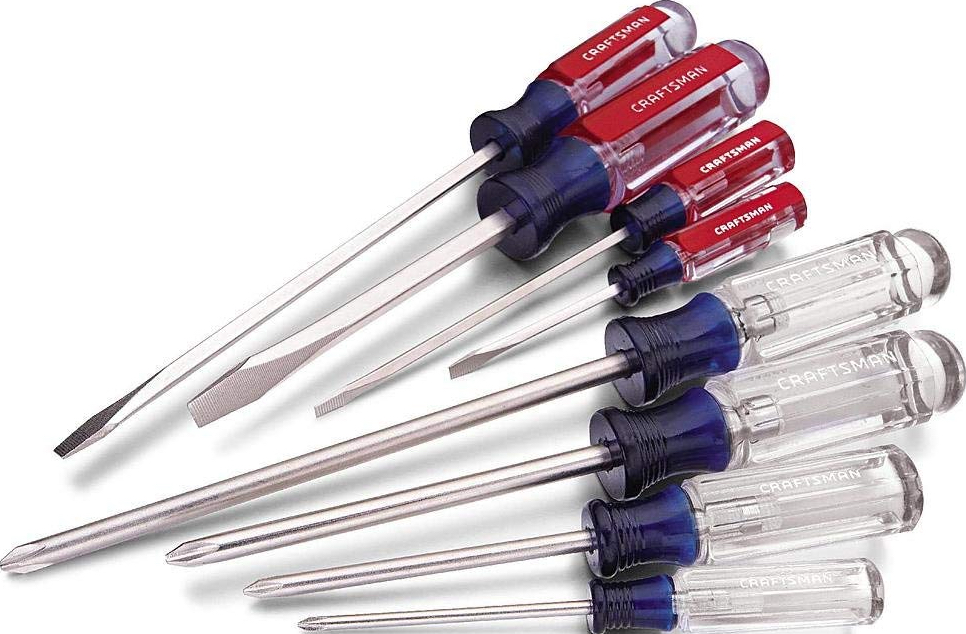
For a light switch installation, two types of screwdrivers are almost certainly going to be needed. This includes a standard flat head screwdriver and a Philips screwdriver, plus, depending on your switches, different sizes may be required. We recommend covering all of your bases with a set that includes the various options, such as Craftsman 8 Piece Set.

Get a grip
In some cases, you may need the fine grip that a set of needle-nose/long nose pliers provides. These situations can include bending wire to place it in the correct position for a screw-on wire terminal, or for unbundling wires that were connected with a twist on wire nut. We recommend Stanley's 8-inch Pliers, which comes from a company that is synonymous with quality tools and offers a limited lifetime warranty.
Cut it out
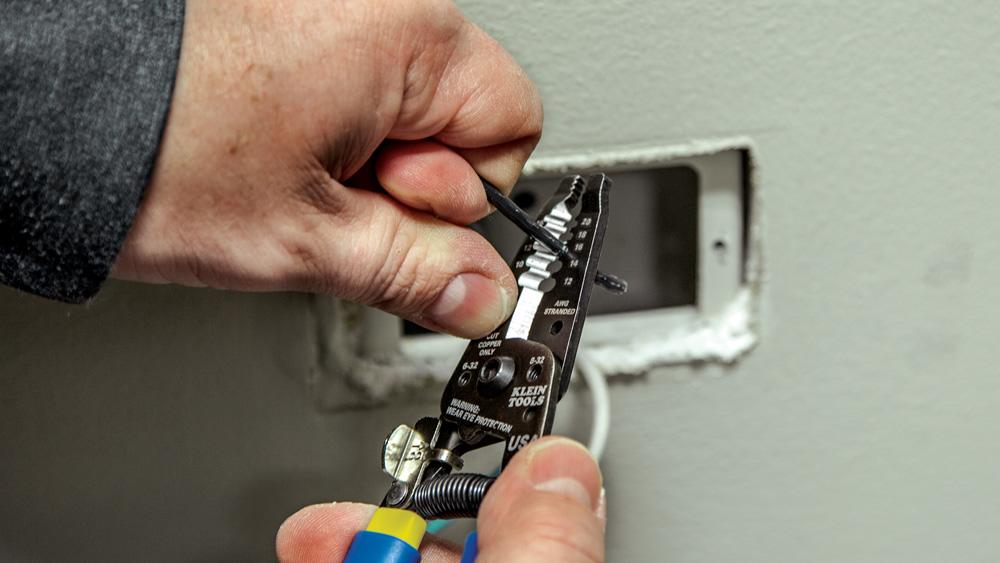
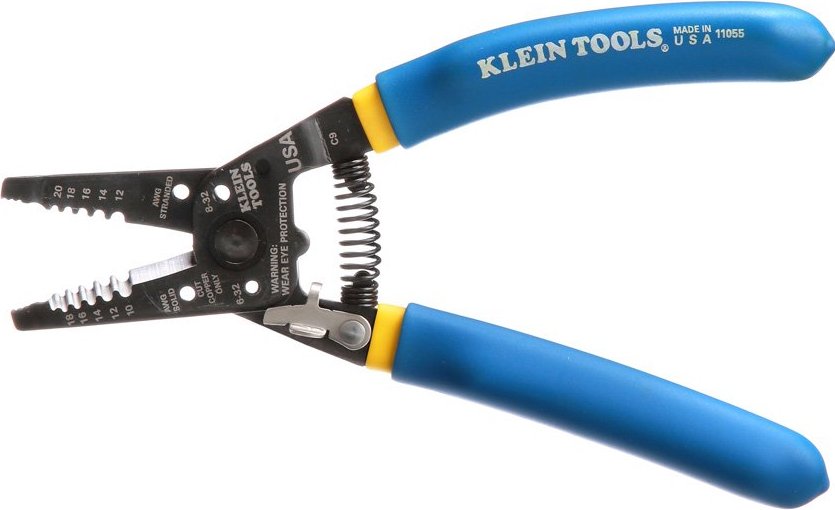
If any damaged wiring is found during the installation process, or if you have to use a new wire to connect to your neutral bundle, you may need a wire stripper. Klein's 11055 Wire Cutter combines a cutting function with a stripping tool bringing both worlds to a single tool. The wire stripper portion includes a built-in gauge indicator points to make it easier to determine the perfect spot for your wire.
Job security
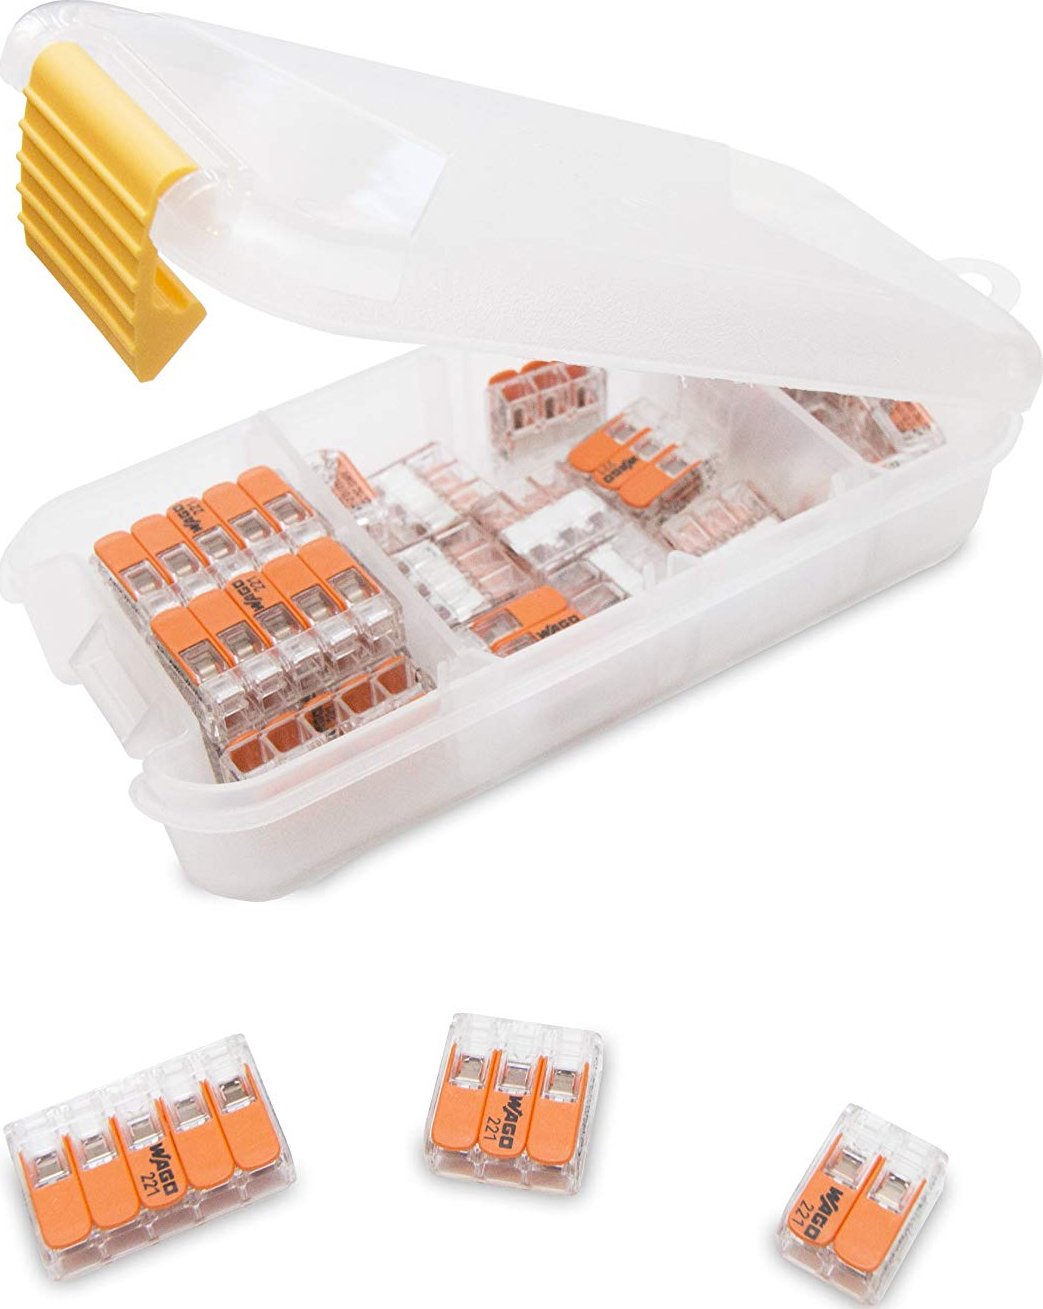
To make your wire connections to your new switch, you may need to use wire nuts. Traditional wire nuts utilize a twist on method to bundle your wires together, and most smart light switches include these in the box. To make your wiring job quicker, we recommend using Wago Lever-Nuts, which allows you to ditch twisting traditional wire nuts together, and uses a simple clamping lever. This also makes your connections more secure and less likely to come loose or undone when putting everything back together.
Plated
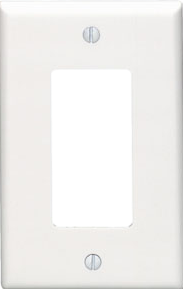
Most smart light switches utilize a "Decora" form factor, which may be different from what you currently have installed in your home. If your new switch does not come with a new wall plate, we recommend the Leviton Thermoplastic Nylon plate, which is both stylish and affordable. These plates are also available in different sizes to accommodate other switches that may be in the same location as your new switch.

Colorful
For a clean, modern look, Lutron's Claro line of screw-less wallplates is the perfect way to update the appearance of your light switch. The Claro series also includes over 20+ different colors and designs that help your light switch blend in with the decor on your home. These plates can also be removed quickly and can be swapped out without any tools required.
Wired
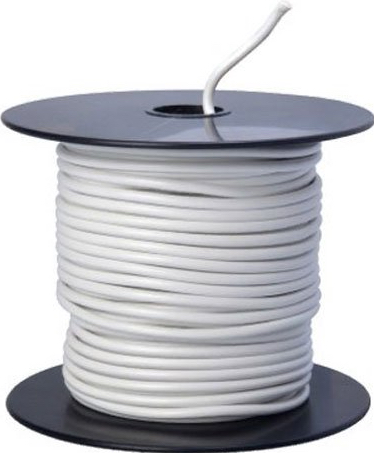
If your new light switch does not come with wires already attached, you may need to supply your own wire for the neutral connection. For a light switch installation, we recommend 14 gauge solid copper wire. Be sure to follow the color codes that your home is wired with, such as using white wire for the neutral line.
Tape it
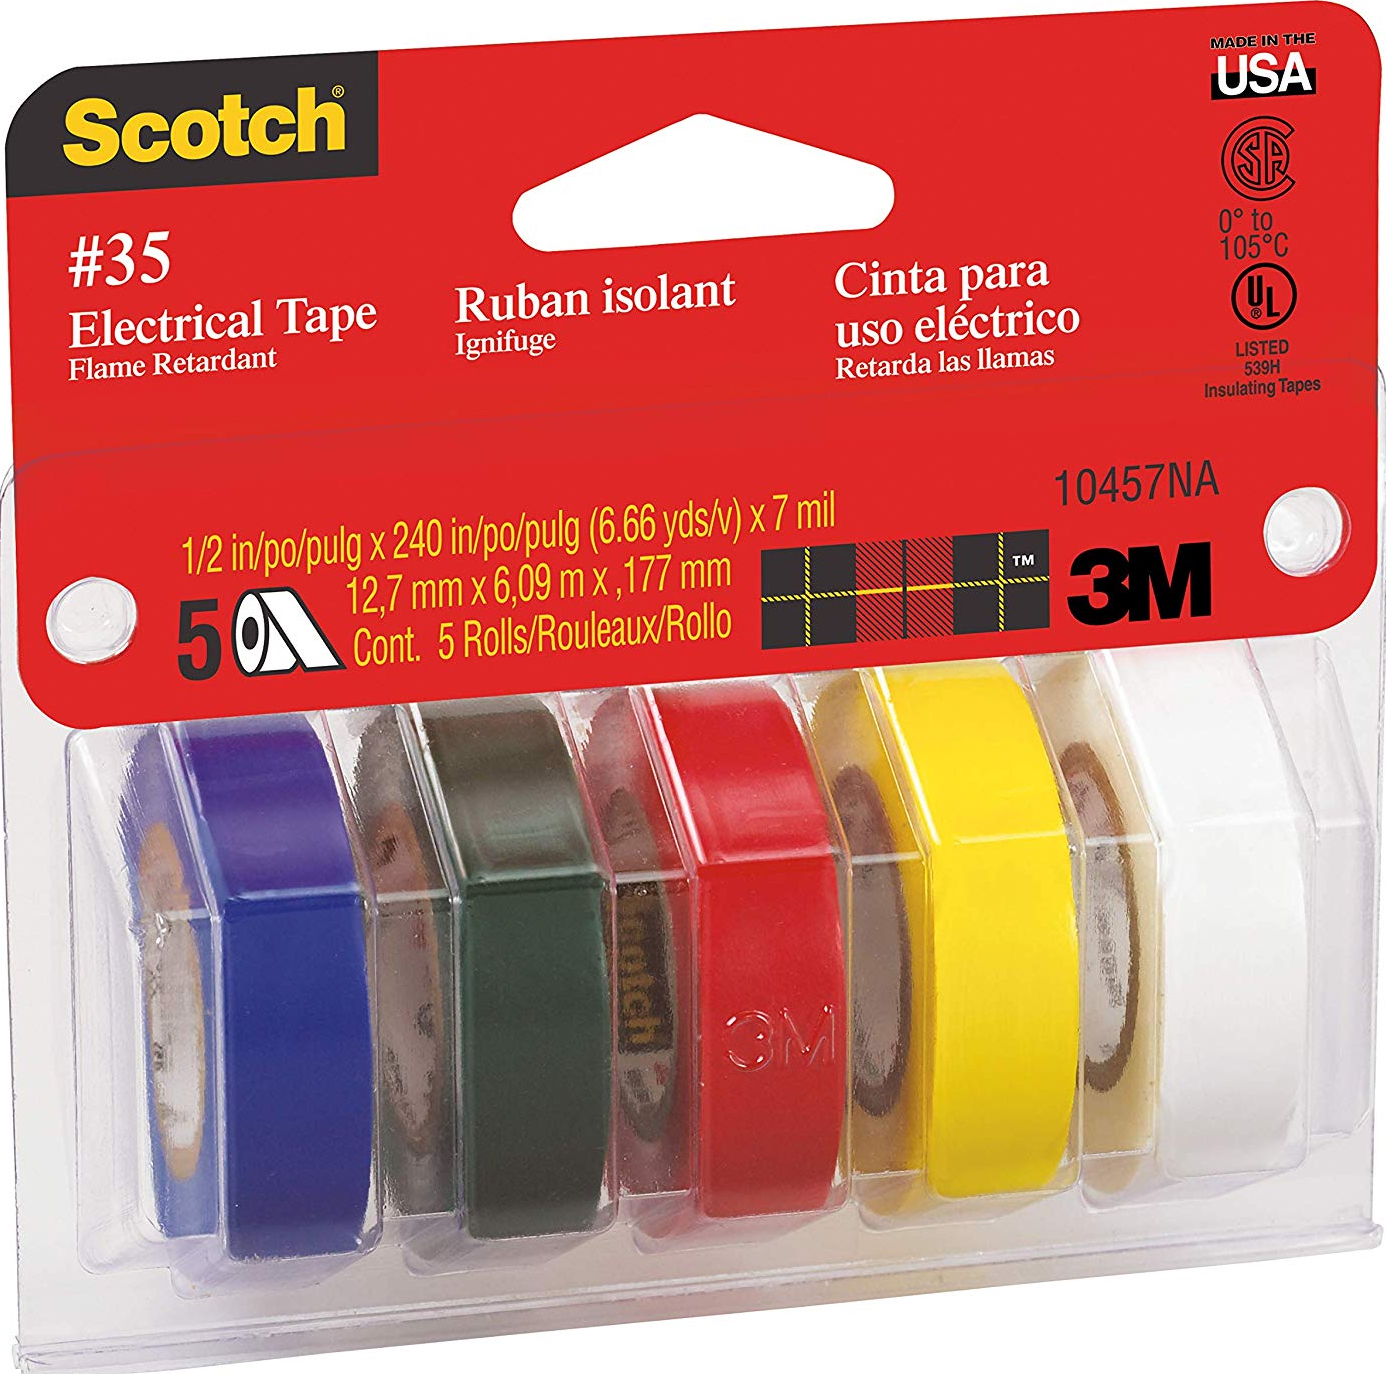
If you plan on using traditional twist-on wire nuts, you may want to invest in some electrical tape to keep everything secure. Tried and true electrical tape is usually black; however, if you want to be able to identify your wire connections quickly, you can use additional colors, such as white on your neutral wire bundle. We recommend the Scotch #35 Electrical Tape Value Pack, which includes an assortment of colors.
Geared Up
Installing a HomeKit-enabled light switch provides many benefits, such as the ability to turn on and off your lights with just a tap, or through a schedule built for your home. Once you have gathered all of the tools needed for your particular installation, it is time to put it all together. Be sure to check out our installation guide for details on how to get the job done.
Don't worry; installing a switch can be done by almost anyone. To do it safely, we recommend the Fluke 1AC Non-Contact Voltage Tester. This tester will help to ensure that the wires that you are working on are not "live" with handy visual and audio cues.
To make the job even easier, we recommend Wago's Lever Nut Assortment Pack, which makes connecting wires a snap, and it comes with various sizes to accommodate any amount of wires that you may have.
Master your iPhone in minutes
iMore offers spot-on advice and guidance from our team of experts, with decades of Apple device experience to lean on. Learn more with iMore!
Christopher spends most of his time writing and dreaming about all things HomeKit and the Home app. Whether it is installing smart light switches, testing the latest door locks, or automating his households daily routines, Christopher has done it all.

