Fallout Shelter: Tips, tricks, and strategy to keep your dwellers free of radiation
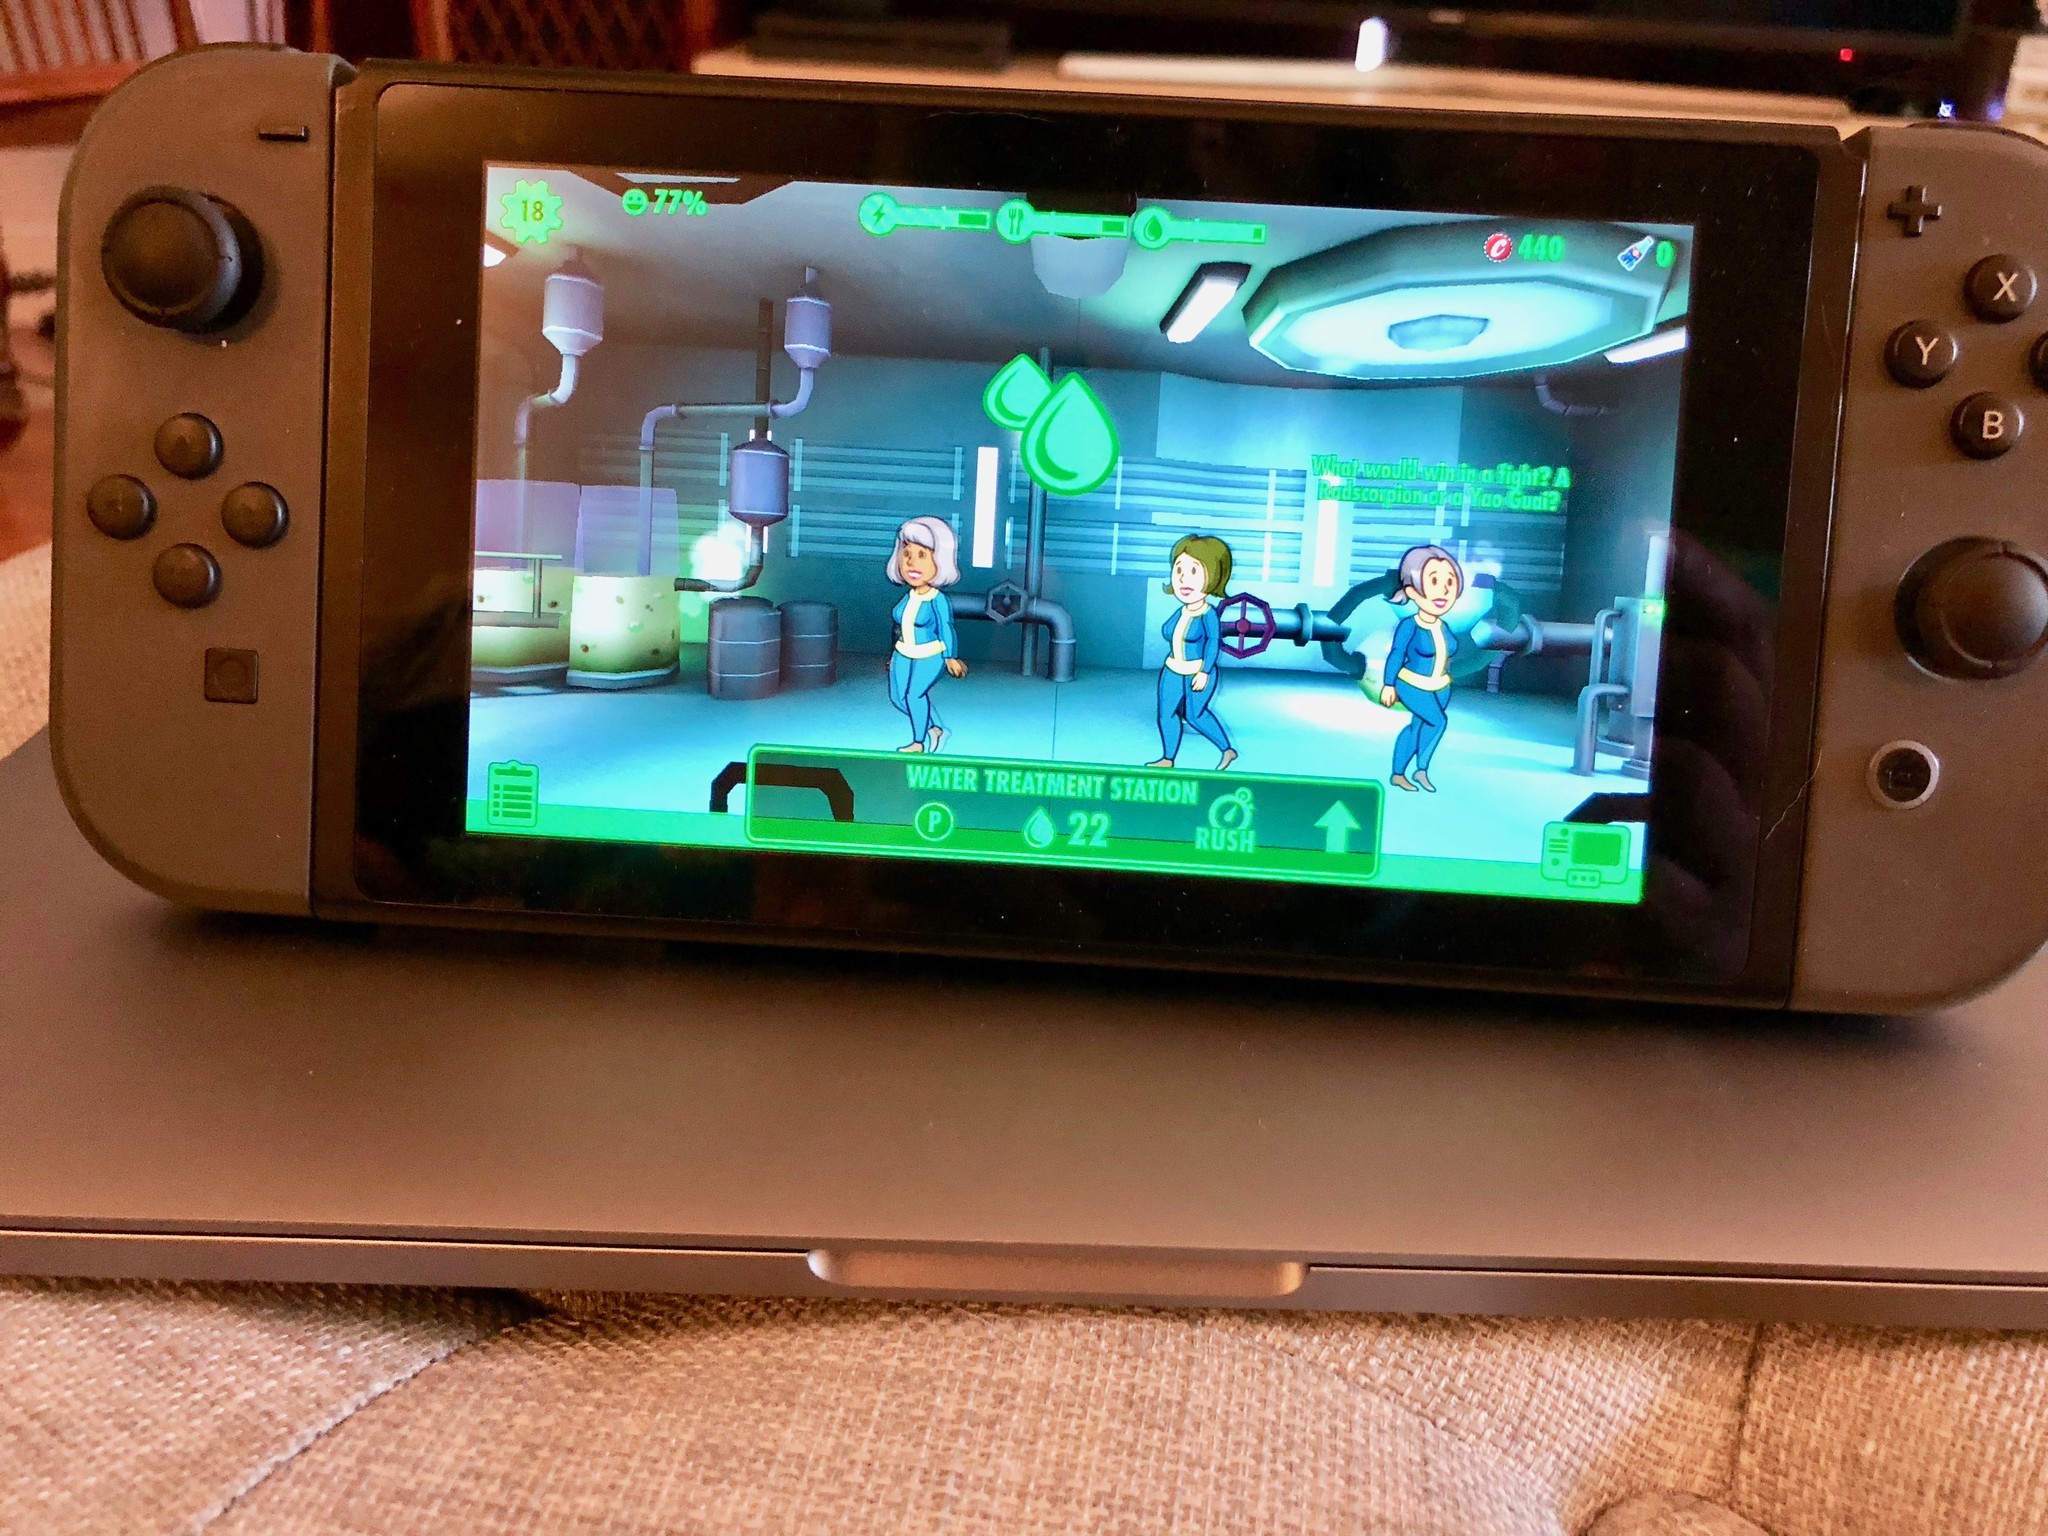
While you're waiting for Fallout 76 to make all of your MMO dreams come true, relive the joys of Fallout Shelter all over again, but this time on your Nintendo Switch. If you like witty writing, building management, post-apocalyptic wastelands, and watching your entire female population waddle around in giant yellow pregnancy sweaters, this is the game for you.
I've got plenty of experience with Fallout Shelter from when it first launched on iPhone (I may have played it way too much), and as such, have perfected its many devious arts: dweller management; sending adventurers to the wasteland; rushing rooms with impunity; and impregnating your female dwellers—for the good of the species!—when the time comes.
It's a very silly game. But an addicting one. And if you, like I, have fallen deep into its vault, here are some of my very best tips for making the most of your time there. The Overseer is watching!
1. Plan ahead
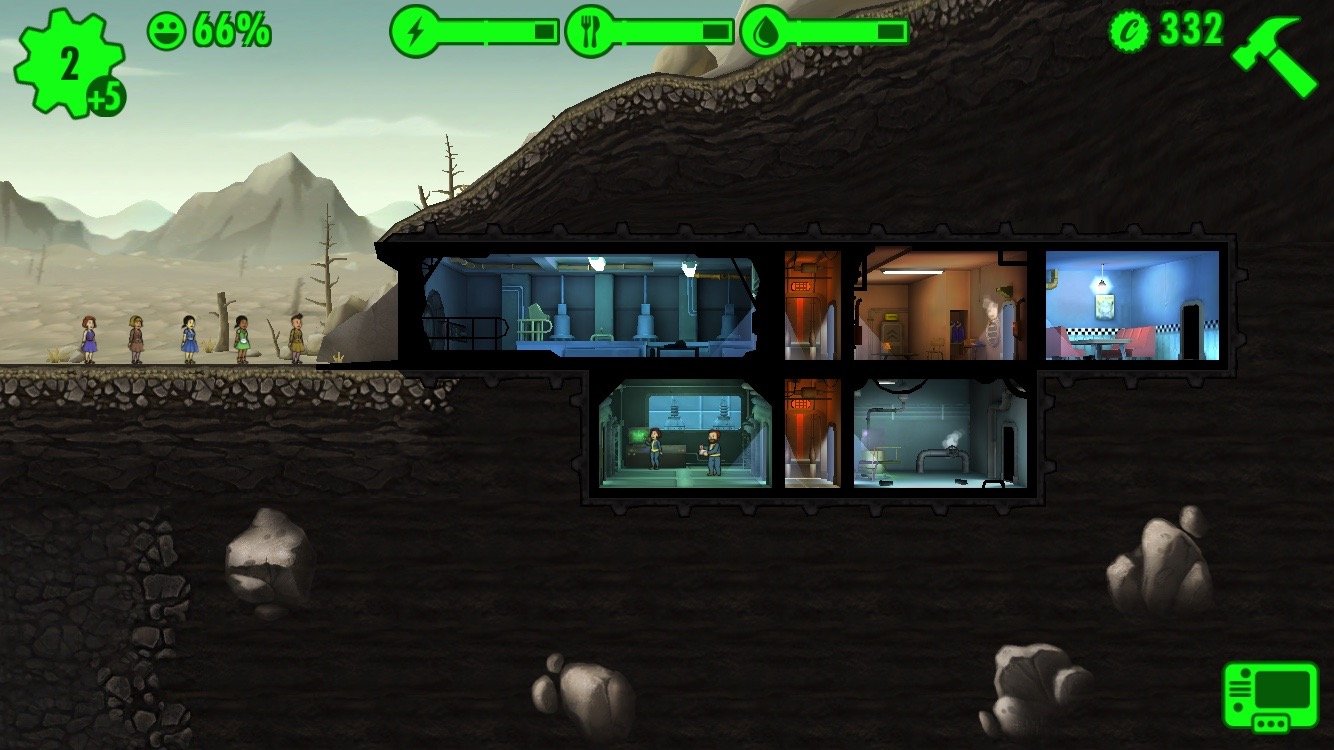
This was always one of my primo tricks in Sim Tower, and it carries over to just about any other building strategy game: Even if you don't have rooms you can build yet, start planning where you'll place rooms and floors early on.
First, each floor has room for two elevator shafts, with one already pre-built for you; though you can add more, I recommend against it.
You build rooms in the game in one-room segments, but don't let those tiny rooms fool you — you can build up to two more copies of that room next to it to combine that section of the floor into one giant area. This is highly recommended, and one of the best ways to get a balanced, bustling population early.
You won't have the CAPS—in-game money—to build these three-room areas off the bat, so here's where the planning comes in: You start the game with two elevators—on floor zero and floor -1, respectively: On floor zero, you have a one-room living area; and a completely empty lower floor.
Master your iPhone in minutes
iMore offers spot-on advice and guidance from our team of experts, with decades of Apple device experience to lean on. Learn more with iMore!
Accounting for an elevator at the very end of the -1 floor, you can build one three-room area, the elevator, a three-room area, two-room area, and another elevator.
I like to start by putting a one-room power plant on the left side of the pre-built elevator at floor -1, and one water-treatment plant on the right side. This way, when I build out, I can build a full three-room power plant and three-room water treatment plant.
On the top floor, you'll be stuck with a one-room living area next to a one-room cafeteria at first; I recommending building as-is, then demolishing that first floor and rebuilding once you have a bit more depth to your tower.
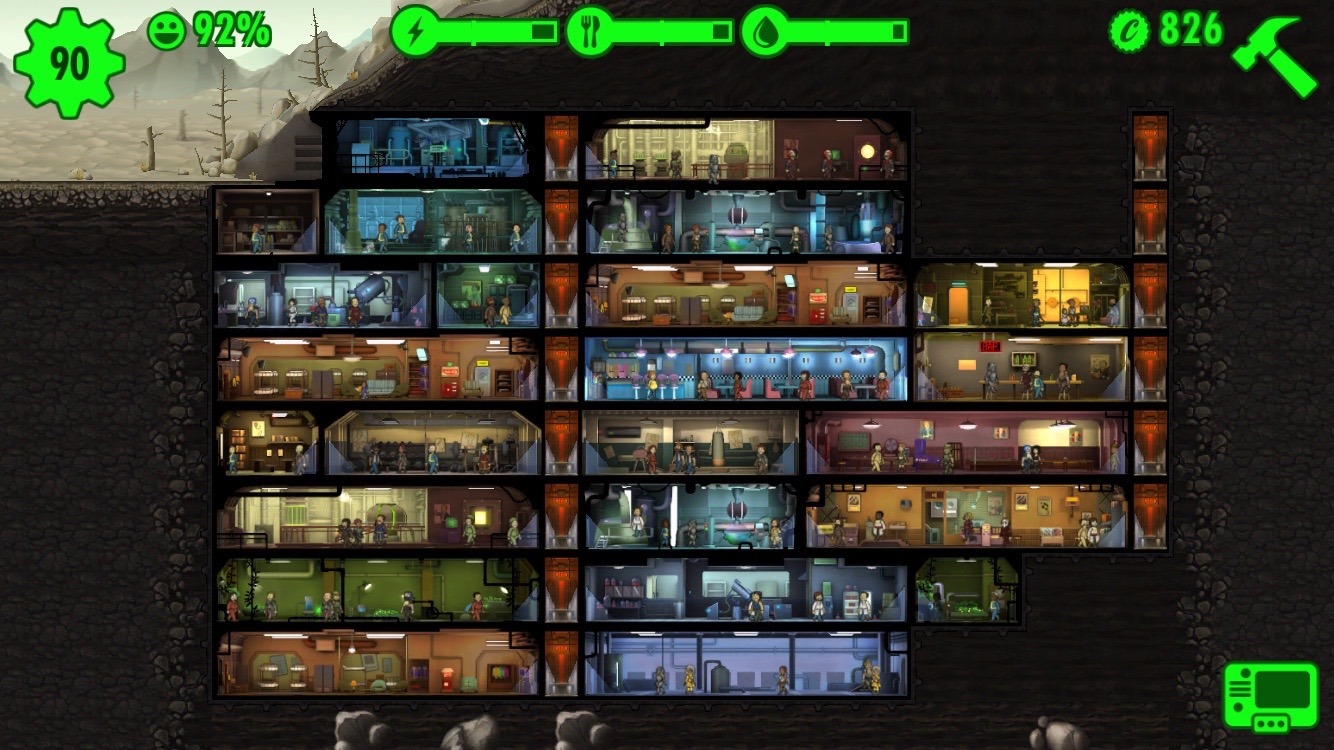
Unlike some other sims, Fallout Shelter doesn't punish you for putting your power next to your water or food, so feel free to line up rooms next to each other however you like. I will say, however, that I find it easiest to group all the asset-collection rooms (water, food, power, medical supplies), because it makes tapping-to-collect that much simpler.
As a cheat-sheet, here's my ideal starter setup from 5 dwellers to about 30:
- 1 3-room water treatment plant
- 1 3-room power generator
- 1 3-room diner
- 1 3-room living quarters
After you've established these, build a medical center for Stimpaks and a science lab for Radaways when you have the money/appropriate number of dwellers. It'll help you better assign your people to their post-apocalyptic vault jobs, and allow your adventuring dwellers to take the edge off Wasteland radiation.
2. Know your dwellers
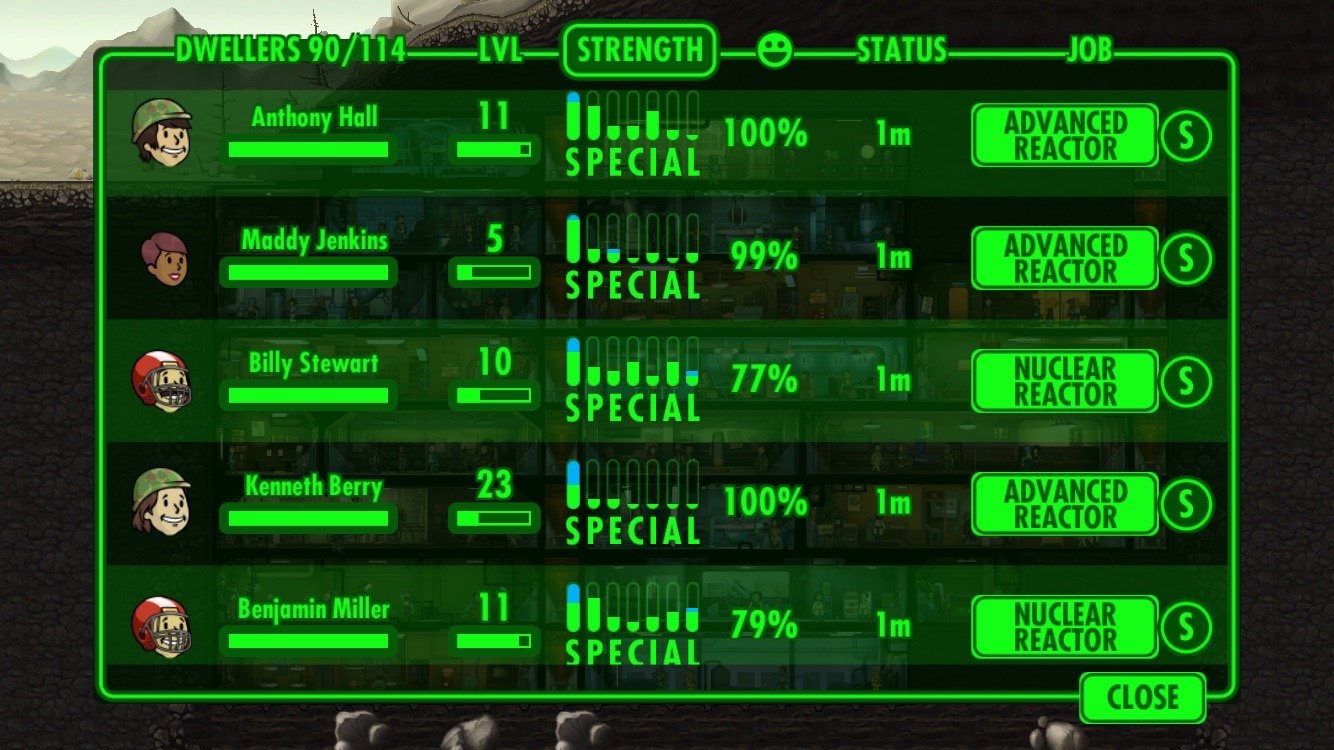
Speaking of attuning your dwellers to their perfect vault jobs, let's talk a little bit about what makes your sims tick. In Fallout Shelter, your dwellers' skills are divided up into a rubric called SPECIAL: Strength, Perception, Endurance, Charisma, and Intelligence.
When you first meet your dwellers, most of their SPECIAL skills will be non-existent (though you'll have opportunities to train those up later). But chances are, most every dweller will have a skill that's slightly advantageous. Here's where you can put people to keep their happiness high, get those daily happiness bonuses, and best run your vault.
Strength: Power plants (and later, nuclear facilities)
Perception: Water plants (and later, the filtration plants)
Endurance: Hardier dwellers make for great explorers and Nuka Cola bottlers.
Charisma: Want to make babies quickly and host radio shows? You need charisma.
Intelligence: The smart ones are the ones making your RadAways and Stimpaks. Because no one wants a vacantly-brained dweller administering a health injection.
Agility: These dwellers are awesome at making good, quick food. (And later, gardens.)
Luck: If you want a higher chance of success when rushing a room, better items while wandering the Wasteland, and a chance to get bonus CAPS in the process of normal room production, you want your dwellers to have excellent Luck skills.
You may also want to know how your dwellers are feeling: Their happiness contributes to the overall health of your post-apocalyptic sanctuary, and unhappy dwellers mean an overall decrease in your vault's production.
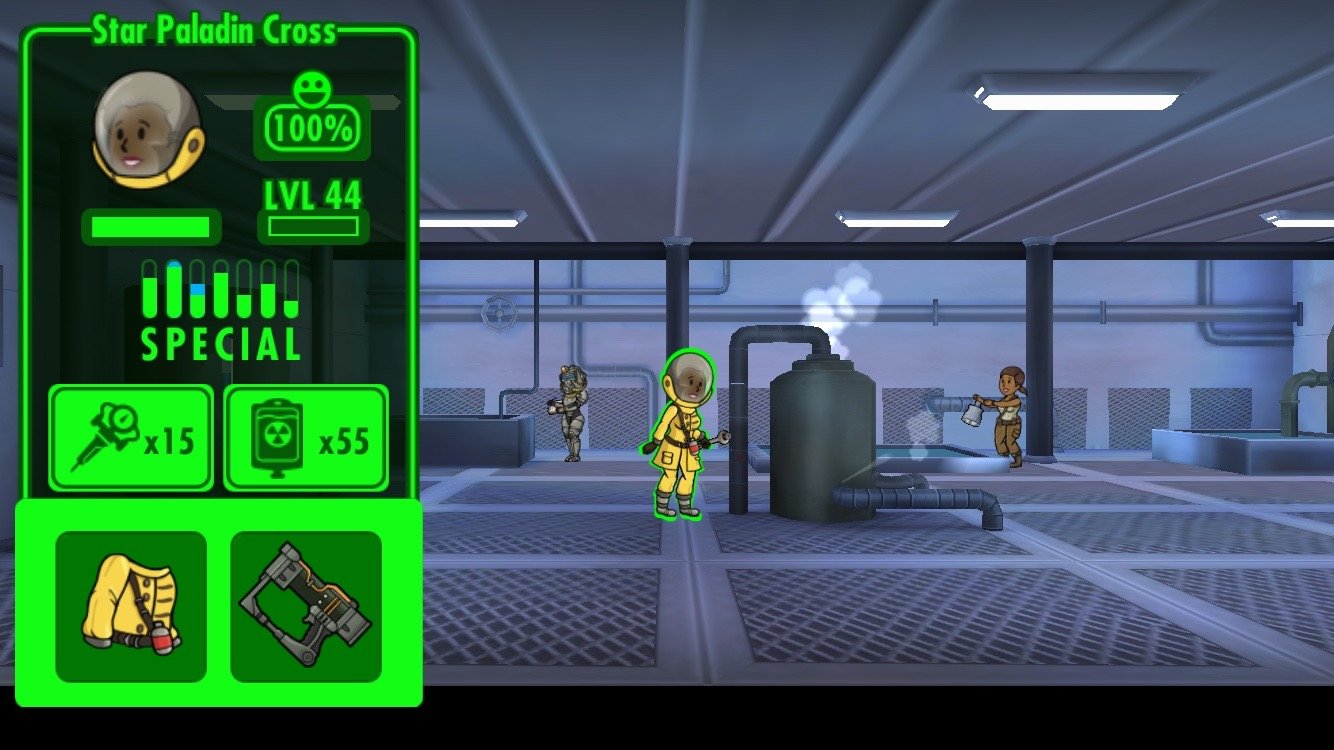
When it comes to your dweller's health, you want to try and keep it at full whenever possible. Dwellers will (slowly) heal on their own, but treating their injuries with stimpacks is a great way to boost their (and your vault's) overall happiness.
If you see red creeping into your dweller's health bars, they've been exposed to some nasty post-apocalyptic radiation! Get them a Radaway, stat—and if you don't have any, start making some in the Science Lab or open up a Lunchbox or two.
3. Combine and upgrade rooms to your advantage
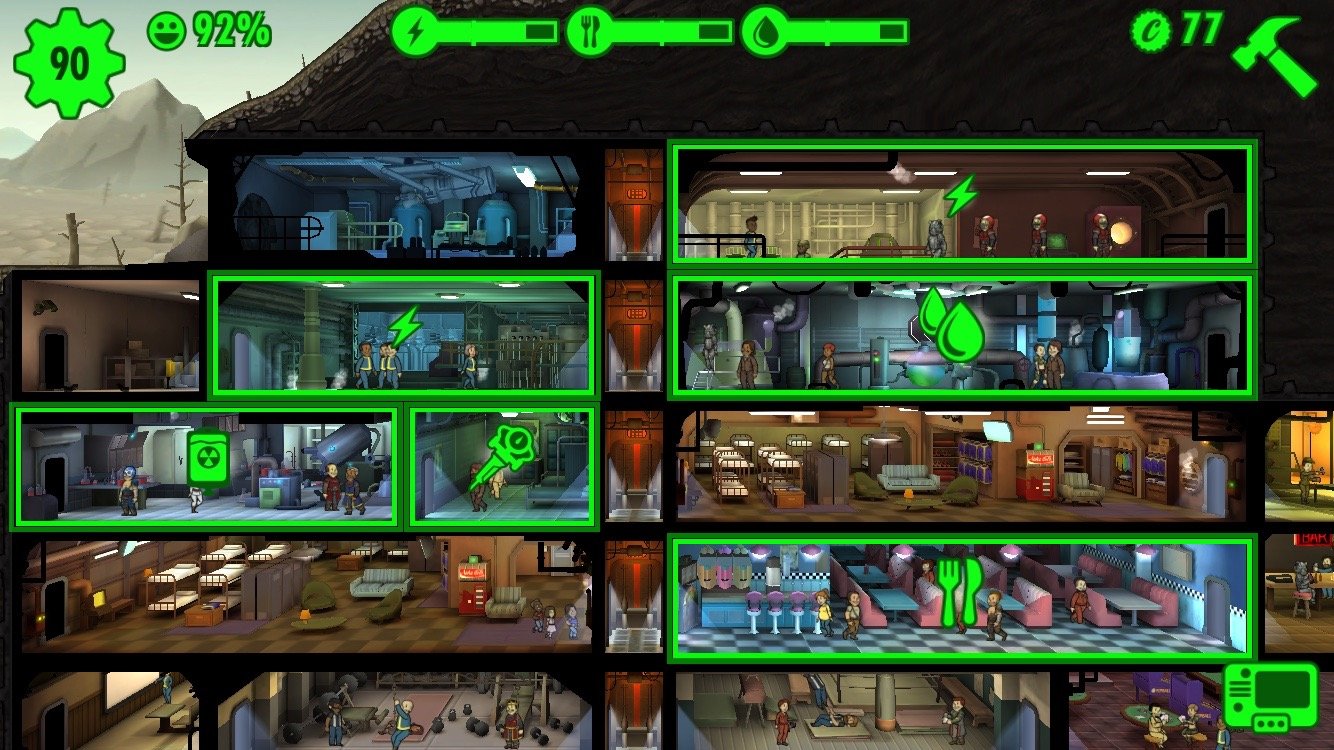
As I mentioned in tip #1, you can chain up to three copies of the same room to create a bigger, better workspace for your dwellers. To make that room even more efficient, you can select the room and tap the upgrade arrow in the upper right corner: For a CAPS fee, you can add both production and storage.
This means that you make more of that room's output with every work cycle, and you can store more of it, too (The energy, food, and water bars all have a hashmark that indicates how much production you need to sustain the vault; anything in excess of that line is storage. Increase your storage, and it's less likely you'll run out of food, water, or power!).
I highly recommend building (and upgrading) single, three-room instances of your necessities over building a single-room power station here and there every time you start running low—not only will it save you CAPS and give you a place to group your dwellers, but it also makes it easy to collect your resources if all those rooms are built in the same basic region. Plus, you can add themes to three-room instances!
4. Don't expand until you upgrade (no early baby-making!)
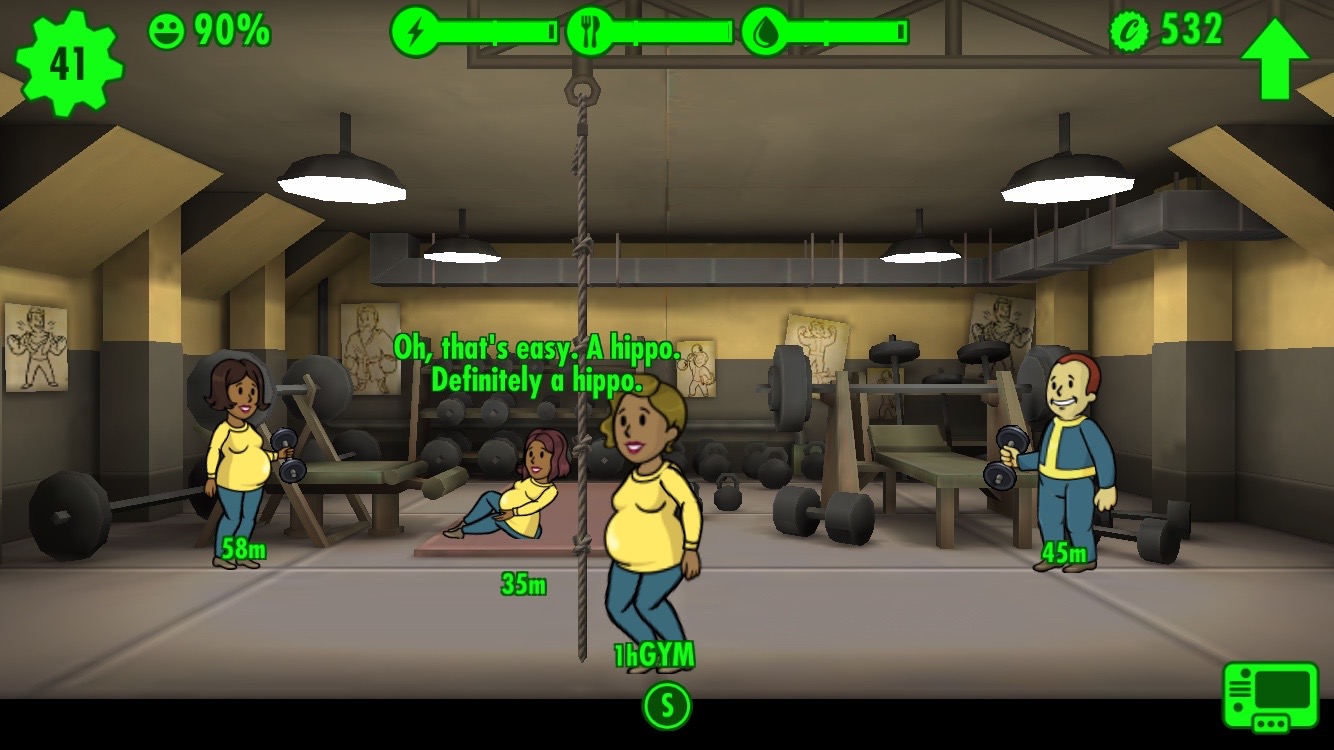
It's tempting to have your dwellers immediately start making babies after you get your basic resource centers up online—after all, you need workers, and new dwellers don't just wander up to the vault (at least, not without a radio station to entice them). But I advise holding off until you've built at least one fully-upgraded three-room copy of each resource center.
Here's why. First, pregnant women can work, but they can't defend the vault—they'll flee from raiders to protect their baby. This process lasts about three hours. Children, once born, also take about three hours to hatch into full-blown adults; they can't work, be placed in rooms, or be anything resembling productive until they grow up.
If you suddenly have an influx of babies and no means to support them with food or water, your dwellers will quickly lose health (from lack of food) and get radiation poisoning (from crummy water).
5. Use the clipboard to best fill out your rooms
Your dwellers are happier when they're doing the job they're attuned to—if you match a dweller's SPECIAL stats to their life's work, you'll have a vault full of happy dwellers.
This is pretty easy to do in the initial stages of the game, but once you get more than 15 dwellers, it's hard to remember who does what or is working where.
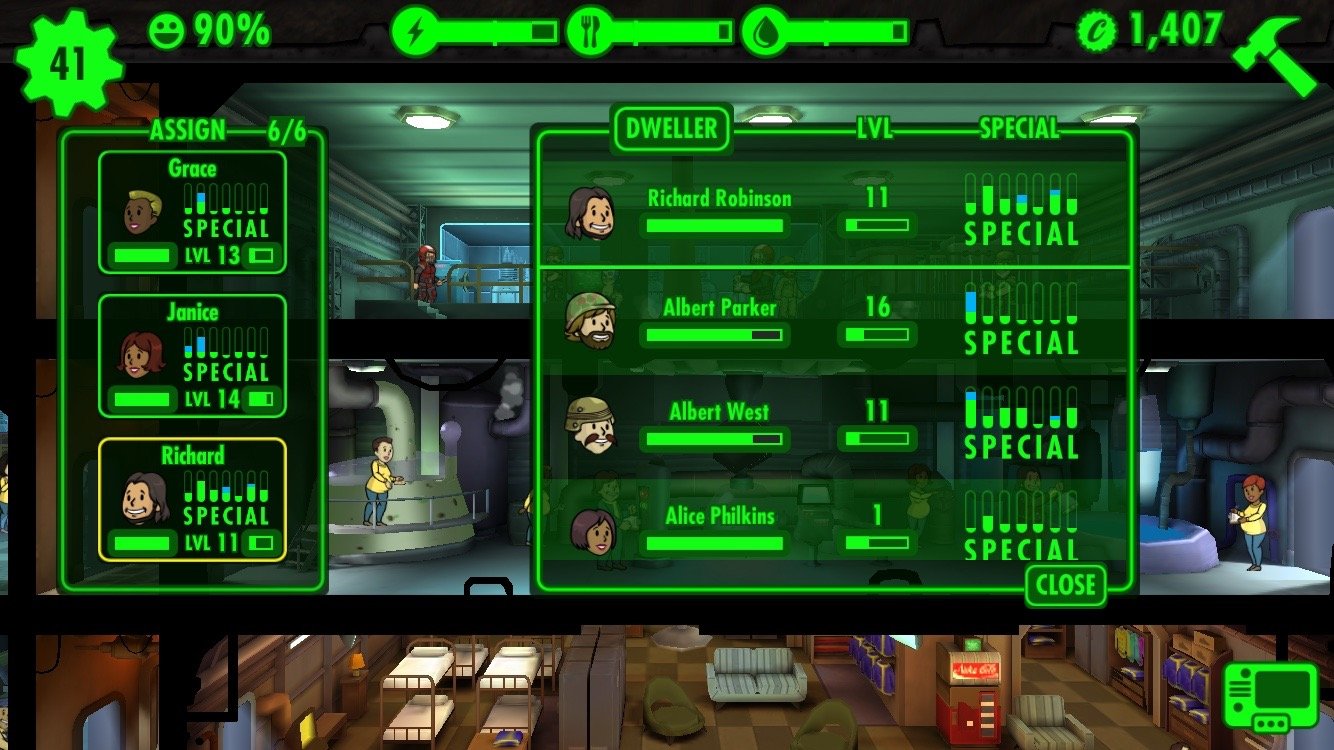
That's where the room's work clipboards come into play: When you select a resource room, you'll see a small clipboard icon in the lower left corner; tap it, and you can see who's working in the room—and their SPECIAL stats. Tap on a dweller (or an empty dweller slot on the room's clipboard) to directly compare them with every other dweller in your vault. You can even tap any of the headers—"DWELLER," "LVL," or "SPECIAL"—to organize your vault's dwellers alphabetically, by level, or by individual SPECIAL stats.
If you want to swap dwellers old-school and drag your sim from one room into another, you'll see a number when you hover them over that room. A straight number means that you have space in that room, and your dweller contributes that much to the room's primary stat.
If you see a plus or minus before the number, it means that your room is full, and the dweller you're moving in will swap places with the lowest-level dweller currently in that room; the plus or minus indicates how much extra (or less) your new dweller will contribute to that room.
6. Use high-level outfits to supplement your dwellers' skills
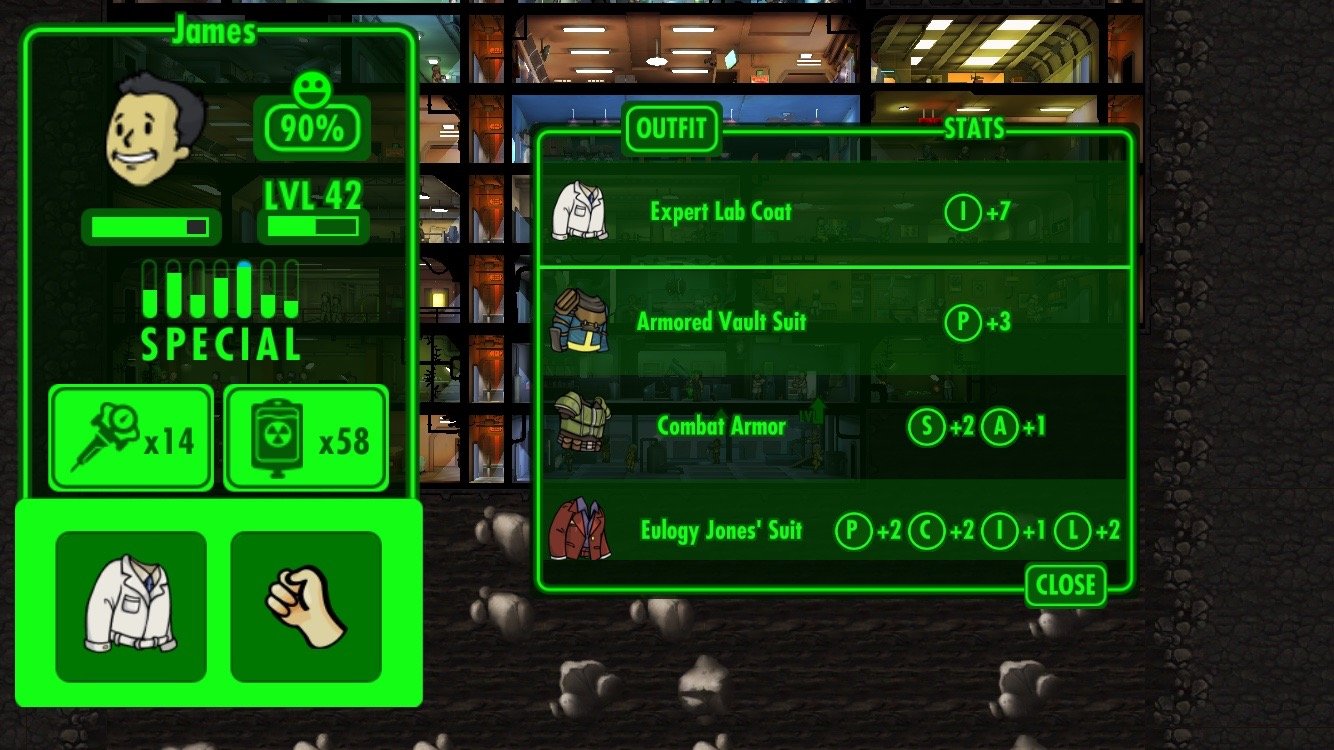
Later on in the game, you'll have the opportunity to build rooms that help train your dwellers' SPECIAL stats; until then, your dwellers are stuck with the SPECIAL stats they were born with. Well, unless they put on some fancy clothing.
Yes, clothing makes the man (or woman) in Fallout Shelter—you just have to find it first. You can get fancy outfits from Lunchboxes or from exploring in the Wasteland; occasionally, incoming dwellers will wear something fancy that you can then repurpose, as well.
As in today's non-post-apocalyptic society, men and women have different outfits available to them. There are quite a few unisex options, but there are also certain male- or female-specific clothes floating about.
To equip a dweller with a new outfit, just select them, then tap on the outfit icon in the info pane; you'll then be able to see every outfit that they can wear.
Outfits can increase your stats by +1 to +5; extra-special and rare outfits will increase multiple stats.
7. Upgrade your Vault Door to prevent raider attacks
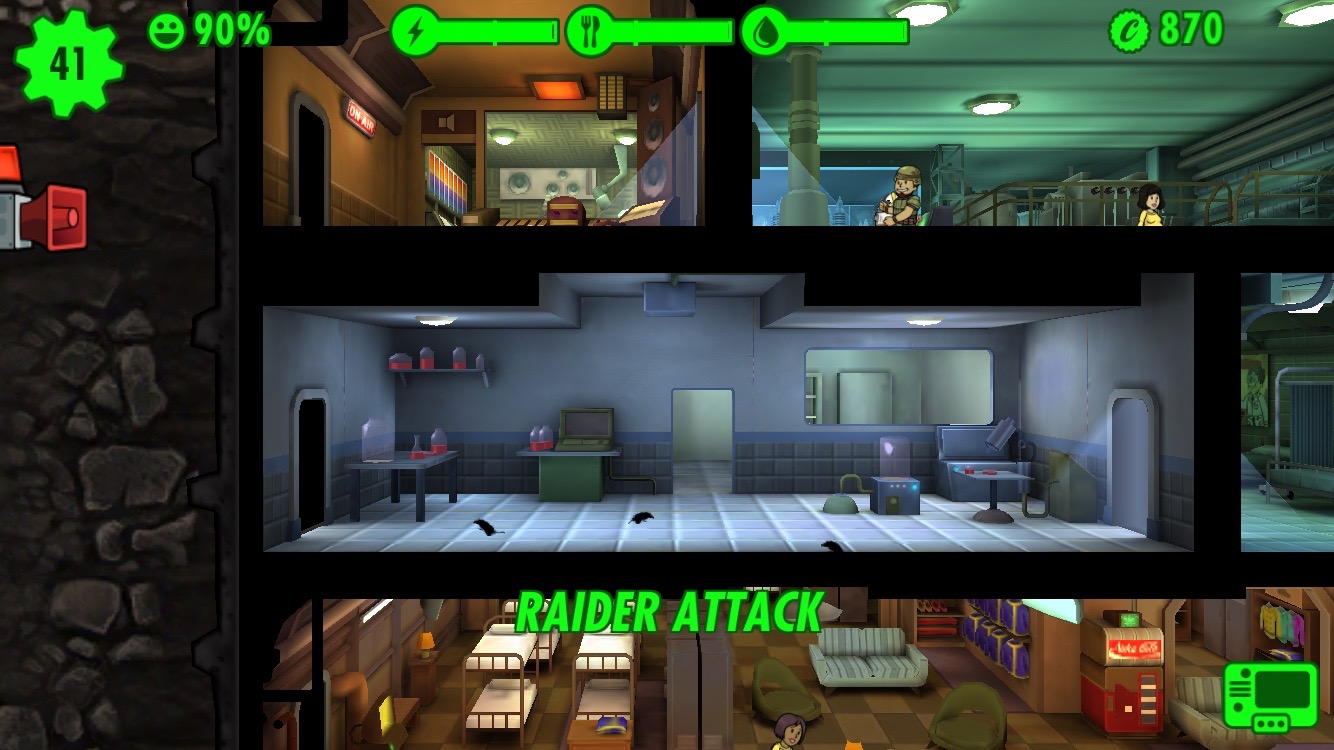
Raiders are the worst: Always barging in with knives and guns, stealing your resources, killing your dwellers. Until you get adequate weapons to properly fight against them, you can upgrade your vault door—just like any other room—to make it less susceptible to invading raiders. They'll make it in eventually, but it gives you time to move dwellers into the vault entryway to properly fight them, and you'll be better off.
I've found that raiders also come less frequently after they have to deal with an upgraded vault door and angry gun-toting dwellers a few times; invest early, and you won't have to take care of raiders later in the game.
8. Equip all your workers on the top level with your best guns
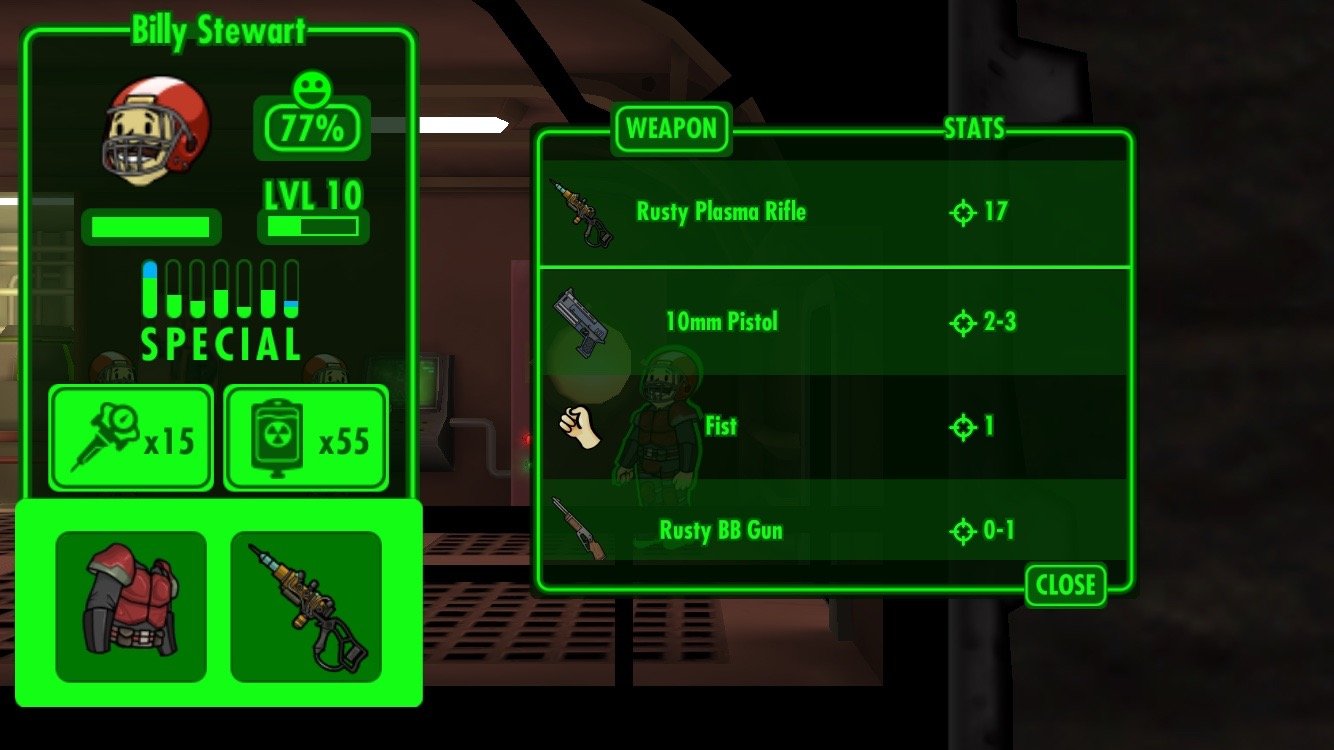
Though you can technically station two dwellers on "guard duty" in the vault entrance room, this is a waste of dweller manpower. Instead, take the weapons you've gotten from Lunchboxes or fact-finding expeditions in the wasteland and give them to your dwellers working on the top level of your vault.
When raiders attack, all you have to do is move two of those gun-toting dwellers into the vault entrance; chances are, they'll take out the raiders before they even make it to the next room. And if they do, equipping the rest of your top-level dwellers with weapons ensures that they'll be gone soon after that.
9. Don't be afraid to borrow dwellers from other rooms in an emergency
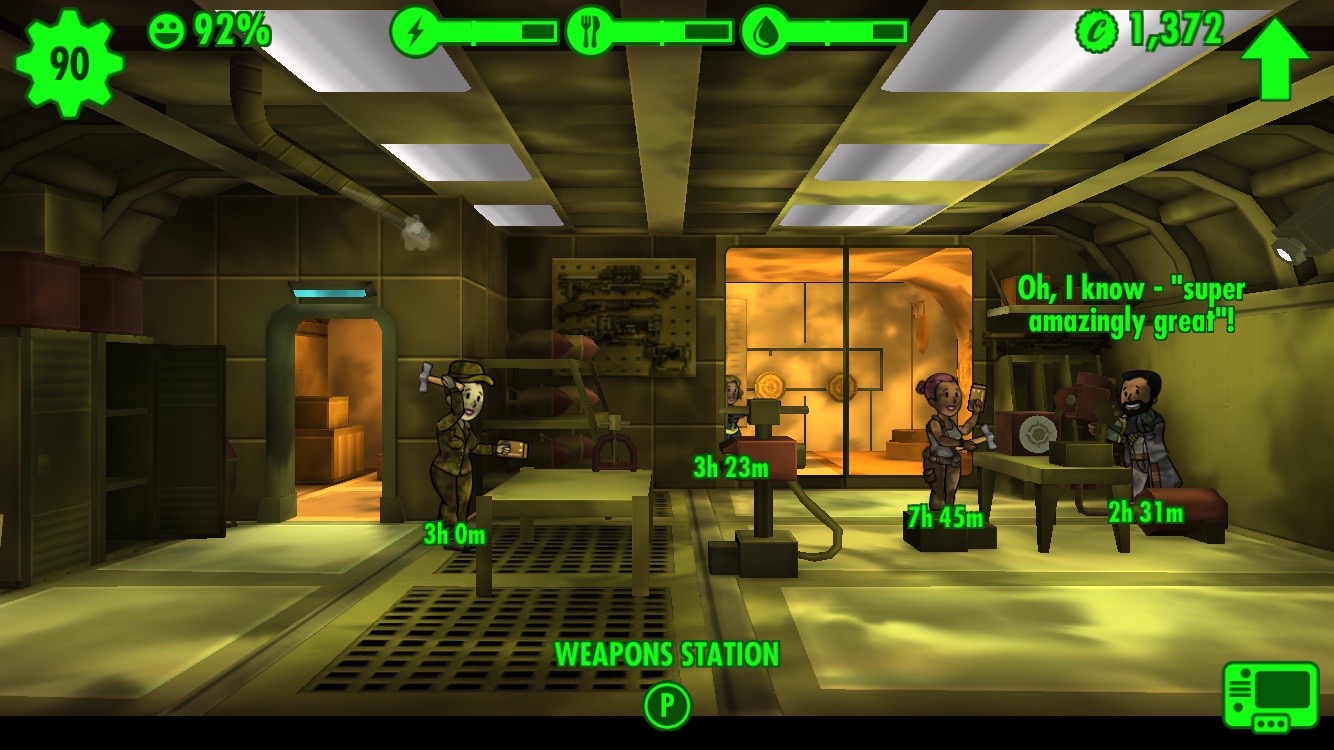
Living in the post-apocalyptic future has its downsides: Even in the safety of your Vault, you'll have to deal with invading raiders, frequent fires, and pesky Radbugs. Well-placed dwellers with weapons can handle raiders and radbugs, while anyone (save for pregnant women and children) can take care of a vault fire.
If you find yourself with a fire in a room with no dwellers, or a Radbug infestation when none of your dwellers have guns, don't panic: Just borrow dwellers from other rooms by dragging them and dropping them onto the room in question. They'll come in, fix the problem, and once it's solved, return to their original assignment.
10. Explore the Wasteland
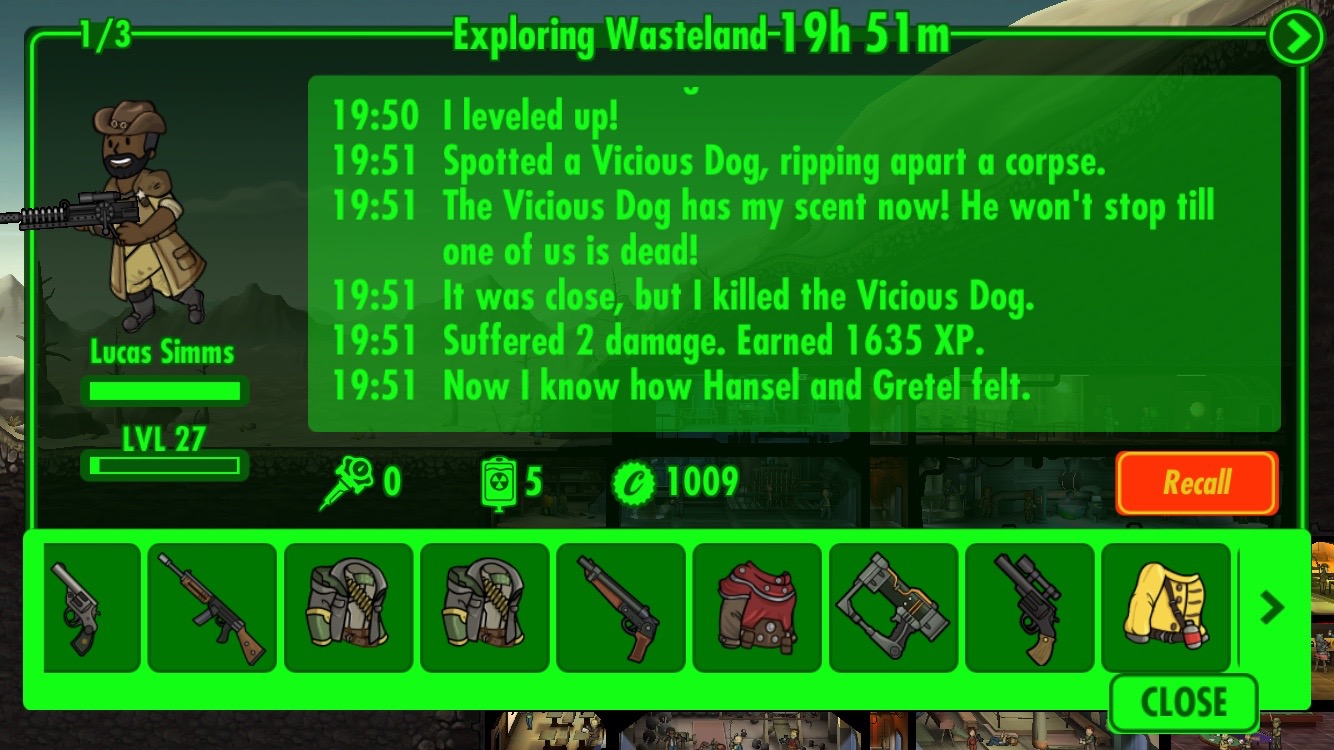
The Wasteland may be a vicious place, but you can find fabulous items, CAPS, and lots of level experience for dwellers brave enough to make the trek. Here's the best way to go about it.
Dwellers with high levels and SPECIAL stats—specifically endurance and luck—will do better than level 1 dwellers with no particular knacks. You can augment this, too, by sending your anointed dweller(s) out with your best weapons and outfits.
You'll also want to make sure you equip your dwellers with stimpacks and Radaways — this allows them to stay out in the wilderness longer without succumbing to radiation or evil attackers and dying. (You can resuscitate dwellers, but at a CAPS cost.)
This is also important because the longer your dweller explores the wilderness, the better loot they bring home at the end of their journey. My best dweller stayed out a full 18 hours collecting outfits, guns, CAPS, and experience—but he was only able to do this because I sent him out with 5 Radaways and stimpaks a piece. (Remember, if you don't have radaways or stimpaks, you can have your dwellers make them in the science lab and medical center.)
While your dweller is out there, they'll write an abbreviated adventure log so that you can follow along with their travels. These are hilarious and definitely worth reading; you can view your dwellers' notes by tapping anywhere outside the vault, or by selecting them from your master dweller list in the upper left corner of the screen.
Your dweller will take half as long to return to the vault as they did to explore; if you send them out for ten hours, for example, they'll take an additional five hours to return. On their return journey, they won't be attacked, irradiated, or injured.
When your dweller returns, you can collect their loot by tapping the Collect button; make sure you heal them up with stimpaks and Radaways before letting them back into the vault. Especially any radiation damage—if you let an irradiated person walk around your vault, they will quickly infect the entire population.
It's definitely smart to send an exploring dweller into the Wasteland well-equipped. If you've got any outfits that help with Strength, Luck, or Agility, give it to your explorer. A Husky pet is ideal in the Wasteland because it increases your explorer's return speed by 1.25%!
11. Get more dwellers in your vault
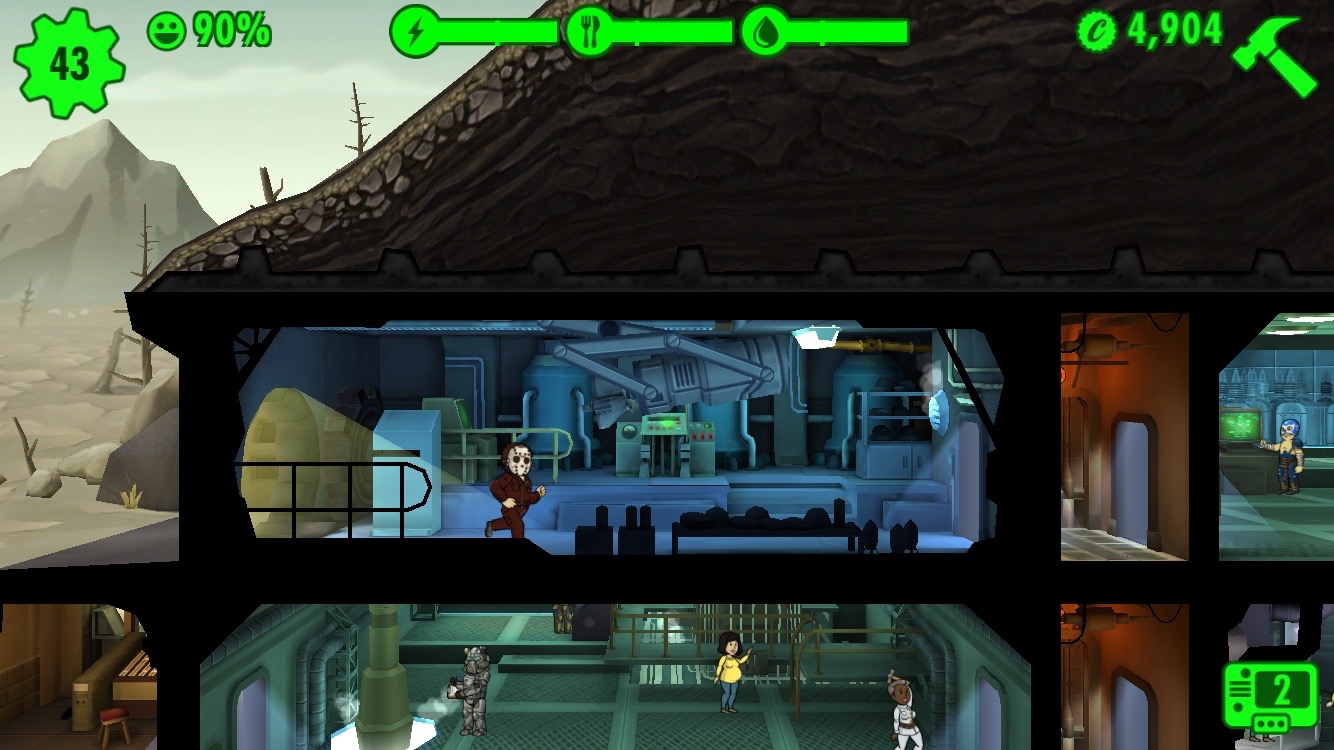
So you want to hit the 200 dweller max in your vault, huh? You'll need three things to do it: dwellers with high Charisma, ladies, and a radio station.
If your dwellers have a high Charisma stat, they'll be well-equipped to quickly turn a budding romance into a full-blown pregnancy; they'll also be great on your Vault's local radio station.
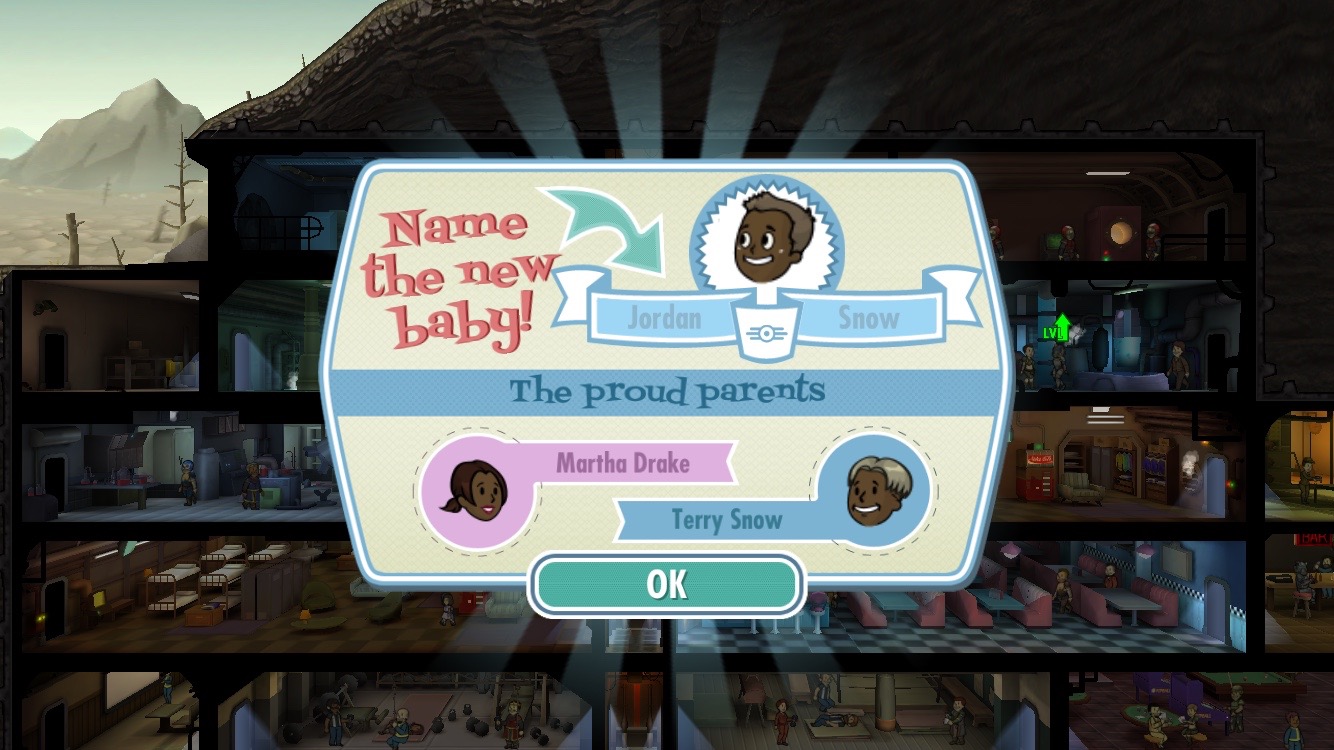
Pregnancy and child-rearing, as I covered before, takes about six hours in total—three hours pregnant, three hours for the kid to grow up. To make pregnancies happen, all you have to do is place two dwellers in a living quarters area together; depending on their respective charisma stats, you'll get a pregnancy in the next 5-30 minutes.
It's possible to chain pregnancies and have lots of your women pregnant at once—my record is 14—but remember: When they turn into children, those are many new mouths to feed while you wait for them to turn into adults.
Radio stations, in contrast, will only pull in one dweller every few hours—and only consistently if those working at the station are high in charisma—but those dwellers are fully-grown and ready to work. They're usually level 1 sims with minimal (if any) belongings, but hey—work is work, right?
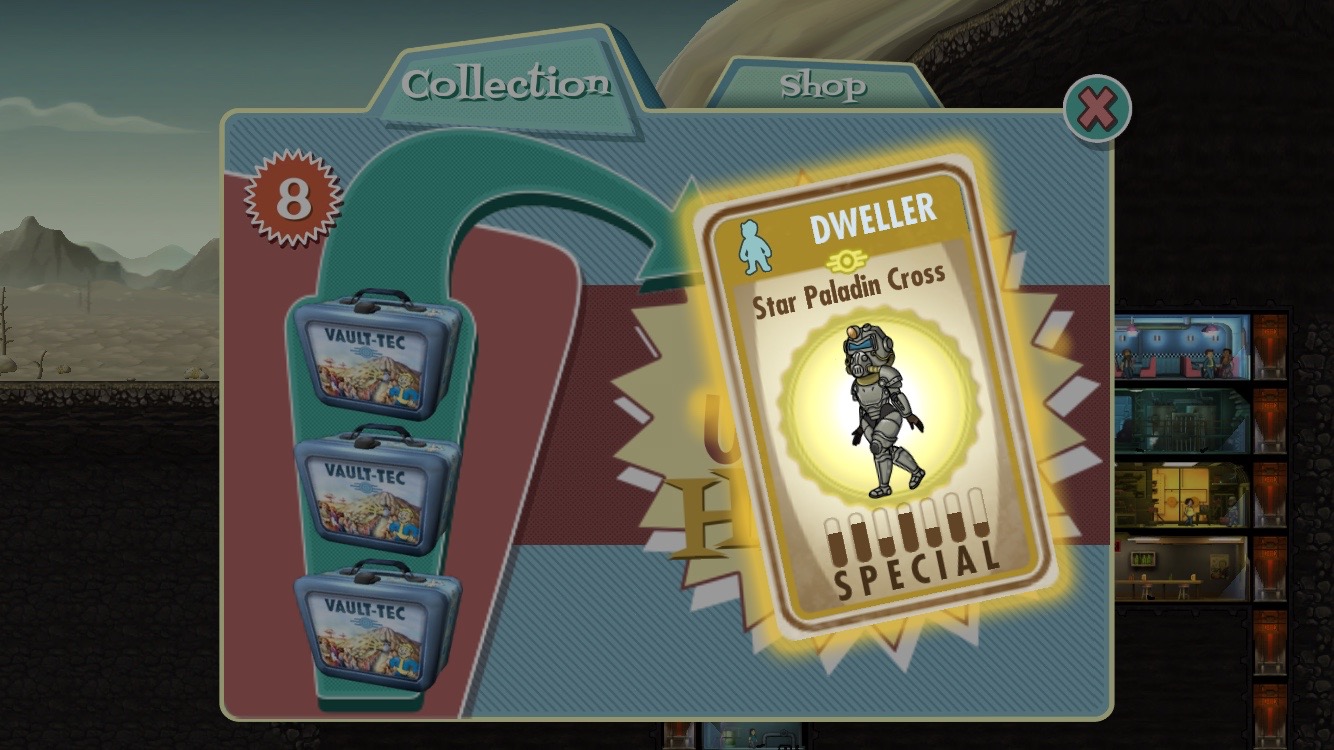
There is one paid option for getting new dwellers: Lunchboxes. These will often contain some of the rarest, highest-level, and fanciest SPECIAL dwellers in the game; not only does opening a Lunchbox get you more dwellers, but they're often really good at one or several particular skills.
12. Train your dwellers up together
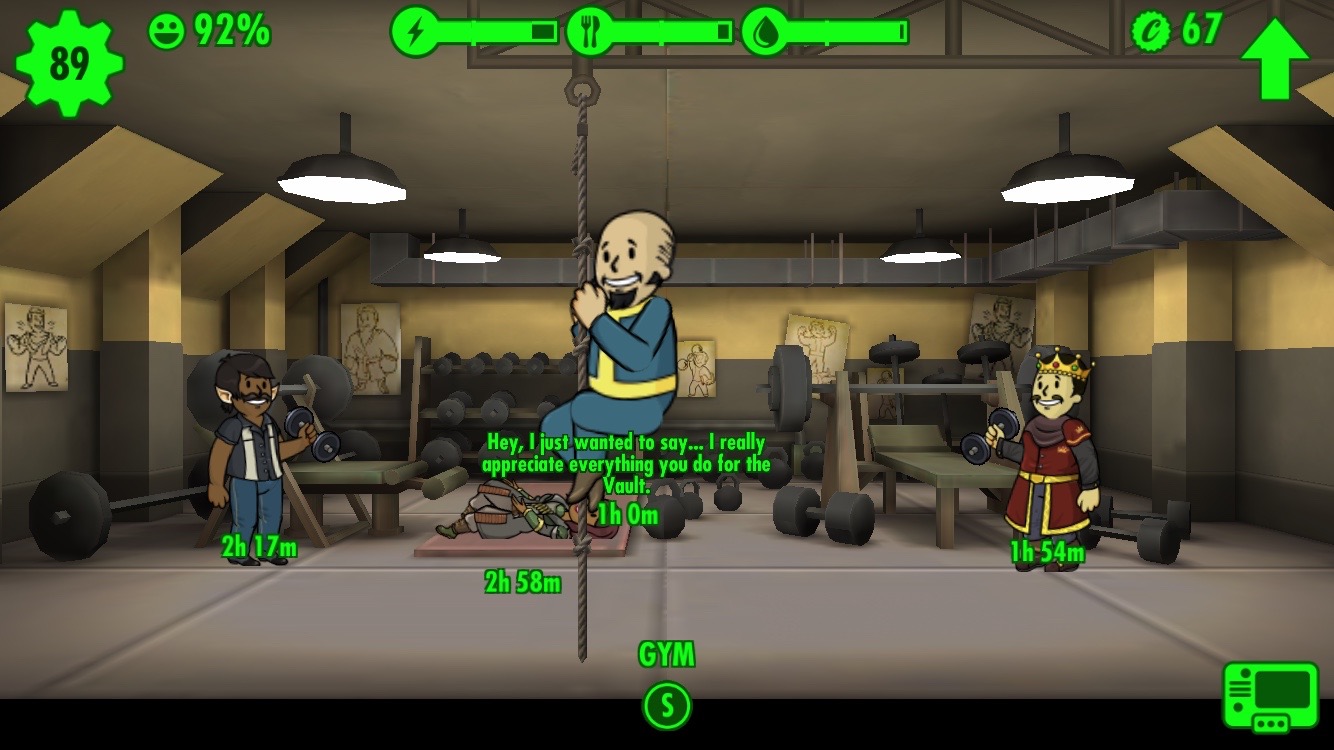
Once you hit 50 dwellers, you'll be able to start building training rooms, which let your dwellers upgrade their SPECIAL skills. The time it takes your dweller to upgrade a skill varies depending on their level, the room, and how many other dwellers are working on the same skill.
Put more dwellers in a room together to work on a skill (2, 4, or 6, depending on the size of your training room), and they'll all learn faster. You can also spend (outrageous amounts of) CAPS to upgrade the room and shave off some of that training time.
13. Pay attention to your objectives
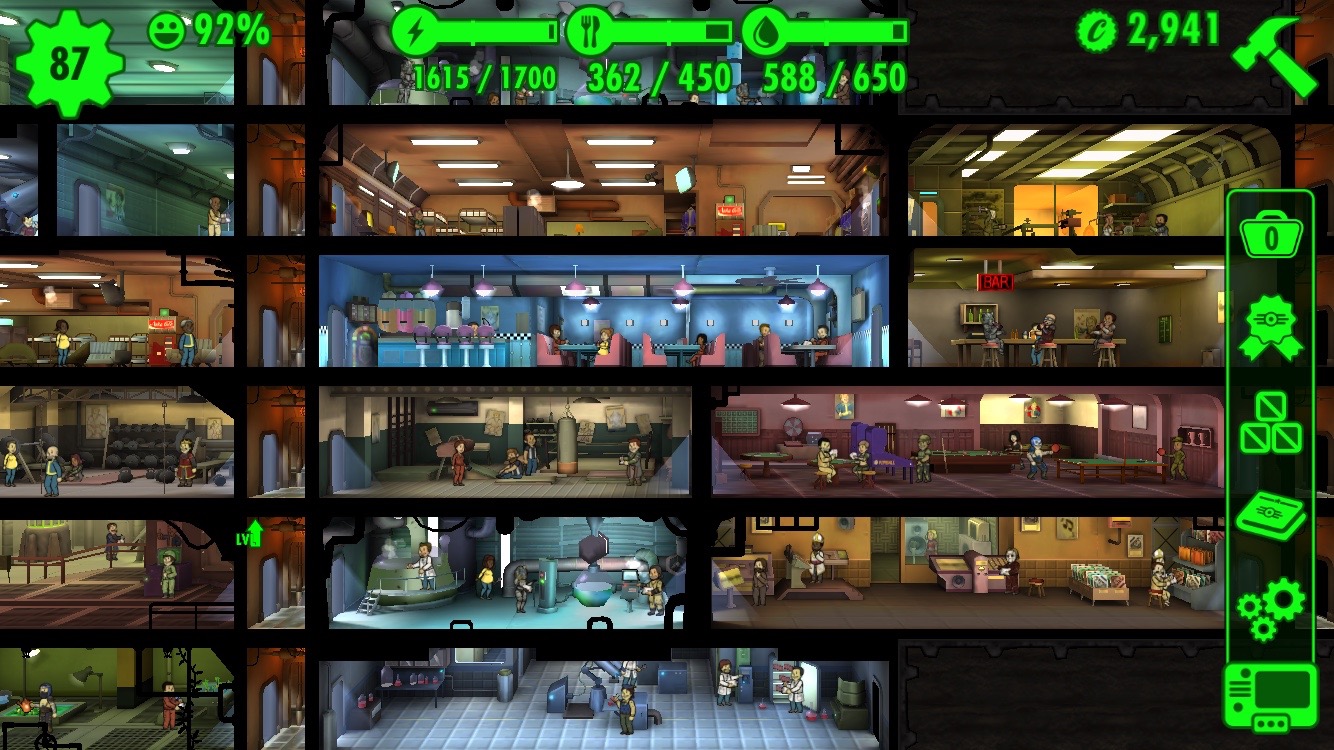
If you tap your Pip-Boy computer icon in the lower right corner, then tap the award icon, you can see your Vault's objectives. At any given time, you'll have three goals to complete; you can refresh one of these every 24 hours by tapping on the X if you really don't think you can do it.
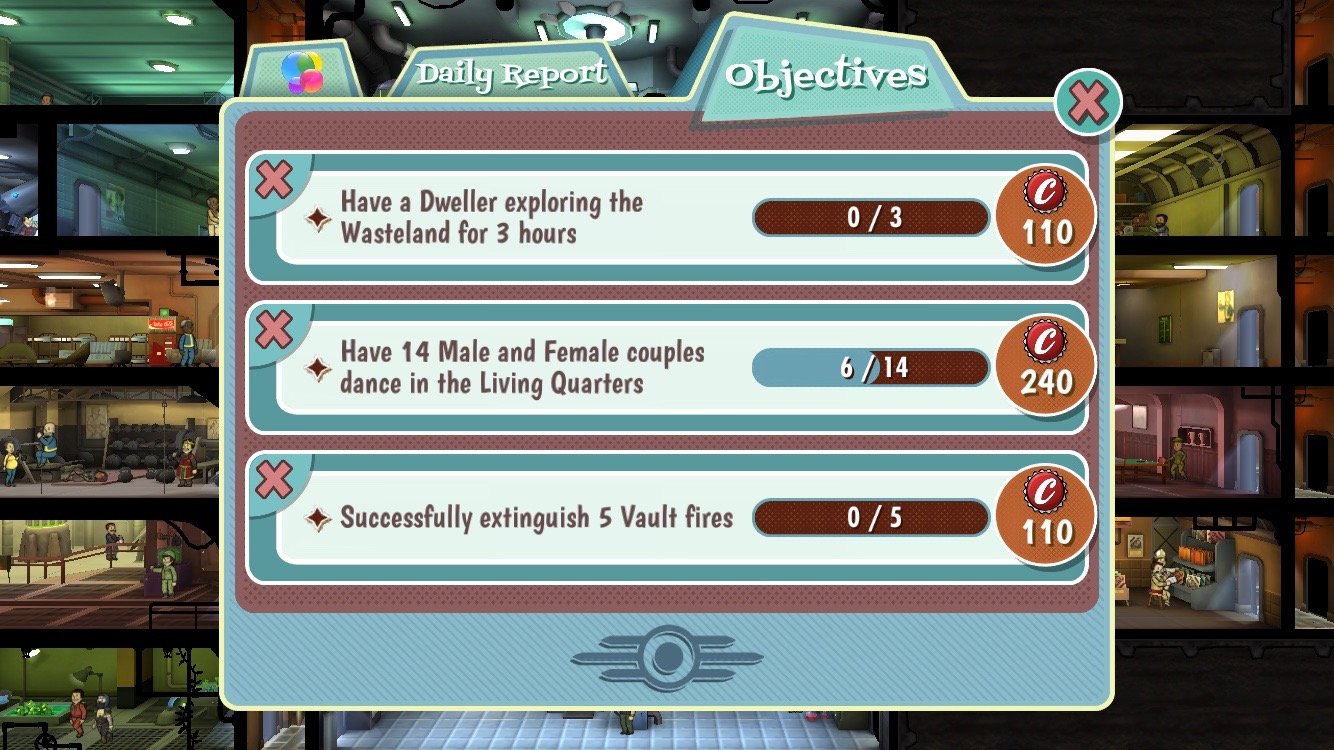
Goals, when completed, get you extra CAPS—and on occasion, Lunchboxes—which makes them a nice bonus and something to keep in mind when working on your Vault.
14. How to make extra CAPS
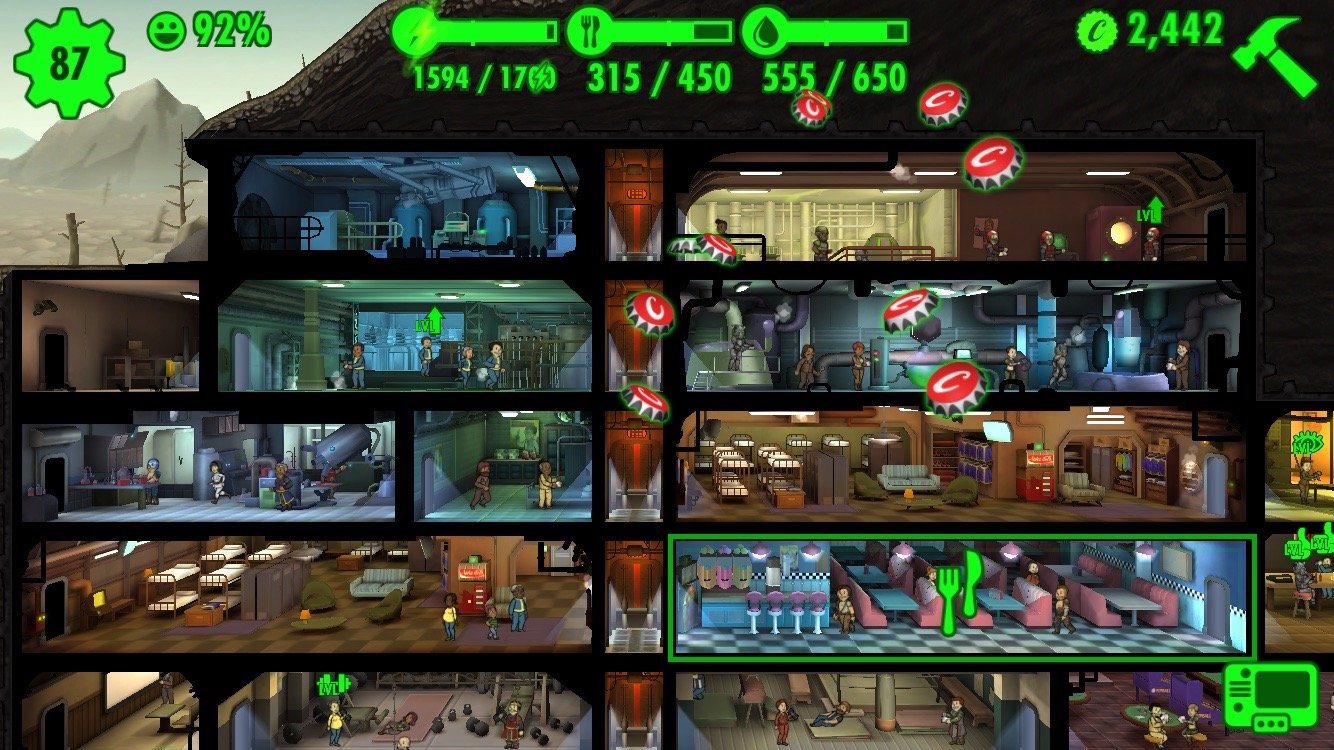
There are five basic free ways to make extra CAPS, and one paid option.
The easiest way to get some extra in-game currency is to rush your resource rooms; upon success, you'll get a few extra CAPS thrown toward your account. Put some high-Luck-stat dwellers in your resource rooms, and you may even get 500-1000 CAPS upon a standard room resource completion.
Sell any guns or outfits you don't want to make CAPS on the side, those these sadly don't net you much—10-100 CAPS per item, depending on rarity.
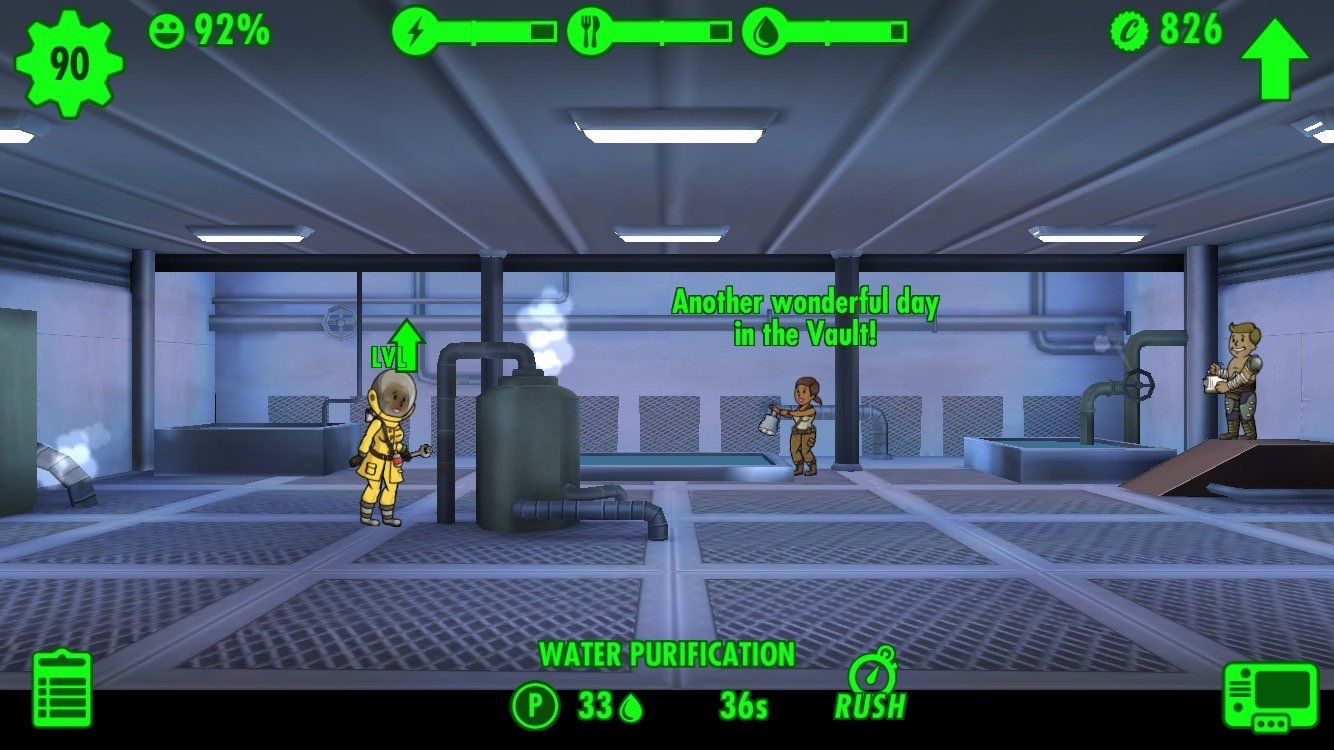
Leveling up dwellers also nets you a few CAPS, so make sure they're working hard in the room they belong in to get the most out that bonus award.
Send your dwellers to the Wasteland to find even more CAPS, though this method takes a tad longer than the other three.
Finally, you can buy Lunchboxes with real money, which often contain 10-500 CAPS; this is a good last-ditch CAPS strategy, but largely not worth the cost if you have rooms you can rush.
15. Build and upgrade the Overseer's Office for even more fun!
Once you've populated your vault with 18 dwellers, you'll be able to build the Overseer's Office, which unlocks practically an entirely new game for you to play. You can send dwellers on quests, which you can then control said dwellers once they reach the quest location. You'll explore the area do what's necessary to complete the quests. Your rewards will be great upon return. We're talking weapons, clothing, caps, and more. When you upgrade the Overseer's office to level 2 you'll be able to run multiple quests at once.
16. Leave your vault alone

Fallout Shelter is one of those games that's easy to tweak forever—getting more CAPS by rushing rooms, reconfiguring your vault, making babies happen—but it's also helpful to play it for a few minutes and walk away.
Lots of events in the game happen in real-time, including pregnancy, child-rearing, Wasteland exploring, skill training, and more; it's much more satisfying to come back to the game after a few hours to find out what's happened while you've been gone.
You won't be at risk for disasters or raider invasions while you're away, but your resource storage reserves will get depleted. As such, make sure you check in with your vault at least once a day. I left my vault alone for 24 hours and came back to find most of my population irradiated because my water supply had fallen below my storage capacity; if you don't check it every so often, your dwellers might not be in great shape when you return.
Your tips?

Those are my favorite Fallout Shelter tips and tricks; have some of your own? Have questions? Shout out in the comments!
Serenity was formerly the Managing Editor at iMore, and now works for Apple. She's been talking, writing about, and tinkering with Apple products since she was old enough to double-click. In her spare time, she sketches, sings, and in her secret superhero life, plays roller derby. Follow her on Twitter @settern.

