Getting APFS resizing errors using Disk Utility? This fix may help!

After many years using the venerable HFS+, Apple has finally released an updated filesystem aptly named the Apple Filesystem (APFS for short). The new APFS, released with macOS High Sierra, sports improvements to encryption, file integrity and space allocation, and adds features such as cloning and snapshots.
What is a filesystem?
A filesystem is the logic an operating system uses to catalog, store, and retrieve data on a storage medium such as a disk drive.
Shrinking partition results in an error
As with any implementation of a new feature set, end users may run into unexpected quirks and incompatibilities. One such quirk I ran into was trying to resize my MacBook Air's system partition to make room for a GNU/Linux install on the same computer. I used Disk Utility to perform a partition shrink (something I've done countless of times in the past) and ran into error code 49153.
How to fix APFS partition shrink errors.
The culprit it seems are locally stored snapshots of Time Machine backups on my macOS High Sierra system partition. The fix is the following.
Backup, Backup, Backup
As always, run a Backup of your system.
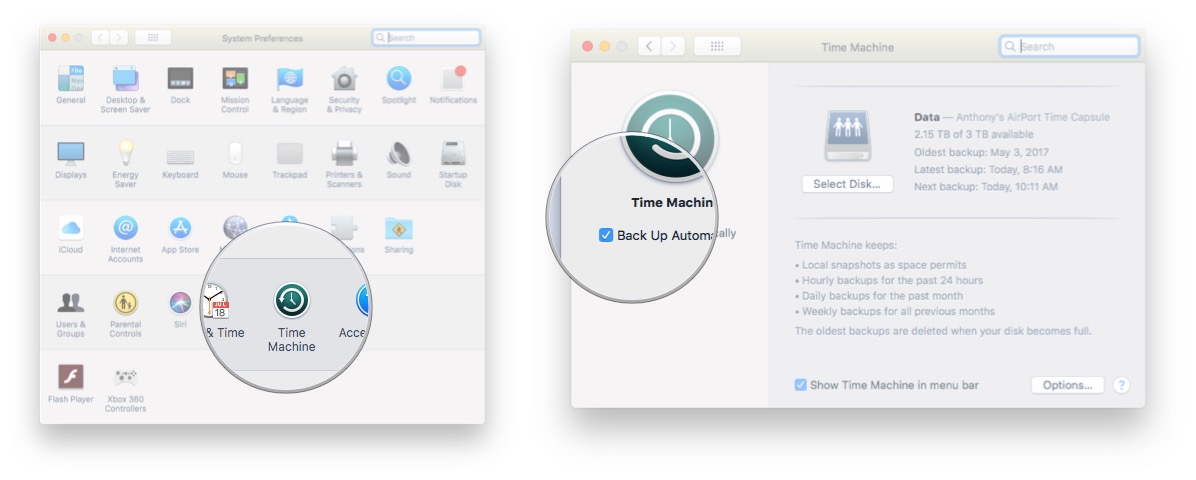
Turn off Time Machine
- Launch System Preferences.
- Select Time Machine.
- Uncheck Backup Automatically.

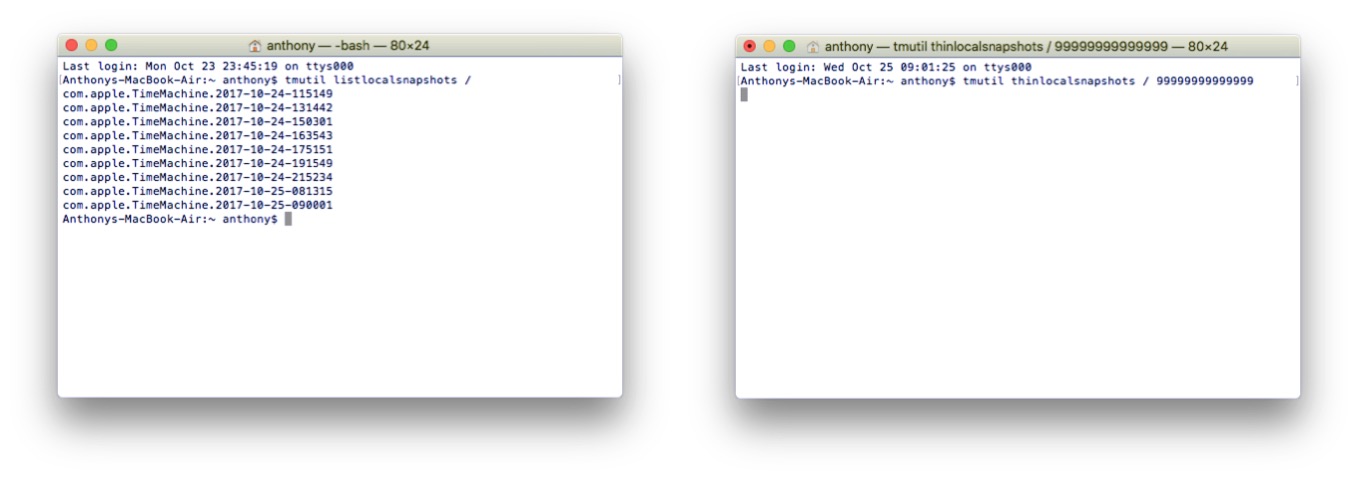
Start a terminal session
- Launch Terminal
- At the command prompt enter tmutil listlocalsnapshots /. This will list the Time Machine snapshots on your partition.
- Next enter tmutil thinlocalsnapshots / 99999999999999. This will delete all of the snapshots. This will take a bit of time.

- Check that all of the snapshots are no gone with tmutil listlocalsnapshots /.
Retry your partition shrink with Disk Utility
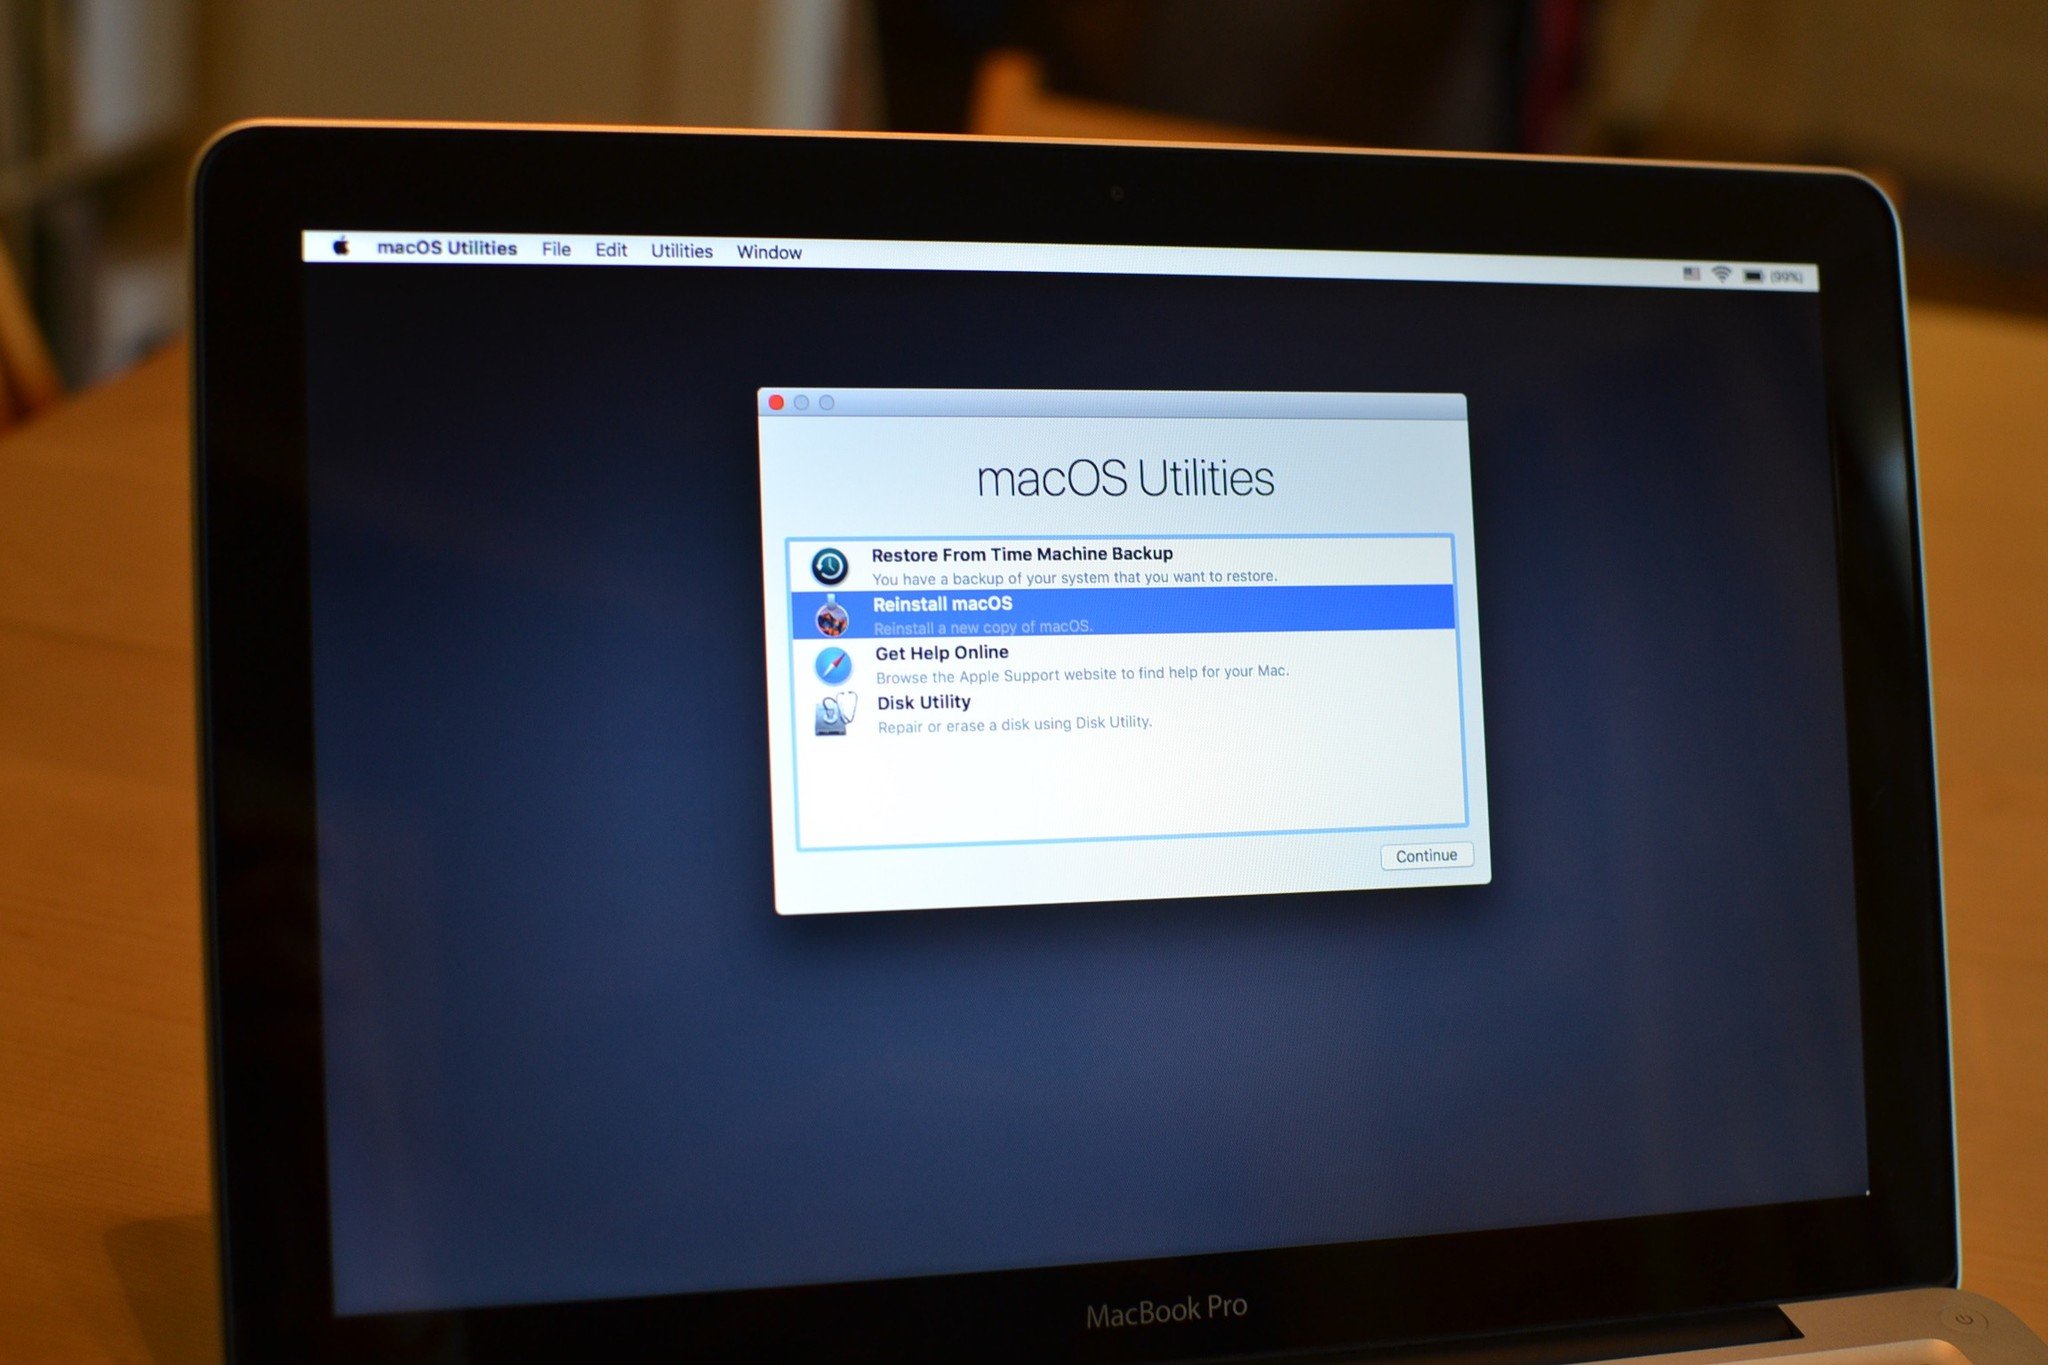
You can now retry the changes you want to make to your partition. You can follow our Disk Utility guide if you need help or you can run diskutil form the command line if you're more comfortable with terminal and use the man diskutil command for more information.
Re-enable Time Machine
Finally, once your partition shrink has completed, turn Time Machine back on.
Master your iPhone in minutes
iMore offers spot-on advice and guidance from our team of experts, with decades of Apple device experience to lean on. Learn more with iMore!
- Launch System Preferences.
- Select Time Machine.
- Check Backup Automatically.
Comments or Questions?
That about sums it up. I'm not certain if this occurs on Macs that have upgraded from HFS+ to APFS or if this also occurs on new system installs but hopefully, the need for getting into the terminal will be removed with an update to Disk Utility in the future. Do you have any comments or questions? Leave them in the comment section!

