How to record a cycling workout with your Apple Watch
How to use your Watch to track indoor and outdoor rides.
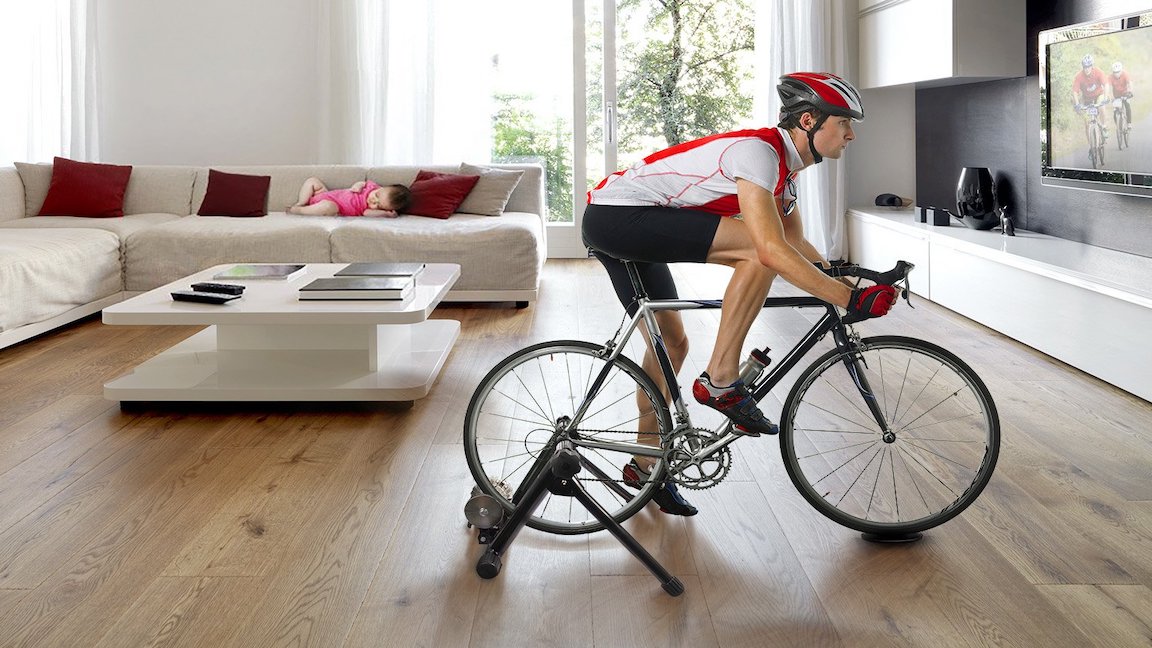
If you’re a cyclist, it’s useful to know you can use your Apple Watch to record a whole bunch of useful metrics, as well as map your rides. Whether you want to log your favorite routes so you can ride them again with your friends or you’re looking to get serious by training for a triathlon, your Apple Watch is a handy tool to help you.
If you’re on watchOS 10 and iOS 17, you can use your Apple Watch and a clip to attach your phone to your handlebars to turn your phone into a basic cycling computer. The Watch can beam your workout details to your phone live, so not only can you see your stats at a glance, but you can adjust and pause your workout without faffing around with your Watch. The ability to connect other cycling sensors like smart trainers and power meters is the icing on the cake.
Below, you’ll find all the information you need to get started using your Apple Watch for cycling workouts. These tips generally apply to both indoor and outdoor cycling workouts, so don’t feel left out if you’re just keen to hop on the exercise bike at your local gym.
What you’ll need
- An Apple Watch Series 5 or later, running watchOS 10.
- iPhone X or later, running iOS 17.
- A bike or stationary bike, with a clip to hold your iPhone on your handlebars.
How to record a cycling workout with your Apple Watch
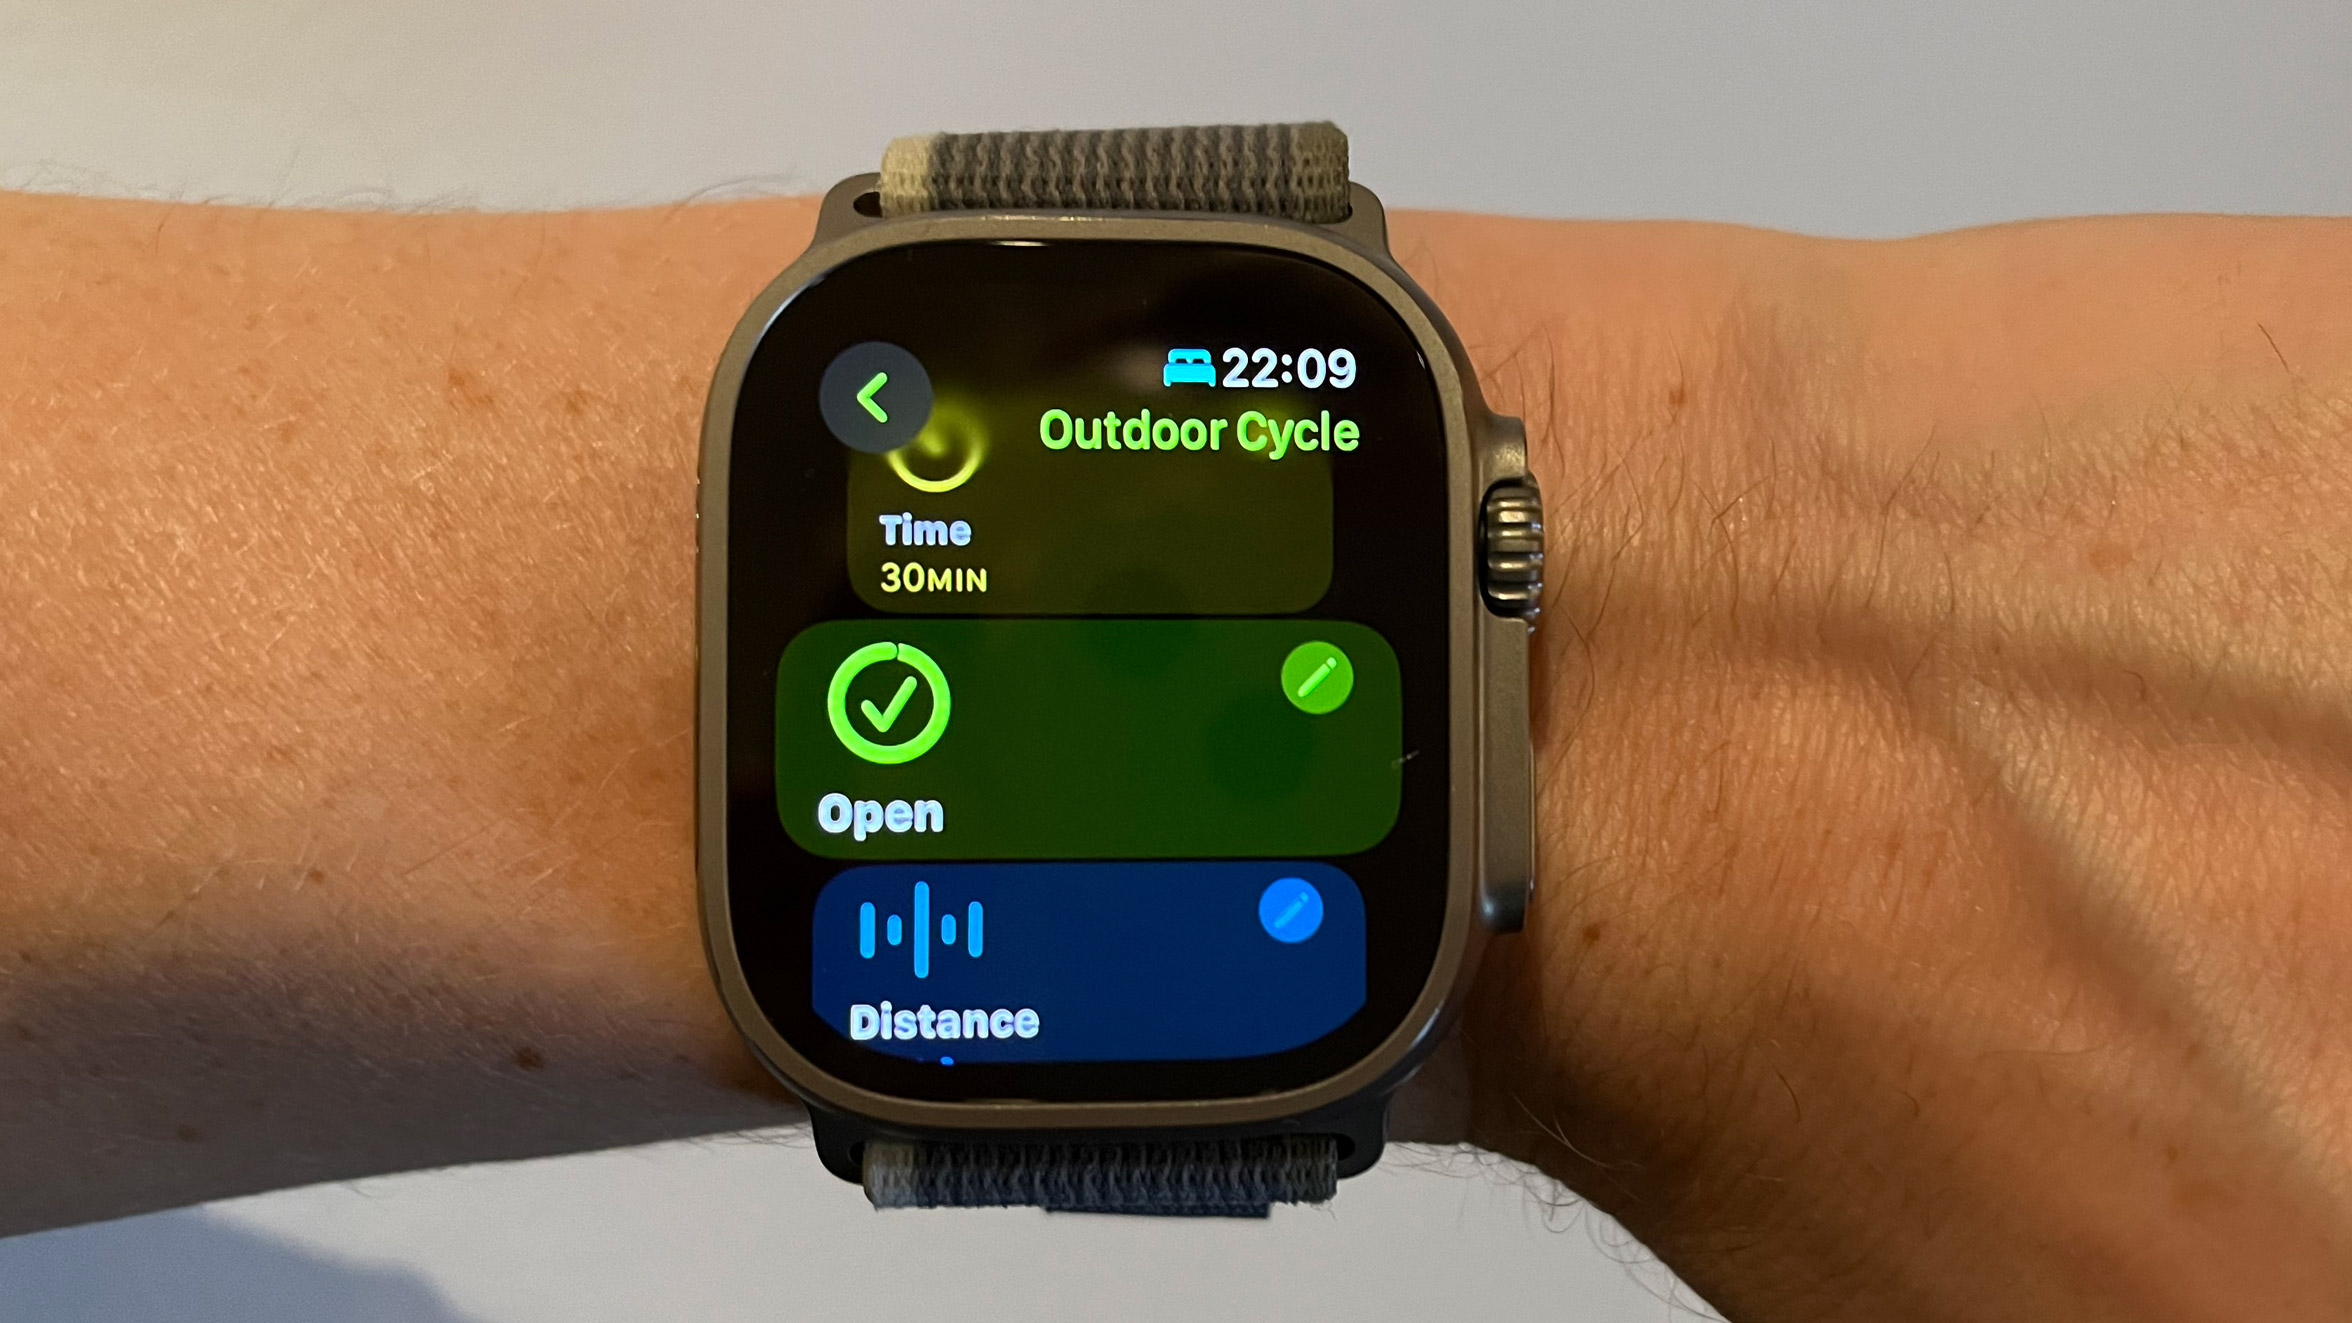
- Access your Apple Watch and open the Workout app
- You’ll see a list of activity profiles to select. Tap Outdoor Cycle or Indoor Cycle
- Tap the three dots on the top right of the activity profile to choose a goal: Open (a bike ride with no fixed goal, which lasts until you stop the workout), Time, Distance, or Calories
- If you’ve picked one of the latter three, you can adjust your goal. For example, if you choose Distance, you could choose 20km
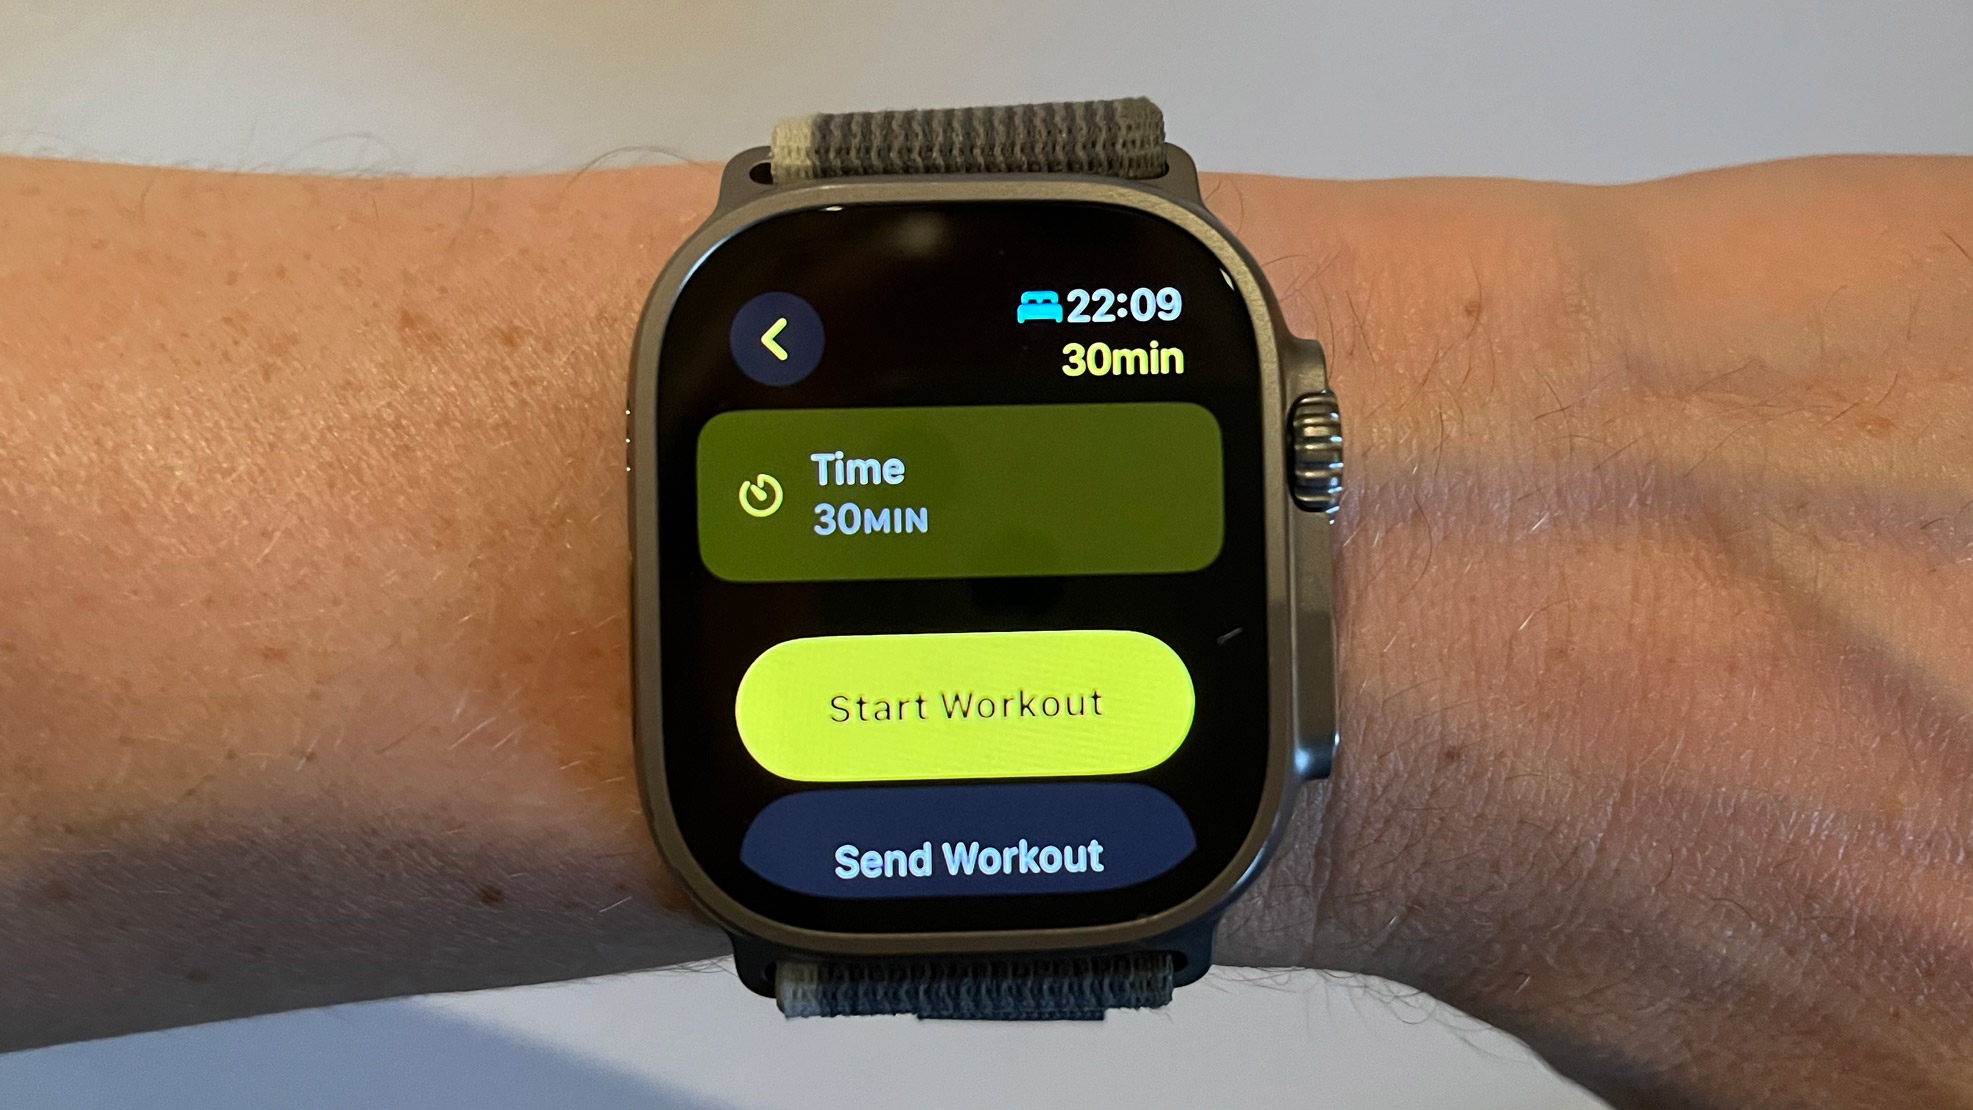
- Tap Start Workout
- While you’re cycling, you can choose to use your iPhone as a cycling computer. After you’ve started a cycling workout on your Apple Watch, a live activity widget should show up on your iPhone. Tap the live activity to create a full-screen view
- Your iPhone is now essentially a full-screen cycling computer, showing various metrics including heart rate, time, distance, calories, cadence (if you’ve connected a cadence sensor to your watch), and power (if you’ve connected a power meter)
- Tap the Pause/Resume icon on your iPhone or your Apple Watch to pause or resume the workout
How to connect cycling accessories to your Apple Watch
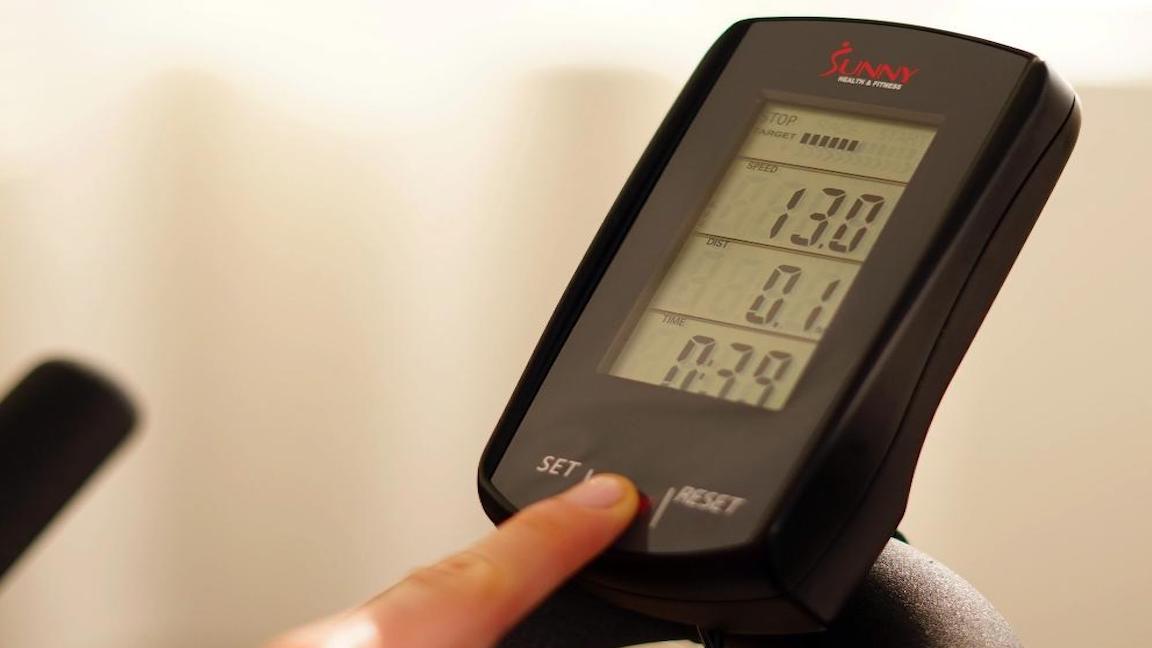
If you’re getting more serious about your cycling, you may want additional information on your rides, such as cadence or power. These metrics are already estimated natively on the watch for runners, but cyclists require additional gadgets to calculate how much power they’re generating, and how fast they’re turning the pedals in relation to the distance traveled. The more power a cyclist can generate and the fewer revolutions their feet are making, the more efficiently they’re riding.
These sensors can attach to your bike in a variety of places, from pedals to crankshaft, but all of these Bluetooth-enabled sensors can be attached to your Apple Watch to beam the metrics to your watch (and by extension, your phone) as it’s being collected. Here’s how to pair these devices.
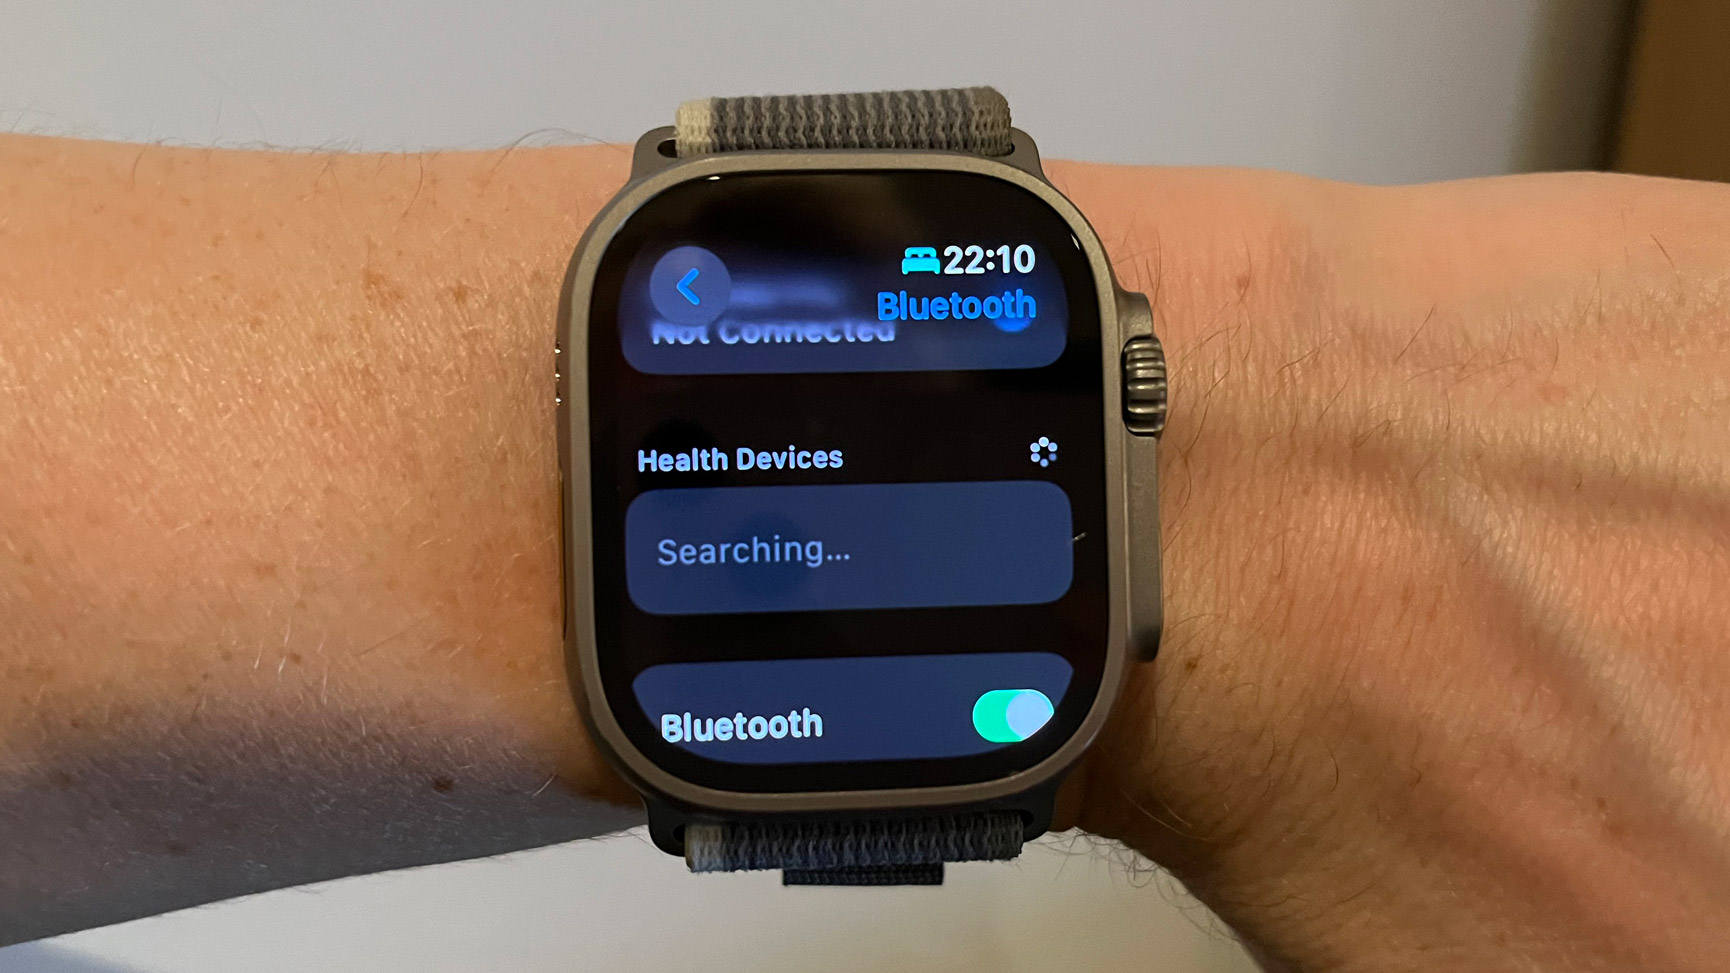
- Ensure the cycling trainer, cadence sensor, or power meter’s Bluetooth is enabled
- Open the Settings app on your Apple Watch
- Tap the Bluetooth option
- Scroll down to the Health Devices option. It will be searching for new devices in the vicinity
- Once the Apple Watch is finished searching, you will be able to see a list of health devices in the Apple Watch’s vicinity able to connect to the Watch via Bluetooth. Tap the sensor you want to connect
- Tap the i icon to ensure you’ve got the right crank length and wheel size for your bike, to ensure accurate metrics.
- Tap Set Up Device
How to set up Power Zones on your Apple Watch
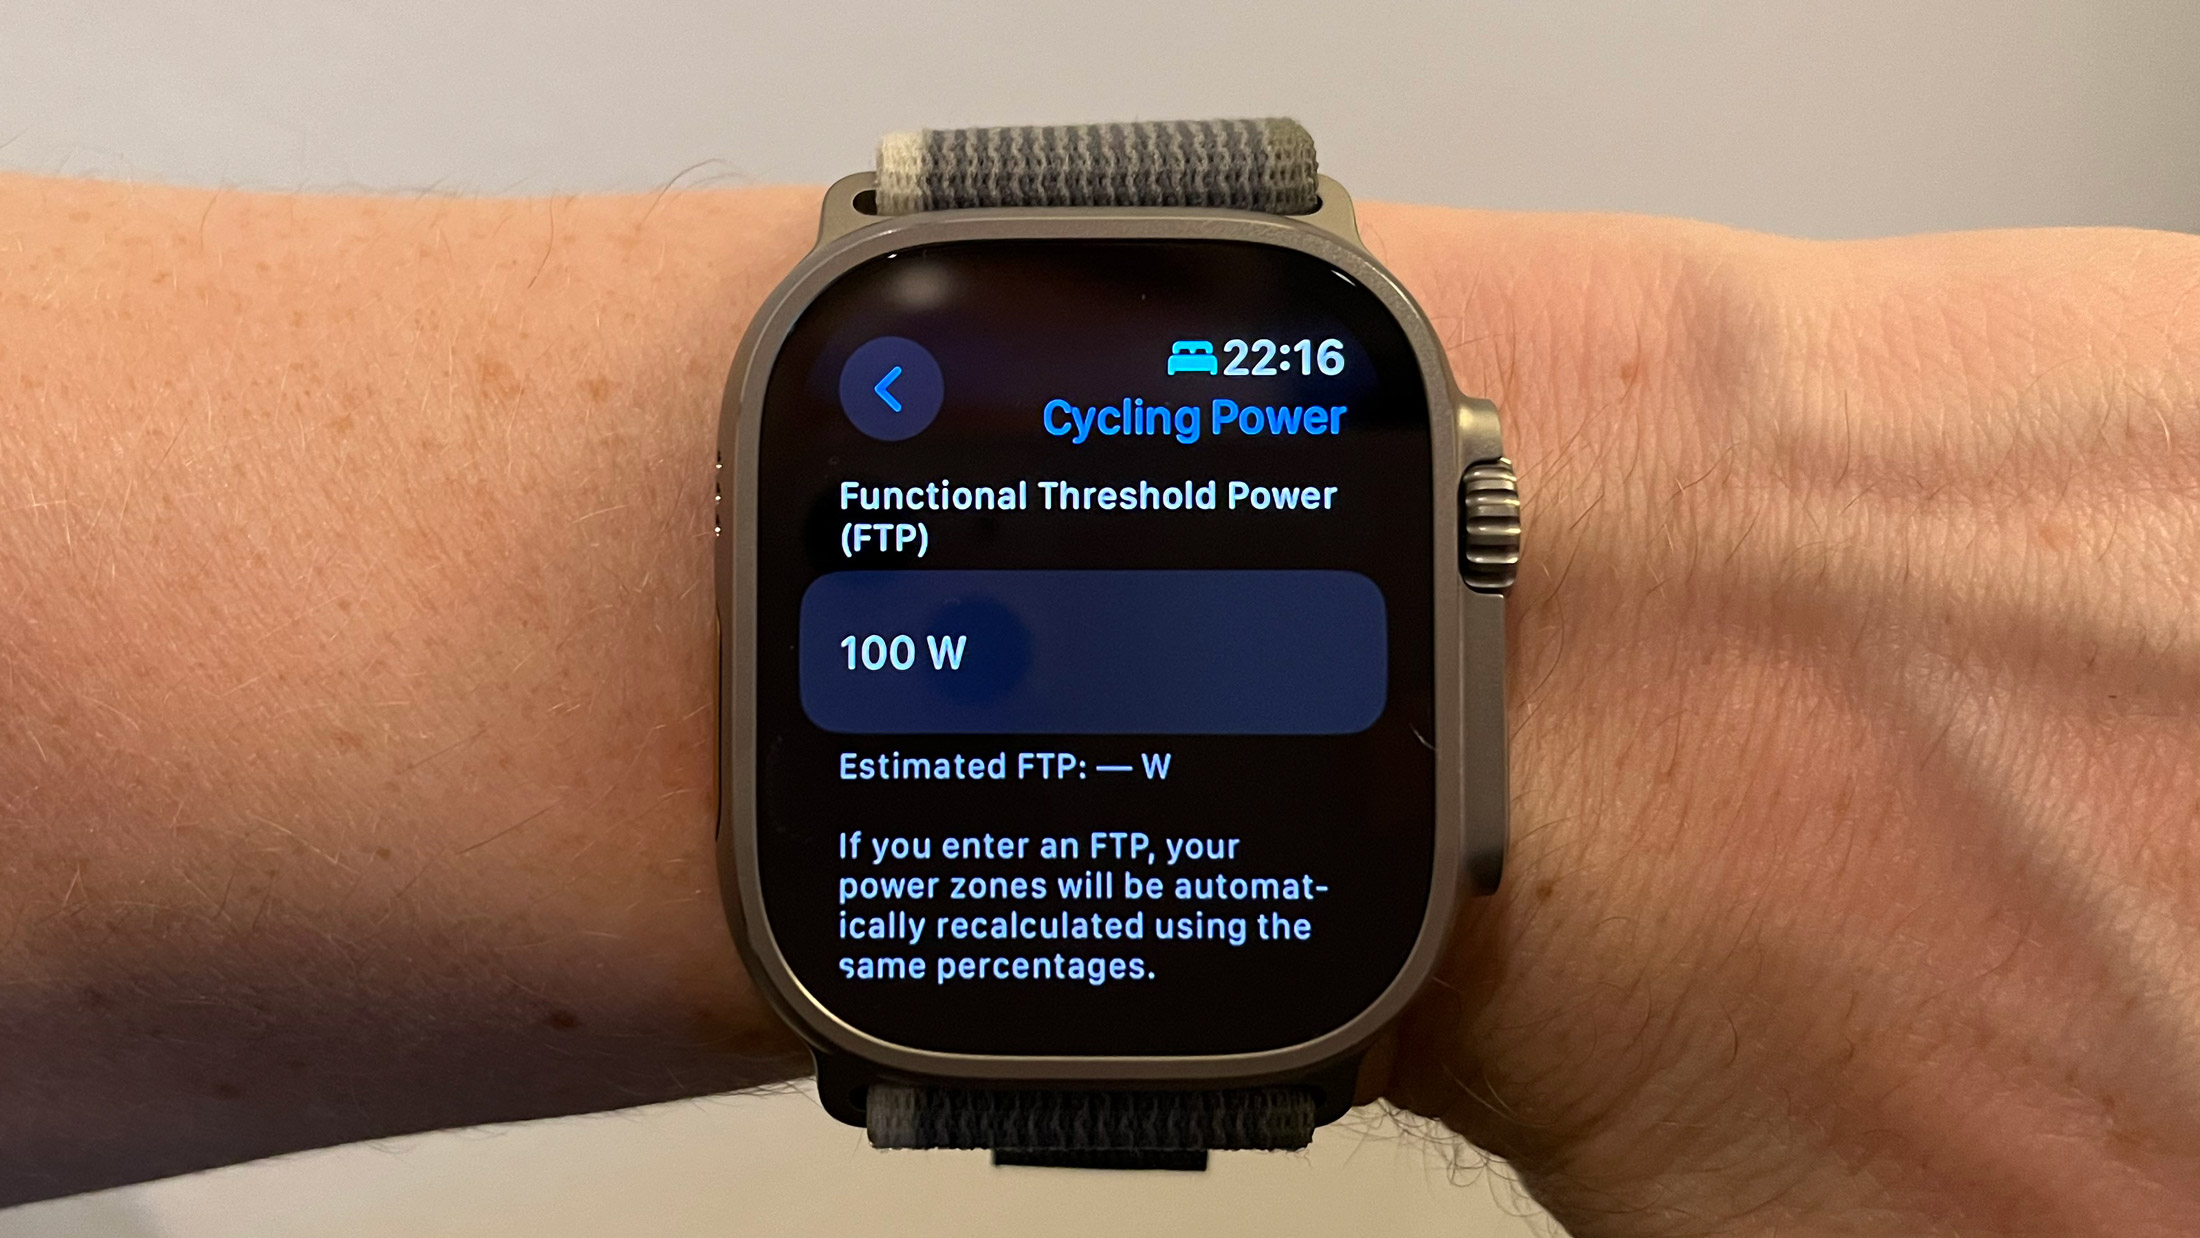
If you’re using a power meter, you can see your Power Zones in the Workout app or the Live Activity Apple Watch widget. Power Zones are based on an estimate of your Functional Threshold Power, or FTP, which is a value representing the highest effort you could sustain for one hour. Like an electric socket’s power output, it uses watts as a unit of measurement and is calculated using a combination of metrics
In practice, it’s a little bit like Heart Rate Zones, so you can easily see how much effort you’re putting in at a glance, but a little more accurate
Master your iPhone in minutes
iMore offers spot-on advice and guidance from our team of experts, with decades of Apple device experience to lean on. Learn more with iMore!
- Open the Settings app on your Apple Watch
- Tap Workout
- Tap Cycling Power
- Tap Custom
- Tap FTP and enter your FTP estimate. You can calculate this with a dedicated 20-minute workout (an FTP test) using your cycling power meter. At the end of this test, you will be given an estimated FTP value
- Under Power Zones, choose the total number of Power Zones you want to measure, between five and eight
- If you want to tinker with the thresholds of each power zone, you can tap a zone to adjust its upper and lower limits (in watts)
Matt is a freelancer for iMore and TechRadar's expert on all things fitness, wellness and wearable tech. A former staffer at Men's Health, he holds a Master's Degree in journalism from Cardiff and has written for brands like Runner's World, Women's Health, Men's Fitness, LiveScience and Fit&Well on everything fitness tech, exercise, nutrition and mental wellbeing.
Matt's a keen runner, ex-kickboxer, not averse to the odd yoga flow, and insists everyone should stretch every morning. When he’s not training or writing about health and fitness, he can be found reading doorstop-thick fantasy books with lots of fictional maps in them.
