How to administer all of your Macs from a single device using macOS Server!
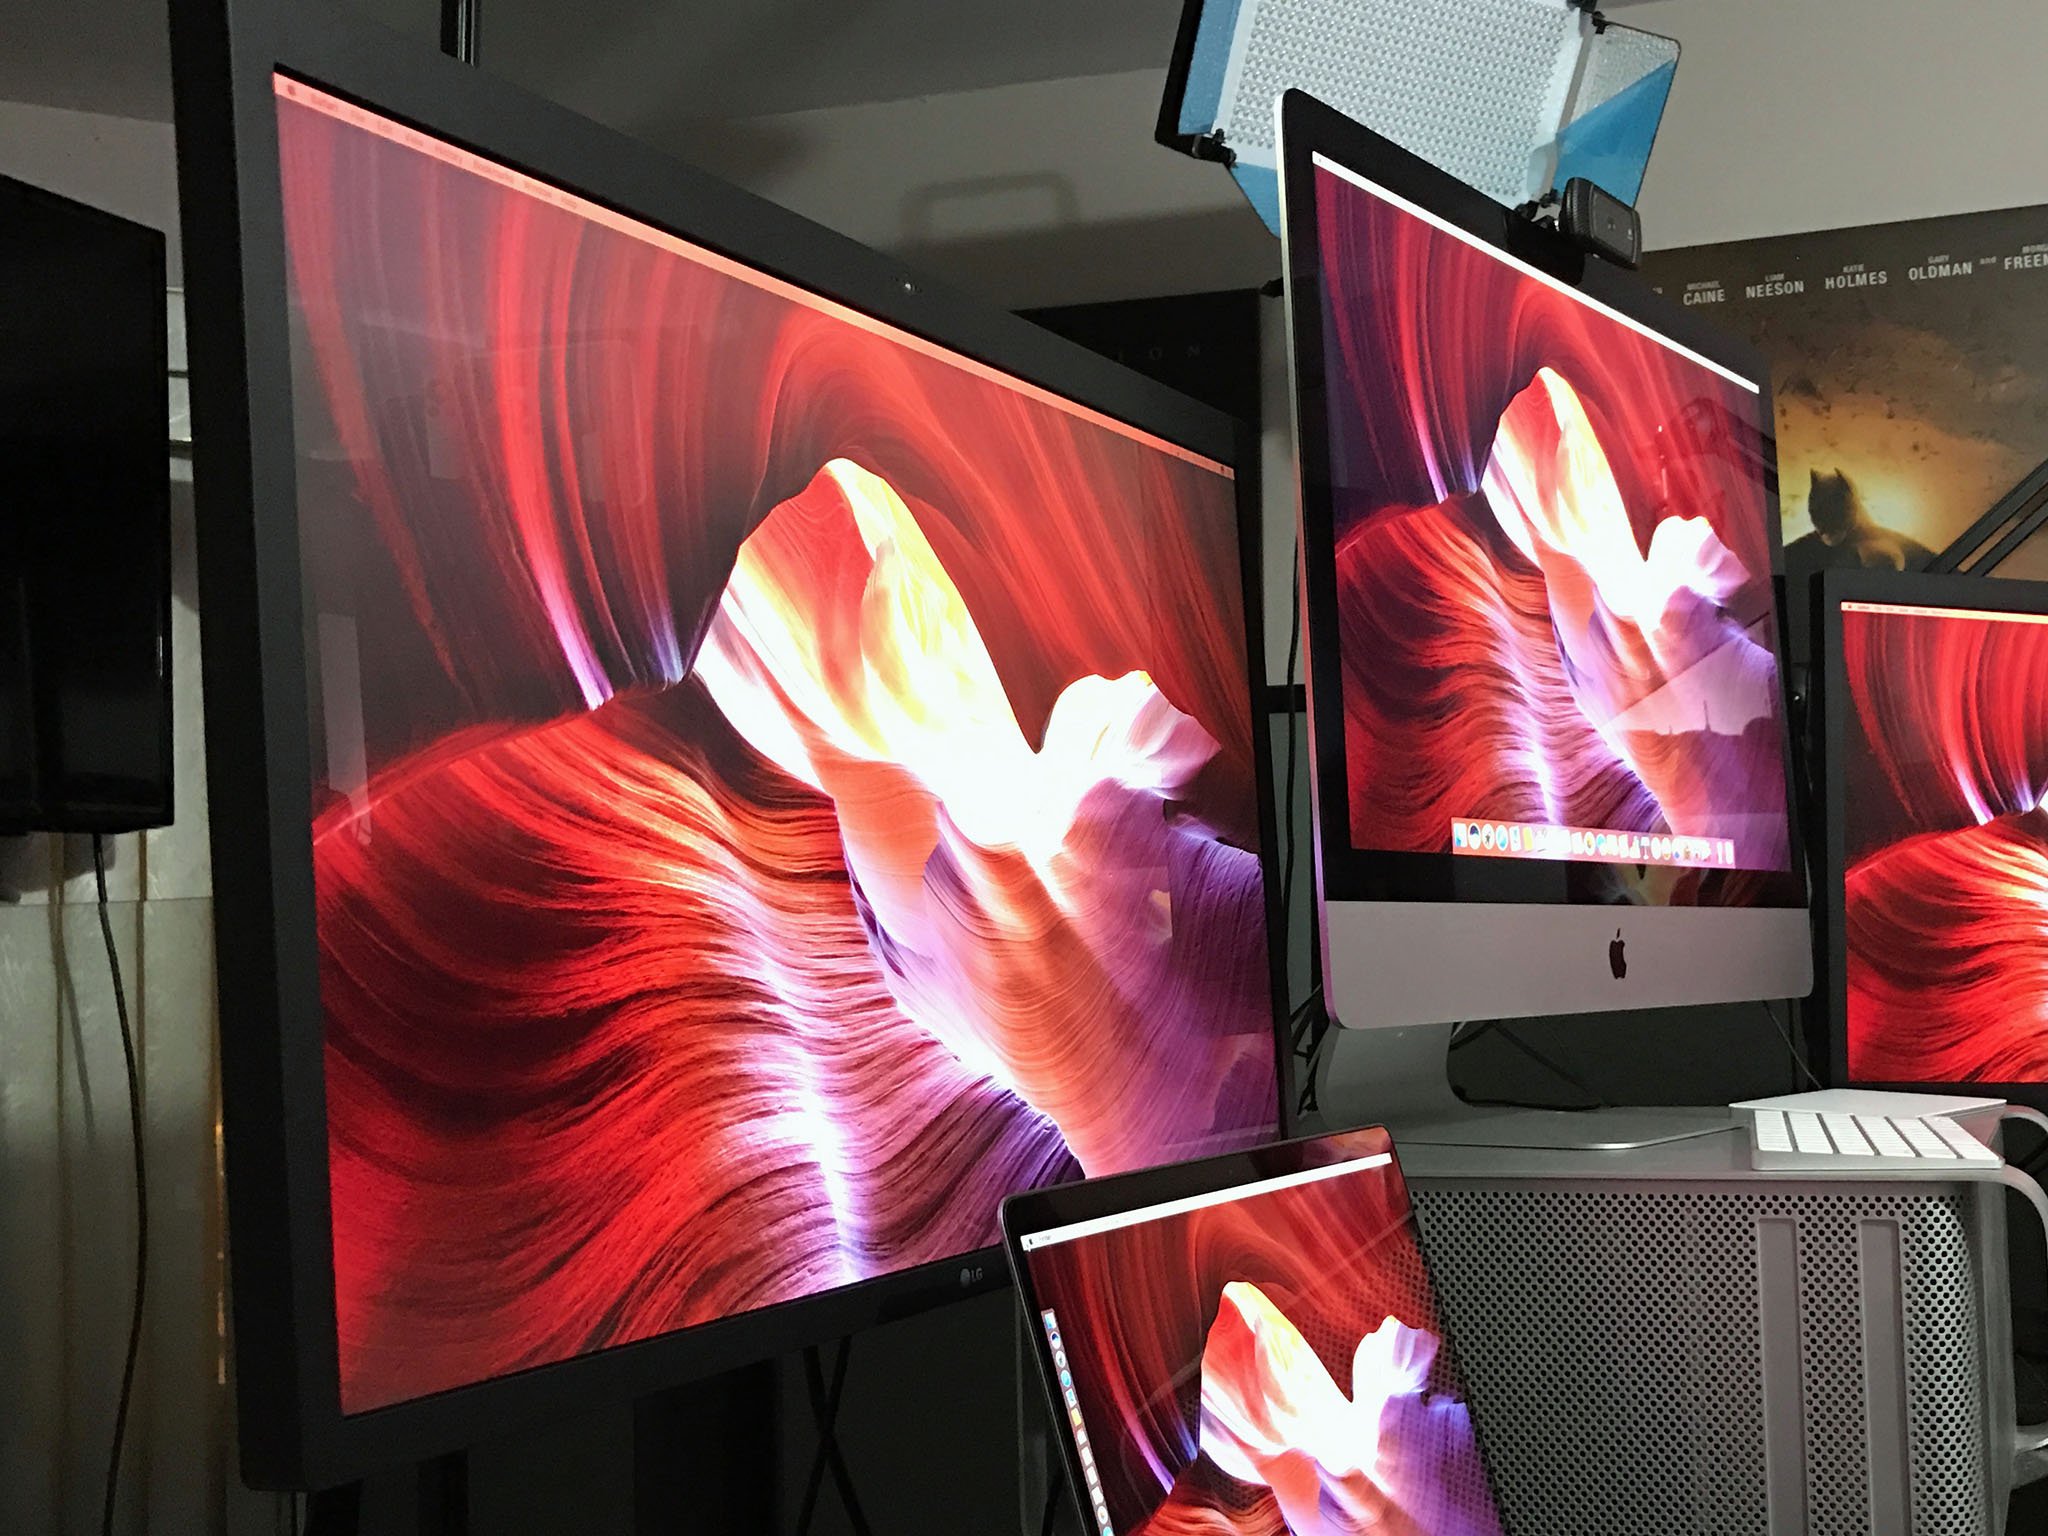
If you're running a small home office or business and have multiple Macs on which one serves files, another manages email and a third runs a calendar service, you can manage them all from a single Mac using macOS Server. Here's how!
Install macOS Server on your Macs
Even if you're not planning to run a service on your Mac, you'll need to install macOS Server from the App Store on each Mac you want to manage. You can follow our detailed how-to on installing macOS Server but if you only need a refresher, this is how you do it.
- Launch the App Store application.
- Search for macOS Server in the search bar at the top right of the app.
- Click Buy macOS Server or if already purchased you'll be notified that you can download it for free.
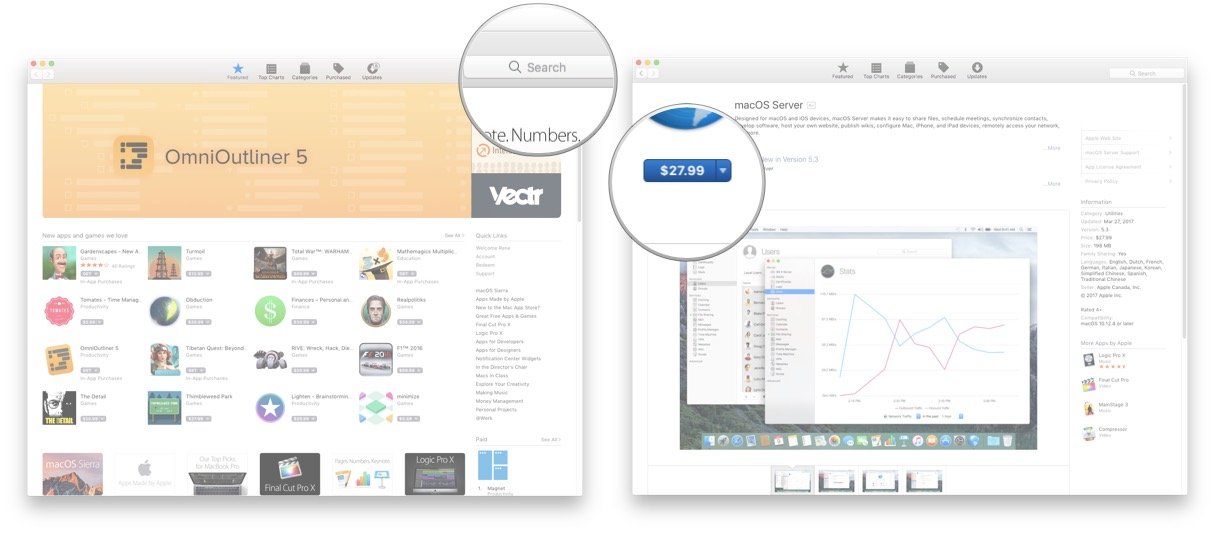
- Click Install.
- Agree to the User Agreement.
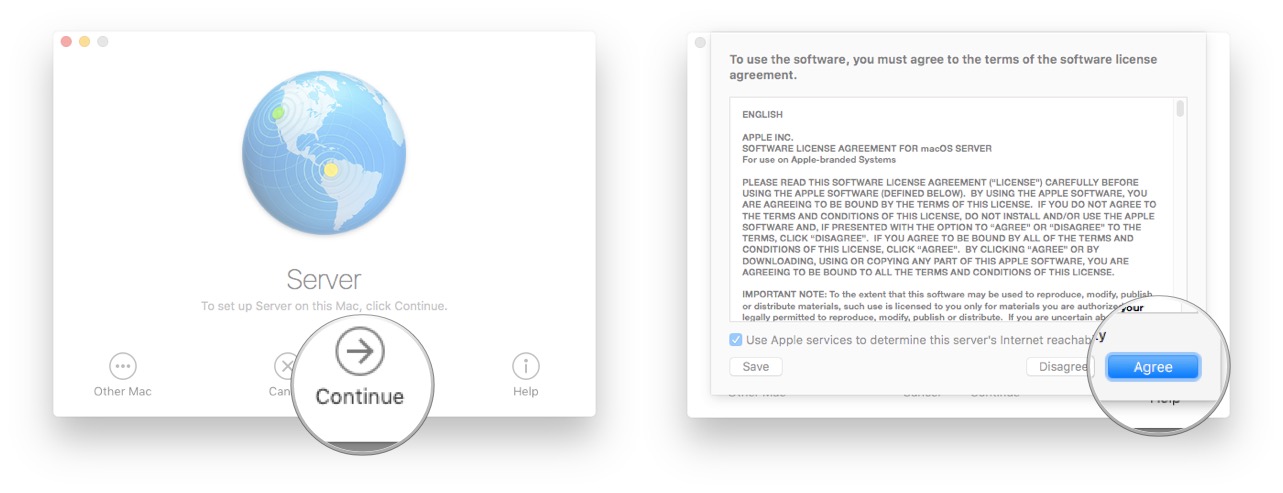
- That's it!
Enable remote administration on the Server Mac.
Before we can connect from another Mac, we'll need to prep the Mac server we want to administer to allow for remote connections.
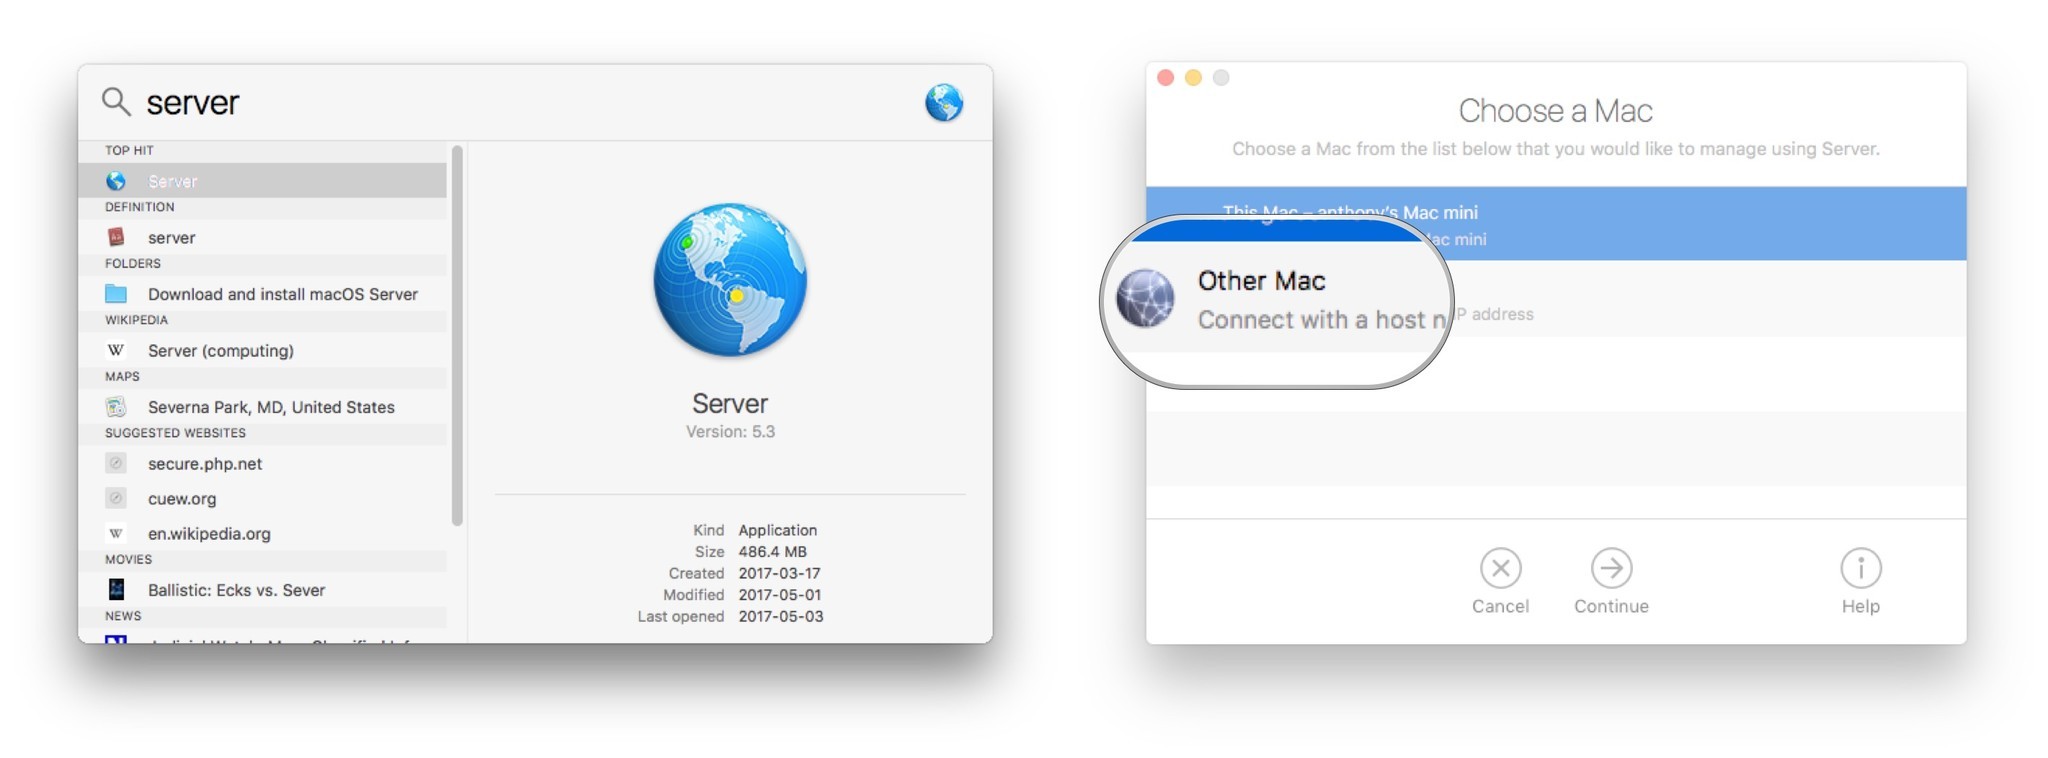
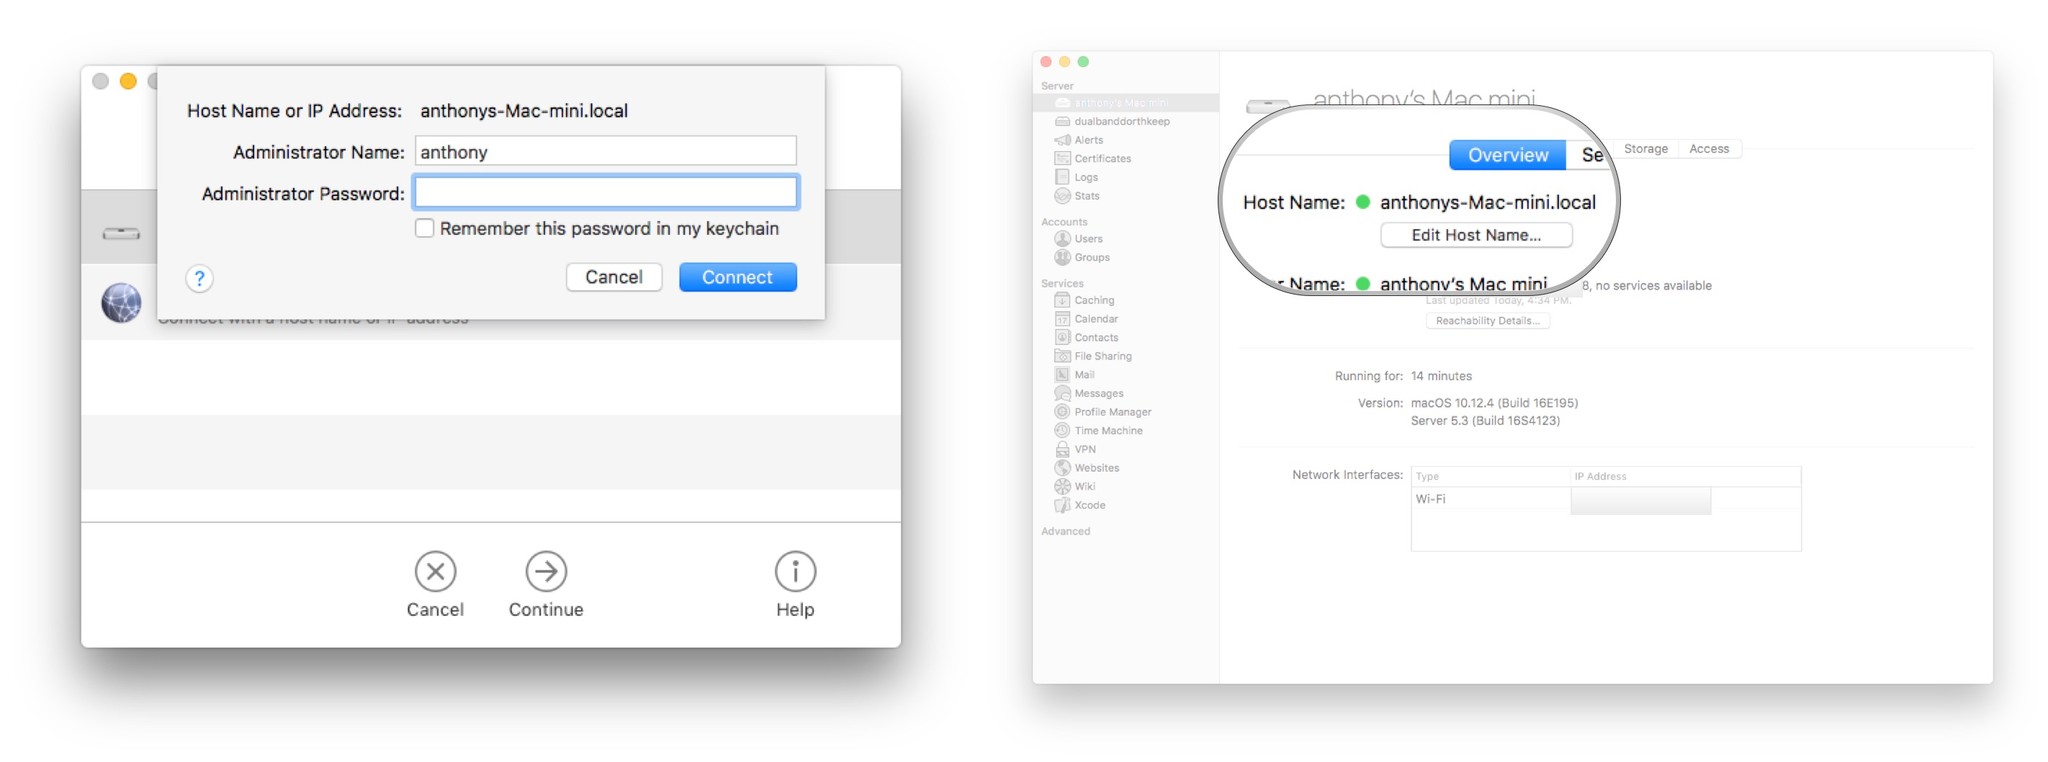
- Open Spotlight and type Server.
- Choose This Mac and click Continue.
- Enter your Administrator User Name and Password and click Connect.
- On the Overview tab make a note of your Mac Server's Host Name. You'll need this later.
- The Administrator Page will open and select the Settings tab.
- Under Remote Access, checkmark the ways you want to remotely access this Mac. If you want to simply allow for the macOS Server App to run on a client Mac, simply select Use Server App on a remote Mac. If you need more accessibility, you can get command line access via Secure Shell Connections (SSH) or full blown GUI access with Screen Sharing.
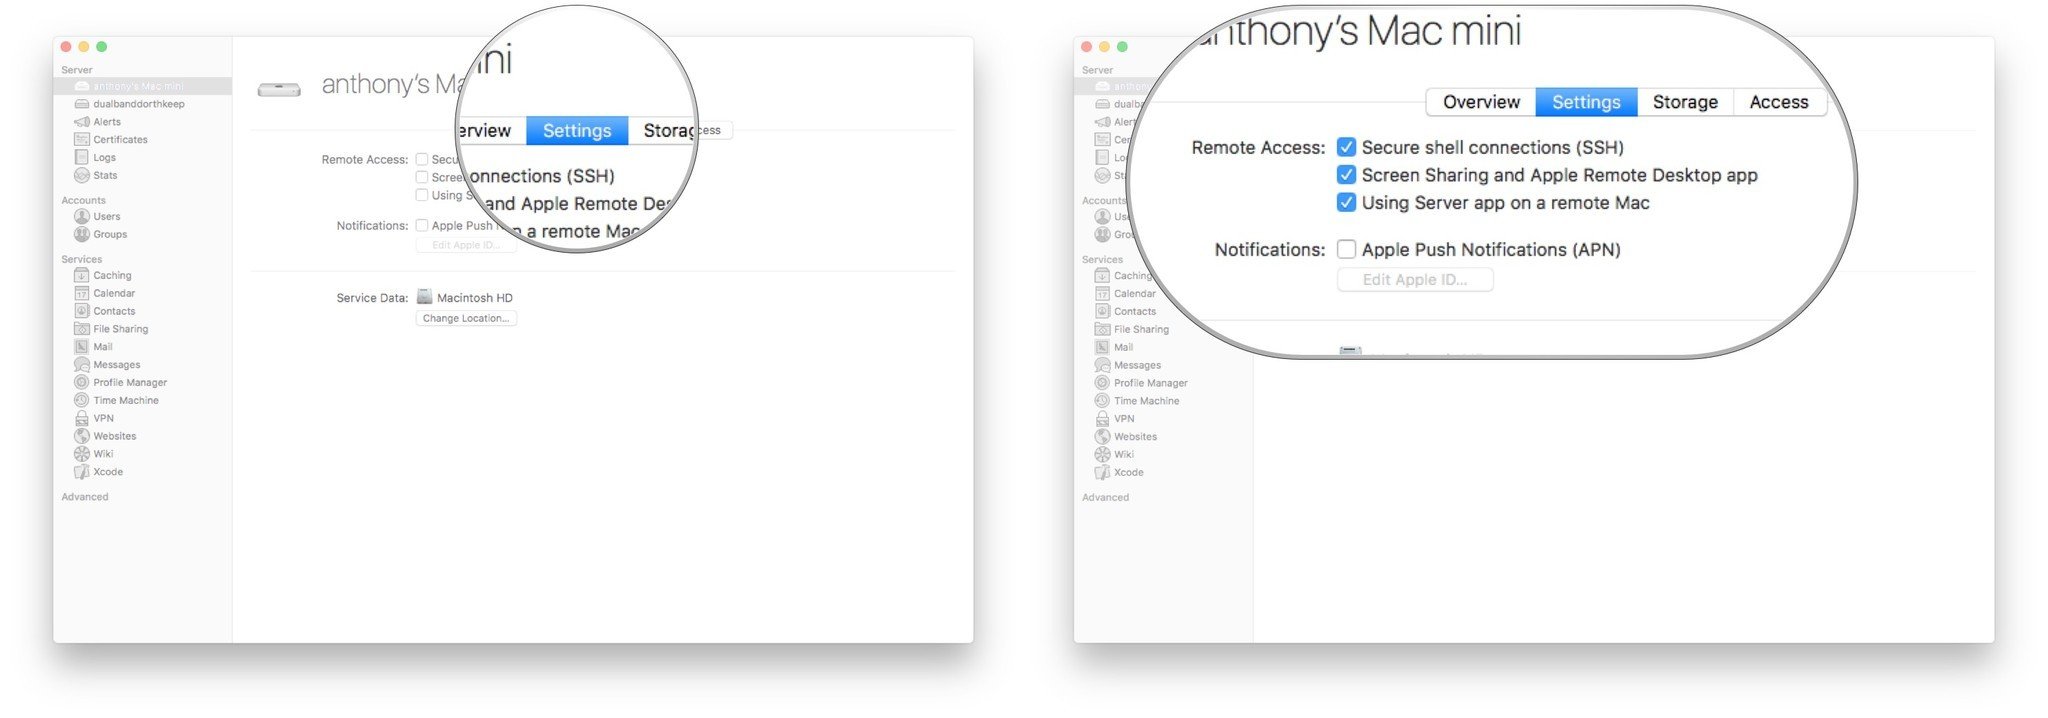
- You're done setting up the Server!
Setup your Client Mac to connect remotely.
Do you have a preferred Mac that you use daily? Then that's the Mac you'll need to install the same macOS Server App that you installed earlier on all of your Server Macs. Once installed, here's how you connect to your Mac Server.
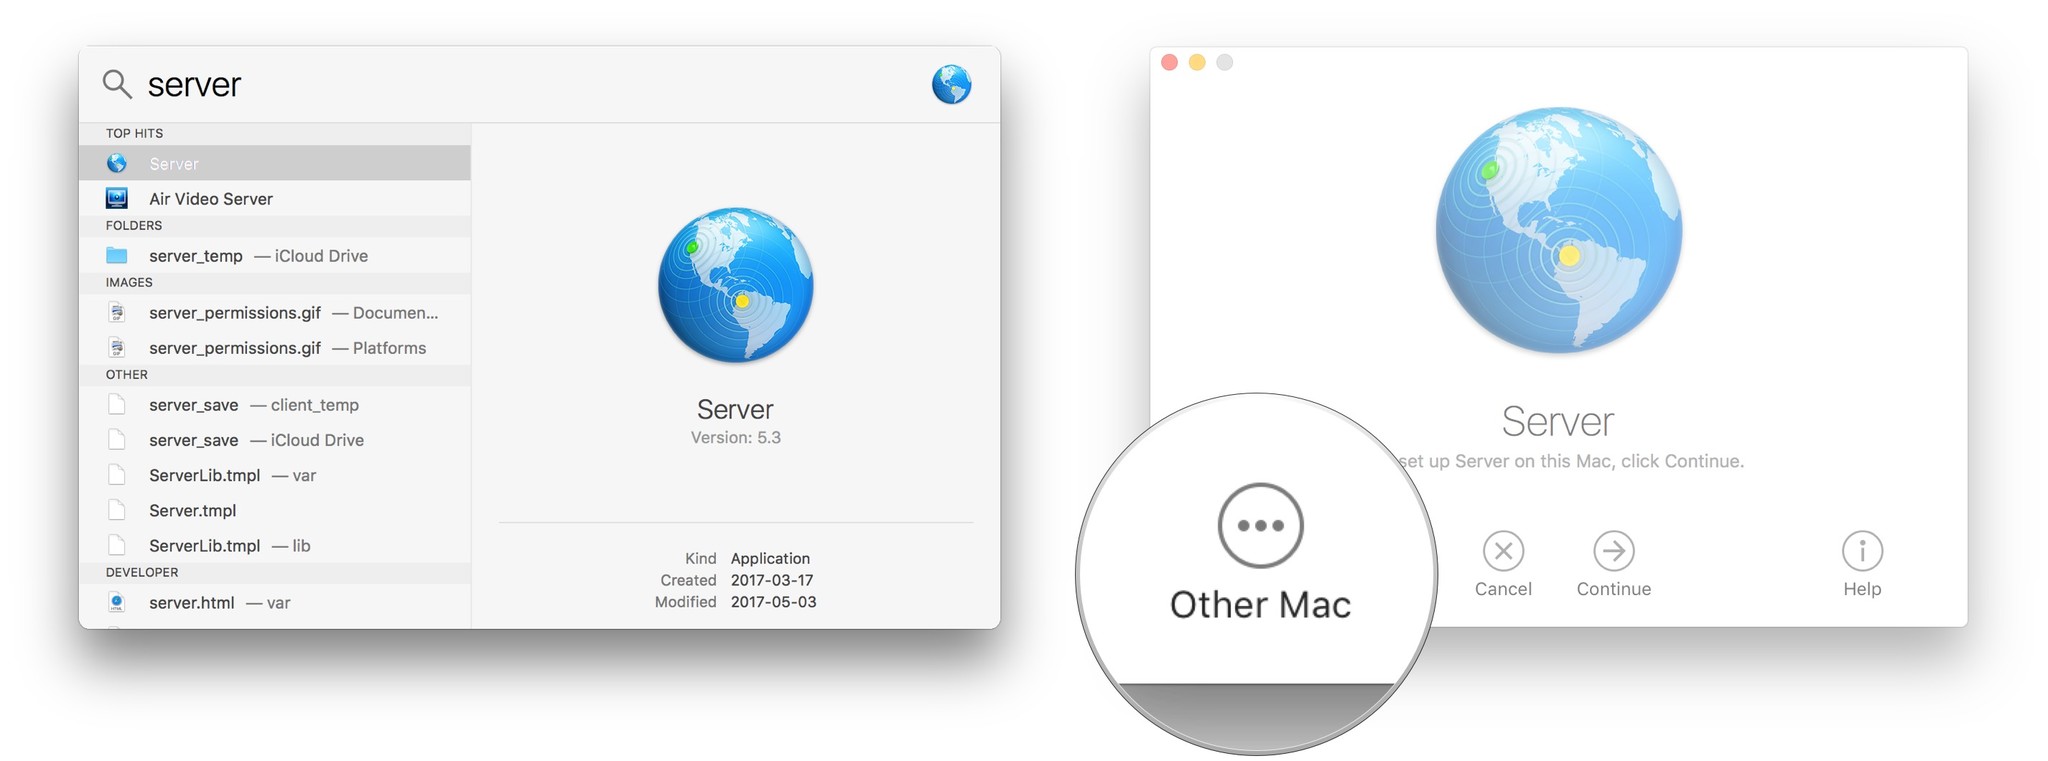
- Open Spotlight and type Server.
- Click on Other Mac.
- Enter the Host Name or IP Address of your Mac Server that you made note of in Step 4 in the Mac Server setup.
- Enter the Administrator Name and Password of your Mac Server.
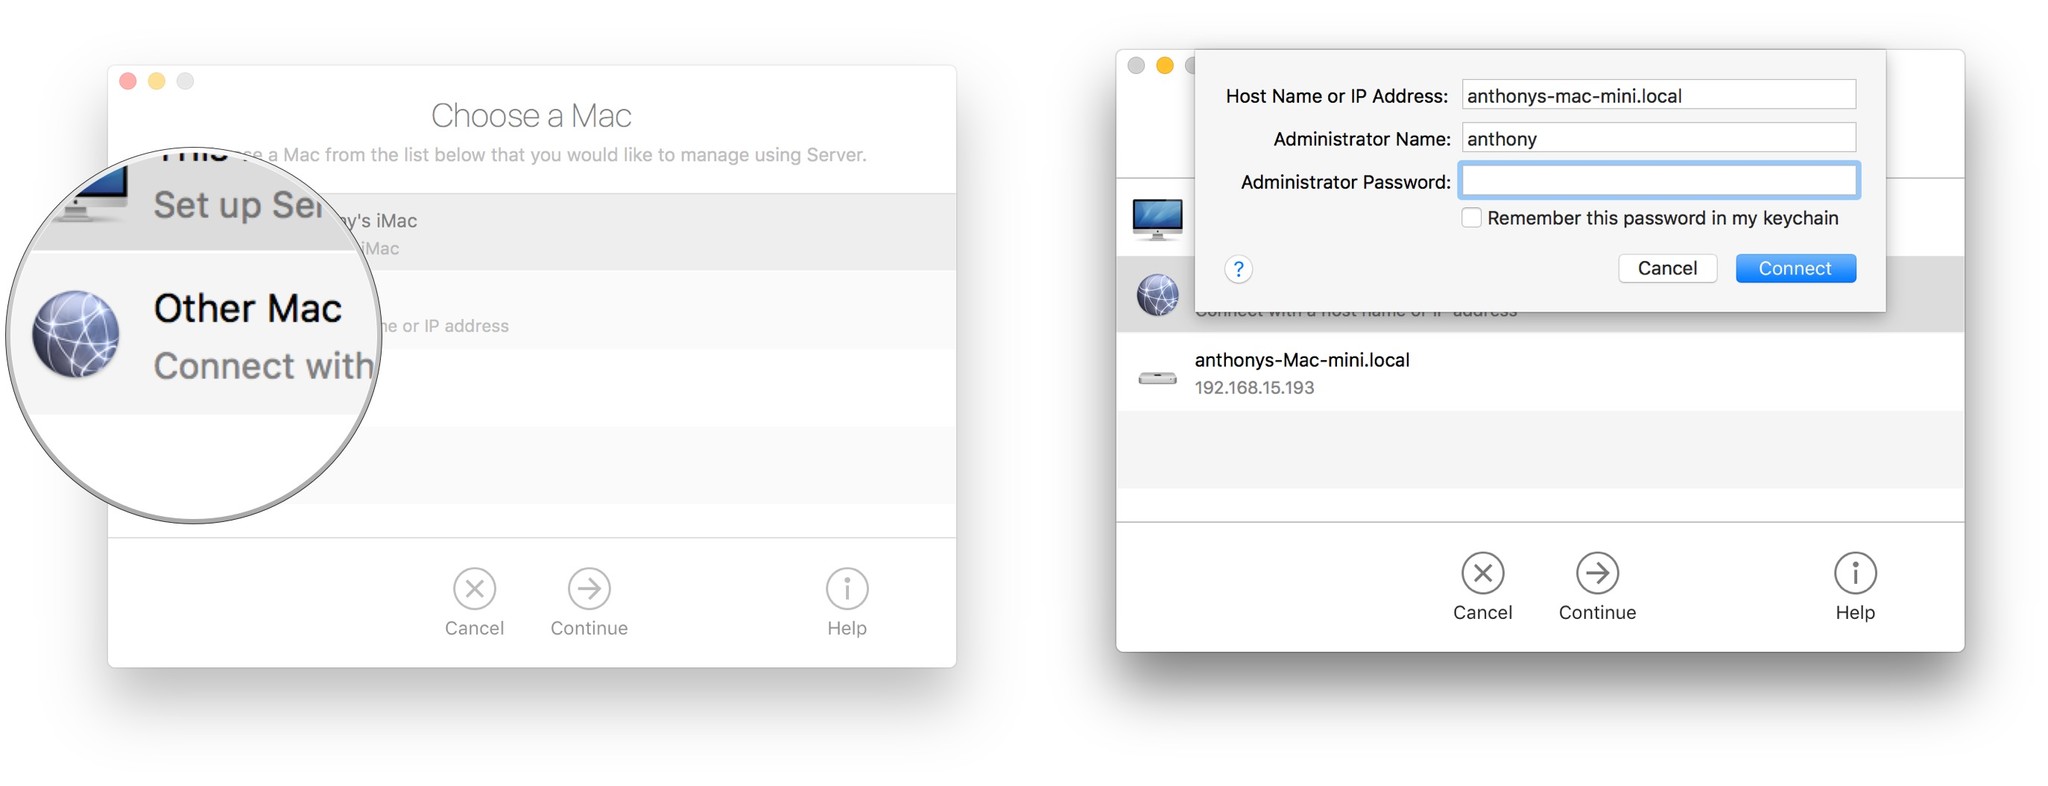
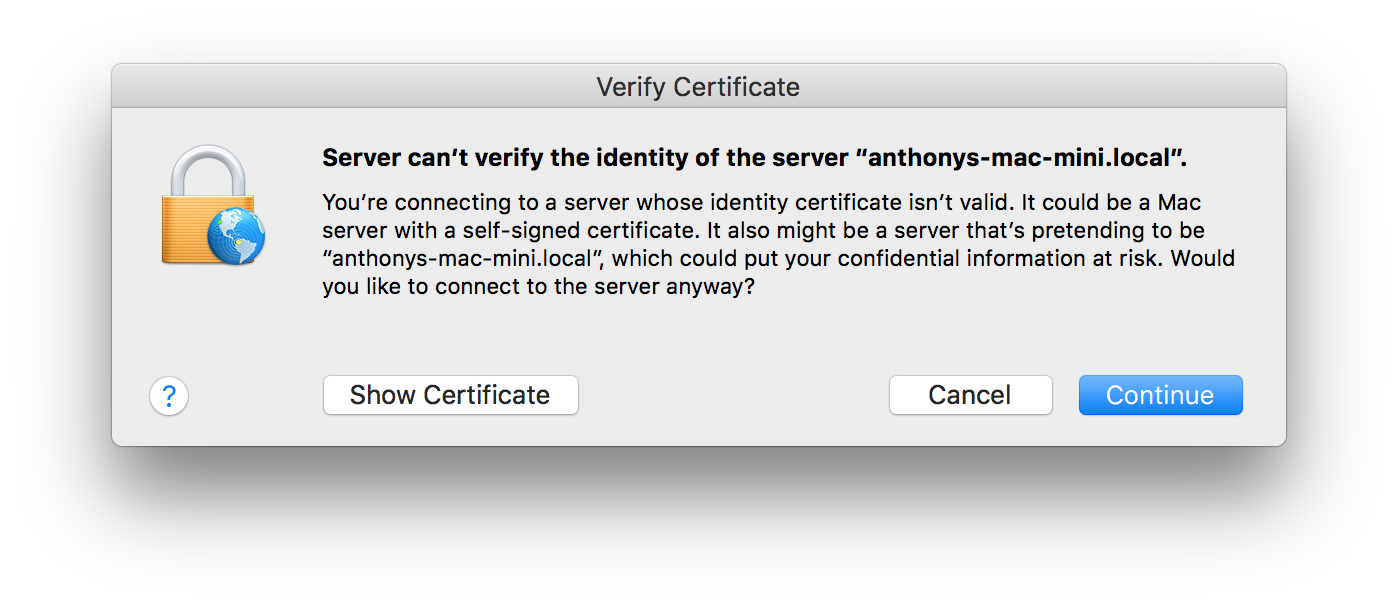
- You'll be prompted to verify the identity of the server and will be prompted to Verify Certificate. Click Continue.
- You're now connected to the remote Server's Administration App! Here, you can manage and setup services on the Server Mac as needed.
Connect to a Secure Shell Session (SSH) or Screen Sharing.
If you need more under the hood management, connecting to a command line session via SSH or to the full blown Desktop via Screen Sharing is a simple mouse click. Make certain you have enabled SSH and Screen Sharing in step 6 in the Mac Server setup and then follow these steps.
- Open Spotlight and type Server.
- Select the Mac server you wish to connect to or manually enter the Host Name or IP Address of your Mac Server that you made note of in Step 4 in the Mac Server setup.
- Enter the Administrator Name and Password of your Mac Server.
- To Verify Certificate, click Continue.
- When the Server App starts, select the Settings tab.
- To start a Secure Shell Session, click the small grey arrow to the right of Secure shell Connections (SSH). The Terminal App will launch automatically. Enter your Password to log into your shell.
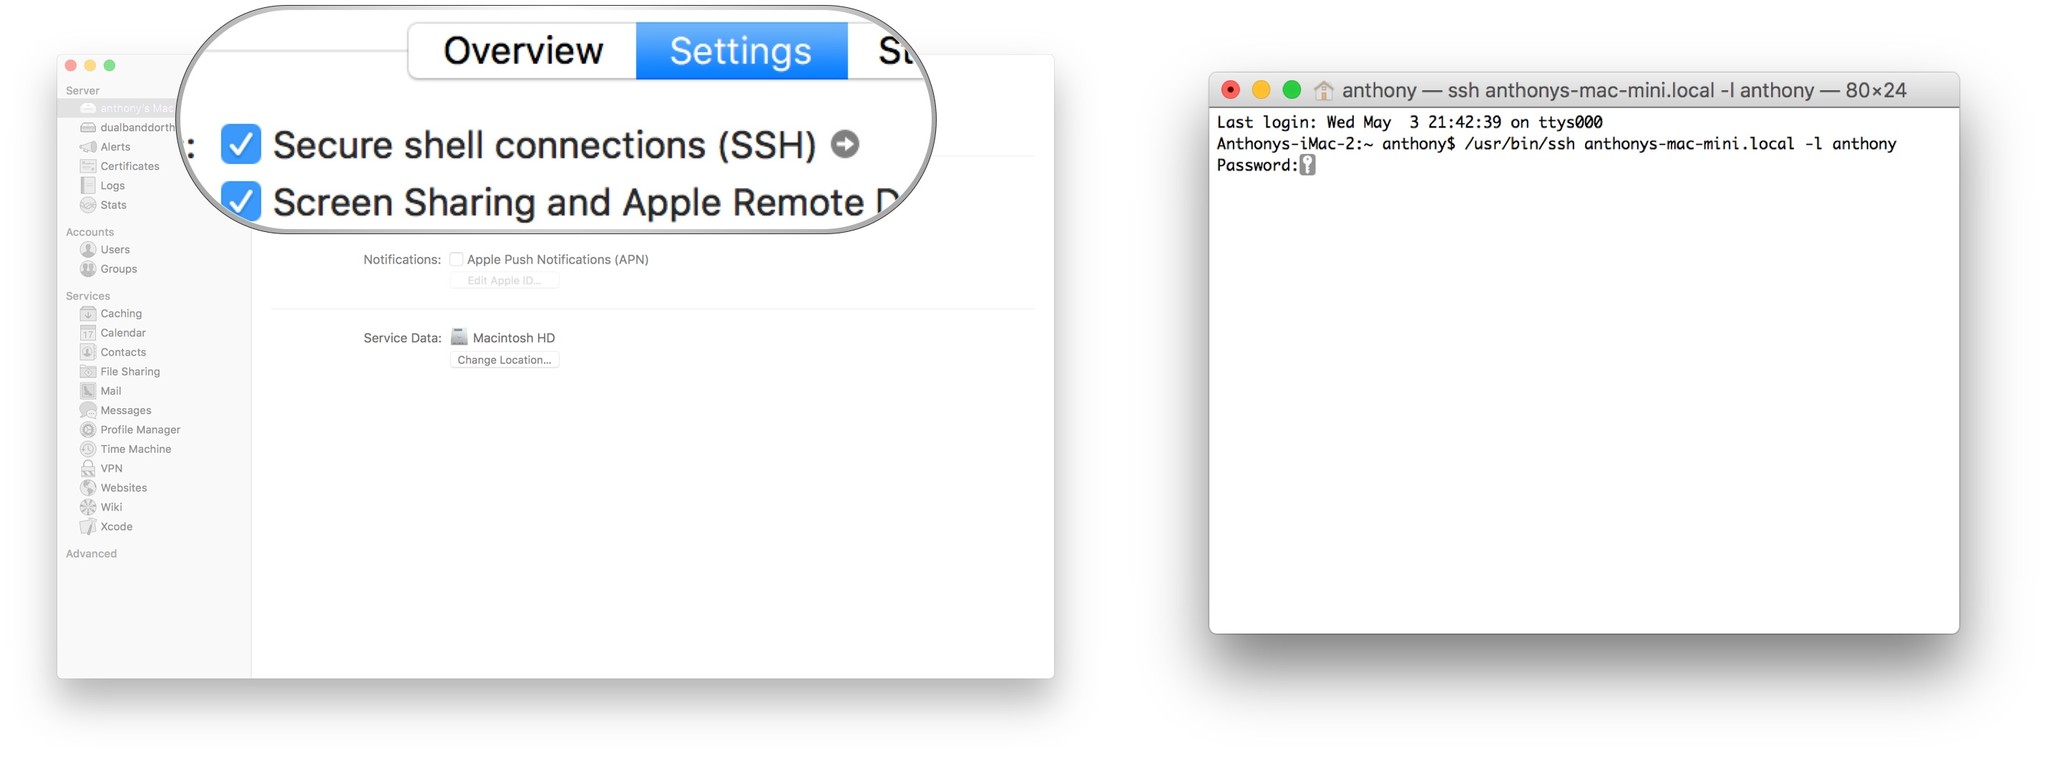
- To connect to your Mac's server Desktop, click the small grey arrow to the right of Screen Sharing and Apple Remote Desktop app. The Screen Sharing App will launch automatically and you'll be presented with a familiar Mac Login screen. Enter your credentials and use it like a normal Mac desktop.

Still more left to do
This sets you up to administer your different Macs from a centralized location when you're on the same network or have remote access to your Mac network. We'll be building on this by installing our own VPN server in a future macOS Server tutorial so that you'll be virtually connected to your home or office network anywhere you have internet access.
Comments or questions?
Let us know how many Macs you manage using macOS Server and if you have any comments, tips or questions, let us know in the comment section below!
Master your iPhone in minutes
iMore offers spot-on advice and guidance from our team of experts, with decades of Apple device experience to lean on. Learn more with iMore!

