How to apply a Nintendo Switch screen protector without getting any bubbles
Protect that expensive screen.
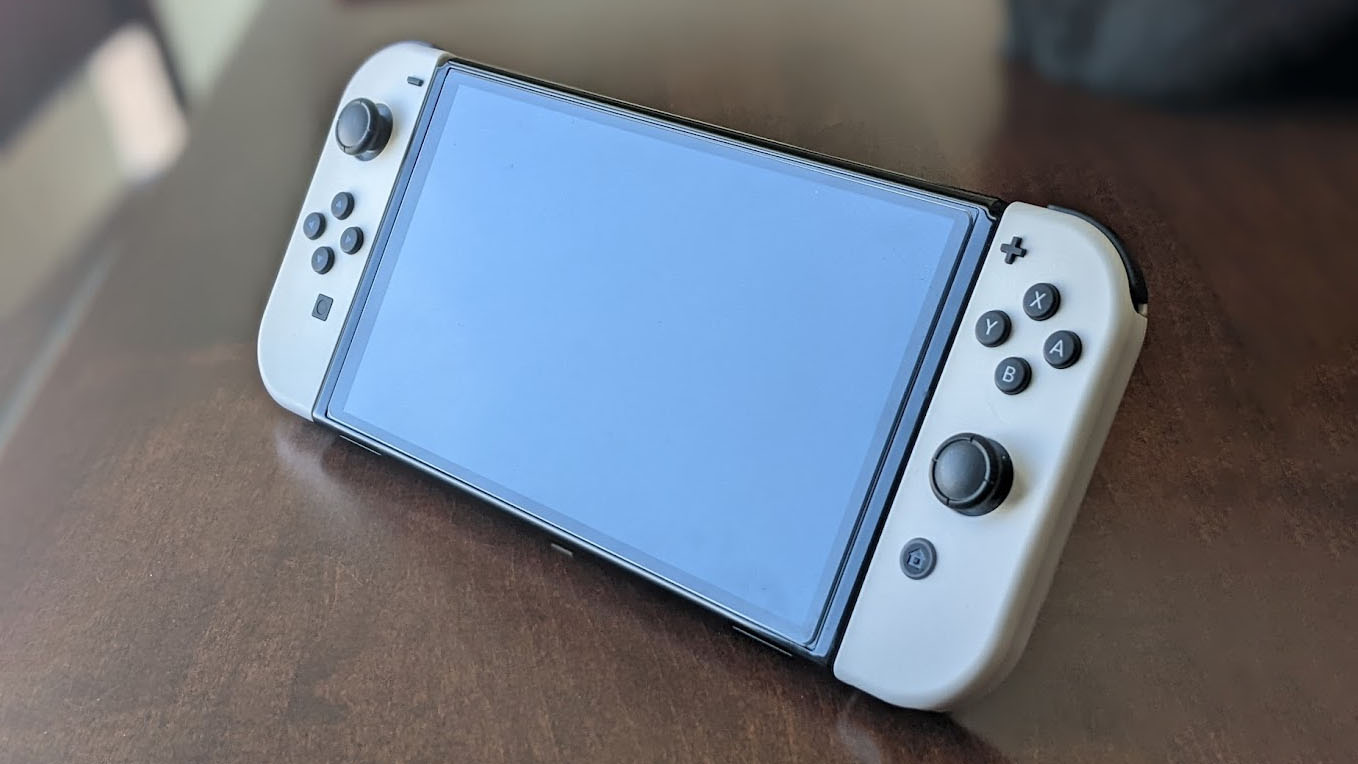
Sometimes applying the best Nintendo Switch screen protectors can be the most stressful part of setting your tech up, because honestly, who wants those ugly little bubbles staring back at you every time your screen turns on? Fortunately, there are a couple of basic steps you can take to make sure your Switch isn't basking in its bubble-y glory! Here's how to put a screen protector on your Switch, Switch Lite, or Switch OLED.
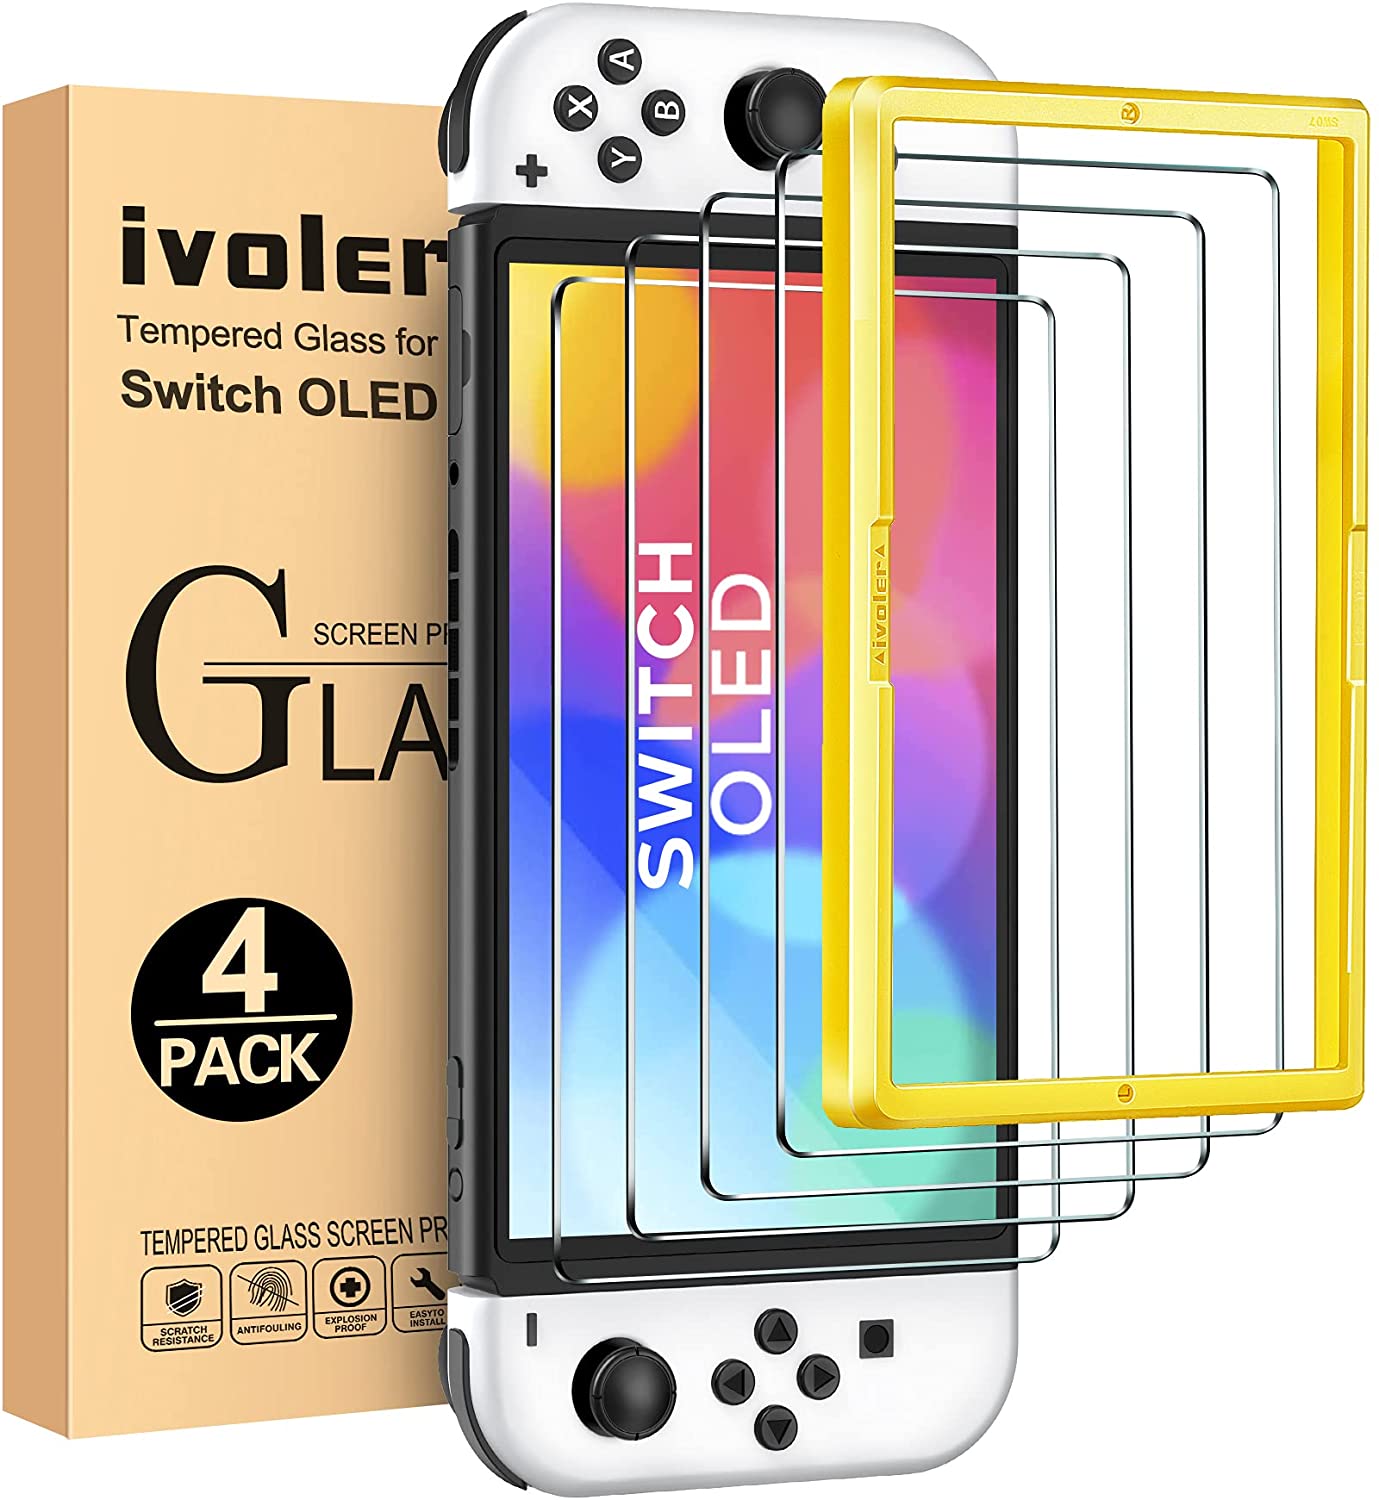
Apply the screen protector with ease
This pack comes with four tempered glass screen protectors and a plastic alignment frame to ensure that the protectors go on correctly the first time you use them. The extras make for perfect backups if you accidentally mess up.
1. Purchase a multipack of screen protectors with alignment frames
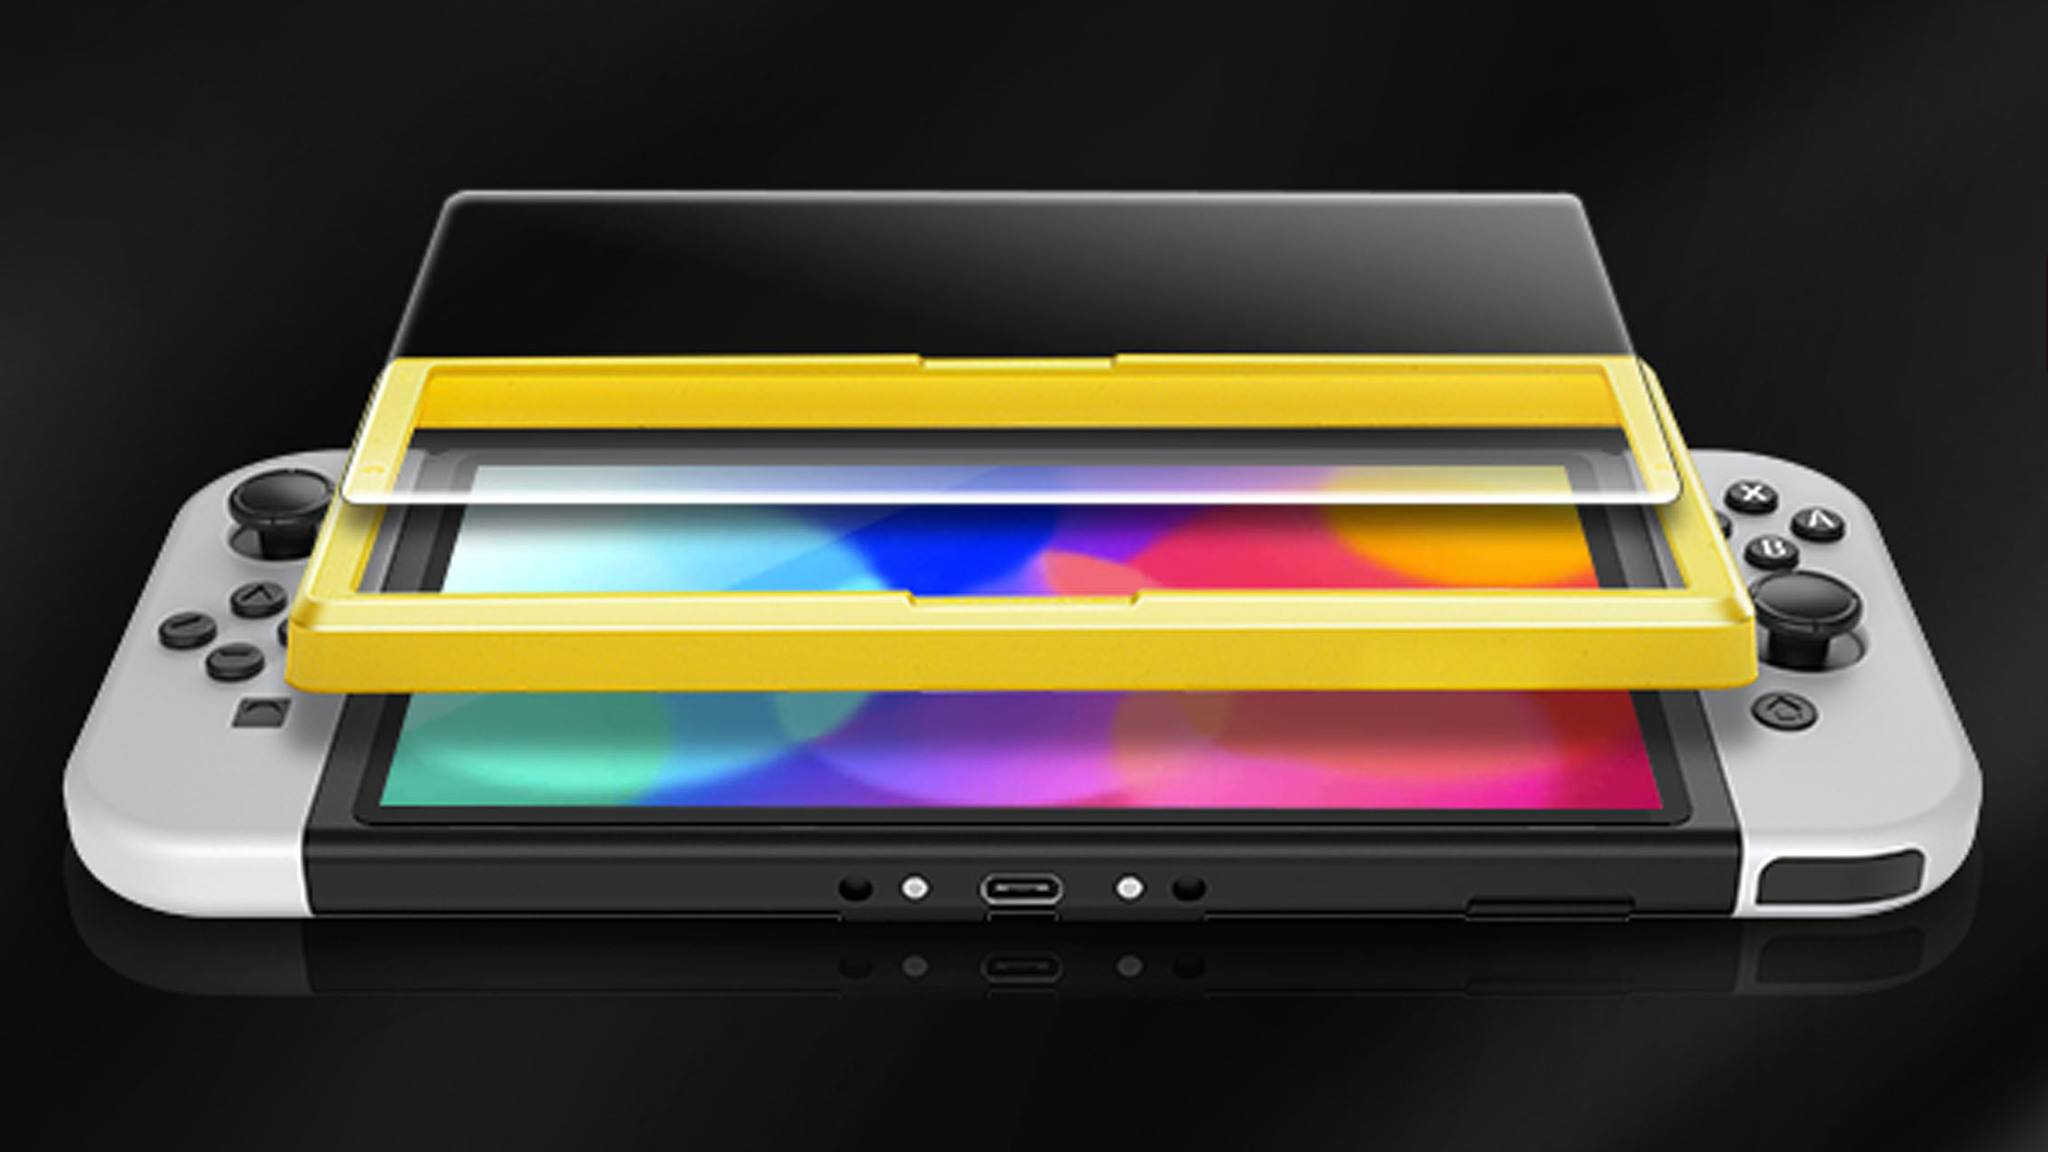
We're all bound to make mistakes throughout our tech lives, so I always recommend people purchase a multipack of screen protectors so they can use another one if they somehow damage the first one or get unsightly fingerprints on the sticky side. Additionally, many screen protector packs come with alignment kits and plastic frames that you place around the Switch and make it easier to get the screen protector in the right position the first time around.
If possible, you'll want to get a multipack that comes with an alignment frame. We've included buy links to screen protectors that include alignment frames for the regular Switch, Switch Lite, and Switch OLED in this guide in case you want one. Or you can get more options at these locations:
- Best Nintendo Switch screen protectors
- Best Nintendo Switch OLED screen protectors
- Best Nintendo Switch Lite screen protectors
2. Make sure everything is clean
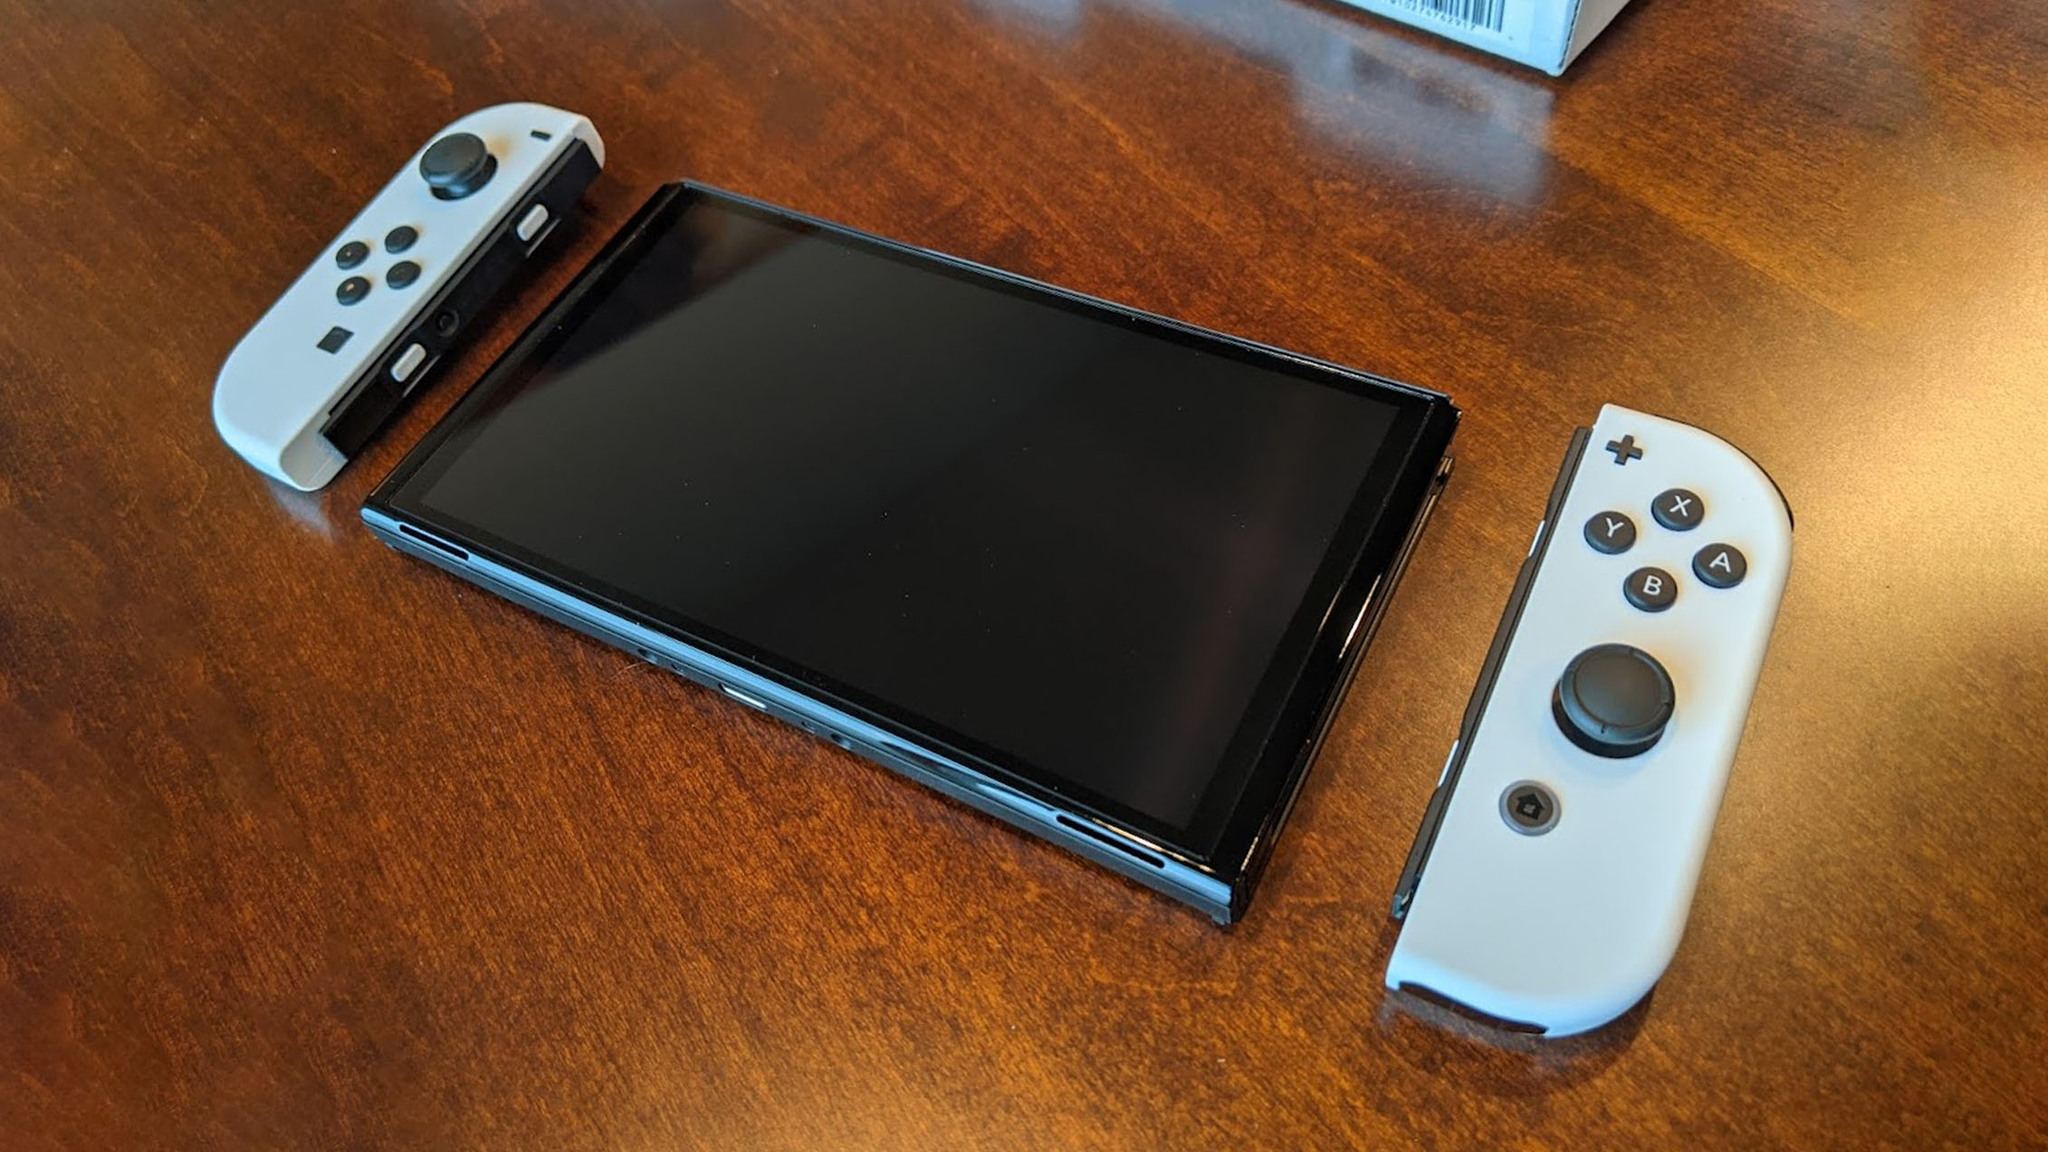
The first step is relatively simple: Wash your hands and make sure they are clean, then make sure your Switch's screen is clean. This might mean wiping the console down with a cleaning solution or a bit of warm water while using a microfiber cloth. Many screen protectors also come with a cleaning solution and stickers, which you can use to dab the screen and lift any dust particles from it.
Pro Tip: Keep dust out of the air with a hot shower. Run a super hot shower and get the bathroom nice and steamy and then install it in there. This helps keep dust out of the air and helps you with a clean, bubble-free installation. Just make sure the screen is dry before starting, and do not set your console down anywhere wet.
3. Be careful & use alignment frames
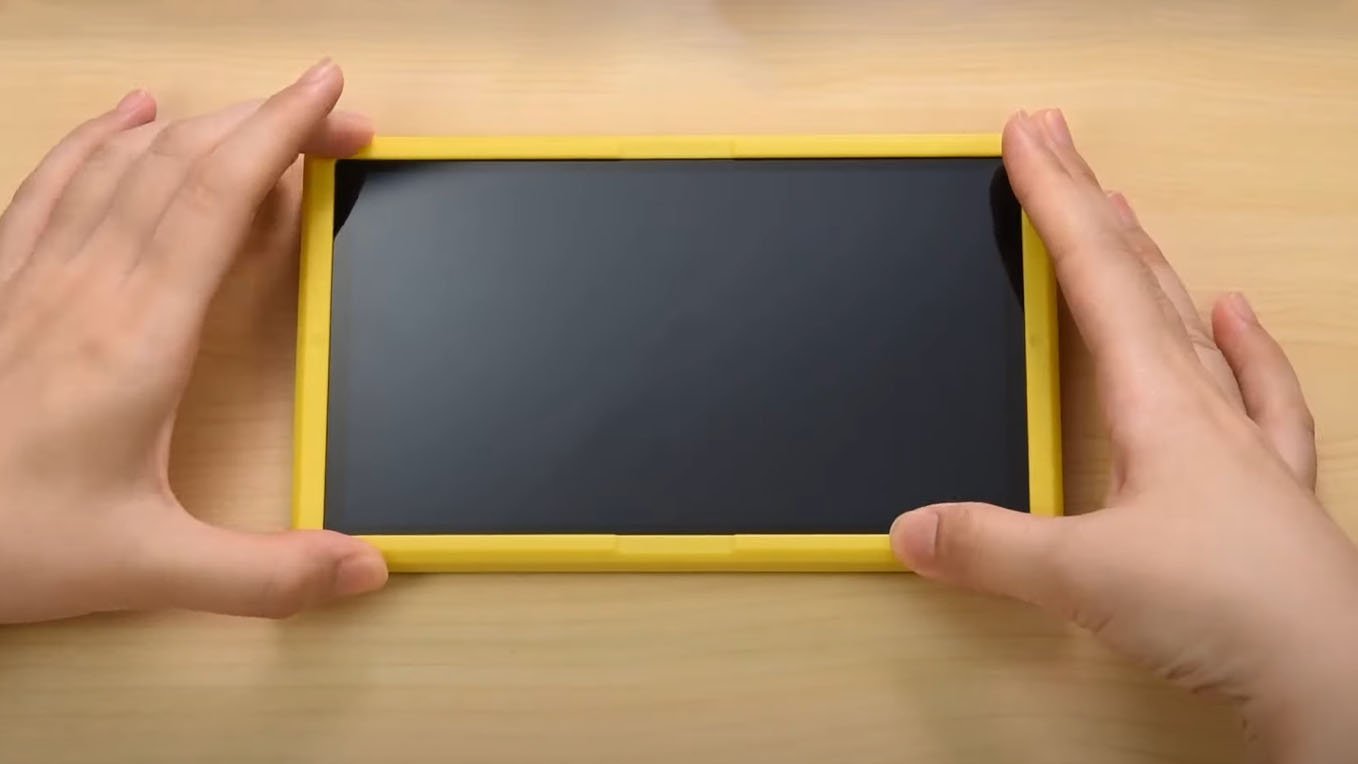
Your screen protector is a delicate tool, meaning that the second you drop it, touch the sticky side, or accidentally mess it up in any way, it will no longer be pristine to look at when applied. Place the alignment frame on the Switch, and then get the screen protector ready to go.
4. Start at the edge
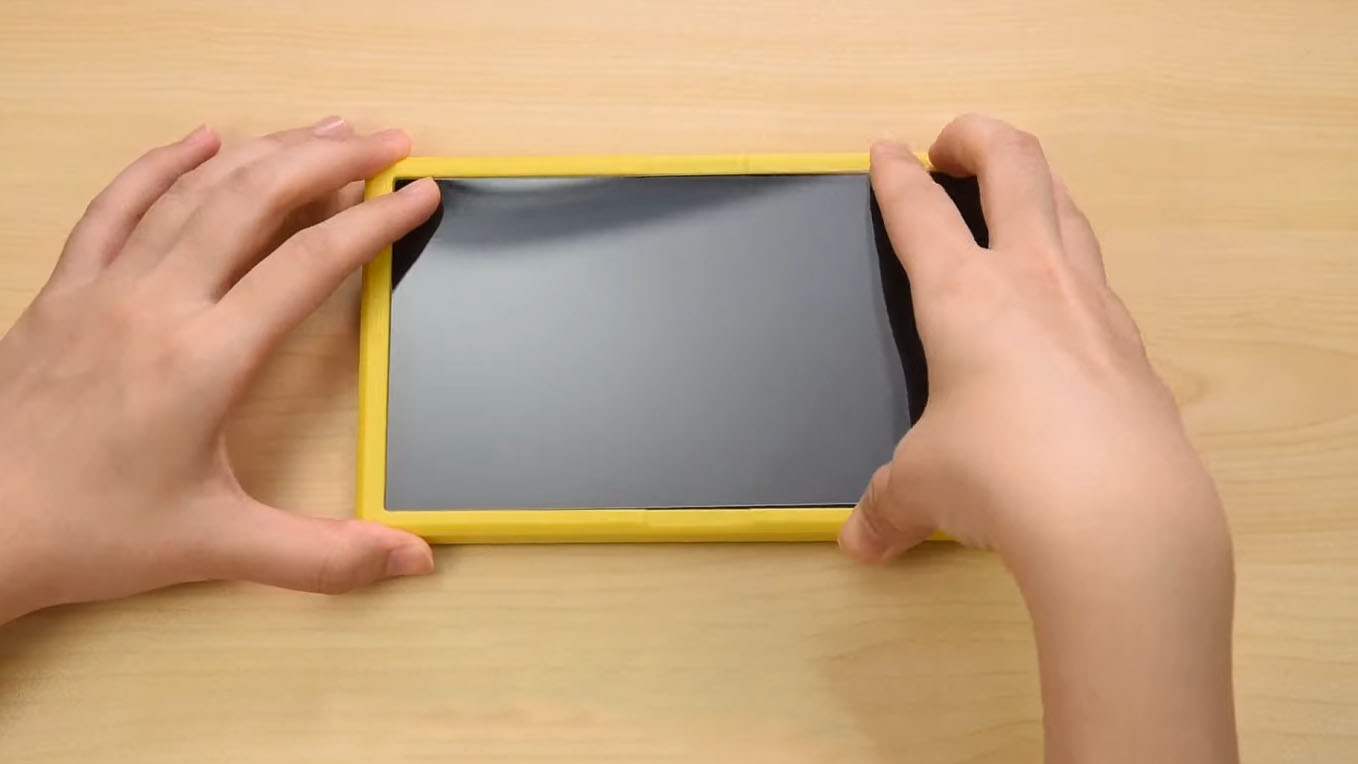
Carefully hold the screen protector so that your fingerprints don't get on the sticky side. Hover over the Switch screen, now start in the upper left corner by pressing down with your pointer finger.
Master your iPhone in minutes
iMore offers spot-on advice and guidance from our team of experts, with decades of Apple device experience to lean on. Learn more with iMore!
PRO TIP: Take your time and peel back and readjust if needed to make sure you get a clean, straight fit. Slowly lower more of the protector into place, pressing down evenly to make sure all air escapes the screen.
5. Slide down and to the right
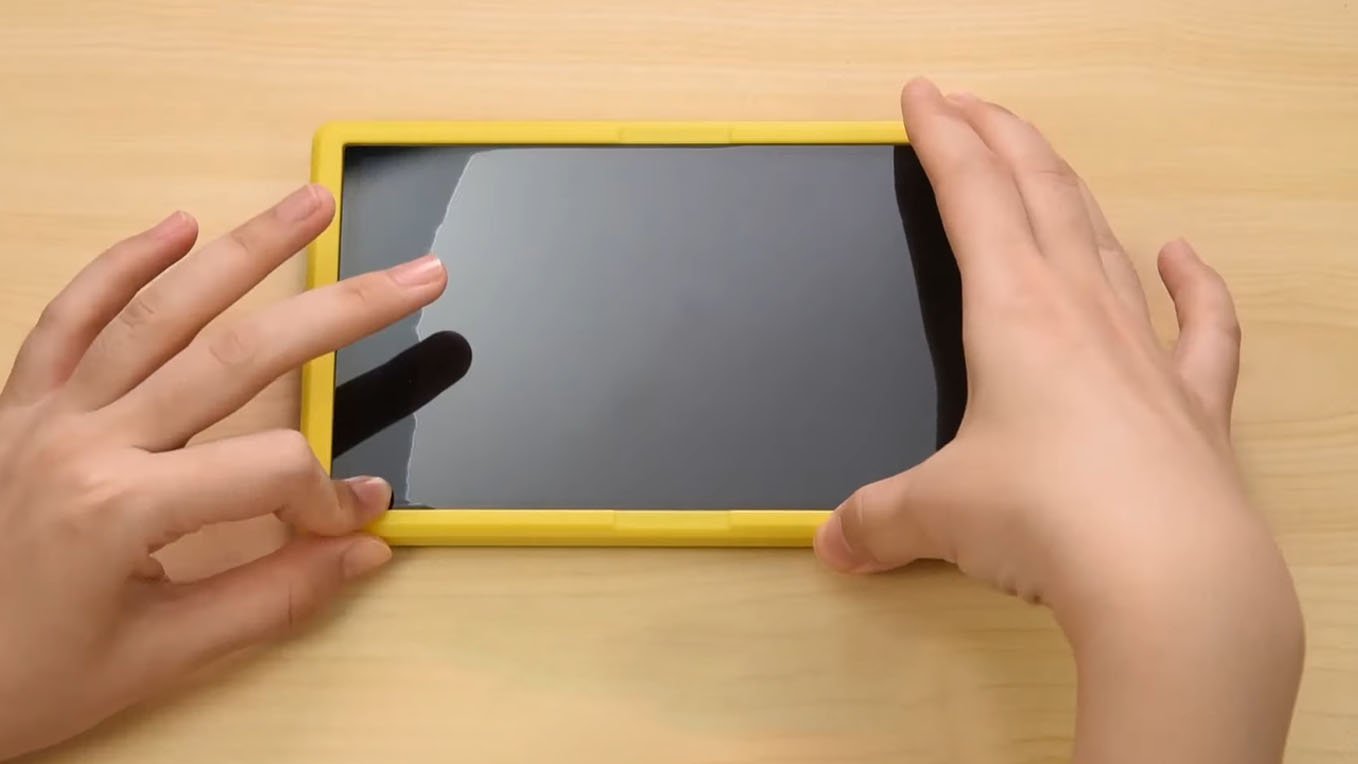
Now that the corner is in place, slide your finger down to the bottom and then along the bottom to the right. This will help the adhesive get a better grip on your Switch screen. When your Switch's screen protector is fully in place, you might have a few tiny bubbles here and there. This is typical and can be rectified as long as they're not massive and bumpy.
6. Guide the bubbles out
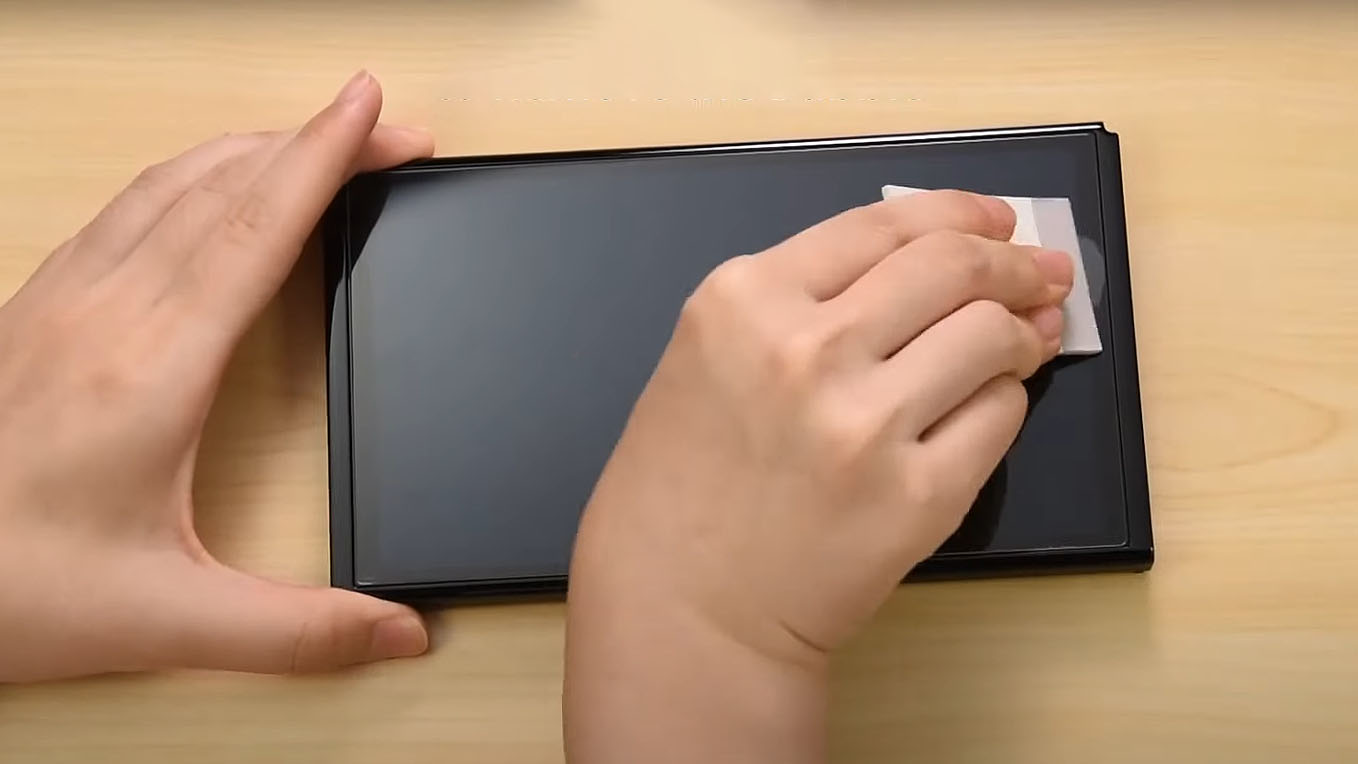
Remove the alignment frame and get ready to handle any bubbles. Many protectors come with a square of thick cardstock that you can press down on the screen to guide those bubbles to the edges. If your pack didn't come with one of these, a credit card edge will work perfectly. Just press down and evenly work out the bubbles to the edge of the protector, and you're good to go!
How do you go bubble-less?
A screen protector helps protect your expensive gaming console, but you want to make sure you install it nicely or you'll be staring at bubbles, fingerprints, and other imperfections. Take time to clean the area and apply the screen carefully to get a perfect installation. If you want to ensure everything goes smoothly, getting a kit that comes with an installation frame is well worth it.
Remember that the Switch, Switch Lite, and Switch OLED are all different sizes, so you need to make sure that you purchase the correct screen protector for your gaming system.
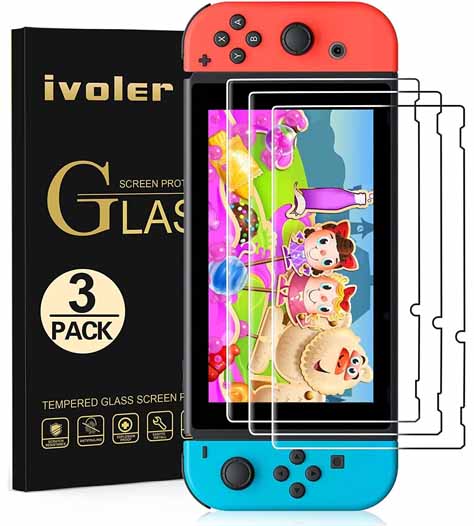
Protect that Nintendo Switch screen
This three-pack of screen protector makes it so you have extra on hand in case you need to swap out for a replacement down the road. Or if you are getting more than one Nintendo Switch, you can use this purchase to cover both.

Perfect alignment for Switch OLED
Make it possible to perfectly align your screen protector in one shot using the included alignment frame. This pack comes with four tempered glass screen protectors, so you can try again if you want to.
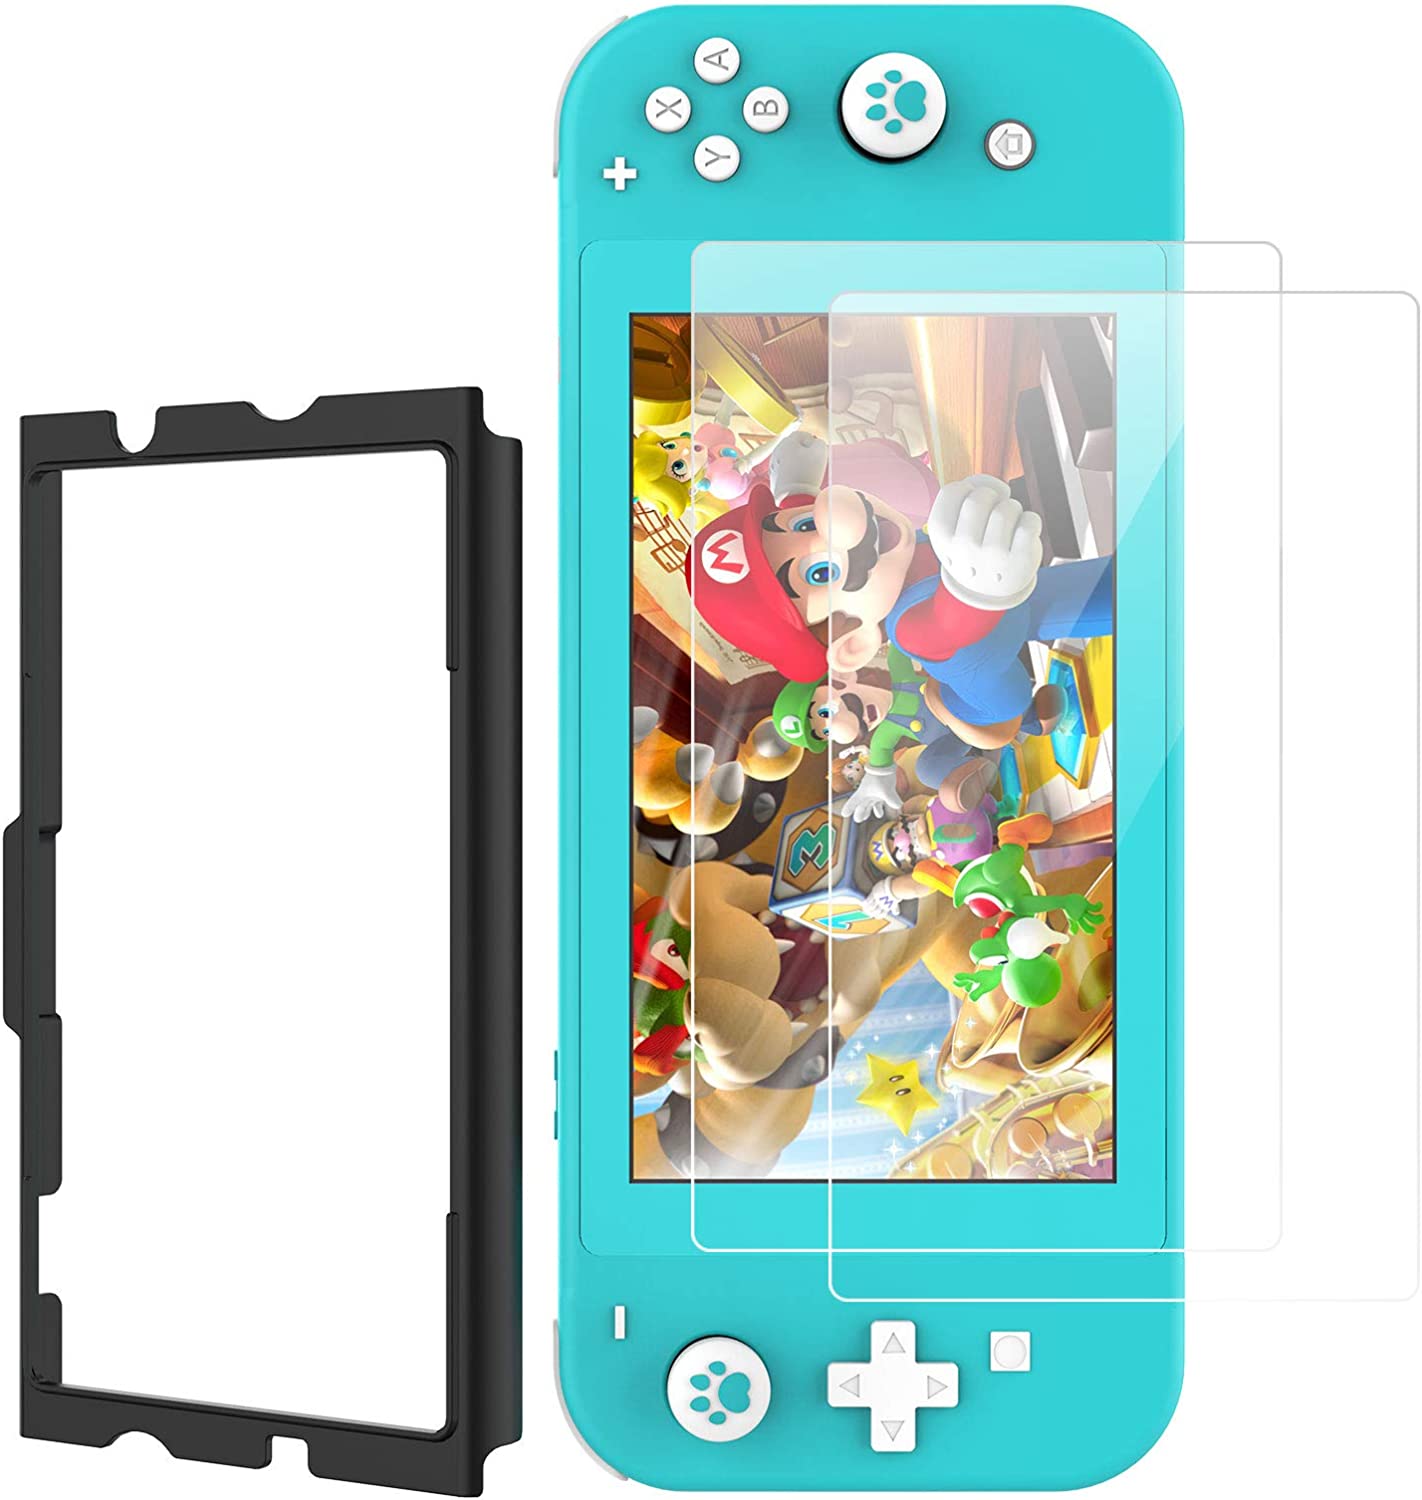
Easily protect your Switch Lite
Using the included Easy Install Kit, you'll be able to quickly and correctly get your Switch Lite screen protector in place. It comes with two tempered glass screen protectors, so you have an extra if you need it.

Gaming aficionado Rebecca Spear is iMore's dedicated gaming editor with a focus on Nintendo Switch and iOS gaming. You’ll never catch her without her Switch or her iPad Air handy. If you’ve got a question about Pokémon, The Legend of Zelda, or just about any other Nintendo series check out her guides to help you out. Rebecca has written thousands of articles in the last six years including hundreds of extensive gaming guides, previews, and reviews for both Switch and Apple Arcade. She also loves checking out new gaming accessories like iPhone controllers and has her ear to the ground when it comes to covering the next big trend.
