How to back up your iCloud Photo Library
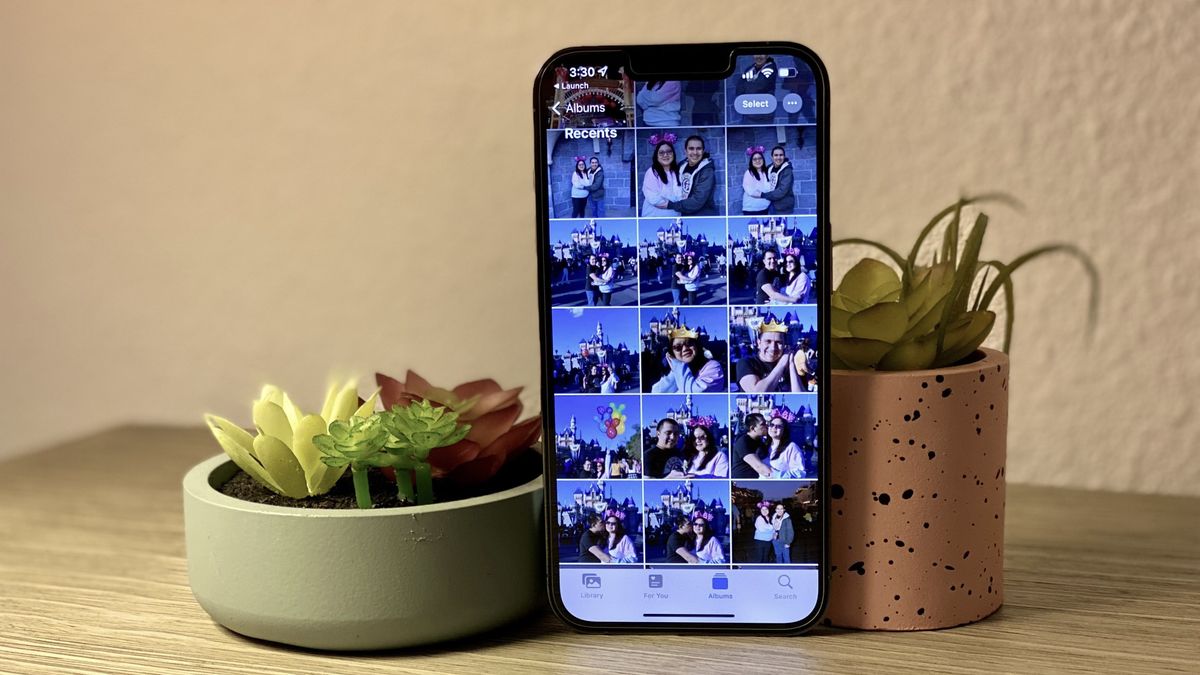
Over time, you're going to end up with a lot of photos — especially if you have kids and pets — but even your best iPhone only has so much space. Thankfully, you can store your photo and video memories in the cloud with Apple's own iCloud Photo Library, and everything can be viewed across all of your iPhones, iPads, and Macs, as long as you have the available iCloud storage. It's one of the best ways to keep all of your memories together on your Apple devices.
However, as great as iCloud Photo Library is on your favorite iPhone, iPad, and Mac, it's not failproof (nothing really is). That's why if you are truly serious about keeping all of your pictures and video safe, you want some redundancies in your backup process. I mean, there is no such thing as "too many backups" and it's better to be safe than sorry.
Here are a few ways that you can back up your iCloud photos using your greatest Mac.
How to back up iCloud Photo Library to your Mac's hard drive
The best way to back up the images and video in iCloud Photo Library is to make sure you're downloading all your content onto your Mac.
Note: If you plan to back up your entire digital library to your Mac's hard drive, you'll likely want to do it on a desktop Mac with at least a 1TB drive or more. Otherwise, consider backing up to an external drive.
- Launch the Photos app on your Mac.
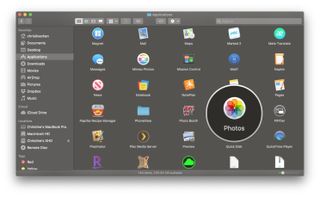
- Click Photos in the App menu in the upper left corner of your screen.
- Select Preferences from the drop-down menu.

- Click the iCloud tab.
- Click Download Originals to this Mac.
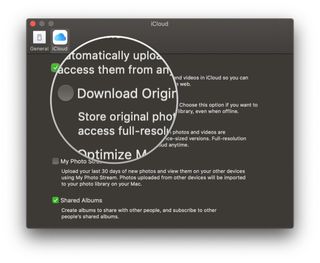
Your Mac will now download full-resolution copies of all your images to your Mac's hard drive, stored inside your Photos app library. Depending on how big your iCloud Photo Library is, it may take a while — just be patient.
How to back up your iCloud Photo Library content to an external drive
There are two ways to back up your iCloud Photo Library to an external drive: backing up your Photos library automatically or manually. (You can also export sections of your library if you don't want to back up the whole thing.)
Master your iPhone in minutes
iMore offers spot-on advice and guidance from our team of experts, with decades of Apple device experience to lean on. Learn more with iMore!
Back up your Photos library automatically
If you've turned on the Download Originals option for your Photos library, you can back up your Photos library as part of your regular backup routine with Time Machine or even an online clone service like Carbon Copy or BackBlaze. No matter which method you prefer (though it's highly recommended to use both), your Photos library (and all images and video automatically downloaded from iCloud) will be backed up as well. And if you don't currently use a backup service, well... now's a good time to start!
Back up your Photos library manually
If you've turned on the Download Originals option for your Photos library but don't want to back it up automatically, you can always copy your Photos library to an external drive regularly.
- Connect an external drive to your Mac via USB, USB-C, or Thunderbolt.
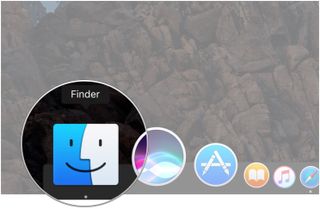
- Open a new Finder window on your Mac.
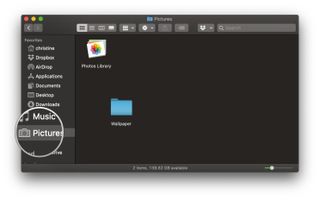
- Click on Pictures in the sidebar.
- If Pictures is not already in your sidebar, drag the Pictures folder from your Macintosh HD into the sidebar.
- Drag your Photos Library to your external drive.
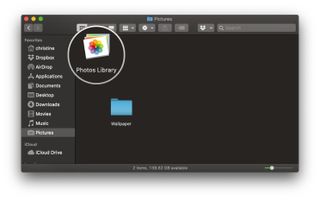
- Wait for it to copy over.
Create an external library for backing up iCloud Photo Library
If you have one of the best external hard drives just laying around, you should consider using it for making an external library to backup your iCloud Photo Library. If you go this route, it's highly recommended to set up bi-weekly reminders for the following steps to keep the Photos library backed up regularly.
How to back up portions of your iCloud Photo Library
Don't want to back up your entire library? You can export individual images and videos to your external drive.
- Connect an external drive to your Mac via USB, USB-C, or Thunderbolt.
- Open the Photos app.

- Select the photos and video you want to back up.
- Go to the File menu.
- Hover over the Export option.
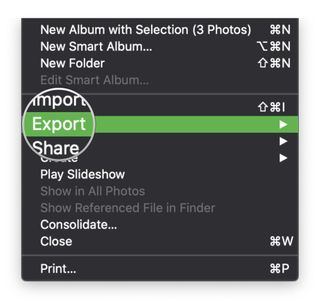
- Select either Export # Photos or Video or Export Unmodified Original for # Photos or Videos.

- Select an option for Photo Kind, information to include (title, keywords, and caption, as well as location information), File Name, and Subfolder Format. The first two options only show up if you chose Export # Photos or Video in Step 6.
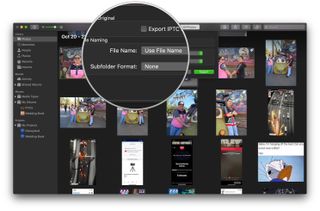
- Press Export.
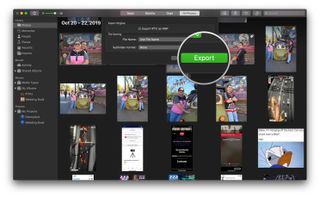
- Choose your external drive.
- Press Export.
How to make an online backup of your iCloud Photo Library
Even though your entire iCloud Photo Library is (as the name implies) stored online in iCloud, it's worth considering a second online backup as one of your redundancies. After all, you can never have too many backups, in all honesty.
If you store your entire iCloud Photo Library on your Mac
Good news: If you already use a service to back up your hard drive and you've already synced your full iCloud Photo Library to your Mac, it's easy to back it all up there too. If not, consider it a good time to start!
If you don't store your iCloud Photo Library on your Mac
If you don't store your iCloud images locally, this is a bit trickier: you can use the external drive method we mentioned above to export portions of your library to an external drive, and then sync that drive to your preferred online backup service, but it's a bit more labor-intensive. In general, this is why I tend to recommend backing up your full library to your Mac or storing a library on an external drive.
Always back it up, and then back it up again!
When it comes to backing up iCloud photos, these are the best solutions possible. It's pretty easy, and we always recommend keeping everything backed up on an external hard drive, as well as an off-site service as well. Remember, you can never have too many backups, and again, it's much better to be safe than sorry.
Updated June 2022: These are still the proper steps to back up your iCloud Photo Library.
Christine Romero-Chan was formerly a Senior Editor for iMore. She has been writing about technology, specifically Apple, for over a decade at a variety of websites. She is currently part of the Digital Trends team, and has been using Apple’s smartphone since the original iPhone back in 2007. While her main speciality is the iPhone, she also covers Apple Watch, iPad, and Mac when needed. When she isn’t writing about Apple, Christine can often be found at Disneyland in Anaheim, California, as she is a passholder and obsessed with all things Disney, especially Star Wars. Christine also enjoys coffee, food, photography, mechanical keyboards, and spending as much time with her new daughter as possible.

