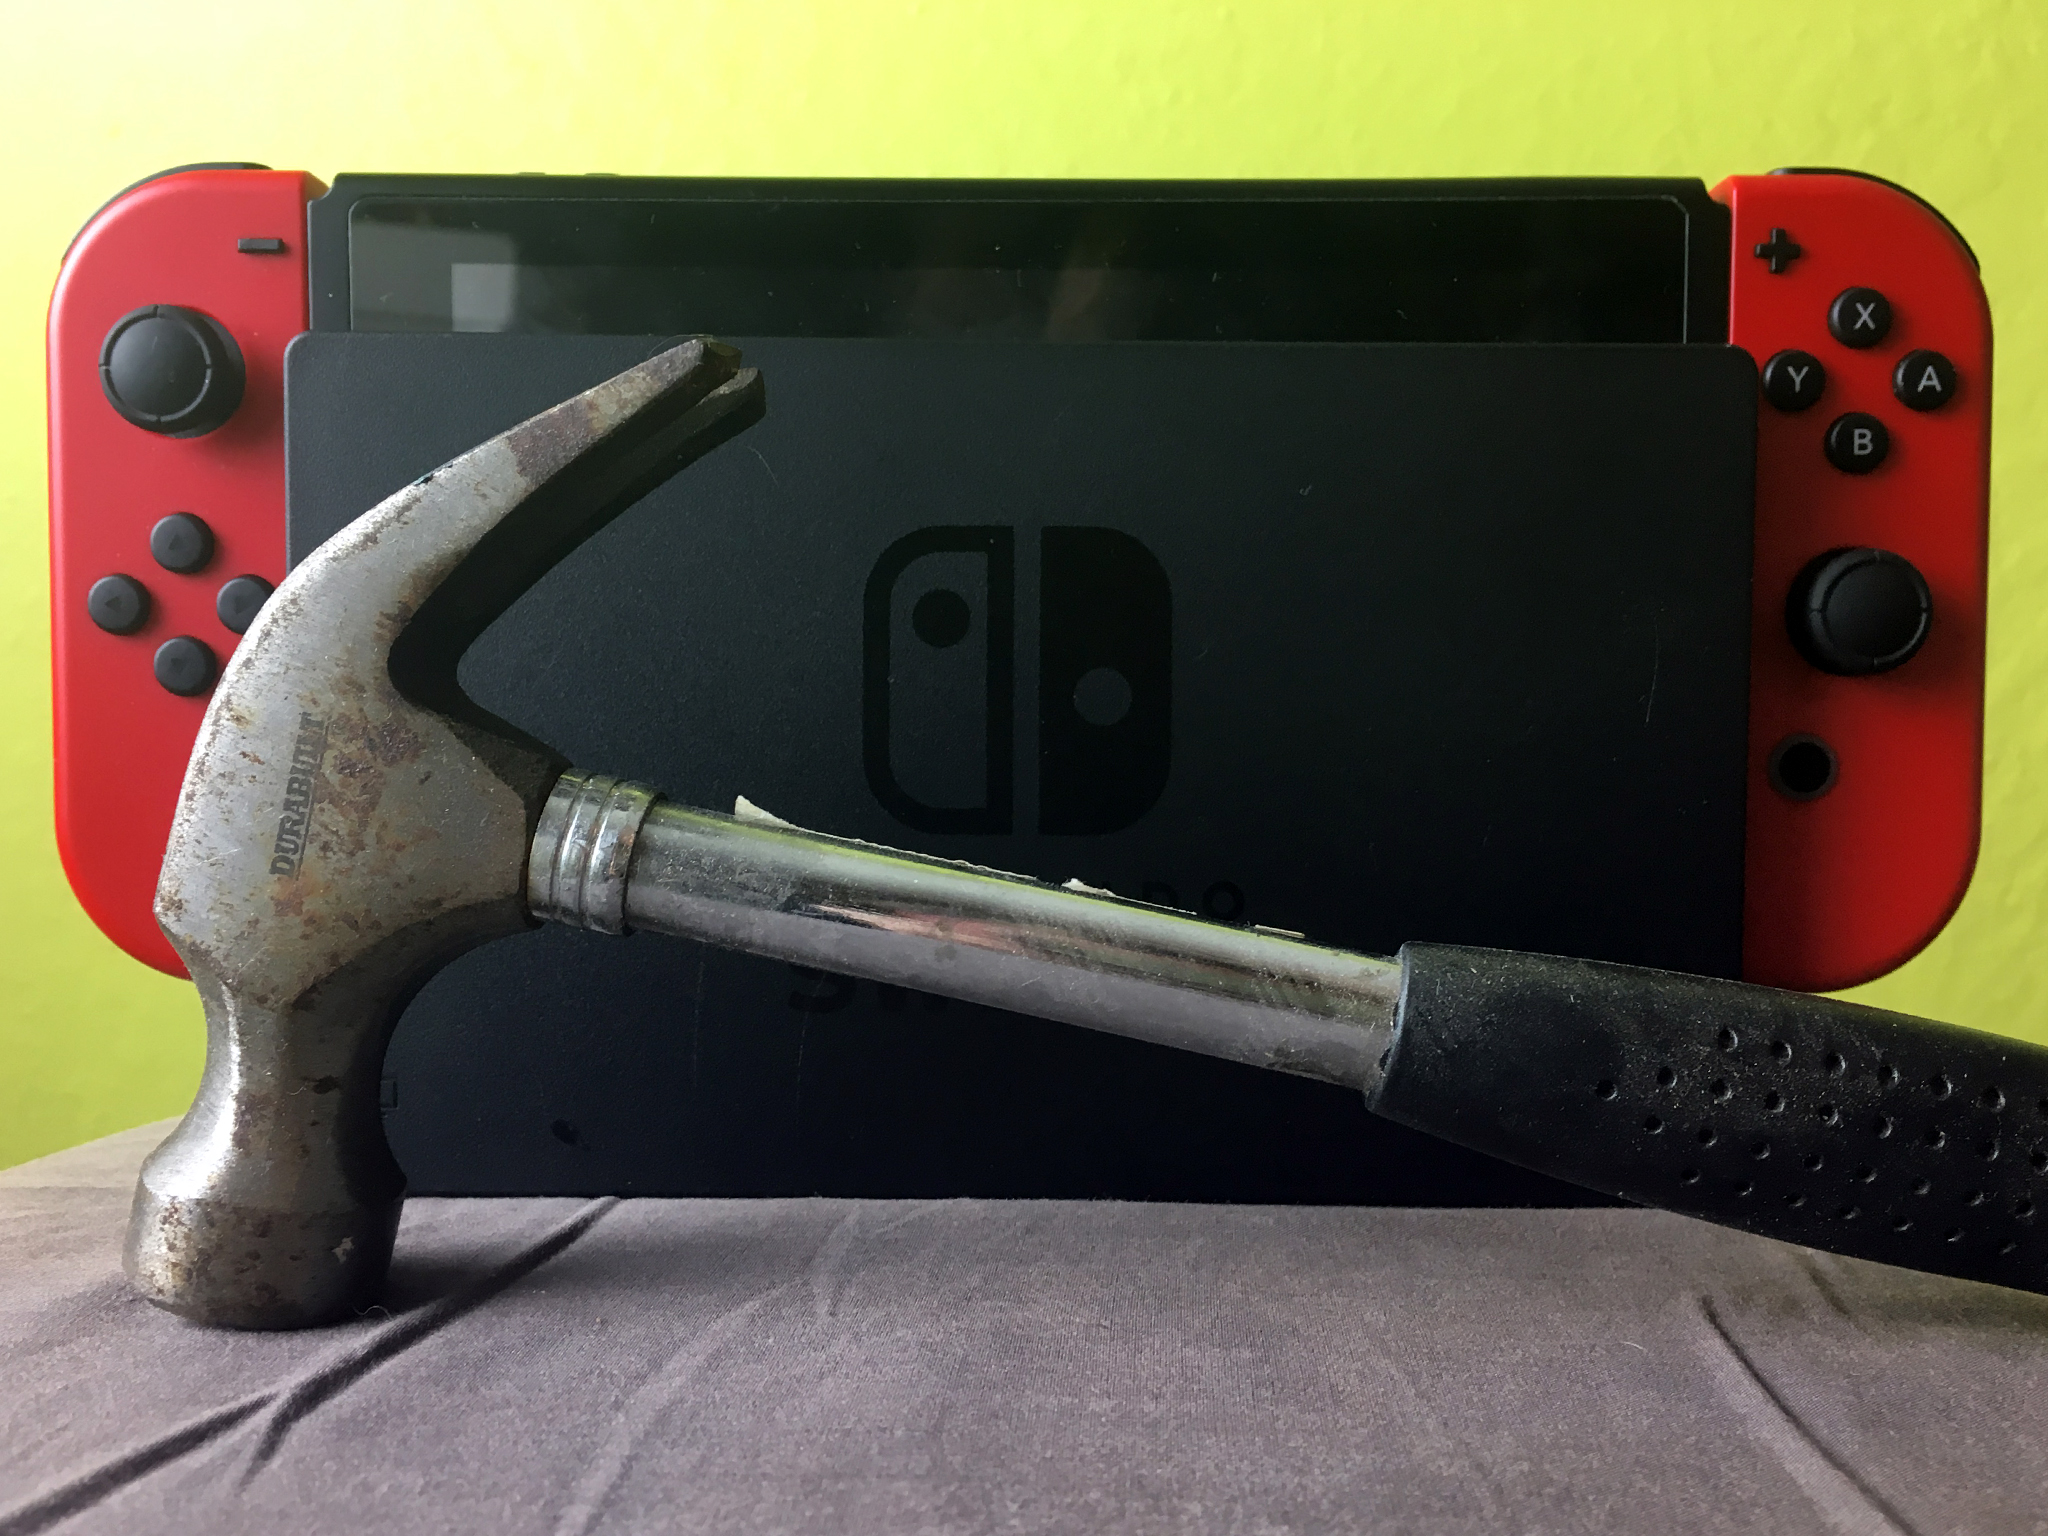
Solutions to Nintendo Switch dock complaints range from elegant and simple to the somewhat more complex and time intensive. If you're seeing little scratches on your screen bestowed by your dock then one of the simple and elegant solutions is to make yourself a dock sock.
However, perhaps you are looking to completely change your dock and rebuild it to your liking. With the advent of home 3D printing, this sort of fabrication is easier than ever. 3D printing design repositories like thingiverse.com are chock-a-block with awesome designs. Some change small aspects of the dock and some redesign it all together. Some of my favorite designs come from the latter category and solve the scratching and size problem at the same time. A design by Thingiverse user, DylanWave is a thing of beauty.
Many of these designs require you to gut your original Switch dock in order to repurpose the electronics for your new one. Fortunately, the dock is not a horribly complex piece of business and it's something you can do in less than half an hour. Here's how to take apart your Switch in order to turn it into something more to your liking.
As ever, proceed with disassembly with caution. The moment you take screwdriver to screw you have voided your warranty.
What you'll need
In order to take apart your Switch dock, you are going to need a small Philips screwdriver and one small tri-wing screwdriver. You can pick up the tri-wing individually, or if you don't have a nice screwdriver set, you can pick one up at Amazon for all your future tinkering needs.
How to take apart your dock
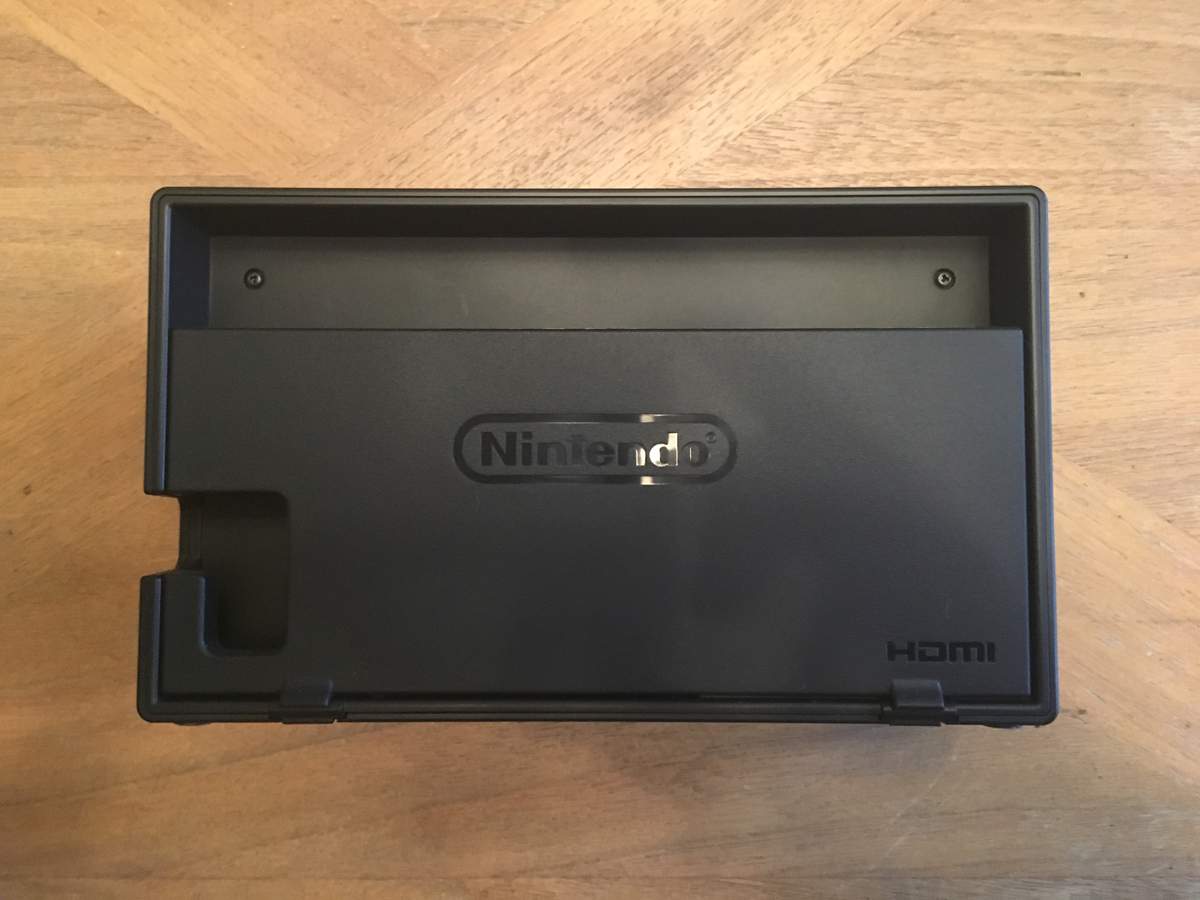
With your dock sitting face down open the rear access door.
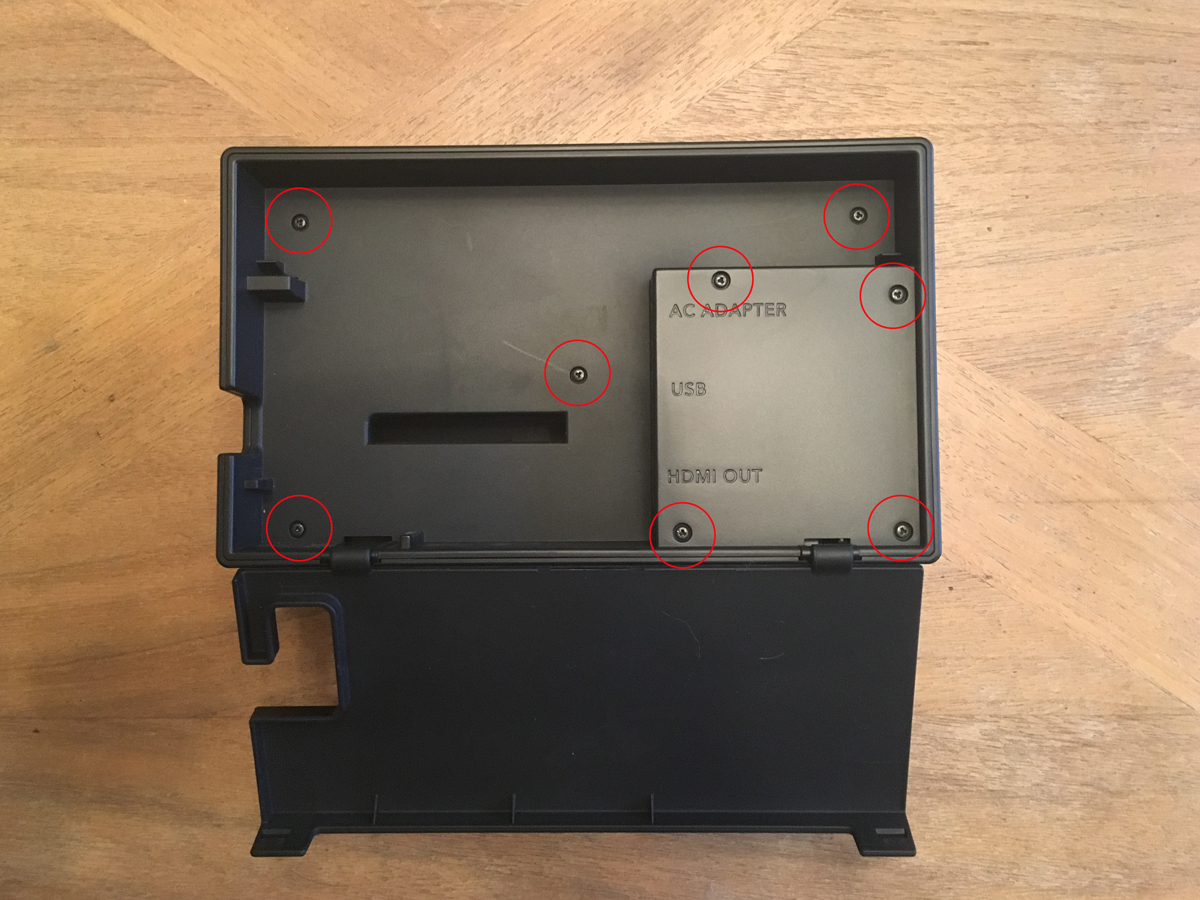
Use your tri-wing screwdriver to remove the eight screws on the back.
Master your iPhone in minutes
iMore offers spot-on advice and guidance from our team of experts, with decades of Apple device experience to lean on. Learn more with iMore!
Gently lift out the back panel.
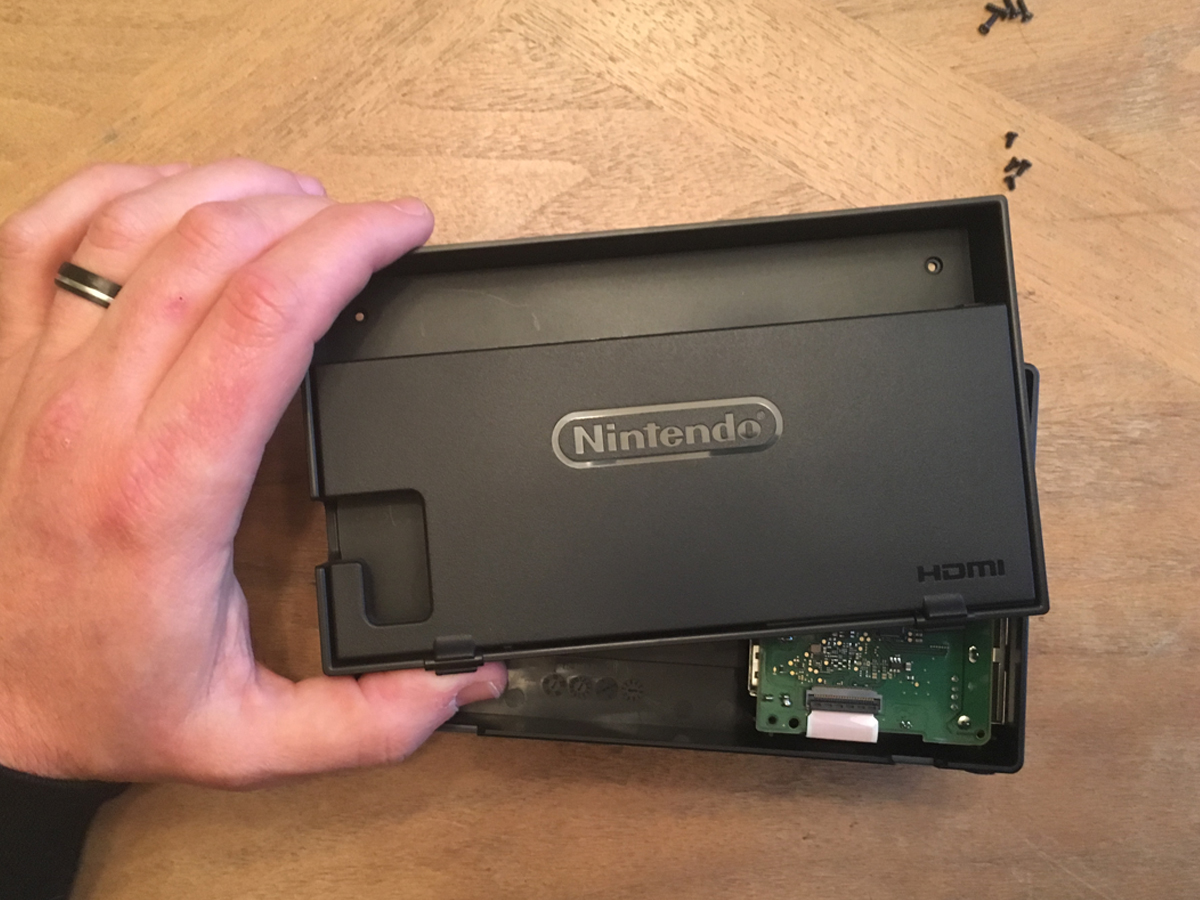
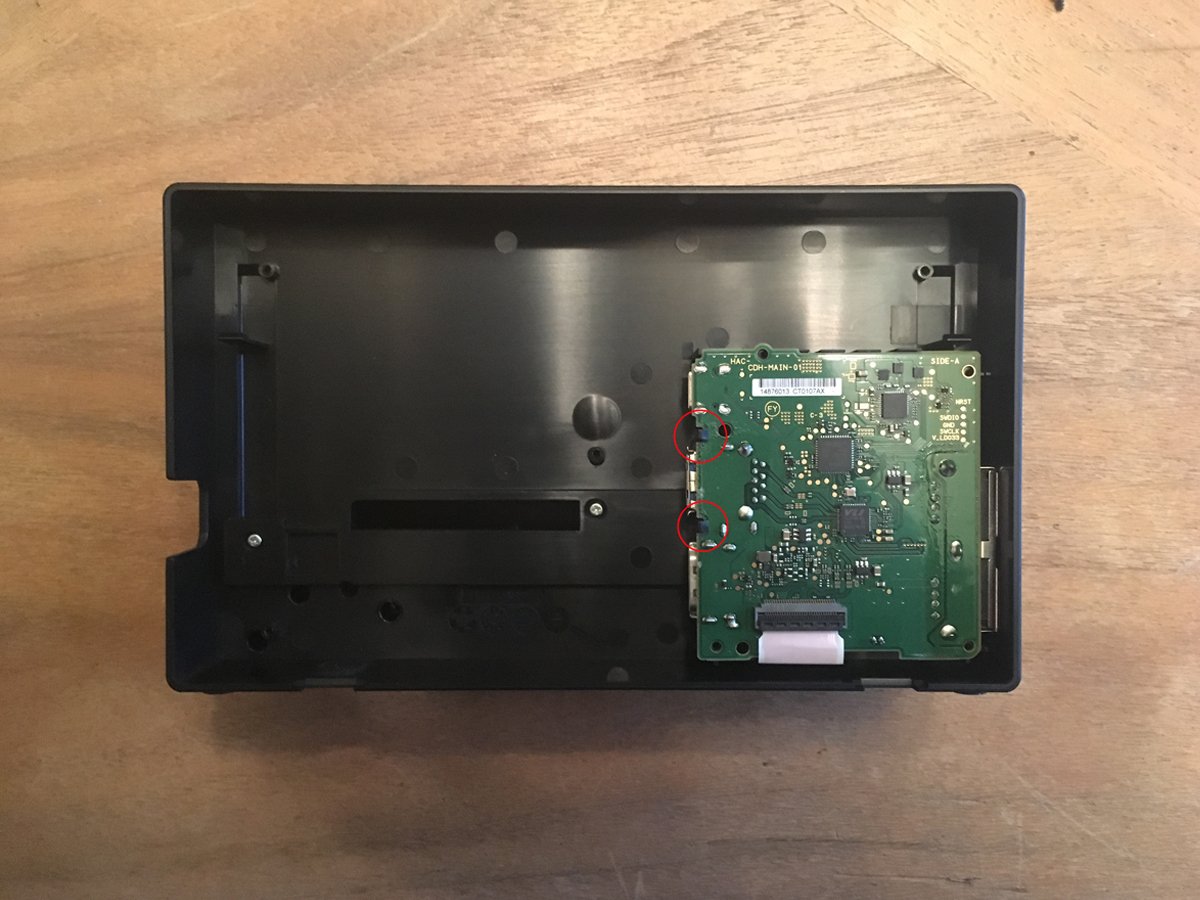
There are two clips on the left of the PCB. Gently pull those to the left in order to release the PCB.
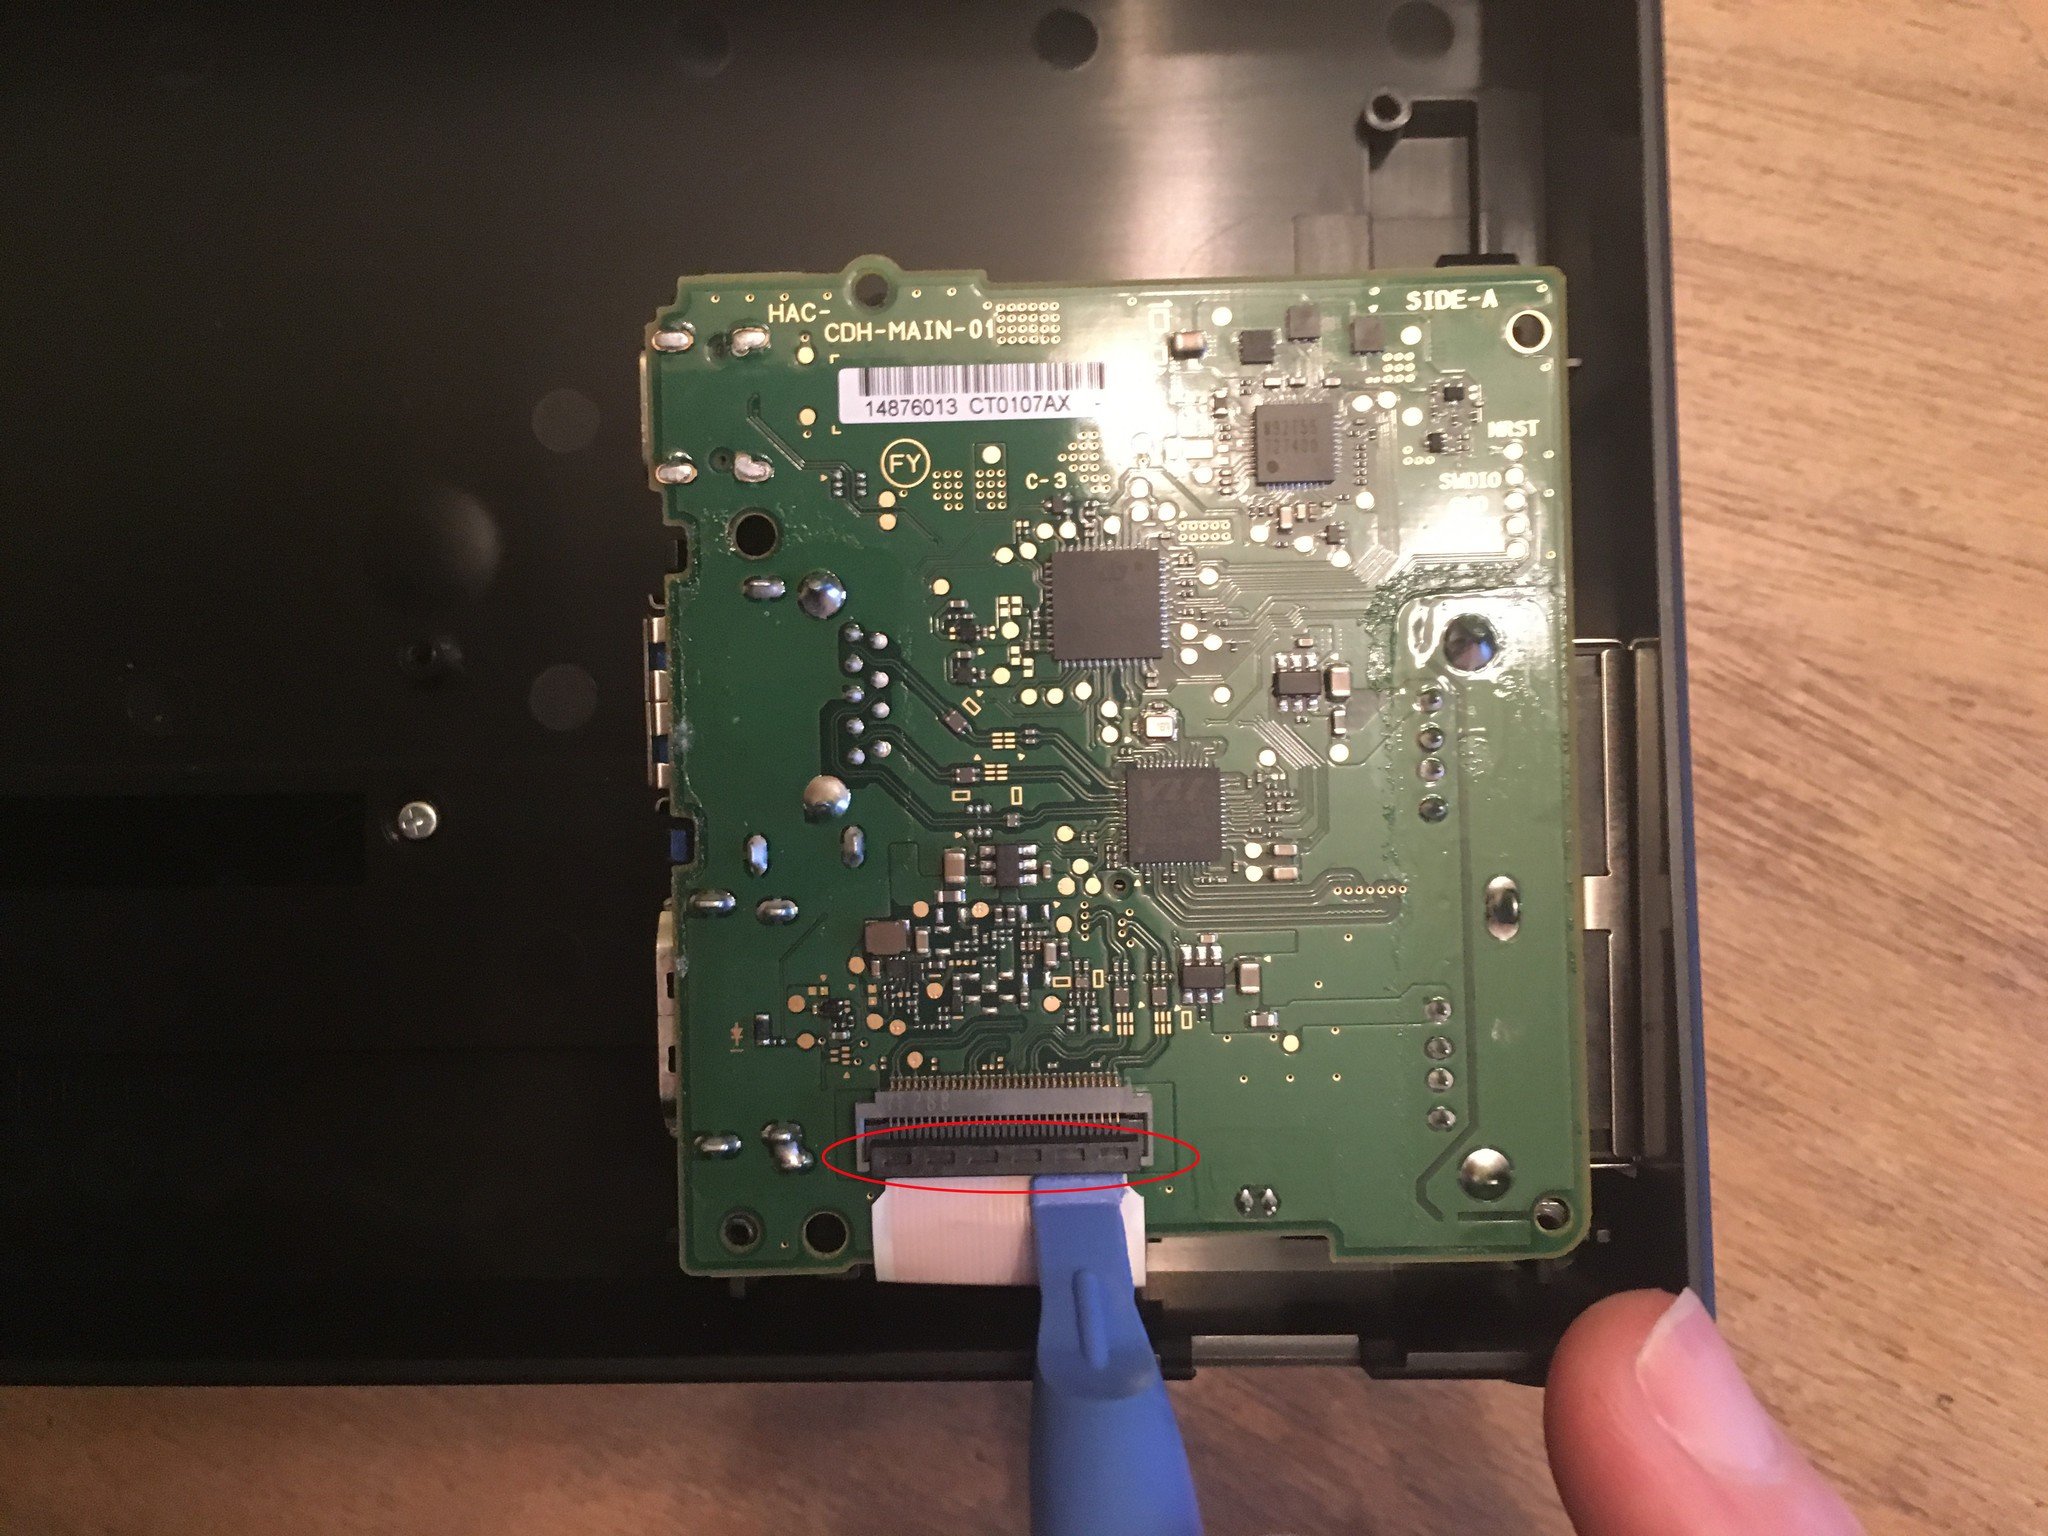
Use a spudger or your fingers to gently lift up the retaining clip for the ribbon cable.
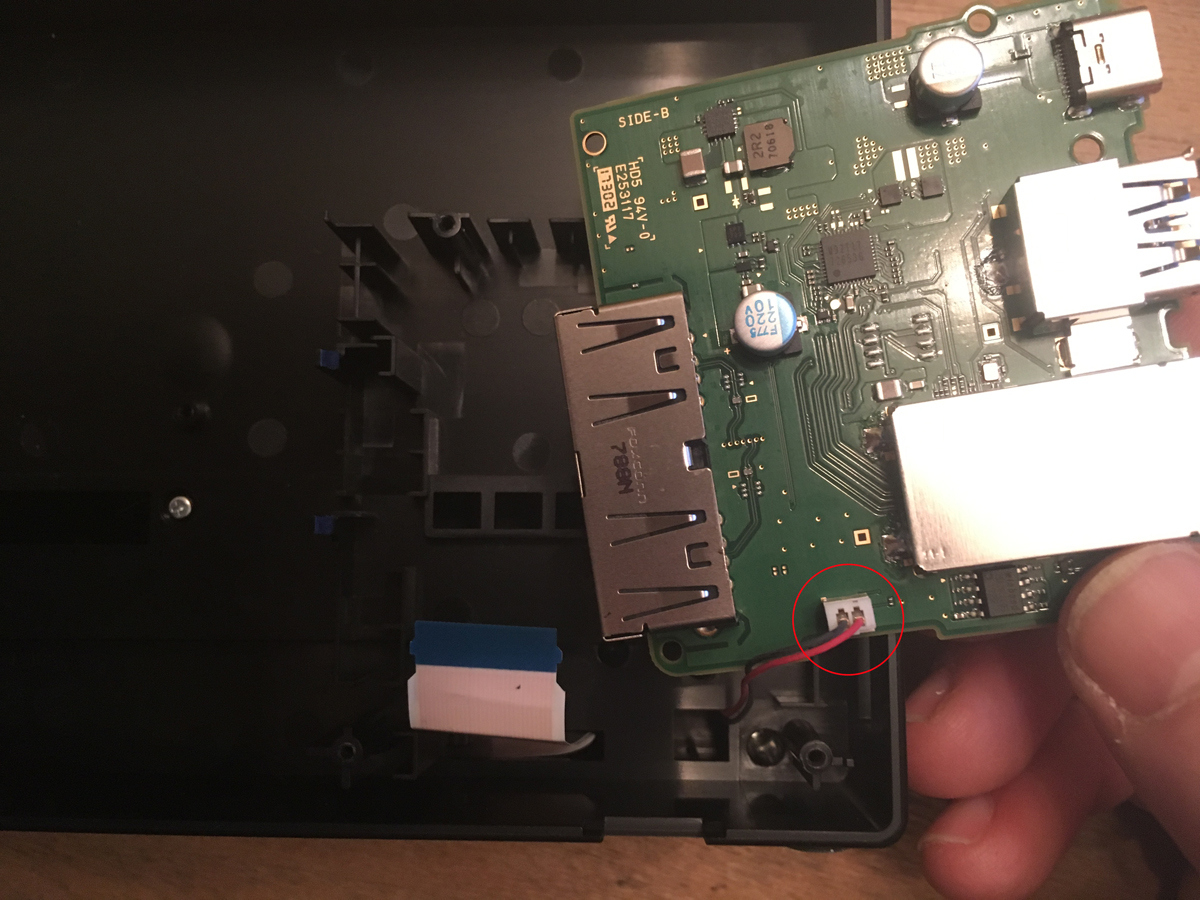
On the underside of the PCB gently pull out the lead for the wires to the LED. You may now set aside the board.
Now use a Phillips screwdriver to remove the nine screws inside the housing.
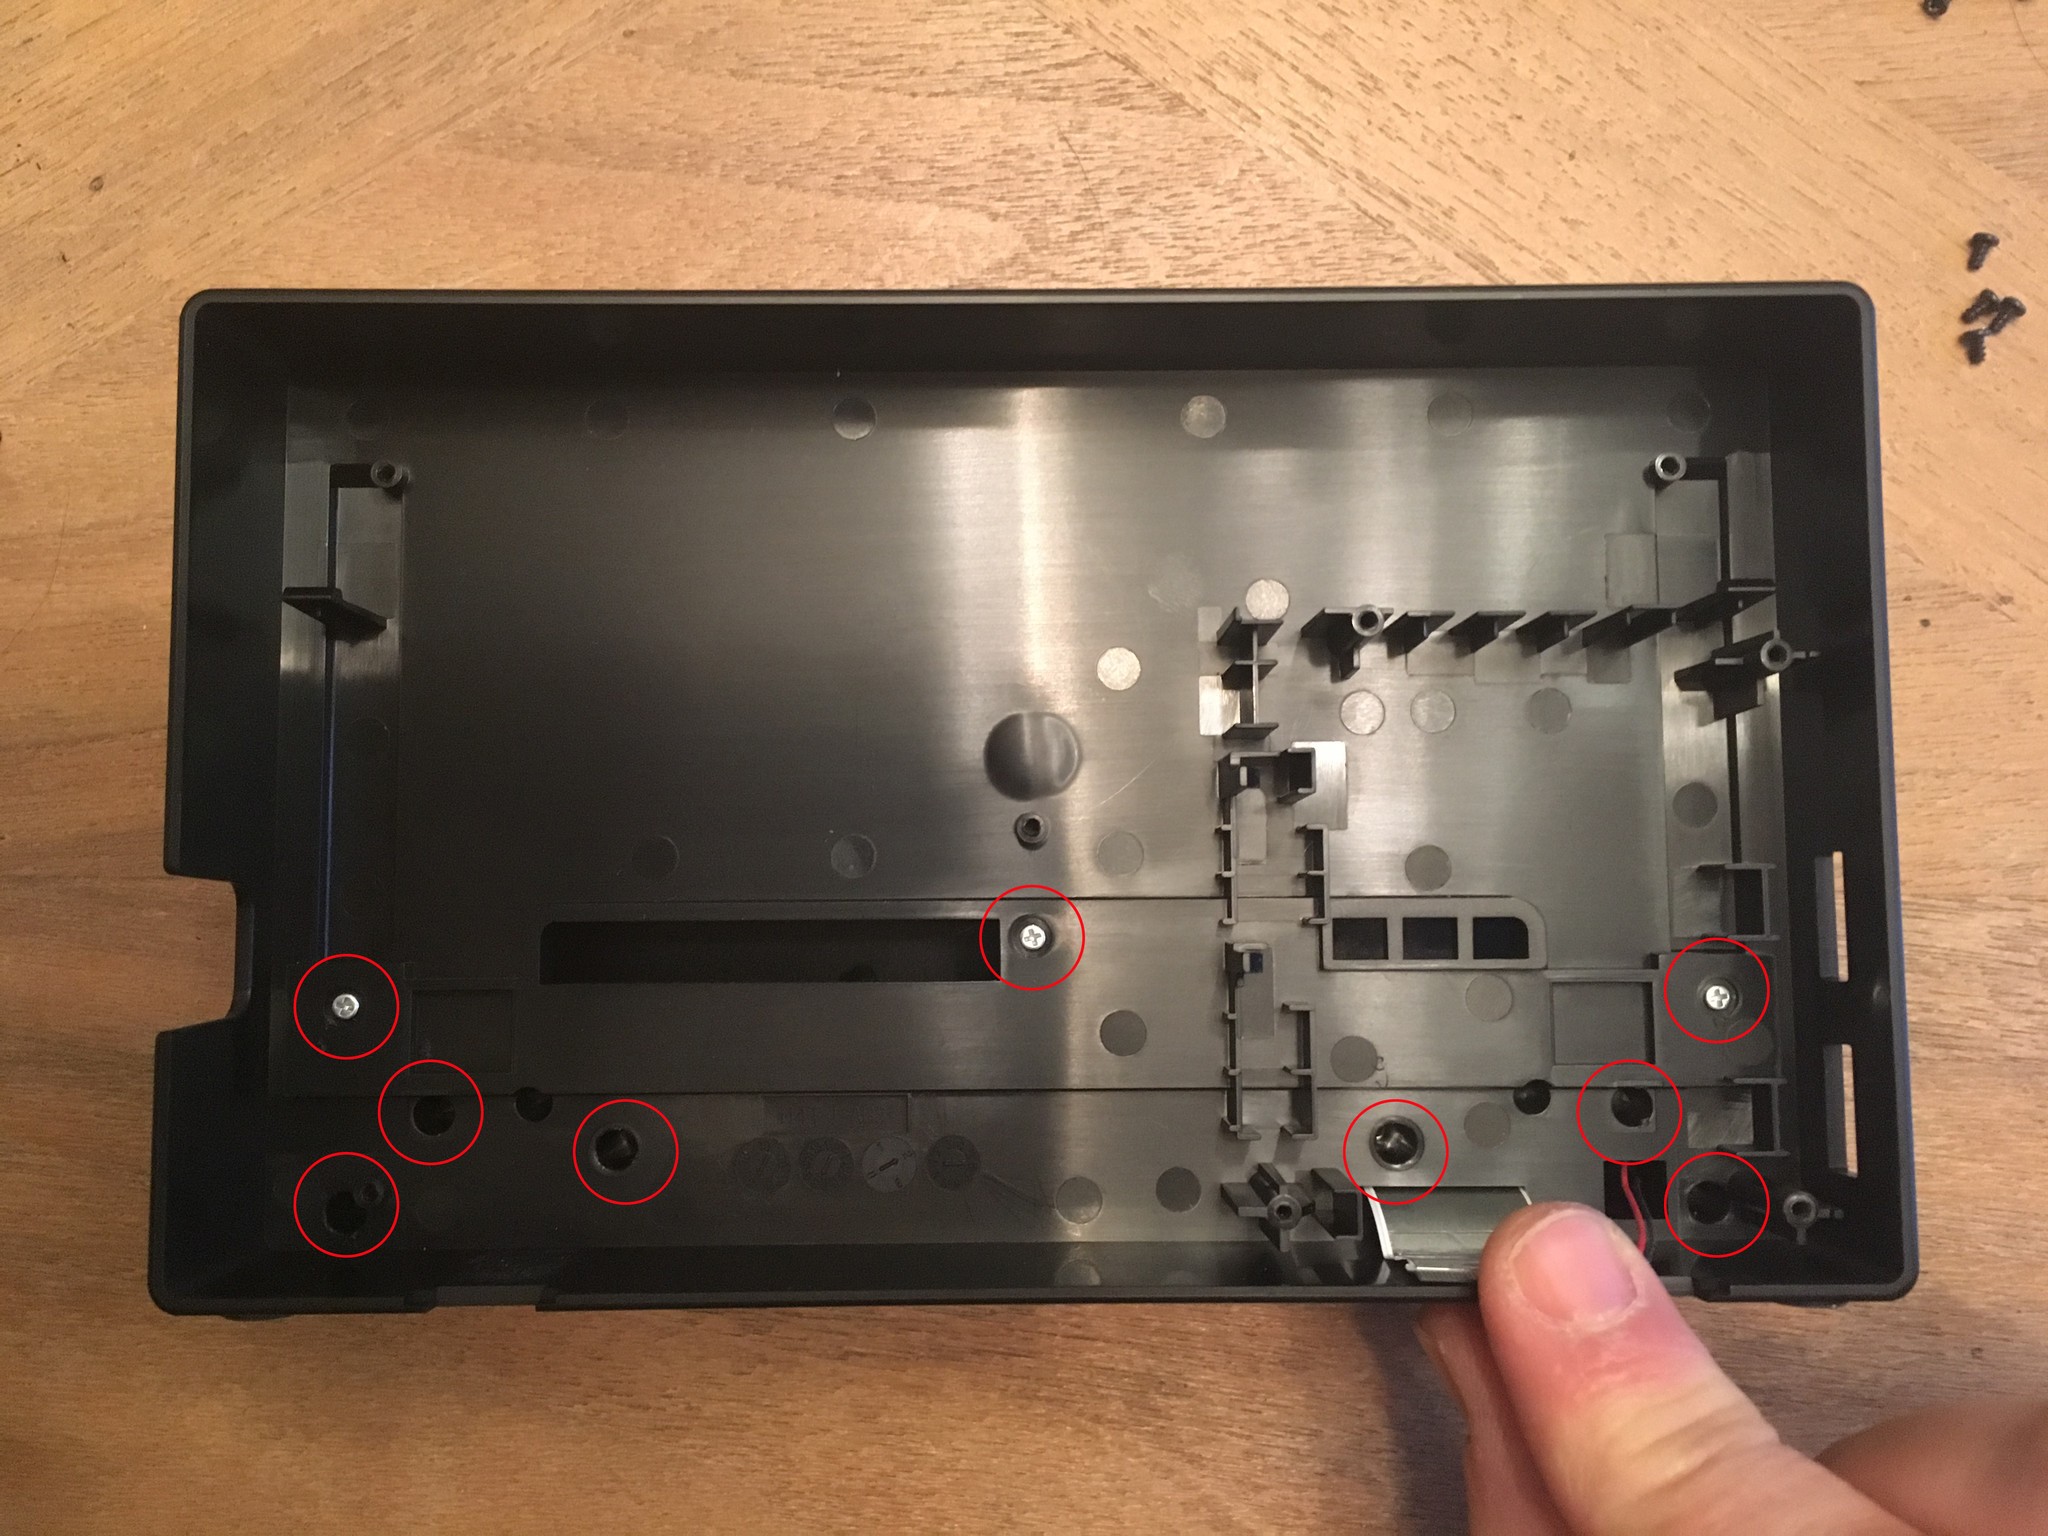
Gently lift out the inner housing.
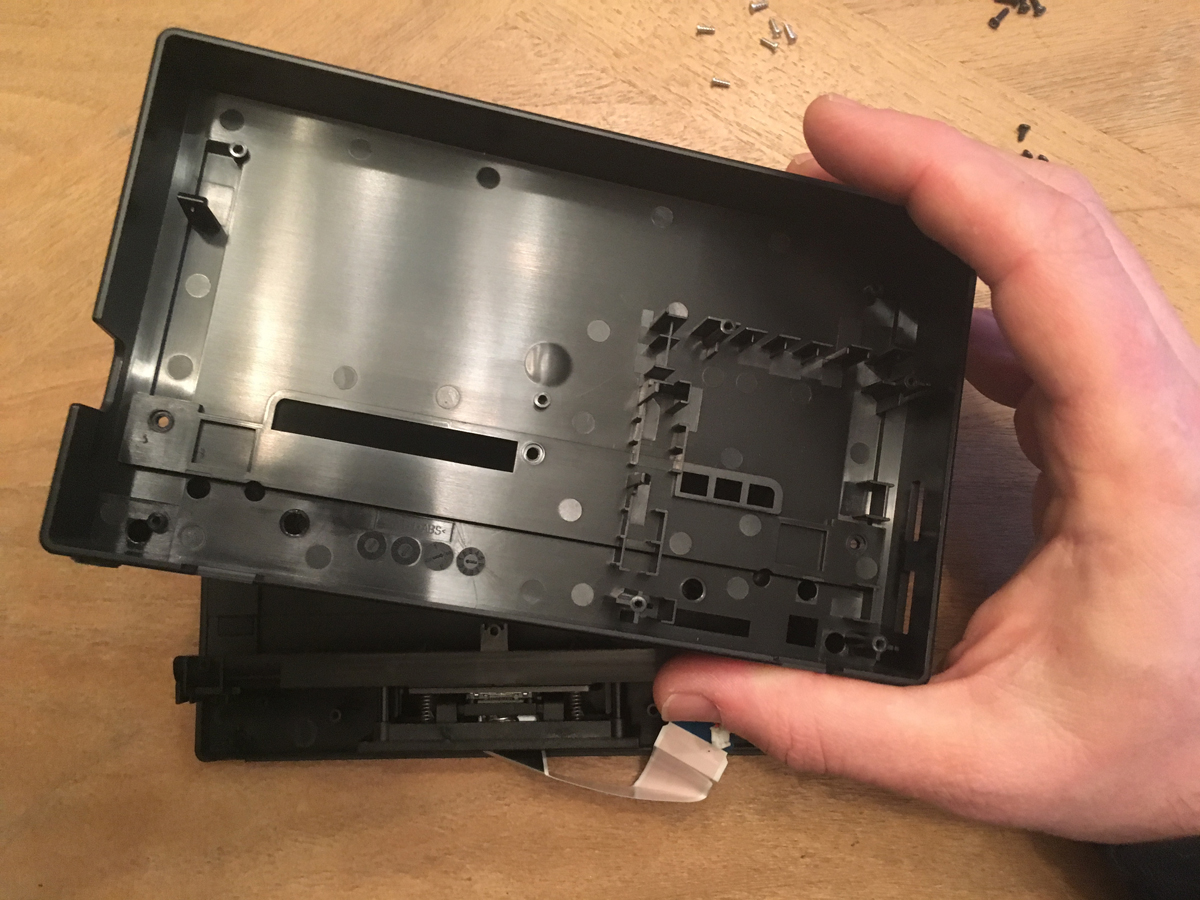
In order to remove the port for your Switch, use a small Phillips screwdriver to take out the four screws securing it from the underside.
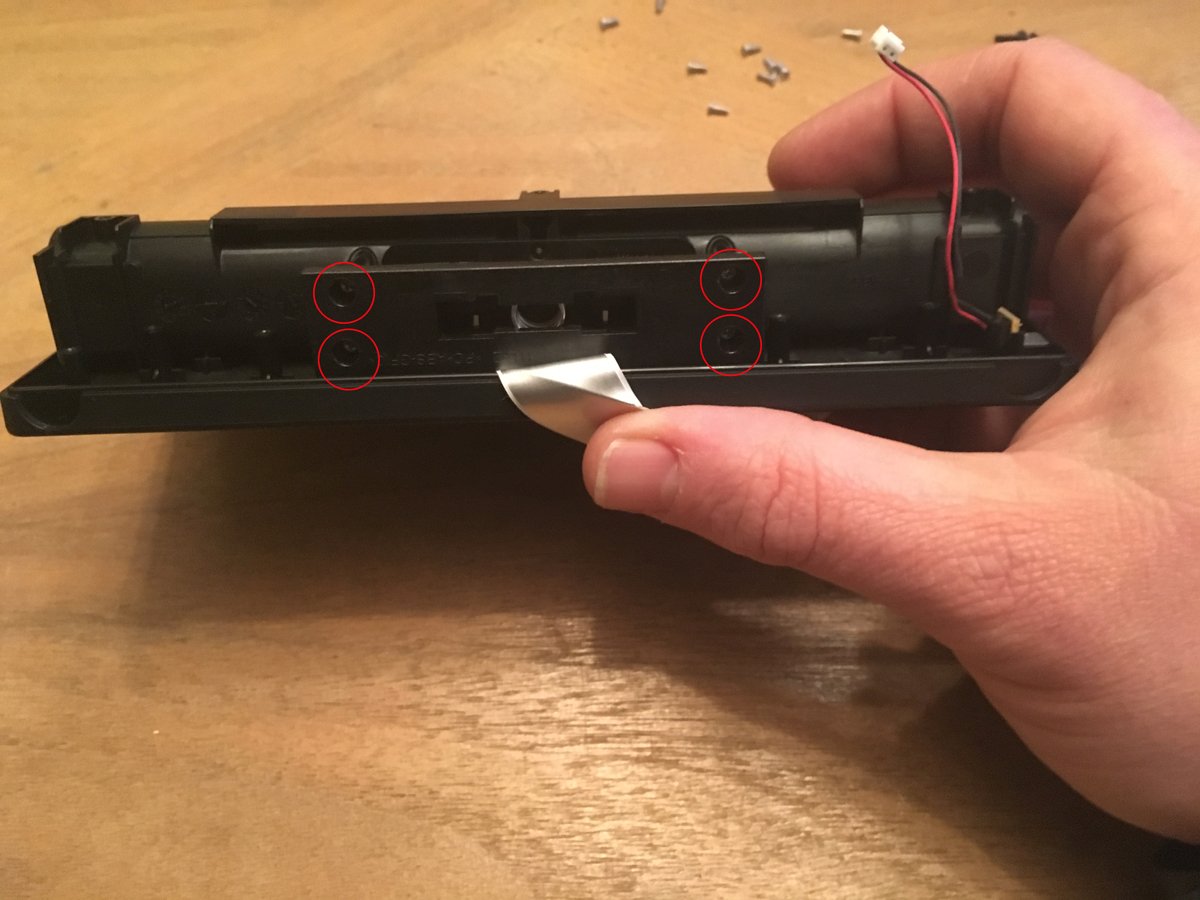
It's as simple as that! You are now ready to install your parts into a much smaller, much less scratchy, 3D printed case!
Tell us about your custom Switch dock!
Have you made yourself or bought a custom Switch dock? Sound off in the comments below!


