How to compress a file on your Mac

Compressed files take up less space on your Mac's hard disk than single uncompressed files, making compression is a handy technique to learn: Every byte can count if you're short on space or when you're sending a file to someone else over the Internet. Luckily, the Mac has built-in file compression to make it easy to keep your hard drive free and clear.
The Mac's built-in compression and decompression option uses the ZIP format, which also happens to be one of the most commonly used archive file formats on the Internet. It's a lossless data compression scheme, which means that your file will remain exactly the same after being compressed then decompressed—you won't lose any data.
A couple of notes before we get started: The actual amount of file compression on a ZIP file will vary depending on its contents. Some types of data are more compressible than others.
Also, file compression can take time. Macs with faster processors and more RAM can compress and decompress files much faster than slower Macs. File compression also changes the file type to a .ZIP archive, which will make it more difficult to view and check its contents.
As such, I wouldn't recommend using this technique to routinely archive everything on your hard disk. But if you have a big archive of, say, images you won't need access to, it can be a handy tool to keep your hard drive from filling up too fast.
Regardless, if you've never compressed a file before, it's worth the experiment. You should find out if ZIP archiving will save you enough time and enough space to make it worth your while: You may find that you can save hundreds of gigabytes this way, or you may ultimately decide it's more worth your while to simply buy a large external hard drive instead.
There are also third-party utilities that can help you compress and decompress files, too, and they'll work with many non-ZIP formats. One of the most historically popular commercial Mac compression apps is called StuffIt — it supports features like encryption and password protection, support for Apple's Automator software and more. Smith Micro, StuffIt's owner, also makes StuffIt Expander for Mac users who just want to open archives.
Master your iPhone in minutes
iMore offers spot-on advice and guidance from our team of experts, with decades of Apple device experience to lean on. Learn more with iMore!
How to compress a file on your Mac
- Select the file or folder in the Finder.
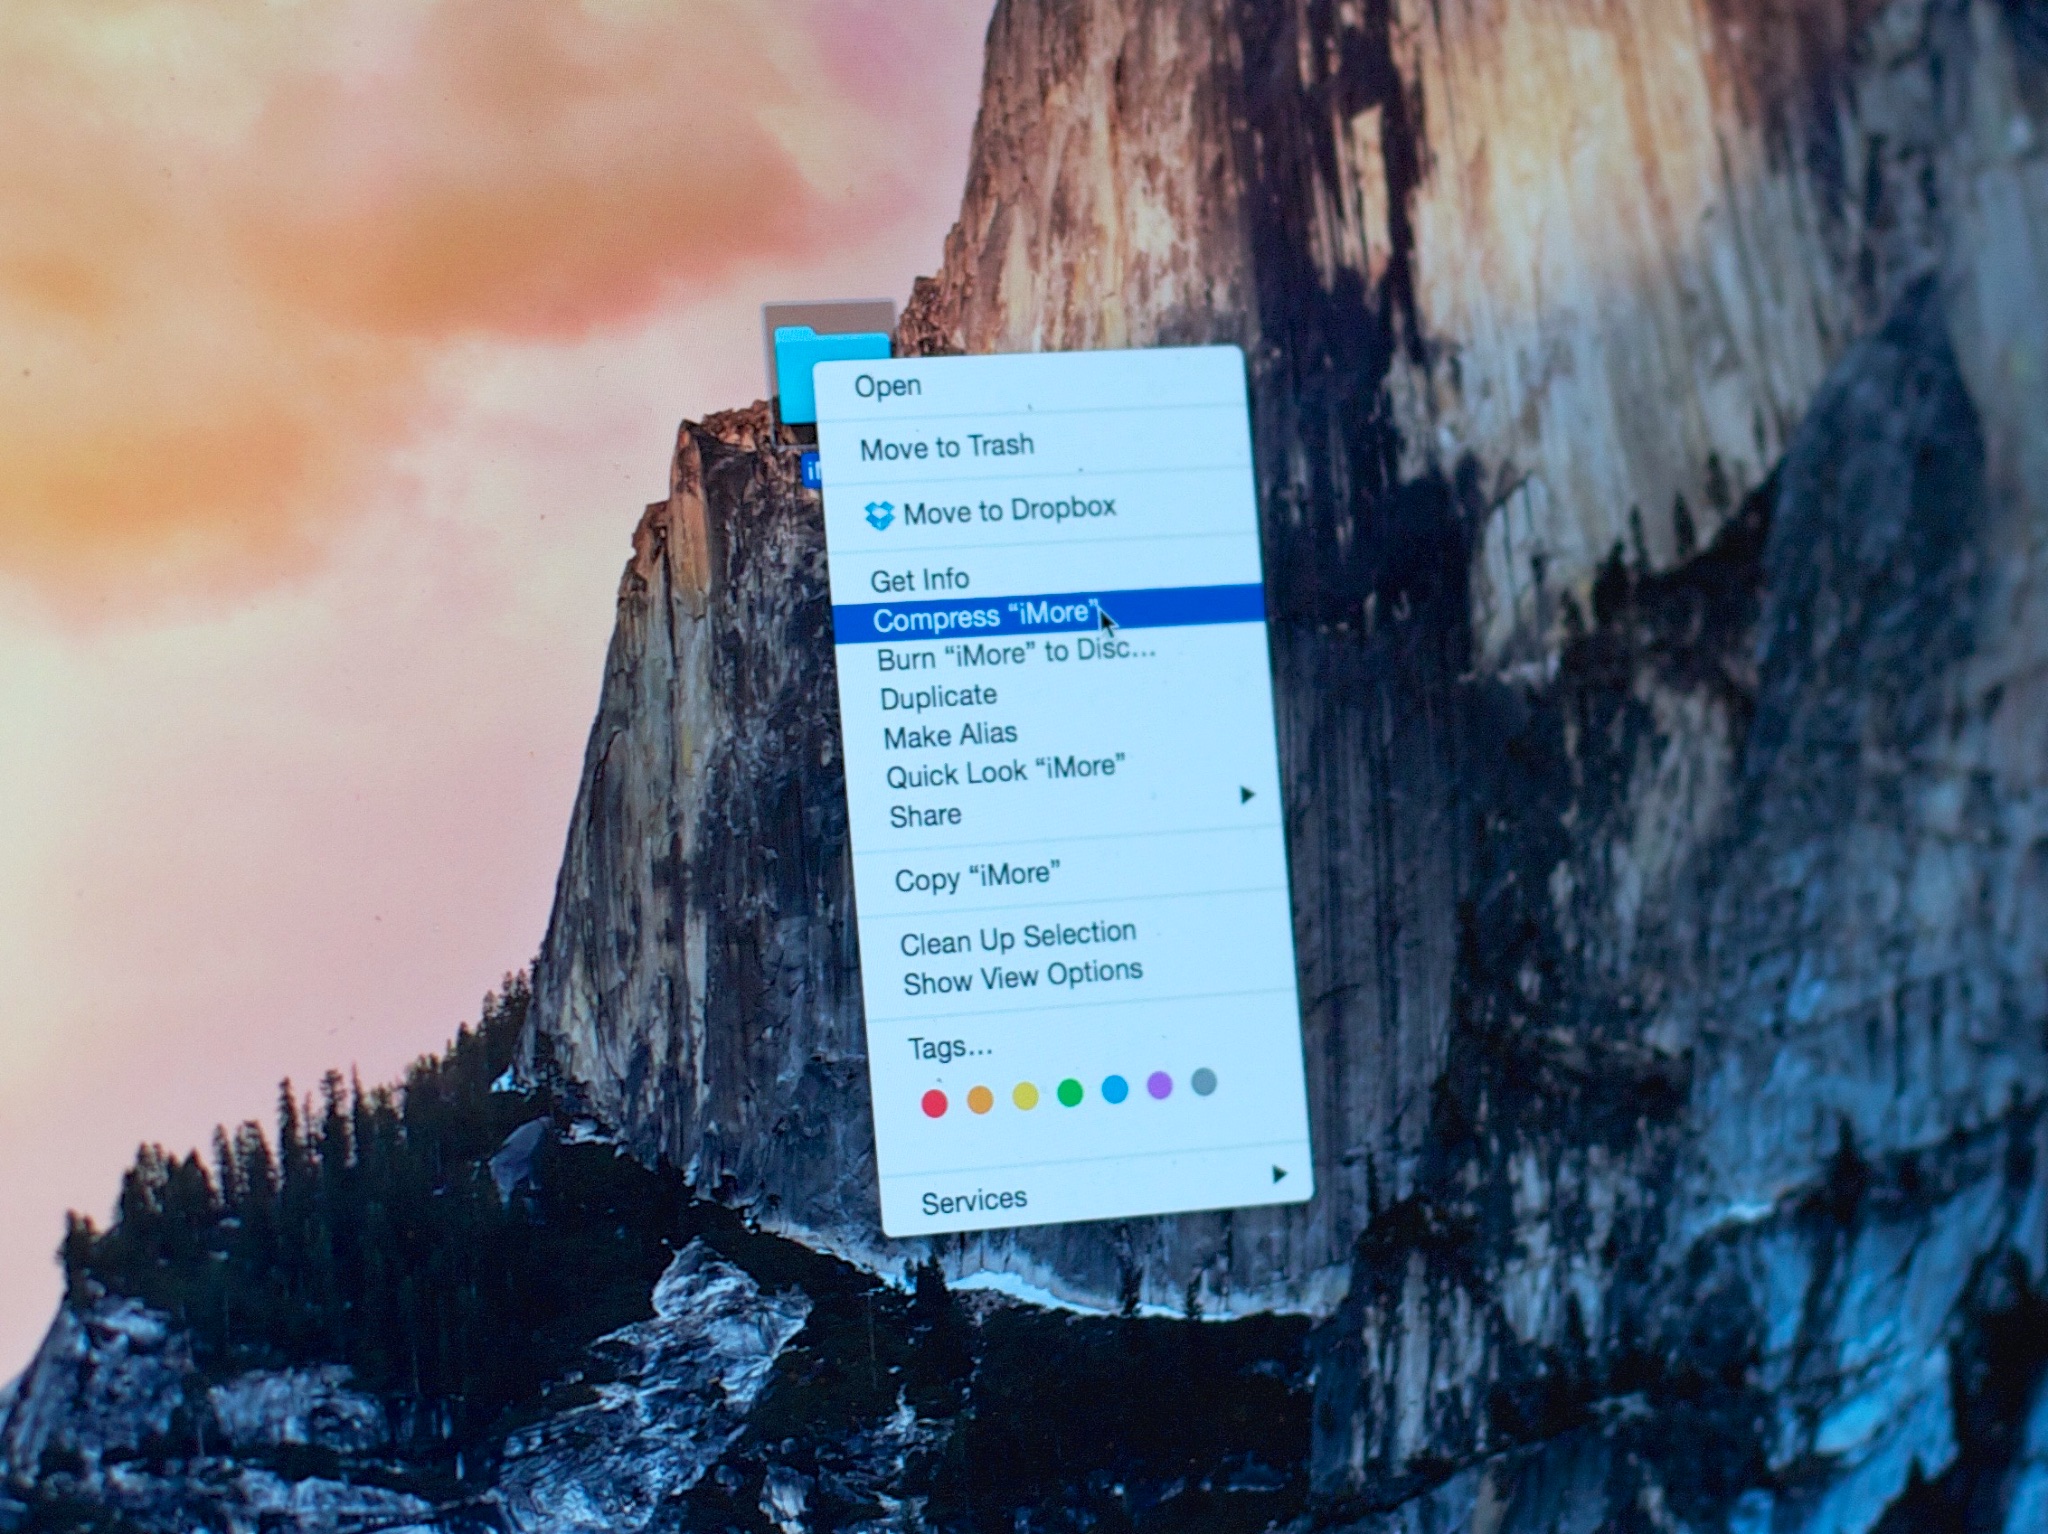
- Right-click or control-click on the file to bring up the pop-up menu.
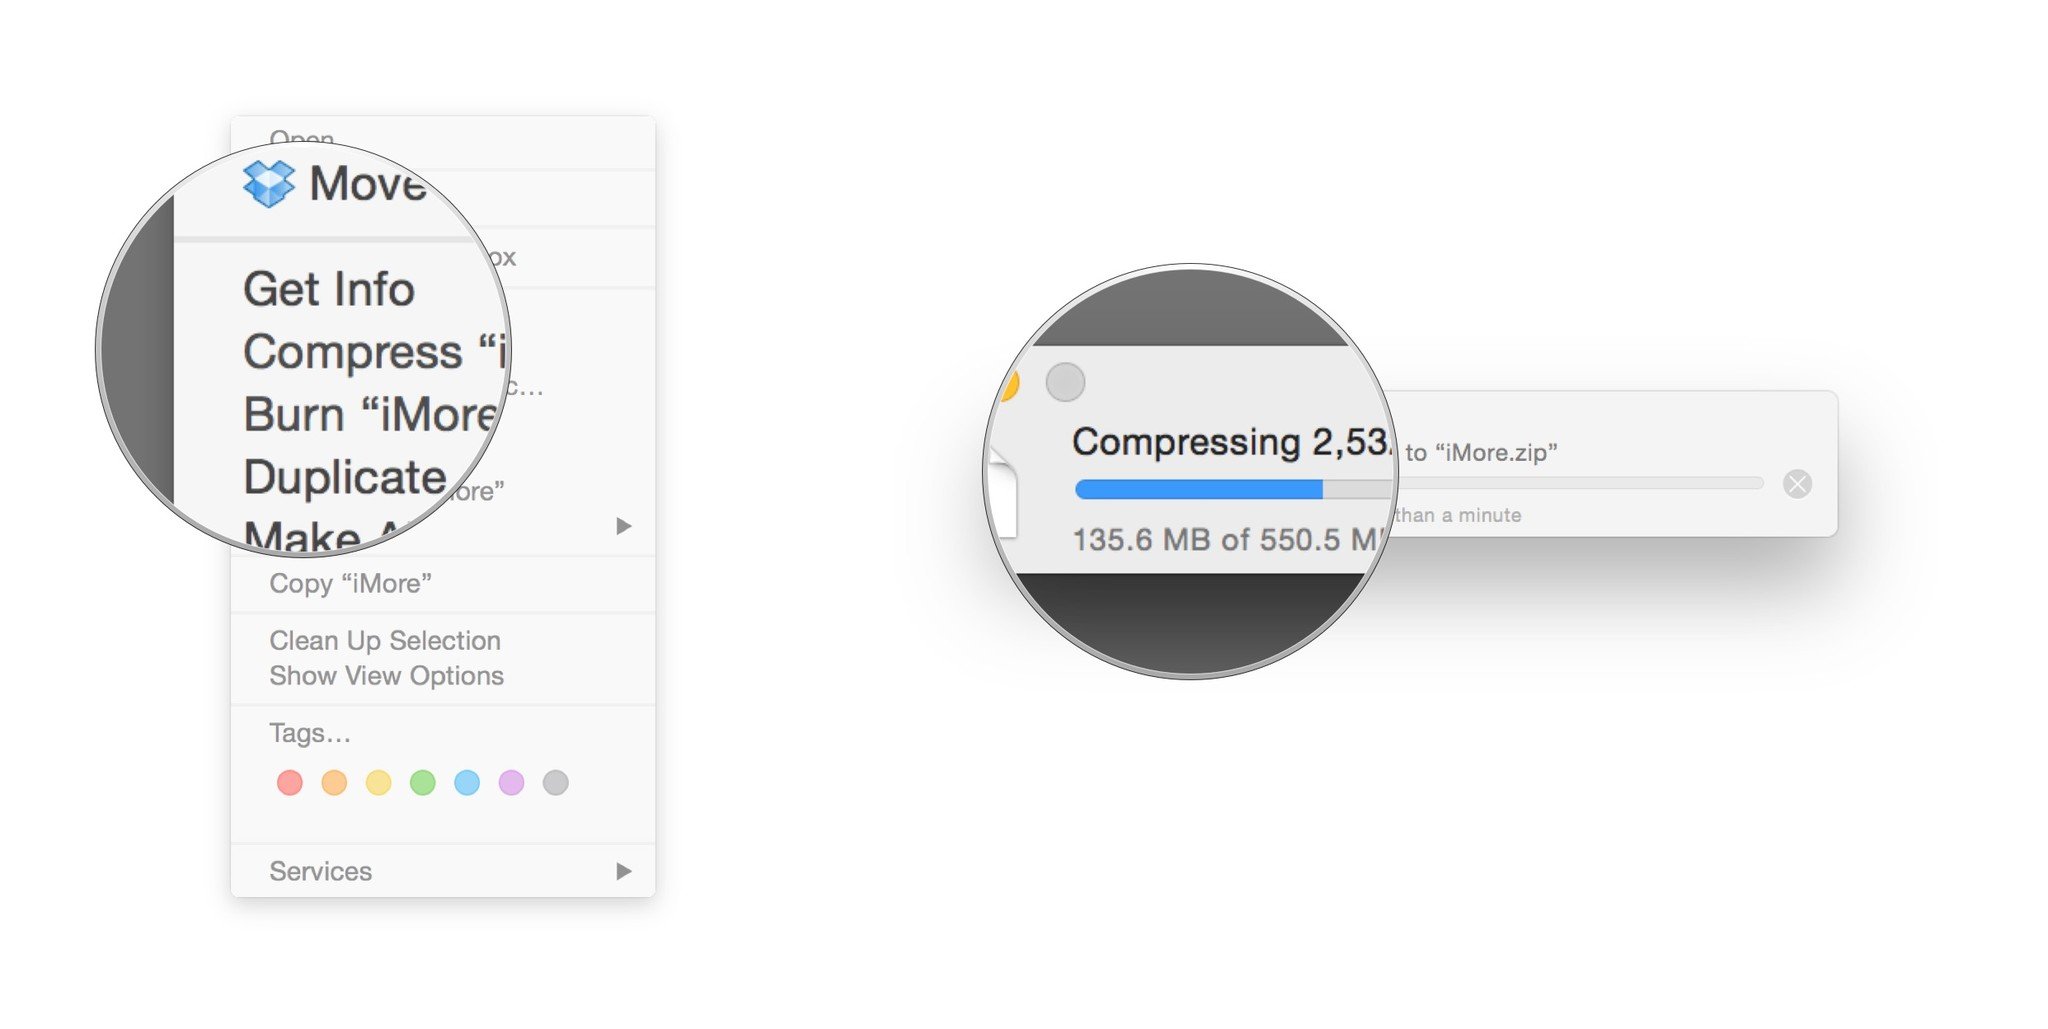
- Select Compress filename.

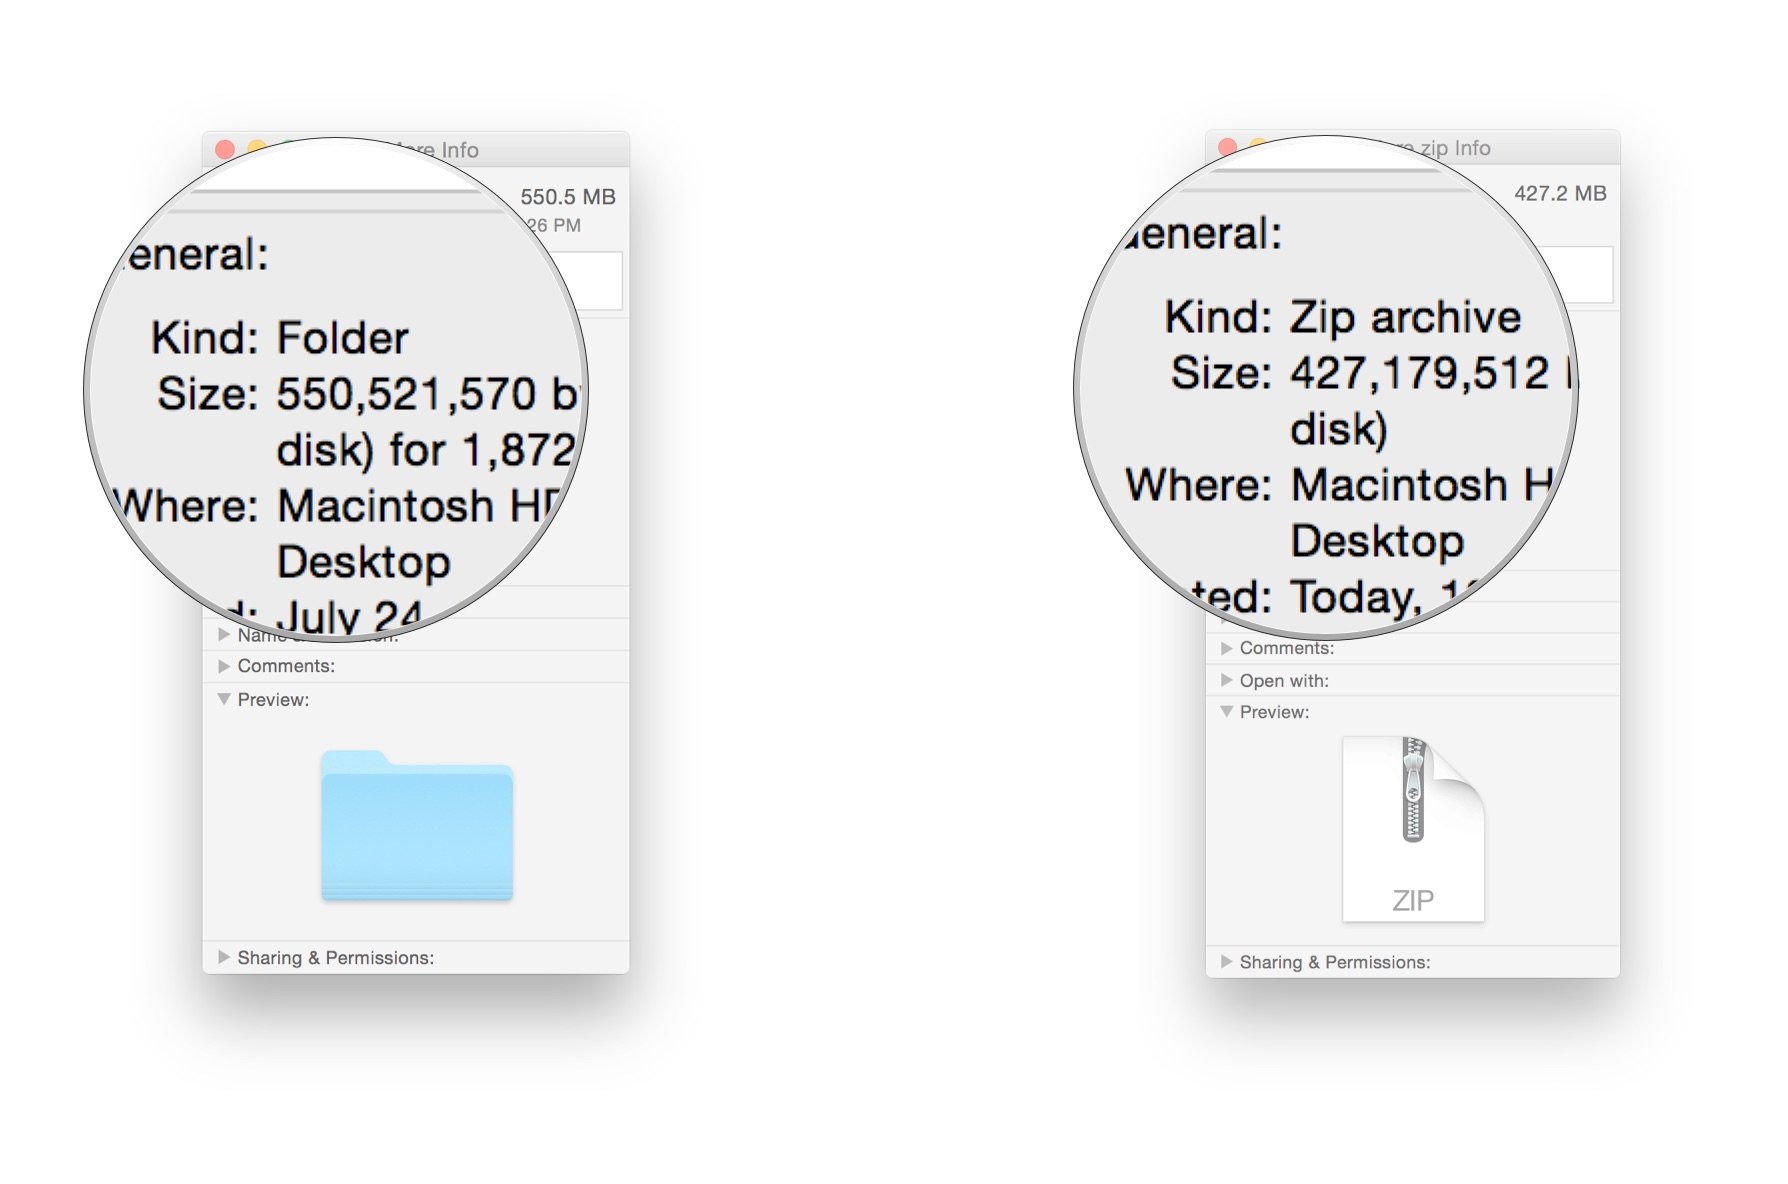
- The Mac will begin to compress the file or folder you've selected. Once it's done, you'll find a filename that ends in .zip right next to the file you selected.
- Your original file or folder is untouched; the .ZIP file contains the compressed archive.

When you're ready to decompress a ZIP file, just double-click on it. The Mac will do the rest. As with compressing, the original file (in this case, the ZIP archive) will remain intact, and the Mac will extract the files right next to it.

