How to connect your existing accessories to USB-C on the MacBook Pro and MacBook Air
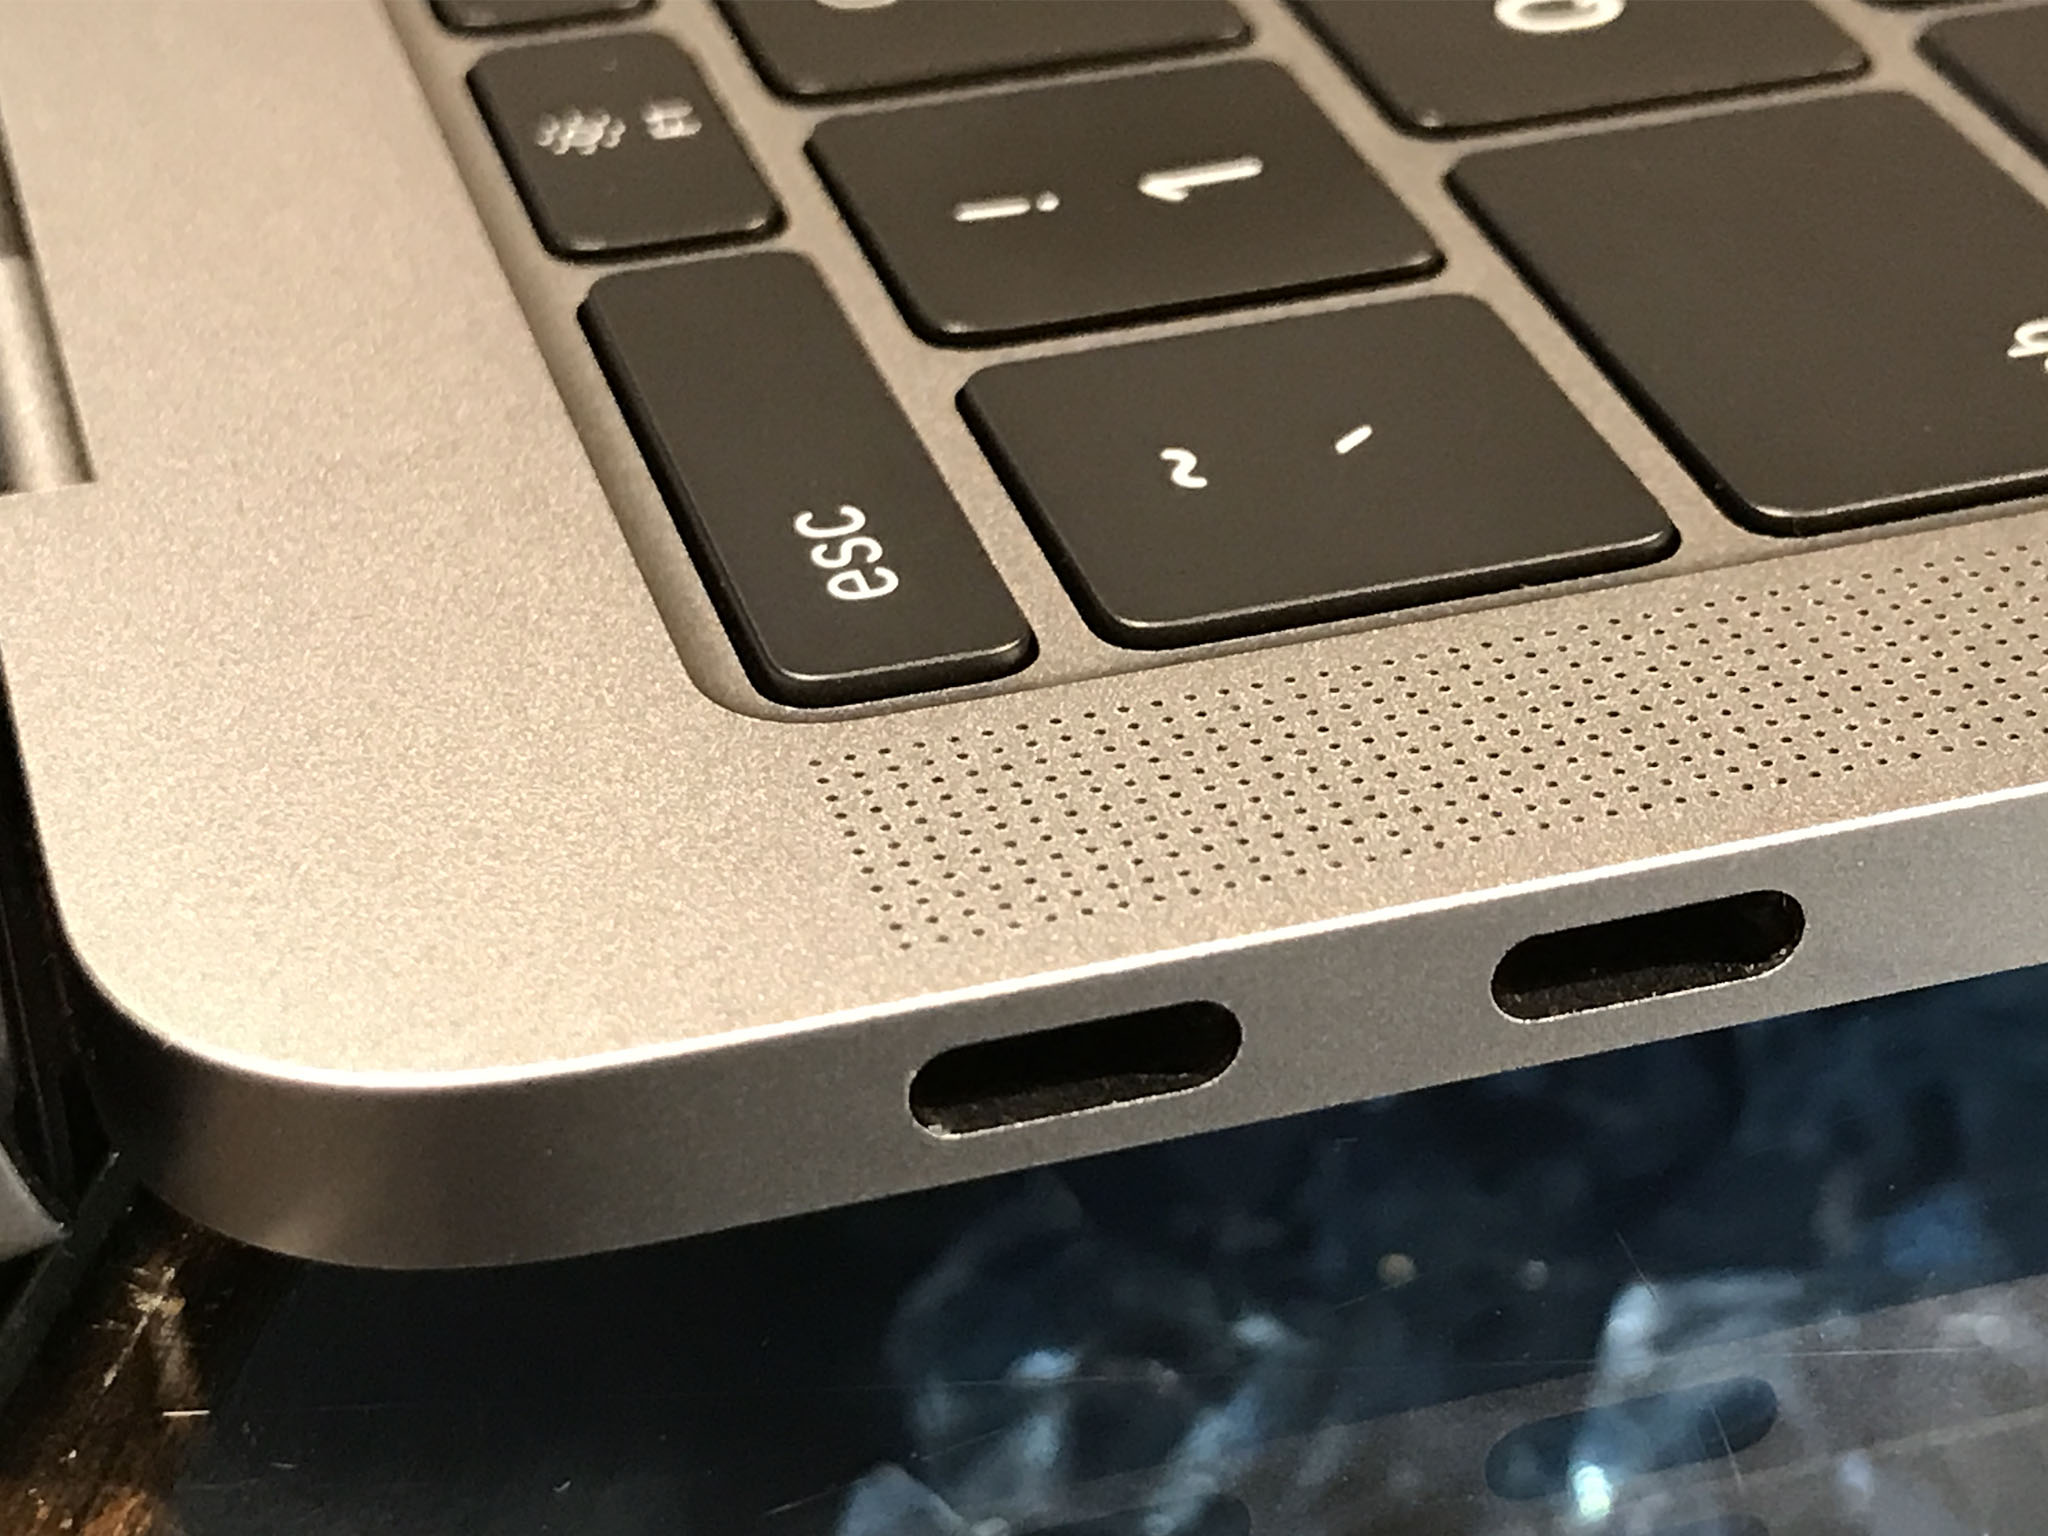
The only ports you'll find on the MacBook lineup are USB-C / Thunderbolt 3. I know that some of you are looking around the room at all your existing peripherals and probably feeling a little dismayed that you won't be able to connect them directly to your MacBook. There are plenty of cables, dongles, and adapters available to help you connect all your favorite accessories to your MacBook. Here's a look at what you need to connect older devices and how to hook them up to your MacBook!
Decide what adapters you might need
Depending on how you work or play, you'll need different adapters to hook up different devices. It's worth asking yourself a few questions to figure precisely what adapters you may need.
- Do you connect to a printer?
- Do you use an external hard drive?
- Do you plug your iPhone into your Mac?
- Do you use a USB-A flash drive?
- Do you need a wired internet connection?
- Do you use an SD or microSD card to transfer data?
Adapters, Hubs, and Docking Stations
There are three main types of dongles you'll be able to use with your MacBook — adapters, hubs, and docks.
Adapters are typically smaller dongles that are only meant for a single purpose — like a USB-A to USB-C adapter — and thus are better for people who only need to hook up once device at a time. If you're looking to connect your USB podcasting microphone, a USB Printer, or just want to use your existing Lightning cable with your MacBook, an adapter may be the best choice.
Hubs are bigger dongles that are meant to hook up multiple devices at once. Hubs usually come with multiple different connections, making them better for people who need to connect a lot of accessories. If you want to transfer photos from your camera, have your USB mic plugged in. Then use your TV as a second screen via an HDMI port, an excellent USB-C hub is the way to go.
Docking stations are designed for multi-display use with charging support. They usually have their own power supply and can charge your laptop and mobile devices while also providing fast data transfer and 4K or 5K display support. For the most part, they're meant to be stationary to give your desktop workflow more versatility and convenience. If you require high-speed connections, a docking station is going to best suit your needs.
How to connect your accessory to your MacBook using an adapter, hub, or docking station
- Make sure your Mac laptop is powered on.
- Make sure your hub or docking station is powered on. If your dongle doesn't need its own power source, you can skip this step.
- Plug your adapter, hub, or docking station into your Mac laptops USB-C ports.
- Connect your device to the proper spot on your adapter, hub, or docking station.
While the growing pains of adopting USB-C are still present and you may need pricy extra dongles to connect your devices to your MacBook, it's easy to convert one USB-C port into a variety of ports with the right equipment.
Master your iPhone in minutes
iMore offers spot-on advice and guidance from our team of experts, with decades of Apple device experience to lean on. Learn more with iMore!
Our top equipment picks
There are tons of different adapters, hubs, and docking stations out there, but these are our top picks to get the most out of your accessories.
Staff Favorite
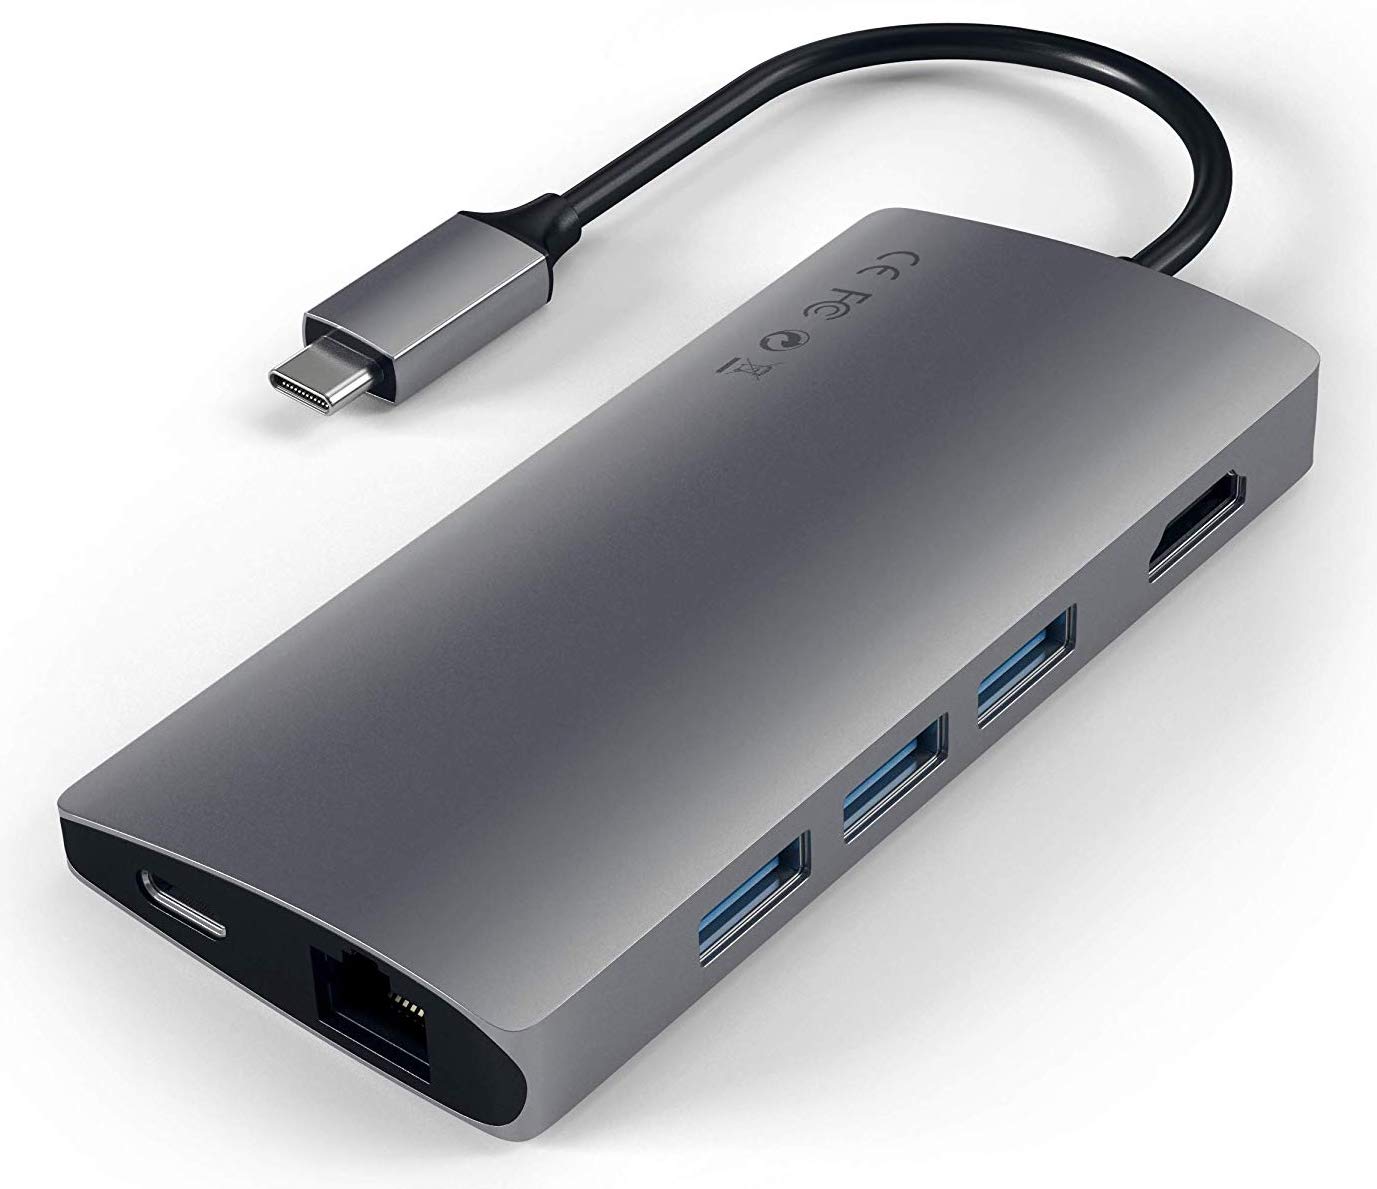
Satechi's multi-port adapter doesn't support high-speed data transfer or dual-4K displays. It does have just about everything else you'd need to run your peripherals with your MacBook Pro, like SD and microSD card readers, 4K HDMI, Gigabit, and three USB-A ports.
The Satechi Multi-port adapter is just the best USB-C hub we've used, providing you don't need high-speed transfer speeds. It doesn't require a separate power source, and it turns a single USB-C port into every type of connection you can imagine.

For extra screens — you need to go big.
With up to 85 watts of charging power, this is one of the few docking stations that can power up the 15-inch MacBook Pro and drive two 4K displays at the same time. With a Gigabit Ethernet port, your laptop is hardwired to the internet. Separate microphone and headphone ports mean you don't have to use a splitter or special USB microphone.
When it comes to using multiple screens with your MacBook, you need a big and powerful docking station like the Elgato Thunderbolt 3 Docking Station to get the job done.
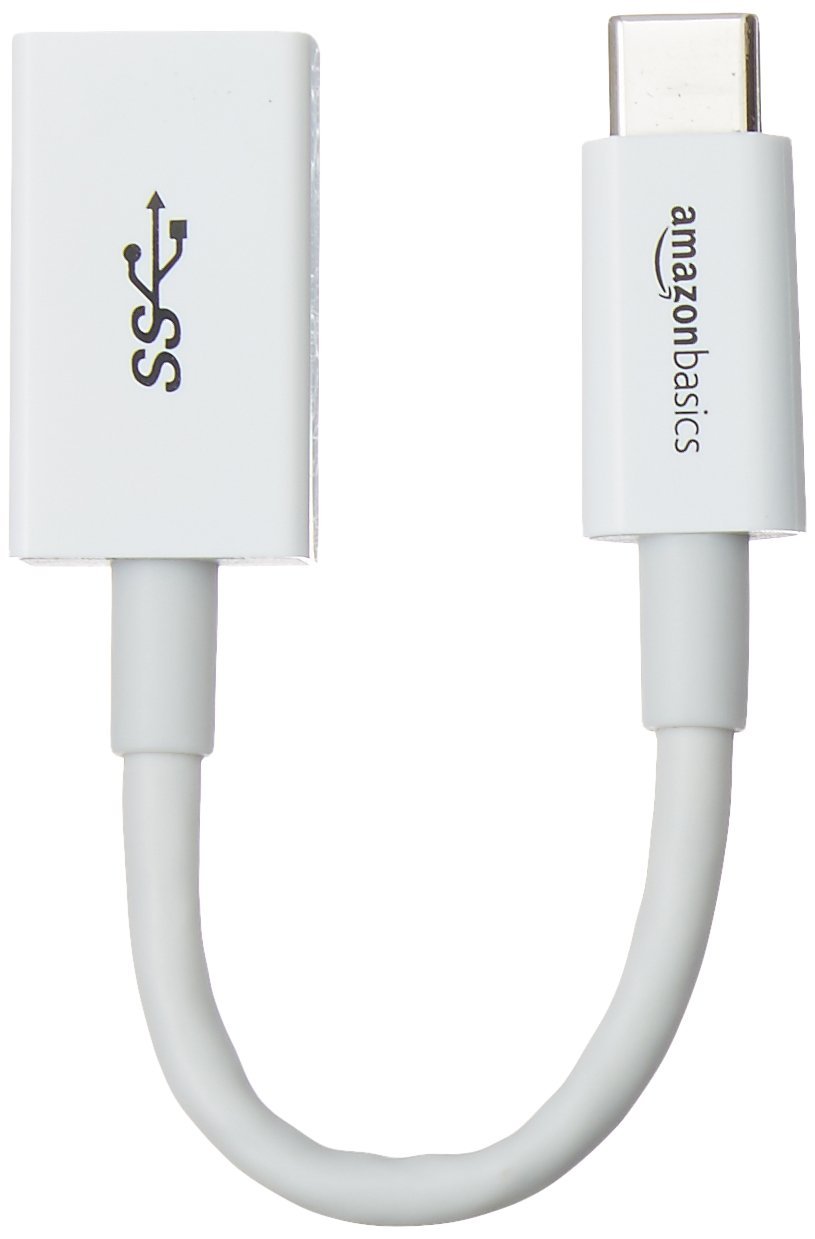
For a no-frills connection, you aren't going to get any cheaper than this. Amazon's simple connector charges your USB-A device and supports 5Gbps data transfer. It's similar to Apple's adapter but costs just one-third of the price.
Whether its because you want to save money or you don't need a lot of different connections, a simple USB-C to USB-A adapter is going to give you the most mileage. With a little dongle like this, you can connect hard drives, microphones, printers, cameras, and many other accessories!
Additional Equipment
While these aren't as handy as adapters in all situations, there are a few of cables that may be worth picking up if you want to charge your iPhone without a dongle, or if you ever use Bluetooth speakers, wireless headphones, and other technology that uses Micro-USB connections, or even being back MagSafe!
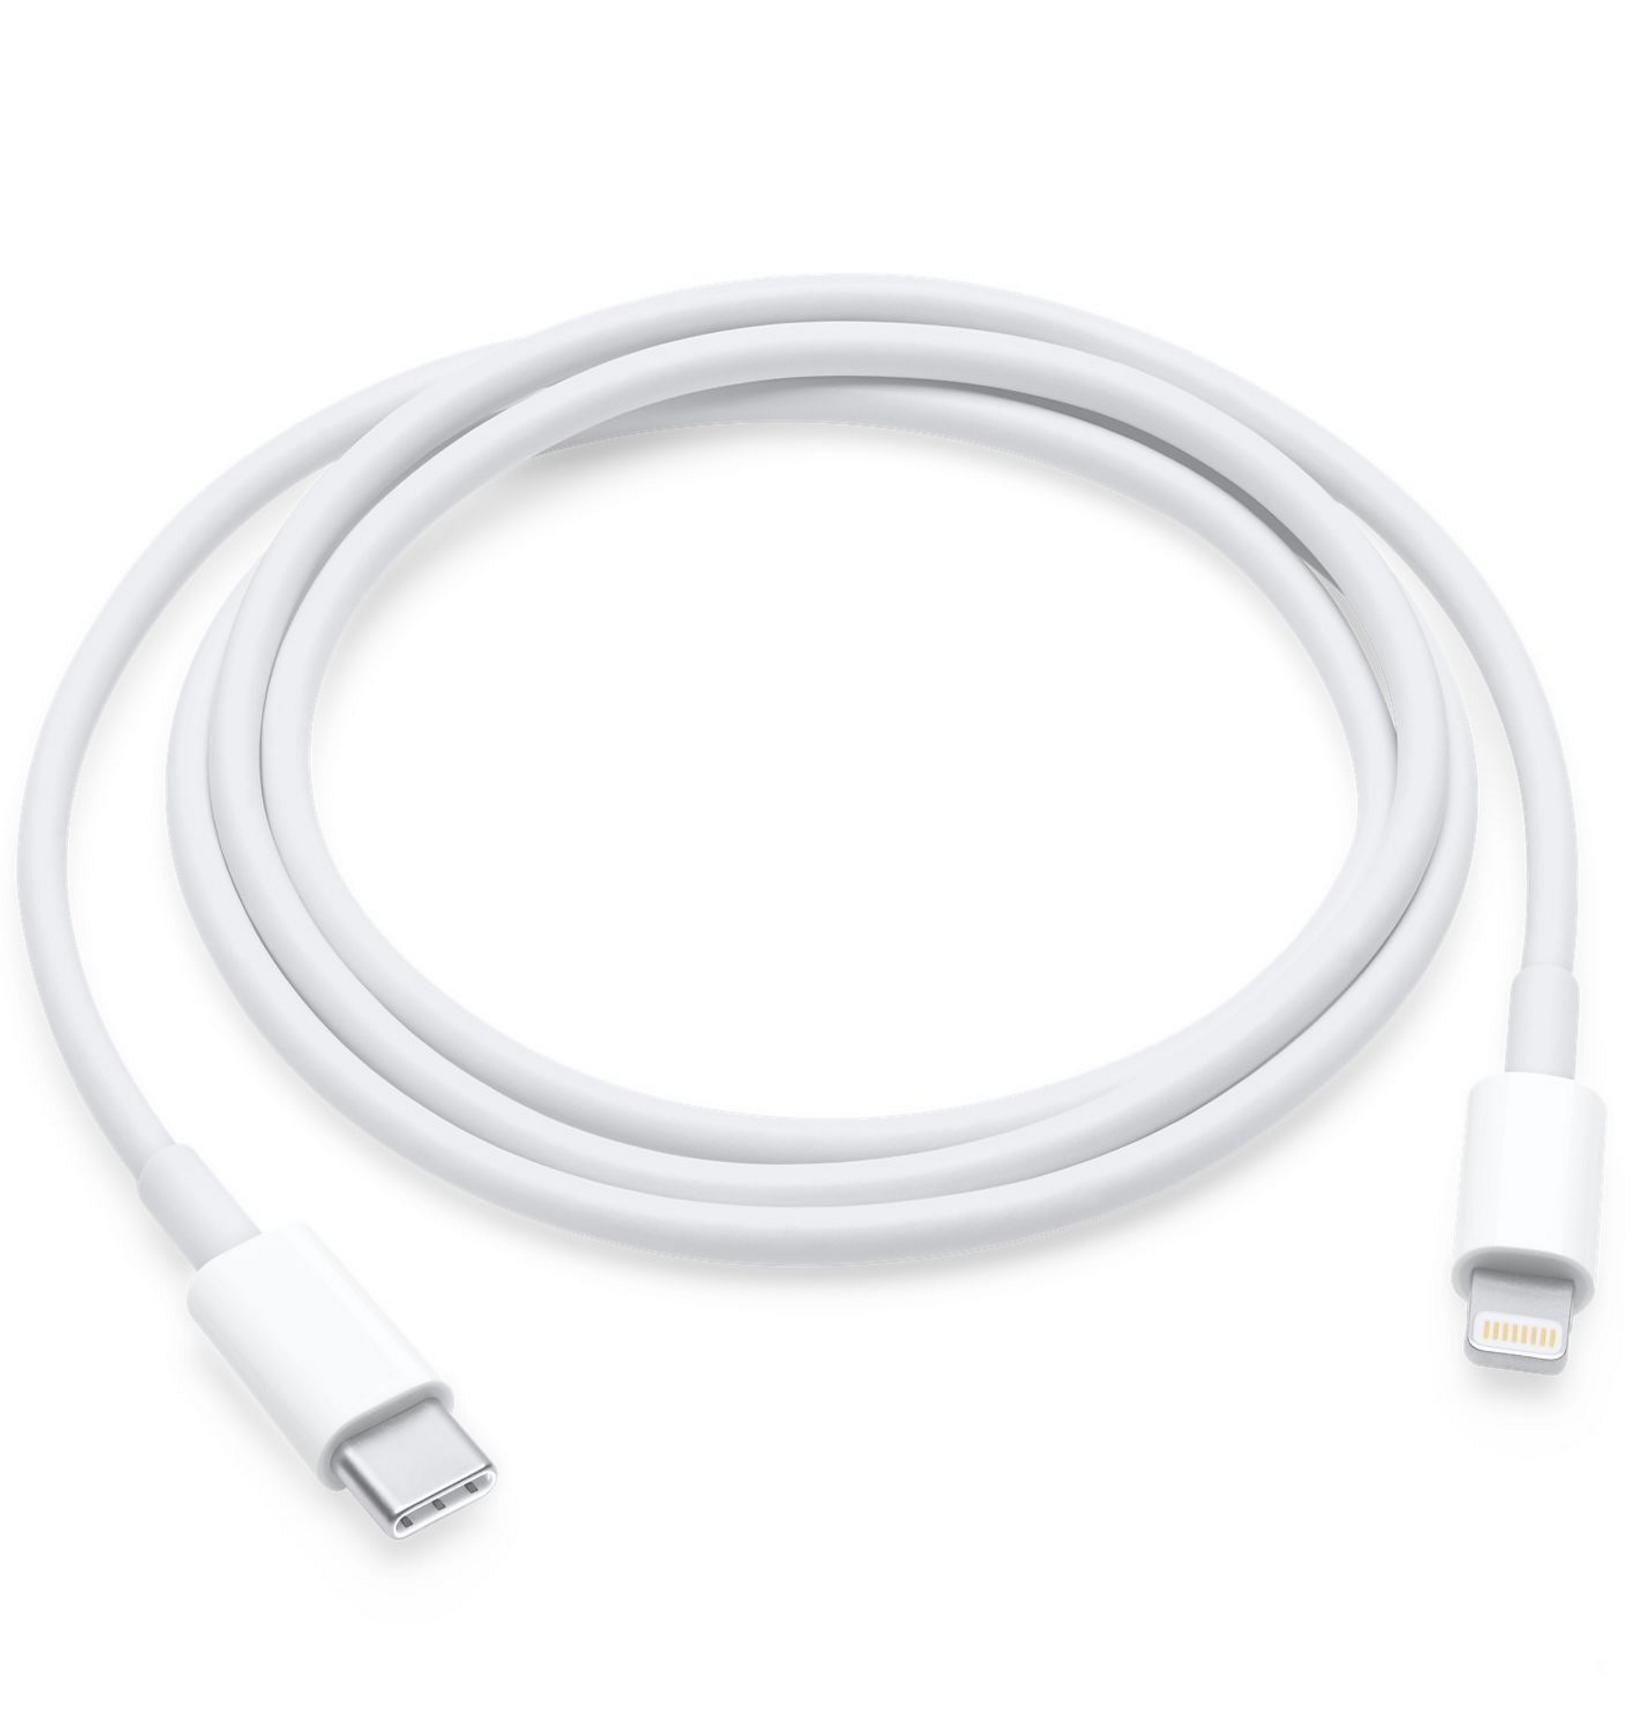
Apple's USB-C to Lightning cable ($19 at Apple)
Although you could use the USB-C to USB-A adapter and connect your iPhone or iPad that way, you can also buy a USB-C to Lightning cable and avoid the dongle all together.
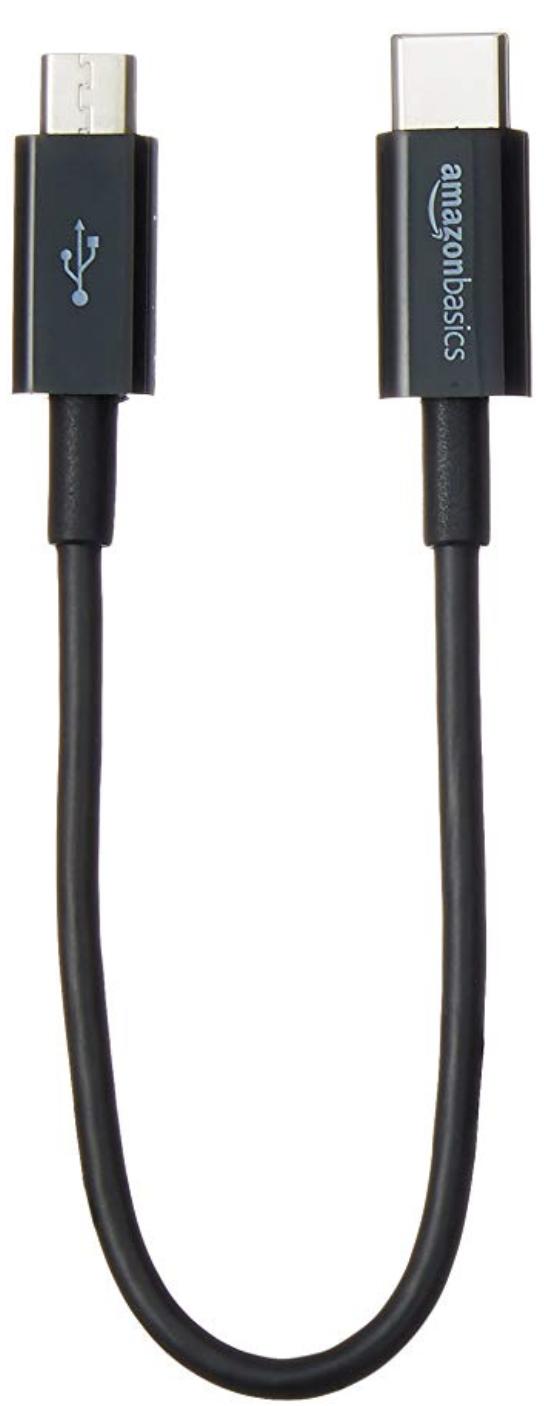
AmazonBasics USB-C to Micro-USB cable ($7 at Amazon)
Micro-USB is still used quite frequently for charging batteries in many peripherals such as power banks, Bluetooth speakers, and some wireless headphones.
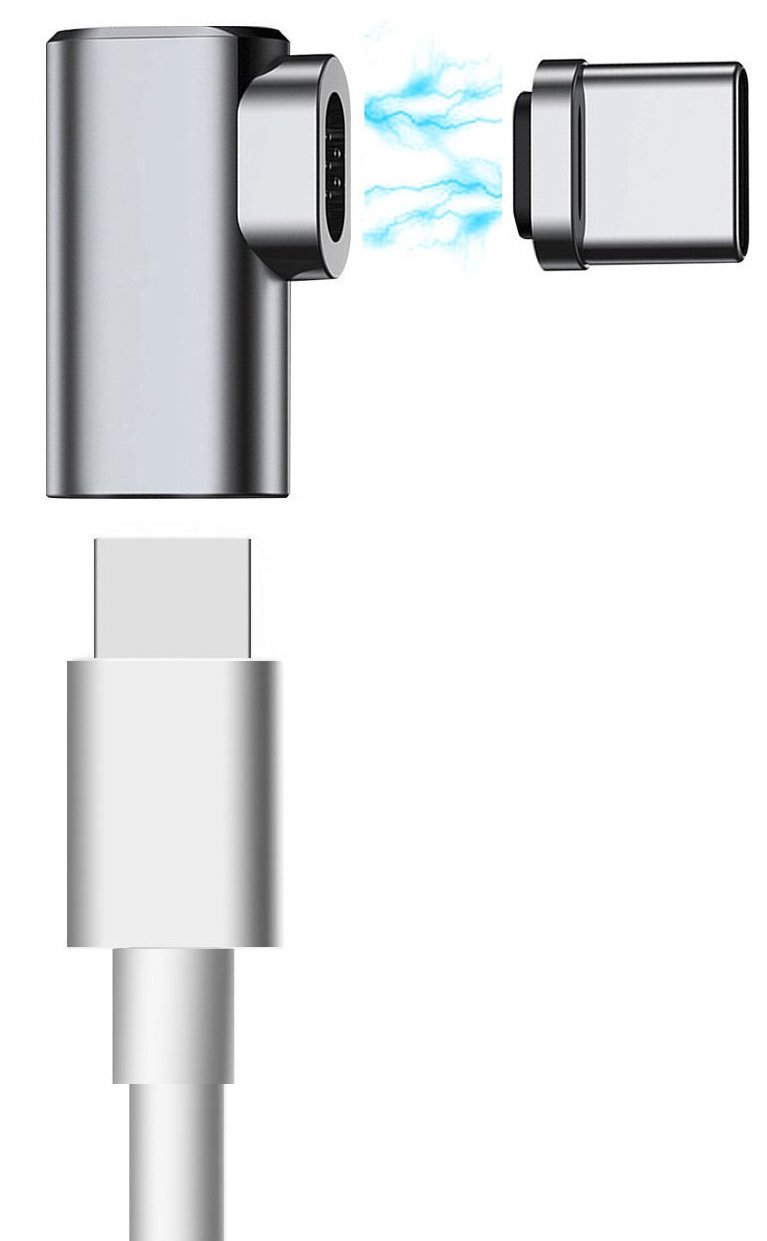
Dreamvasion magnetic charger adapter ($16 at Amazon)
If you long for the old days, when your MacBook Pro charging cable was a MagSafe connector, you can relive those times again with Dreamvasion's fast-charging cable adapter.

Luke Filipowicz has been a writer at iMore, covering Apple for nearly a decade now. He writes a lot about Apple Watch and iPad but covers the iPhone and Mac as well. He often describes himself as an "Apple user on a budget" and firmly believes that great technology can be affordable if you know where to look. Luke also heads up the iMore Show — a weekly podcast focusing on Apple news, rumors, and products but likes to have some fun along the way.
Luke knows he spends more time on Twitter than he probably should, so feel free to follow him or give him a shout on social media @LukeFilipowicz.
