How to create and run a macOS VR app using Unity: Part 1
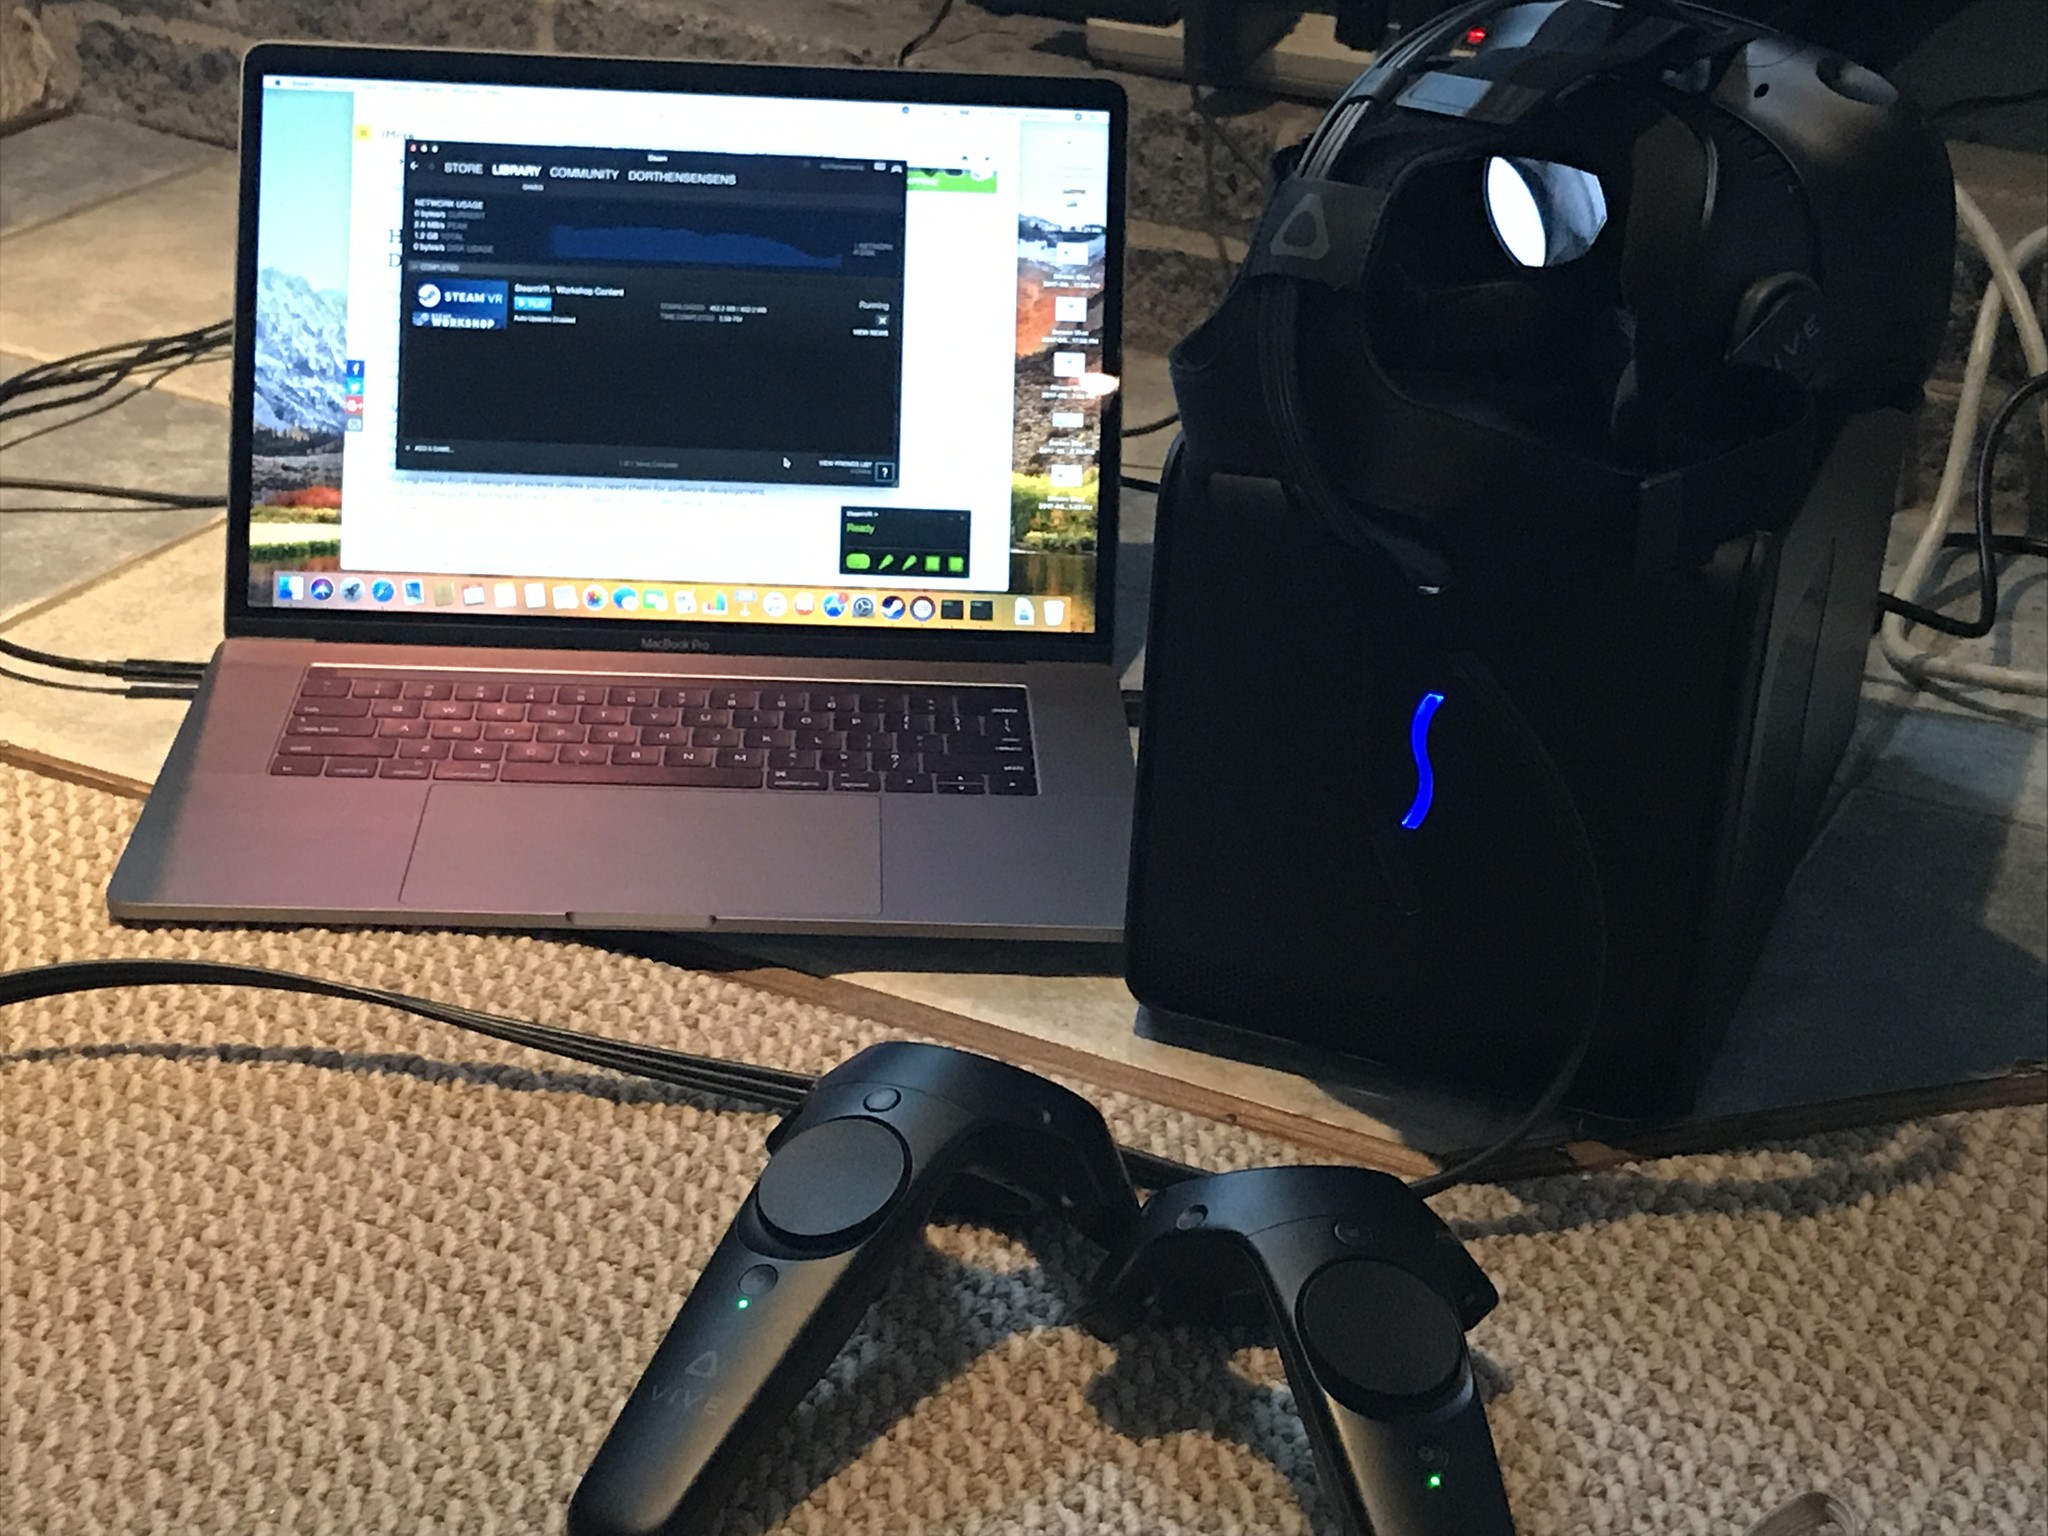
If you've been eying the latest trends in game development you couldn't possibly miss the recent hype (deserved in my opinion) around VR and AR applications. We've also spoken at length about installing and running an HTC Vive VR headset on your Mac running macOS High Sierra.
With an eGPU development kit offered by Apple or with the newest iMac Pro running a powerful AMD Radeon Vega GPU, you can create and then run VR applications directly on a connected HTC Vive VR headset. Here's part 1 of our 2 part series on how to create and run a simple VR application on macOS and HTC Vive! Check out part 2 here!
This tutorial was written following the video tutorial provided by VRGameDev on Youtube so be certain to check out their channel!
Install Unity Engine
If you haven'y already done so, you'll need to install a VR ready development engine such as Unity. Unity Engine Personal Edition is free for your personal use and tutorial purposes. Once you become more proficient and start selling your VR applications, you can then get one of Unity's commercial licenses. You can [follow our guide to install Unity](/how-install-unity-engine-macos-vr-application-creation} if you need help, or follow the following summary.
- Navigate with a browser to https://unity.com/.
- Click on Get Unity.
- Click on Try Personal.
- Check the box to agree to the Terms of Service.
- Click Download Installer.
- Double click the UnityDownloadAssistant dmg file you just downloaded.
- Double click the Unity DownloadAssistant** icon.
- Click Continue.
- Click Continue again.
- Select the Components you wish to Install. This can be left as default.
- Click Continue.
- Select the installation Destination.
- Click Continue.
- Once the installation is complete click Close.
How to start a new project
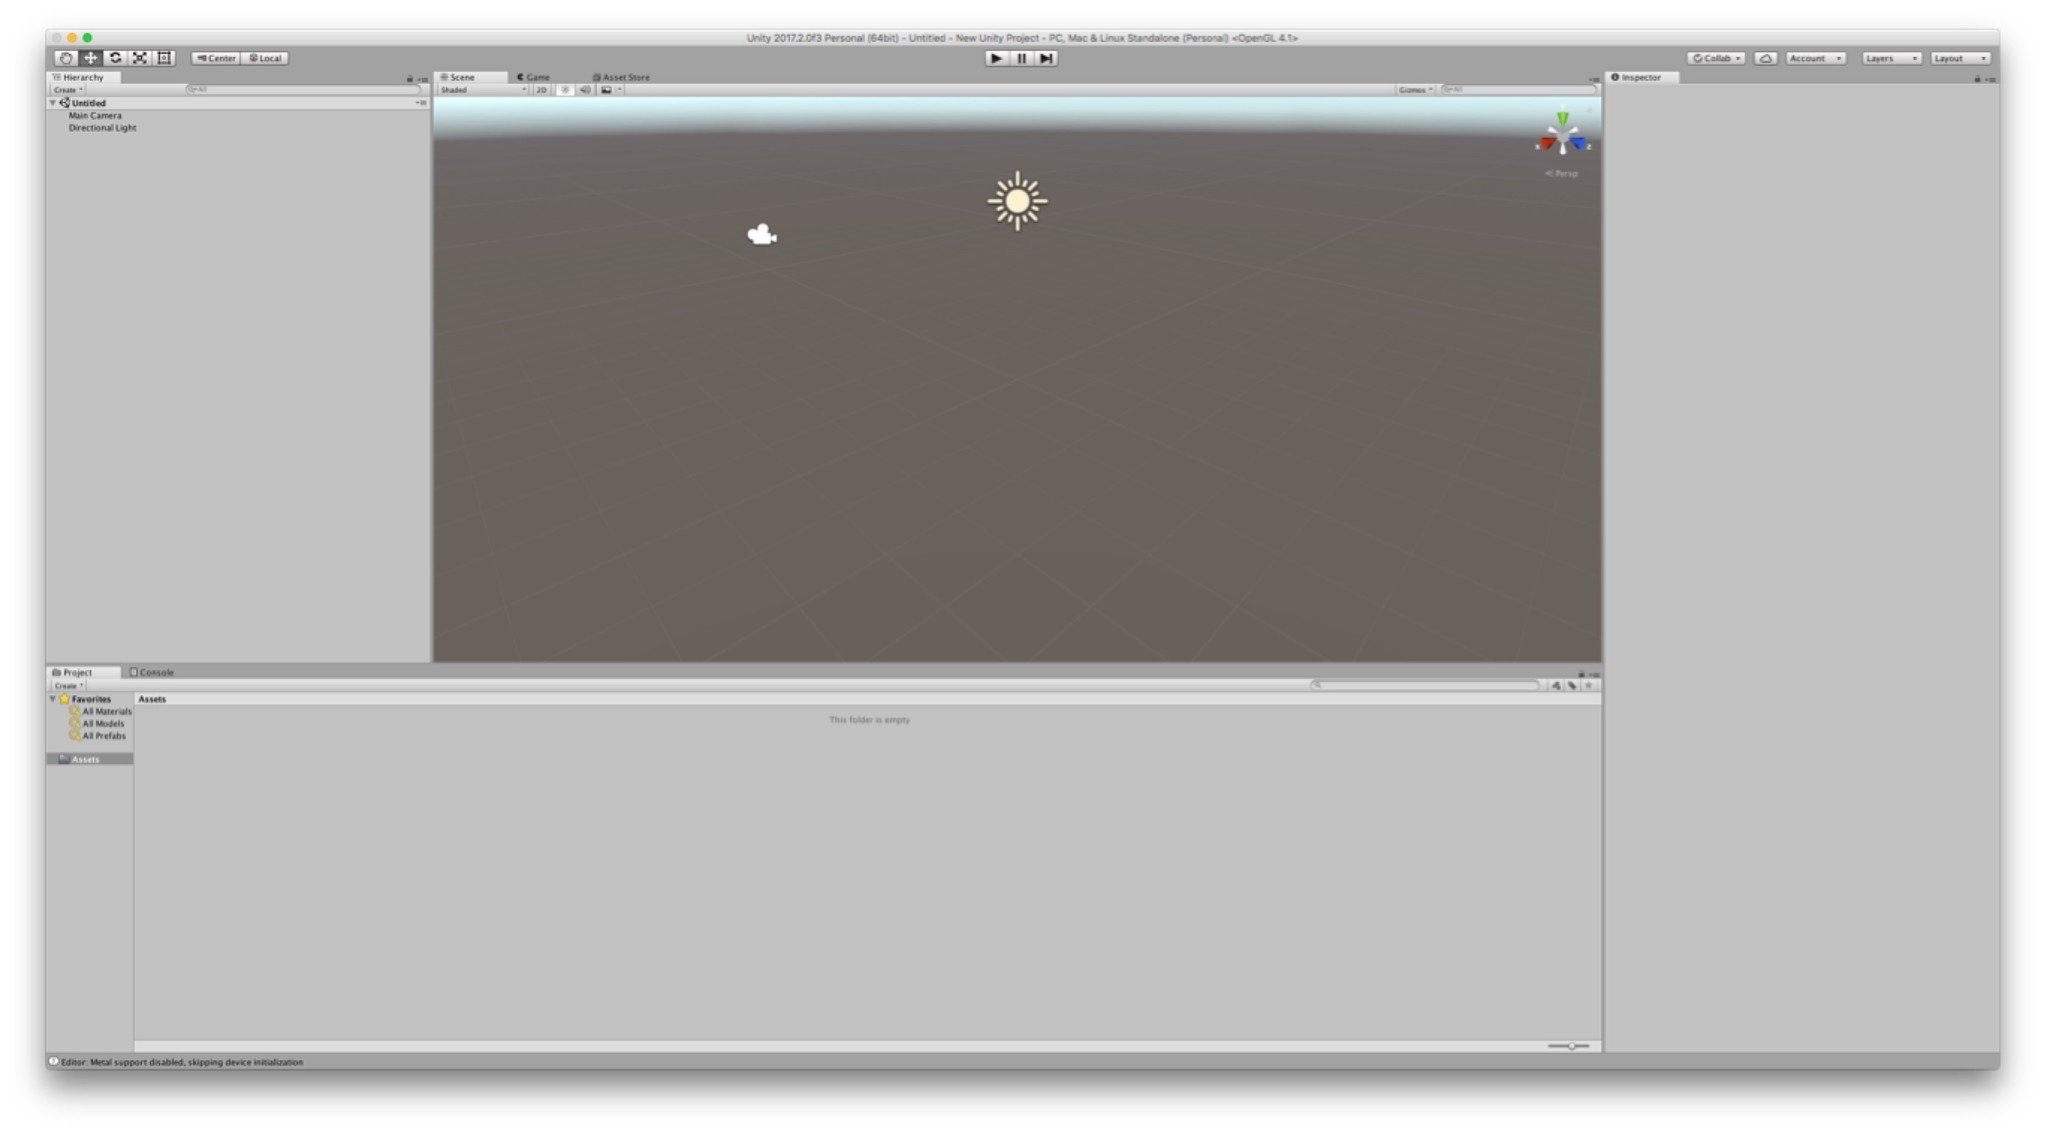
Once installed we're ready to get down to business and start and name a new project.
- Click New project.
- Enter a Project name
- Make certain that the project is set to 3D.
- Enter a save Location..
- Click Create project.
You should now have an empty project 3D project ready to go!
How to start building the VR application
Make the floor
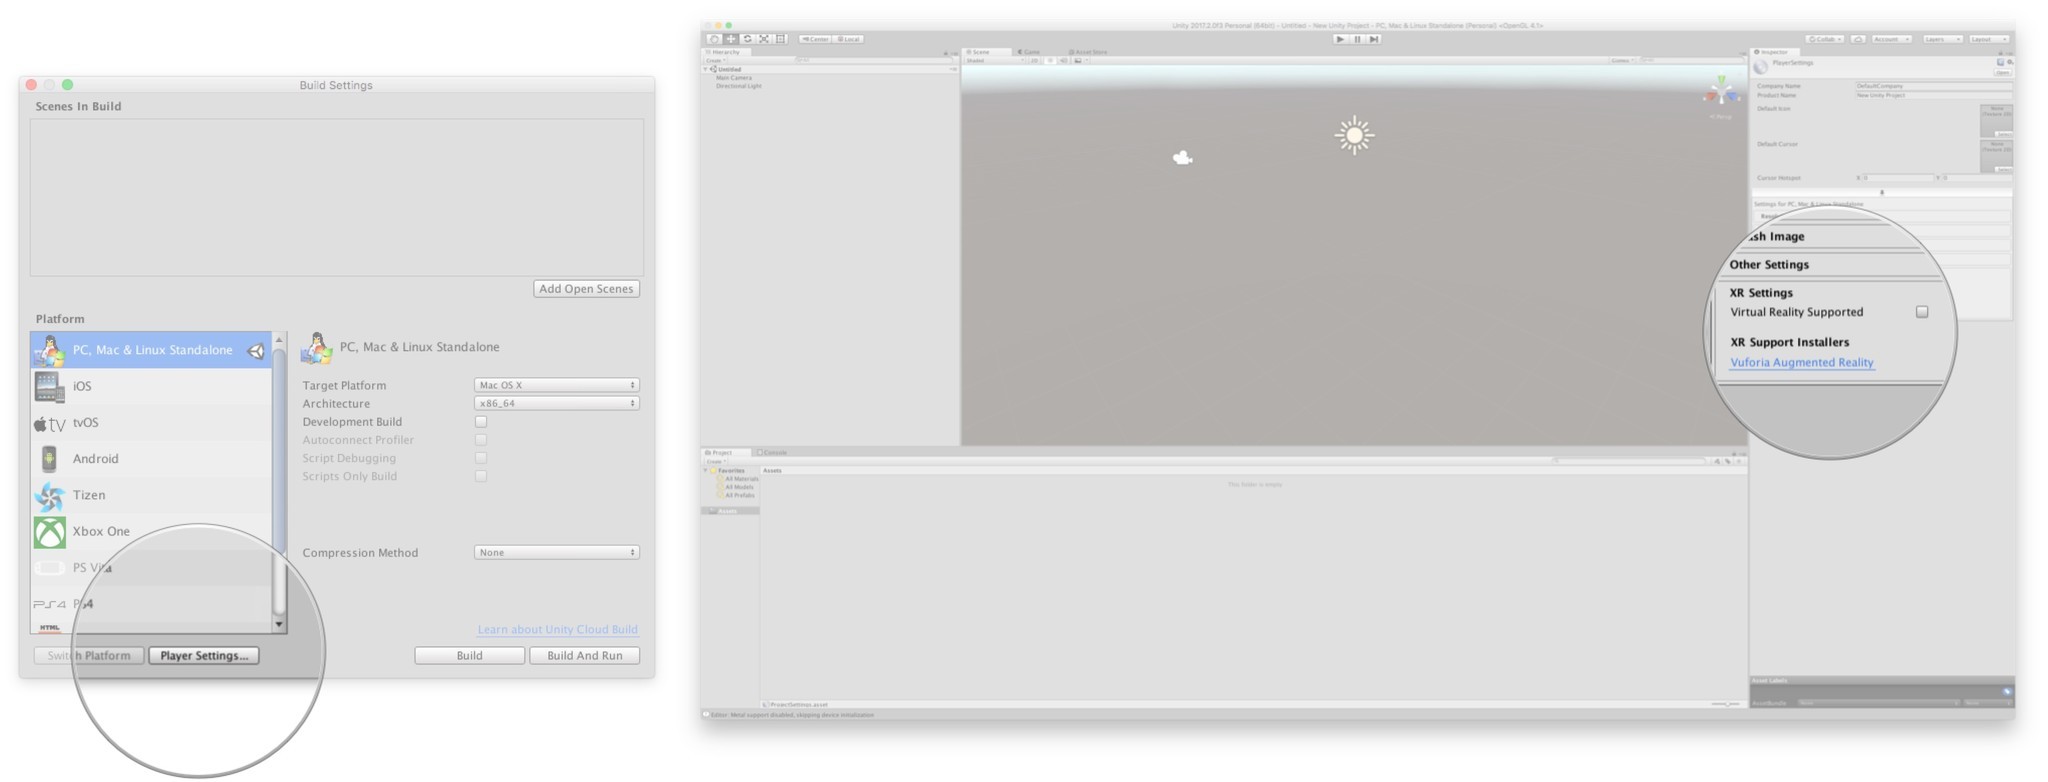
- Select File > Build Settings.
- Click Player Settings.
- Check XR Settings to be Virtual Reality Supported.
- Click the Oculus Virtual Reality SDK.
- With Oculus highlighted click the - to remove it (It's not needed as OpenVR works on all VR platforms).
- Select File > Save Scene as.
- Enter a Save As name for the scene.
- Click Save. A New Icon will appear with the name of your scene.
- Under Hierarchy, click Create > 3D object > Plane.
- Click on the Plane we just created.
- Under Transform, change the scale of your plane to X=1000, Y=1, Z=1000.
- Under the Project menu, click Create > Material.
- You'll see a sphere appear in the assets. Rename that to Floor.
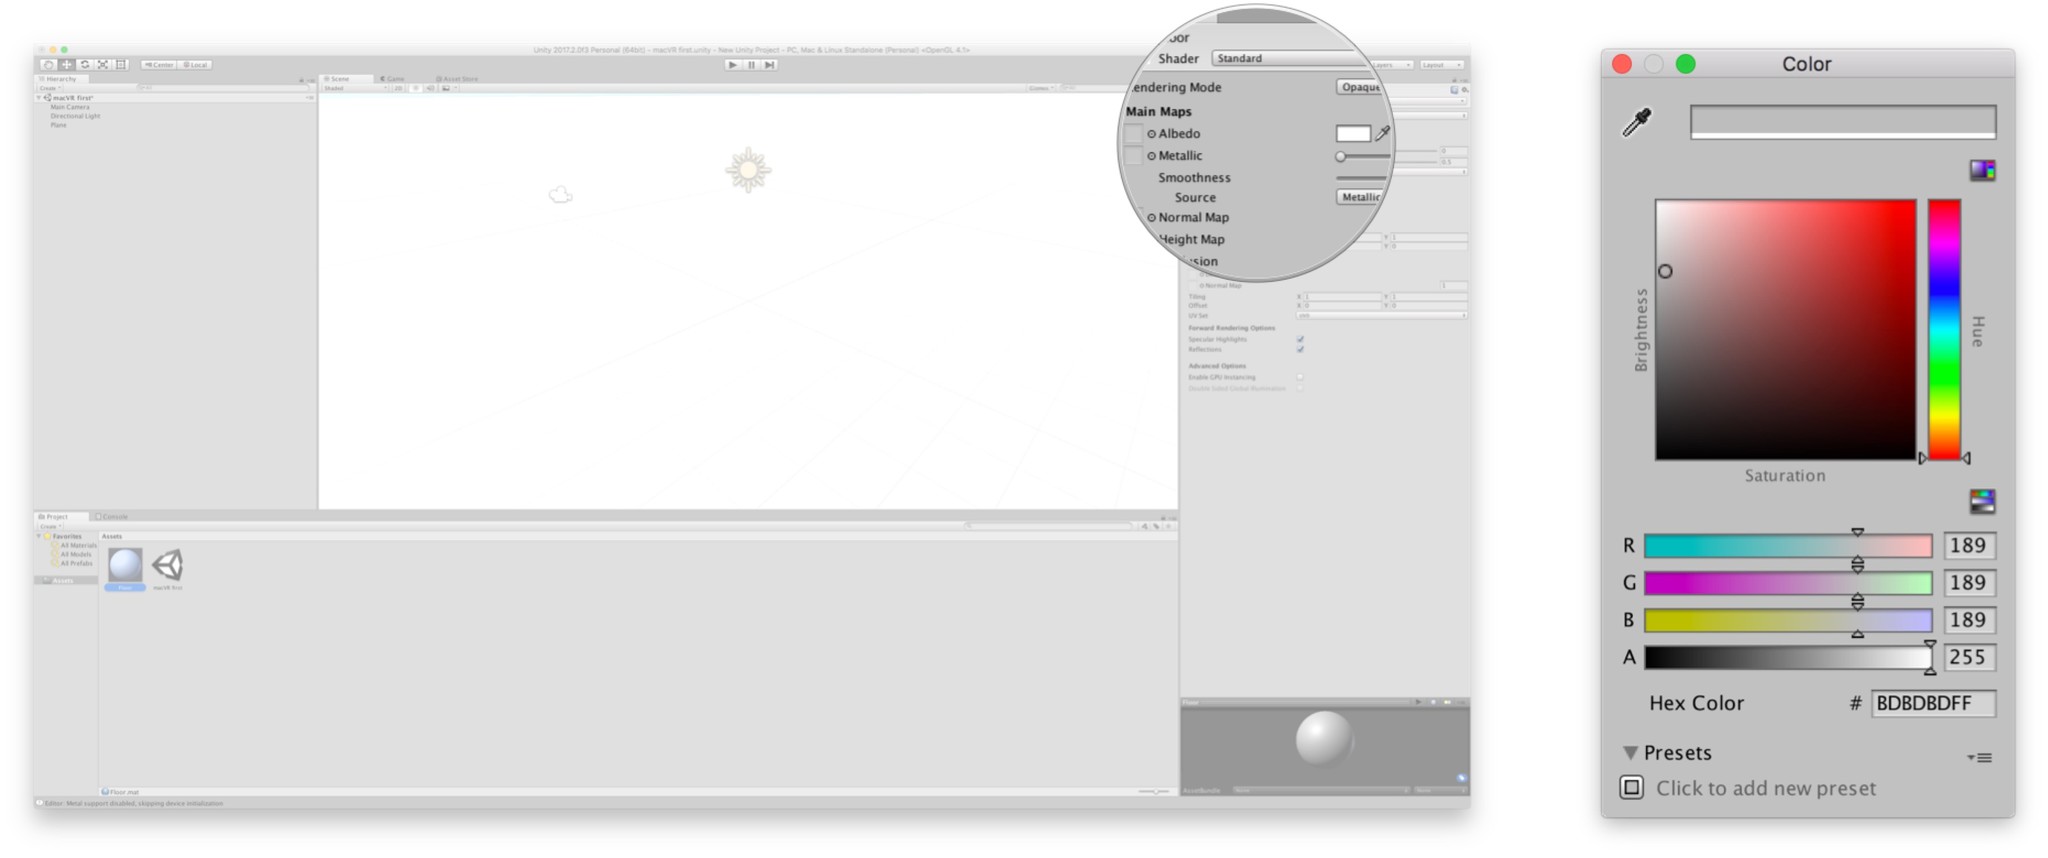
- Click on the square next to Albedo and select a color such as green to represent the floor in your VR app.
- Once again select Plane and rename it to floor.
- Drag the asset Floor onto the hierarchy Floor to make it the color you selected.
- The floor of your VR world in now green.
Make the interactive object
It's great to have a VR world to stand in but it's better to have object to interact with. Here we'll be creating a simple cube that we can manipulate in the VR world.
iMore offers spot-on advice and guidance from our team of experts, with decades of Apple device experience to lean on. Learn more with iMore!
- Under Hierarchy again, select Create > 3D object > Cube.
- Select Cube.
- Under Transform, change the scale to X=0.2, Y=0.2, and Z=0.2.
- Set the position under transform to X=0, Y=0.1, and Z=0.
- Under the Project menu, click Create > Material.
- Rename the material to Cube.
- Click on the square next to Albedo and select a color such as red to color the cube in your VR app.
- Select Cube in the assets and drag it to Cube under Hierarchy.
- The interactive cube is now red.
Stay Tuned
To make things more digestible we'll be posting how to create hands, apply interaction on objects, and finally build and run your VR application on macOS using the HTC vive on a subsequent how-to so keep an eye out! Let us know how you've fared thus far in the comments!

