How to do a clean install of macOS Big Sur
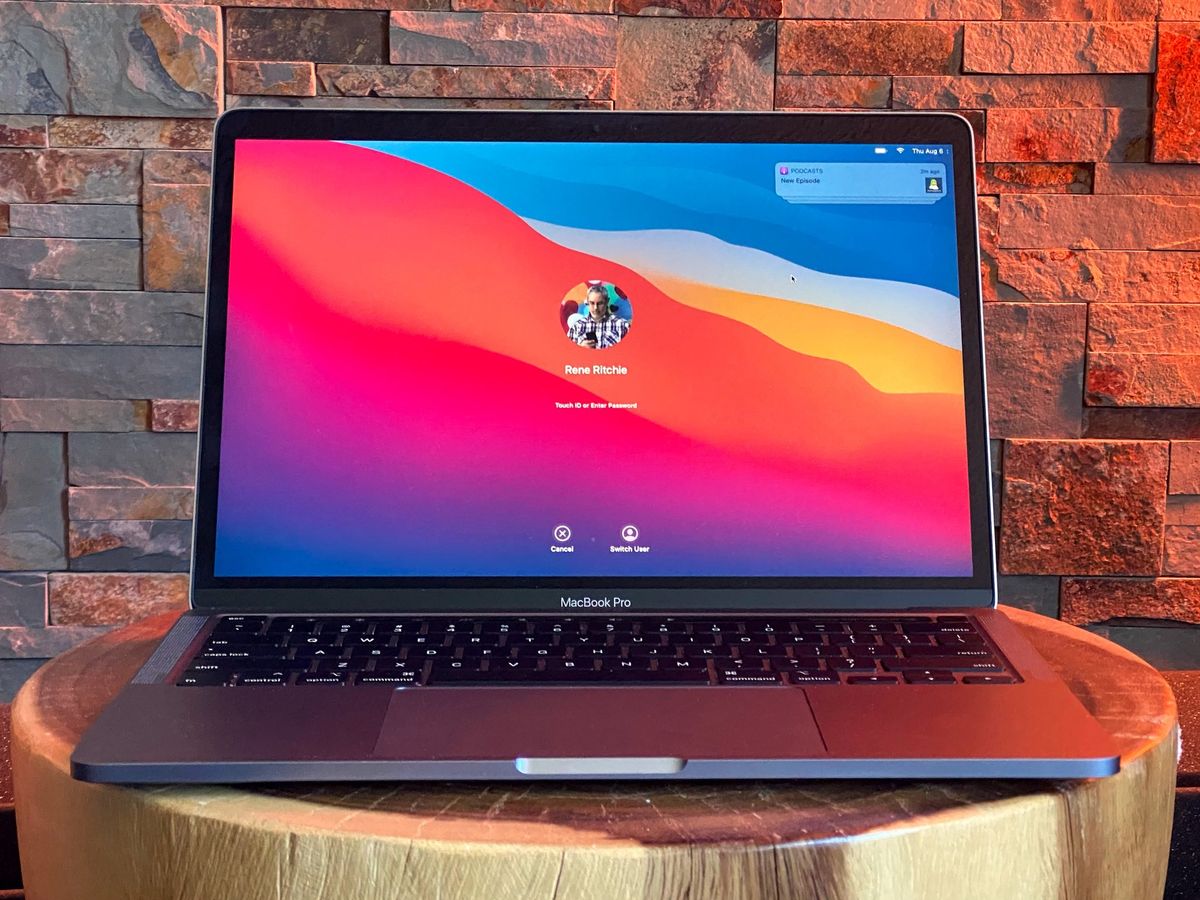
Downloading and installing a new OS gives you the opportunity to do some major house cleaning if you so desire. If you feel like you'd like a fresh start with macOS Big Sur, you can always opt to do a clean install: Just follow the steps below, even if you've already installed macOS Big Sur.
Make sure you understand the difference between a clean install and a standard install before you get started.
Note: If you are reading this article on the Mac you want to perform the clean install with, switch to another device or print this page before continuing so you can read along as you go.
Step 1: Back up your Mac
This process will erase whichever OS you're currently using from your hard drive entirely. That means any files, programs, or documents you have will be deleted. To save your files, put them on an external hard drive or a cloud-based program like Dropbox, OneDrive, or iCloud. If you don't save these important files off your computer, because you will lose them.
Step 2: Create a bootable drive of macOS Big Sur
Before you erase your current operating system, download macOS Big Sur from the Mac App Store. You'll need a copy of macOS Big Sur to perform a clean install later on. If you don't create a bootable drive for macOS Big Sur, you may have to install an older Mac operating system first and then upgrade to macOS Big Sur afterward.
Step 3: Erase your hard drive
- Connect your Mac to the internet via Wi-Fi or Ethernet
- Click on the Apple icon.
- Select Restart from the drop-down menu.
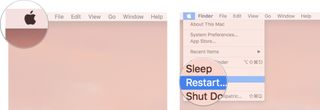
- Hold down Command-R when you hear the startup chime (or the screen turns black on newer Macs) and keep holding the keys until your computer reboots.
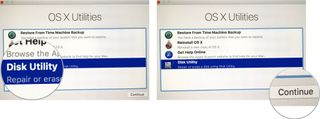
- Click on Disk Utility in the OS X Utilities selector.
- Click Continue.
- Select your Startup Disk.
- Click on the Erase tab at the top of the window.

- Enter a name for the file to be destroyed (Like macOS Mojave or something).
- If your Mac is using HFS+, select Mac OS Extended (Journaled) from the format list. If your Mac is using APFS, select APFS from the format list.
- If Scheme is available, select GUID Partition Map.
- Click Erase.

Step 4: Reinstall a new copy of macOS Big Sur
- Click on Reinstall a new copy of macOS.
- Click Continue.
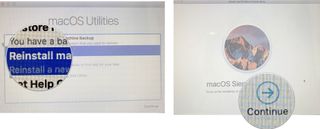
- Click Continue again when the installer window appears.
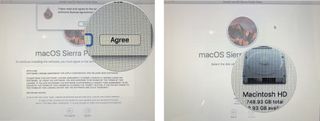
- Agree to the software terms and conditions.
- Select your hard drive.
- Click Install.
- Complete the installation process.
Upgrade time?
Are you in the market for a new MacBook? Check out our favorites for the year.
Questions?
Any questions about performing a clean install? Let us know below in the comments.
Master your iPhone in minutes
iMore offers spot-on advice and guidance from our team of experts, with decades of Apple device experience to lean on. Learn more with iMore!
Updated November 2020: Updated for macOS Big Sur's public release.
Lory is a renaissance woman, writing news, reviews, and how-to guides for iMore. She also fancies herself a bit of a rock star in her town and spends too much time reading comic books. If she's not typing away at her keyboard, you can probably find her at Disneyland or watching Star Wars (or both).

