How to learn to draw with iPad and Apple Pencil

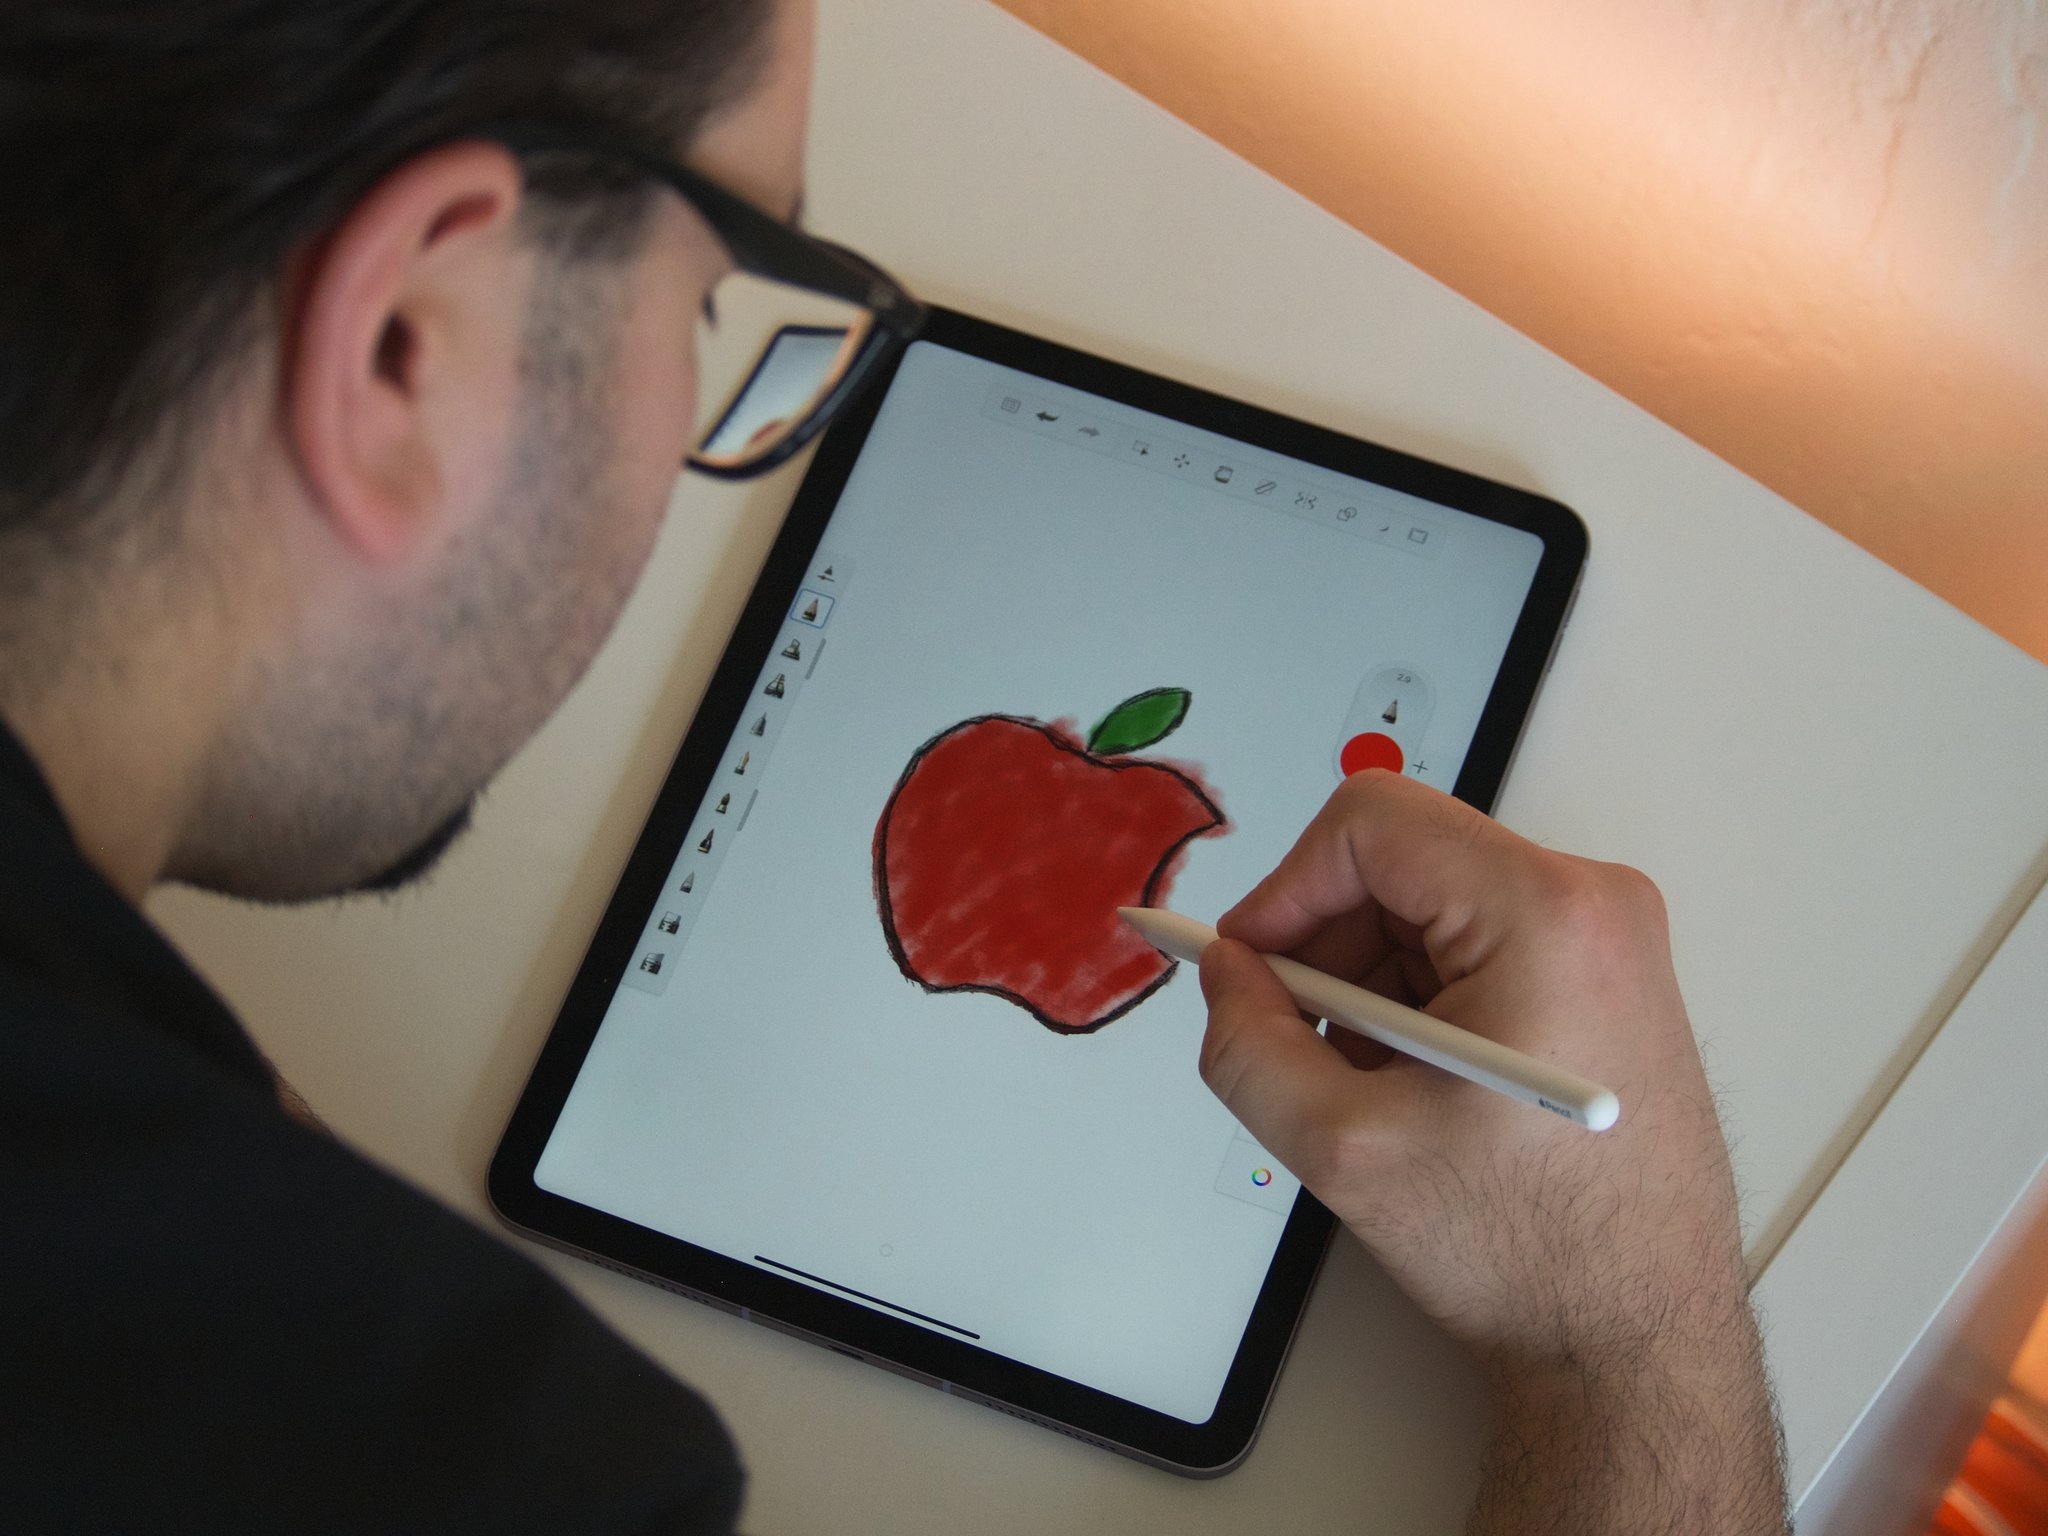
Apple's Pencil and Pencil 2 stand out from the rest of the stylus crowd for a number of reasons. They work in tandem with Apple's iPad displays to create low-latency brush strokes, they're both lengthier than your average digital pen, and they charge up without the need for any extra accessories.
And when it comes to drawing or writing with one, there are only a few basic techniques you need to know before you can start mastering your new tool. Here's what you need to do in order to learn how to draw with Apple Pencil.
Download some drawing apps for iPad
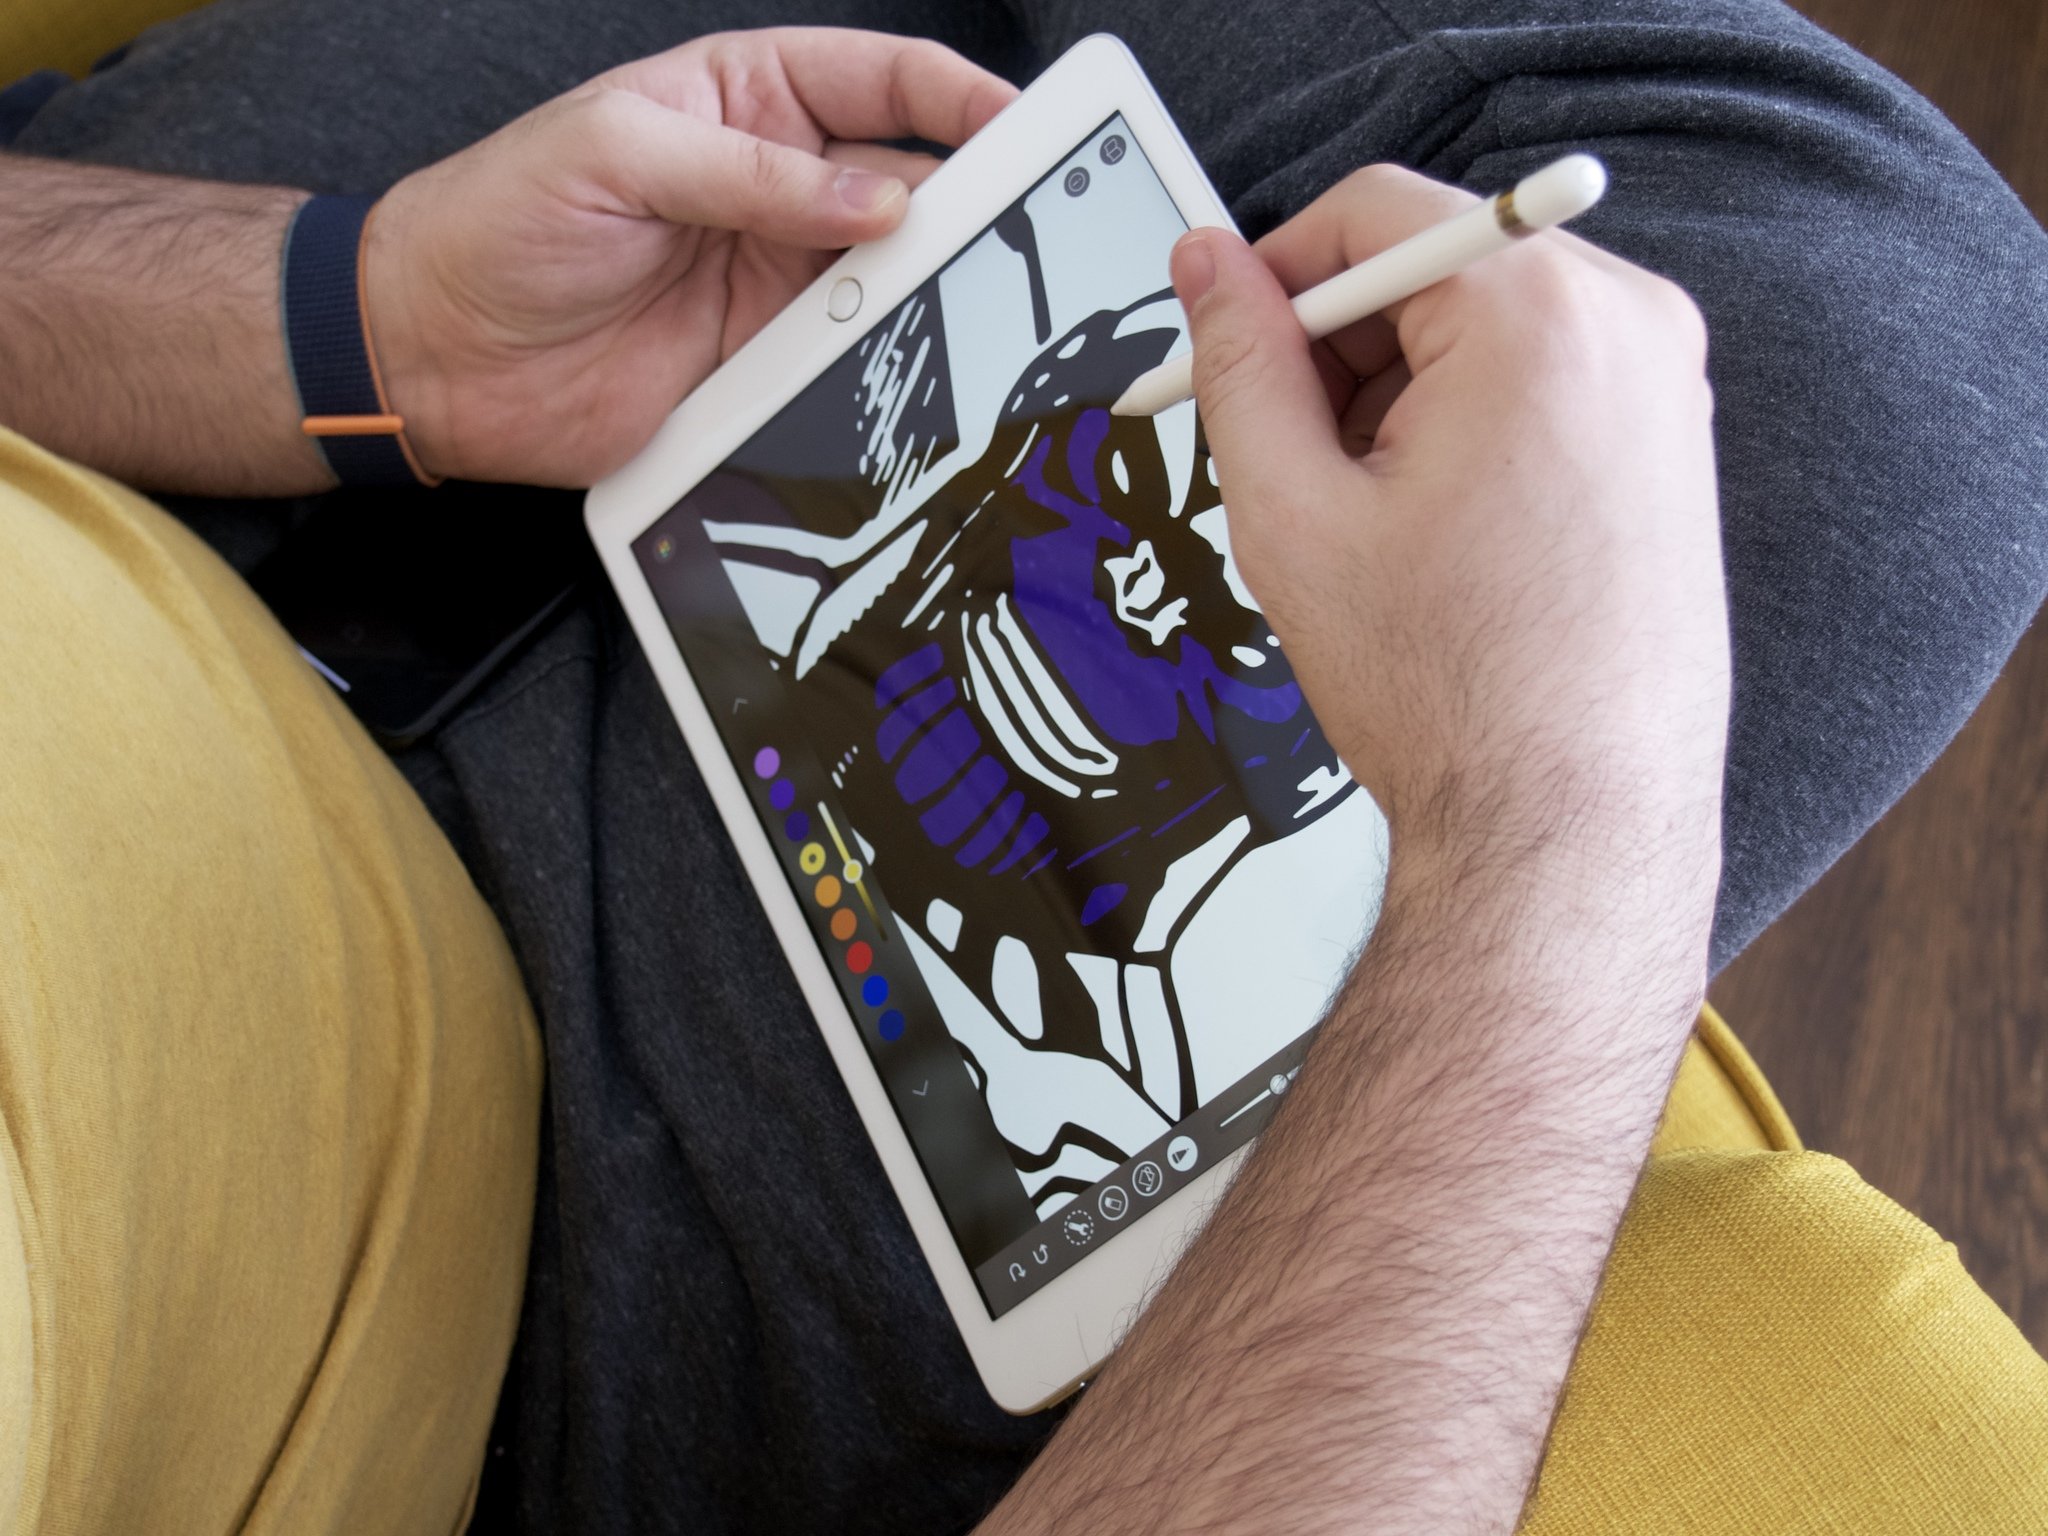
It may sound obvious, but one of the best ways to figure out how to get the most out of your Apple Pencil is to download a bunch of apps and start practicing.
Apple's built-in Notes app is a good place to start since it's already on your iPad and offers some basic handwriting and sketching support, though there are plenty of great drawing apps for iPad and Apple Pencil that you can snag from the App Store. We recommend starting out with some of the free options in order to learn the basics, then head for the in-app purchase or paid-for app once you've got the hang of things.
Get to grips with your Apple Pencil's features
While doodling around in your drawing app of choice, it's well worth getting to know exactly how to use your Apple Pencil and learning some of the features it boasts. Apple Pencil is more than just a stylus; it actually offers some built-in smarts that set it apart from third-party iPad styluses.
Use your hands
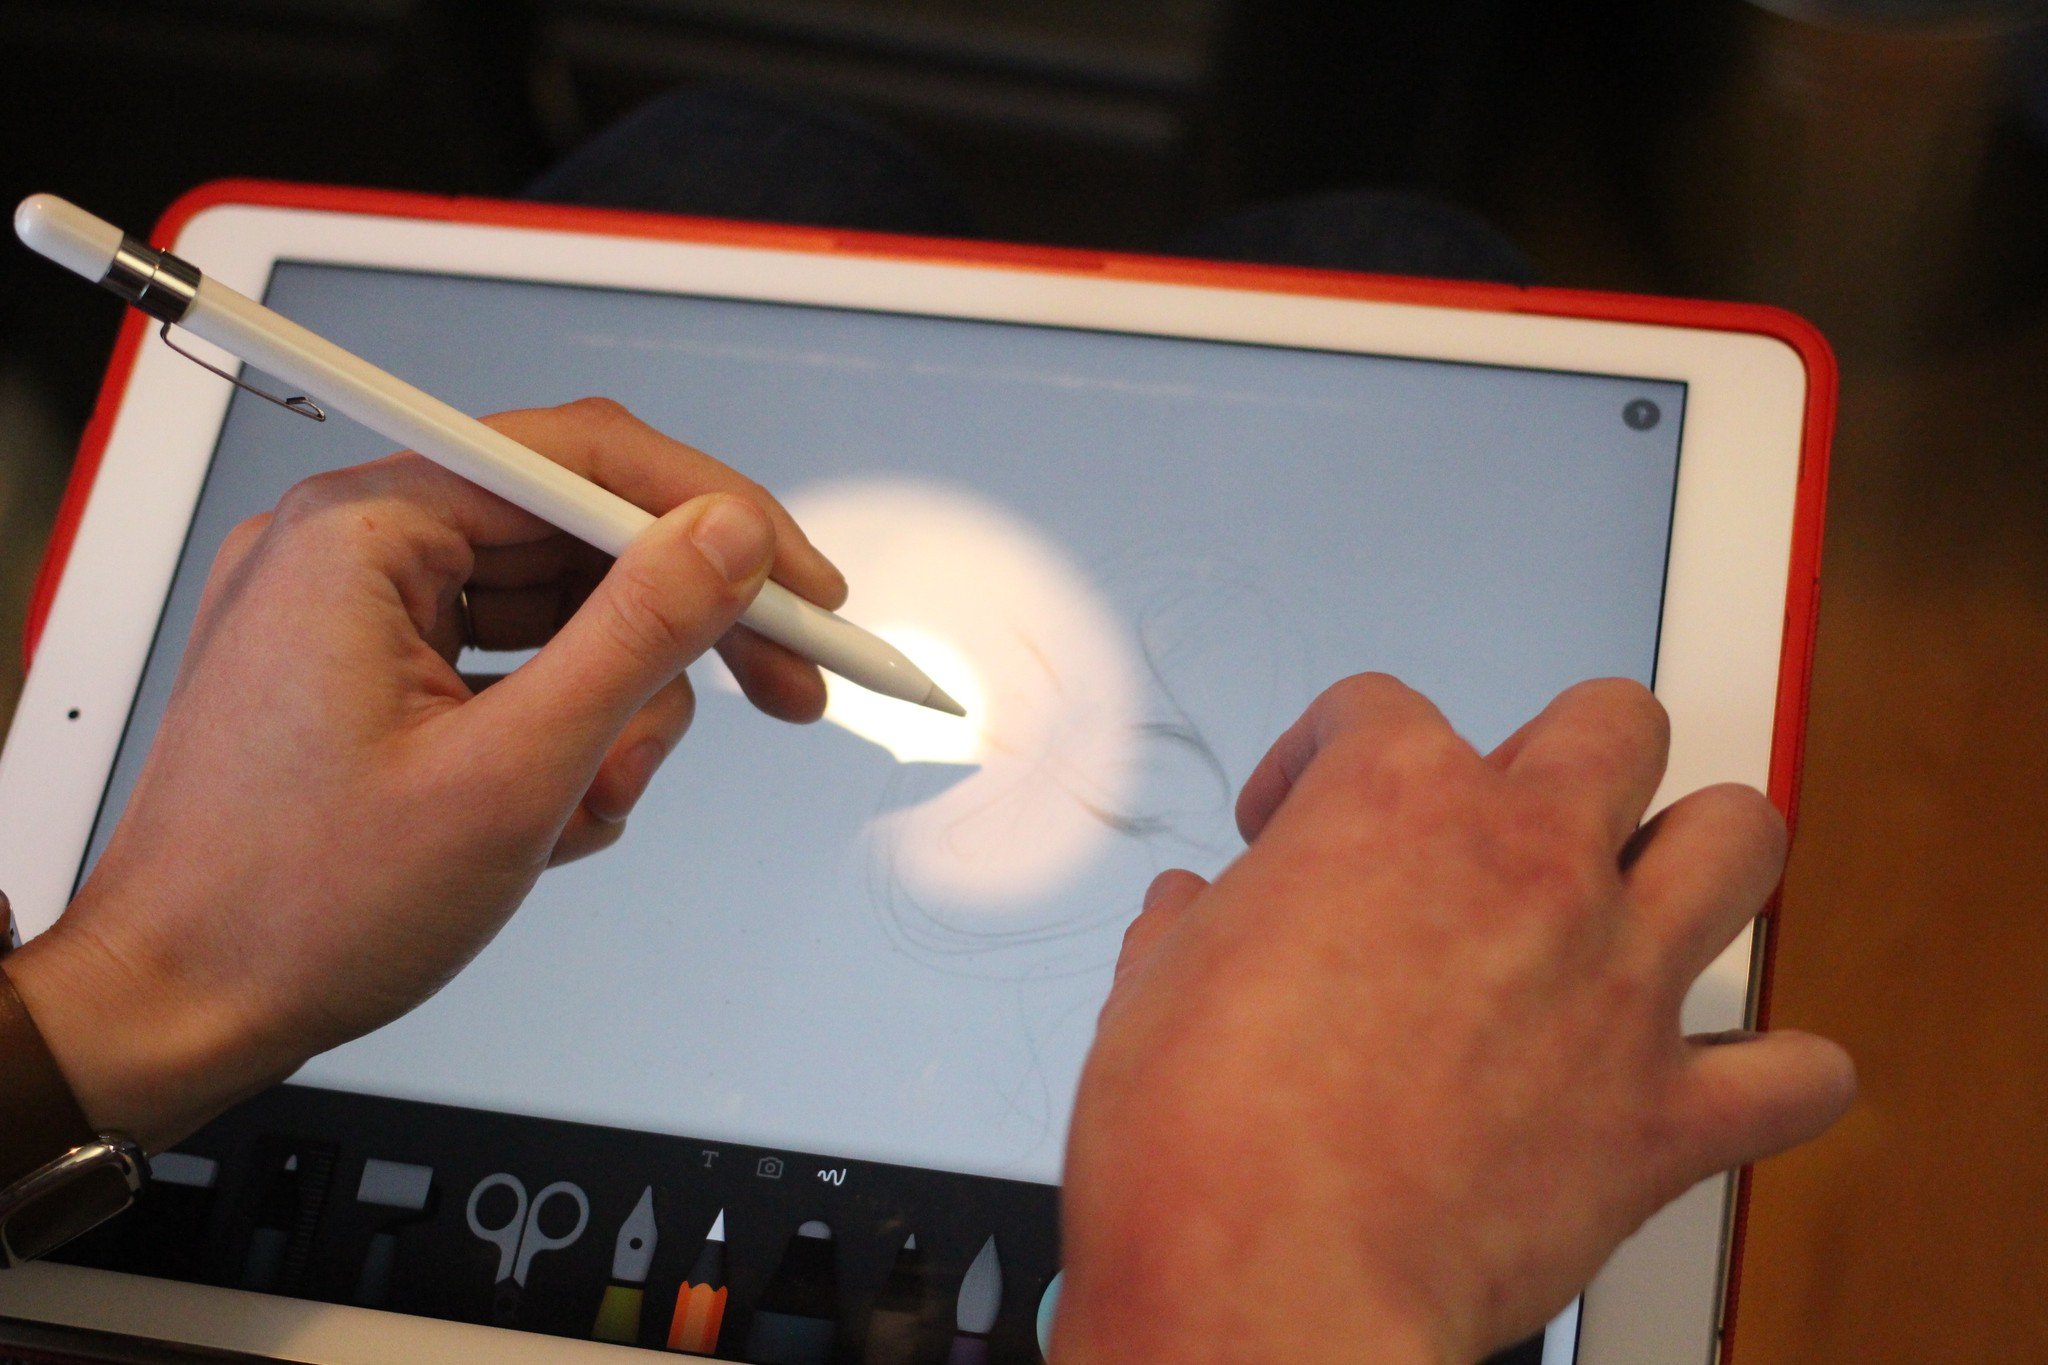
When you draw with Apple Pencil, your hand, arm, and fingers can rest on the screen thanks to the iPad's palm-rejection technology. While previous third-party styluses have had variations on palm rejection in certain apps, they never quite worked perfectly; the Apple Pencil, in contrast, is about as perfect at palm rejection as you can get with a digital touchscreen (though its implementation in some apps can, admittedly, vary).
Because of bad stylus experiences in the past, it's common for first-time Pencil users to awkwardly grip it and hover their hand above the screen but you don't need to. Feel free to rest your hand against the screen while you draw. It'll take a bit of getting used to, but once you do, it'll feel as natural as resting your hand on paper.
Master your iPhone in minutes
iMore offers spot-on advice and guidance from our team of experts, with decades of Apple device experience to lean on. Learn more with iMore!
Test the Pencil's pressure
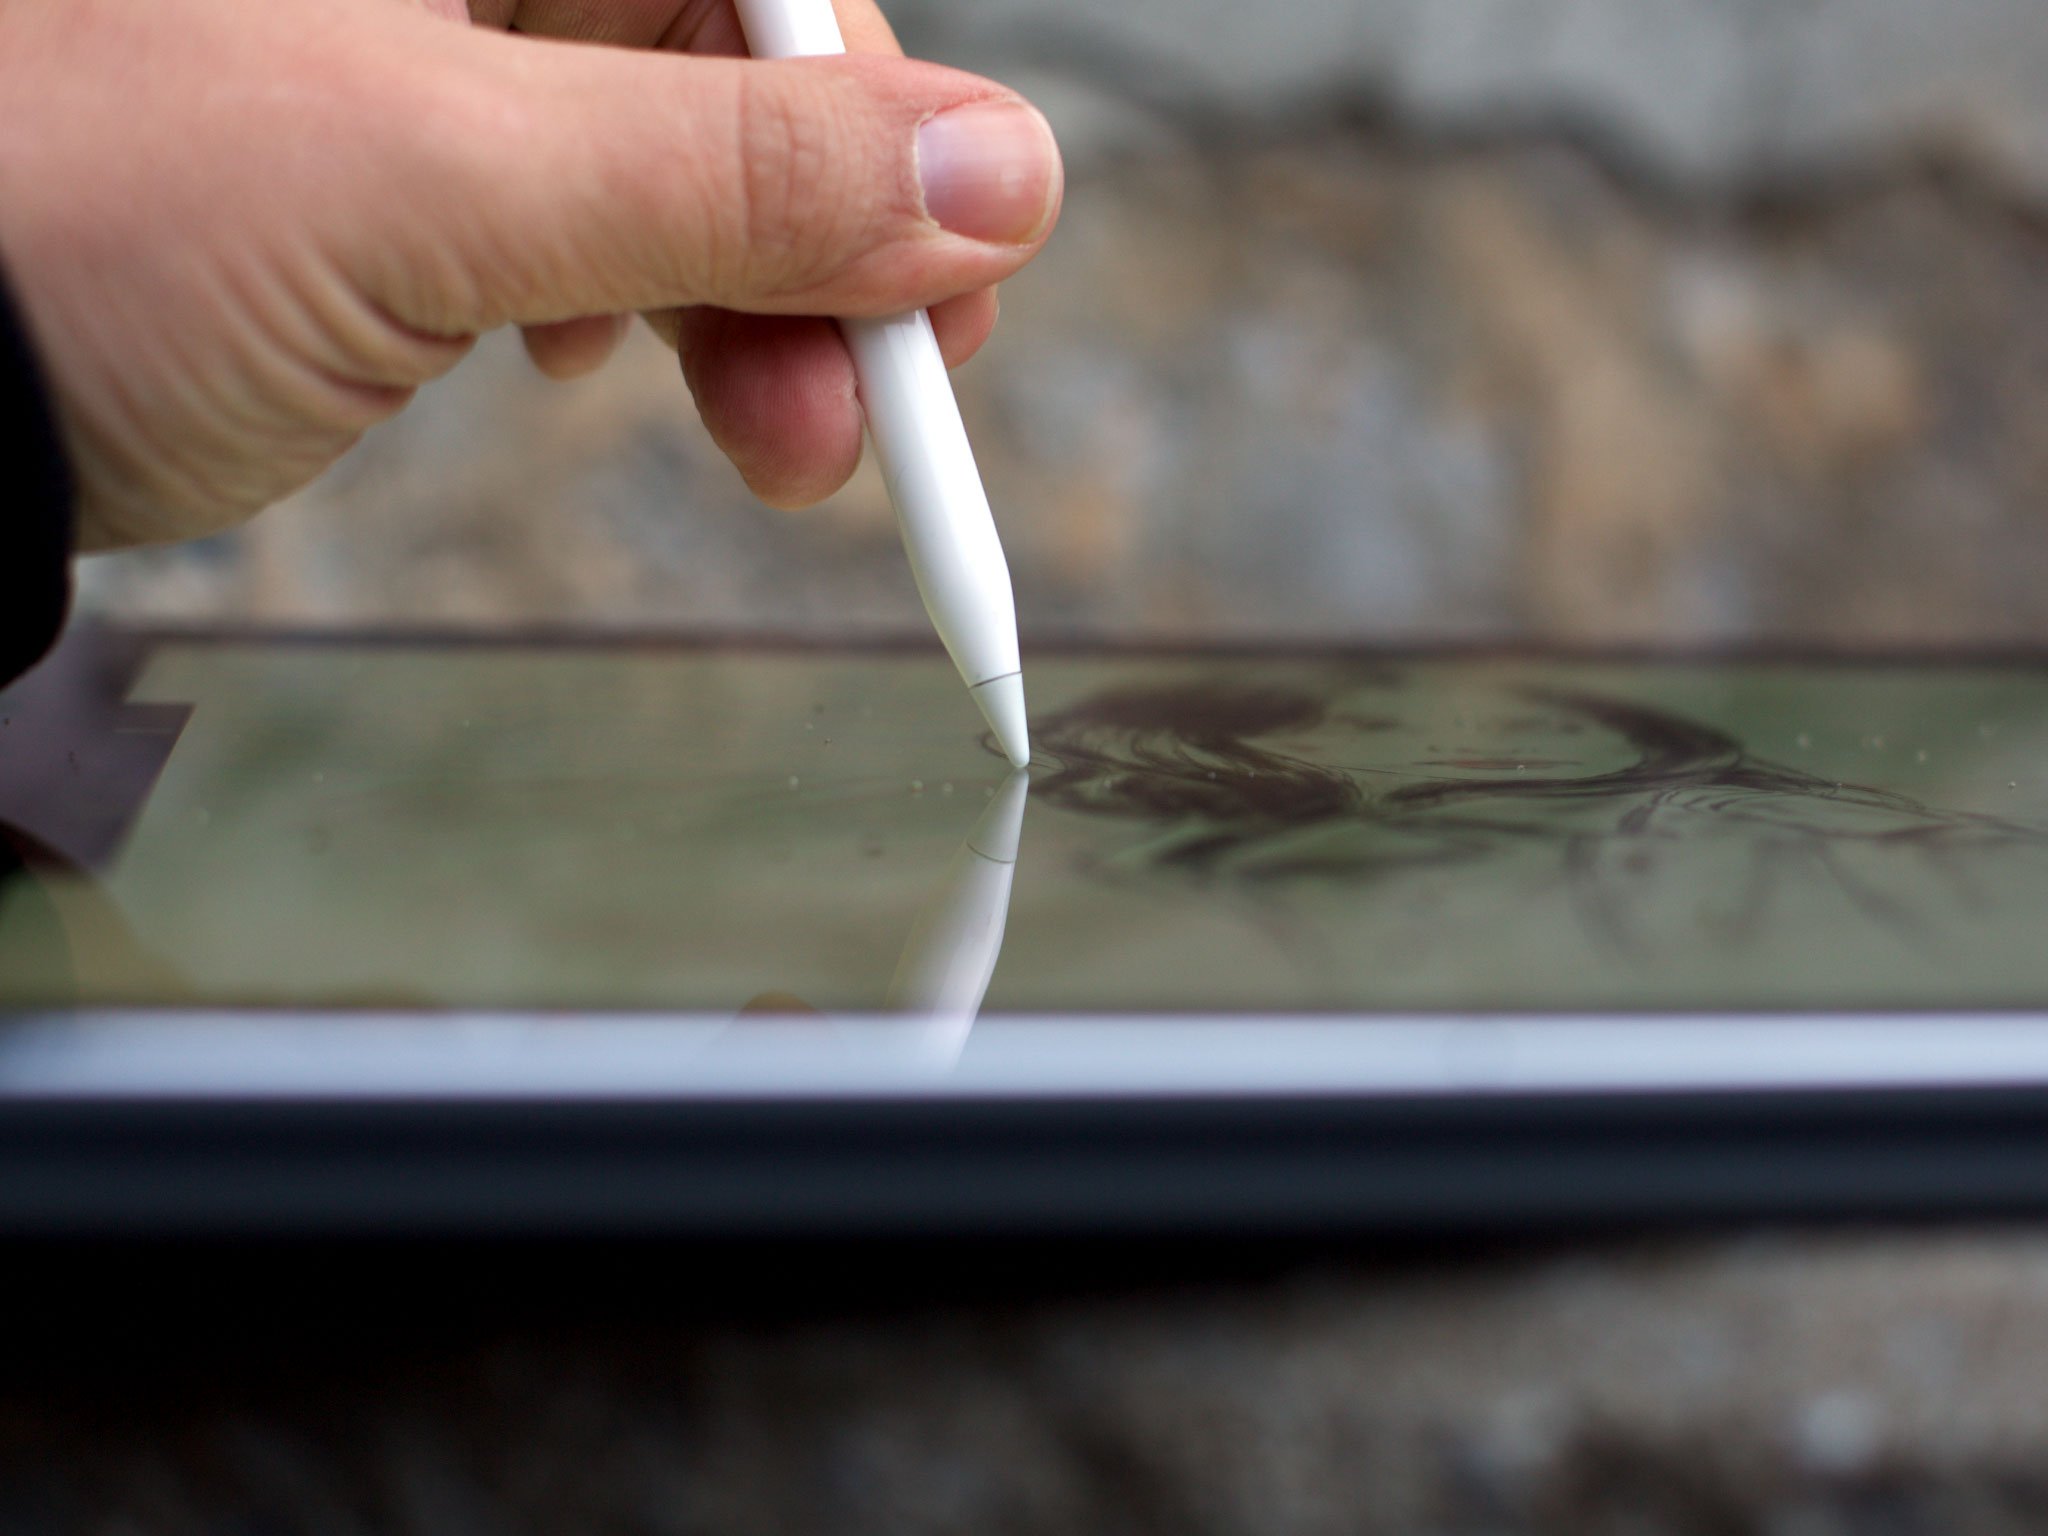
Equipped at the drawing end of the Apple Pencil is a beautifully responsive nib for all manner of sketching and writing. It's pressure-sensitive, too, so you shouldn't be afraid to press harder and softer on the screen to see how your Pencil reacts.
One of the best calibration tests with any new drawing tool — digital or not — is drawing a series of vertical and horizontal lines, to test how different pressure results in different line widths. We highly encourage everyone to do something similar — not only will it get you comfortable with the Pencil's variations, but you'll also get a better sense of how you need to hold the tool for optimal control.
We also recommend moving your grip up closer to the nib when doing detailed lettering or drawing. It gives you more precision over those fine lines. And don't be afraid to pinch-to-zoom with your free hand — most great apps support it.
Shade with the sides
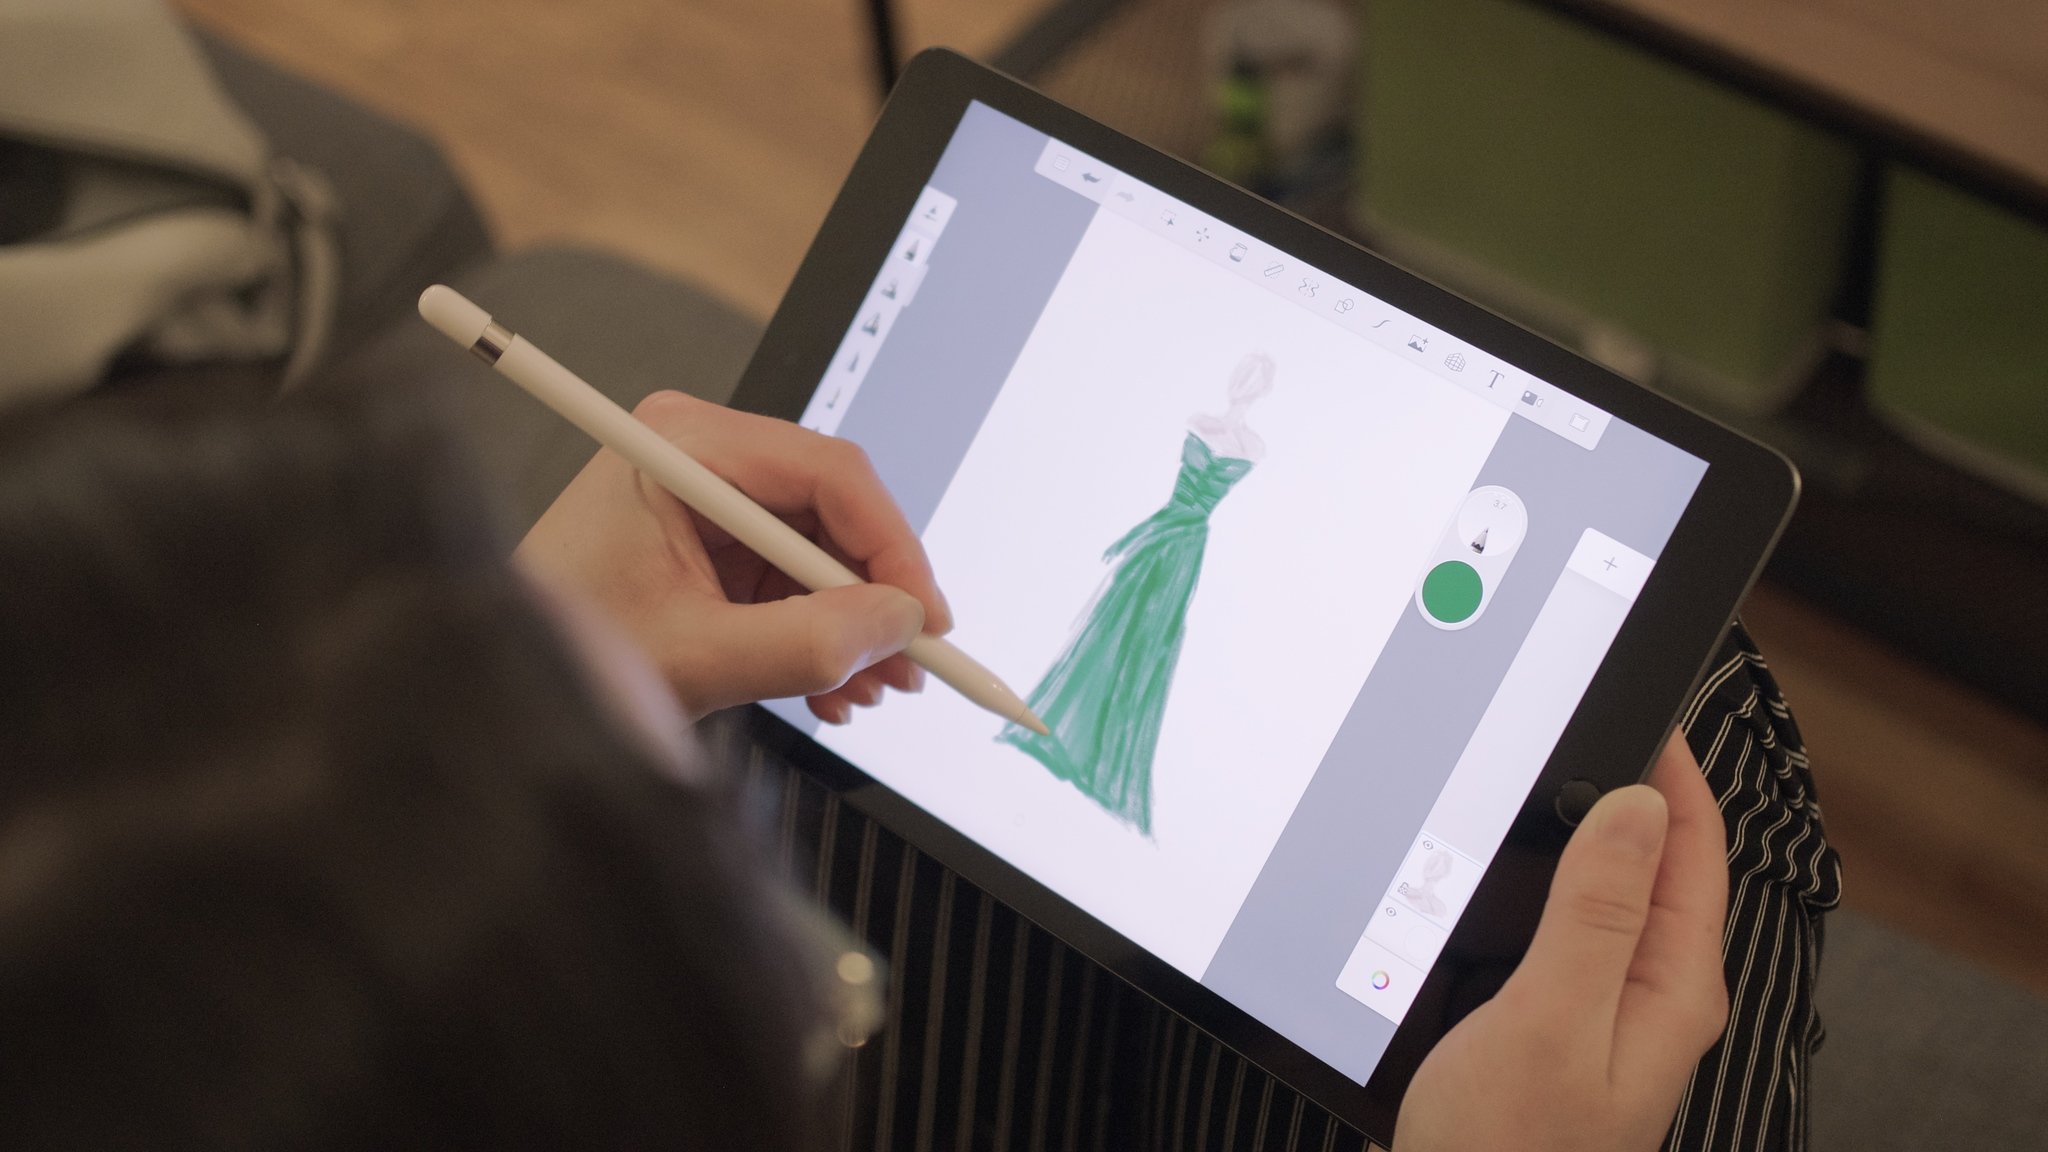
It's not just the tip of the Pencil nib that works on the iPad Pro's screen: The entire cone of that nib is responsive. As a result, you can use the side of the Pencil to shade with your digital brushes — much as you might use the side of a graphite stick to color in a shadow on paper. Not only is it a cool effect, but it's a feature you might easily miss when first getting to know your new tool.
Shading also looks different in different apps and with different brushes — don't be afraid to experiment to find which brushes and apps work best for your purposes.
Double-tap to change tools
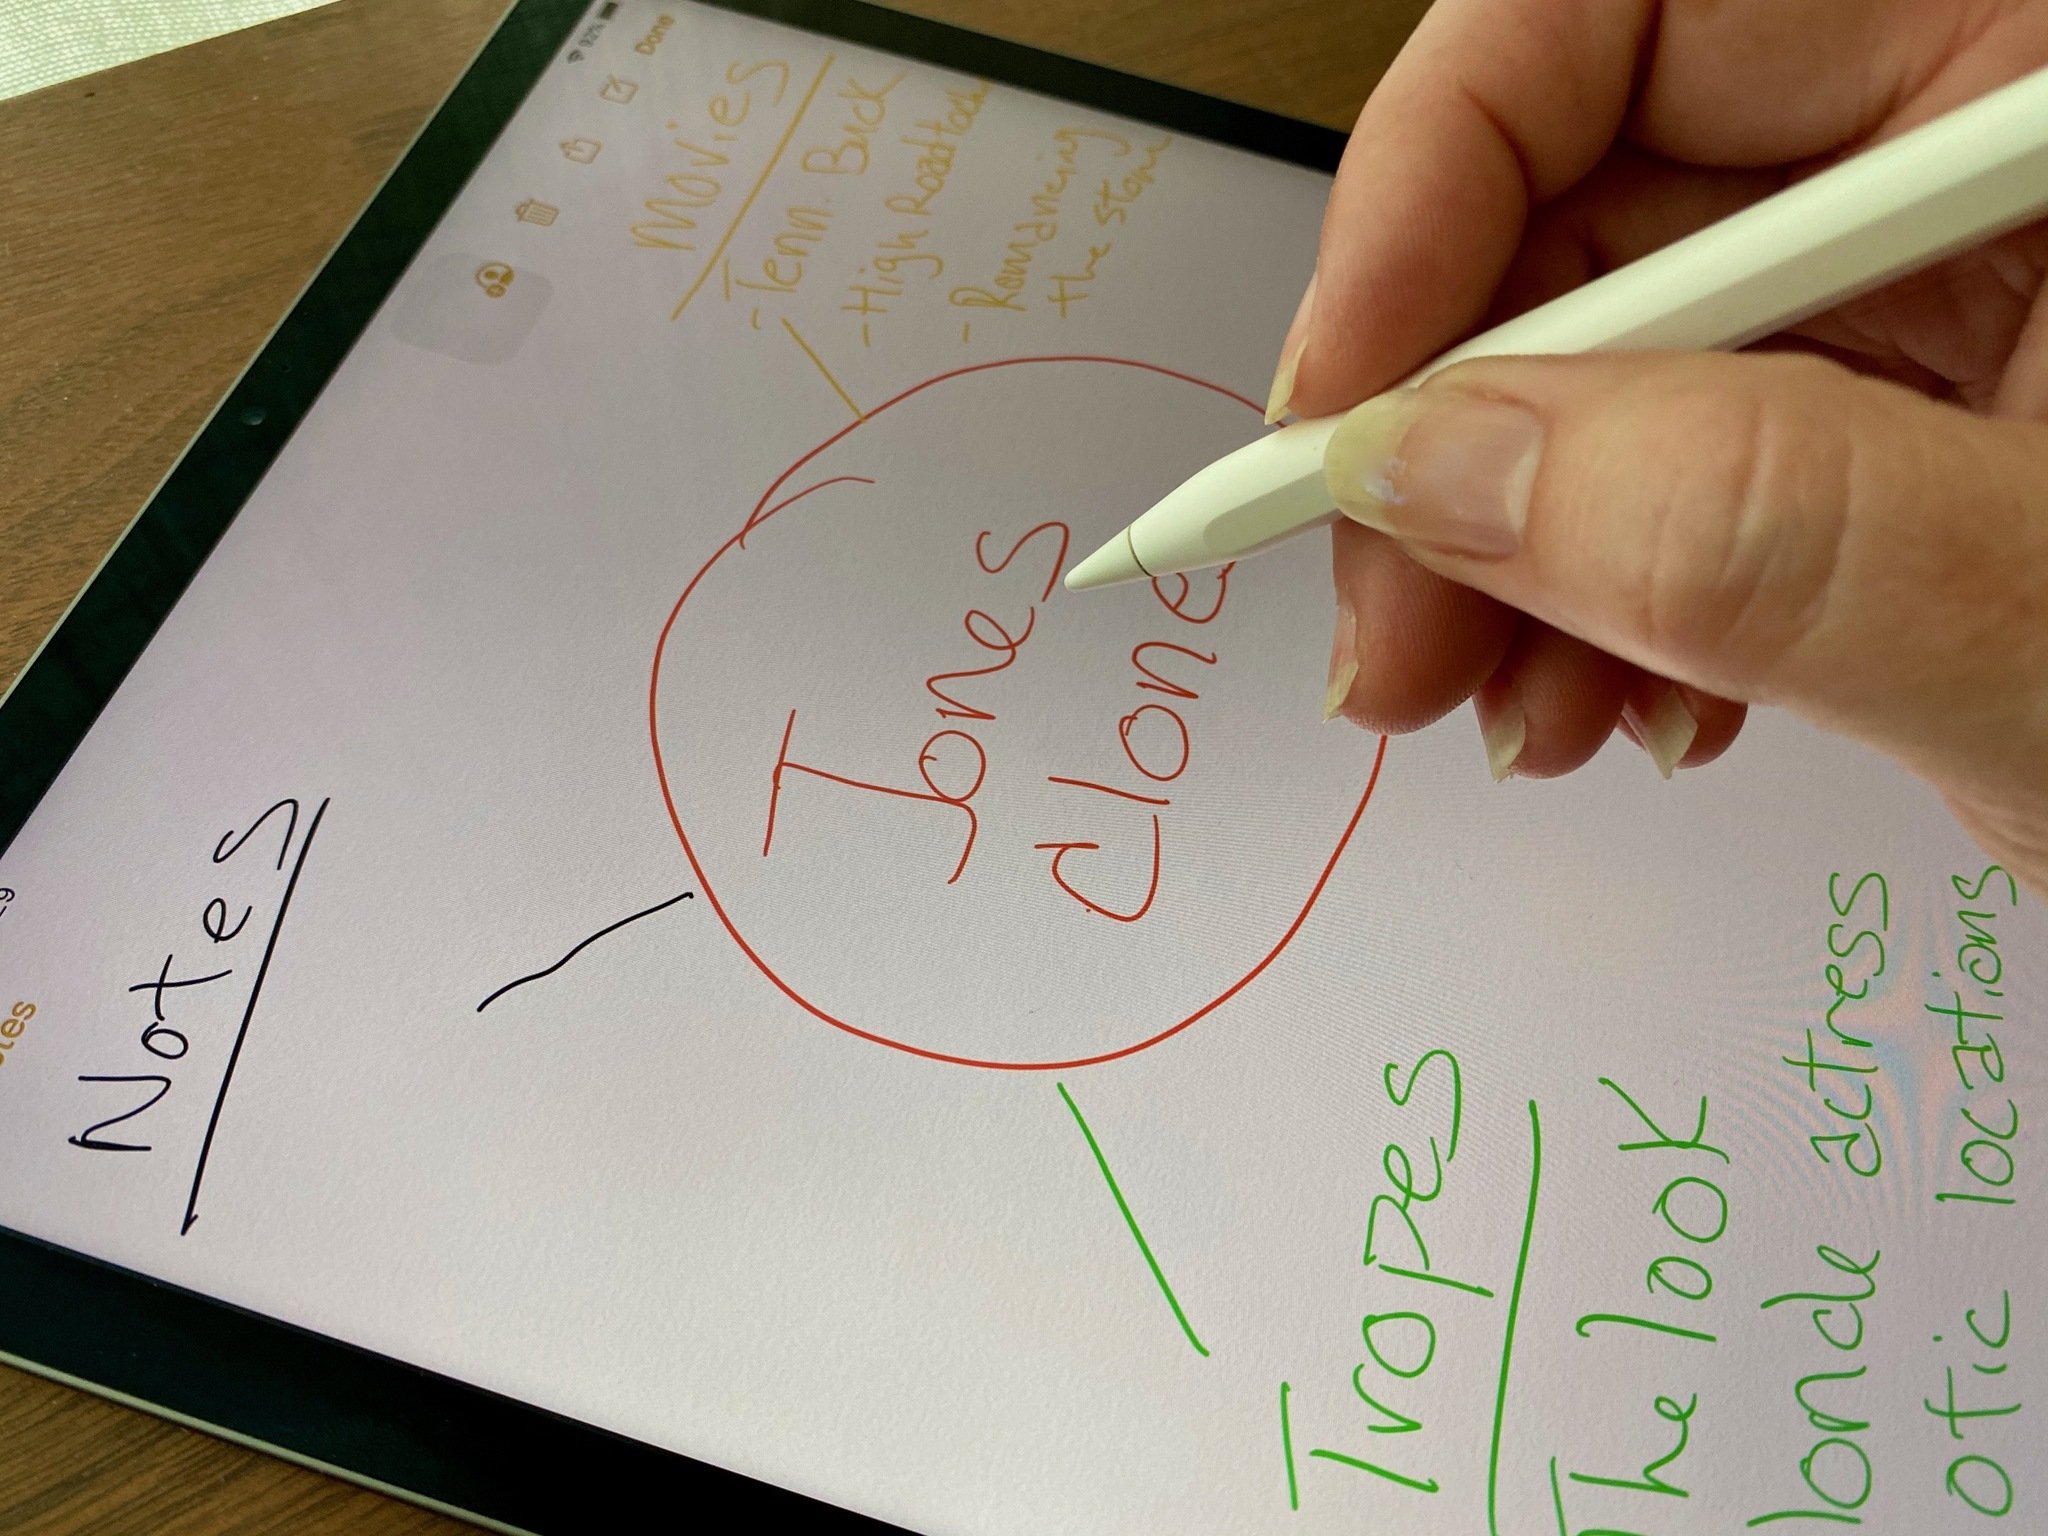
With the Apple Pencil 2, you can double-tap the flat edge in order to quickly switch between different tools. For most apps, including Apple's Notes app, this will default to switching to the eraser tool and back to your drawing tool, though you can customize the Apple Pencil double-tap function. Third-party apps can also assign different actions to this gesture.
Tap and scroll
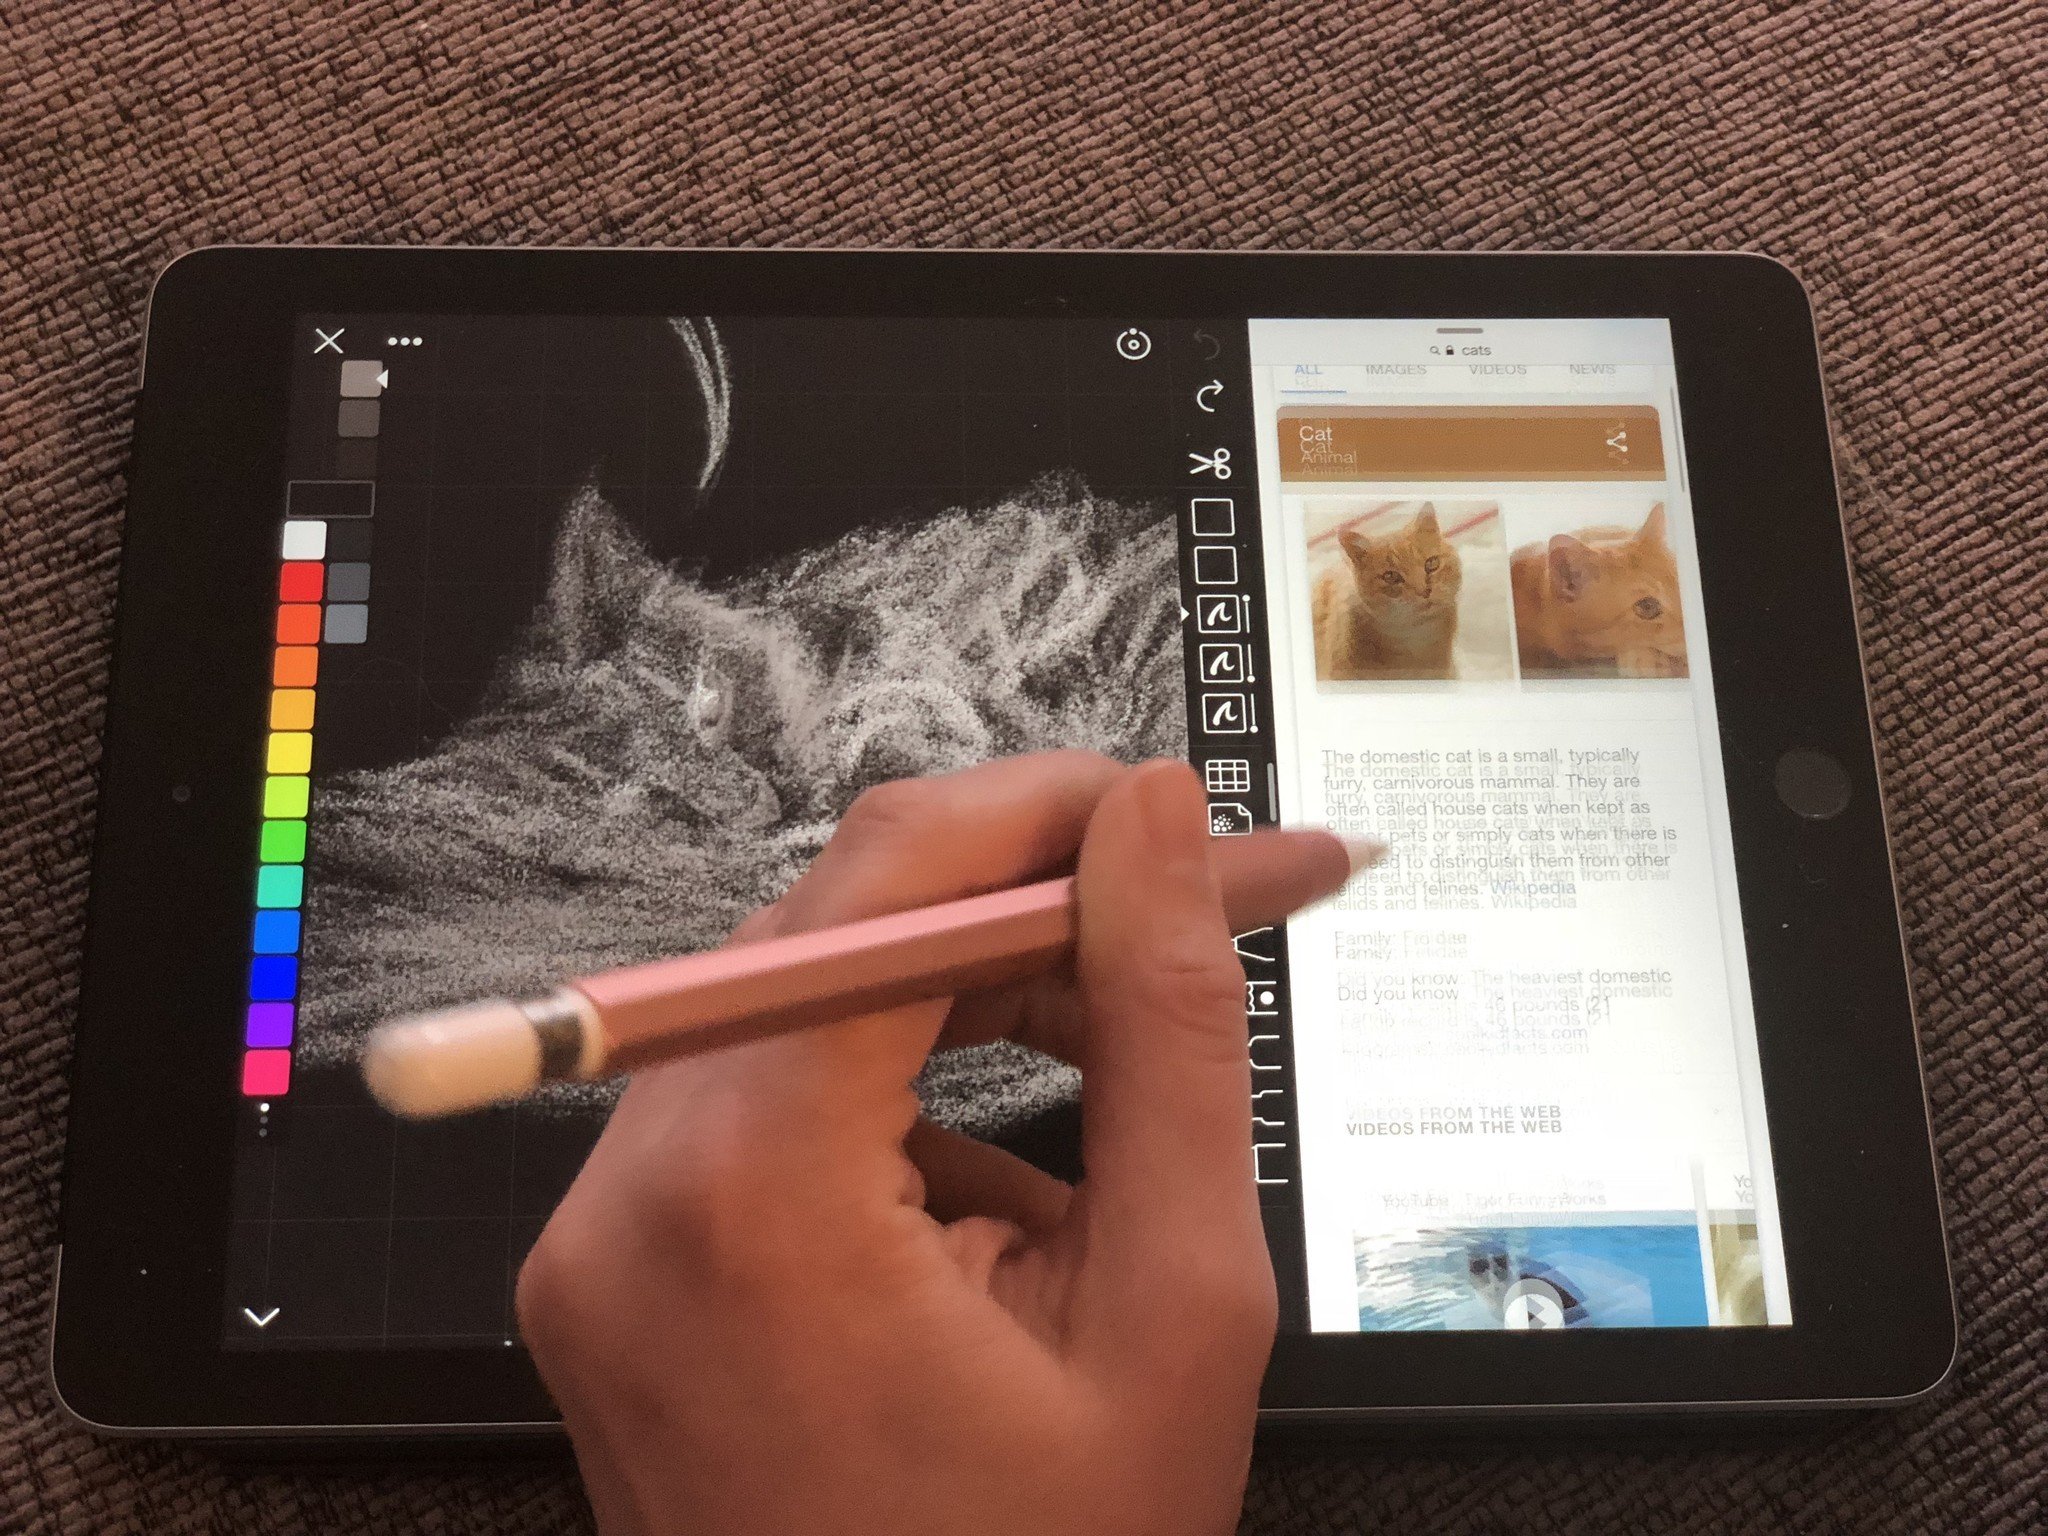
In addition to being a great drawing implement, the Apple Pencil can be used to navigate your iPad in between drawing programs.
It's surprisingly enjoyable to use the Pencil to scroll lists and swipe between views — its precision tip makes tapping and selecting certain items a whiz, and if you have to switch to another app while drawing, it keeps you from having to put the Pencil down between tasks.
Learn how to draw from the masters
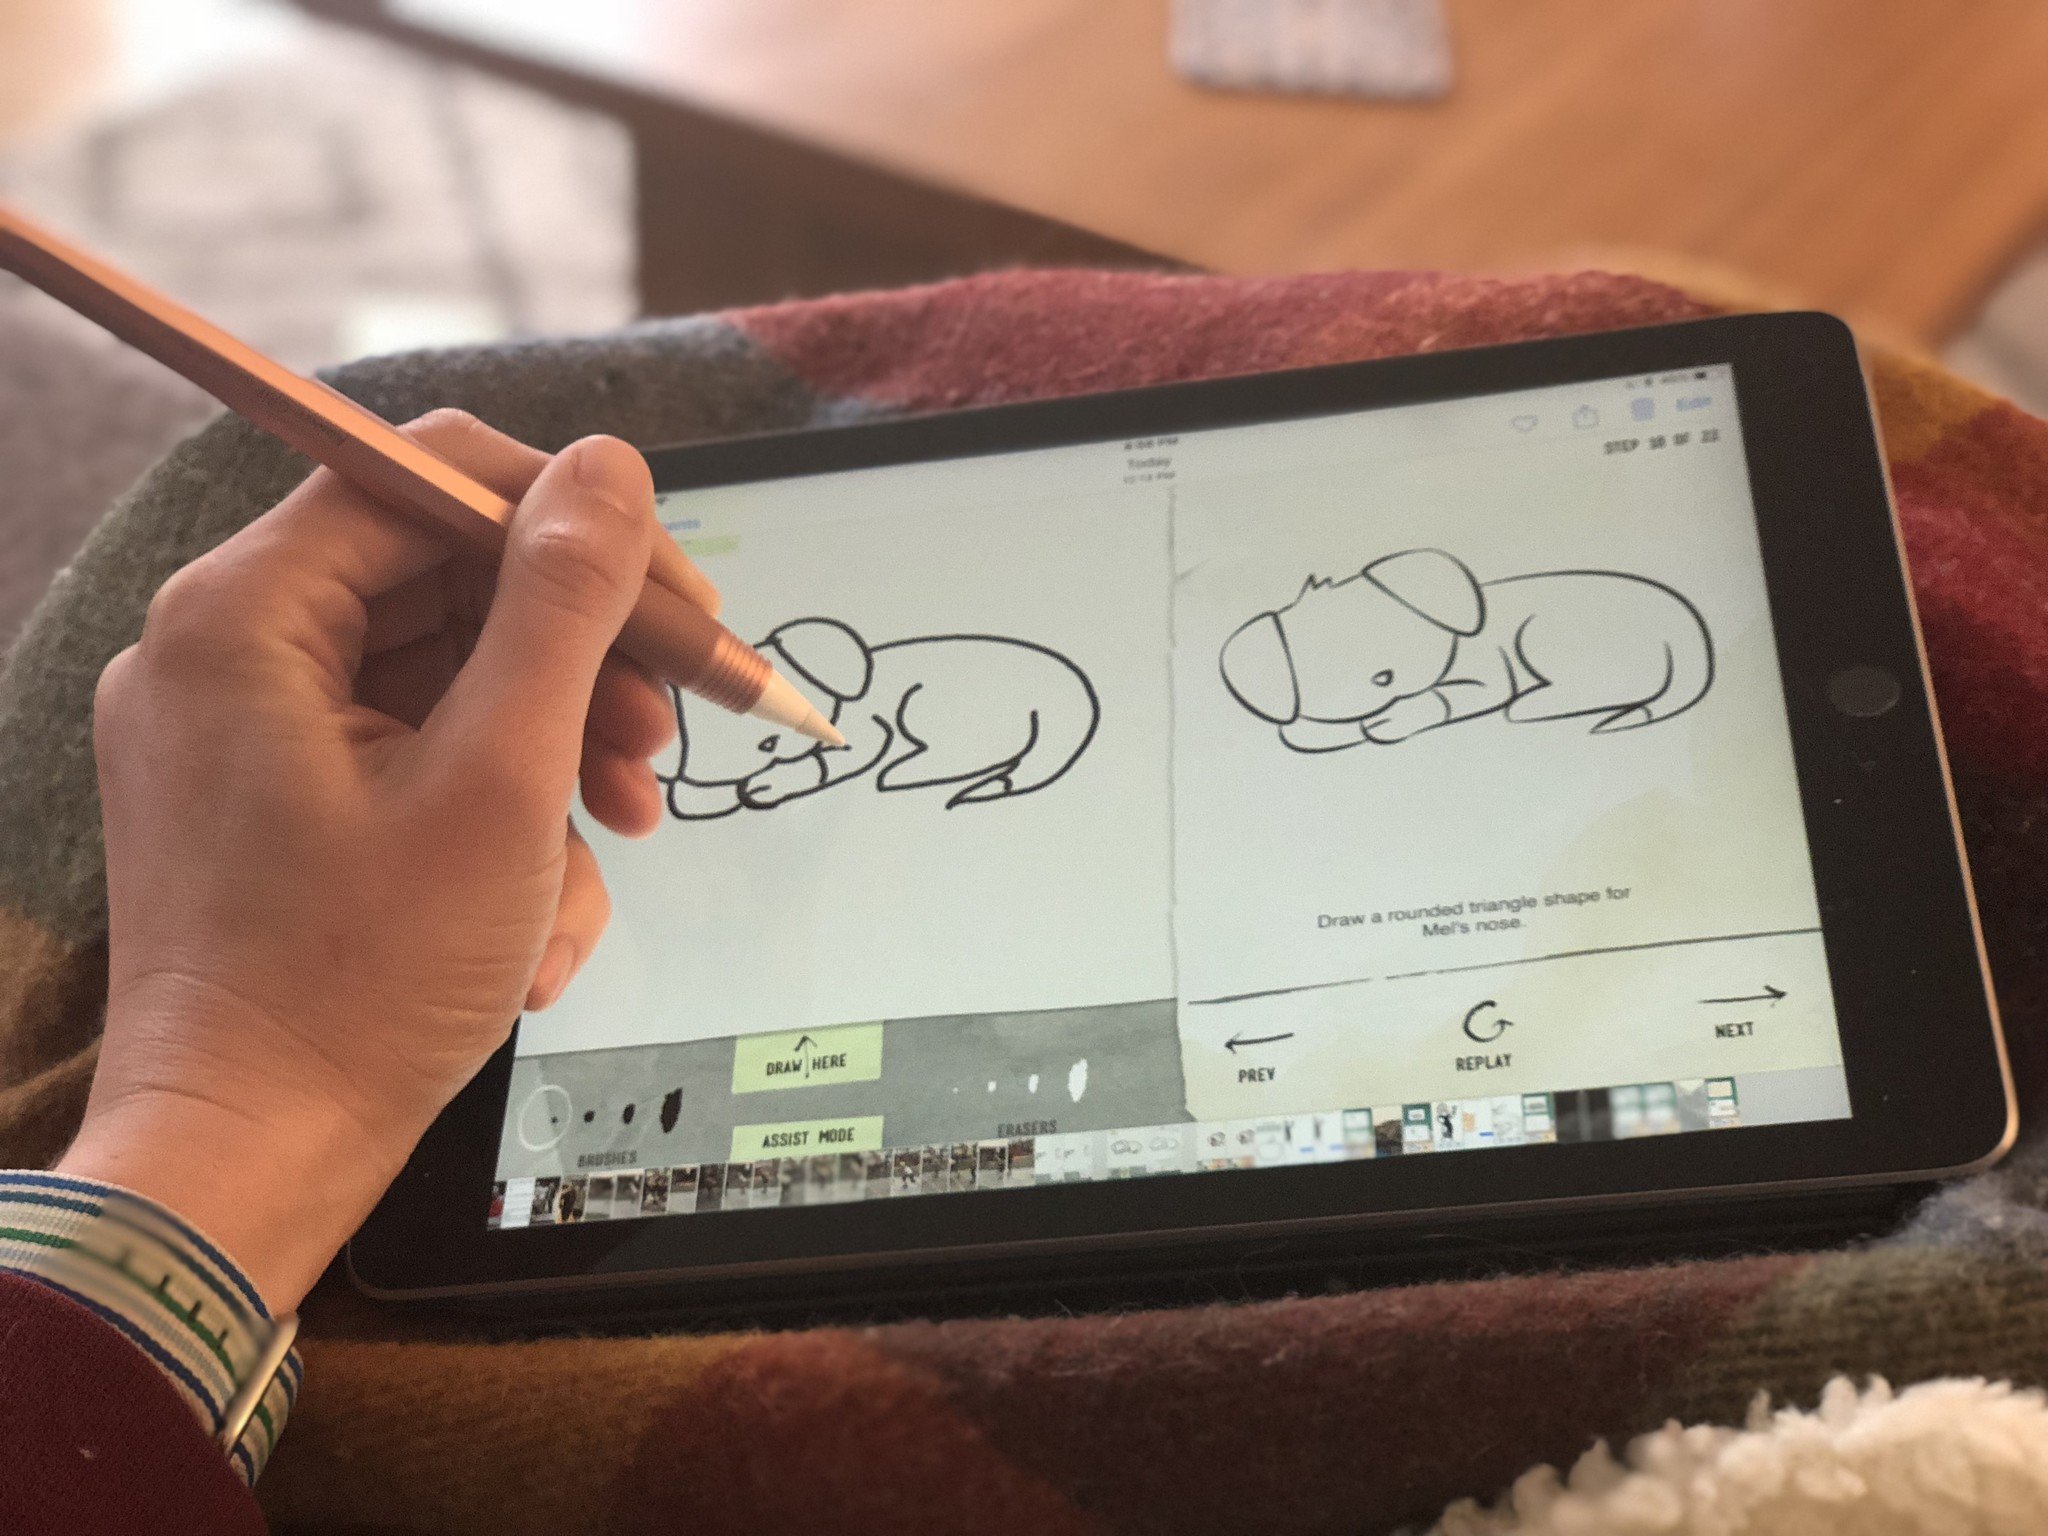
If you love the idea of an Apple Pencil but your drawing skills are lackluster, the oldest idiom is the best advice: practice makes perfect! Drawing constantly is the best way to get better.
If you're just starting out, we recommend looking at some of your favorite artists, studying their styles, and trying to recreate them on your choice of digital canvas. It's a fun exercise and should get you thinking about shapes and styles.
That might be too complex for you — and that's fine! If you truly want a 101 course, there are a couple of drawing websites and services out there that offer great tutorials, videos, and PDFs.
- Drawspace boasts the slogan "now everyone can draw," and if its excellent step-by-step drawing lessons are anything to go by, that statement is the absolute truth.
- Proko offers a bunch of great videos on drawing forms and anatomy shapes.
- Draw a Box offers some great active tutorials for drawing everyday objects, people, landscapes, and yes — boxes.
- Learning in Hand has a great resource for starting to draw on the iPad, as well as some all-purpose tips for setting up your workspace and drawing.
- The Postman's Knock is a website designed to teach modern calligraphy techniques with a dip pen, but their printable PDFs are also incredible tools for learning letter forms and figures.
Improve your experience with Apple Pencil accessories
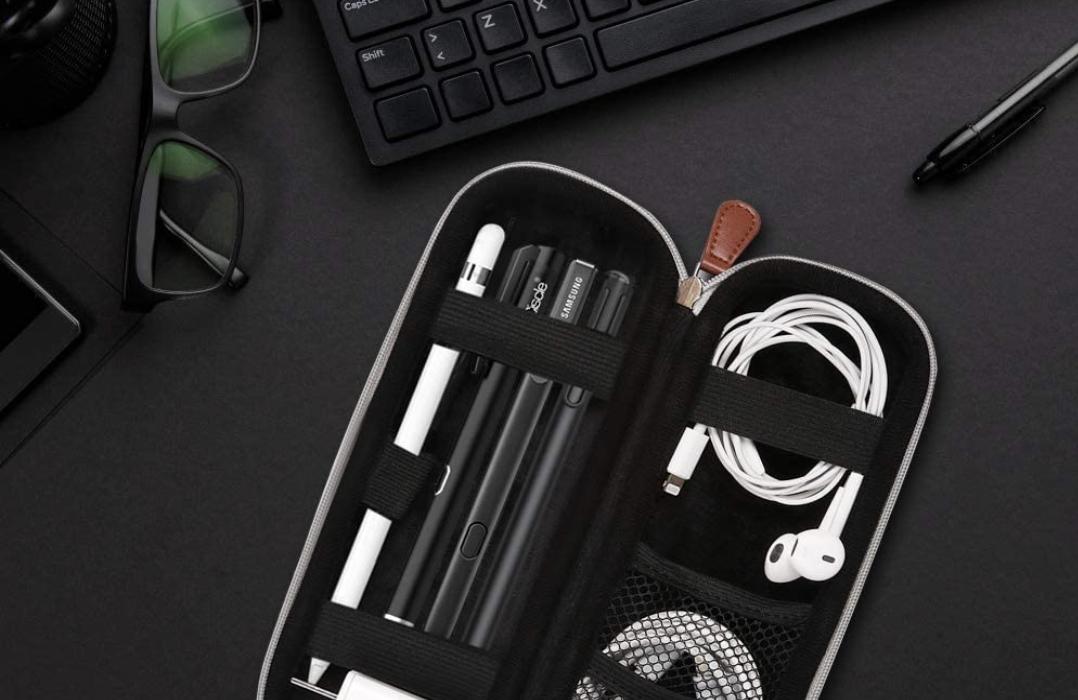
Whether you've got the original Apple Pencil or the Apple Pencil 2, there are ways to get more out of your drawing experience with accessories.
The first-gen model, for example, is perfectly round which poses some ergonomic and functional challenges. With the right Apple Pencil accessories, however, you can assuage any concerns about it rolling off the table with a neat stand or equip your Apple Pencil with a dedicated grip for a more comfortable hold.
The flat edge on the second-gen Apple Pencil already works to solve these problems, and the magnetic charging means you'll usually be resting it atop your iPad anyway, though you could still consider an Apple Pencil 2 case to protect it with. That would be especially useful if you want to prevent it from being knocked off your iPad's edge while traveling.
Novice to pro
The Apple Pencil and iPad integration is a prototypical example of Apple's hardware and software working in complete unison which makes drawing and sketching on the iPad a joy.
Whether you're totally new to digital art or getting back into drawing with your iPad after some time off, the above guide should get you up to speed quickly.
Updated March 2022: Updated for Apple Pencil 2 and current iPad lineup.
Adam Oram is a Senior Writer at iMore. He studied Media at Newcastle University and has been writing about technology since 2013. He previously worked as an Apple Genius and as a Deals Editor at Thrifter. His spare time is spent watching football (both kinds), playing Pokémon games, and eating vegan food. Follow him on Twitter at @adamoram.

