How to fix Joy-Con drift on Nintendo Switch
There are a few different ways to fix this issue.
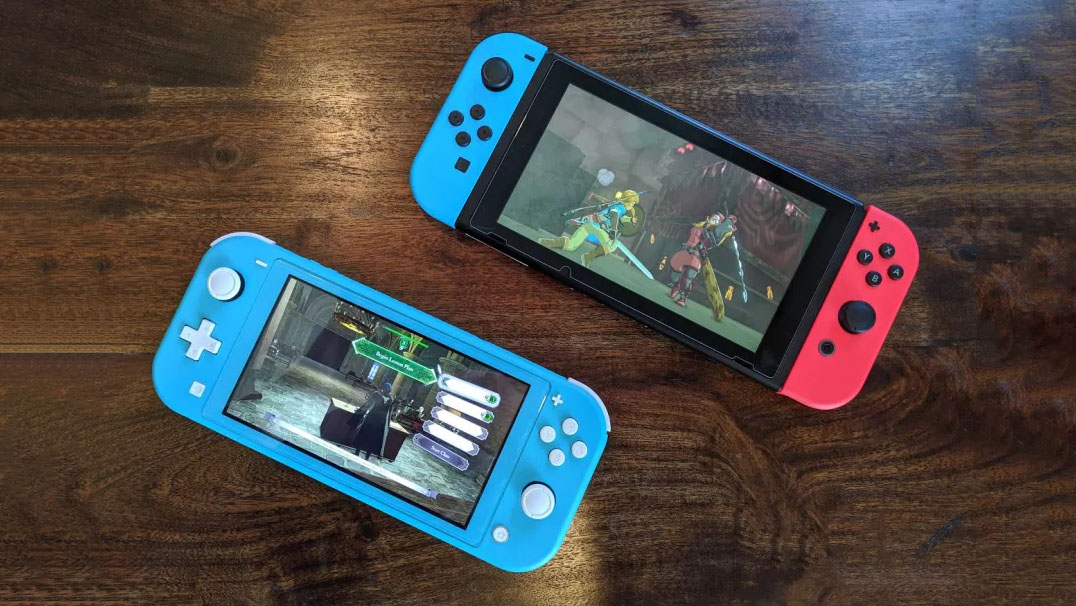
The Nintendo Switch, Switch OLED, and Switch Lite are excellent consoles that can be enjoyed wherever you go. But unfortunately, there's this annoying thing called Joy-Con drift that can happen on these systems, which makes it so that your on-screen characters or cursor just starts moving around without you touching the joysticks. Thankfully, there are a few ways to fix the dreaded Joy-Con drift issue instead of sending it in for repairs.
But why is this happening?
Many other controllers with analog sticks can be subject to the same problem, but it seems as if the Nintendo Switch is uniquely vulnerable to drifting. Here are some common reasons why this happens:
- The software needs an update: Making sure that your Joy-Con controllers are calibrated properly and have received the latest updates help them function properly and can fix some minor drifting issues.
- There is build-up: After frequent use, dust and grime can build up inside the sticks, which can hurt the contacts within. This isn't surprising considering that the Switch devices are portable and therefore get subjected to more contaminants indoors and outdoors.
- The contacts are worn down: The joystick contacts can get worn down over time causing them to work improperly and detect input when none is actually given.
Whatever the reason, Joy-Con drift is something that everyone will want to fix when it starts happening to them. Let's go over what you can do to resolve this issue with step-by-step instructions for different fixing methods.
How to conduct a system update on the controllers:
OK, enough chitter-chatter! You have a drifting analog stick, and you want to fix it. The first thing you want to do is perform a system update, which is very easy and doesn't require anything as invasive as opening the system up.
- From the main menu, go to System Settings.
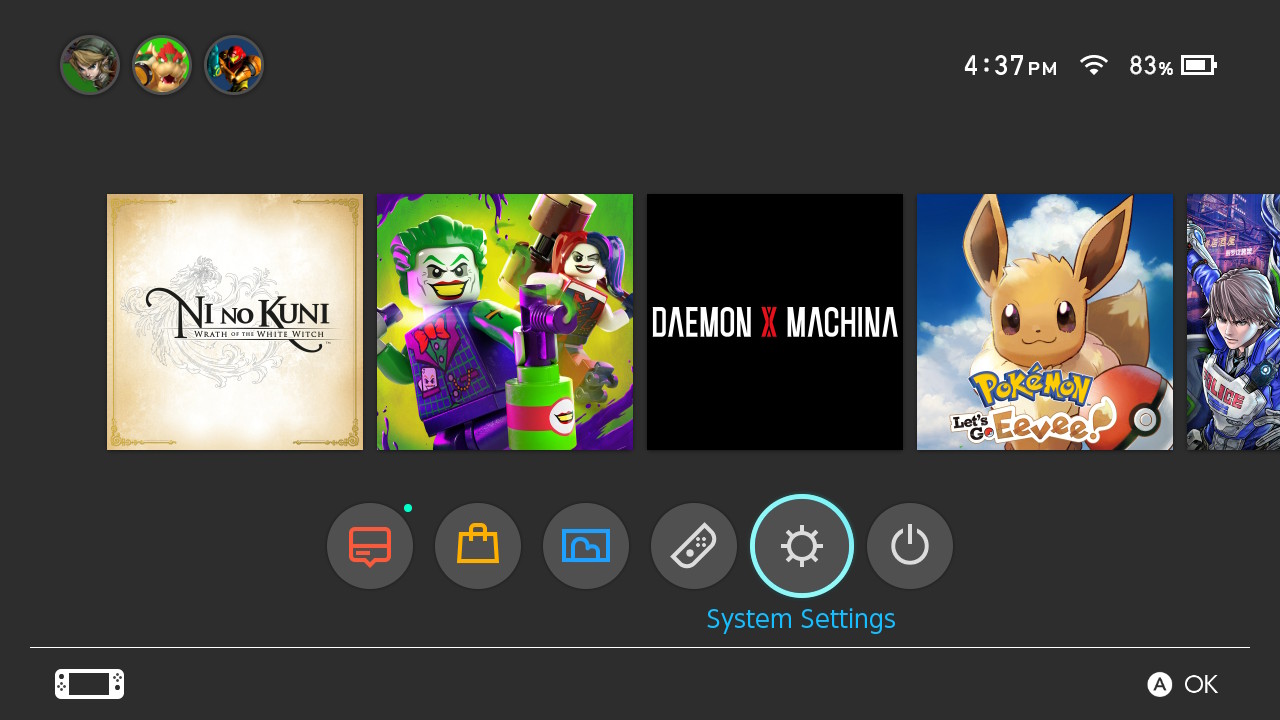
- Click on Controllers and Sensors.
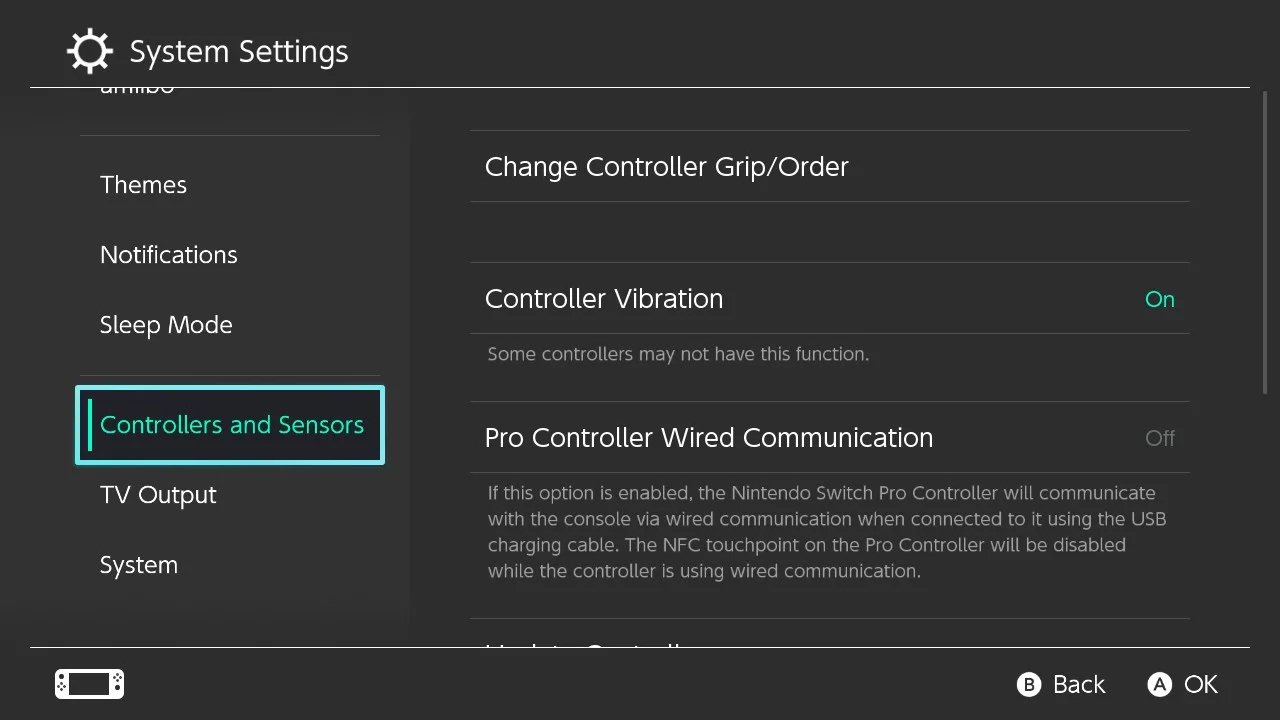
- Scroll down to Update Controllers.
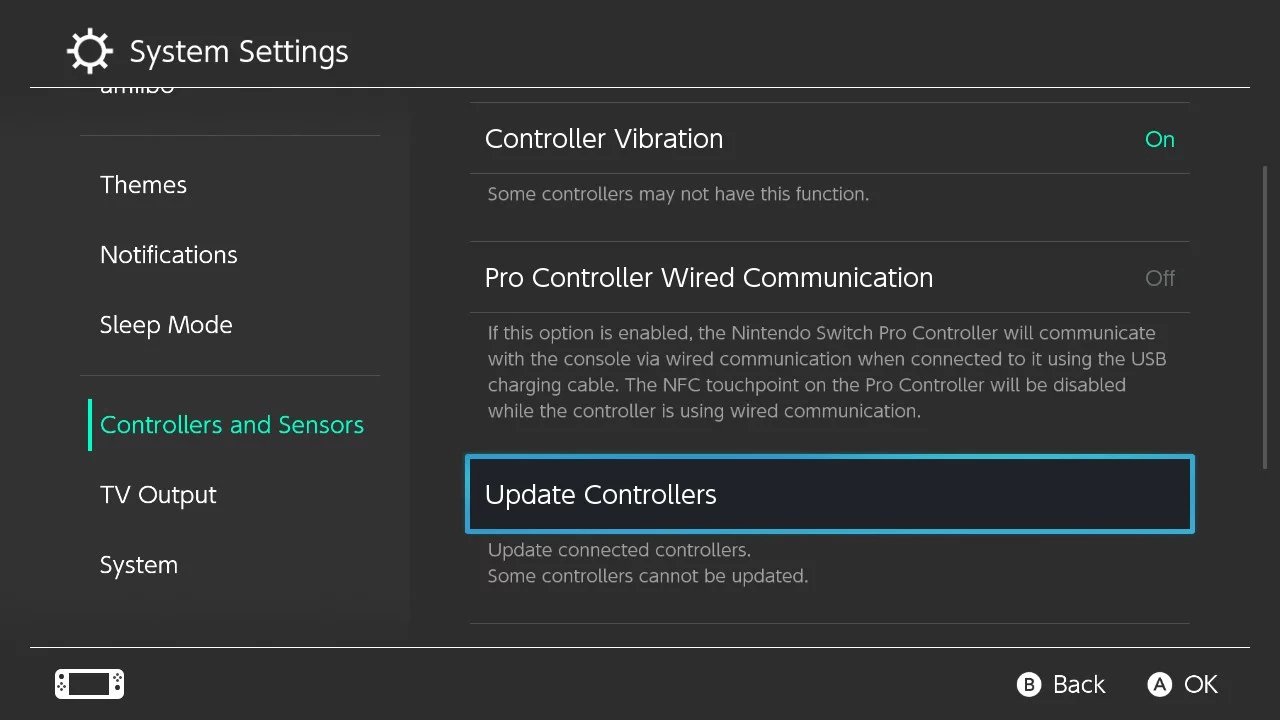
- If the controllers are already up to date, a message will pop up saying so. Click OK. If you didn't get this message continue to the next step.
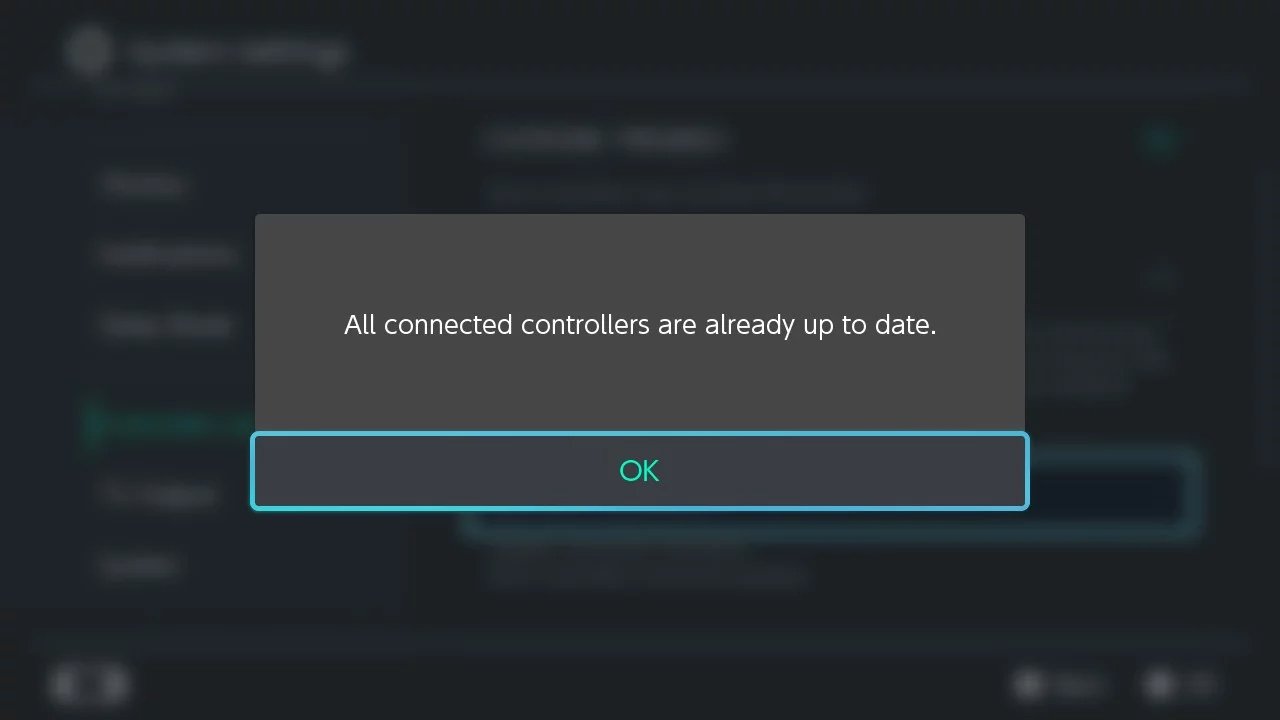
- Wait until the controllers finish updating with the latest firmware.
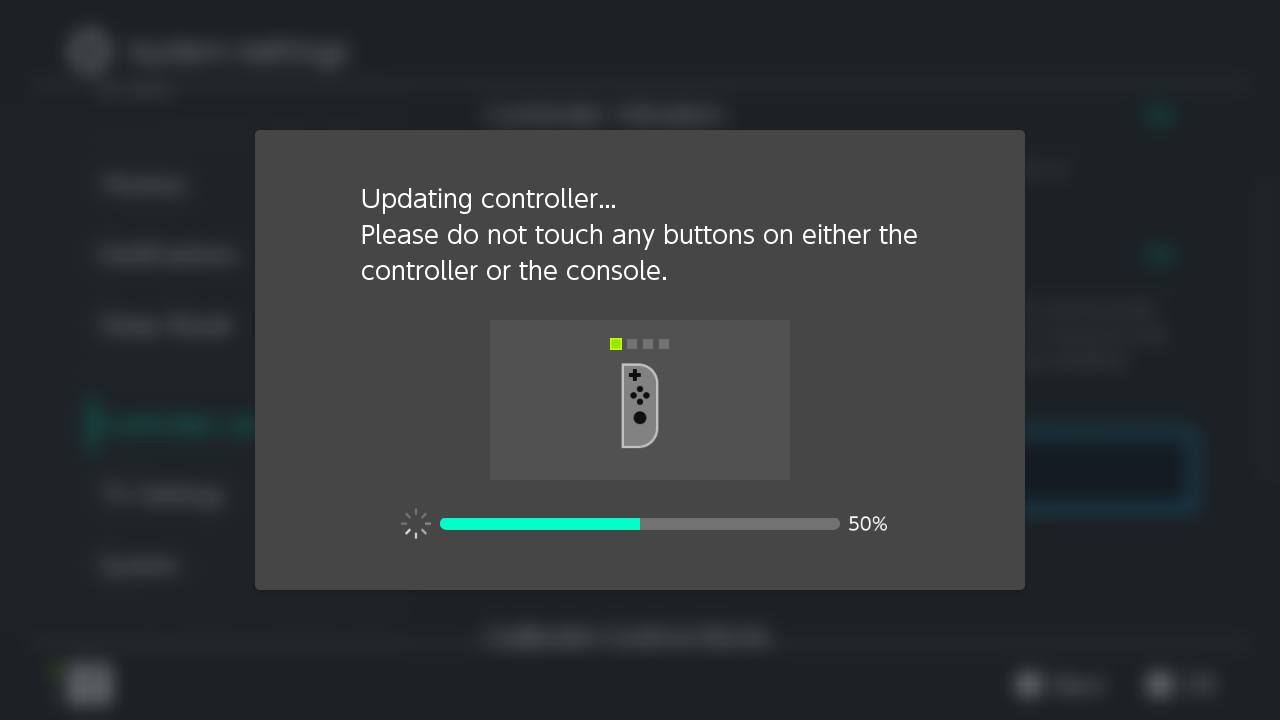
- A message will pop up reading Update Complete. Click OK.
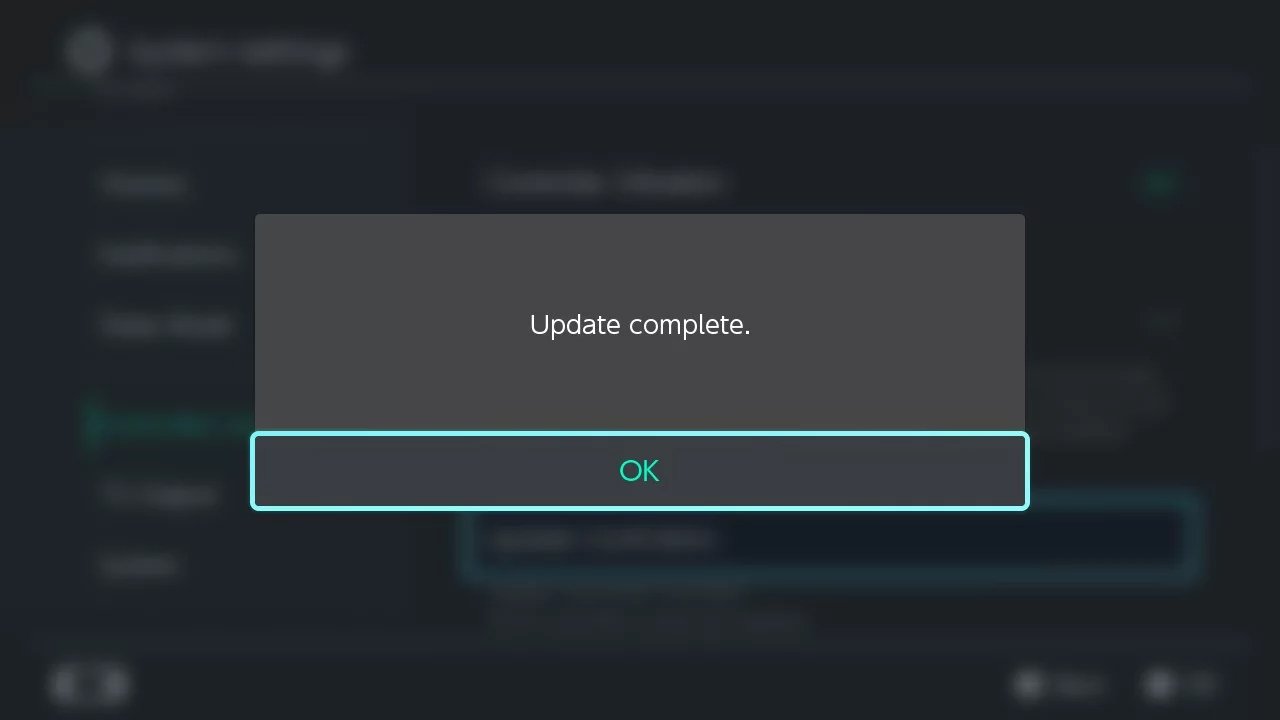
Now you can check to see if the drift issue has been fixed. If it hasn't, you can also try recalibrating your Joy-Con controllers by following the next set of steps.
How to recalibrate your Joy-Con and joysticks through software:
It's possible that your joysticks could just be off and need to be recalibrated to the right parameters. Here's how to recalibrate your analog sticks through the software:
- From the main menu, click on System Settings.

- Scroll down to Controllers and Sensors.

- Select Calibrate Control Sticks.
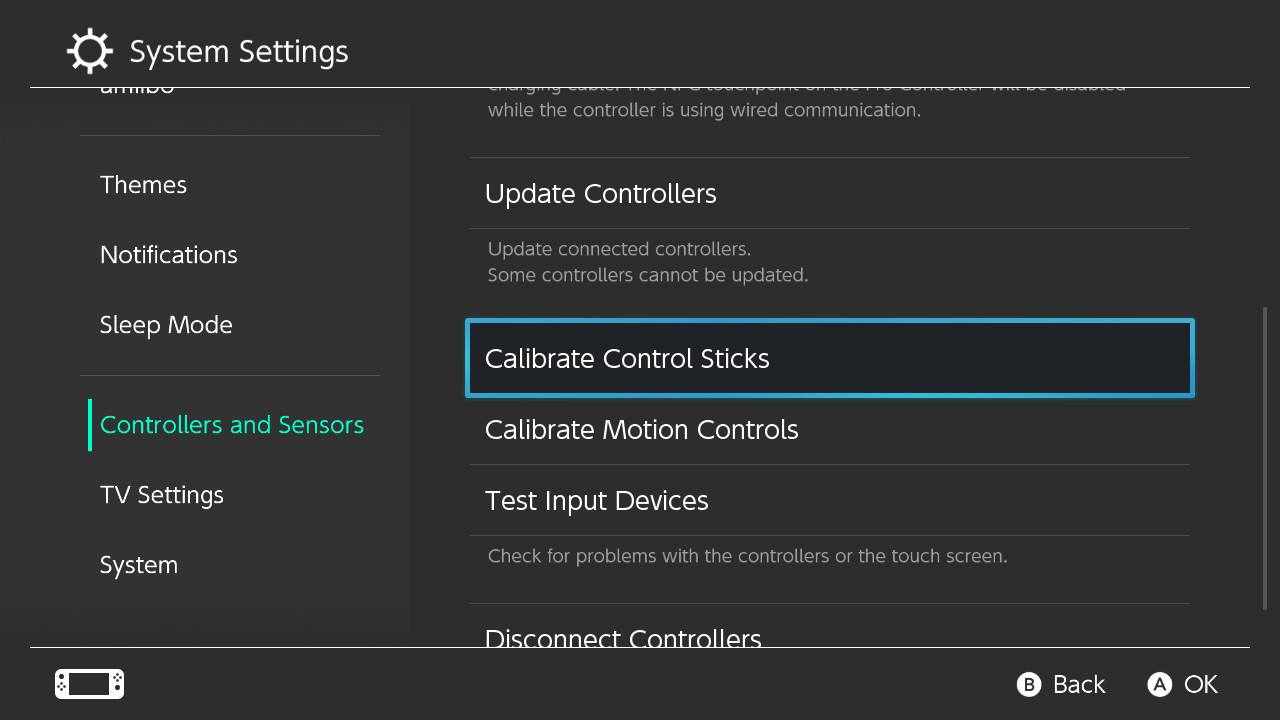
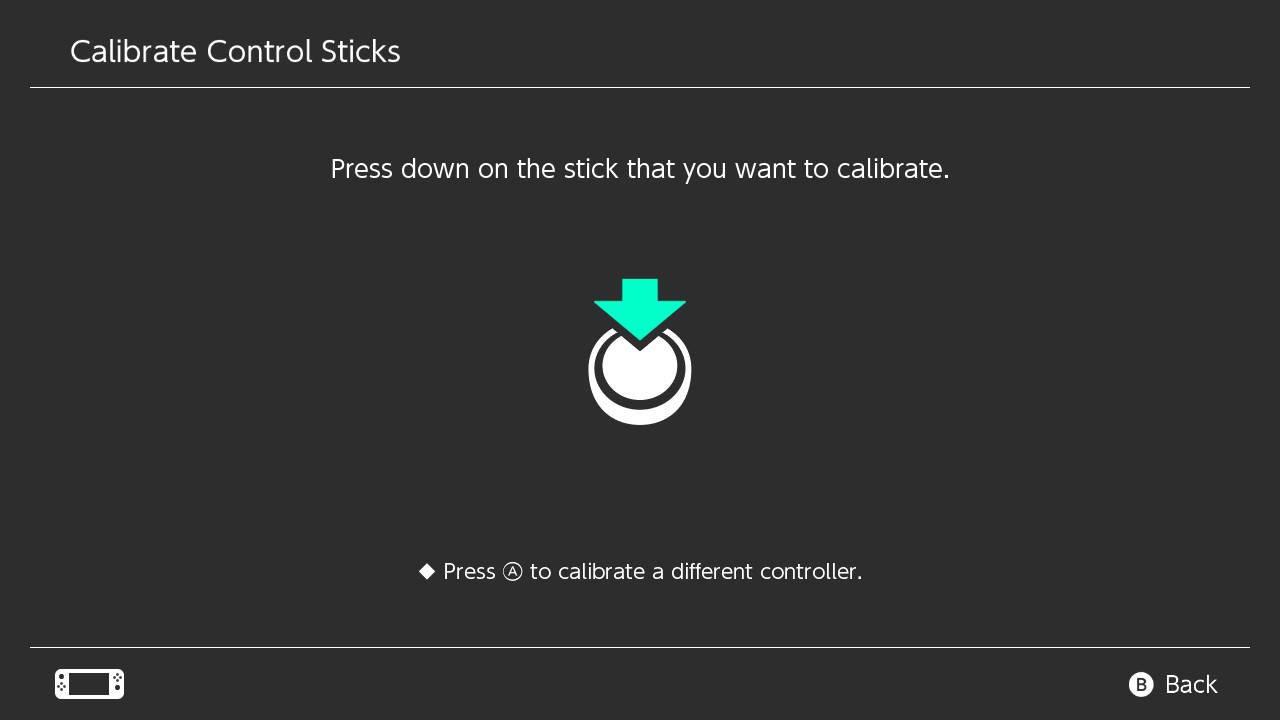
- Press down on the stick that you want to calibrate.
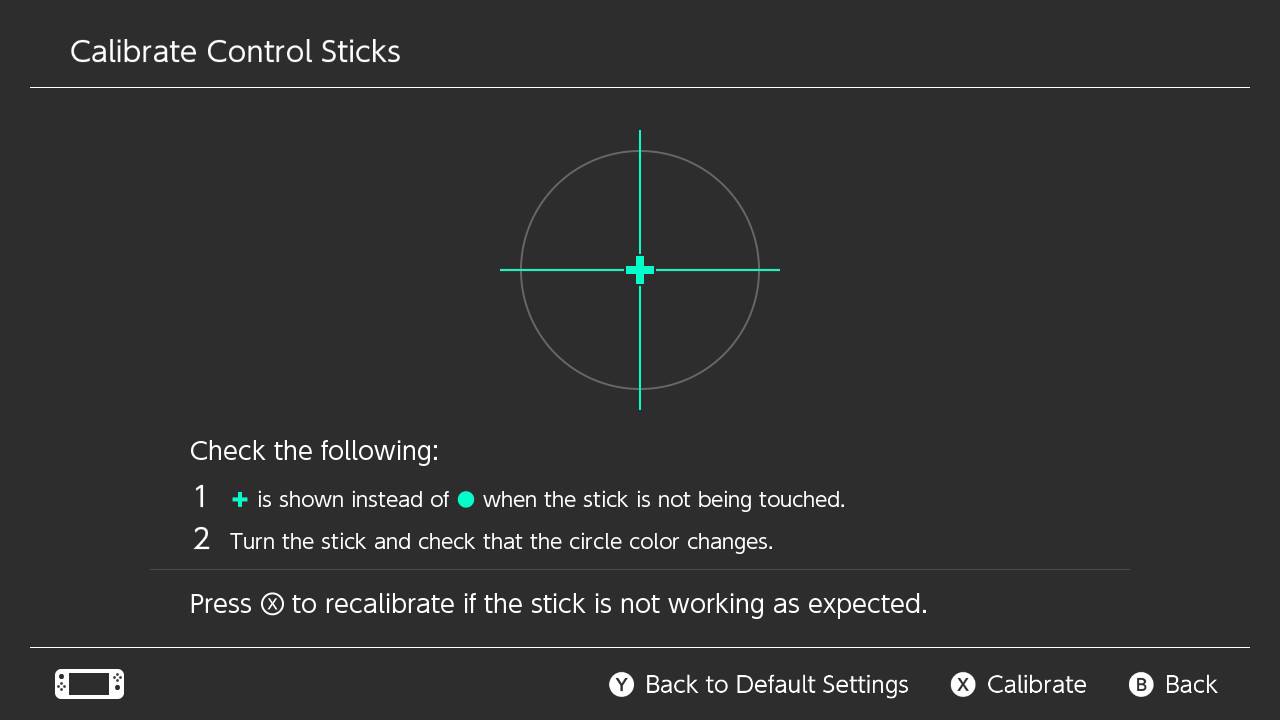
- If your joystick is behaving normally, you should see a green cross in the middle of the crosshair. If it shows a circle or the cross isn't in the center, click the X button to calibrate.
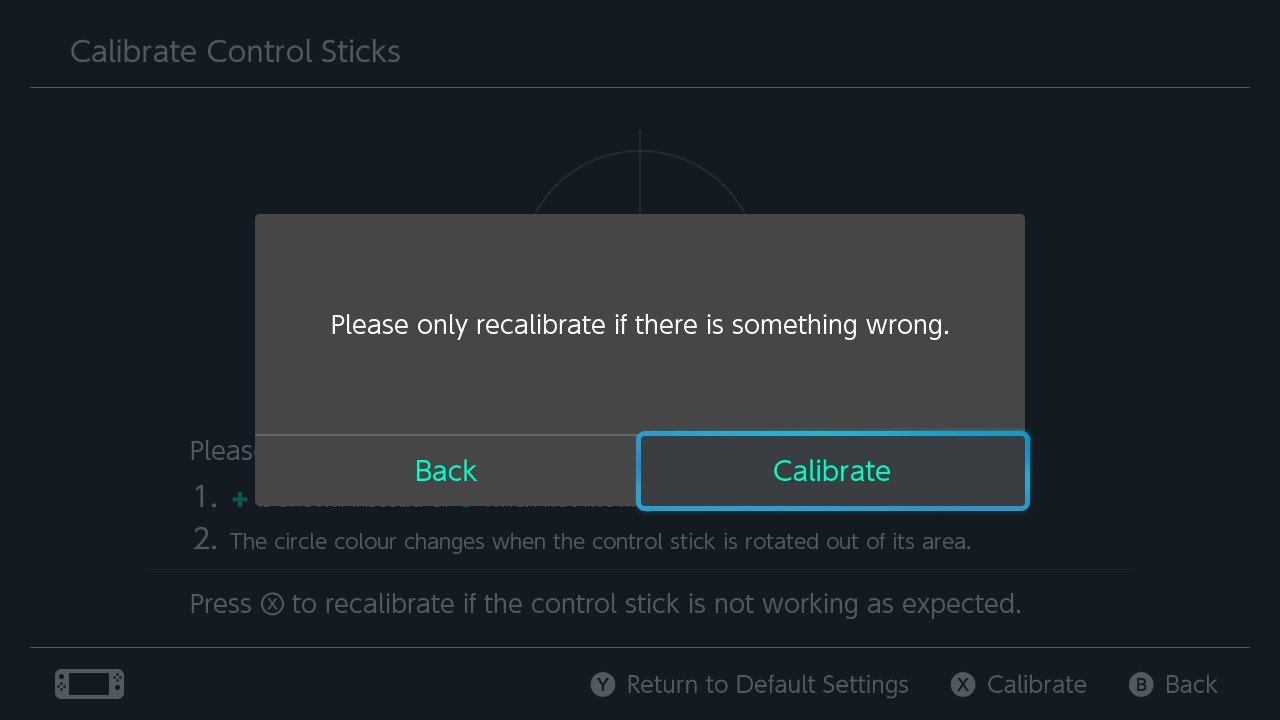
- A message pops up warning you only to recalibrate if something is wrong with your joystick. Click Calibrate.
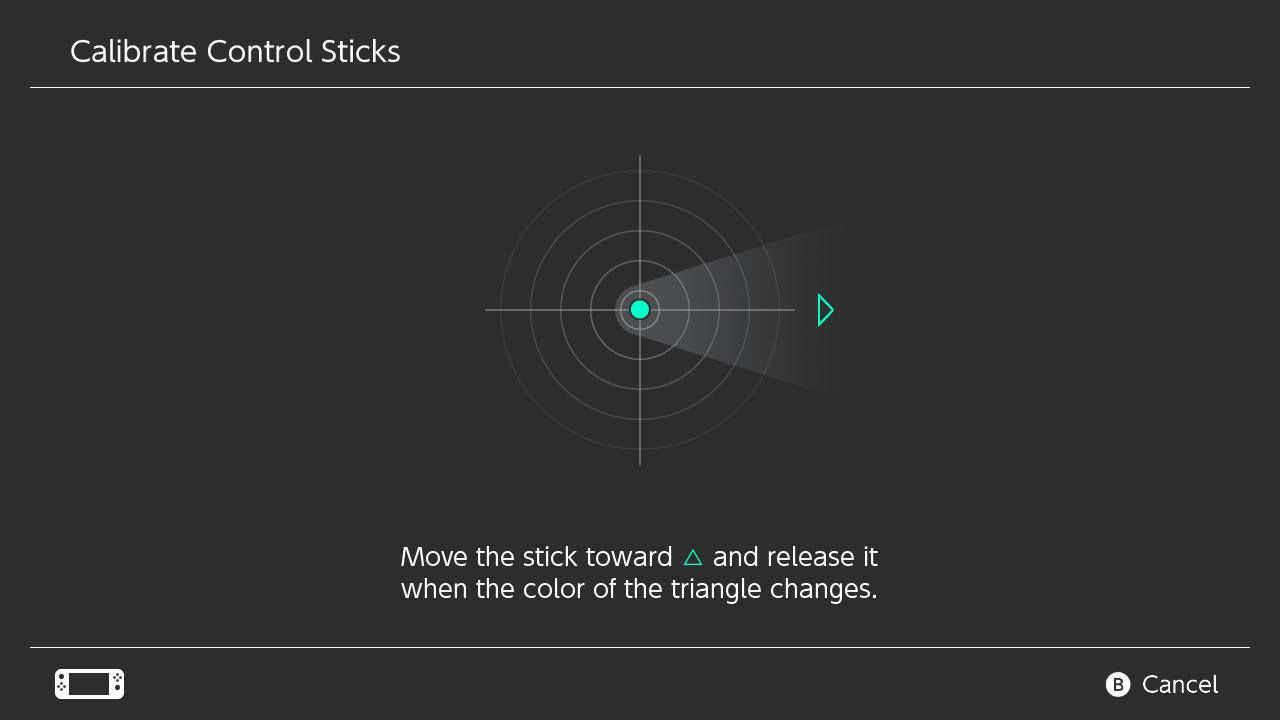
- What follows are several instructions for you to complete. First, maneuver the joystick towards the green triangle and release it when it changes color. This will repeat a few times. It can be tricky if there is something wrong with your joystick. If it proves too tricky, exit by pressing the B button.
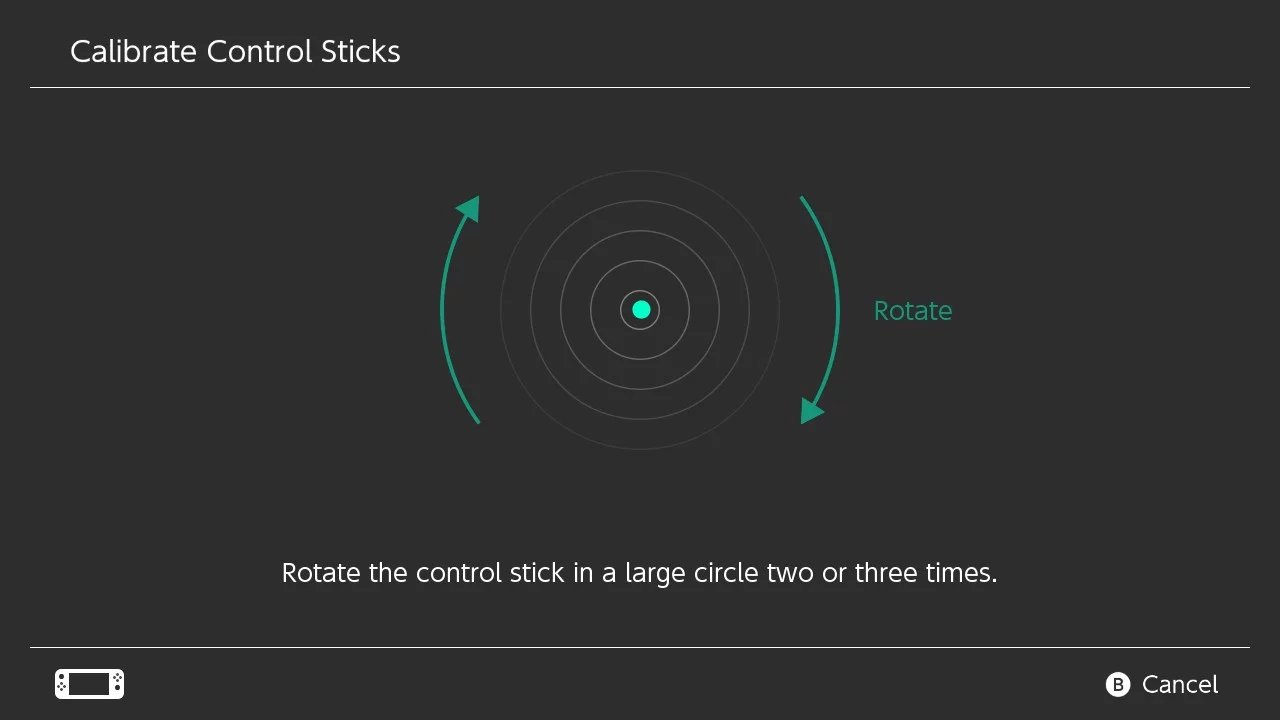
- Next, it will ask you to rotate the sick. Follow the direction it indicates.
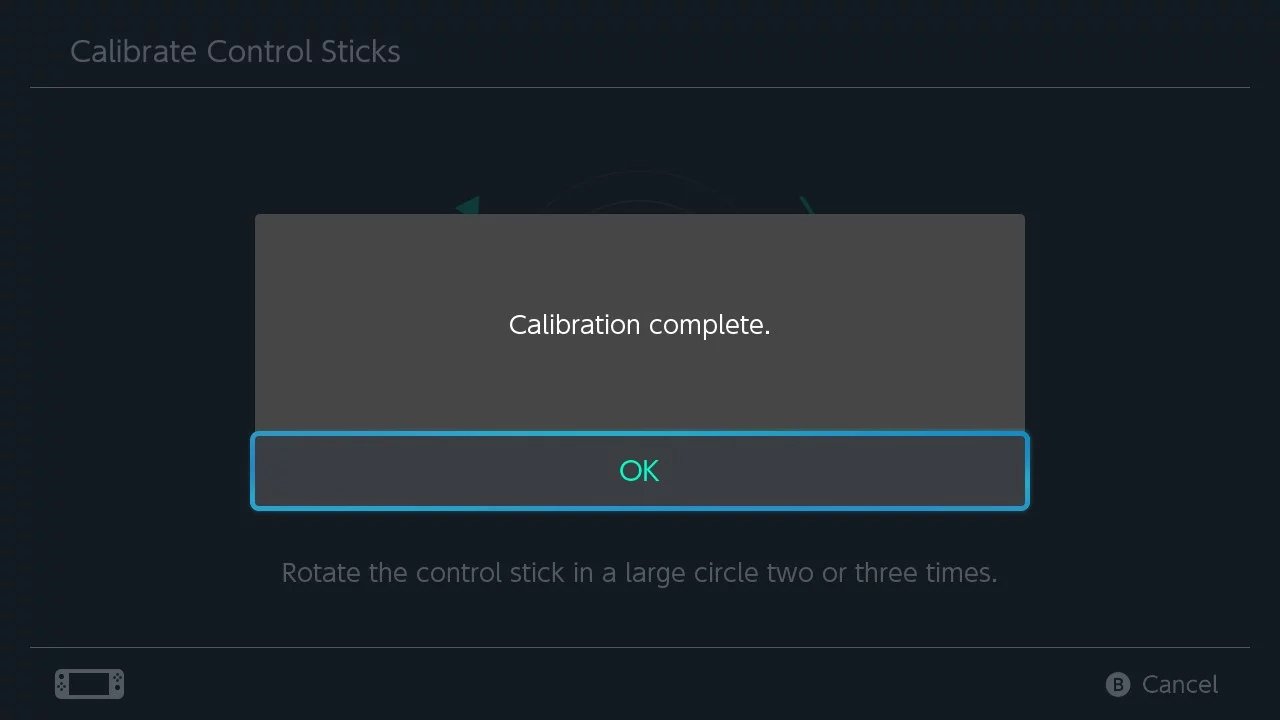
- A message will pop up stating Calibration complete. Click OK.
If updating your system and calibrating your Joy-Con sticks didn't do the trick then it might be a more physical issue. Keep reading to know how to fix it.
Master your iPhone in minutes
iMore offers spot-on advice and guidance from our team of experts, with decades of Apple device experience to lean on. Learn more with iMore!
Add foam or cardboard inside the Joy-Con
Spawn Wave's channel on YouTube discovered a critical fix that has relieved Joy-Con drift for many users. They found that placing some kind of padding between the analog stick and the Joy-Con casing can solve the drifting issue as this prevents the worn-down contacts from touching the casing and sensing input.
Best of all, you can easily do this fix using things you find around your house. For step-by-step assistance, you can follow the video above and find the basic steps below.
WARNING: Opening Joy-Con controllers and performing home fixes can permanently damage parts if done incorrectly. Additionally, replacing parts or customizing Joy-Con will void any active warranty. Proceed at your own risk.
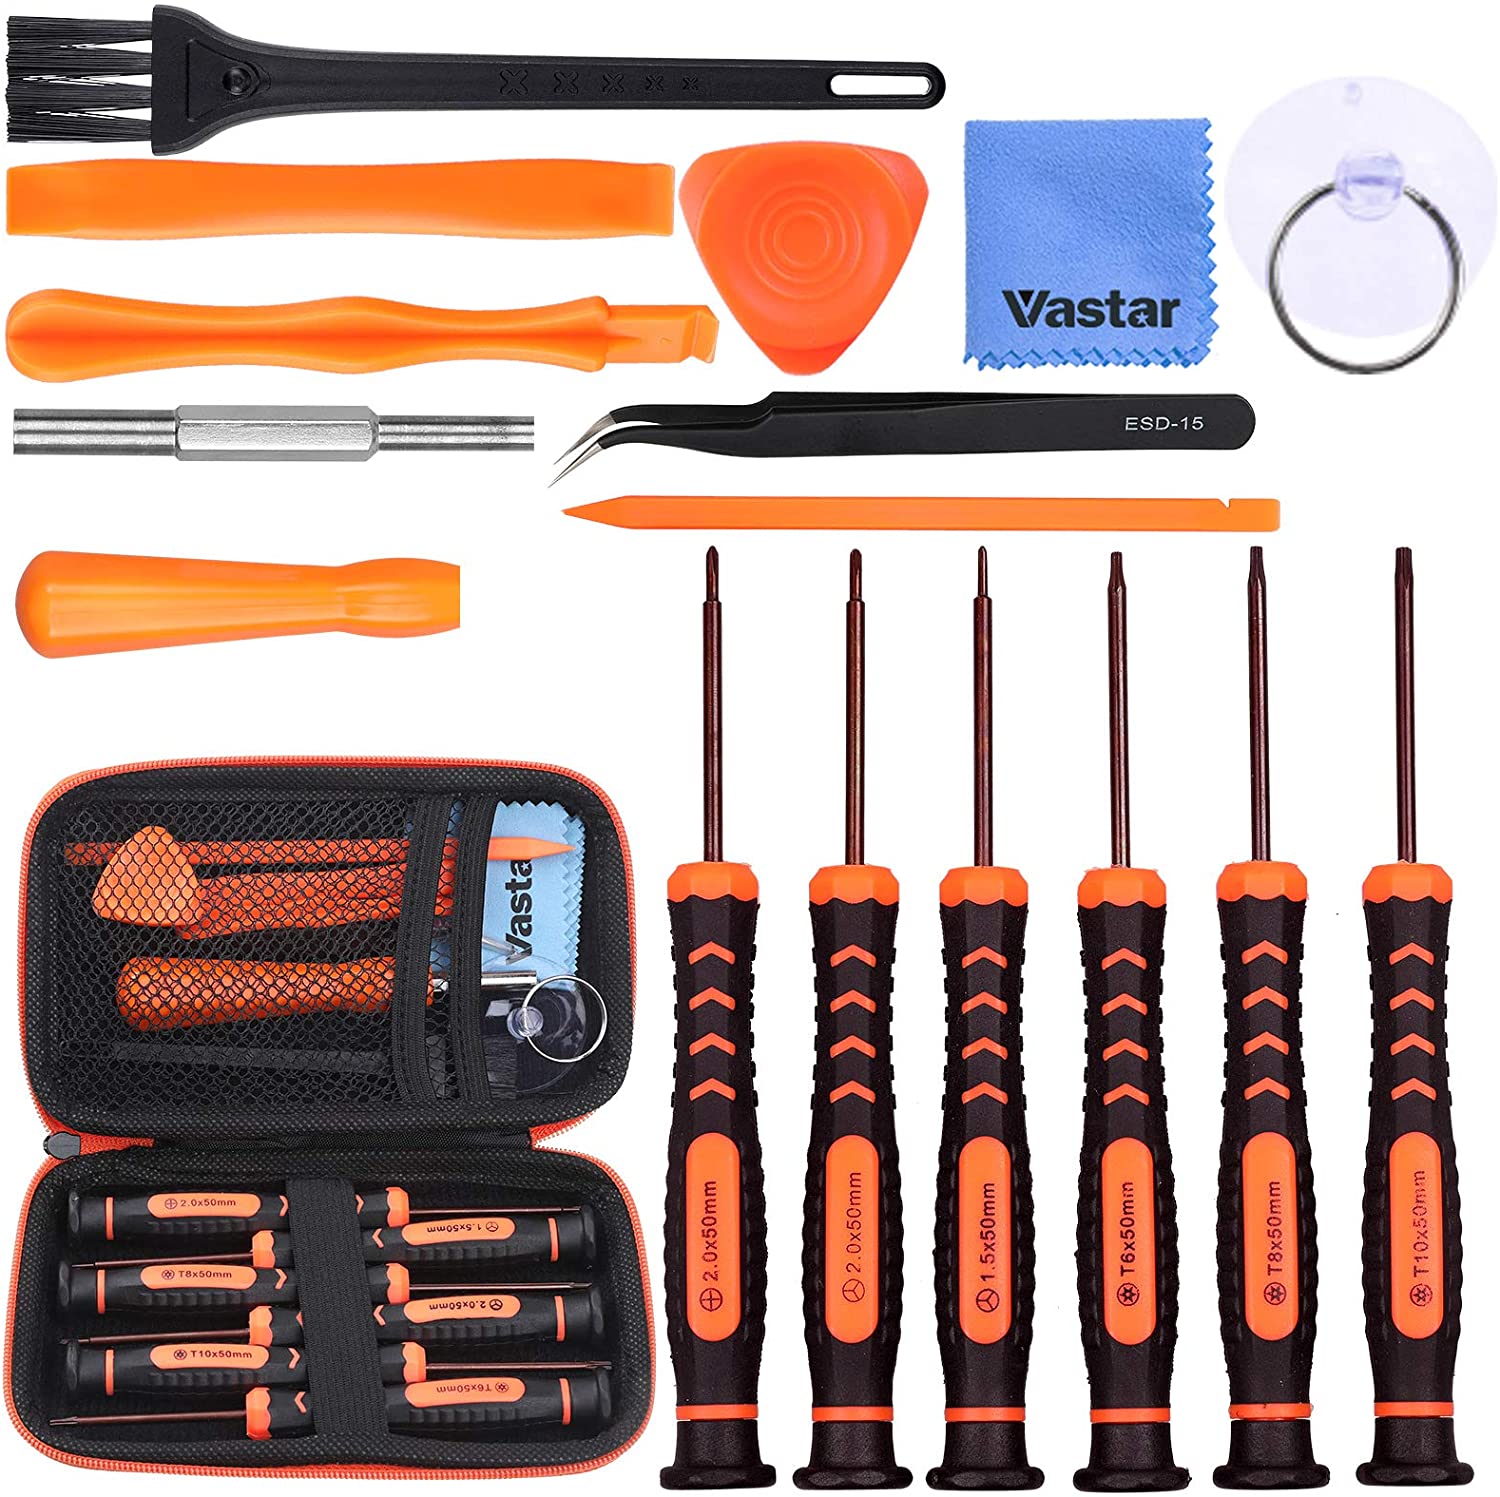
- Use a Tri-Wing Screwdriver to open your drifting Joy-Con and be careful to remember where each screw goes.
- Cut out a small square of foam or cardboard. The thickness should be 1mm or less and have roughly the same shape as the metal casing surrounding the analog stick.
- Use some adhesive to attach this square cut out to the back of the metal casing. Be careful what adhesive you choose to use, and don't put it on too thick.
- Screw the Joy-Con casing back into place. Once that's done, the Joy-Con should be ready to use.
This method puts spacing between the worn-down contact points and the Joy-Con casing, which should prevent the joystick from sensing input simply from touching the case. If that doesn't do it, then there's one more thing you can try before getting really drastic.
Open your Joy-Con the right way
This 17-piece set comes with all of the tools you need to open your Nintendo devices the correct way. It also comes with a convenient case so you can keep everything tidy.
How to fix drift with compressed air:
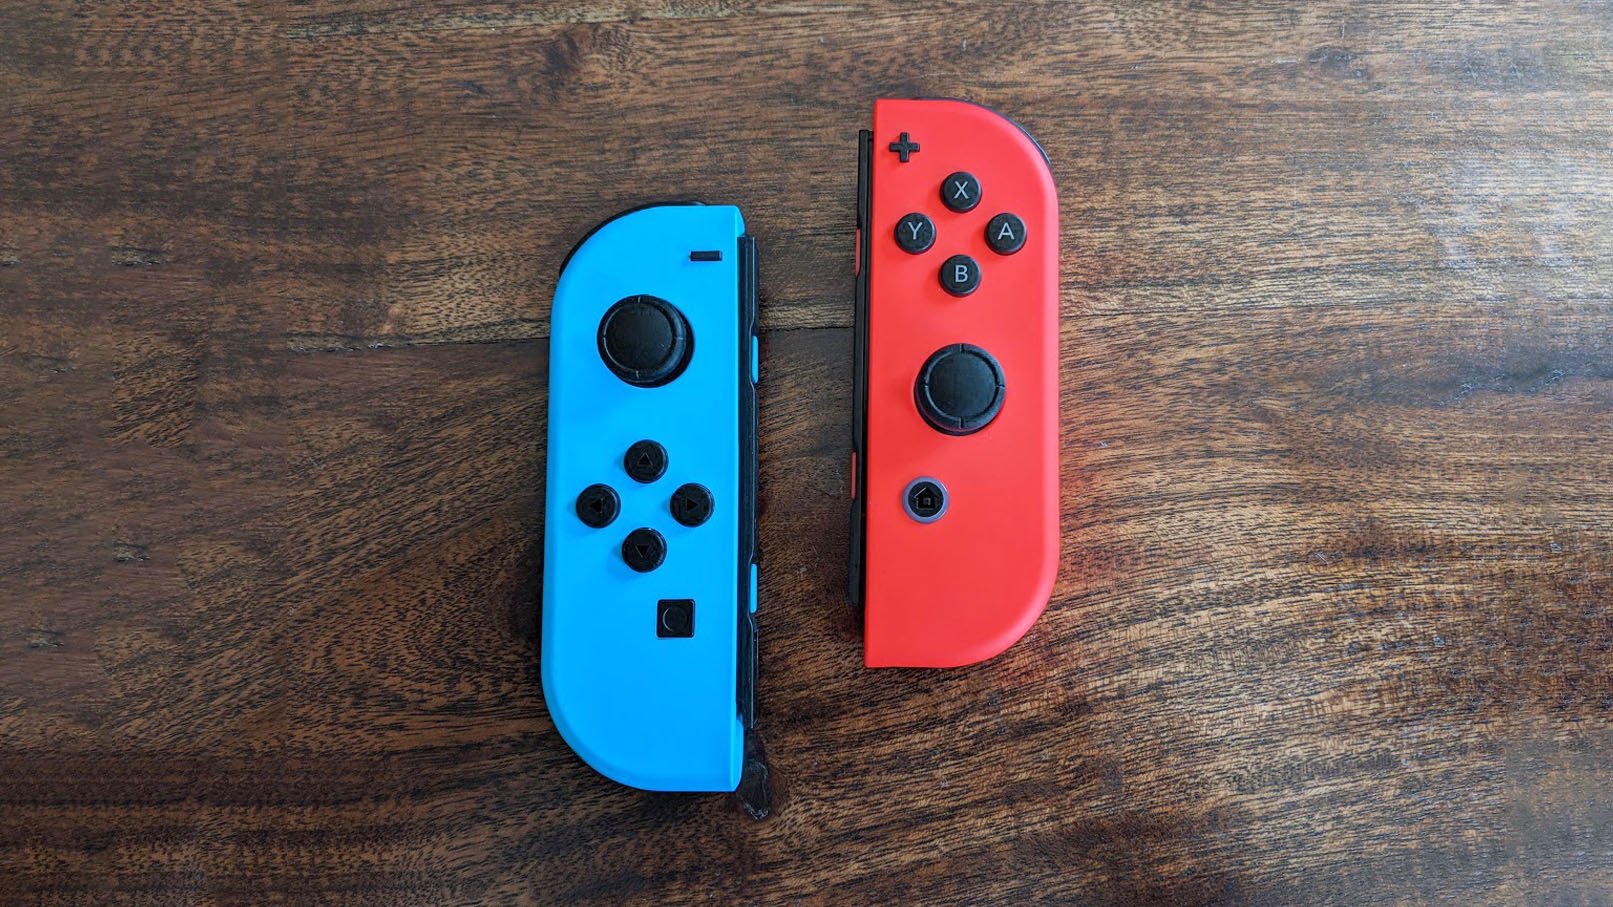
It's possible that removing particles from your Joy-Con sticks using compressed air could make them work properly again. Joy-Con controllers have slightly different designs between the original Nintendo Switch, Switch Lite, and the Switch OLED, but this method will work on all of them.
WARNING: If you're going to use compressed air, make sure to use the WD-40 Specialist Electrical Contact Cleaner or the rebranded WD-40 Specialist Contact Cleaner Spray (or something similar from a trusted brand) and not the regular WD-40 as the regular version can cause additional problems for your Joy-Con controllers.
- Identify the analog stick that is giving you problems.
- Follow the instructions on the compressed air can. This usually means you'll need to shake the can thoroughly before using it.
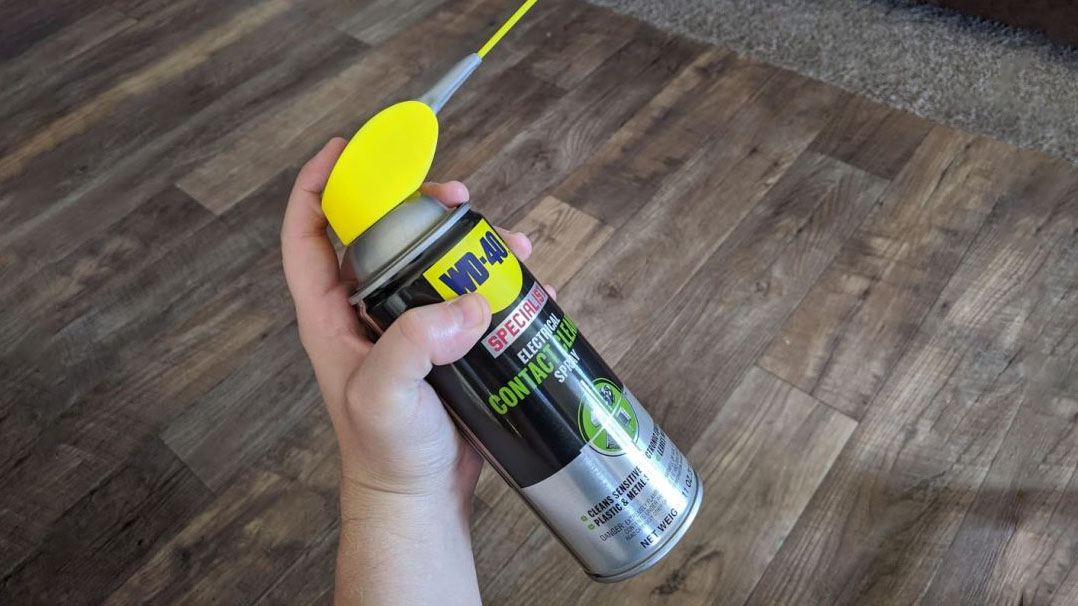
- Place your thumb on the joystick and pull it to one side.
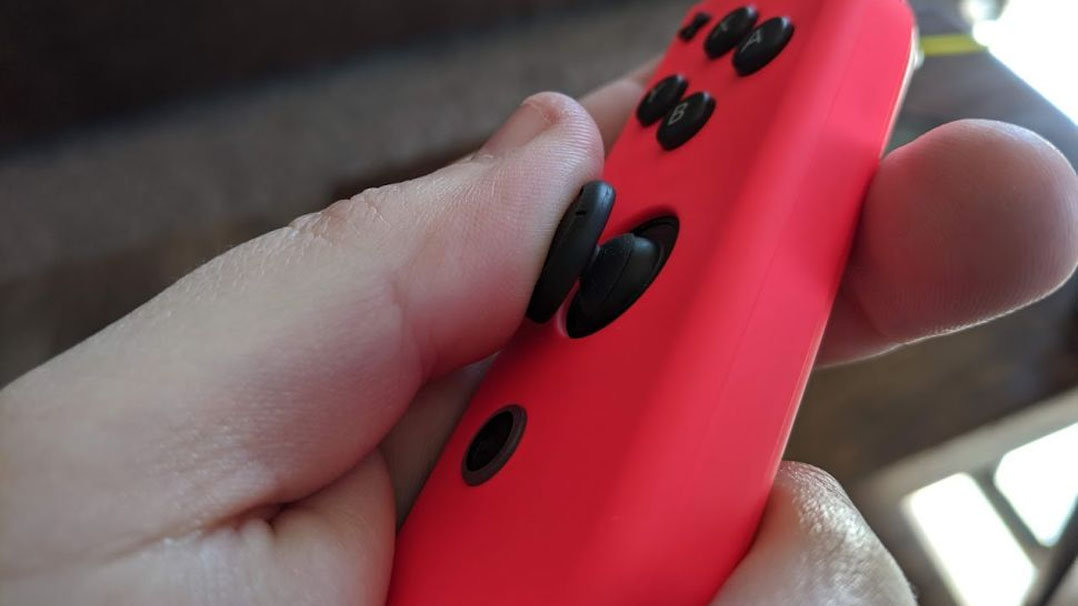
- Gently use the straw to lift the rubber skirt of the joystick.
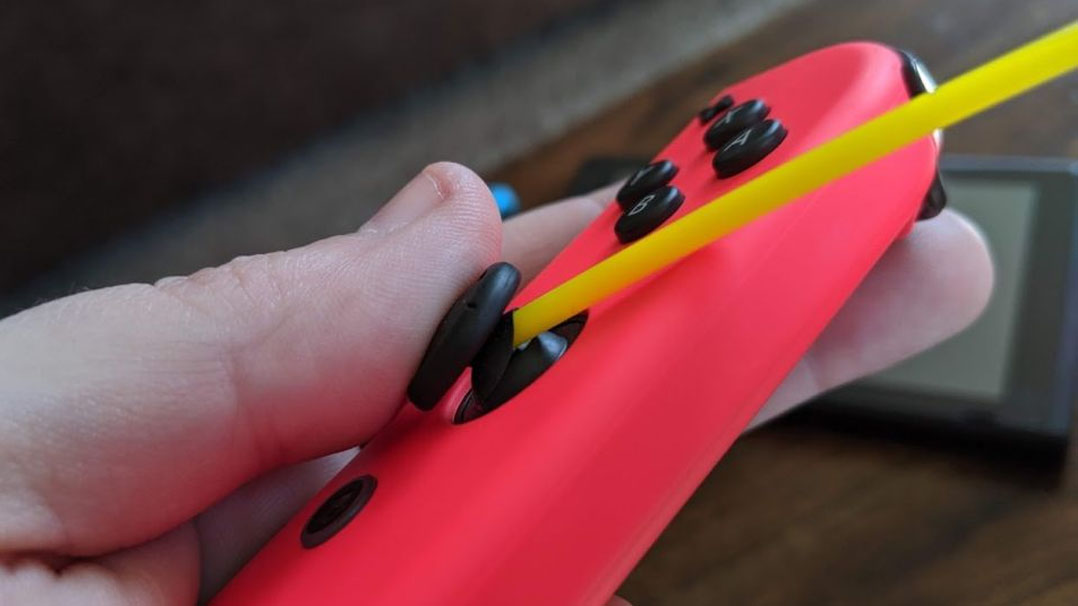
- Give your stick several quick cleansing blasts from different angles.
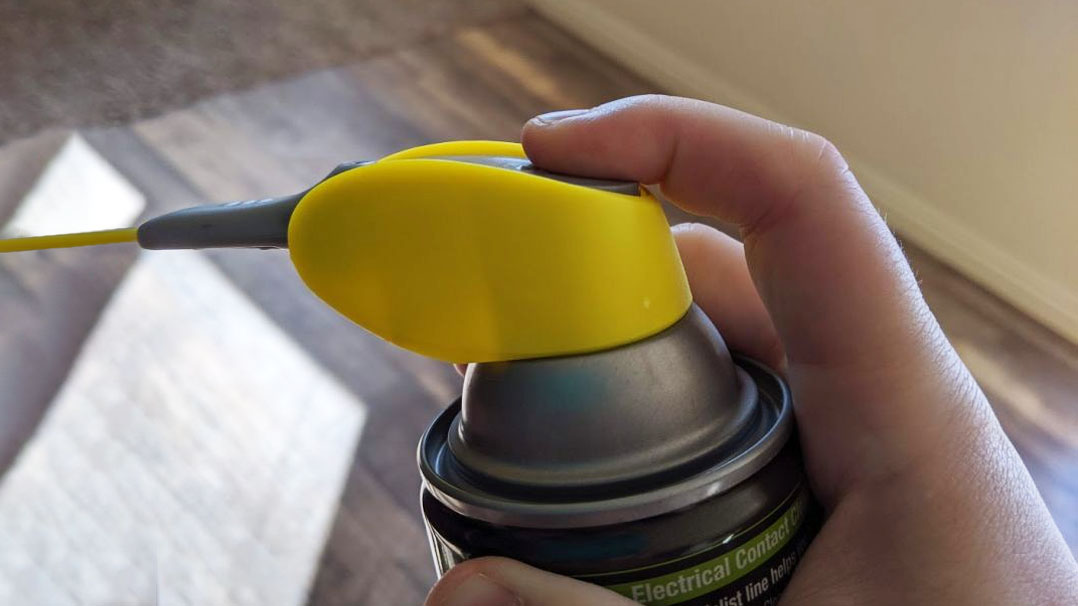
- Leave the Switch Lite, or the Joy-Con tilted to one side and allow any debris to run down the side.

- Wipe up any debris that got dislodged from the Switch Lite or Joy-Con.
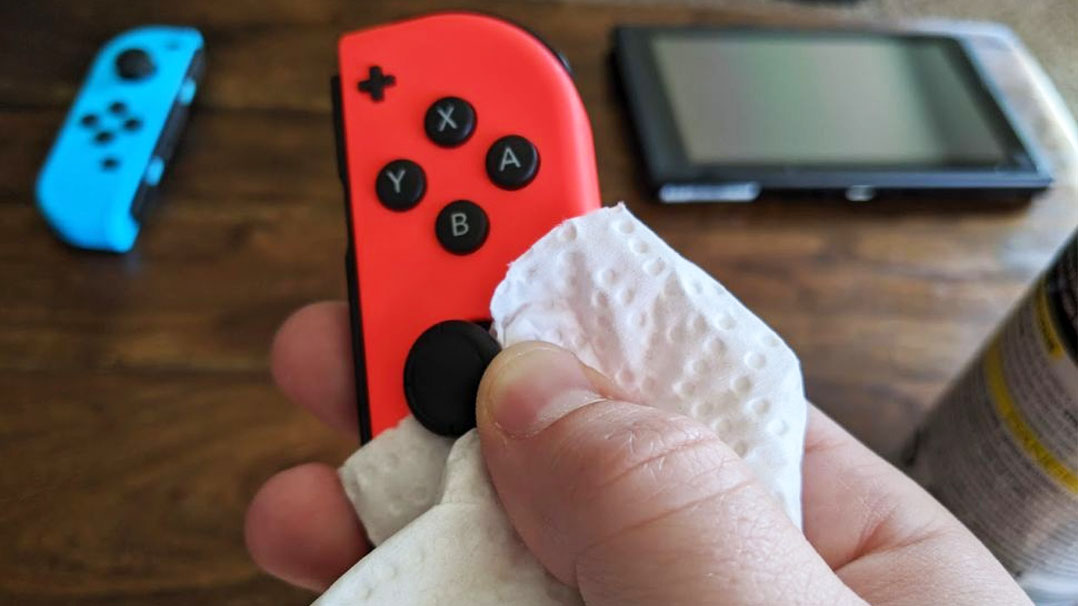
- Let the joysticks dry thoroughly before using them.
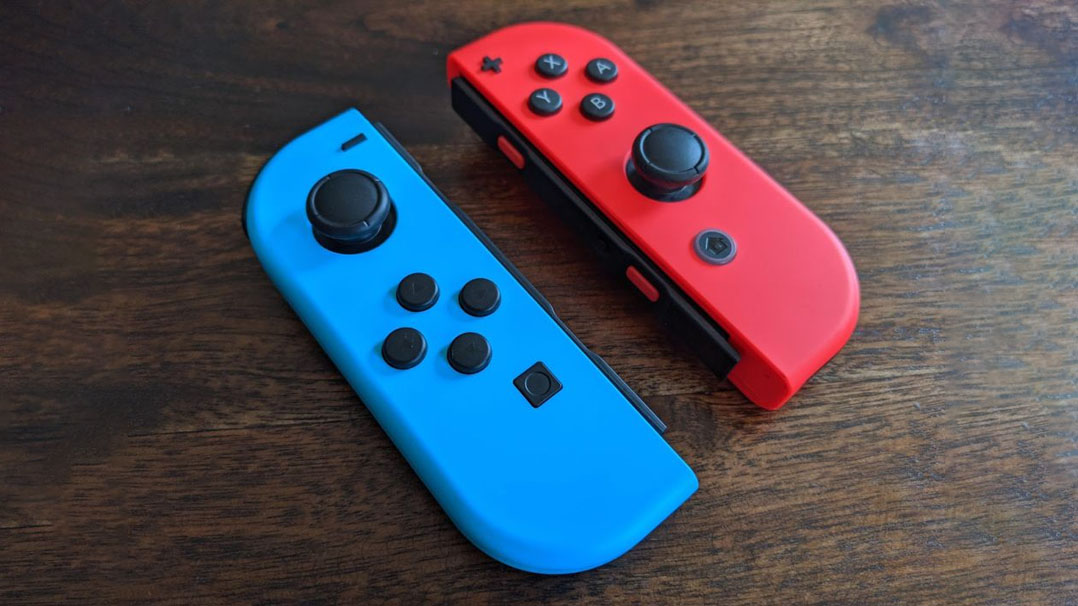
Hopefully, that dislodged any debris or dust that was causing problems for your joysticks. If controller drift continues after cleaning, you might want to send your Switch in for repairs, or, if you're handy, you can replace the joysticks yourself.
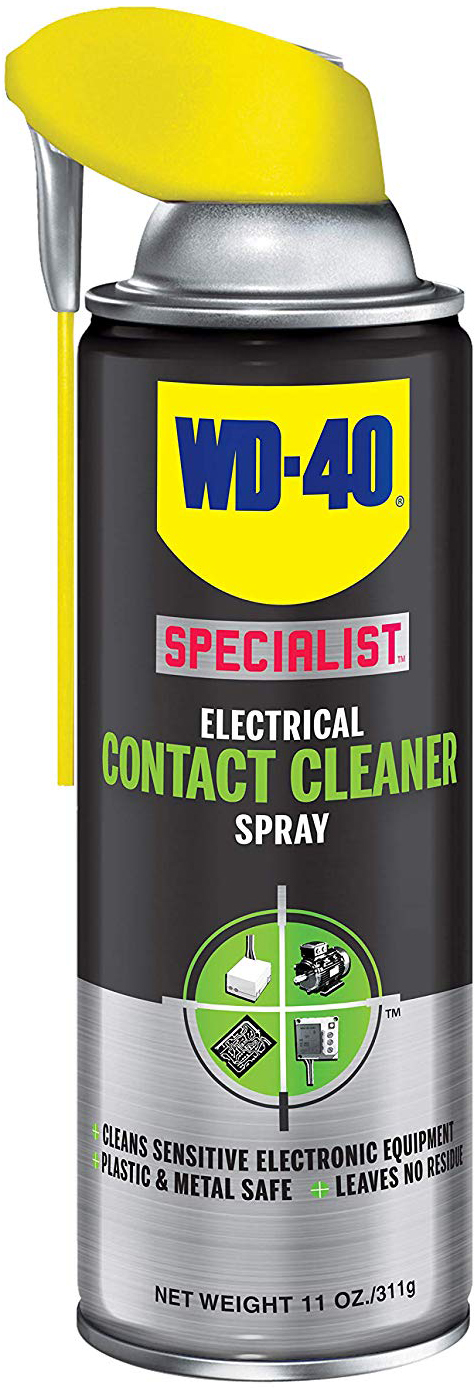
Blast debris away from joysticks
This can contains a special spray specifically meant for cleaning electrical components. It's quick-drying and helps remove oils, dirt, and condensation from metals and plastics. It's the ideal cleaner for spraying your Switch joysticks.
DIY fix by replacing the analog stick
If you're still having Joy-Con drift issues after using the canned air method, foam fix, and recalibrating the controllers, you may need to replace the analog sticks. Some cheap options are available on Amazon, but remember that replacing the joystick will void any active warranty your Joy-Con may have and can lead to damages if you don't do the replacement correctly.
We recommend using the Veanic Replacement Joystick for Nintendo Switch as it's inexpensive and works well. Checking out the video above from TronicsFix on how to replace your Joy-Con analog sticks for additional help.
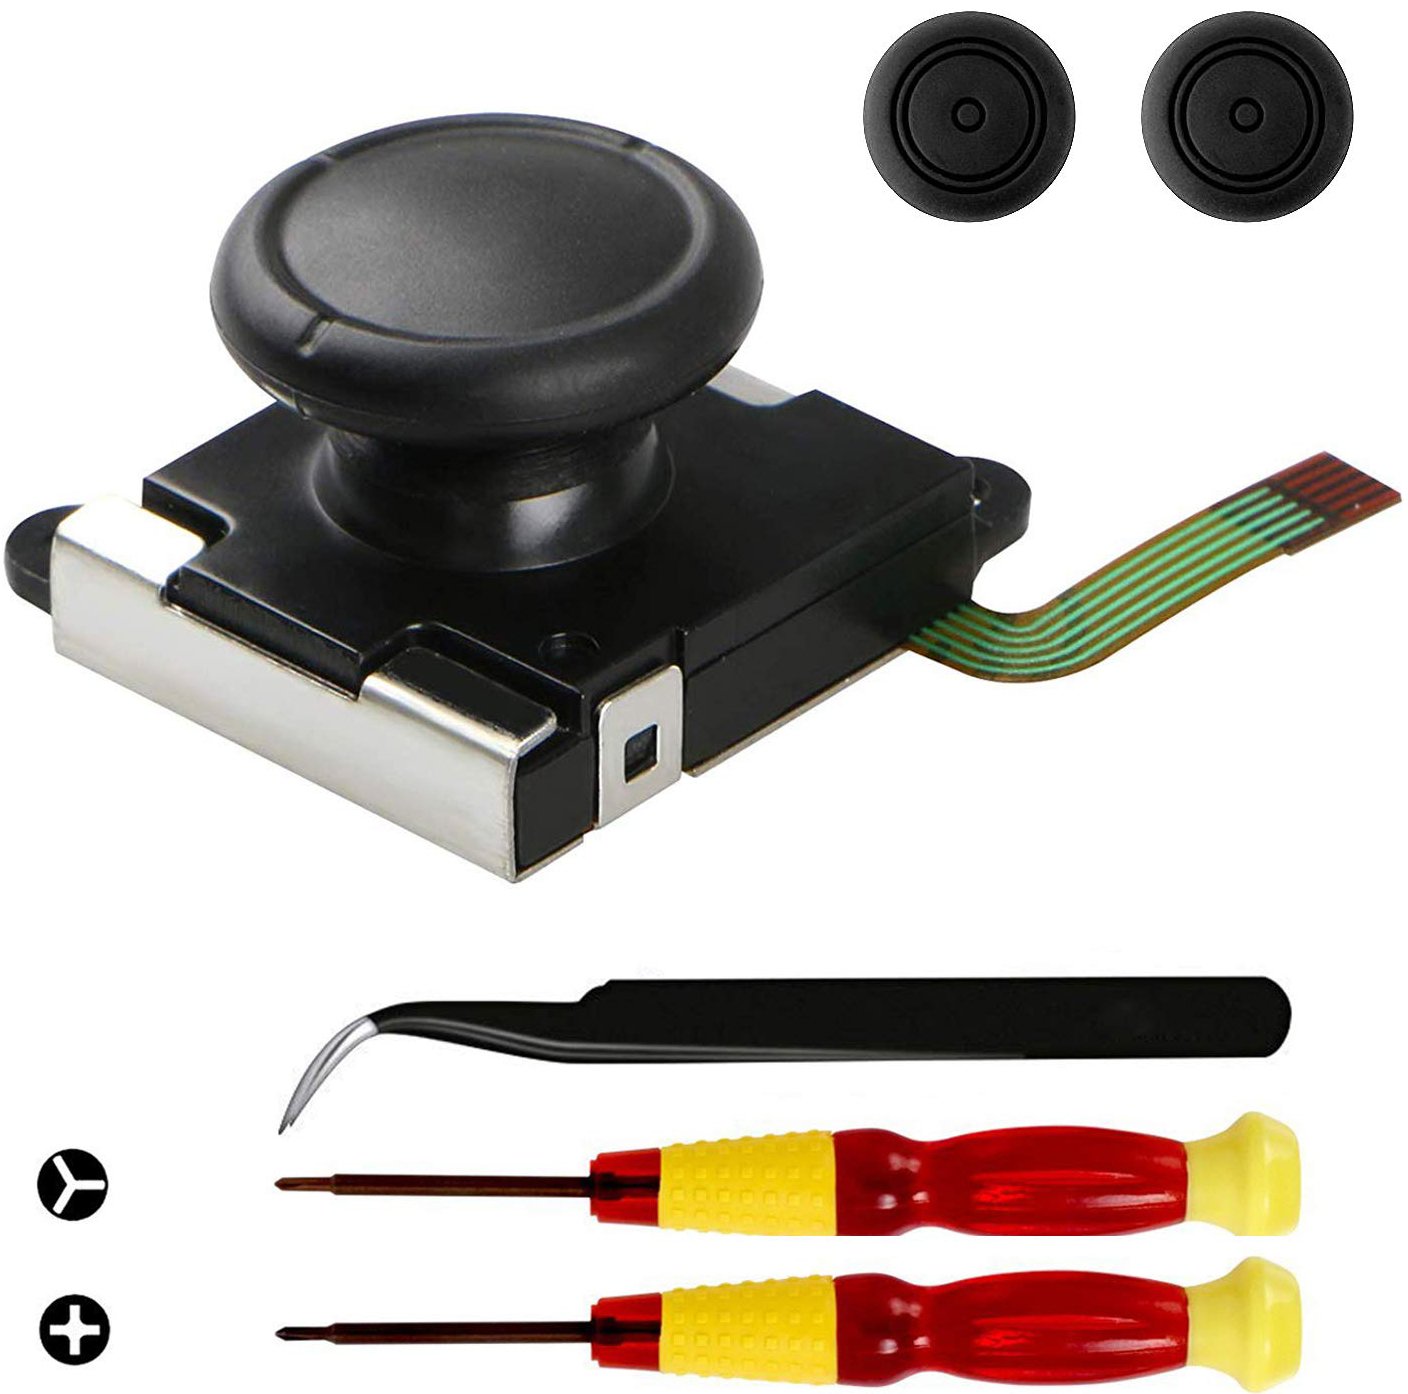
A replacement joystick for your Nintendo Switch Joy-Con
This replacement joystick comes with a "Y" Tri-wing screwdriver, a cross screwdriver, tweezers, and pry tools to help you make replacing the part easier. It also comes with two analog caps that you can place on your joysticks to make them respond faster during gaming sessions.
How to prevent it from happening!
If you haven't had this issue yet and you would like to try to avoid it, or if you had it and don't want it again, there are a few things you can do to try to keep it from happening.
- Make sure your hands are clean: This may seem obvious, but if you have clean hands, your Switch will stay clean. Additionally, if you have young ones playing on your Switch, they don't always wash off Cheetos crumbs before they start playing.
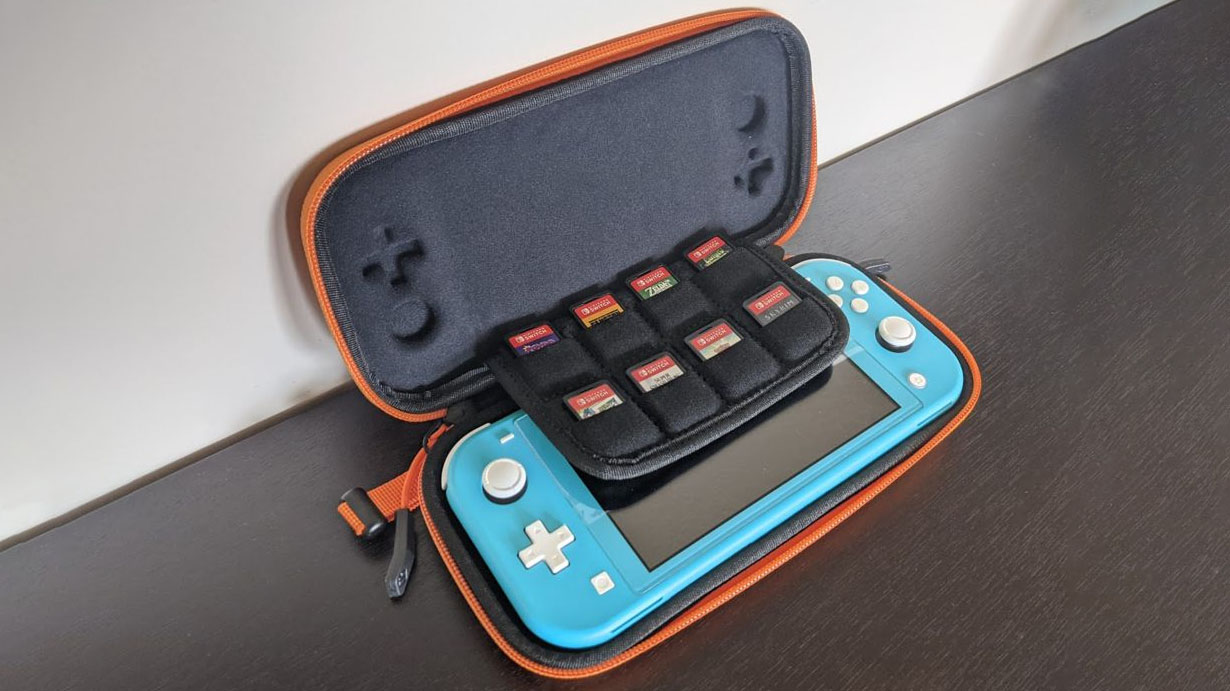
- Use a protective carrying case: When taking your Switch on the go, I seriously recommend using a case. If you are just tossing your Switch into a backpack without a protective case, your sticks may be subject to collecting some particulates or getting smashed against various surfaces, which can wear the contacts down faster. If you don't have one yet, check out the best Switch carrying cases:
Minor issues like drift can be incredibly frustrating. There have been times when I had a controller stop working as it was intended, and I sure did want to toss it across the room. Hopefully, these tips will help keep you in the game and frustration-free!
Nintendo warranties and sending Joy-Con in for repairs
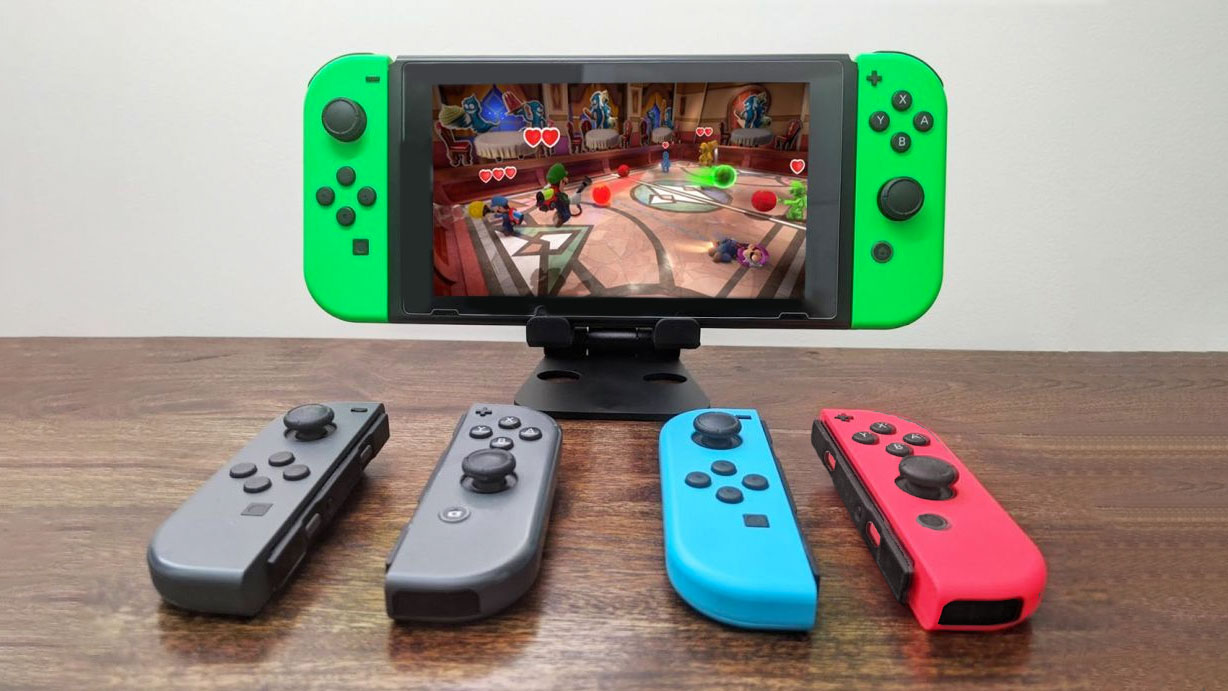
Joy-Con drift has been an issue for many Switch fans since its launch, and unfortunately, it affects Nintendo Switch Lite owners as well. The prevalence of this problem has resulted in lawsuits against Nintendo. With so much attention brought to the issue, the gaming company has made it much easier to start a ticket for repairing Joy-Con on its customer support page.
"At Nintendo, we take great pride in creating quality products, and we are continuously making improvements to them," a representative from Nintendo told Kotaku in response to questions about Joy-Con drift. "We are aware of recent reports that some Joy-Con controllers are not responding correctly. We want our consumers to have fun with Nintendo Switch, and if anything falls short of this goal, we always encourage them to visit http://support.nintendo.com so we can help."
According to Vice, Nintendo's customer support reps have been instructed to aid anyone who contacts them about Joy-Con drift by first going through troubleshooting steps. If that doesn't fix the problem, Nintendo will make repairs at no charge without requiring proof of purchase. What's more, anyone who contacted Nintendo previously and paid to get their Joy-Con fixed will be issued a refund.
Of course, some people find this process too time-consuming and prefer to purchase a new pair of Joy-Con. It's more expensive but allows Switch owners to continue playing their games rather than waiting for their controllers to come back. Unfortunately, Switch Lites don't have removable controllers, so you won't be able to disengage the problematic joysticks easily.
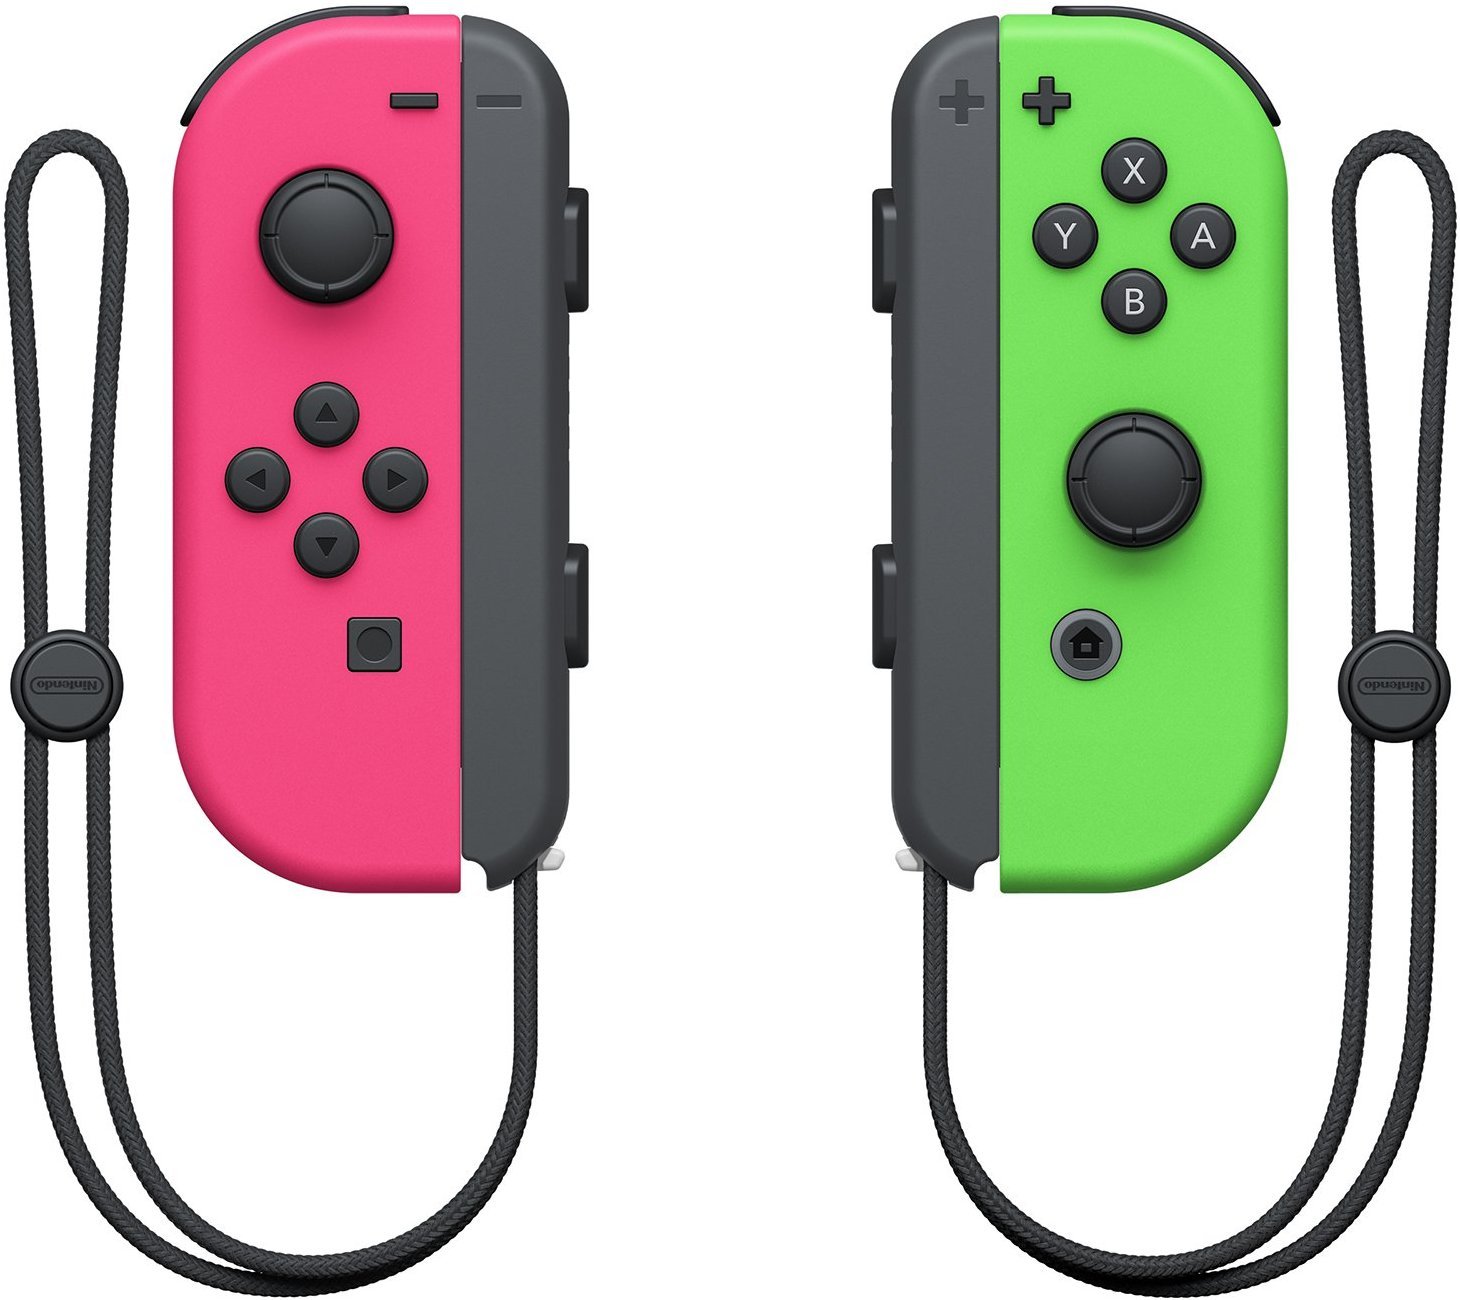
Brand new Joy-Con for the Nintendo Switch
This package contains both the right and left Joy-Con controllers. It also features two Joy-Con straps for undocked play. The battery life lasts up to 20 hours, so you'll have plenty of time during gaming sessions. They feature rumble, amiibo support, and motion controls to enhance your gaming experience.
Additional products to help with controller issues
If you need more than one replacement joystick or if you'd prefer a new controller altogether, here are the products we recommend most.
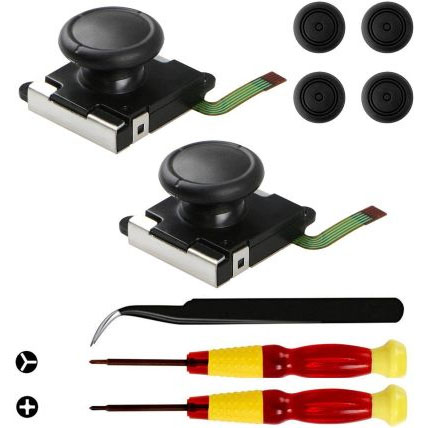
Replace both joysticks
If you need to replace both of your joysticks or if you'd prefer to have an extra joystick handy, consider purchasing this 2-pack. It comes with four thumbstick caps, a cross screwdriver, a "Y" screwdriver, a prying tool, and tweezers to make the replacement process easier.
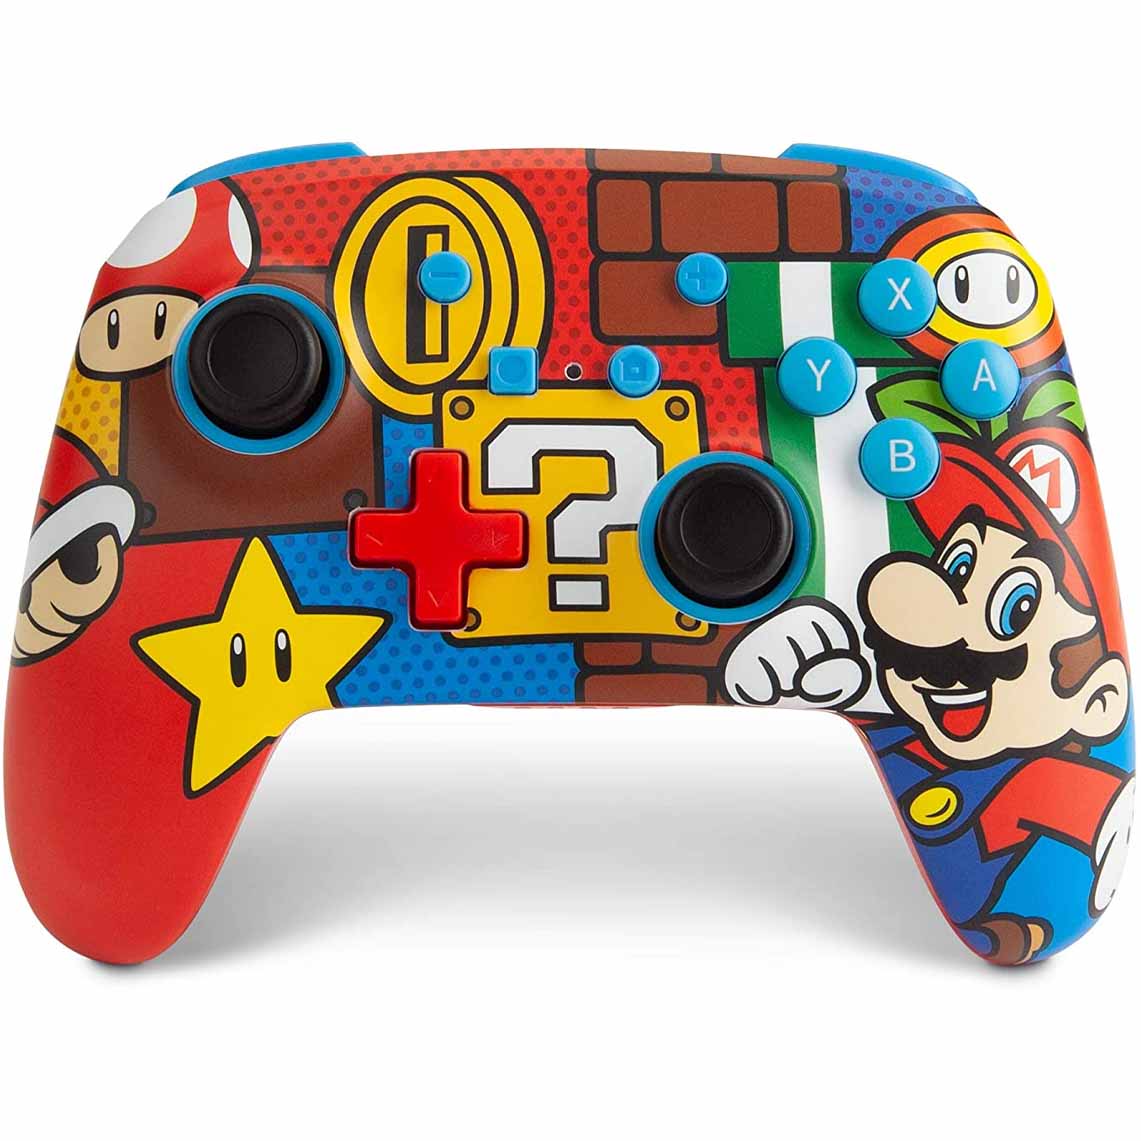
A different Nintendo Switch controller
This wireless controller is a perfect replacement for defective Joy-Con. It features motion controls and additional buttons on the backside to enhance your gaming sessions. Choose from one of six different colors and themes to get the look you like best.
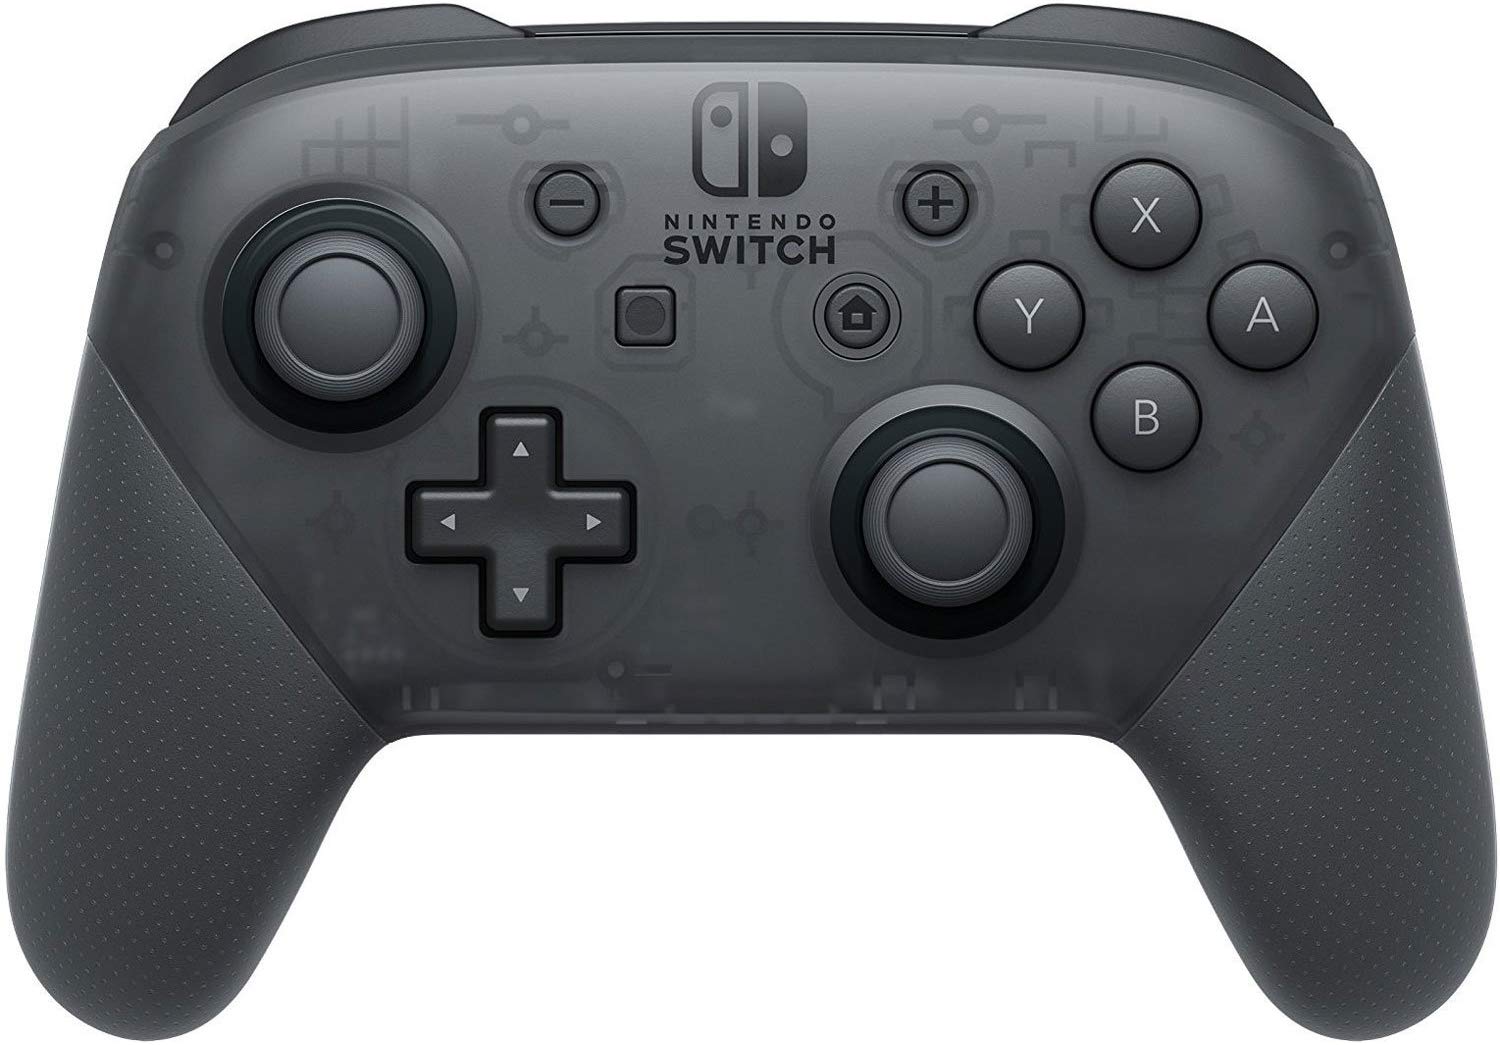
The ultimate Nintendo Switch controller
This is the mother of all Nintendo Switch controllers. In addition to having a battery that lasts up to 40 hours, it features motion controls, HD rumble, and built-in amiibo functionality. Should the battery get low, you can plug in a USB cable and keep playing. Its joysticks and buttons are larger than the ones on the Joy-Con, making them easier to use.

Gaming aficionado Rebecca Spear is iMore's dedicated gaming editor with a focus on Nintendo Switch and iOS gaming. You’ll never catch her without her Switch or her iPad Air handy. If you’ve got a question about Pokémon, The Legend of Zelda, or just about any other Nintendo series check out her guides to help you out. Rebecca has written thousands of articles in the last six years including hundreds of extensive gaming guides, previews, and reviews for both Switch and Apple Arcade. She also loves checking out new gaming accessories like iPhone controllers and has her ear to the ground when it comes to covering the next big trend.
