How to fix a missing serial number on macOS

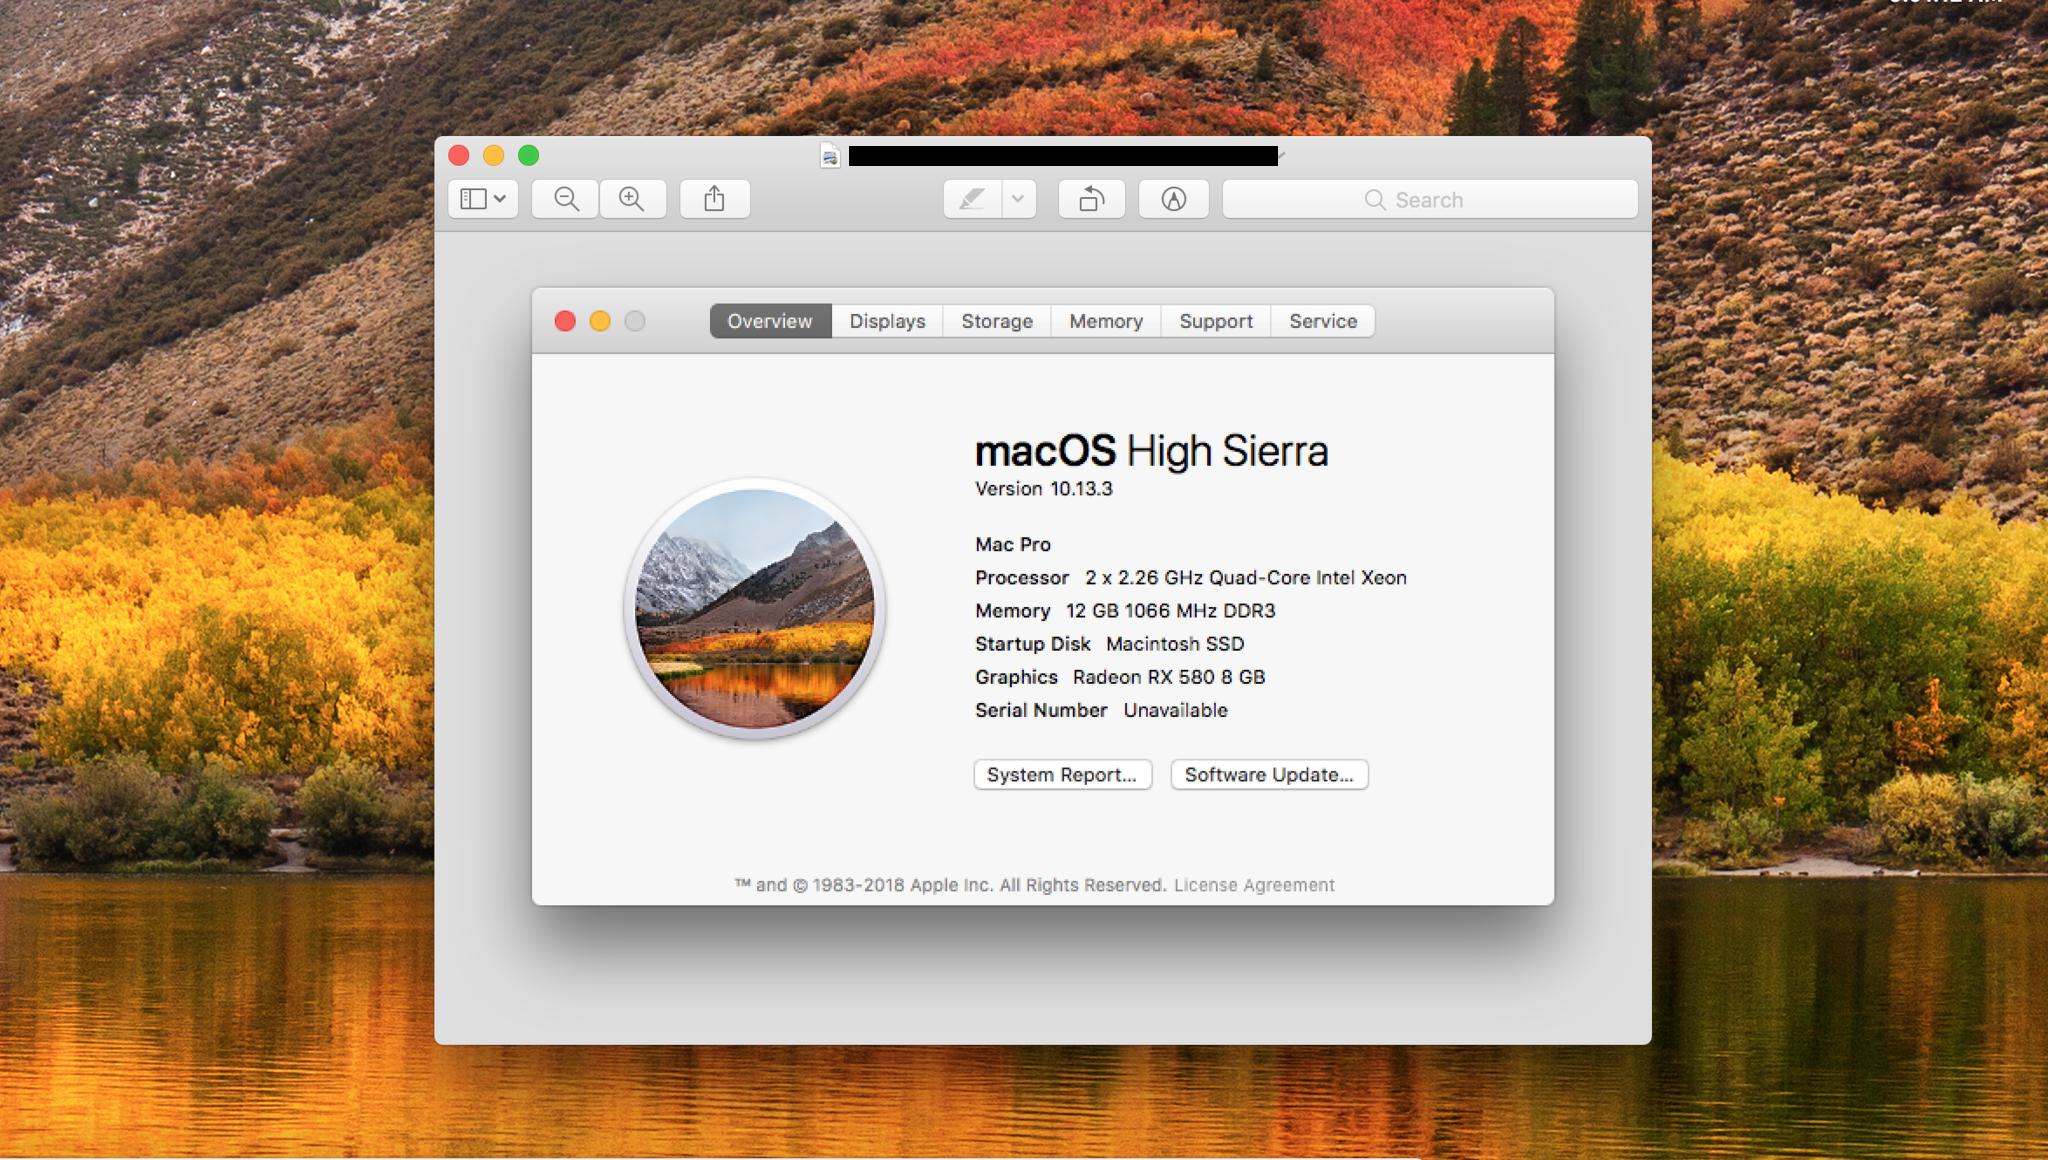
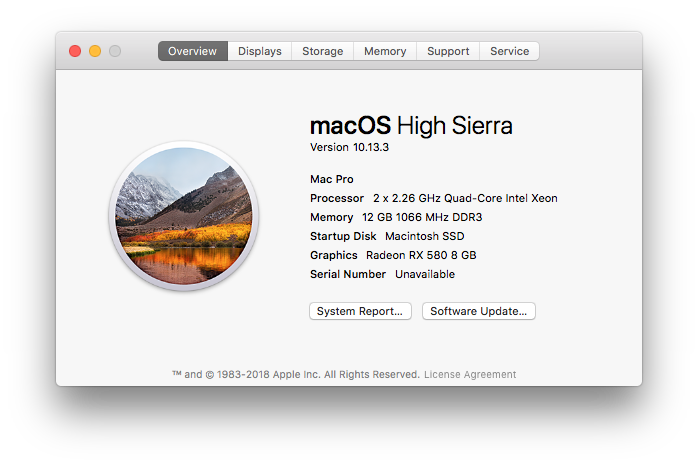
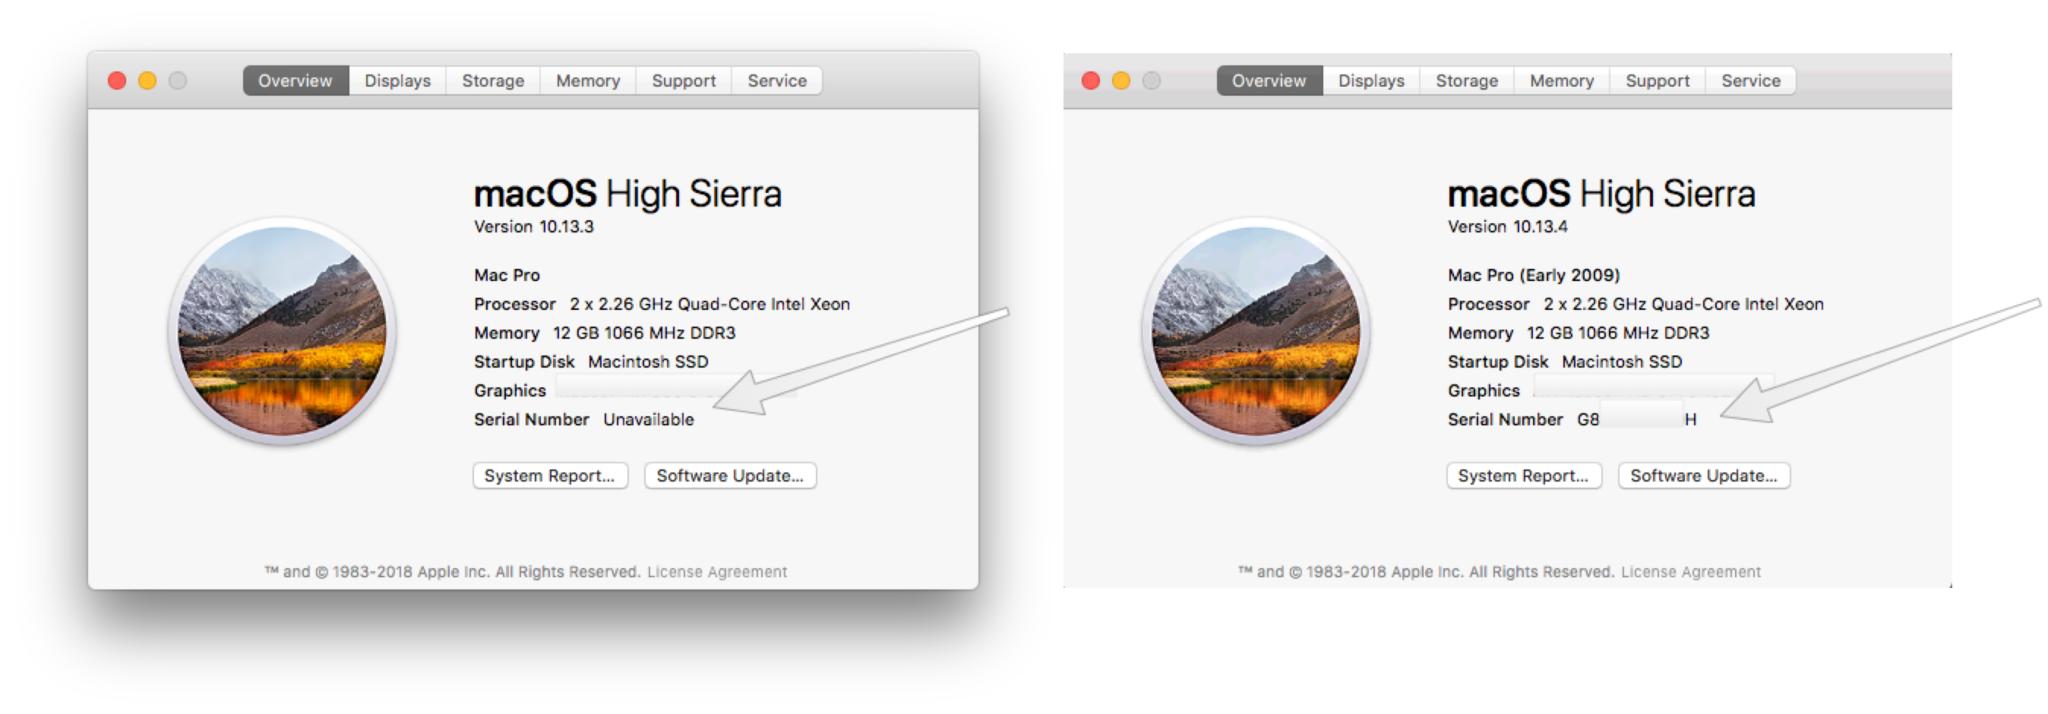
Over the multitude of years of service, my 2009 Mac Pro has endured many supported and unsupported software updates, OS upgrades, hardware upgrades, firmware upgrades, re-installs, wipes, Boot Camp installs, boot loader changes, and so on and so on. Over that time and over those many changes, at some point, my logic board lost its marbles and simply "forgot" its serial number. Here's how to get your Mac to "remember" its serial number once more!
- The problem with not having a serial number
- Words of warning
- Get your serial number
- Get the software
- The fix
- Final Comments
The problem with not having a serial number
For quite some time I had no issues with my Mac not knowing its serial number or revision (year of manufacture). Everything worked fine. I could install programs, log into the App store, iMessage friends and colleagues, and everything else needed in my Mac environment. However, a time came after a certain update or upgrade (I can't remember which, since for the most part, everything still just worked) certain services like iMessage and FaceTime would no longer allow me to log in to their services. Strangely some other services logged in just fine.

Words of warning
You really shouldn't do this fix. Seriously. Don't do it. But if you are insisting on getting it done there are a few caveats before delving into this fix.
First, you not only need a valid serial number, but you need a valid serial number for the hardware you will be performing it on. The serial number CAN'T be transferred between machines. Therefore this fix is truly for your genuine Apple hardware that has lost it's serial number along the way on its logic board. You'll be using the same serial number that the computer originally had when you first purchased it.
Second, there is no room for error. You only get one chance at inputting the proper serial number during the "write" phase of the how to. If you mistype any part of it, you'll likely end up with a non-bootable system. DO NOT PERFORM THIS FIX IF YOU CANNOT LIVE WITH A NON-WORKING MACHINE.
Third, and most importantly, I'll be suggesting (but not providing) software that may or may not be for Apple's internal use only. I do not know the legality of having access to this software or using this software. Do not use this software if you worry about the copyright or legal issues that may or may not be involved with running said software.
Fourth, If this doesn't work for you and you get a non-functional system. Don't blame us. I told you to not perform this fix.
Master your iPhone in minutes
iMore offers spot-on advice and guidance from our team of experts, with decades of Apple device experience to lean on. Learn more with iMore!
Fifth, if you have an Apple warranty that's still valid, call Apple to fix the serial number issue. Don't use this method. This will likely void any valid warranty.
Finally, don't use this fix.
Get your serial number
Getting your serial number should be a straight forward affair. When you buy your Apple for Apple.com, you'll get a receipt via email with your serial number on it. The box that your Mac came in will also have a serial number on a card within the box. You Mac itself, will have the same serial number somewhere either on, in, in back of, or under its casing. There is literally very little excuse for you to not have access to your serial number.
Get a USB key
For this to work, you'll need to be able to boot off of a secondary device such as a USB. the files are very small so nearly any USB key will work. I used the Cruzer from SanDisk from Amazon for $15 in my example.
Get the software
The software I'm using but am not providing is called the Blank Board Serializer.
The fix
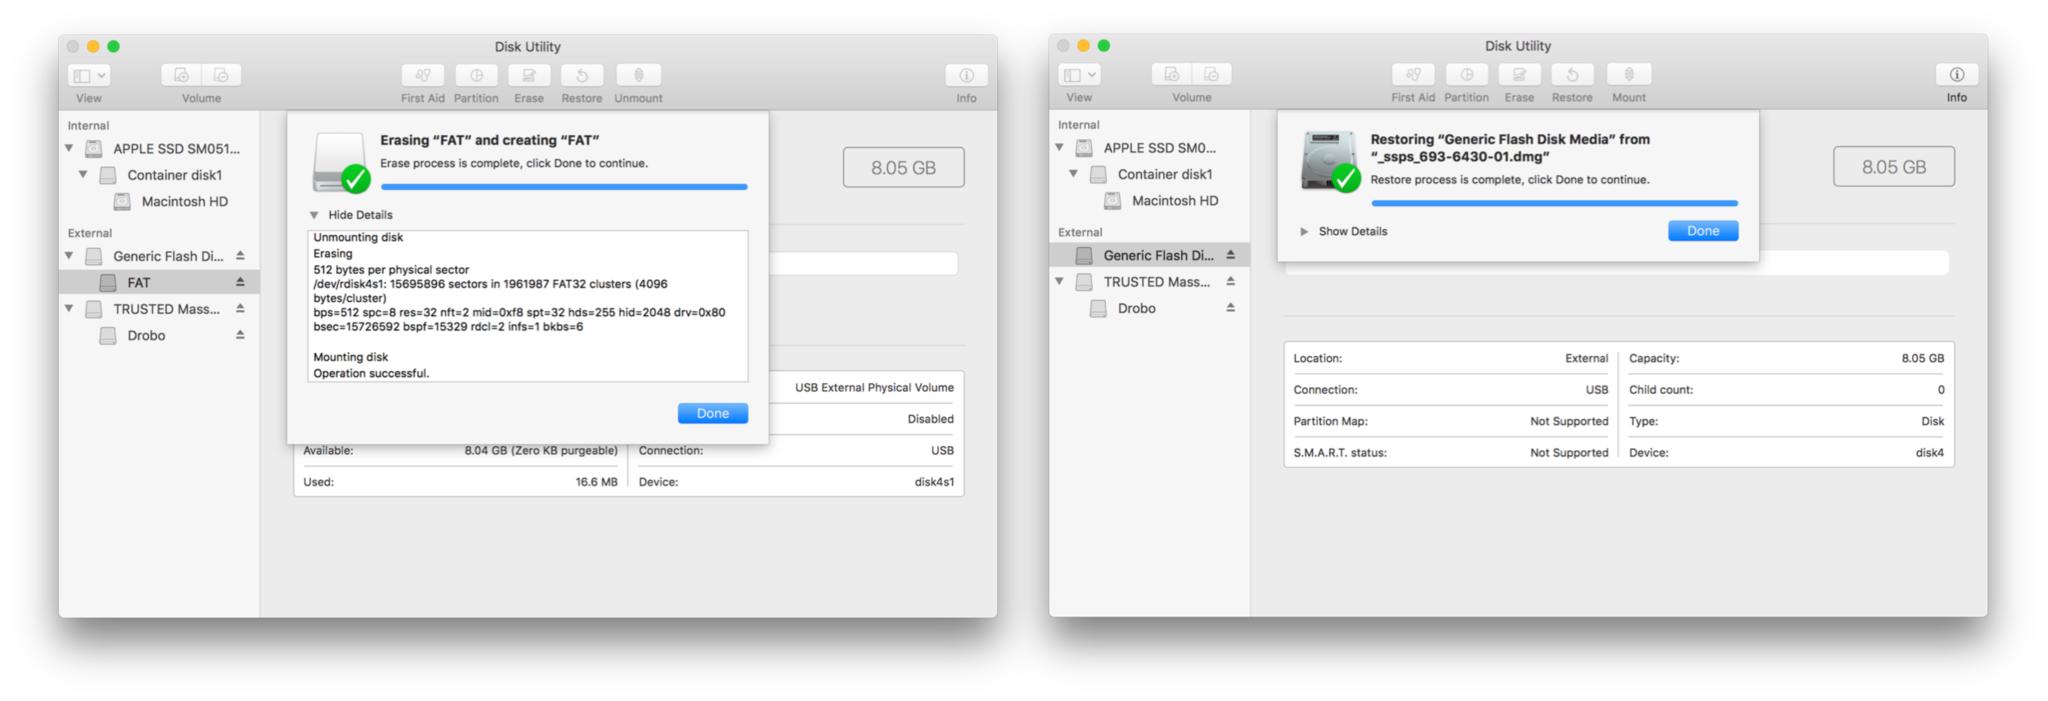
- Format the USB drive with Disk Utility with the FAT filesystem.
- Unpack the Blank Board Serializer program to your disk.
- Using Disk Utility, Restore the unpacked dmg file to your USB drive.
- Click Done.

- Shutdown your Mac.
- Reboot your Mac whilst holding the option key on your keyboard.
- You'll be presented with multiple boot devices, choose the EFI USB key.
- Click to Accept the usage agreement. See warnings above.
- Enter your Serial Number WITHOUT ERRORS. Truly make certain there are no errors here. Remember that Zeros (0) and "O's" look very similar.
- Click Enter.
- Click Yes for each following prompt.
- Click Proceed.
- Click Restart.
- Done!

Final comments
Why was I able to log in to all of my services before the unknown update is anybody's guess. Is it because Apple wants only genuine Apple computers accessing their networks? If so then why would some iCloud services work whilst others didn't? In any case, Once a valid serial number was re-installed on my logic board, everything worked as seamlessly and as beautifully as expected. What about you? Are you living with no serial number? How has it affected you? Let us know in the comments!

