How to get the most sharp and focused photos: iPhone Photography Tips and Tricks
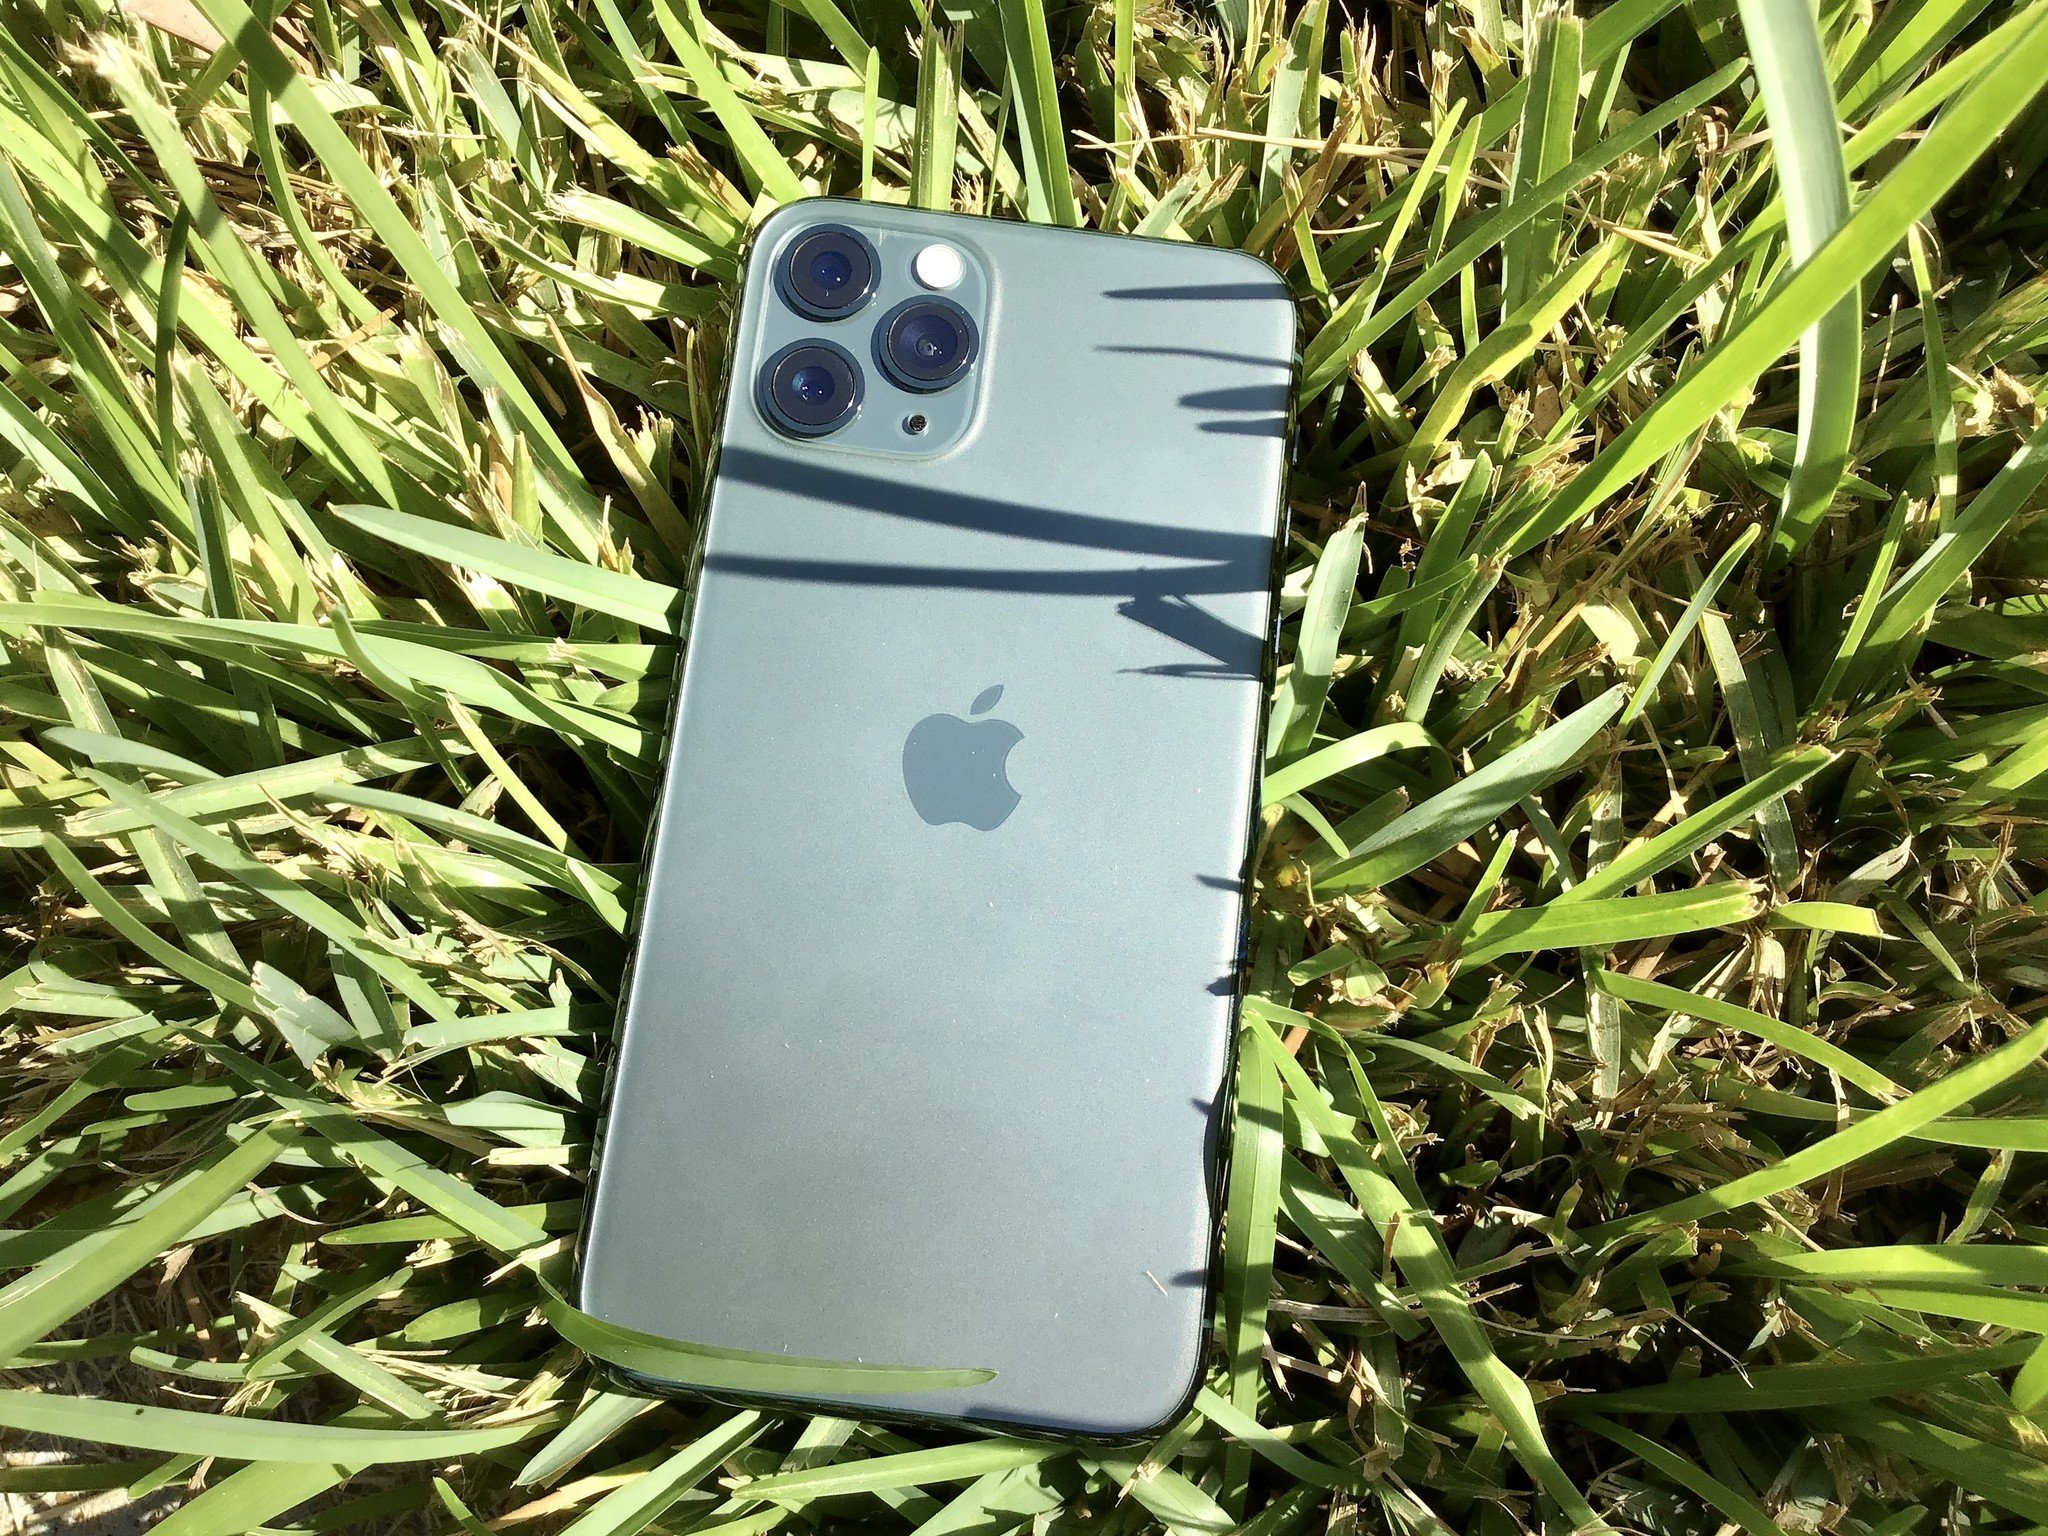
We all know that phrase by now, don't we? That motto, "the best camera is the one that's with you?" And for most of us, that camera is our iPhone, whether it's the latest and greatest iPhone 11 Pro or something earlier. No matter what generation you're using, it's a pretty great camera, and the one we probably use the most.
For the most part, the iPhone's default Camera app does a pretty good job of automatically focusing the picture we want to capture without any additional input from us, the user. But sometimes, it just isn't enough. So how do you make sure that your photos are always coming out sharp, crisp, and focused? Here are a few tips and tricks that every budding iPhone photographer needs to know.
- Tap your focus point
- Set AE/AF Lock with a tap
- Don't change your distance after focusing
- Don't get too close without a macro lens
- Use a third-party app for precise, manual focusing
- Use Portrait Mode for sharp focus on the subject
- No Portrait mode? No problem, just get closer to your subject
- Sometimes you need a whole scene in sharp focus
- Have a steady hand when taking photos in low light conditions
Tap your focus point
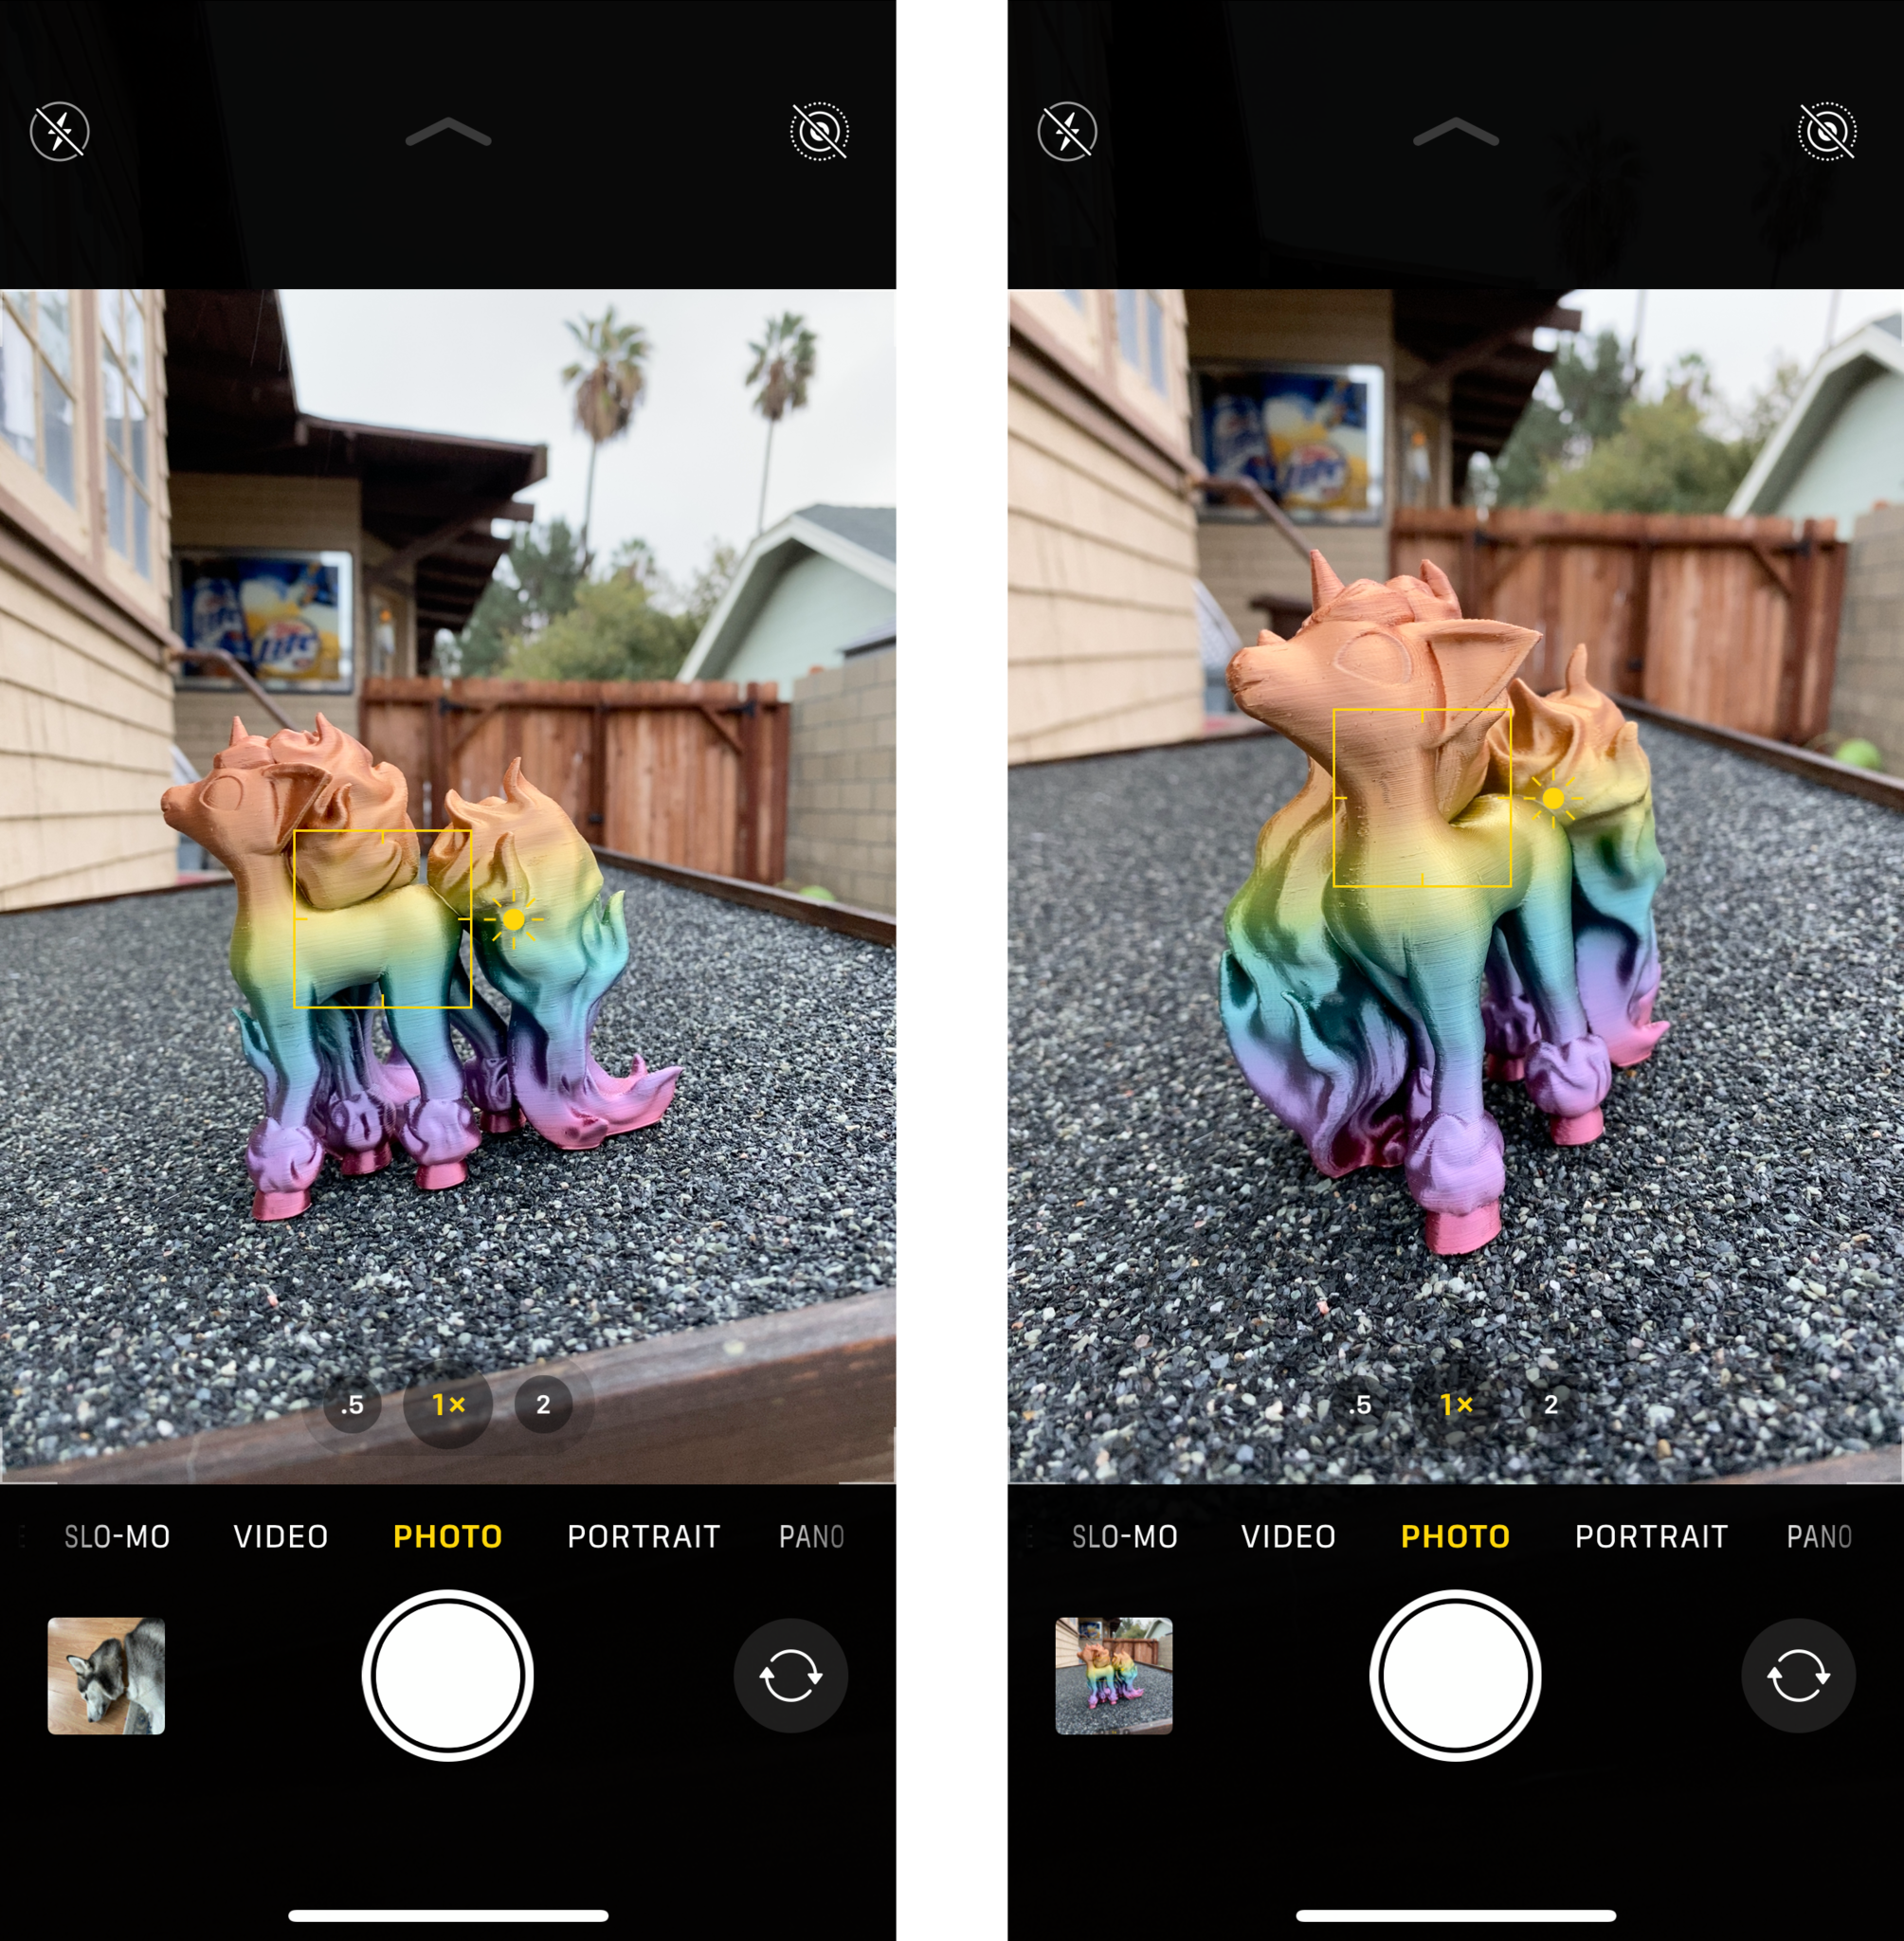
When you launch your Camera app, it will begin to automatically focus on the center of the scene. But sometimes you want to focus on something else, how do you get the camera to focus there? It's easy — just tap where you want the camera to focus, and you'll see a yellow box appear. The box is an indicator of your focus area, so keep tapping until you see fit.
As an added bonus, you can swipe up or down on the screen after setting the focus point to adjust the exposure. Swiping up brightens the scene, and swiping down darkens it.
Tap the shutter button once you're done adjusting focus and exposure to take your photo.
Set AE/AF Lock with a tap
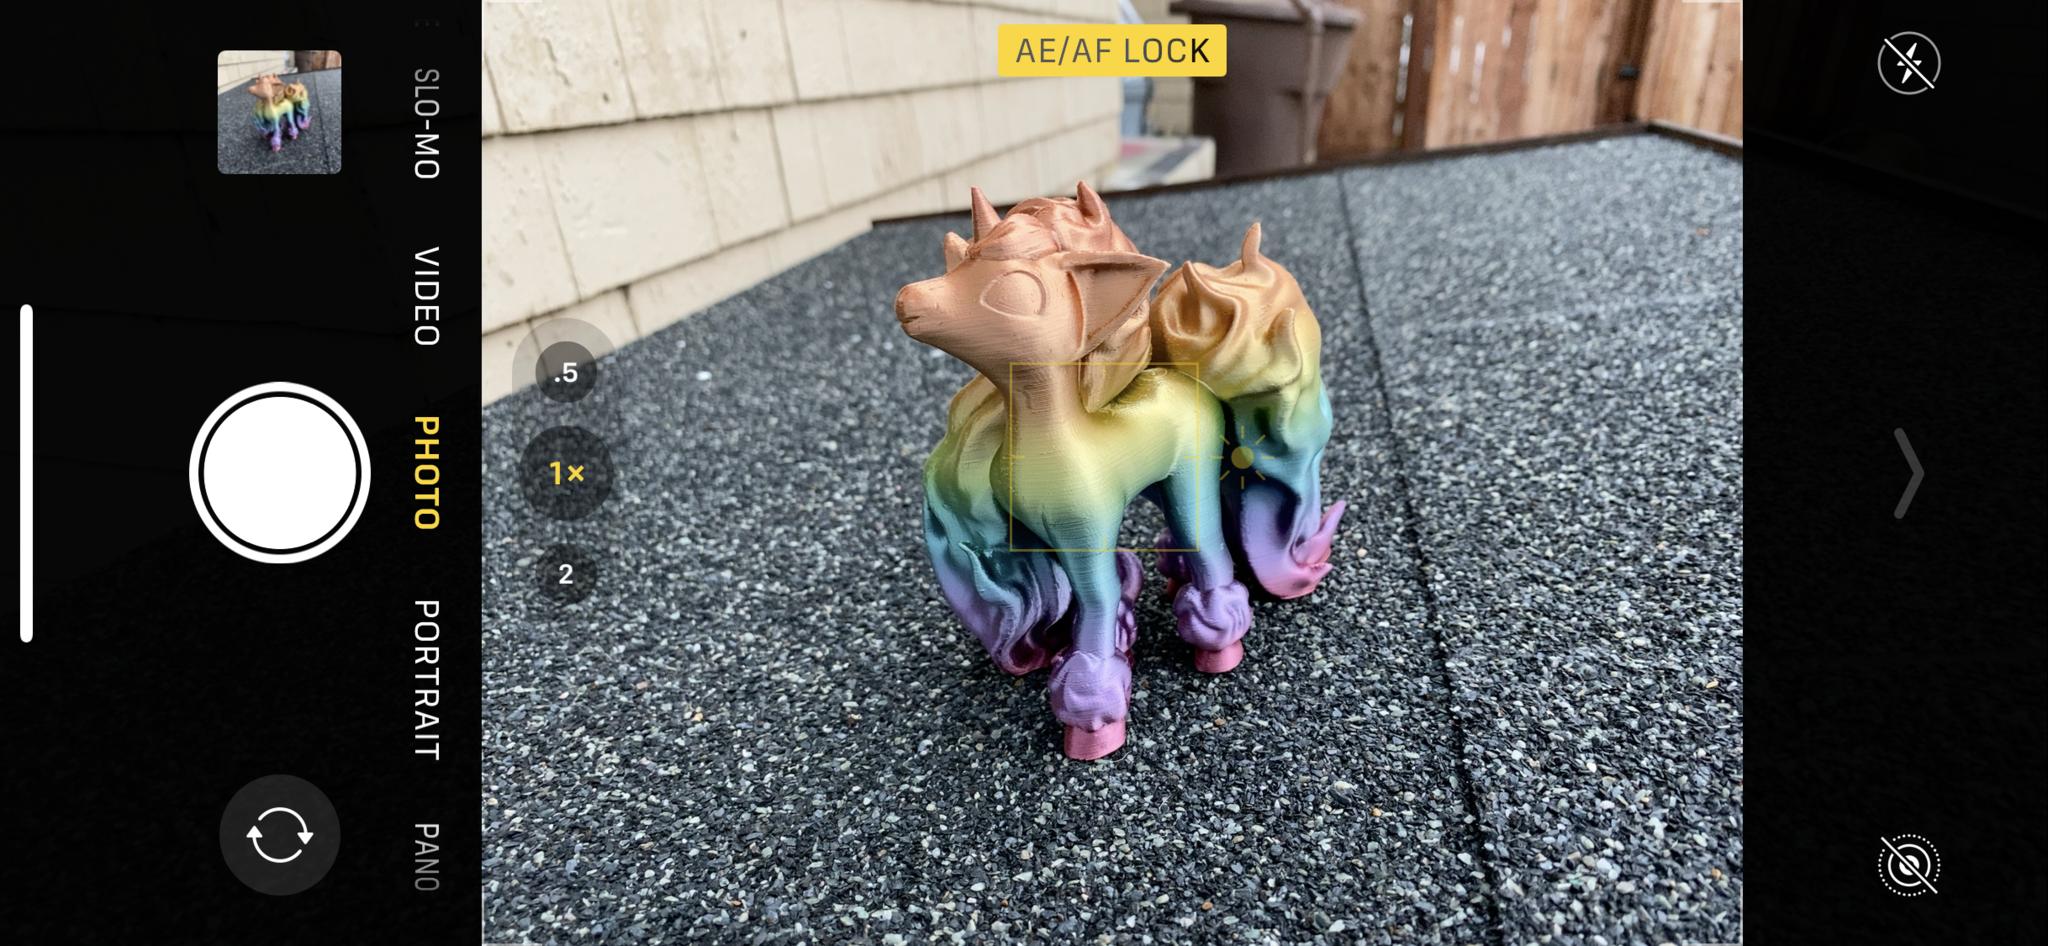
Sometimes tapping to set the focus isn't enough. This is especially true when you are dealing with a scene with a lot of movement, such as people walking around in the background. When this happens, you'll want to set the Auto Exposure/Auto Focus (AE/AF) Lock.
This is done similarly to setting a focus point, but you tap and hold for a few seconds. With AE/AF Lock, your focus point and exposure levels remain even after you take your photo. This is great if you want to take a few pictures with the same AE and AF settings, such as for street photography.
Master your iPhone in minutes
iMore offers spot-on advice and guidance from our team of experts, with decades of Apple device experience to lean on. Learn more with iMore!
When you want to reset it, just tap anywhere on the screen.
Don't change your distance after focusing
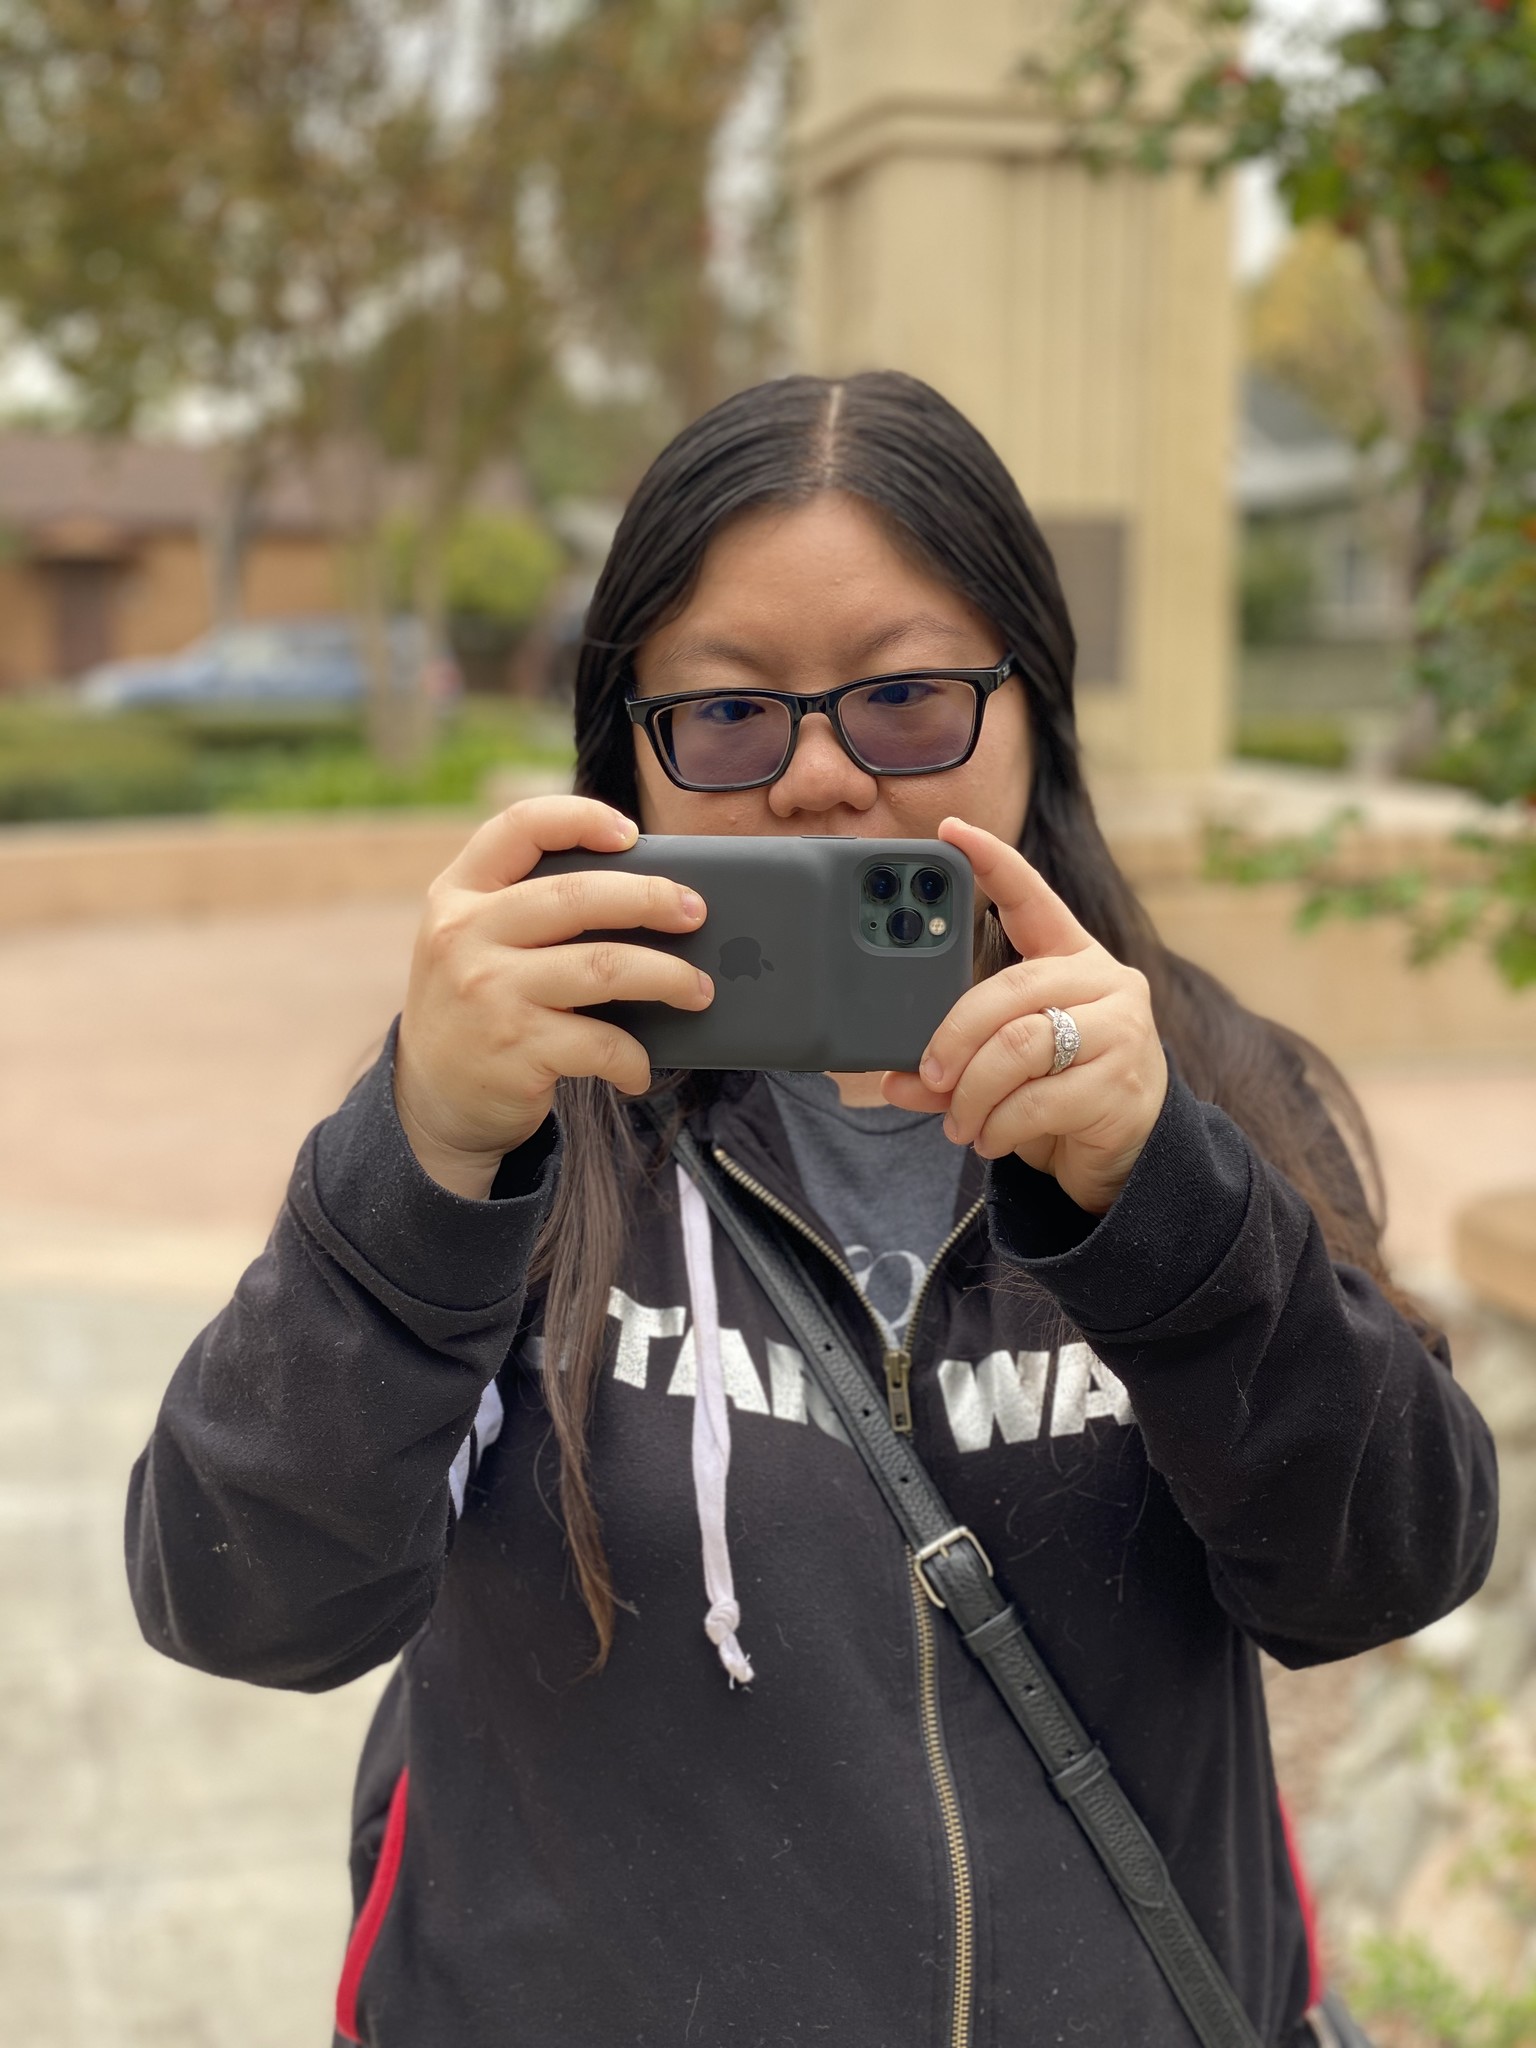
One thing that a lot of people don't realize is that when you set the focus, it is set for that particular distance between your camera and the subject. If you set the focus point and then move away or closer to the subject, your image may appear out of focus because the distance changed.
If you do need to adjust the distance between your camera and the subject, just make sure that you set the focus point again once you find the sweet spot. You can also use the zoom feature to adjust the distance.
Don't get too close without a macro lens
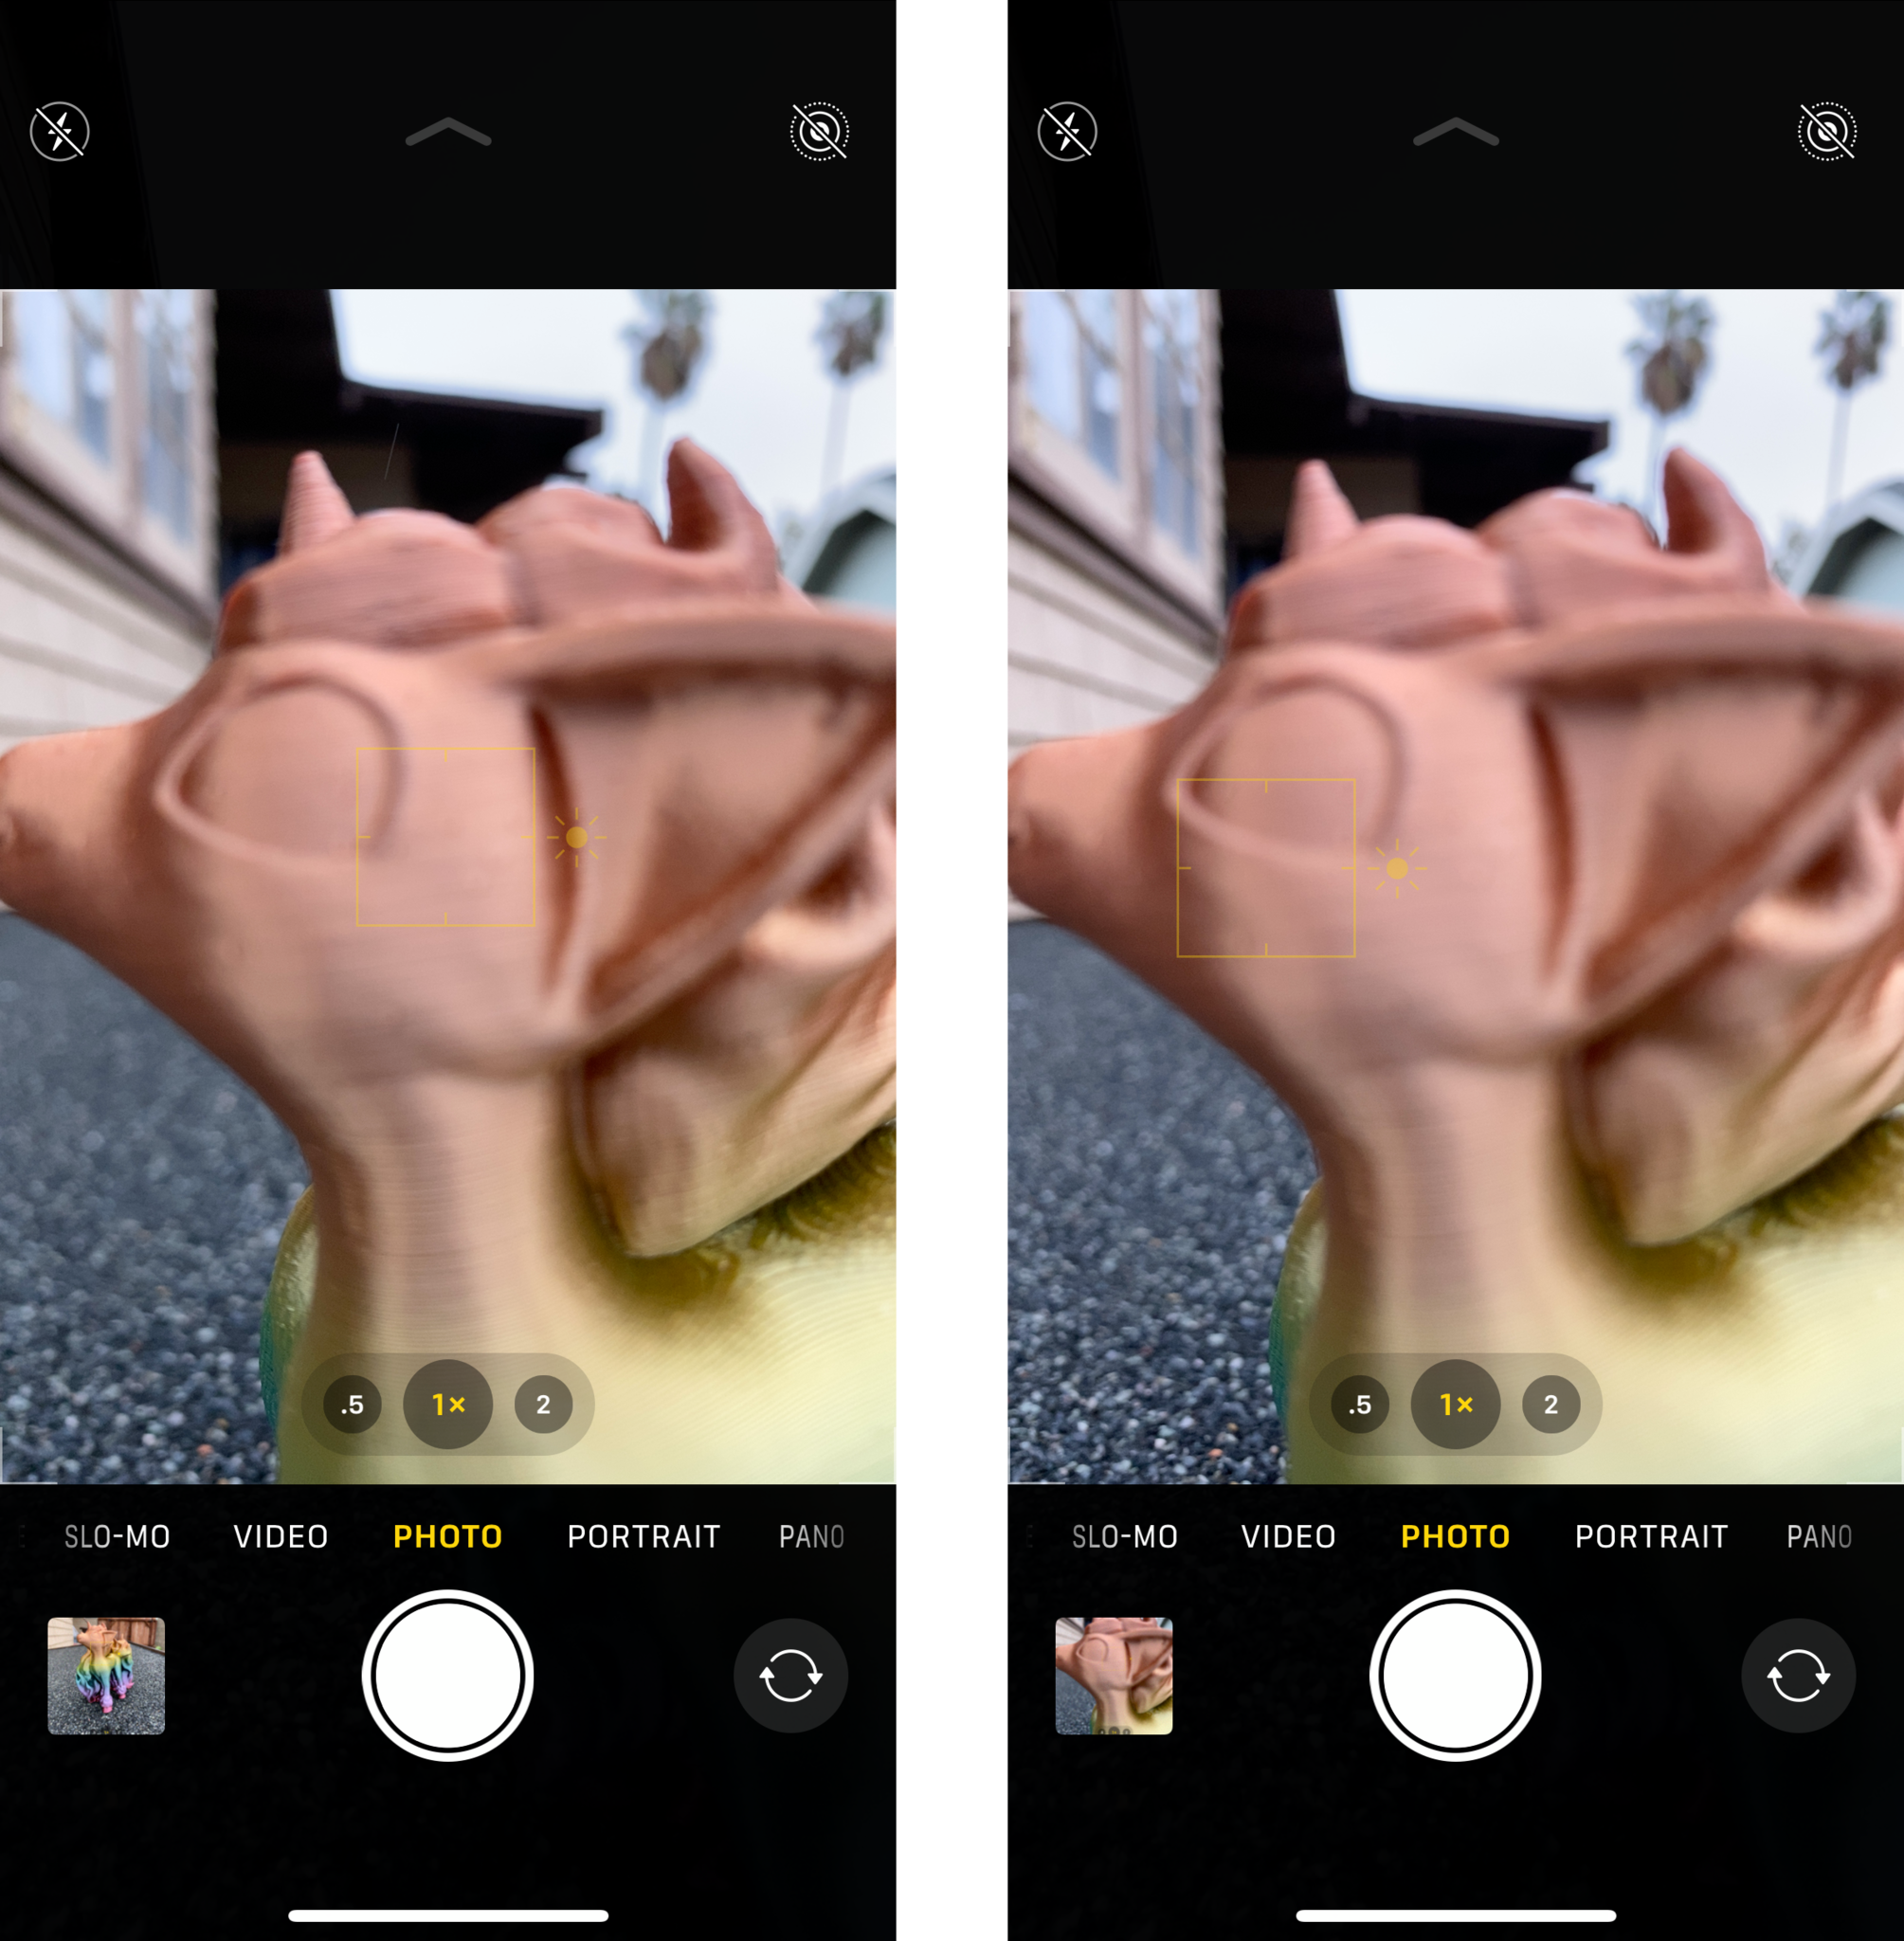
When you want sharp, focused photos, avoid getting too close to the subject. The closer you are to the subject, the less likely you are to get it in focus. Even if you try tapping to set the focus point, it just won't work if you are too close.
Just back it up some, even if it means you capture a bit of distracting background. You can always crop the edges away on a photo to give it that "close-up" feel.
But if you're looking to do macro photography, which are extreme close up shots, then you will want to look into getting a macro lens. With a macro lens, it is possible to focus at incredibly close distances between the camera and subject. With a macro lens, you'll be able to shoot things like insects, flowers, and any other objects that you want to get super up close and personal with.
Macro photography is great for when you want to capture detail that is not visible to the naked eye. And if you do end up using a macro lens, remember that you'll need to be very accurate when it comes to selecting a focus area. This is due to the fact that extreme close-ups result in a very shallow depth of field, so only a small portion of the photo will be in focus — everything else is blurred.
Distance is also highly important, since even the smallest change can result in an out-of-focus shot. It's recommended to use a tripod mount for macros, since the camera will be completely steady.
Use a third-party app for precise, manual focusing
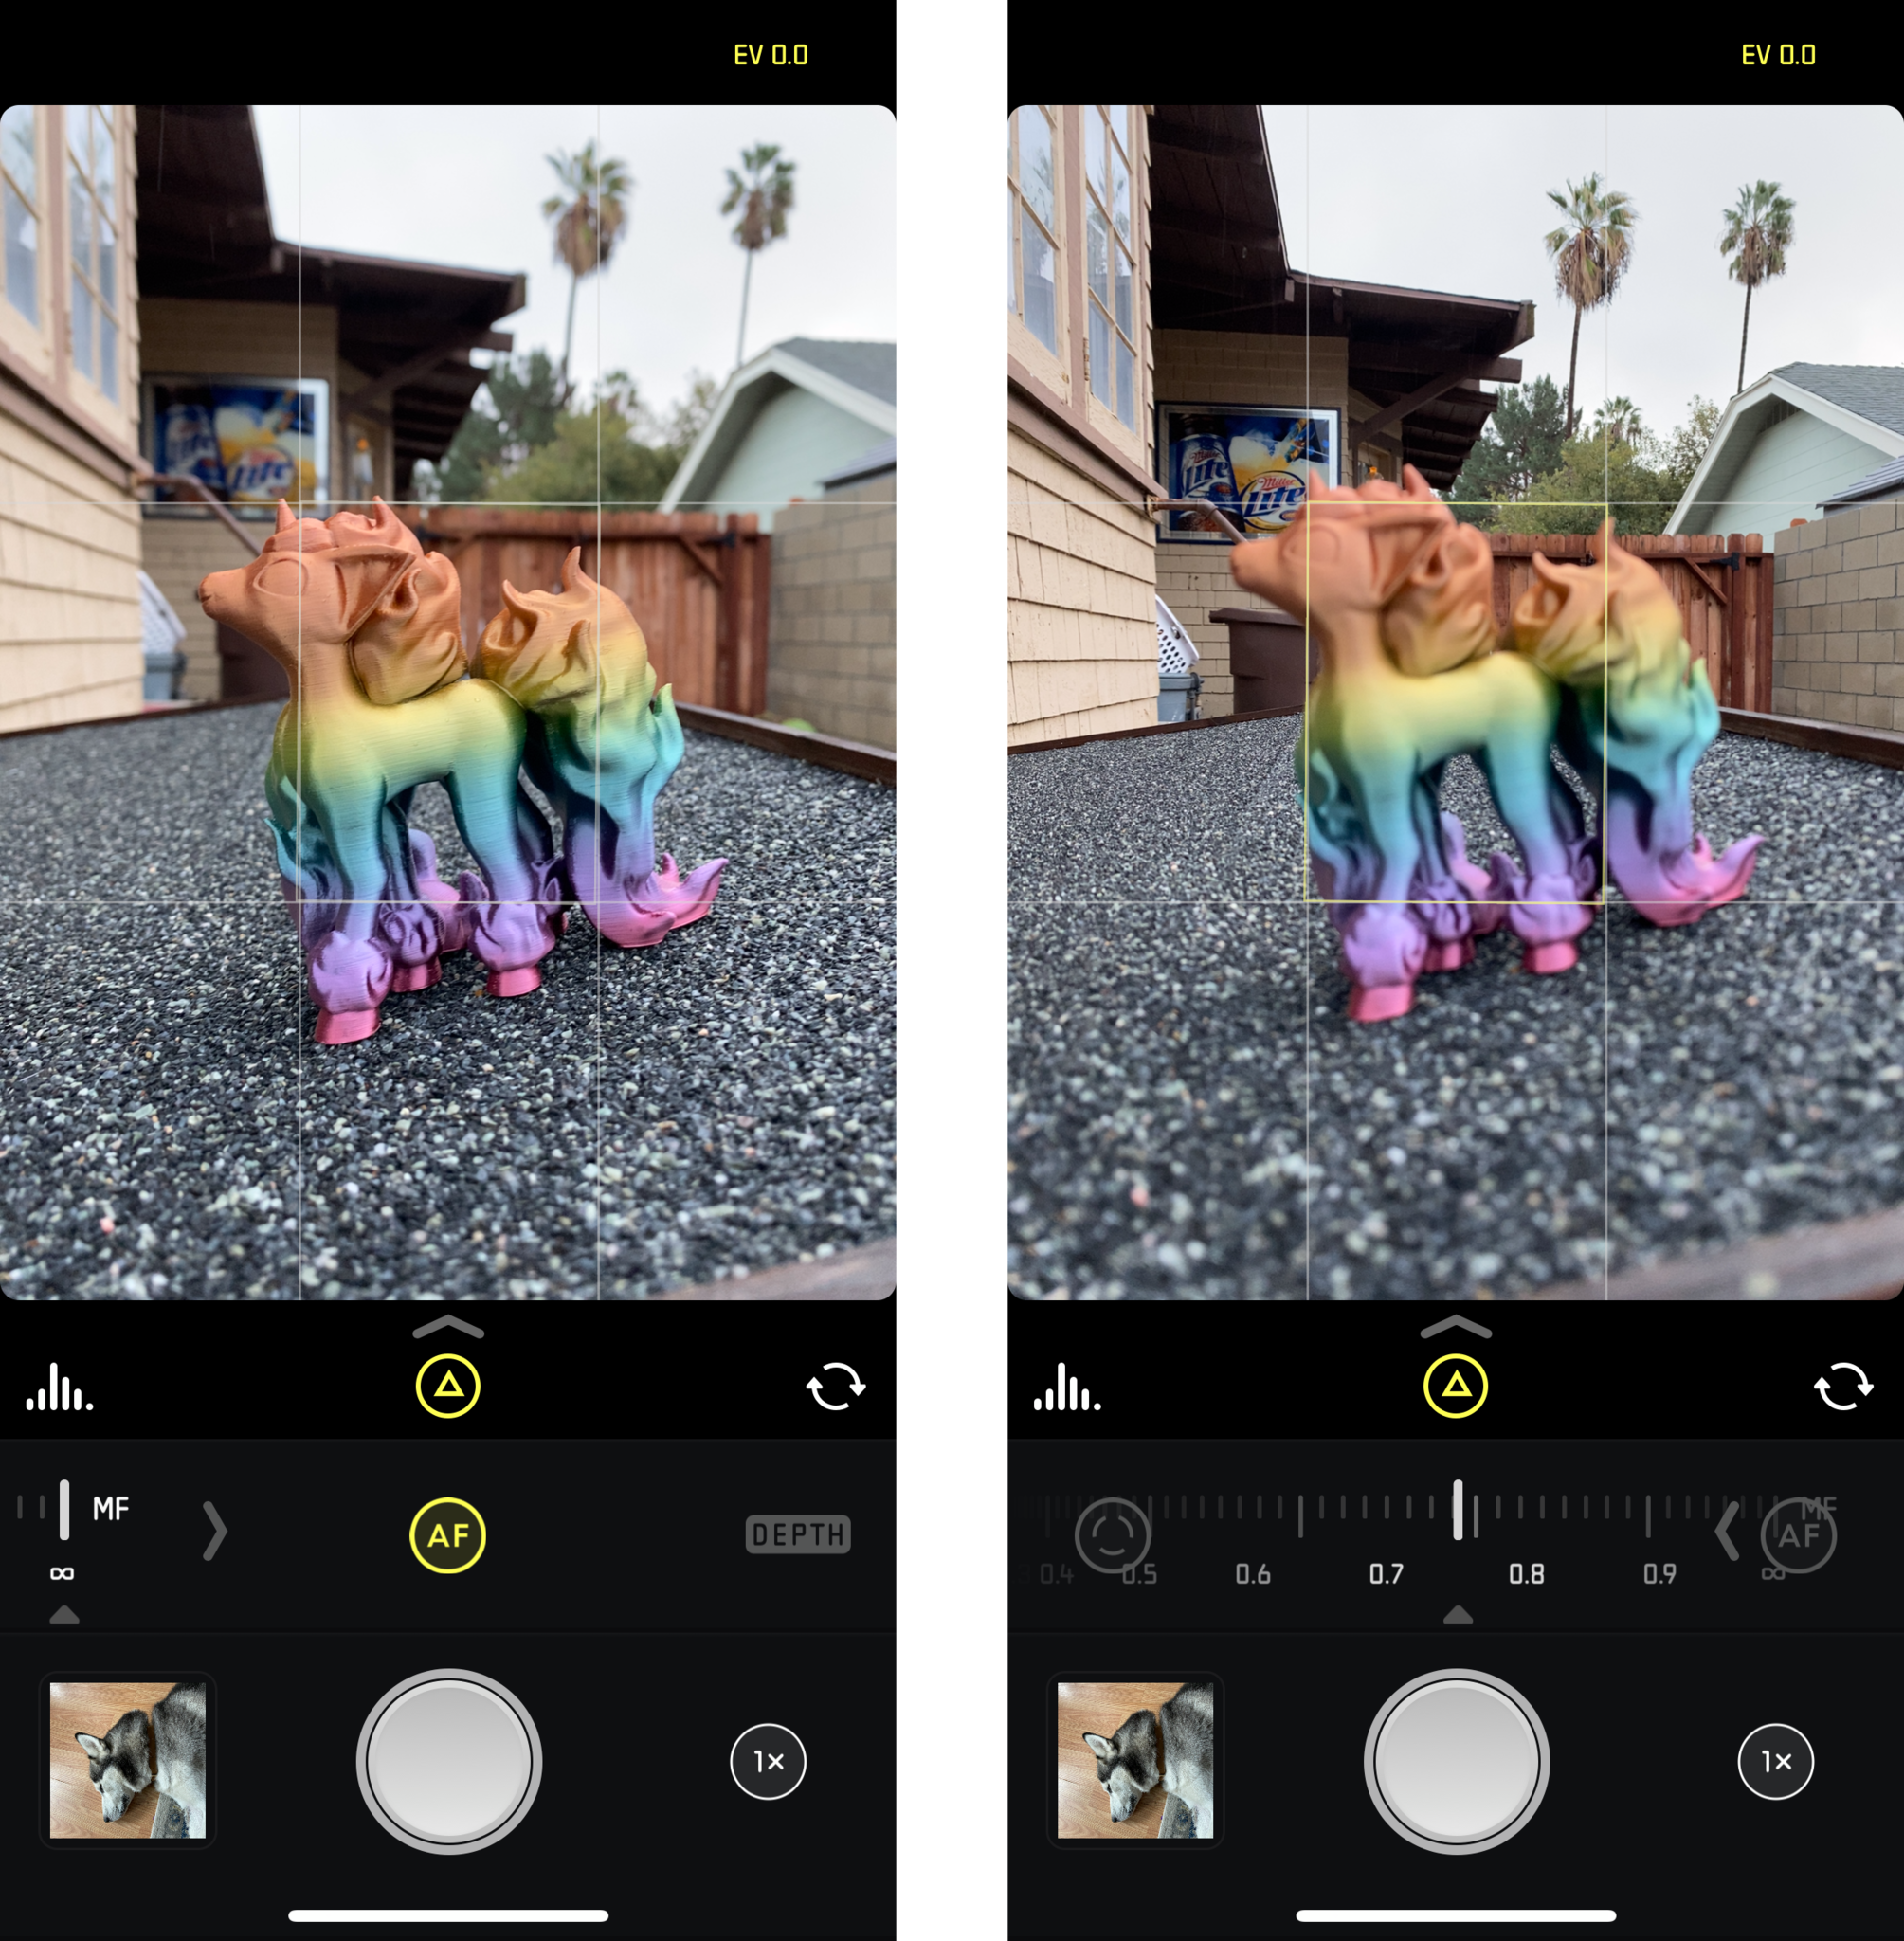
While the default Camera app is great for launching quickly to capture the moment, it doesn't give you the most precise controls compared to third-party apps. For example, you won't be able to manually focus with the default Camera app aside from the tap-to-focus mechanic.
Some apps, like Halide or Camera+, allow you to turn off auto focus and do manual focus instead. This gives you an on-screen slider, which allows you to adjust the focus point gradually. It is more subtle, but if you watch the scene while you move the focus slider, different parts come into focus. Just stop adjusting the focus when the scene is just how you like it, and snap your photo. To turn manual focus off, just tap on the app's Autofocus button.
Use Portrait Mode for sharp focus on the subject
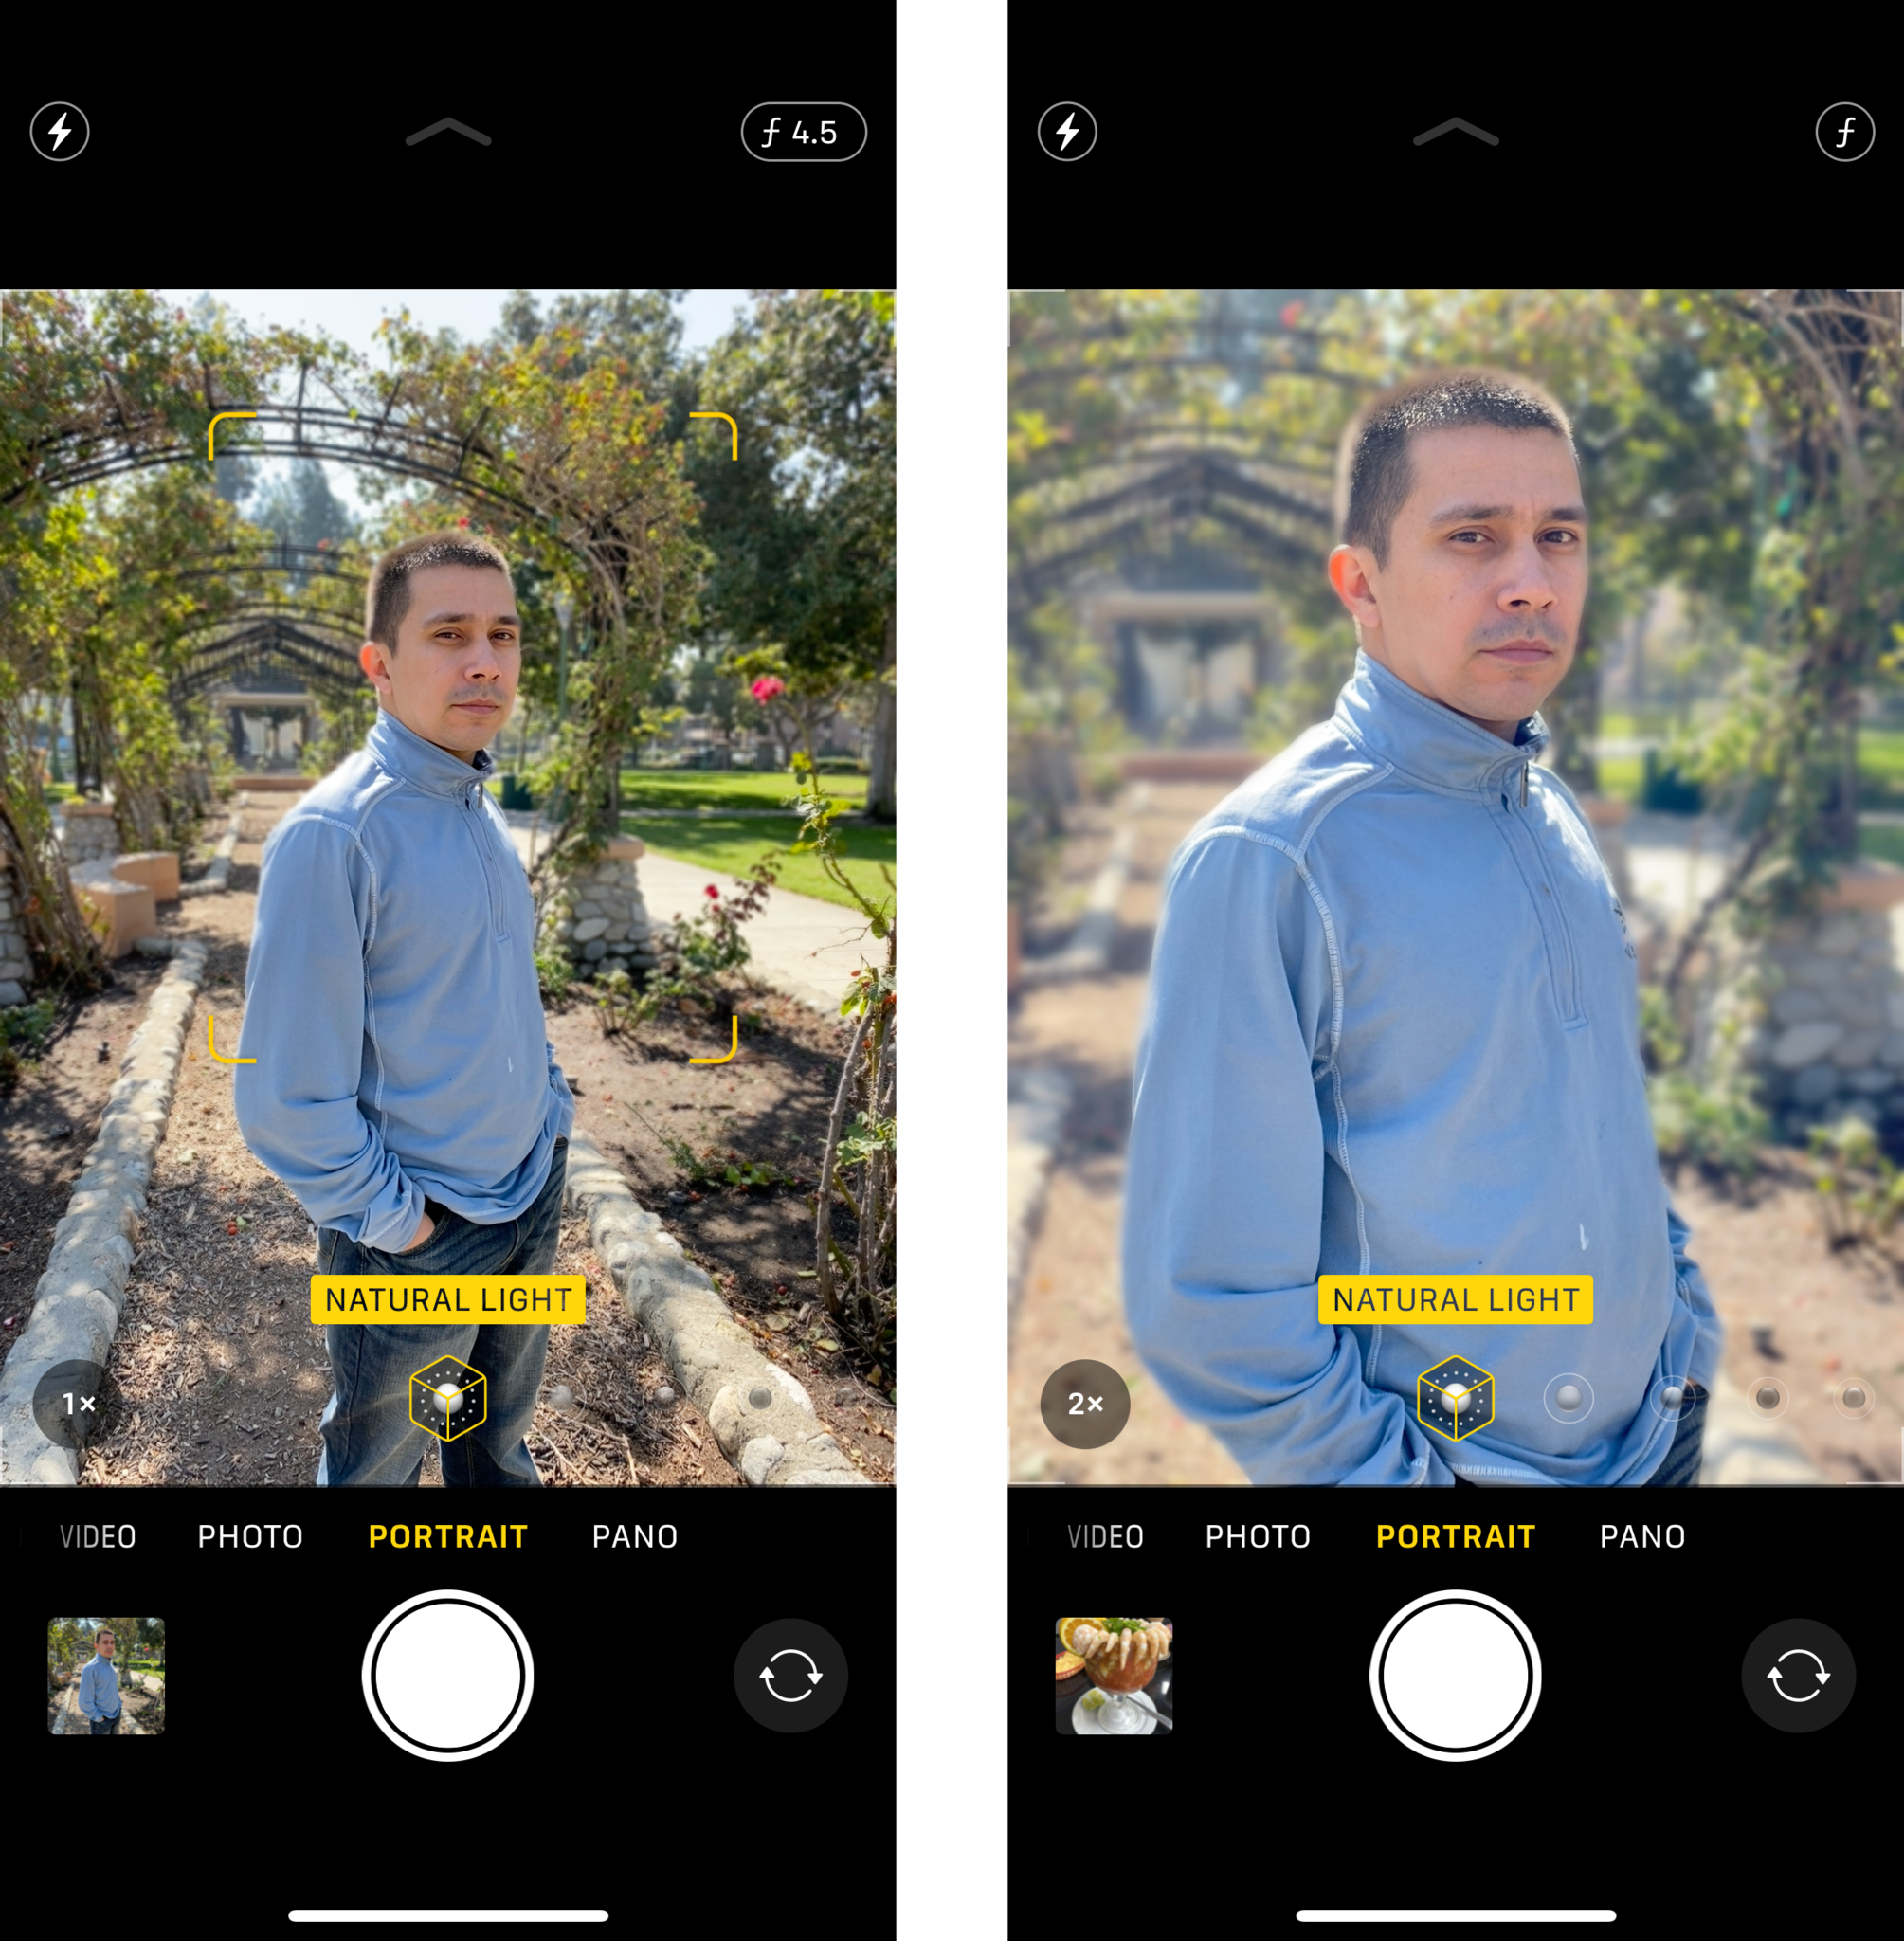
If you have an iPhone 7 Plus, iPhone 8 Plus, iPhone X, iPhone XS, iPhone XS Max, iPhone XR, iPhone 11, iPhone 11 Pro, or iPhone 11 Pro Max, then you have access to Apple's Portrait mode. This lets you easily take portrait photos where the subject is in focus and the background is blurred with a bokeh effect.
When using Portrait mode, your subject should automatically be in focus since it has a 2x zoomed-in effect when active. This also requires that you be about eight feet away from the subject, give or take. The background gets blurred by depth of field, thus creating a dreamy bokeh effect that you usually get on DSLRs.

With Portrait mode, it can automatically detect a face, but you can also tap to set a focus point. The yellow box tells you where it will be in focus.
When you're ready, tap the shutter button to capture the photo. For those with newer devices (iPhone XS, XS Max, XR, 11, 11 Pro, and 11 Pro Max), you can also adjust the depth of field in the editing phase.
But it's important to remember that the iOS Portrait mode is still software based, so you may end up with some weird blurred edges on your subject. Apple is always working to improve the Portrait mode capabilities, but since it's software, it's not always perfect, especially when shooting inanimate objects. However, with some patience and tweaking, you can get pretty good Portrait mode photos for the most part.
No Portrait mode? No problem, just get closer to your subject

While Portrait mode is great, it does have some flaws like I mentioned (it's software based), and it's not available on every iPhone. If you want to get a sharp and focused photo with a blurry background, it's still possible without Portrait mode. All you need to do is get closer to your subject.
The closer you are to the subject, the blurrier your background becomes. But you don't want to get too close either, because then you won't be able to focus, as mentioned above. The distance between your subject and the background also affects the blurriness level of the background, so take that into consideration as well.
For this to work, you can get within a few inches of your subject if necessary and still get a focused subject with blurry background. Just make sure to tap to set your focus point. To get the blurriest background, just get your subject up as close as possible, and have the background as far away as possible.
Sometimes you need a whole scene in sharp focus

There are going to be times when you need the entire scene to be in focus. This is especially true for landscape or scenery photos, which you may want to photograph as you are on vacation or in new destinations.
It's pretty simple to make add a large depth of field to your photos — just make sure that there's nothing close to your camera lens. If there's nothing for it to focus on up close, then the large depth of field is possible, so the entire scene is focusd and sharp.
You can set a point of focus if you wish, where that select part will be sharper than the rest of the photo. While the difference could be negligible, if you leave a part unfocused, it may appear as a bad photo to others, so just tap to focus anyways — even when you want a large depth of field.
Have a steady hand when taking photos in low light conditions

A very common problem with taking photos in low light conditions is that they come our blurry. When you take photos in such conditions, the camera requires more light for the photo, which uses a slower shutter speed. This means that any movement during this time results in motion blur, equating to a bad photo.
To eliminate this issue, you will need to get rid of any camera movement. The best way to do this is to use a tripod, which keeps the camera perfectly steady. If you don't have a tripod and don't have a surface that can help keep your phone steady (wall, rock, etc.), then try finding something that you can lean on if you need to hand-hold your iPhone. Another useful tip is to avoid holding your arms out in front of you — instead, bring your elbows in to your chest. This helps reduce hand movement.
You'll also want to make sure that you can get as much light as possible. When there's more light, the camera has a faster shutter speed, reducing blur. If you have an iPhone 11 series device, then the Night Mode should help you out a lot with getting nice images in low-light conditions.
How to get great Night mode photos on your iPhone 11: iPhone Photography Tips & Tricks
Take the best photos you can
When it comes to photography, having the correct focus is everything, but while it may look simple on the surface, there's a lot more to it. With these tips and tricks, you'll be on your way to taking the best photos you possibly can with your iPhone!
Have any more tips on getting perfectly focused photos? Drop your tricks in the comments below.
Christine Romero-Chan was formerly a Senior Editor for iMore. She has been writing about technology, specifically Apple, for over a decade at a variety of websites. She is currently part of the Digital Trends team, and has been using Apple’s smartphone since the original iPhone back in 2007. While her main speciality is the iPhone, she also covers Apple Watch, iPad, and Mac when needed. When she isn’t writing about Apple, Christine can often be found at Disneyland in Anaheim, California, as she is a passholder and obsessed with all things Disney, especially Star Wars. Christine also enjoys coffee, food, photography, mechanical keyboards, and spending as much time with her new daughter as possible.
