How to install Magic Lantern on your older Canon DSLR camera from macOS

I believe that technology should adapt itself to work for my needs and not for me to adapt myself to make technology work. I find it frustrating when supposed technical limitations stop me from being able to use a piece of technology to it's potential for seemingly arbitrary reasons. Secondly, I despise the idea of trashing older hardware simply because it's manufacturer has deemed it obsolete regardless of a technology's capabilities.
Magic lantern provides a workaround for recording longer segments of video and has a myriad of other updates like audio meters, waveforms, focus peaking, bitrate control, time-lapse and many, many other enhancements.
Here's why Magic Lantern is the perfect program for breathing new life into an old DSLR.
- My camera problem
- The Magic Lantern fix
- Before getting started
- Installing Magic Lantern from macOS
- Final comments
My camera problem
I have an "old" Canon Rebel t3i DSLR camera. It takes beautiful photos and can even do some nice video. I say "some" video because there is a limit of around 12 minutes of video recording time that limits its use to short clips.
At the time, I sort of just lived with it. Never questioning the limitation. After all, there must have been a good reason as to why I could only record 12 minutes of 1080p video. Right?
Wrong. The "limitation" was not a camera problem, but a "filesystem" problem. The card gets formatted with the old an outdated FAT filesystem. The filesystem has a limit of 4GB file sizes. It just so happened that 12 minutes of 1080p video uses up 4GB of space. So instead of adding support for larger file size using a different filesystem (the camera can read and write to the exFAT filesystem that supports larger files), the engineers simply decided to make video recordings stop at the 4GB limit.
iMore offers spot-on advice and guidance from our team of experts, with decades of Apple device experience to lean on. Learn more with iMore!
As a result, I later moved on to other DSLR cameras that can record any length of video necessary for my needs thus putting the t3i aside and unused for years. Until I found a fix.
The Magic Lantern fix
I love it when I come across some settings or software that brings new life into old technology. Magic Lantern is one such software. According to their own wiki, "Magic Lantern is an enhancement atop of Canon's firmware that frees your Canon DSLR, allowing you to use many useful features. It is an open (GPL) framework for developing extensions to the official software."
Magic Lantern provides not only a workaround for recording longer segments of video, but also has a myriad of other updates like audio meters, waveforms, focus peaking, bitrate control, time-lapse and many, many other enhancements.
Not only did it solve my video length problem, it also breathes new life into aging hardware bringing it closer in capability to more modern day analogs. I am a happy camper!
Before you get started
As with any sort of non-officially supported third-party software, Magic Lantern can make your camera non-functional if installed improperly or if using a combination of incompatible settings. Please refer to the Magic Lantern user guide for more information.
Installing Magic Lantern from macOS
Installation is straightforward but it is important that you follow each step closely and that you have a full charge on your battery or are plugged into a power source whilst installing the new firmware.
- Ensure your Canon camera is set to Manual (M) mode.
- Press the menu button on your Canon camera.
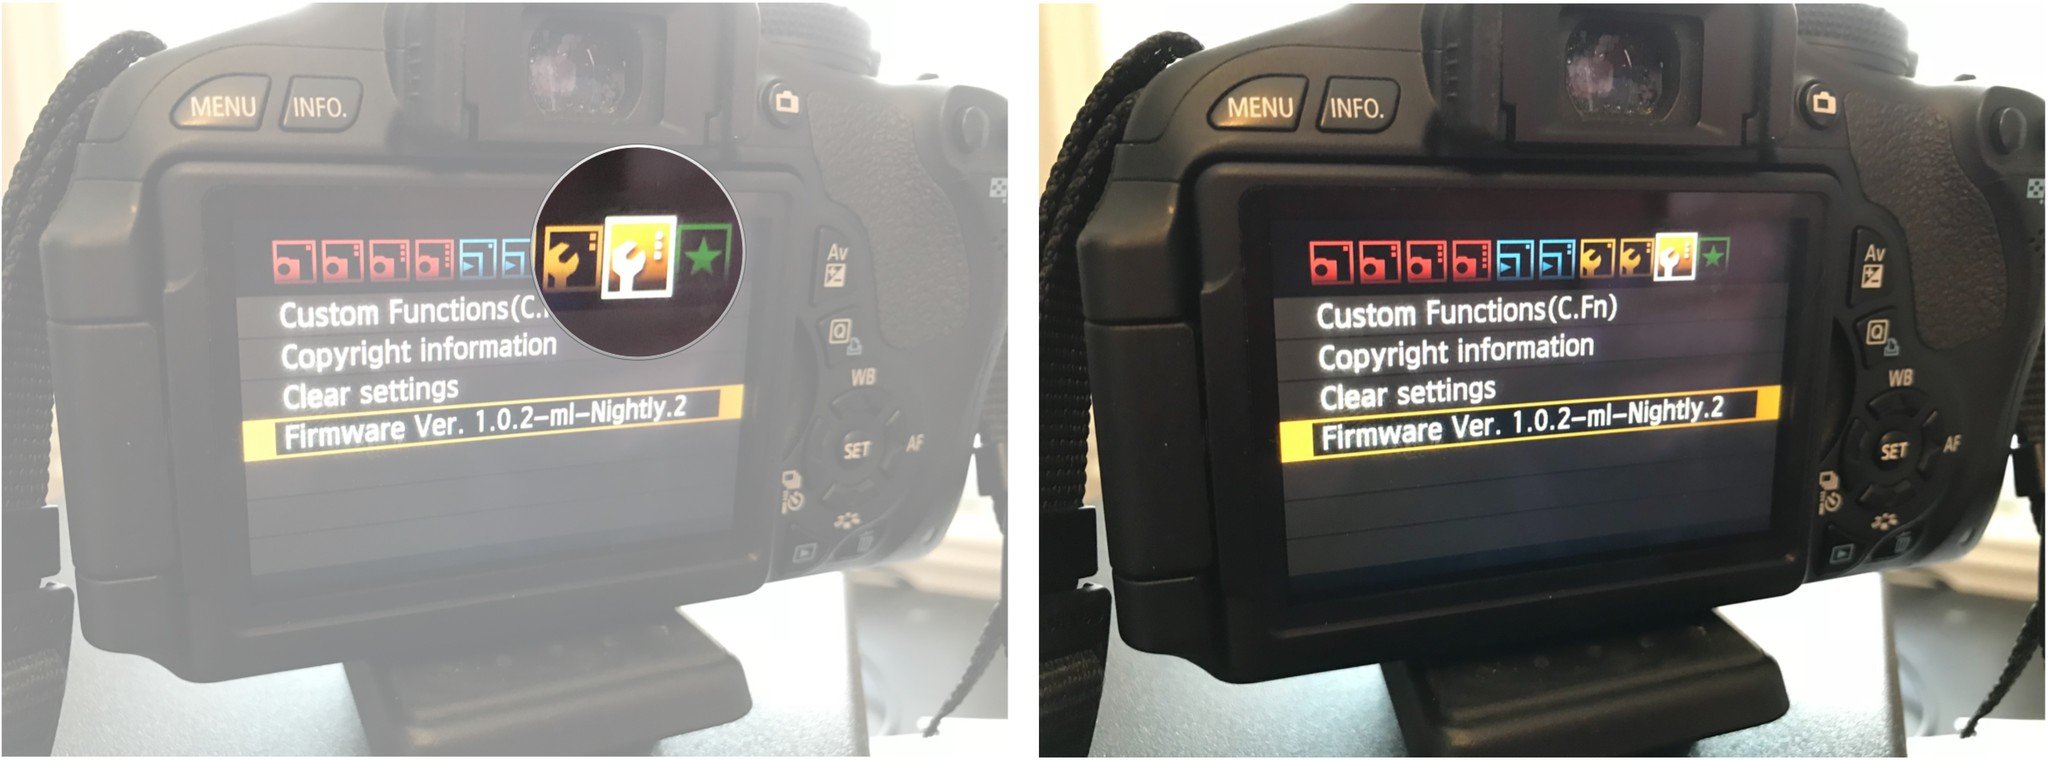
- Navigate to the third wrench settings and make certain you have the latest Canon supported firmware. Note that there are macOS specific firmware files you'll need to download if installing official Canon software so make certain you get the correct ones. You can visit Canon for more details.
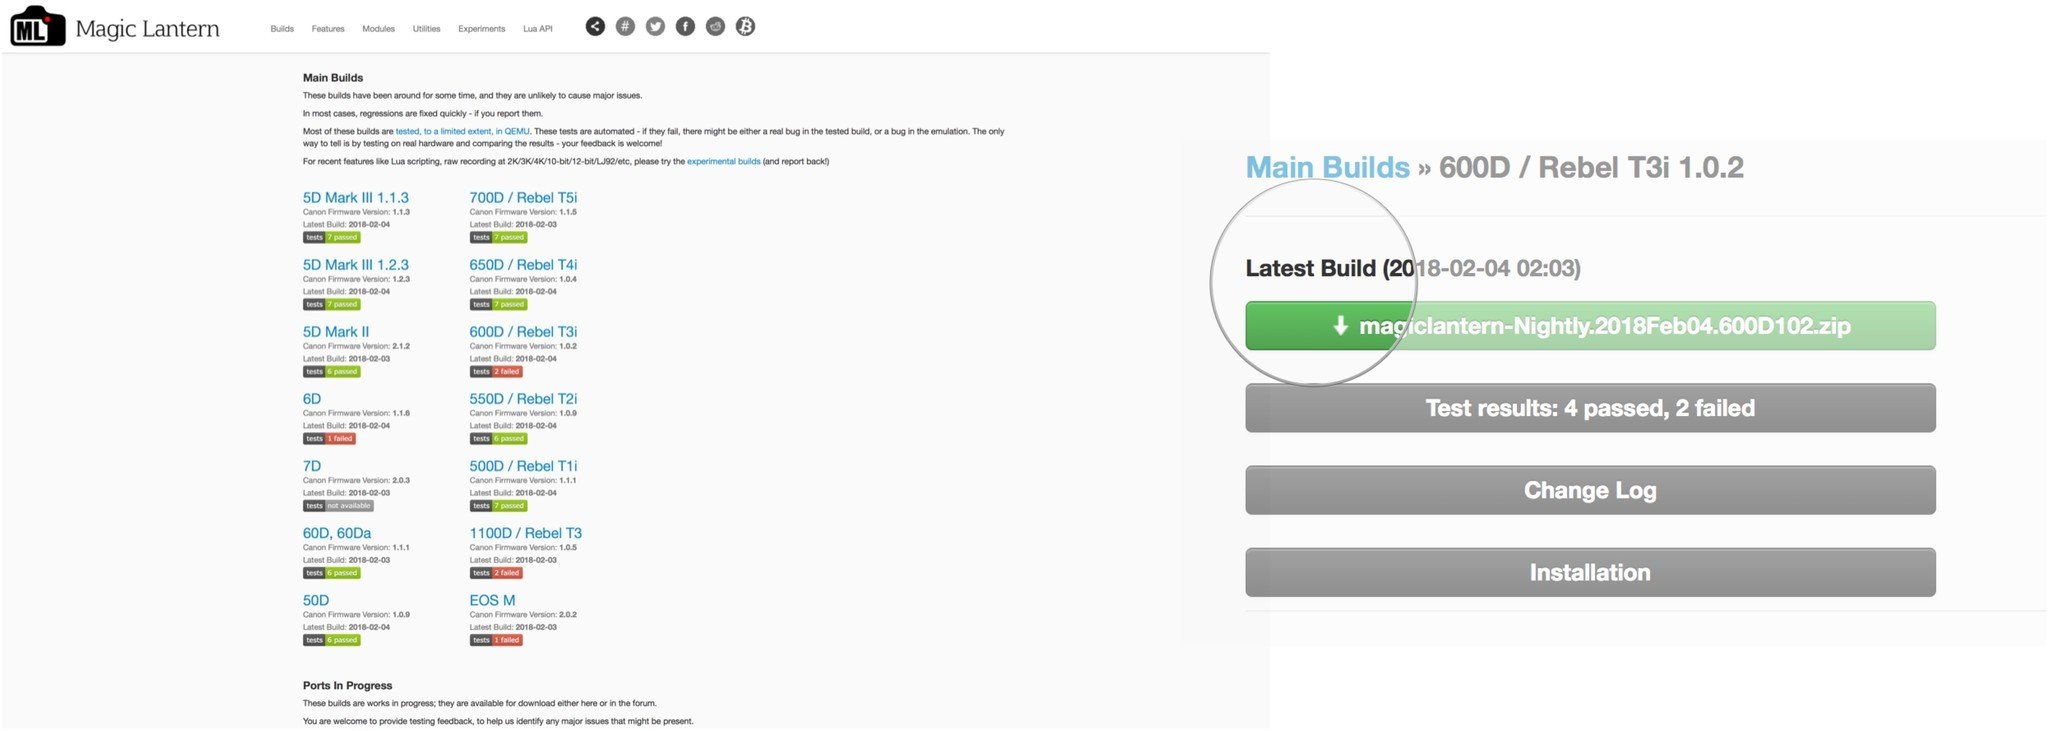
- Once you've determined you have the latest official firmware navigate to the Magic Lantern Downloads.
- Select and click on your camera model.
- Click on the Latest Build zip file and allow the download to complete.
- On your camera, format your SD card with the ** Low-Level Format** option.
- Place your camera SD card into the SD card reader on your Mac.
- Open Finder.
- Navigate to Downloads.
- If not already done, unpack the Magic Lanter zip file you downloaded.
- Double-click on magiclantern-Nightly.
- Select all of the files and Copy them.
- Paste all of the files into the SD card's top-level location.
- Eject your Sd Card and place it mac into your camera.
- Press the menu button on the Canon camera.
- Navigate again to the third wrench settings.
- Highlight Firmware.
- Tap on Set.
- Select Yes to install the new firmware from the SD card. It will look like "Firmware Ver. 1.0.x-ml-Nightly.x"
- Once prompted, turn off the camera.
- Turn the camera back on.
- Press the Trashcan or delete button.
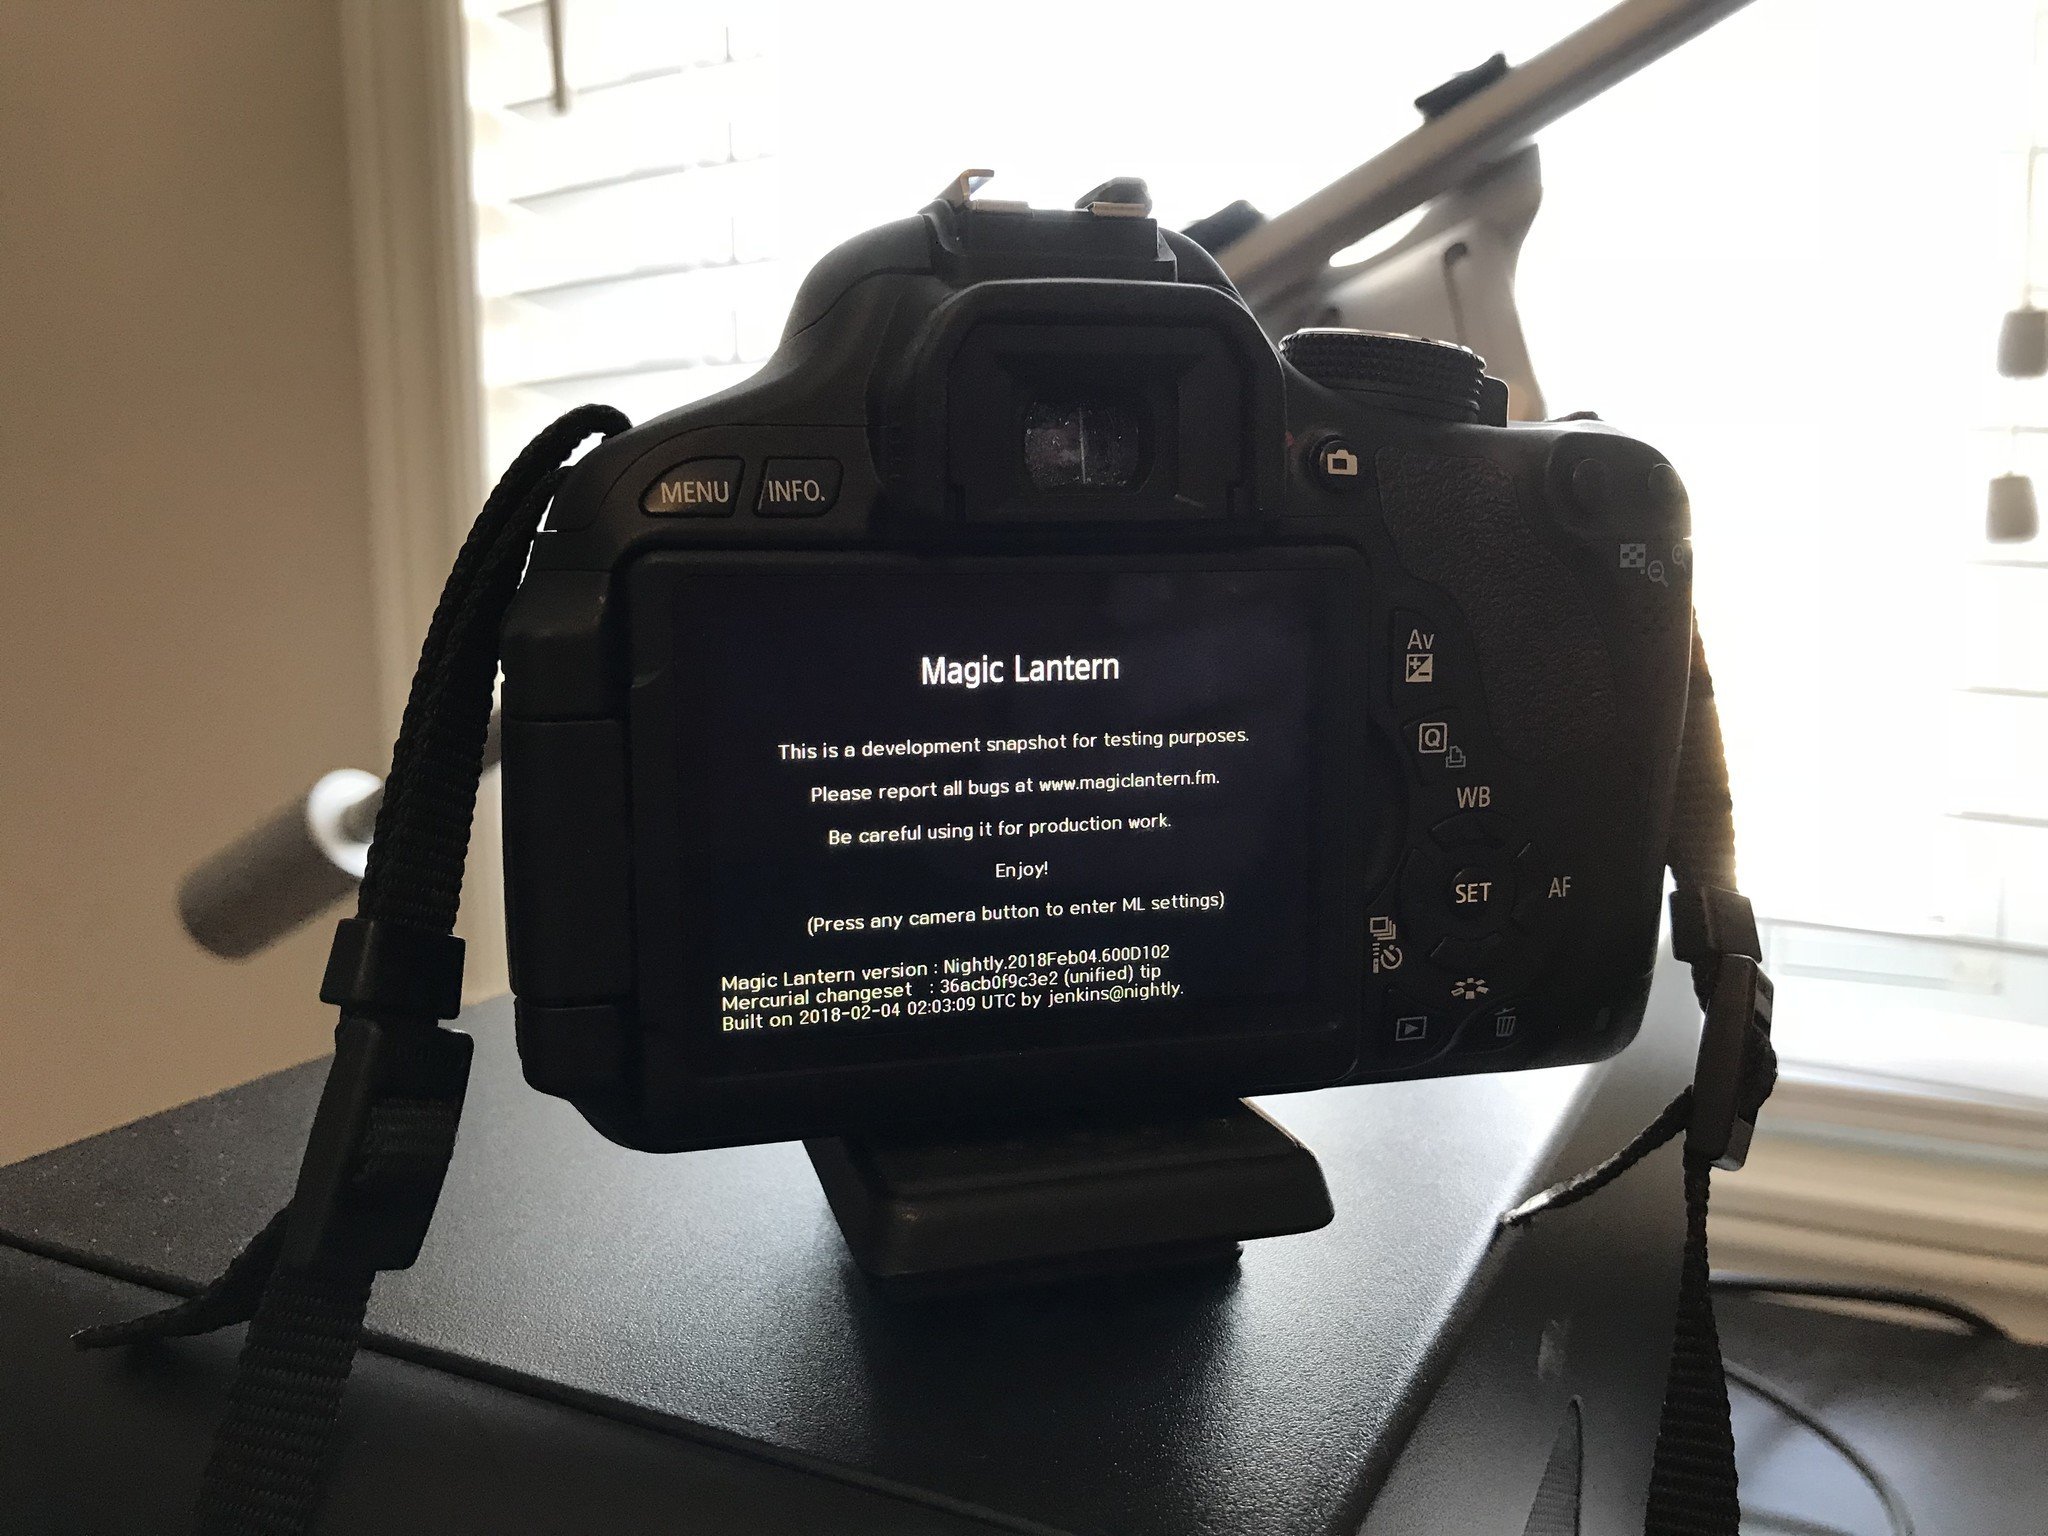
- Press Set to accept to run Magic Lantern.
Since Magic Lantern runs from the SD card, you need to make certain to not delete the files from the SD card that were added above for Magic Lantern to work. If you change SD cards, then the extra enhancements will not be available and you'd need to use your camera like you normally would.
If you plan on using the RAW video capabilities on the camera, keep in mind you'll need a super fast SD card that writes at better than 65MB/s such as this Lexar SD card.
Final comments
I've been using my t3i way more lately now with the added capabilities. Trying to keep my older hardware relevant for longer than it was designed for is a desire of mine and I can happily say the Magic Lantern made that a possibility for my camera. What about you? Do you have any tips or tricks to keep your old hardware going? Let us know in the comments!


