How to make a Galaxy's Edge Datapad case for your iPhone 11 Pro

My favorite thing about all the theme parks these days is how easy it is to immerse yourself in the unique worlds the parks create for you. Like Wizarding World in Universal Studios, the new Galaxy's Edge space in both Disneyland and Disneyworld is truly a way to feel like you're actually in this fantastic world. If you're going to make the trip out to Batuu, you need to look the part. While it's relatively easy to find a themed shirt or good cosplay to have some fun with, what about your phone? Disney makes this incredible Galaxy's Edge app for interacting with all the different characters and activities while visiting Batuu, but your phone kind of stands out as not a part of that universe, right?
It turns out there's a talented group of people out there who have made a fantastic solution to this. With a little bit of creativity and the right paint, you can turn your iPhone 11 case into a piece of Star Wars tech worthy of joining you at Galaxy's Edge
Products used in this guide
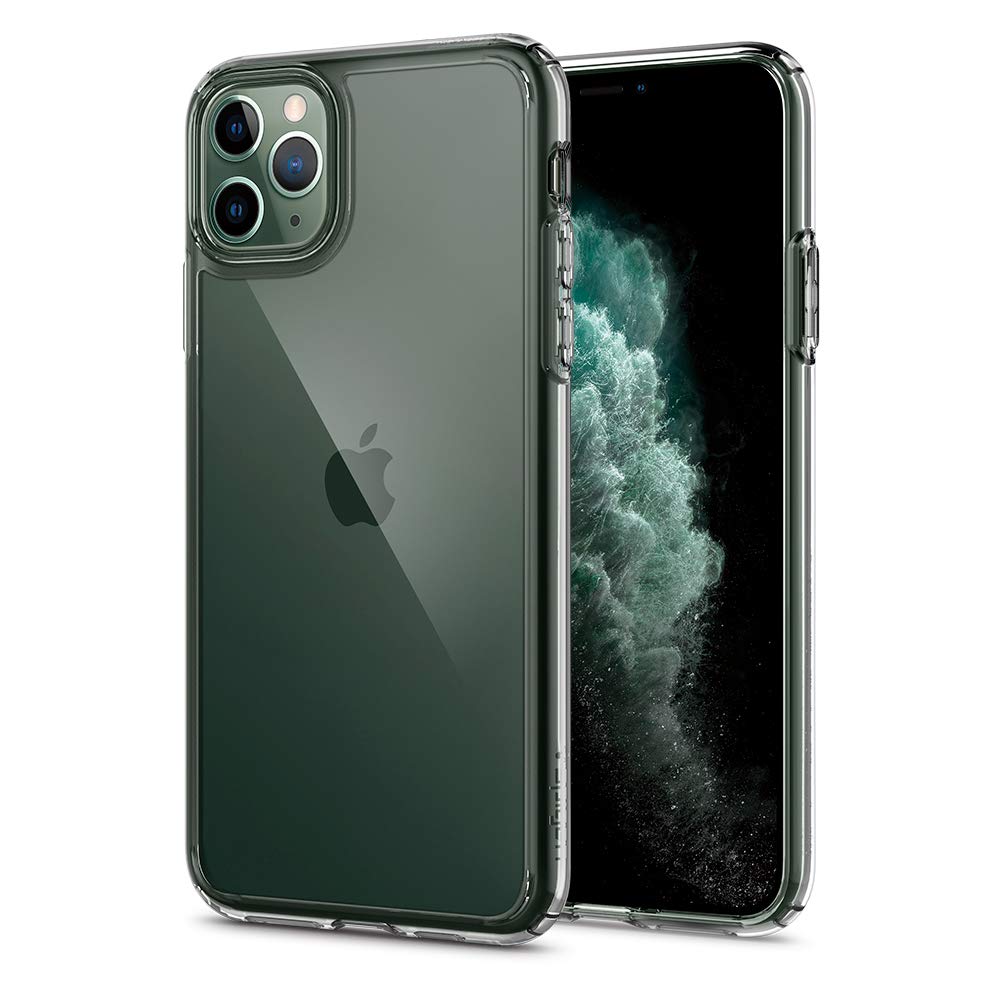
- A good starting case: Spigen Ultra Hybrid Crystal Clear case for iPhone 11 ($11)
- Silver base coat primer: Acrylic Spray Undercoat for Miniature Painting ($19)
- Model paint: Games Workshop Citadel Paint Set ($40)
- Finishing spray: Final Varnish Spray ($12)
How to make a Galaxy's Edge case for your iPhone 11 Pro
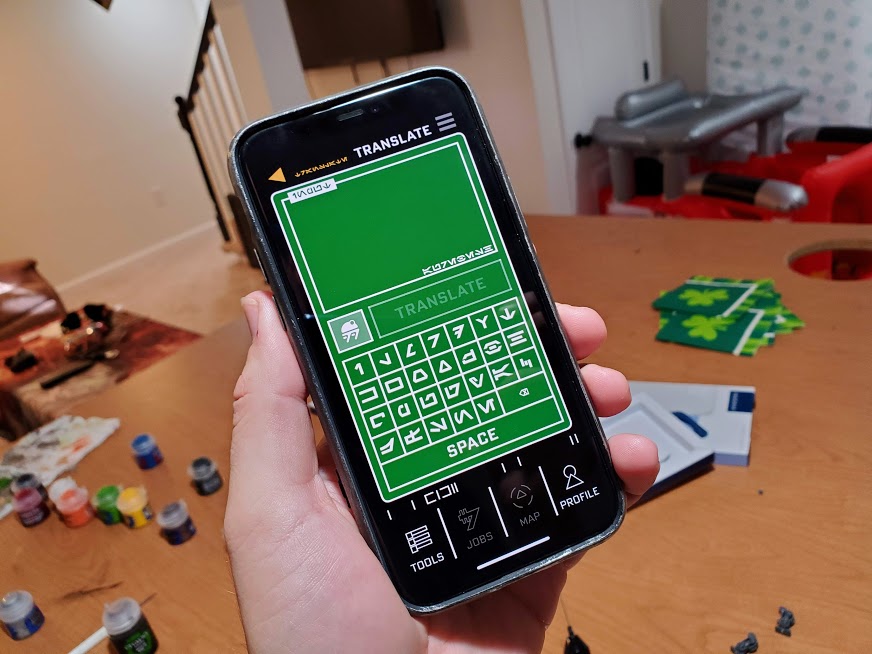
At its core, this project is all about taking small bits of things you can find around you and gluing them to a case. Once you're happy with the look, you paint it and then apply a clear coat, so the paint stays. Because of this, you need to keep a couple of things in mind:
- This case is going to be somewhat fragile and probably not your daily case. Use it for special occasions to show off, that's about it.
- Every Datapad case is unique! Use what you have around you and make it your own.
- There is no such thing as being "not crafty enough" for this kind of thing. Feel free to explore and make it your own.
Preparing your case
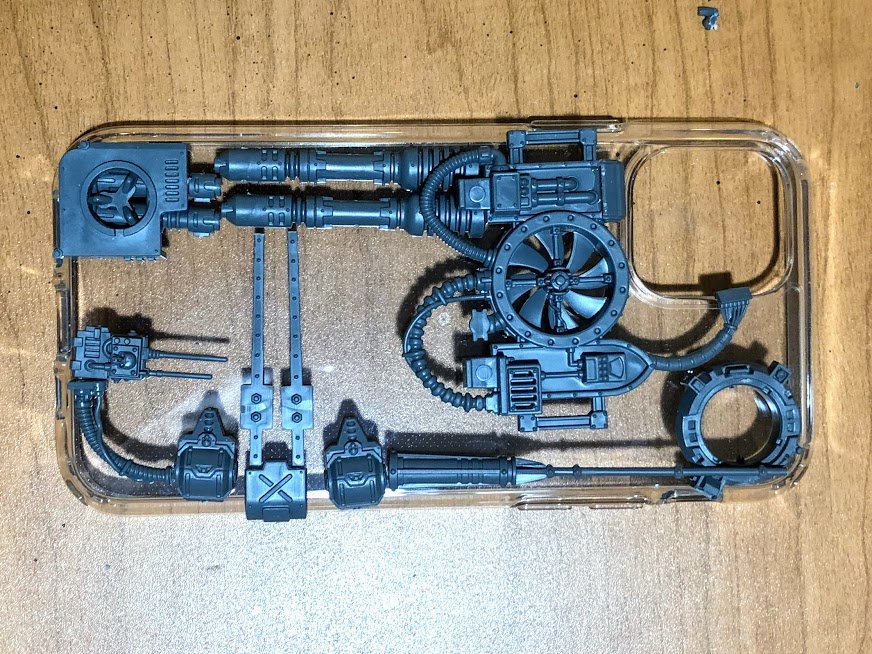
Start with a super basic case, something you know you can easily slip on and off your phone. I recommend the Spigen Ultra Hybrid Crystal Clear Case for iPhone 11 because it's flexible and grips the phone well. And because I have a dark green iPhone 11 Pro, the three-camera array already looks like something out of science fiction. But whatever case you choose, make sure it's something you can put your phone in without a lot of force or multiple steps.
You need to figure out what bits you want to add to your case. The one designed by Kevin Myers in these photos comes mostly from leftover Games Workshop bits, but you really can use anything. Collect a handful of pieces and organize them on your case until you have a design with which you're happy.
This detailing can include tubing around the outside, knobs made from low profile beverage caps, LEDs that blink (don't add these until the last step, obviously), whatever makes you happiest. The goal here is to find a design that works for you, and once you have it, you need to glue it all down. Don't use regular old Elmer's glue either; you need something that will keep these pieces in place, and probably use more than you usually would for something like this. Hot glue or super glue tends to work best for this kind of project.
Give your case plenty of time to dry once you've glued it all down, and then inspect it to see how it feels in your hand.
Master your iPhone in minutes
iMore offers spot-on advice and guidance from our team of experts, with decades of Apple device experience to lean on. Learn more with iMore!
Paints and polishes
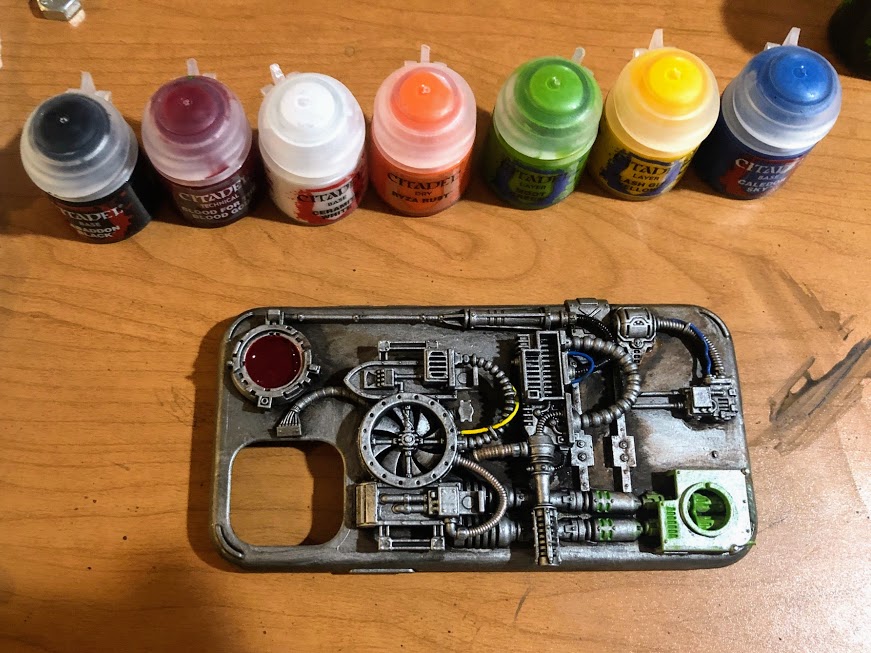
The next step here is almost like painting a miniature, which, if you've never done, can be a little intimidating. But really, it's all about layers. You start with a primer layer, so everything is the same standard color, and all of the surfaces of this case can receive paint in the same way.
If you choose a grey primer, you've got a good base layer with a great metallic color. But if you're not sure how the paint will stick to the case, use a black primer and make a metallic layer of paint on top as you see in this design.
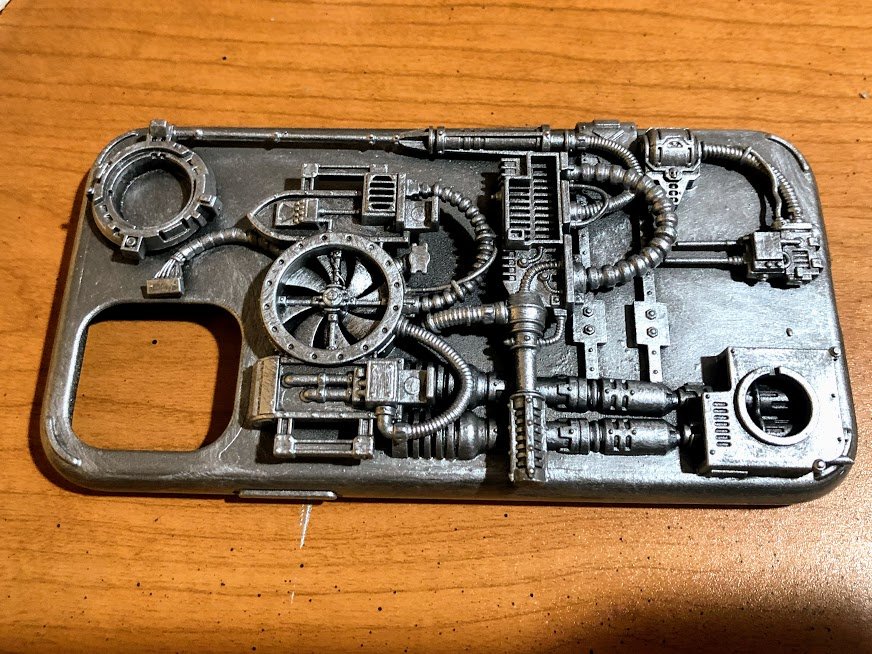
Since this is Star Wars, you need to mess that metallic layer up a little. Make the case look worn, like it's a relic only barely functioning. You can accomplish this with weathering techniques using paint, some darker washes with watery paint that dries unevenly, or just scuff up your design a little and make it look less polished. Have some fun with it, make this thing look like it's been beaten up.
With your weathering layer dry, you can add colors and character. With the darker, grittier greys and blacks in the background, take advantage of the brighter colors in your palette for the highlights. Make the corners and accents of your case stand out a little.
Finish and selfie
Once everything has dried, you need to protect your creation! A final varnish coat will add a small layer of material that preserves the whole creation without adding a lot of extra thickness. It's essential not to use a high gloss finishing coat, because you just spent all that time making this thing look weathered! A matte finish will give it a nice clear coat and not stand out too much.
This varnish coat will take a while to dry, and you want it to be completely dry before you pick it up. Once you have, test carefully putting your phone in the case and removing it to make sure nothing disconnects or comes loose. If it does, you want to get some additional glue in place and make sure it all stays together.

Now you're done! Take some great photos of yourself and your fantastic new creation. And be sure to tag us @iMore on Twitter with your own take on this project!
Russell is a Contributing Editor at iMore. He's a passionate futurist whose trusty iPad mini is never far from reach. You can usually find him chasing the next tech trend, much to the pain of his wallet. Reach out on Twitter!
