How to restore older versions of a document within an app on macOS

Have you ever worked on a document and made too many changes? Have you had that moment of panic where you start feverishly mashing the undo button, desperately trying to get back to the older version of the text you were working on? Relax, we've all been there, and there's an easier solution.
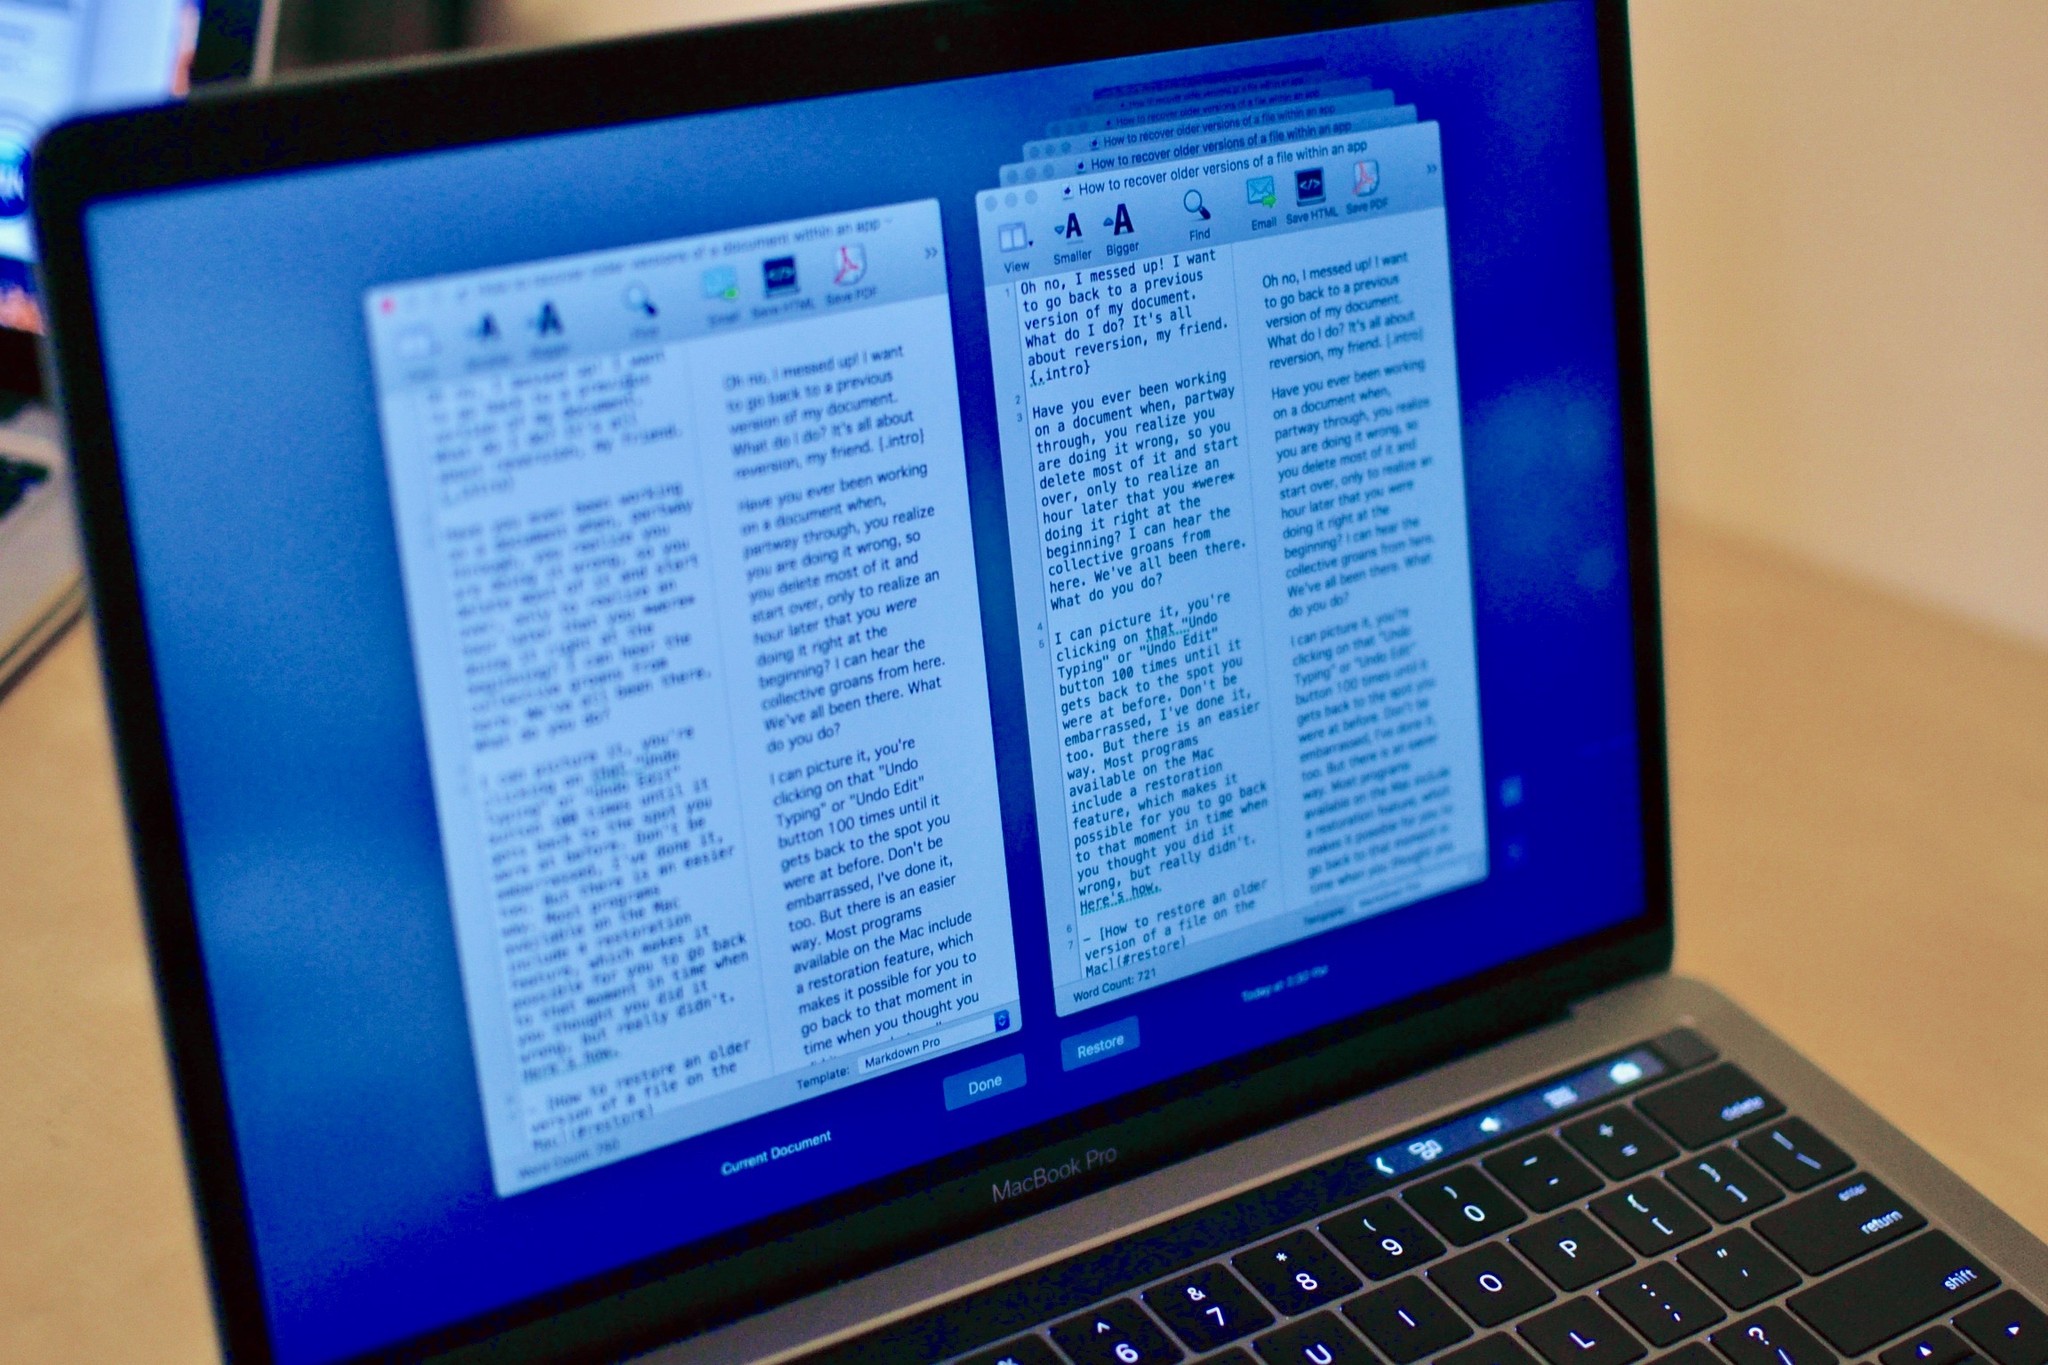
Most programs available on macOS Monterey include a restoration feature, making it possible for you to go back to that moment in time when you thought you did it wrong, but really didn't.
Pro tip: getting yourself an amazing external hard drive for your Mac is a worthwhile investment, so you can save your document in a safe location easily and often. But, we know that even with a hard drive, sometimes accidents happen — here's how to restore older versions of a document on Mac.
How to restore an older version of a file on the Mac
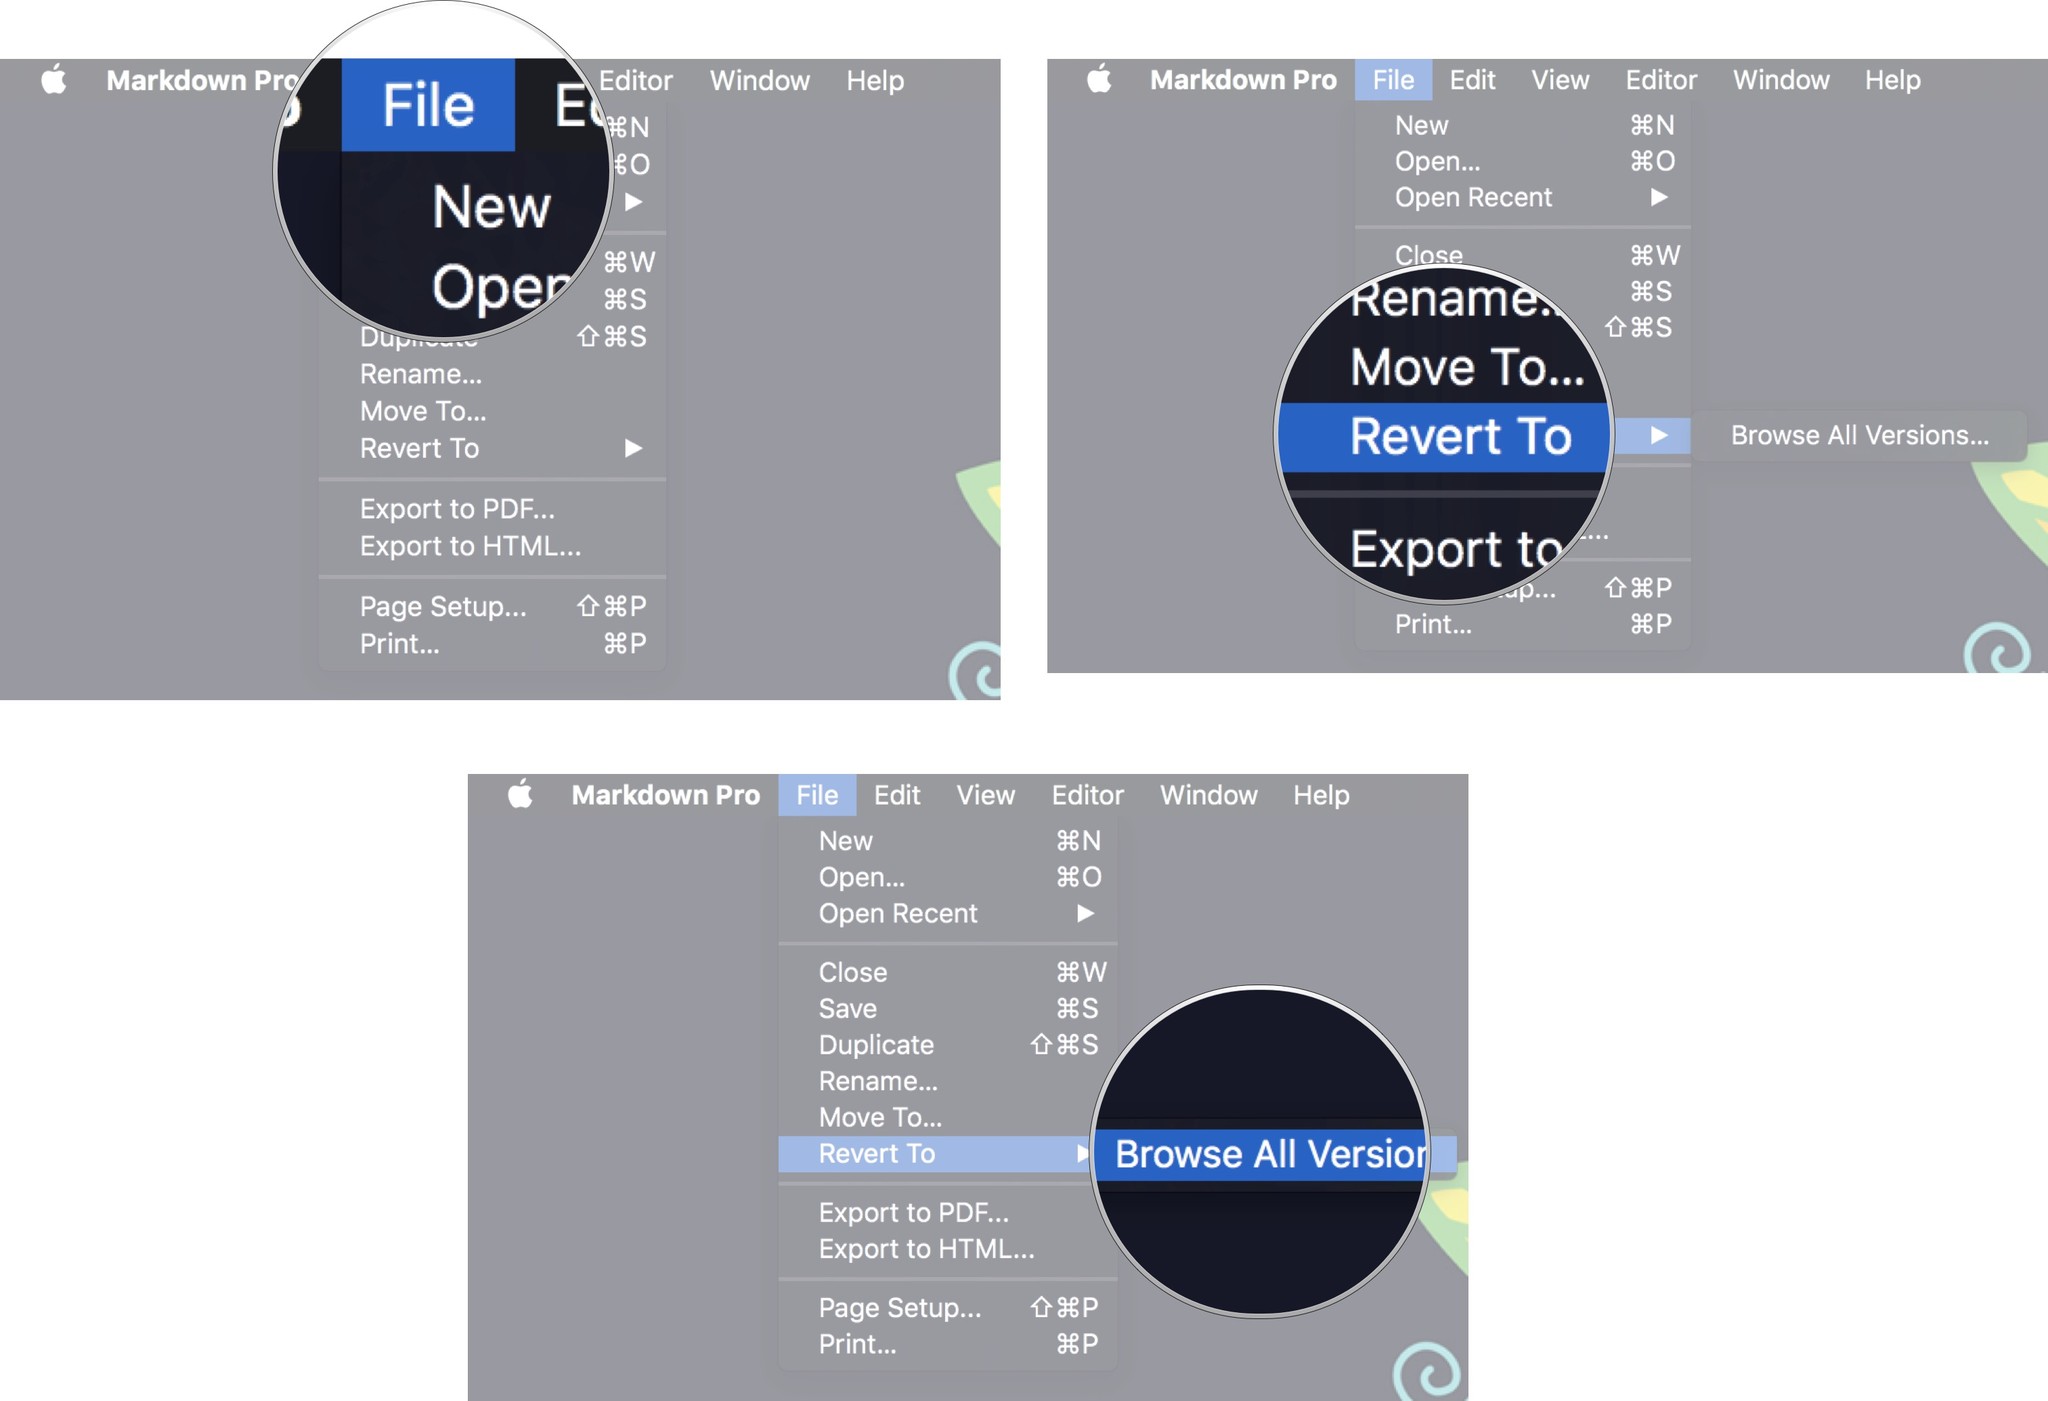
Not every application has the Revert To feature, but the good ones always do. To see if the program you are working with has the feature, look for it in the App menu section of the Menu bar under File. If you see it, you can find an older version of the document you are working on with just a few clicks.
- With the document selected, click on File in the app menu in the upper left corner of your Mac's screen.
- Select Revert To from the dropdown menu.
- Select Browse All Versions.

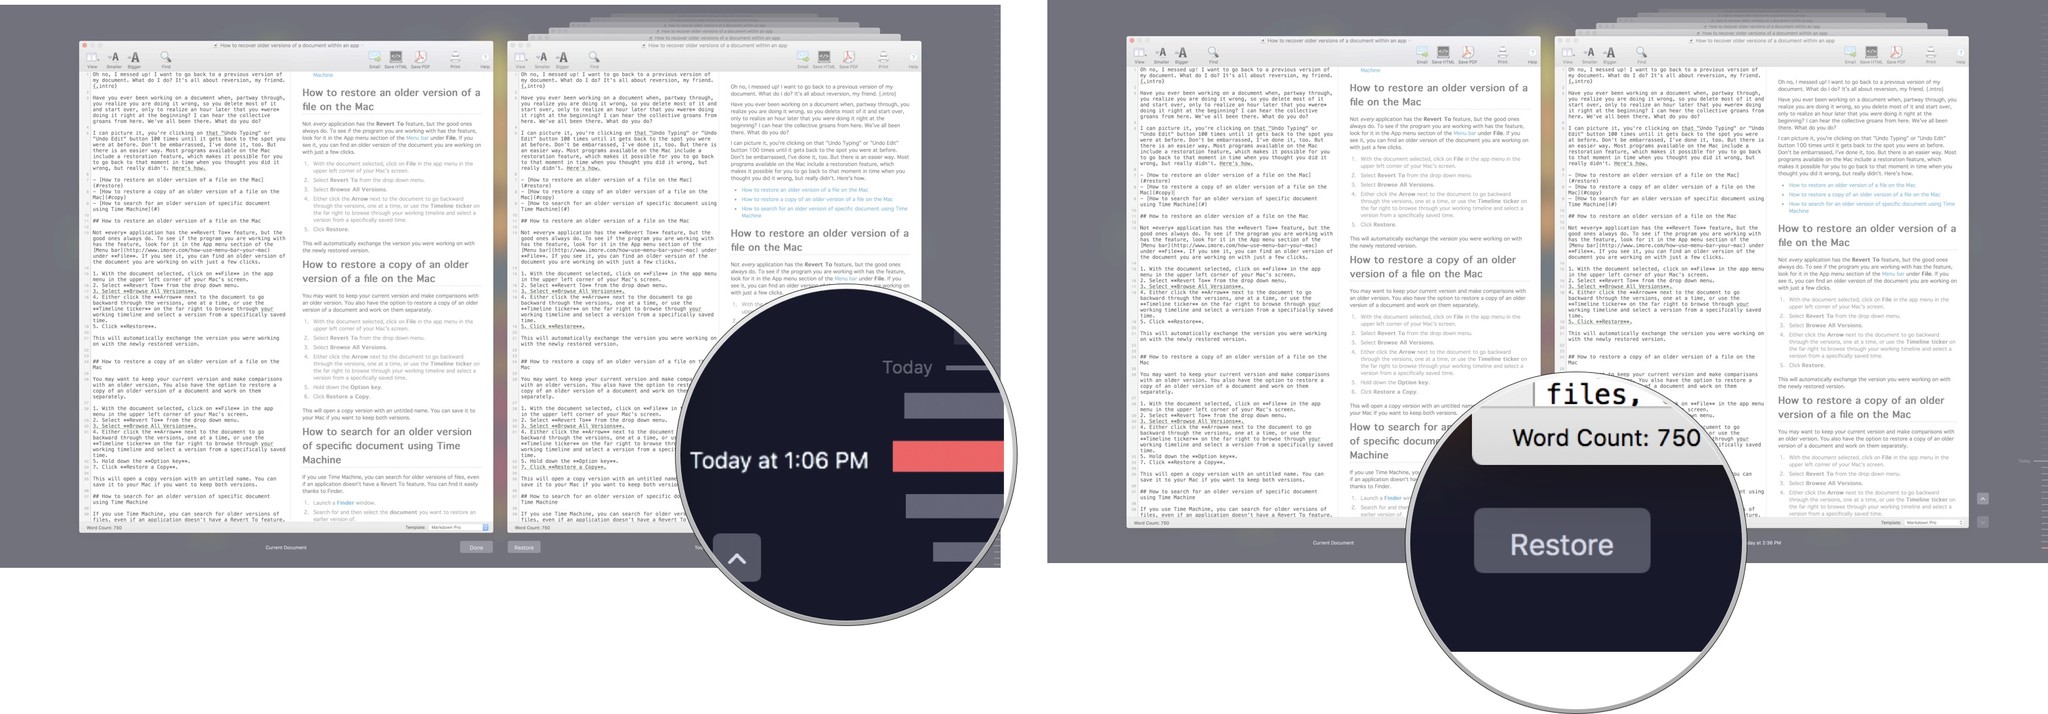
- Either click the Arrow next to the document to go backward through the versions, one at a time, or use the Timeline ticker on the far right to browse through your working timeline and select a version from a specifically saved time.
- Click Restore.

This will automatically exchange the version you were working on with the newly restored version.
How to restore a copy of an older version of a file on the Mac
You may want to keep your current version and make comparisons with an older version. You also have the option to restore a copy of an older version of a document and work on them separately.
- With the document selected, click on File in the app menu in the upper left corner of your Mac's screen.
- Select Revert To from the drop-down menu.
- Select Browse All Versions.

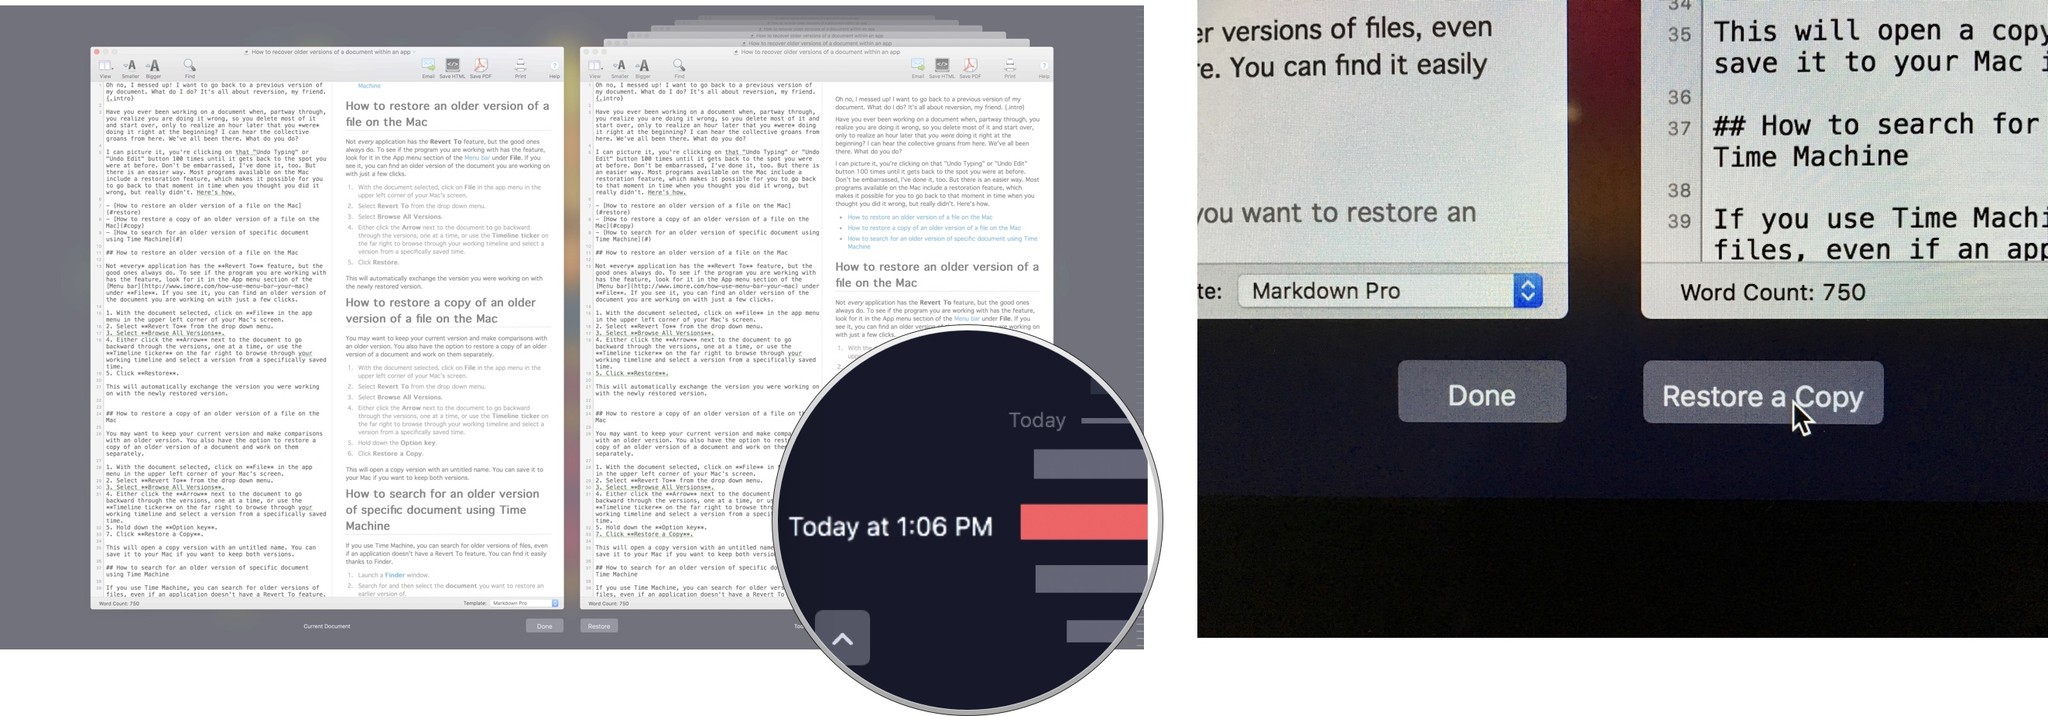
- Either click the Arrow next to the document to go backward through the versions, one at a time, or use the Timeline ticker on the far right to browse through your working timeline and select a version from a specifically saved time.
- Hold down the Option key.
- Click Restore a Copy.

This will open a copy version with an untitled name. You can save it to your Mac if you want to keep both versions.
Master your iPhone in minutes
iMore offers spot-on advice and guidance from our team of experts, with decades of Apple device experience to lean on. Learn more with iMore!
How to search for an older version of a specific document using Time Machine
If you use Time Machine, you can search for older versions of files, even if an application doesn't have a Revert To feature. You can find it easily thanks to Finder.
- Launch a Finder window.
- Search for and then select the document you want to restore an earlier version of.
- Click on Time Machine in the Menu bar.

- Either click the Arrow next to the document to go backward through the versions, one at a time, or use the Timeline ticker on the far right to browse through your working timeline and select a version from a specifically saved time.
- Click Restore.

When you restore a document from Time Machine, it will automatically save it to its original location. If you already have a version saved in the same place, it will ask if you want to delete, replace, or keep both. If you keep them both, the older version will be renamed with the word (original) in the title.
Back up your Mac
Losing an important document is annoying and stressful, and while the steps above can help alleviate some of that discomfort by letting macOS Monterey call up an older version of that document, you should try to avoid ever using the feature if you can.
We can't stress enough how important it is to have backups of all your files and document, be that in cloud storage or an external hard drive. Plus, don't forget, you should also be backing up your entire Mac on a regular basis with Time Machine, or your backing up software of choice.
Updated April 2022: Updated for the most recent version of macOS Monterey

Luke Filipowicz has been a writer at iMore, covering Apple for nearly a decade now. He writes a lot about Apple Watch and iPad but covers the iPhone and Mac as well. He often describes himself as an "Apple user on a budget" and firmly believes that great technology can be affordable if you know where to look. Luke also heads up the iMore Show — a weekly podcast focusing on Apple news, rumors, and products but likes to have some fun along the way.
Luke knows he spends more time on Twitter than he probably should, so feel free to follow him or give him a shout on social media @LukeFilipowicz.
