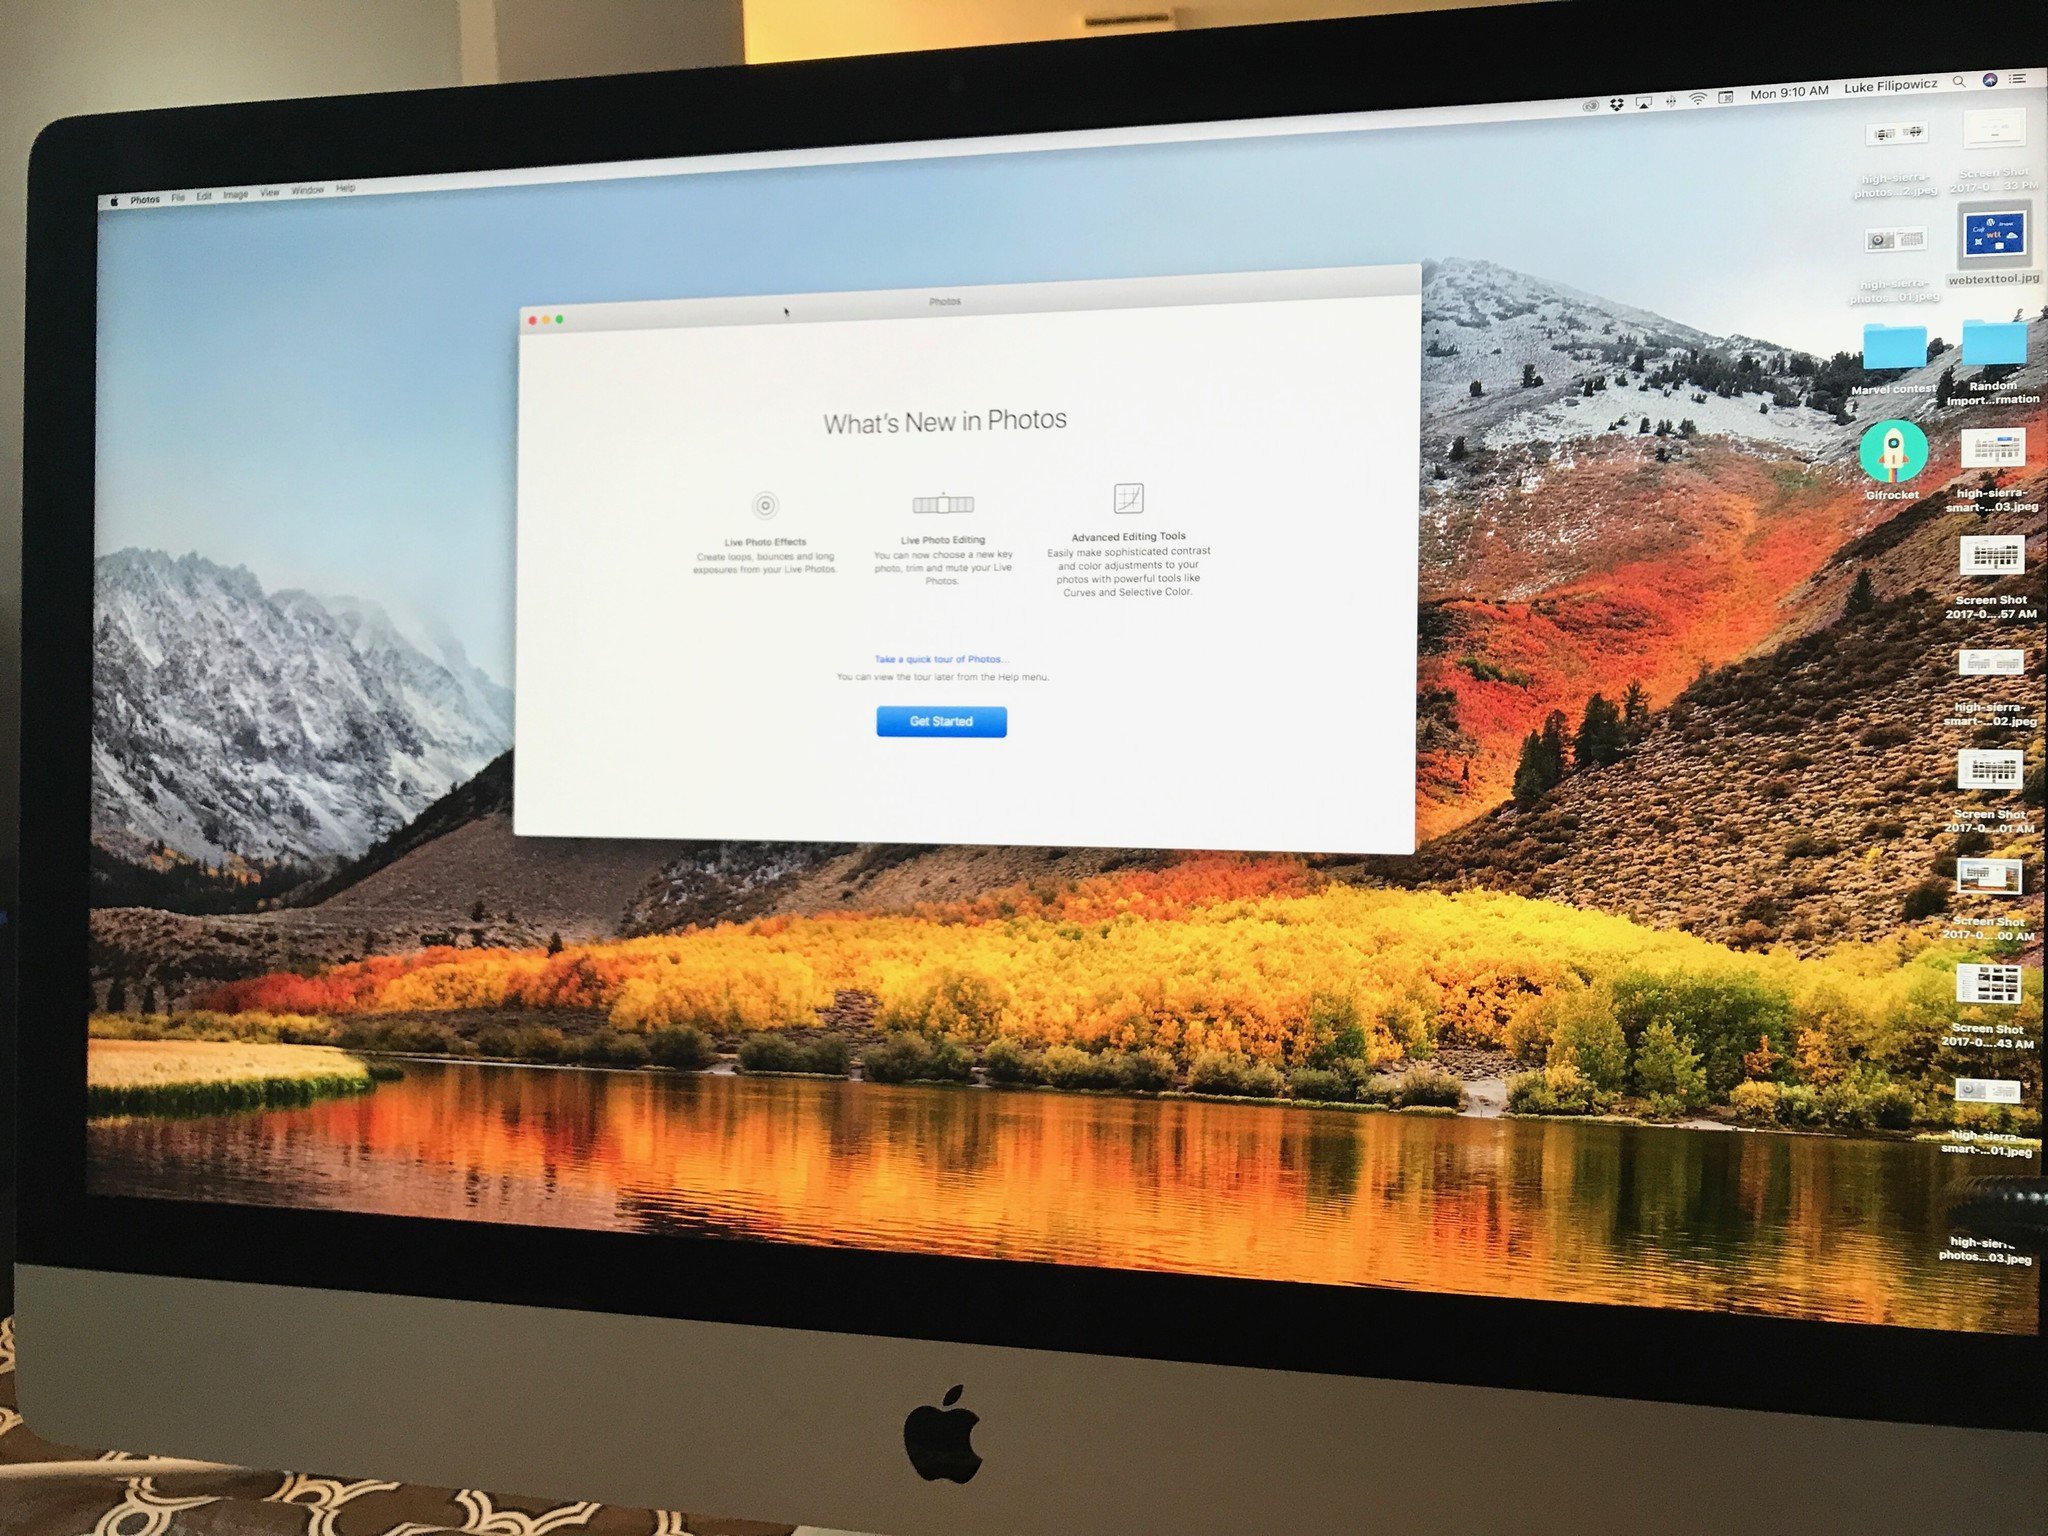
During the developer beta testing for macOS High Sierra, the disk format of some systems were converted to the up-and-coming Apple File System (APFS). The final public version of macOS High Sierra will not launch with APFS support on Fusion Drives. If your Fusion Drive is currently converted to AFPS, you'll want to revert back to HFS+ before installing the final build of macOS High Sierra. Here's how.
Note: This only applies to Macs with Fusion Drives**.
- Before you start
- What you need
- Step 1: Download the latest macOS High Sierra install Assistant from the Mac App Store
- Step 2: Create a bootable installer for macOS High Sierra
- Step 3: Erase your hard drive and restore from the bootable installer
- Step 4: Migrate your data from your recent backup
Important: Please follow Apple's support page for precise instructions on how to revert your disk back to HFS+. This is a basic explainer that acts as a companion to Apple's official support document.
Before you start
Back up your Mac. This is especially important for this process because you're about to delete all data that was added to the APFS Fusion Drive. If you don't back up your Mac before following these steps, you'll lose any data you've created and stored on your Mac since you installed the beta.
What you need
The process of reverting your disk format back to HFS+ involves creating a bootable installer on an external hard drive. Therefore, you're going to need a dedicated external hard drive with at least 10GB of storage. You can also use a flash drive, as long as it's got enough storage space on it.
Step 1: Download the latest macOS High Sierra install Assistant from the Mac App Store
You're going to re-download macOS High Sierra, but when it gets to the steps where you are asked if you want to install the operating system, close the window instead.
Master your iPhone in minutes
iMore offers spot-on advice and guidance from our team of experts, with decades of Apple device experience to lean on. Learn more with iMore!
You're going to need to install the latest version of macOS High Sierra installer in full. If you don't already know how to do it, follow our guide.
How to download macOS updates or installer
Step 2: Create a bootable installer for macOS High Sierra
You're going to delete the current beta version of macOS High Sierra that converted your disk to APFS and reinstall a version of macOS High Sierra that does not convert Fusion Drive disks to APFS. To do so, you're going to need a bootable installer for macOS High Sierra, which will allow you to grab the operating system from the external drive after you've erased your internal drive.
You're going to have to erase the external drive so you can format it for macOS High Sierra, so make sure to use a different hard drive than the one you used to backup your Mac with.
The key here is to use the following Terminal path for High Sierra when you're at the steps for How to make your external drive into a macOS Sierra boot drive:
sudo /Volumes/InstallAssistant/Install\ macOS\ High\ Sierra.app/Content/Resources/createInstallMedia --volume /Volumes/external drive
Important: Make sure to replace external drive with the actual name of your external hard drive.
Note: createInstallMedia will erase the hard drive.
How to create a bootable installer
Step 3: Erase your hard drive and restore from the bootable installer
Once you've got the bootable version of macOS High Sierra onto an external drive, and you've backed up your Mac, you can erase your hard drive. You'll select the internal drive that you have macOS High Sierra installed on. You'll also need to rename the drive "CoreStorage Fusion" (see Apple's support document for details).
You'll then install macOS High Sierra from the bootable installer you just created.
It's similar to doing a clean install of macOS, but when you have the option to choose what to reinstall, you'll select the "CoreStorage Fusion" volume (see Apple support page for details).
How to do a clean install of macOS
Step 4: Migrate your data from your recent backup
When you reinstall macOS, you'll be able to migrate your data from your recent Time Machine backup. If you use Time Machine, this is the easiest way to get all of your files, settings, and apps back onto your Mac so you can get back to work as soon as possible.
If you use another method of backing up your Mac, follow the service's instructions for migrating your data from that backup.
Any questions?
As a reminder, please use Apple support document as the main guide for reverting your Fusion Drive back to HFS+ from APFS, but if you have any other questions about this process, please put them in the comments and we'll help you out.
Lory is a renaissance woman, writing news, reviews, and how-to guides for iMore. She also fancies herself a bit of a rock star in her town and spends too much time reading comic books. If she's not typing away at her keyboard, you can probably find her at Disneyland or watching Star Wars (or both).

