How to roll your own Vive cooling solution when playing VR
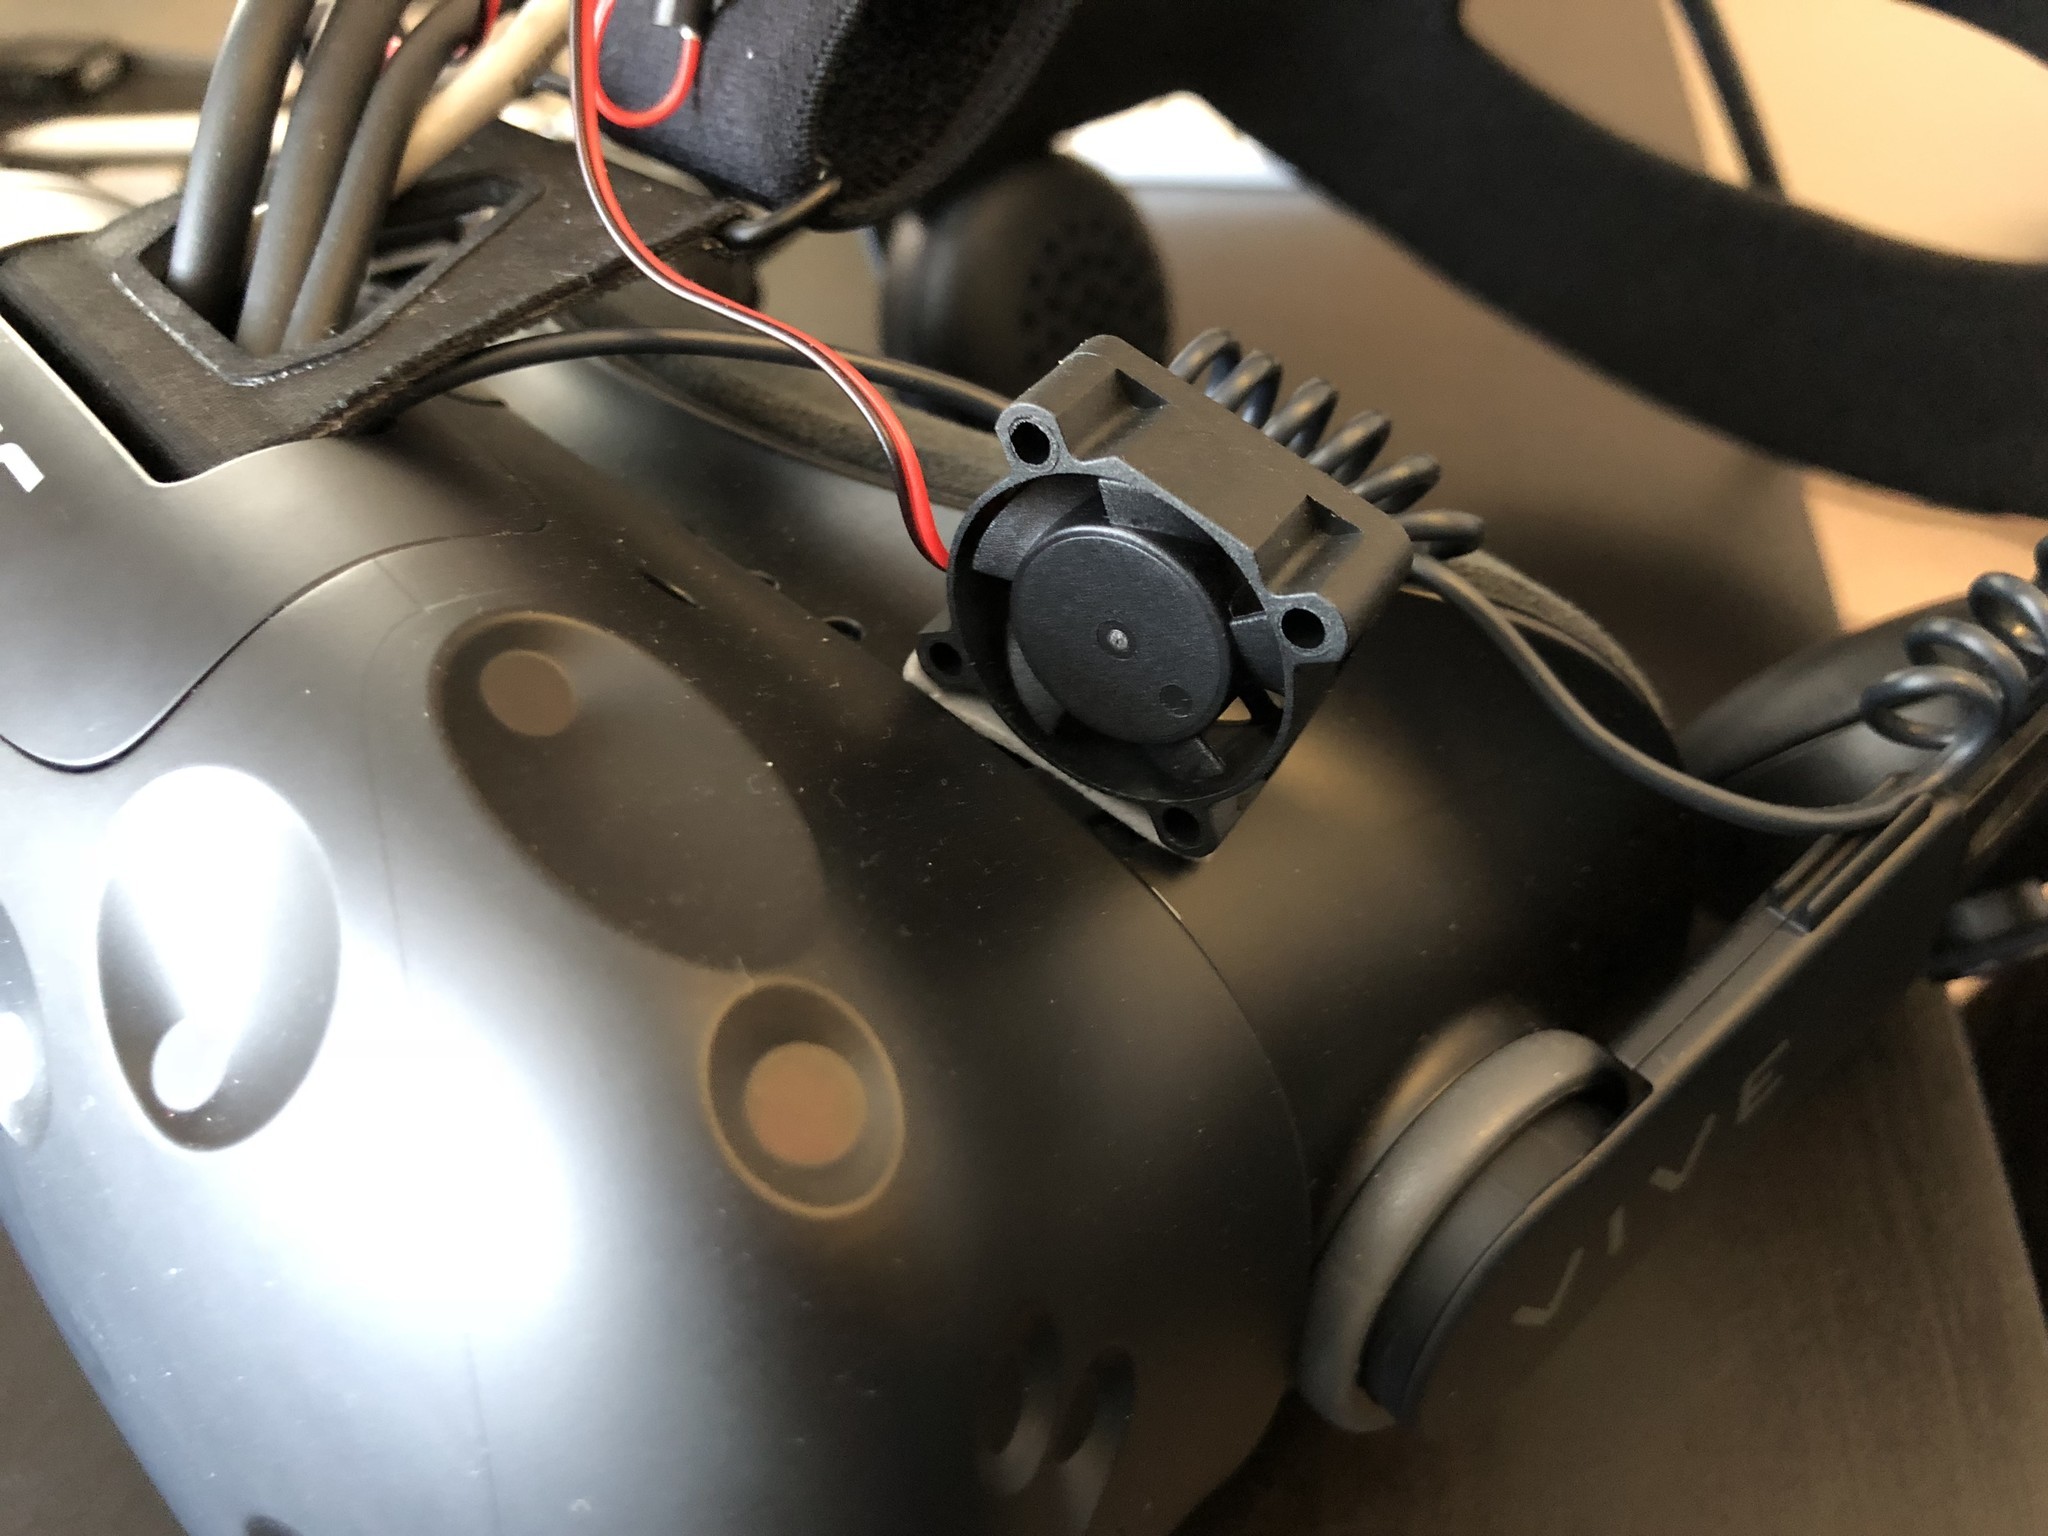
In the summer months, my office starts to become a sweltering hot mess where it would be easy to confuse it for a hot yoga studio. I've been playing around with my HTC Vive in that same room and sweat can be an issue. Luckily, there are already cooling solutions on the market like the Vive-n-Chill that attaches to the top of your VR headset and powers two small fans to cool your forehead whilst gaming in VR.
If you have a tendency to sweat, you don't want that sweat to get into your precious VR headset electronics. So something like the Vive-n-chill is a good option for $32. Or, you can roll your own for about $7 using some off-the-shelf PC fans, some double-sided tape, and some unused USB cable you have lying around. Here's how I made mine!
Gather your parts
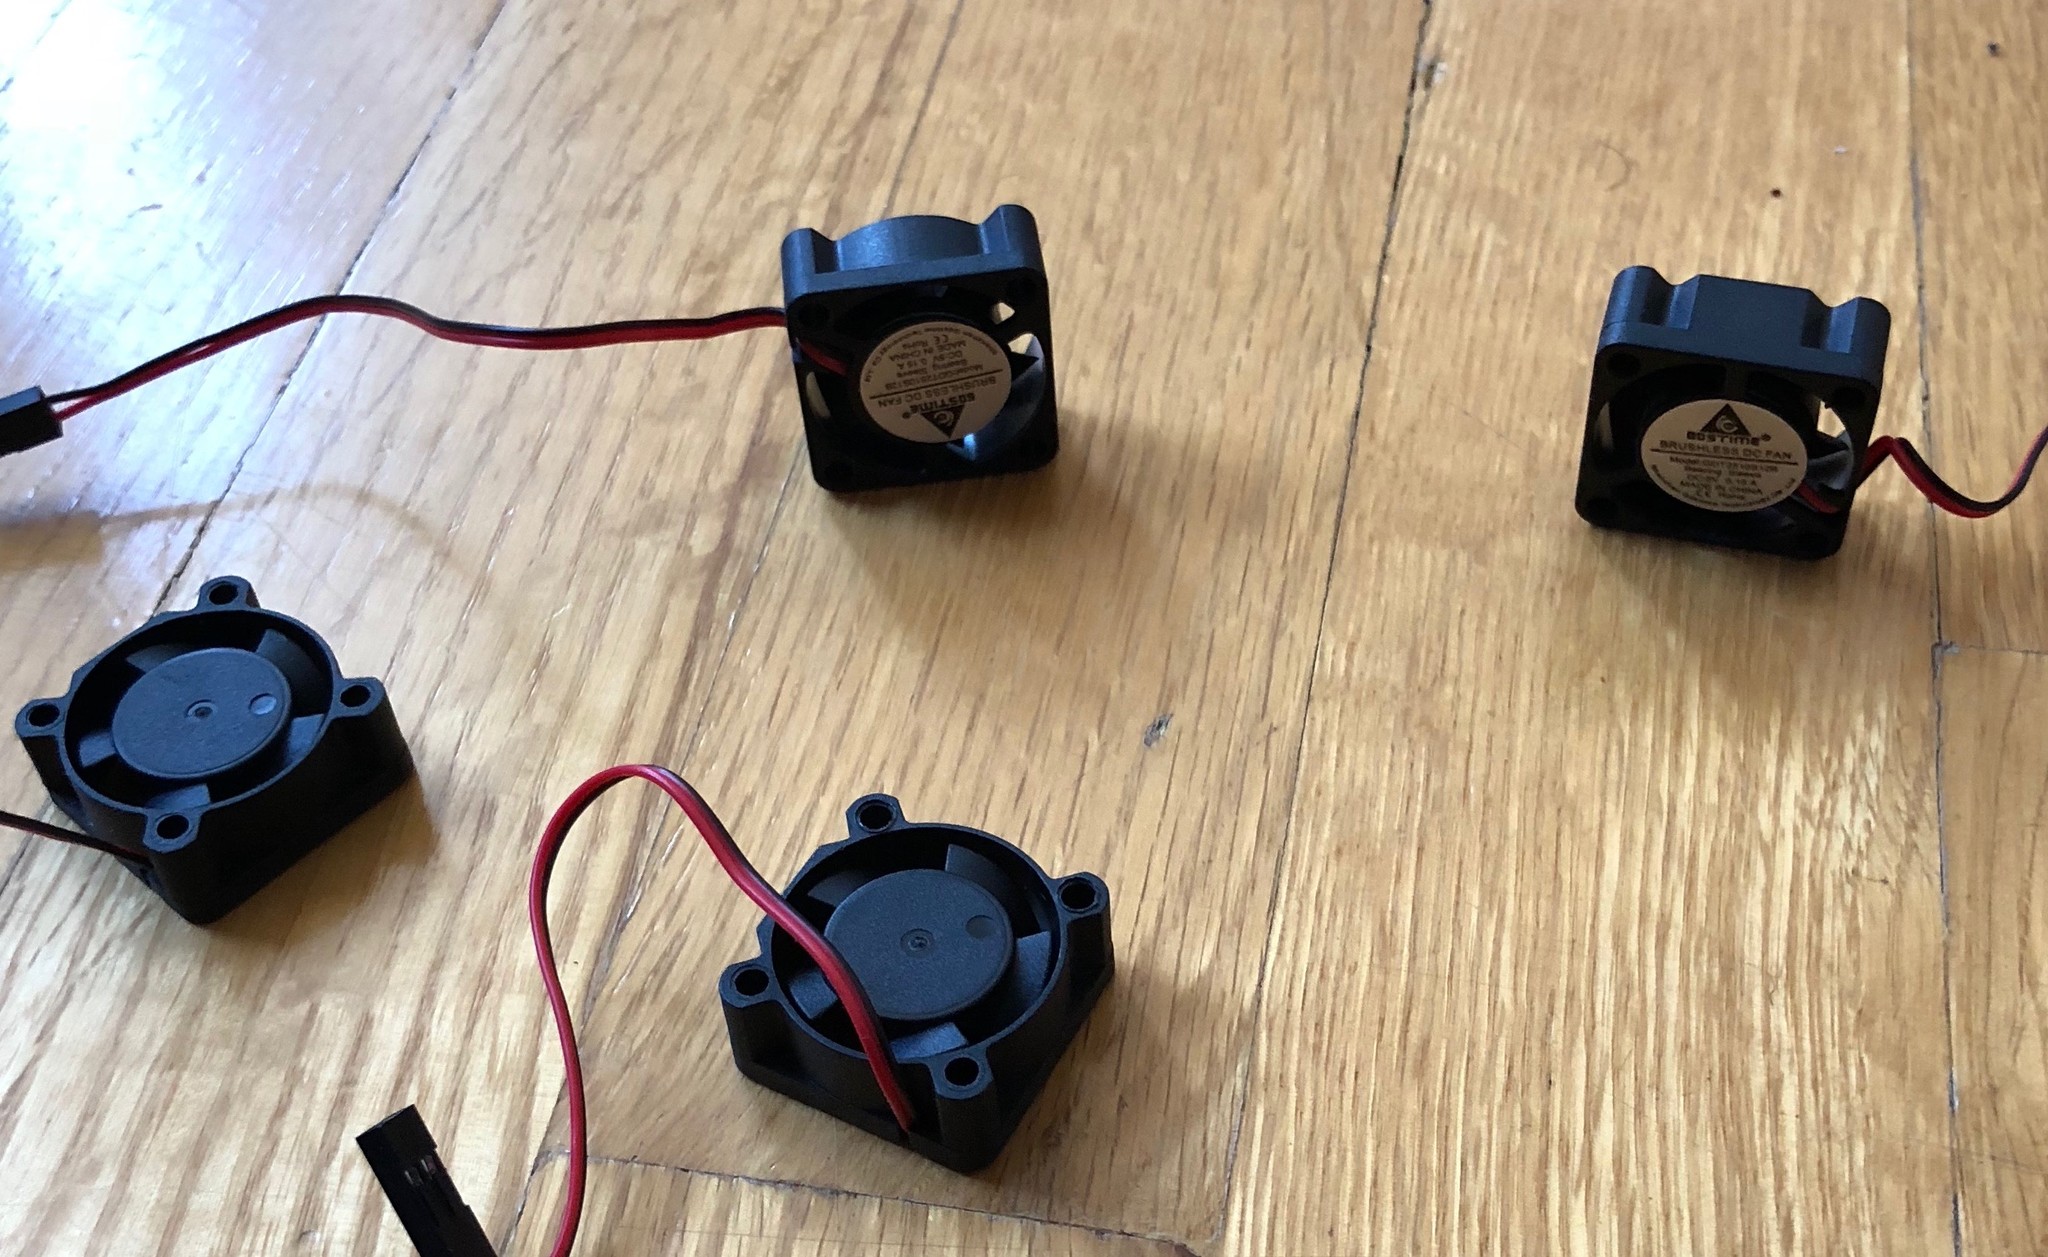
For my first iteration, I used two 12-volt one inch DC fans. Although they work, I would have preferred more air-flow so for my next build, I'll likely use slightly larger fans.
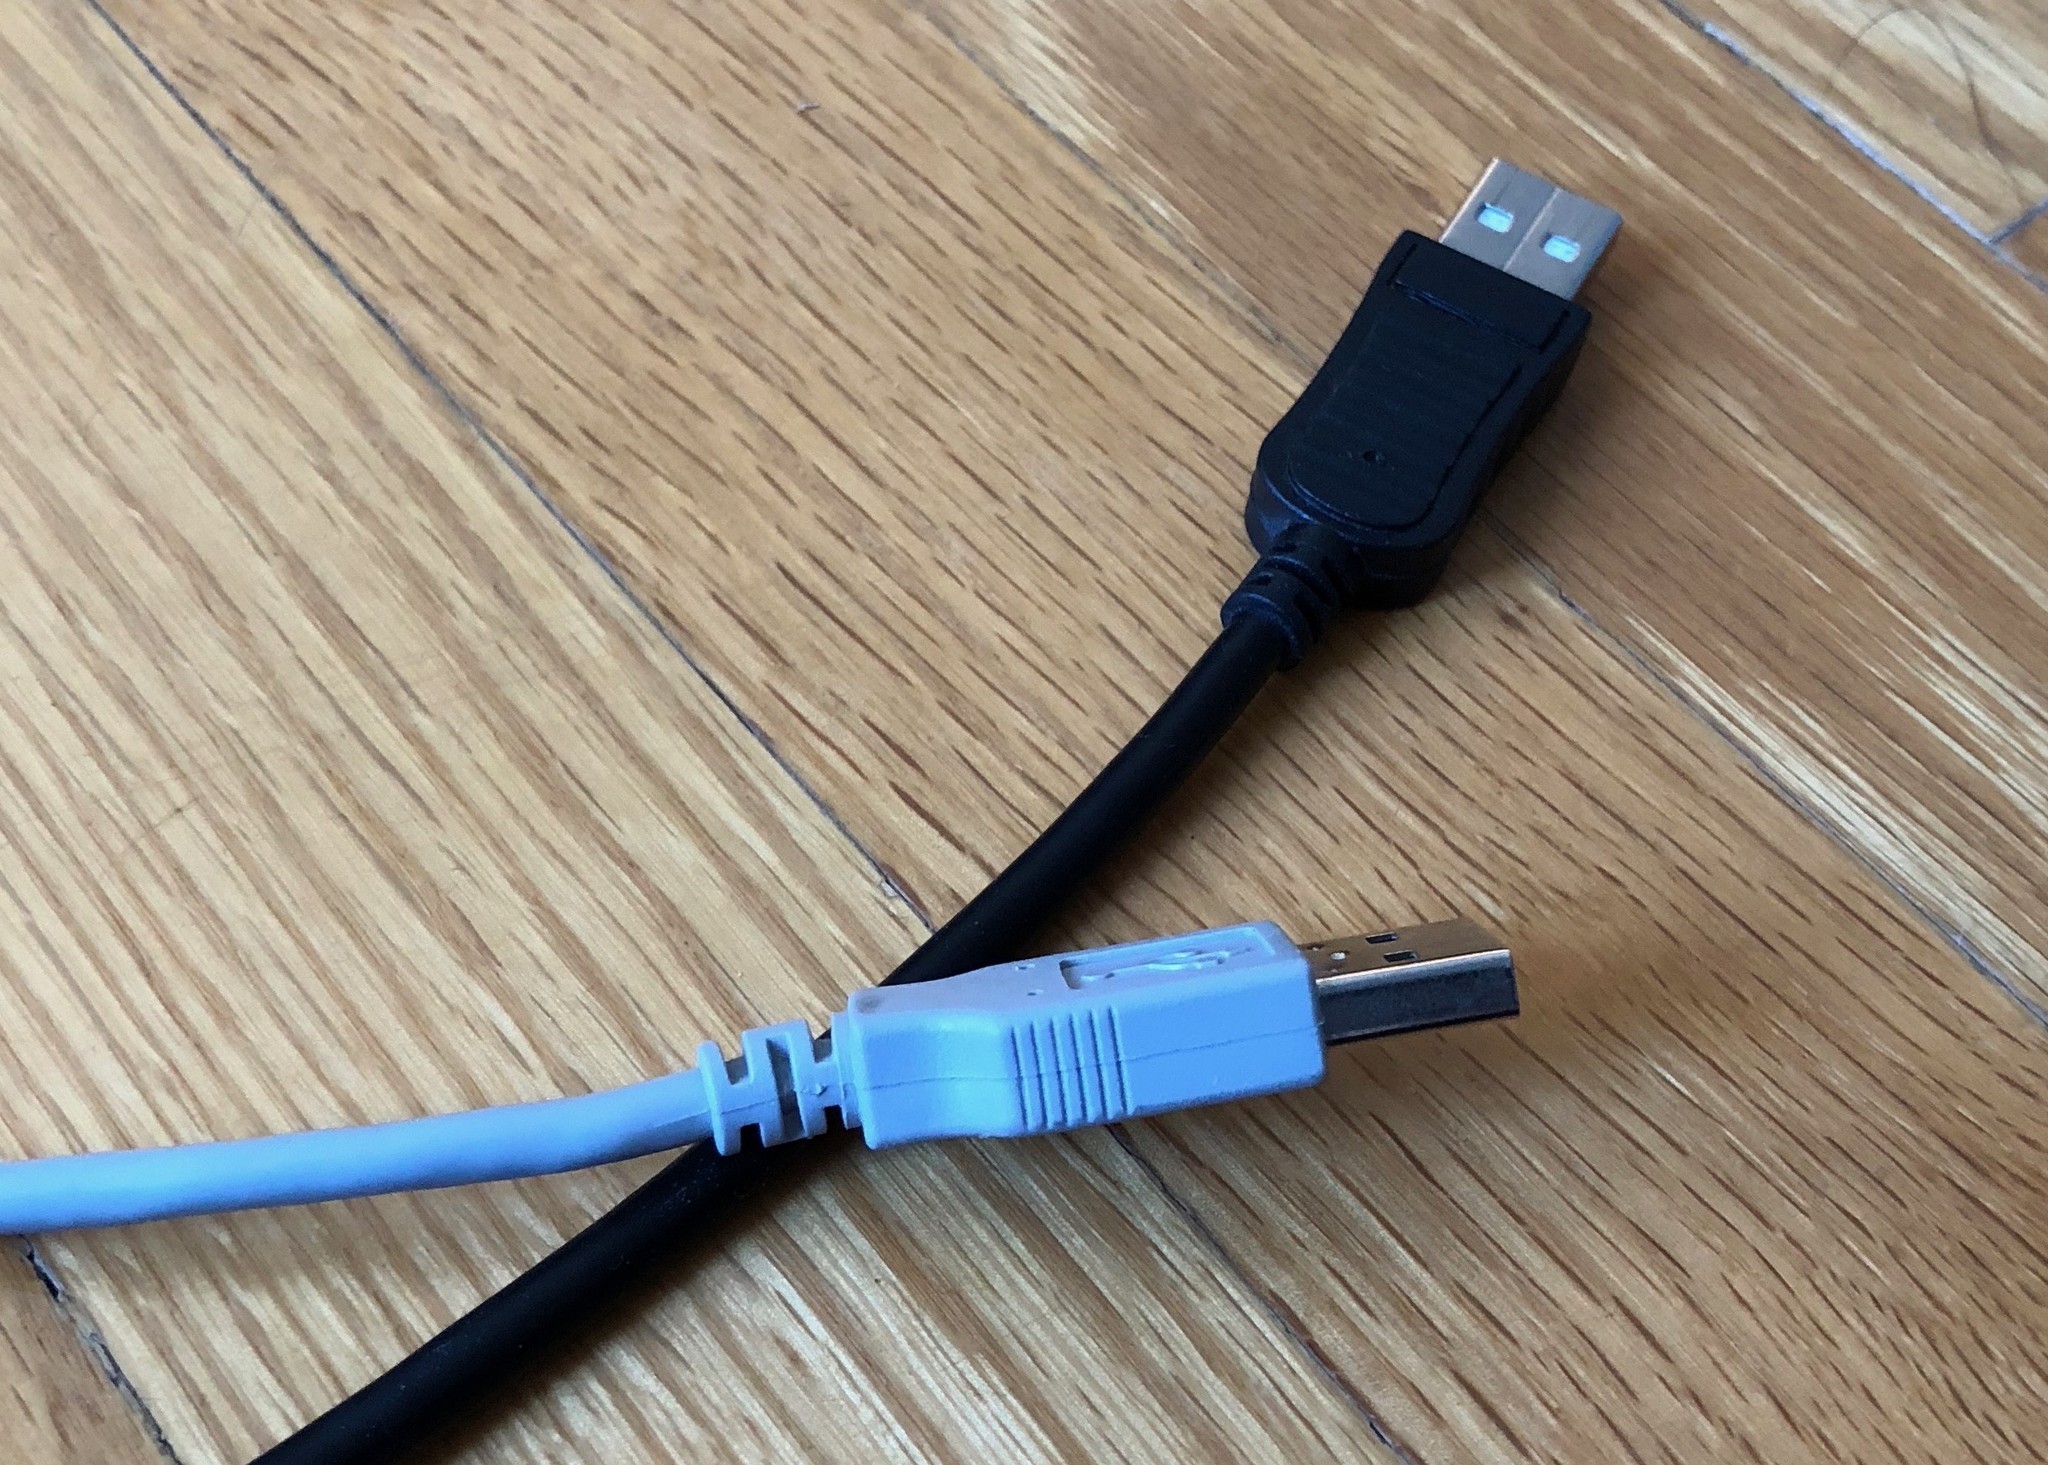
I had a spare unused USB cable that will plug into the HTC Vive spare USB port for power.
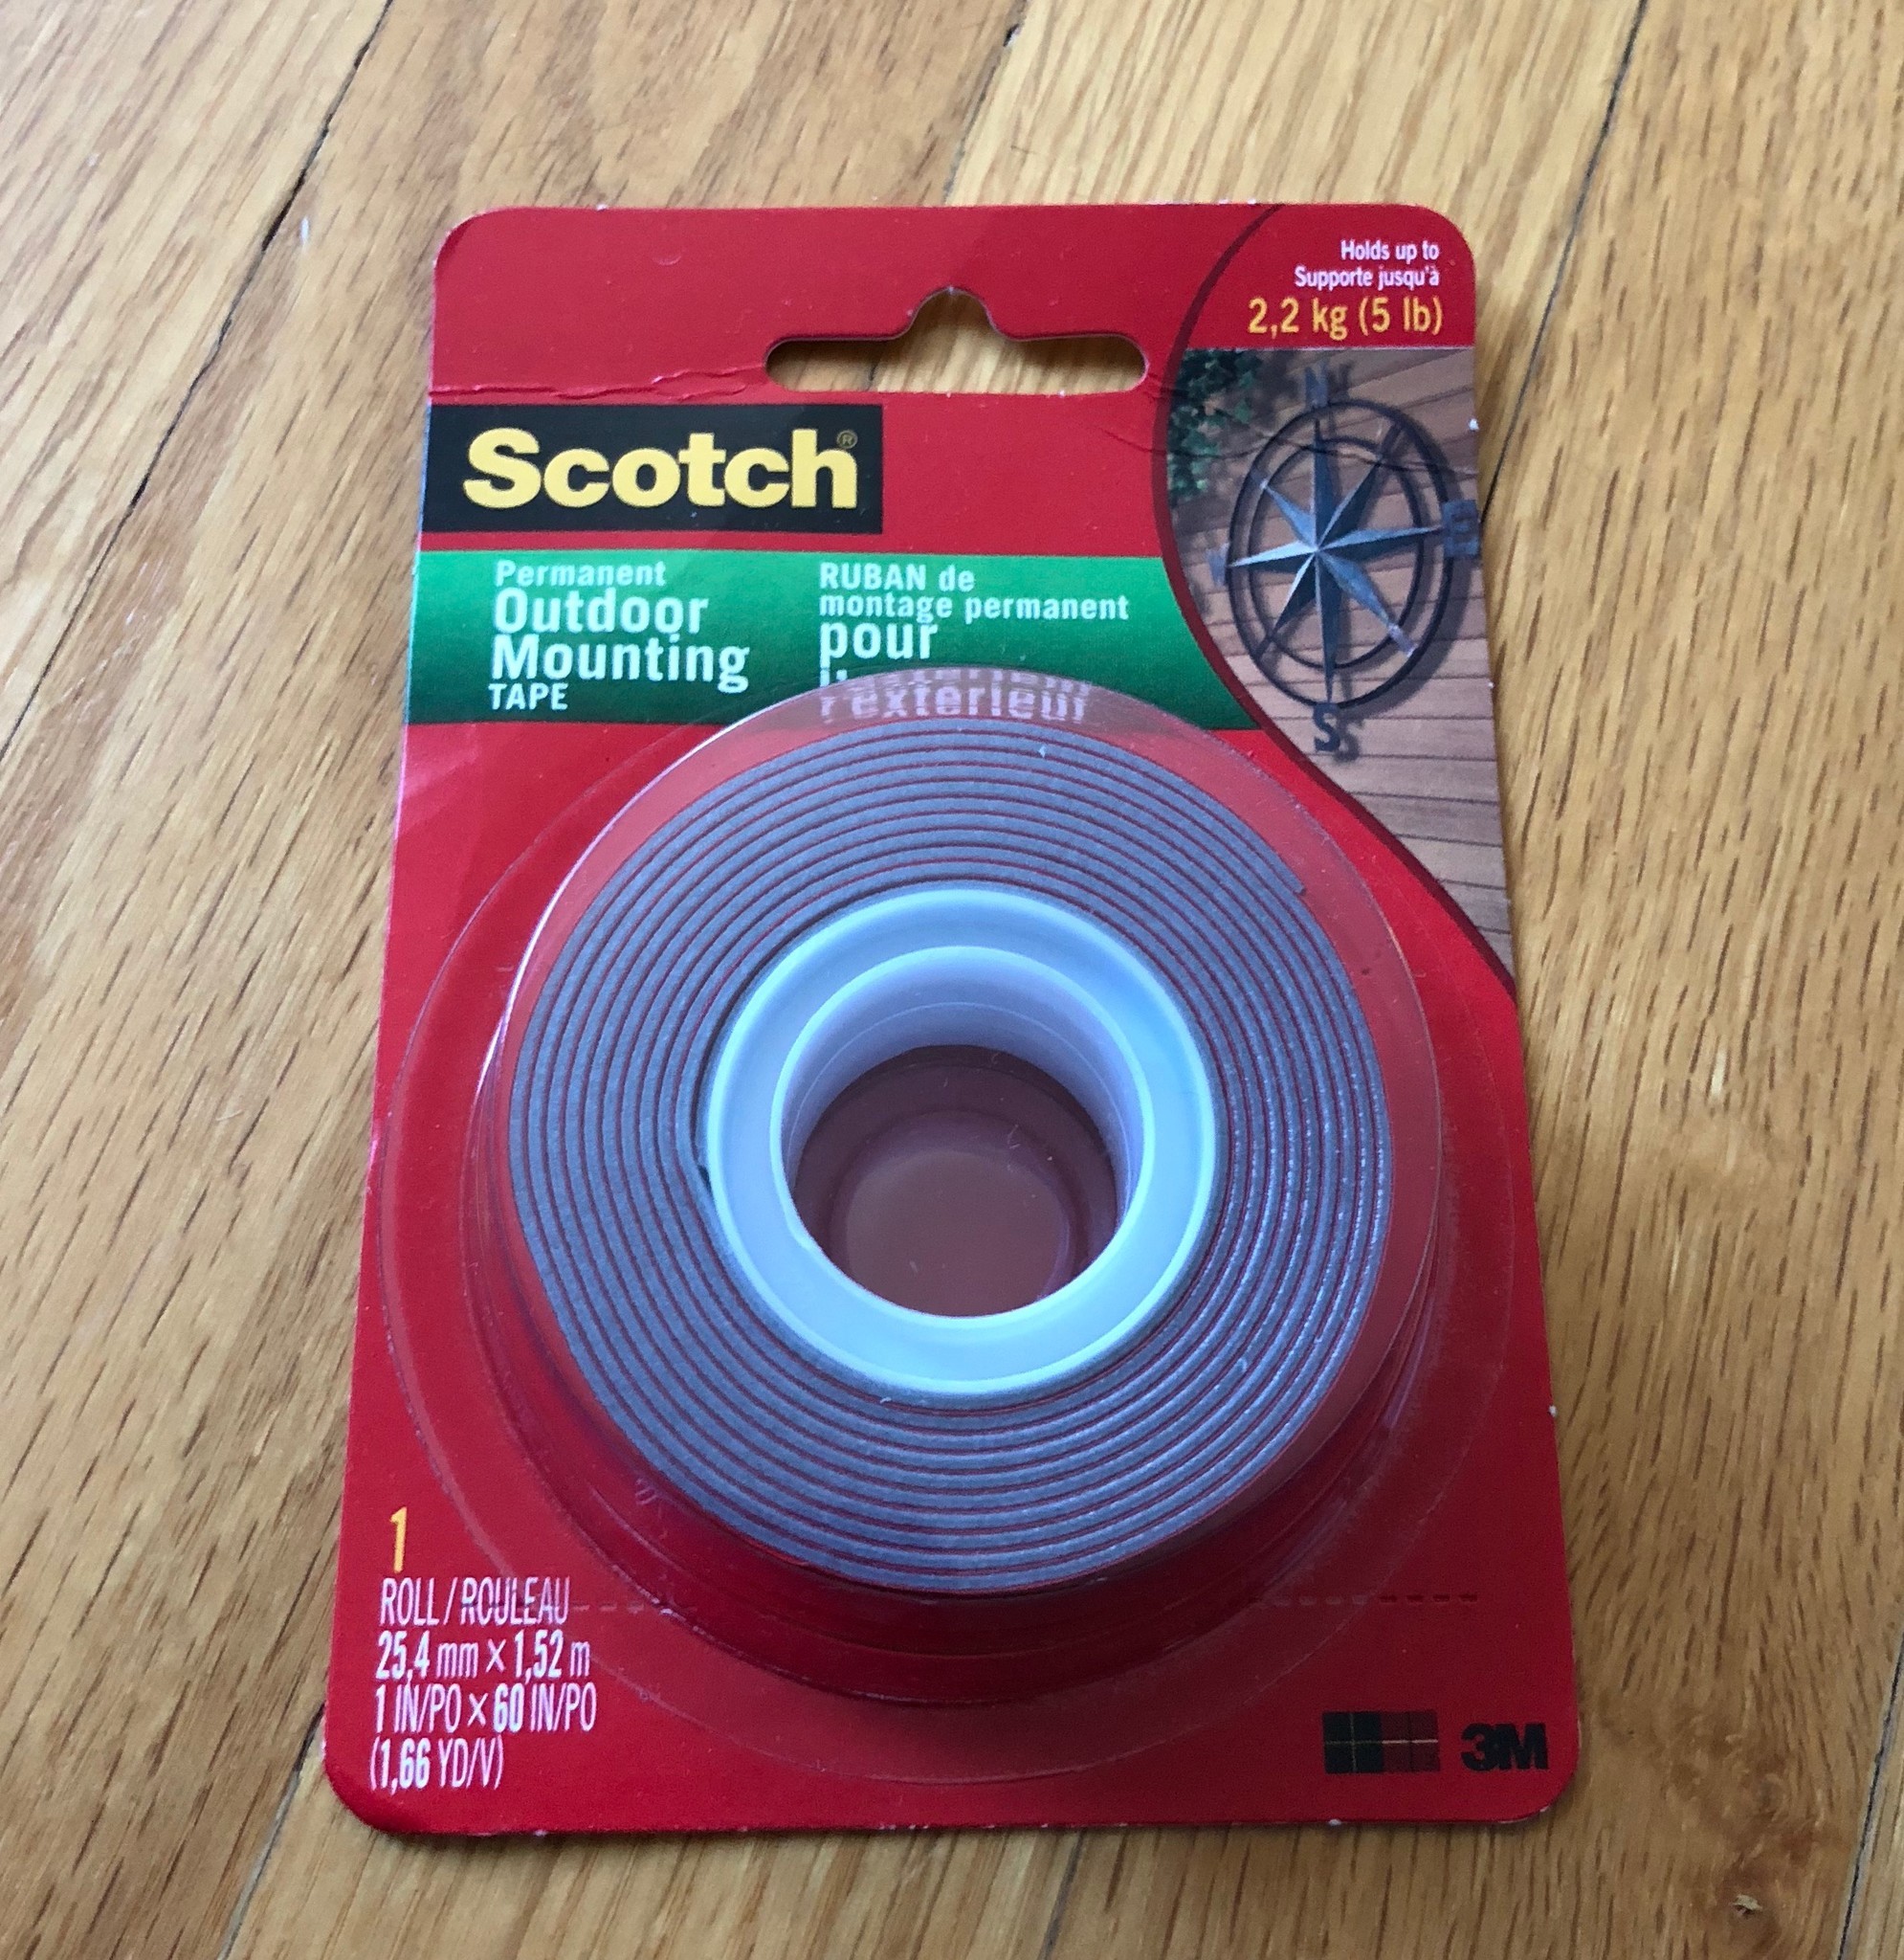
Finally, I used some Scotch branded double sided tape to attach the fans to the HTC Vive.
Assemble the cooling system
- Unplug your HTC Vive.
- Remove the top sliding cover on the HTC Vive to get access to the spare USB port.
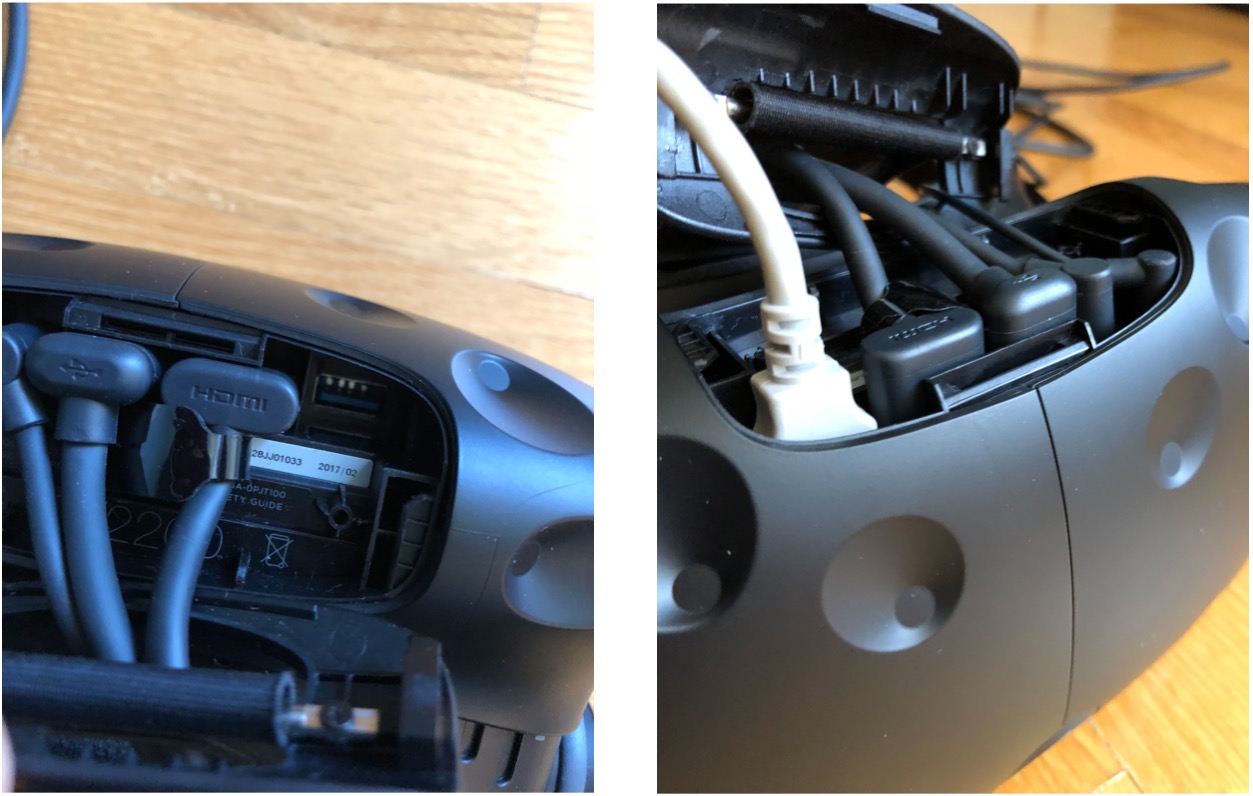
- If you have a standard spare USB cable, you'll notice that the connector will be to large to fir underneath the sliding cover. This will have to be modified. This is done by carefully using a razor bade or sharp exacto-knife cut a portion of the USB connector so that it can freely bend sideways underneath the cable cover.
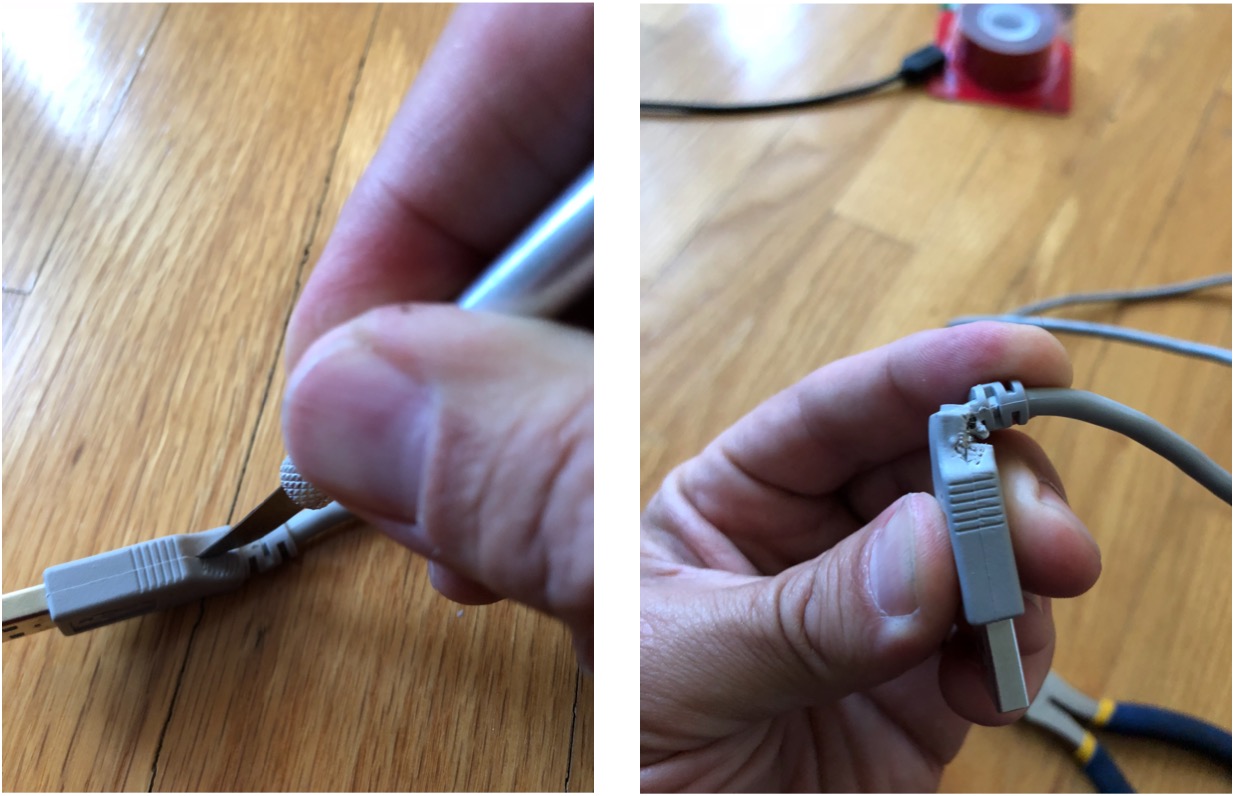
- Cut and Strip the opposite end of your USB cable to expose the 4 smaller wires inside.
- Cut away the green and white wires leaving only the black and red wires at length.
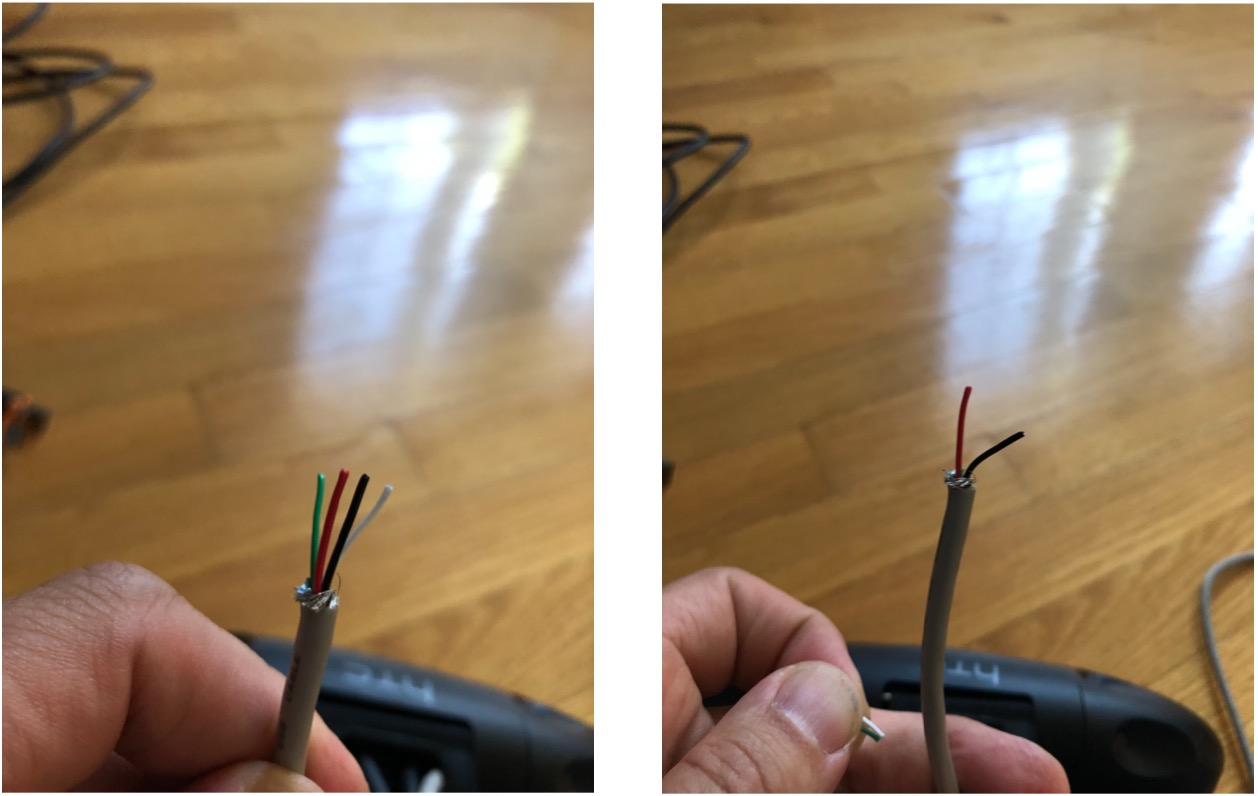
- Strip the red and black wires to expose the copper wire within.
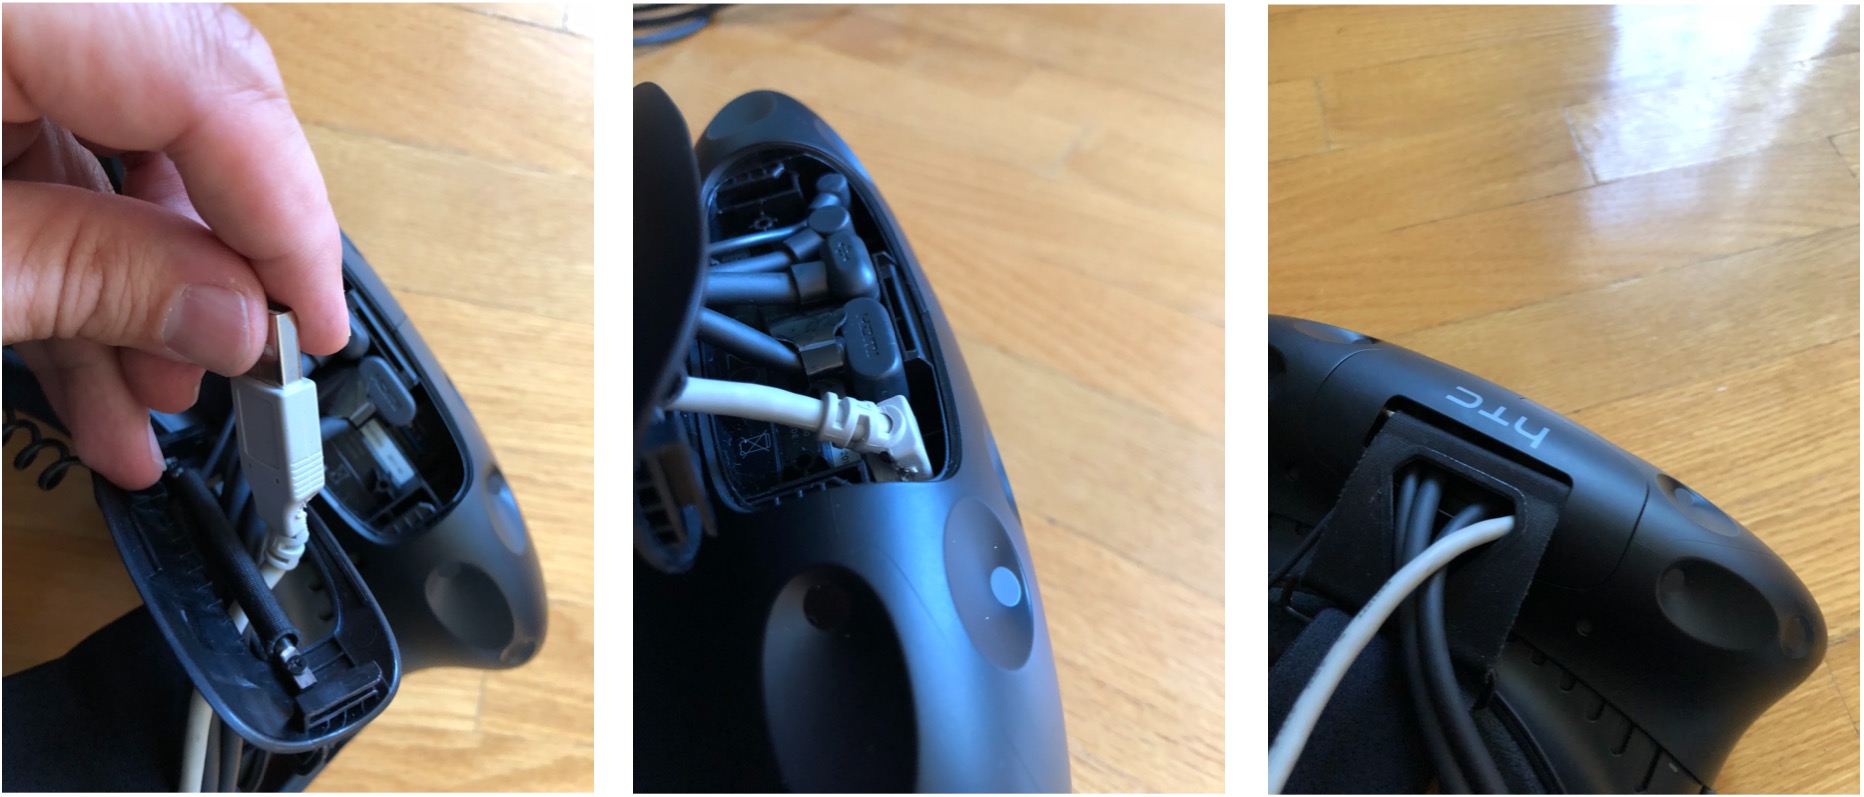
- Plug in the USB plug into the USB port on the HTC Vive. This is what powers your fans.
- Feed the other end of the USB cable with the stripped wires through the opening on the HTC Vive cover and slide the cover closed on the headset.
- Strip or expose the copper wire on both the red and black wires on your two fans.
- Connect the red wire from your fan to the red wire on your USB cable you stripped earlier.
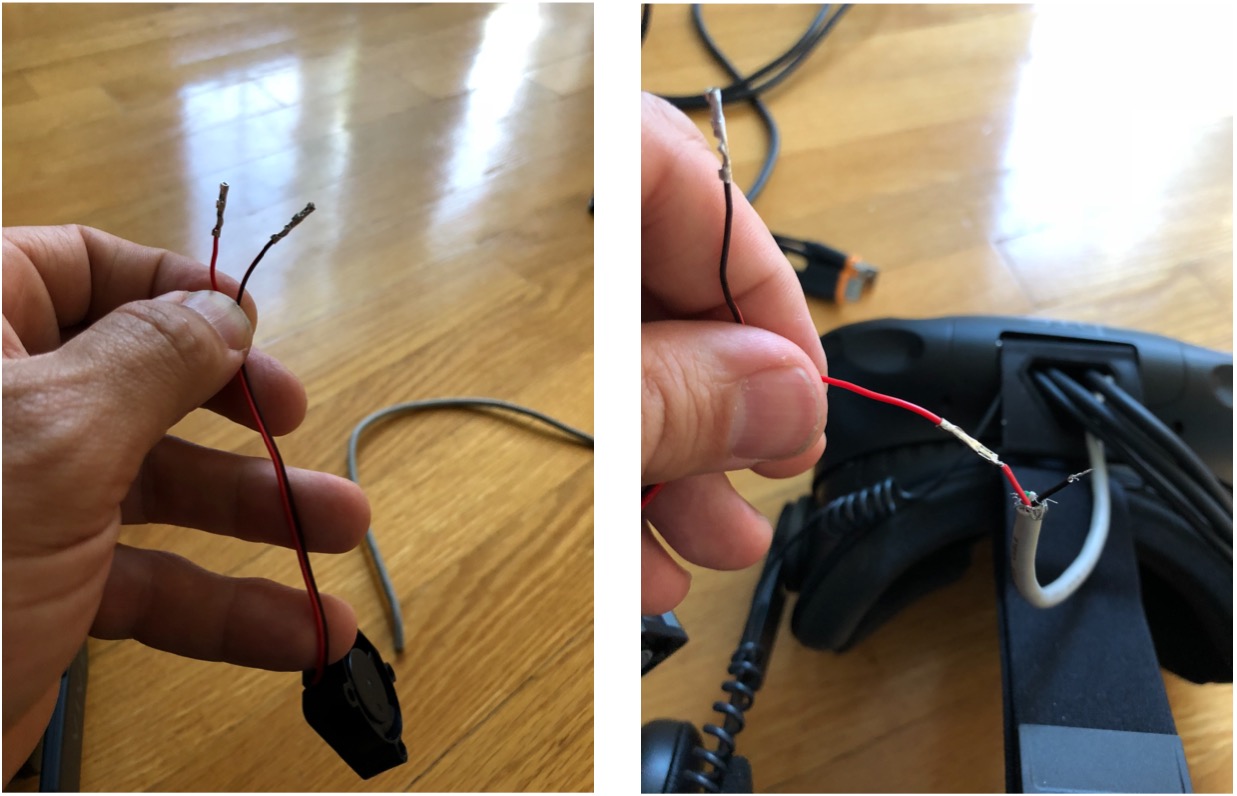
- Connect the red wire from your second fan to the black wire on your first fan. Optionally, you can attach a switch to the black wire on the first fan then attach the red wire from your second fan to the other end of the switch to be able to power your fans on and off at your leisure. (NOT SHOWN HERE).
- Attach the black wire from your second fan to the black wire on your USB cable.
- Apply electrical tape to all of your connections to keep them from separating.
- Cut a small piece of double sided adhesive and place it on one edge of each of your fans.
- Secure the fans to either side of your HTC Vive headset making certain not to cover any of the sensors.
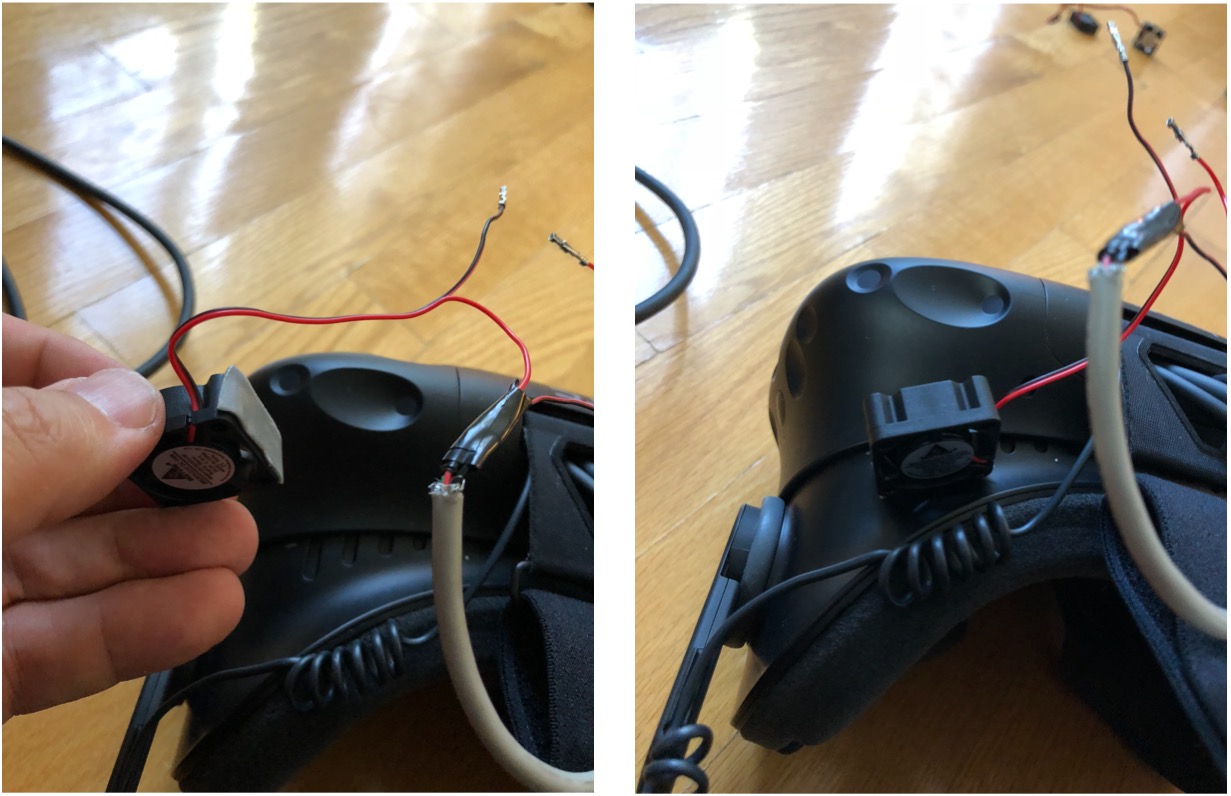
- Plug in and enjoy!
Avoid the HTC Vive support horror stories
Keeping your HTC Vive from getting water damage is harder than you think if you're a sweat machine like me. There are numerous online forum posts as to some deficiencies HTC has when it comes to honouring warranties if you happen to sweat too much. Having a cooling solution does in fact help. Sometimes too much as my forehead can get too cold at times. Adding a switch to turn the fans on and off is definitely next on my list.
Final comments
There you have it. The aesthetics aren't what the Vive-n-Chill can offer that's for certain. If that's important to you, then by all means, buy the Vive-n-Chill. It's awesome. It even offers hinges to fold the fans away when not in use or to better adjust the airflow. But much of the functionality is certainly there and if you like DIY projects, this is an easy one to do. Let us know your thoughts in the comments!
Master your iPhone in minutes
iMore offers spot-on advice and guidance from our team of experts, with decades of Apple device experience to lean on. Learn more with iMore!

