How to send and save photos and attachments in the Mail app on Mac

It might not seem like it, but email is much more than a depository for spam. It's also a great way to share photos and other attachments with family, friends, and acquaintances. In this article, you'll learn how to send and save these files using the Mail app on Mac.
How to send attachments in Mail
You can include photos, documents, and more when you write messages. You can even use Markup in the Mail app.
- In the Mail app, start a new message.
- Click the Attach in the toolbar.
- Next, locate the file you want to send as an attachment.
- Click Choose File.
- If your attachment is an image, you can change the size by using the Image Size toggle on the right of the screen. By default, Mail inserts images at their actual size.
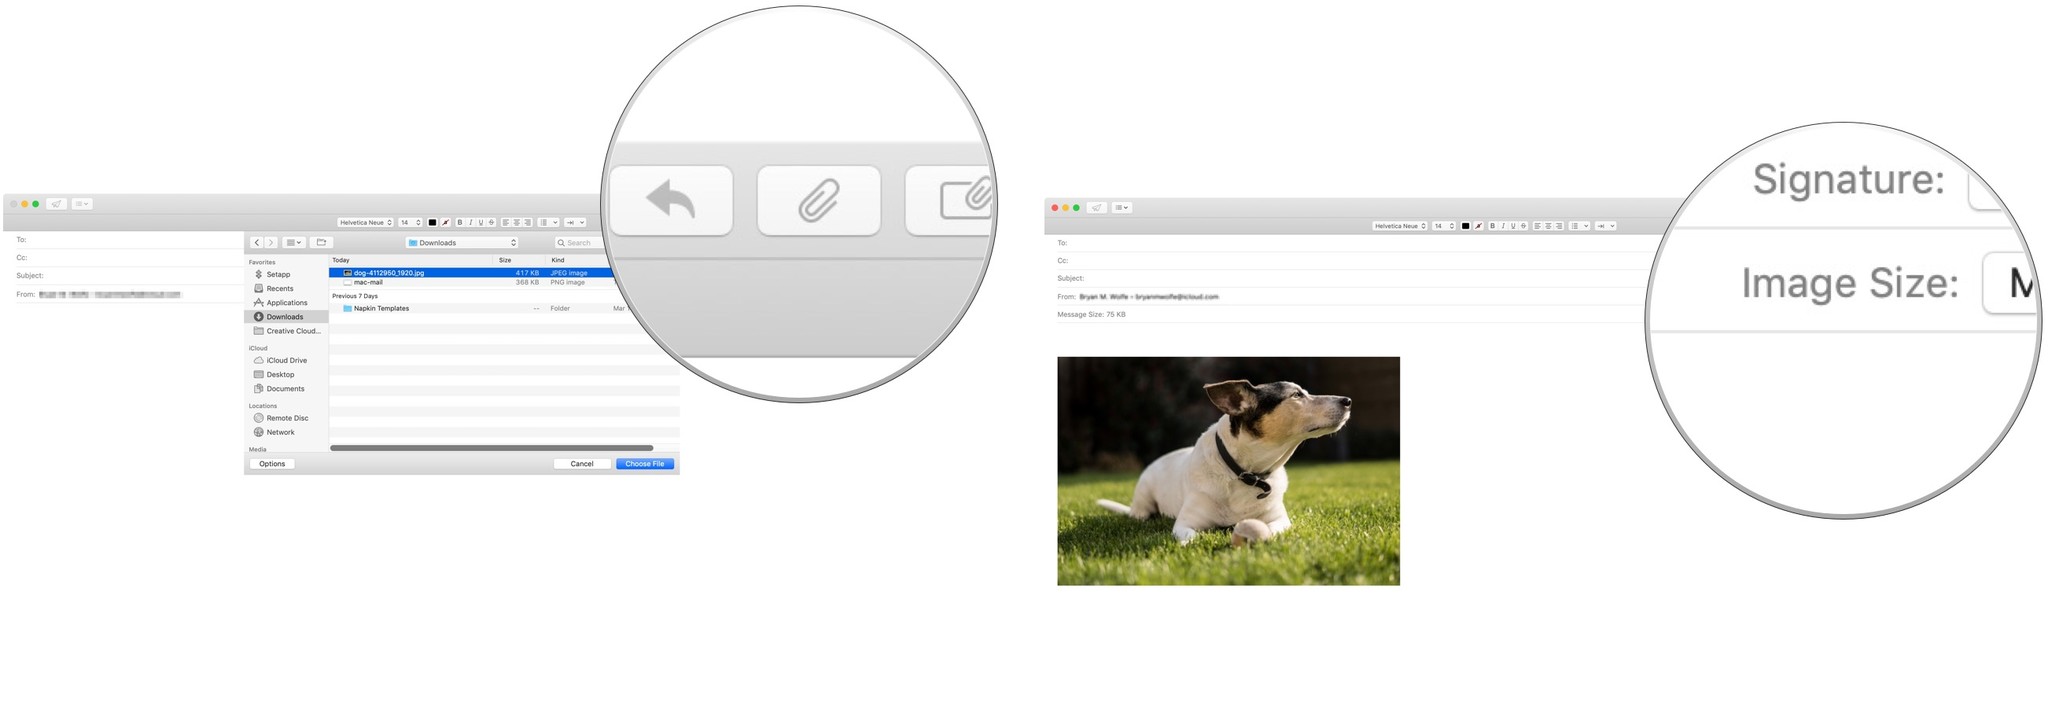
Note: You can also drag files from the desktop, the Finder, or an app into your Mail message.
Attaching photos from the Photo app
You can also attach photos to your email that are located in the native Photo app. To do so:
- In the Mail app, start a new message.
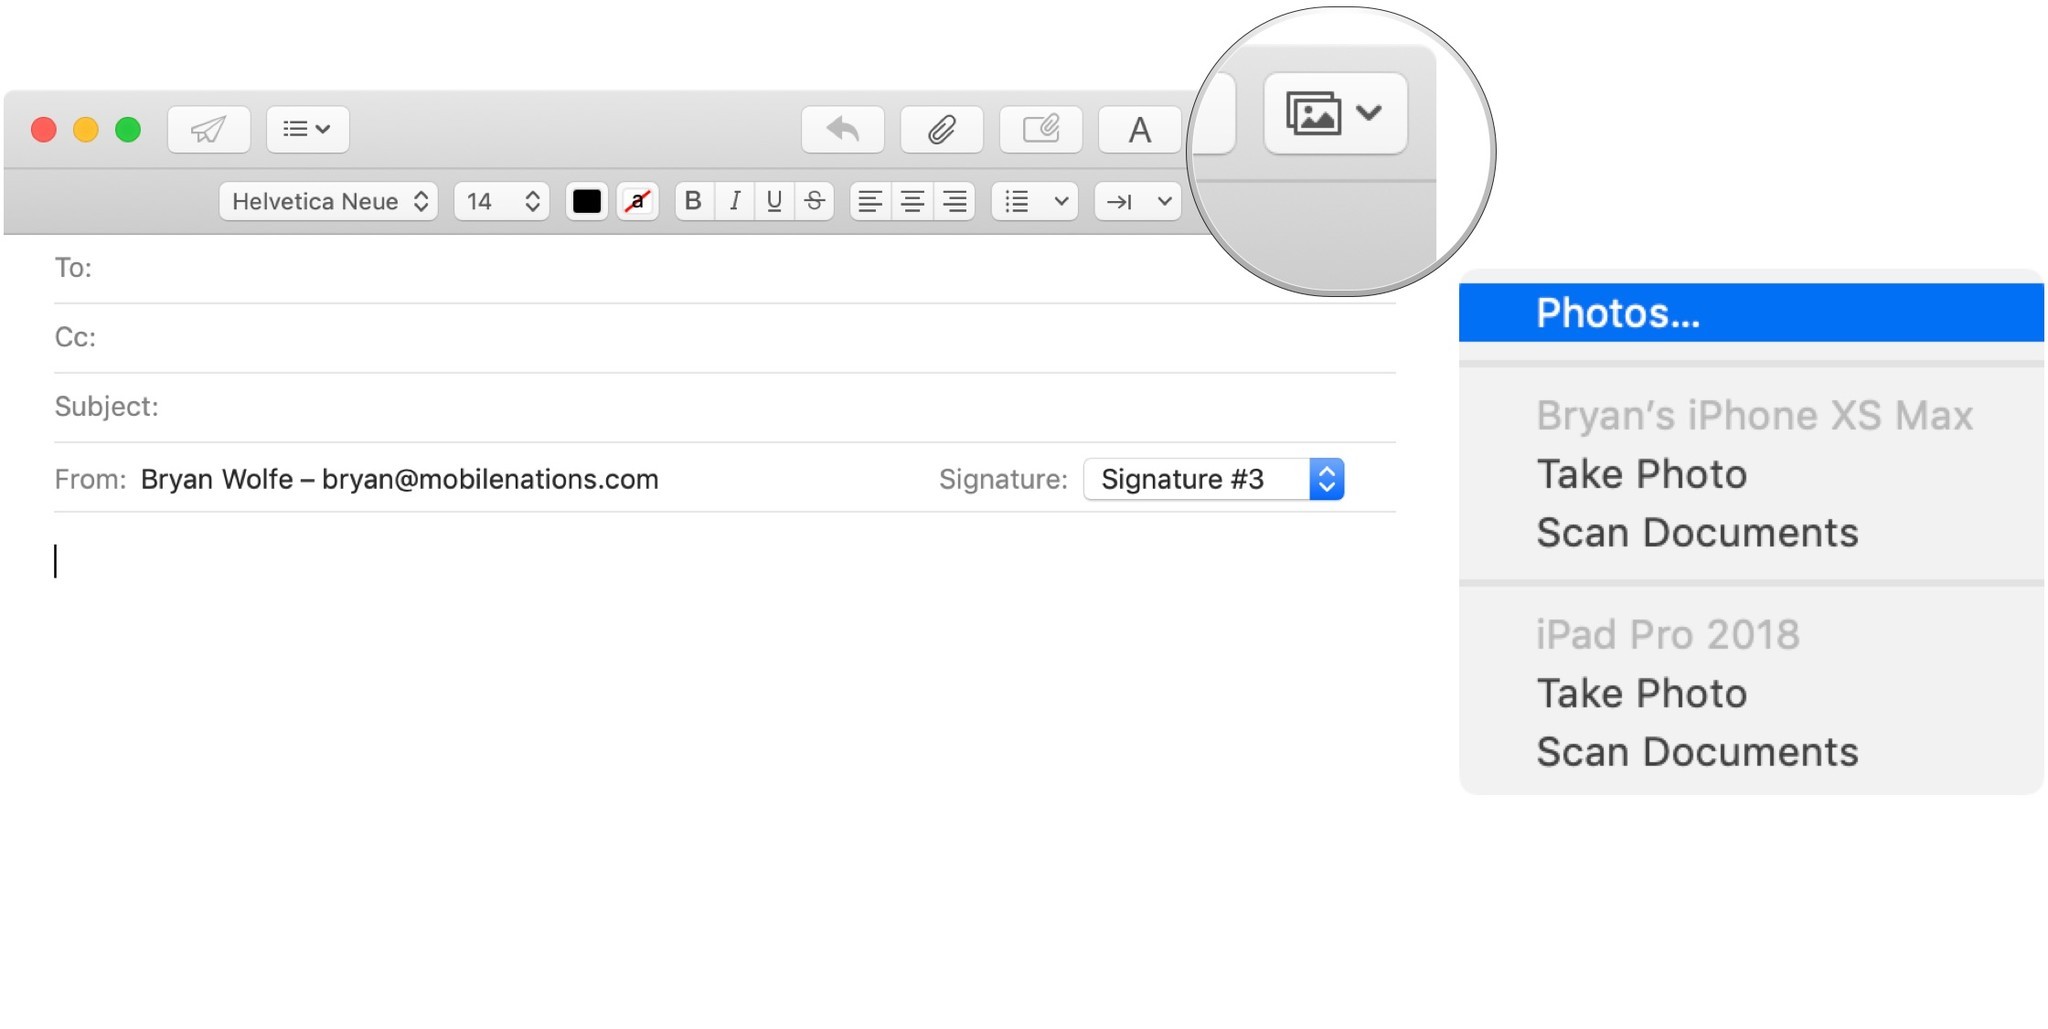
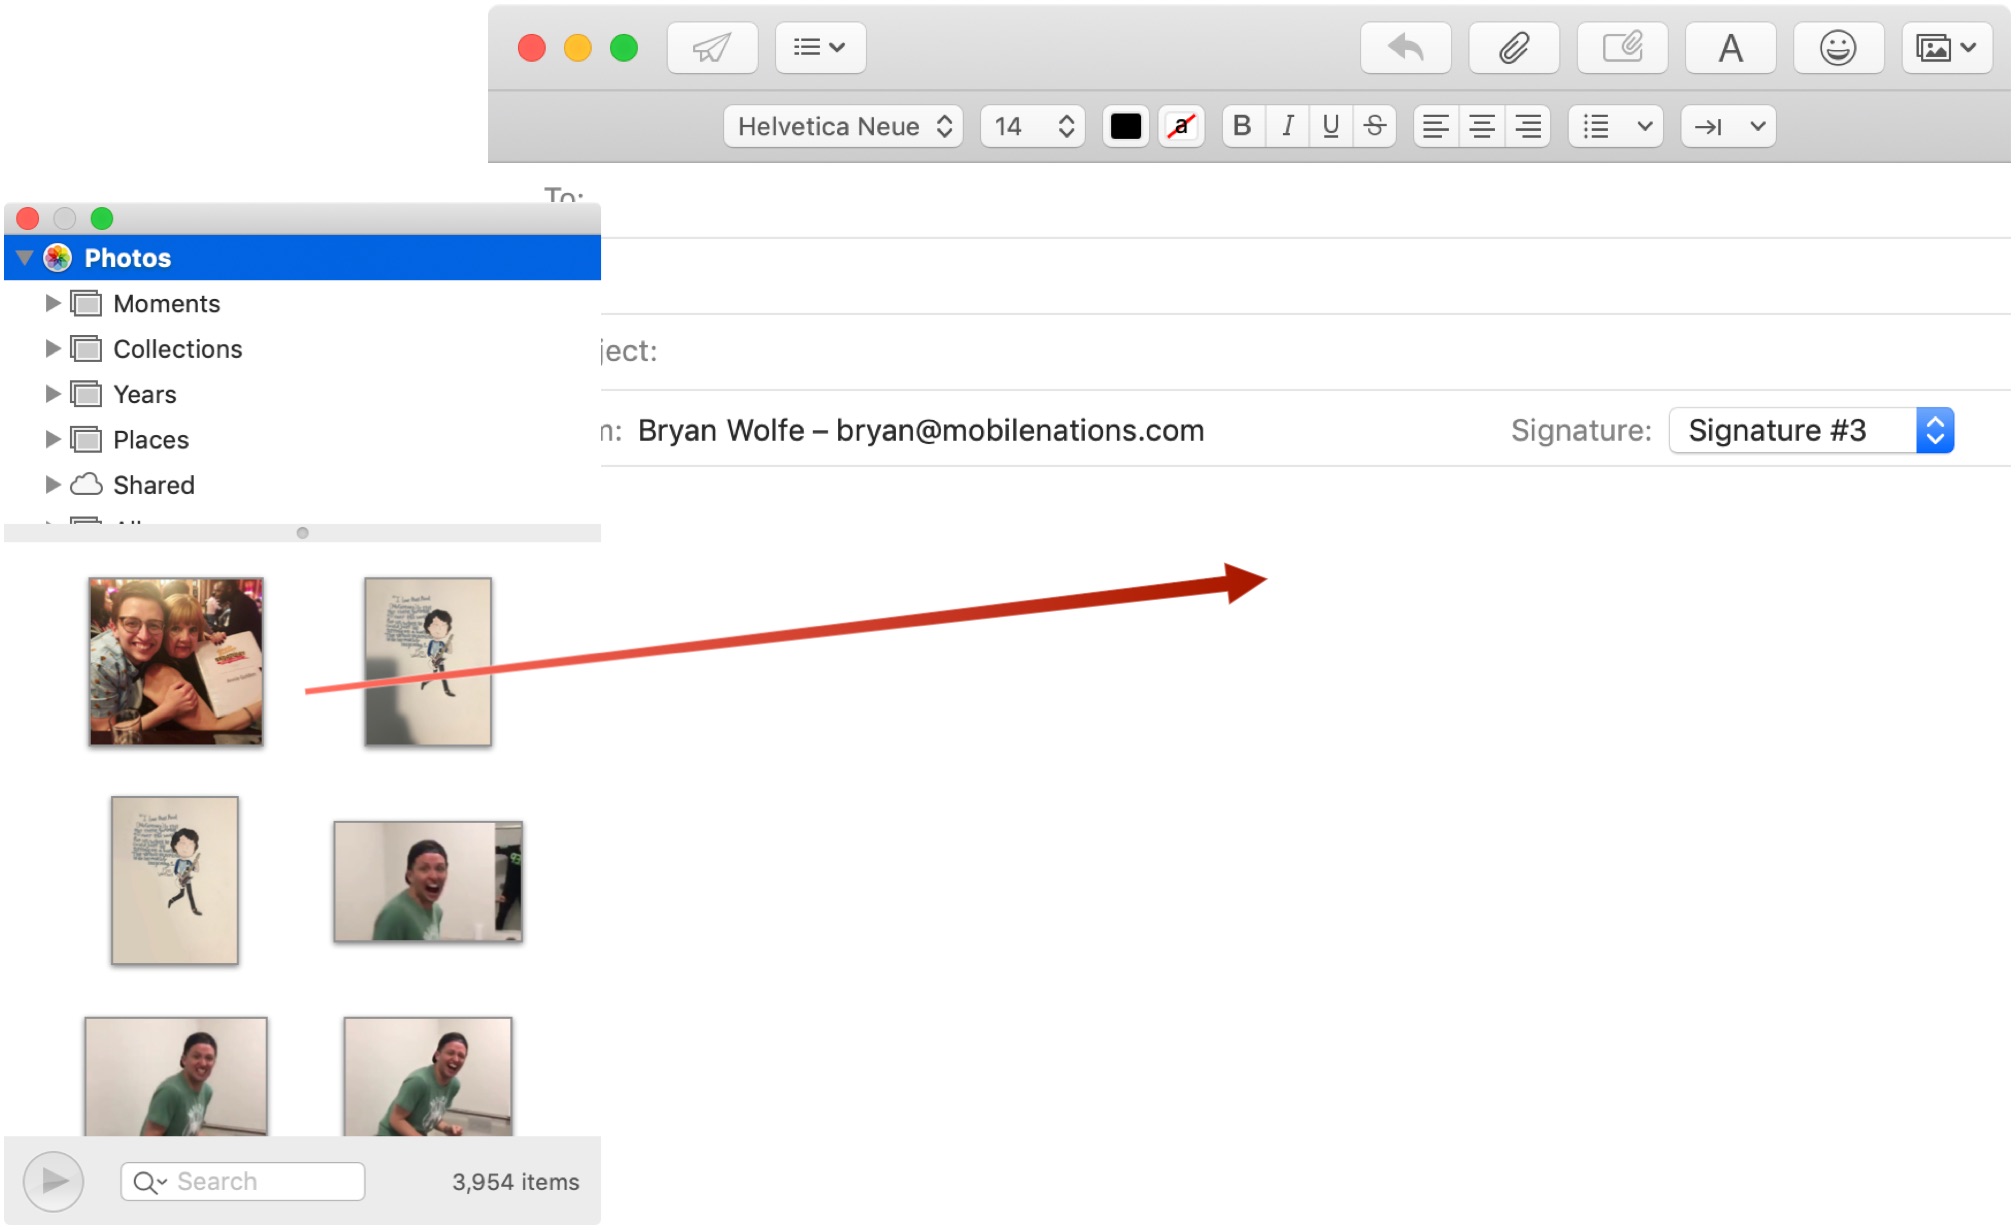
- Click the Photo Browser button at the top right, then click Photos.
- From here, find and drag your image(s) to your message.
Attach photos on your Mac from your iOS device
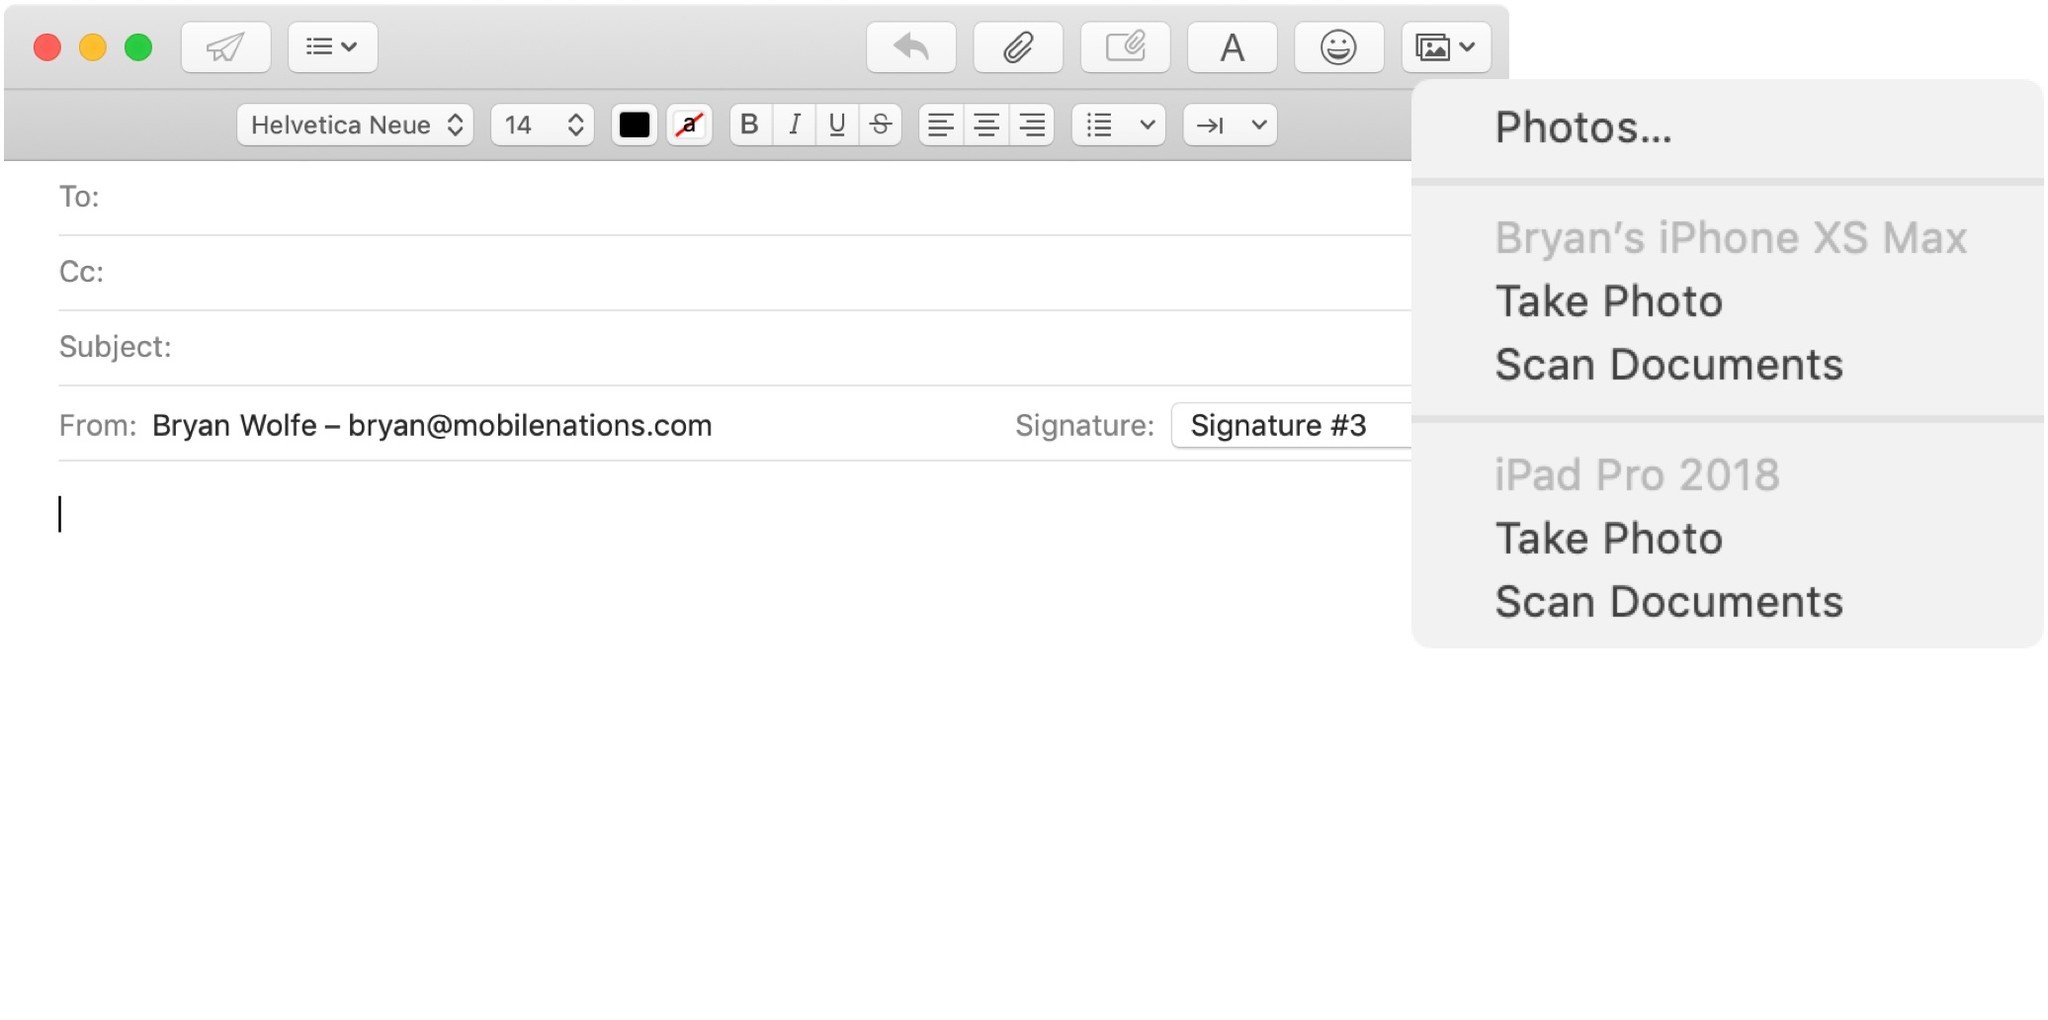
If your iPhone or iPad is using the same Wi-Fi connection as your Mac, you can use your mobile device to take or scan documents that are then sent in Mail:
- In the Mail app on your Mac, start a new message.
- Click on the Photo Brower button, then select Take Photo or Scan Documents.
- Follow the directions on your iOS device.
Move attachments to the end of your document
Ideally, you should save attachments to the bottom of your message. However, this isn't turned on by default.
- From anywhere in Mail, click on Edit from the toolbar.
- Choose Attachments > Always Insert Attachments at End of Message.
How to save photos or documents in Mail to your Mac
When you receive photos or other documents in Mail, you can save them to your Mac with ease. To do so:
Master your iPhone in minutes
iMore offers spot-on advice and guidance from our team of experts, with decades of Apple device experience to lean on. Learn more with iMore!
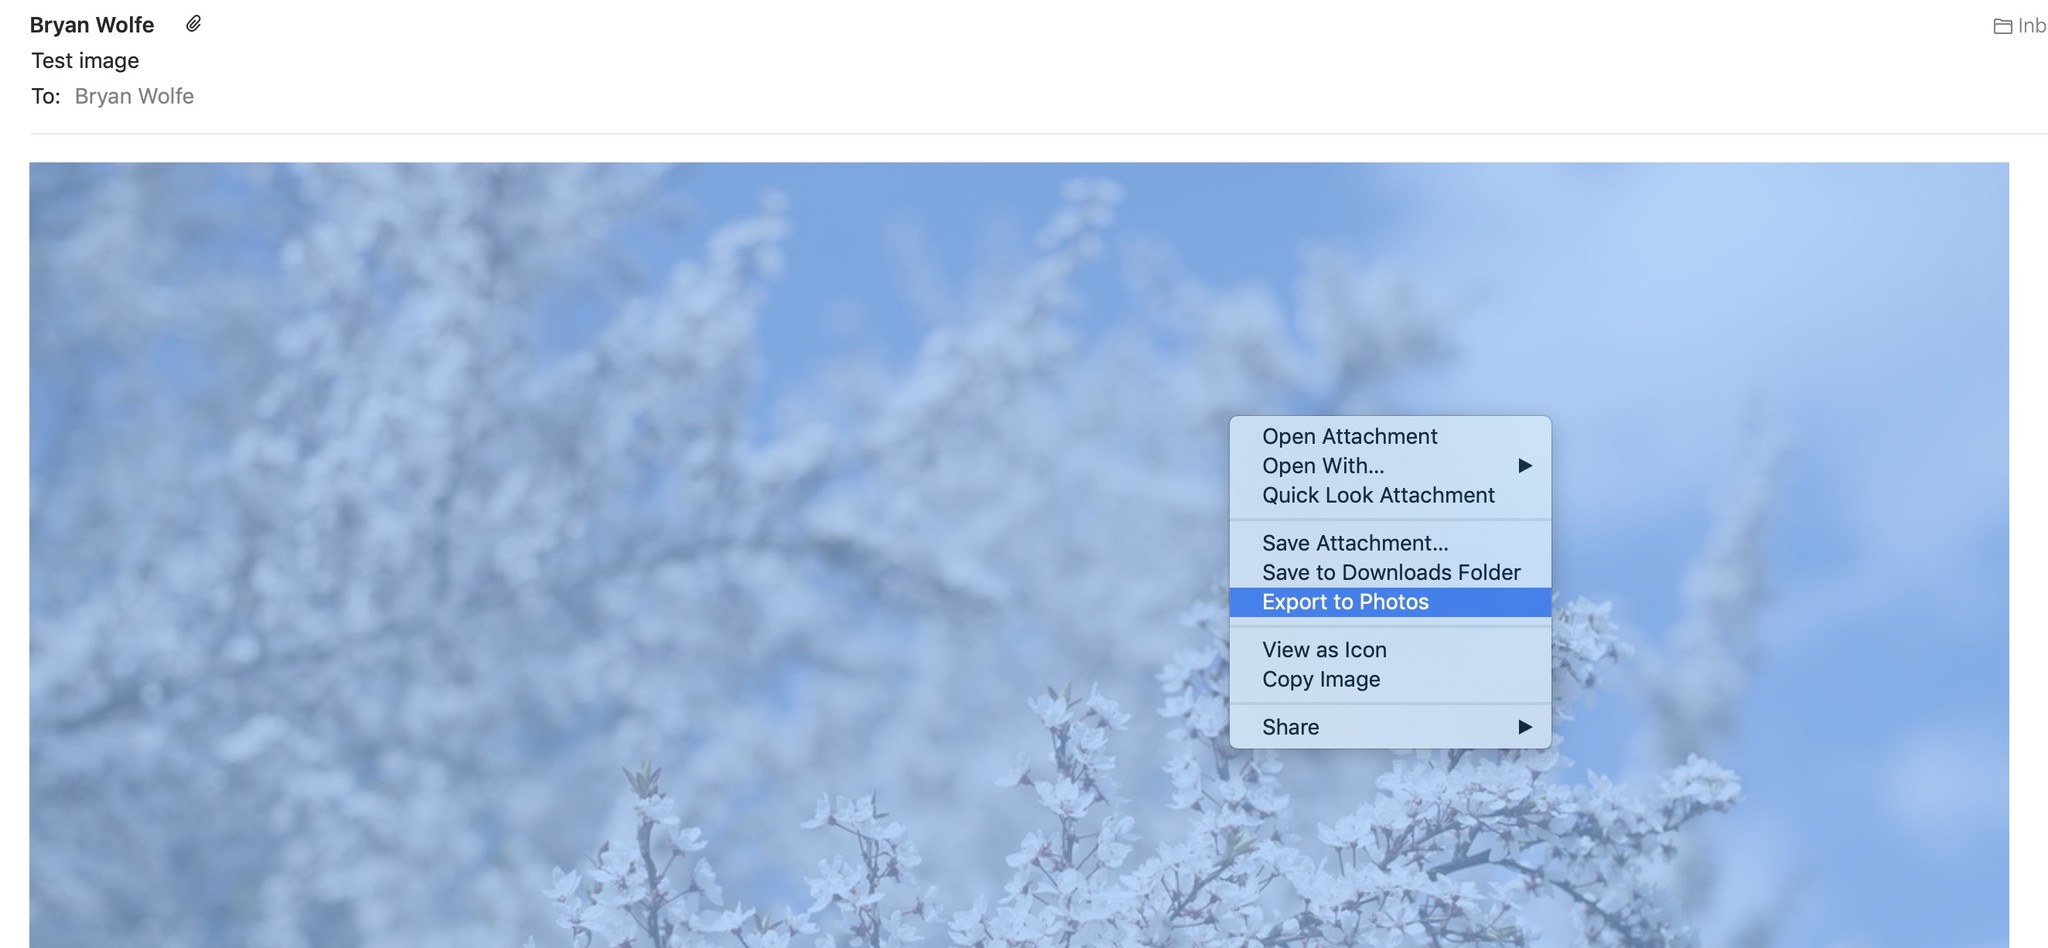
- Right click on the item you'd like to keep.
- Click Save Attachment to send a copy of your file to anywhere on the Mac. Another option is to select Save to Downloads Folder.
- If this is a photo, you can also Save to Photos app to save the image for use on the native Photos app.
Enhance your Mac with these solutions
Your computer could be even more useful with these add-ons.
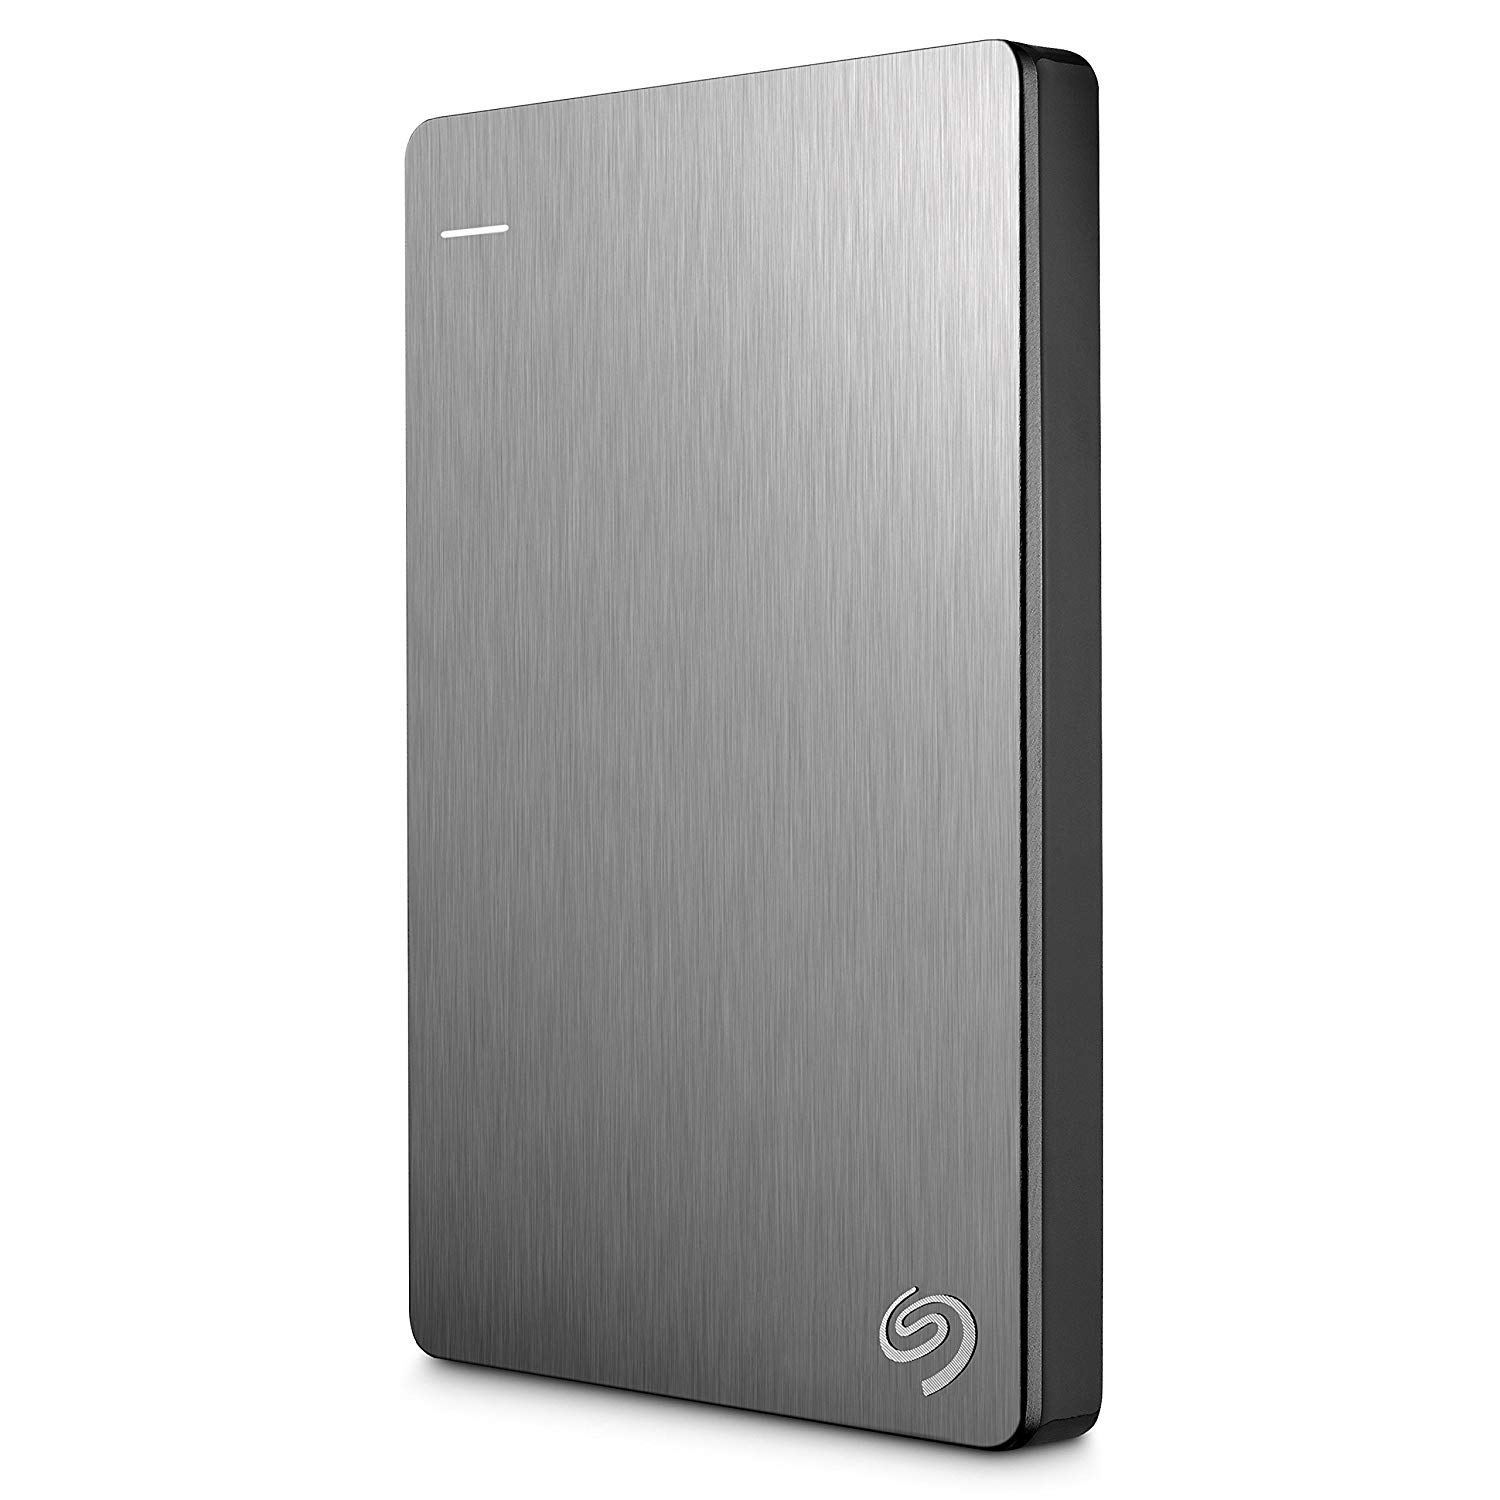
Seagate Backup Plus Slim 2TB ($70 at Amazon)
Seagate's Backup Plus Slim 2TB is a reliable external hard drive for everyone's needs. It's great for storing a lot of photos and videos, making it an excellent drive for your Photo Library.

iCloud Storage (Starting from $1 month)
Apple's iCloud storage is simple and reliable, especially for your iCloud Photo Library. Prices start at $0.99 a month for 50GB of space, or you can go for 200GB or 2TB for $3 and $10 a month, respectively.
Questions?
Let us know in the comments below!

Bryan M. Wolfe has written about technology for over a decade on various websites, including TechRadar, AppAdvice, and many more. Before this, he worked in the technology field across different industries, including healthcare and education. He’s currently iMore’s lead on all things Mac and macOS, although he also loves covering iPhone, iPad, and Apple Watch. Bryan enjoys watching his favorite sports teams, traveling, and driving around his teenage daughter to her latest stage show, audition, or school event in his spare time. He also keeps busy walking his black and white cocker spaniel, Izzy, and trying new coffees and liquid grapes.
