How to set a contact as a VIP in the Mail app on Mac
Marking certain contacts as VIPs in Mail is a great way to further sort your messages between those that belong in your general inbox, and those that are really important, coming from the people that matter most. On both Mac and iOS, you can open a special inbox that just shows emails from your VIP contacts.
But how do you add a contact as a VIP in Mail on your Mac? Well, the process is very similar to the one on iOS, and involves just a few clicks in Mail.app to set up.
How to set a contact as a VIP in Mail on your Mac
- Open Mail from your Dock or Application folder.
- Click on an email from the person that you want to mark as a VIP.
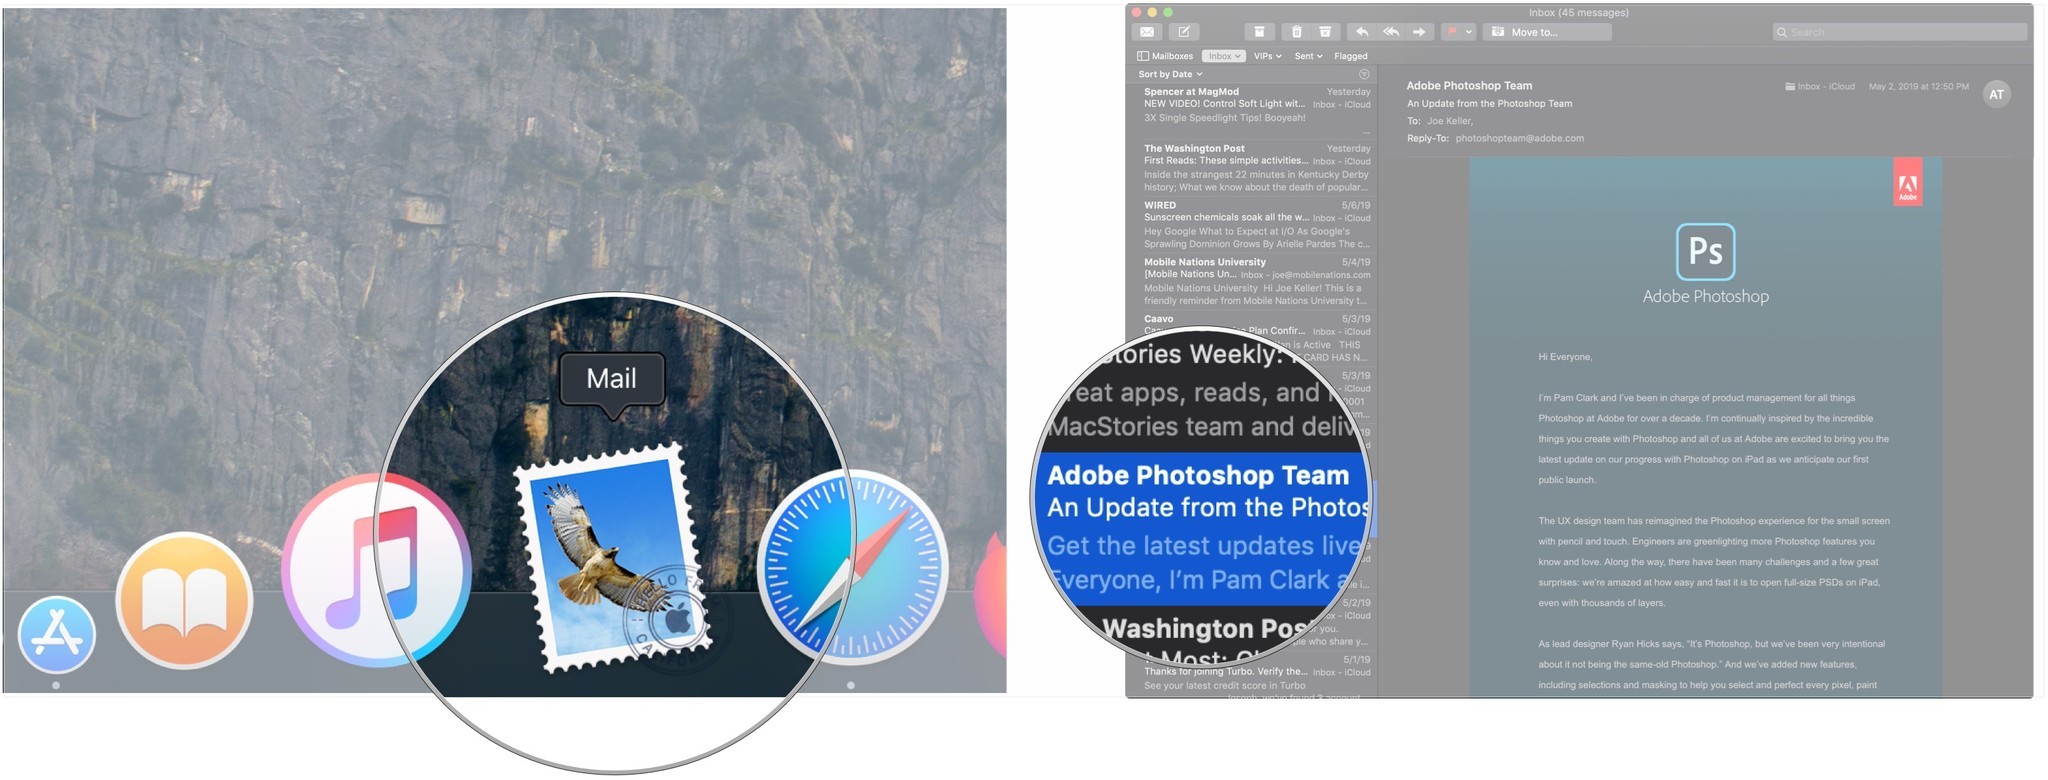
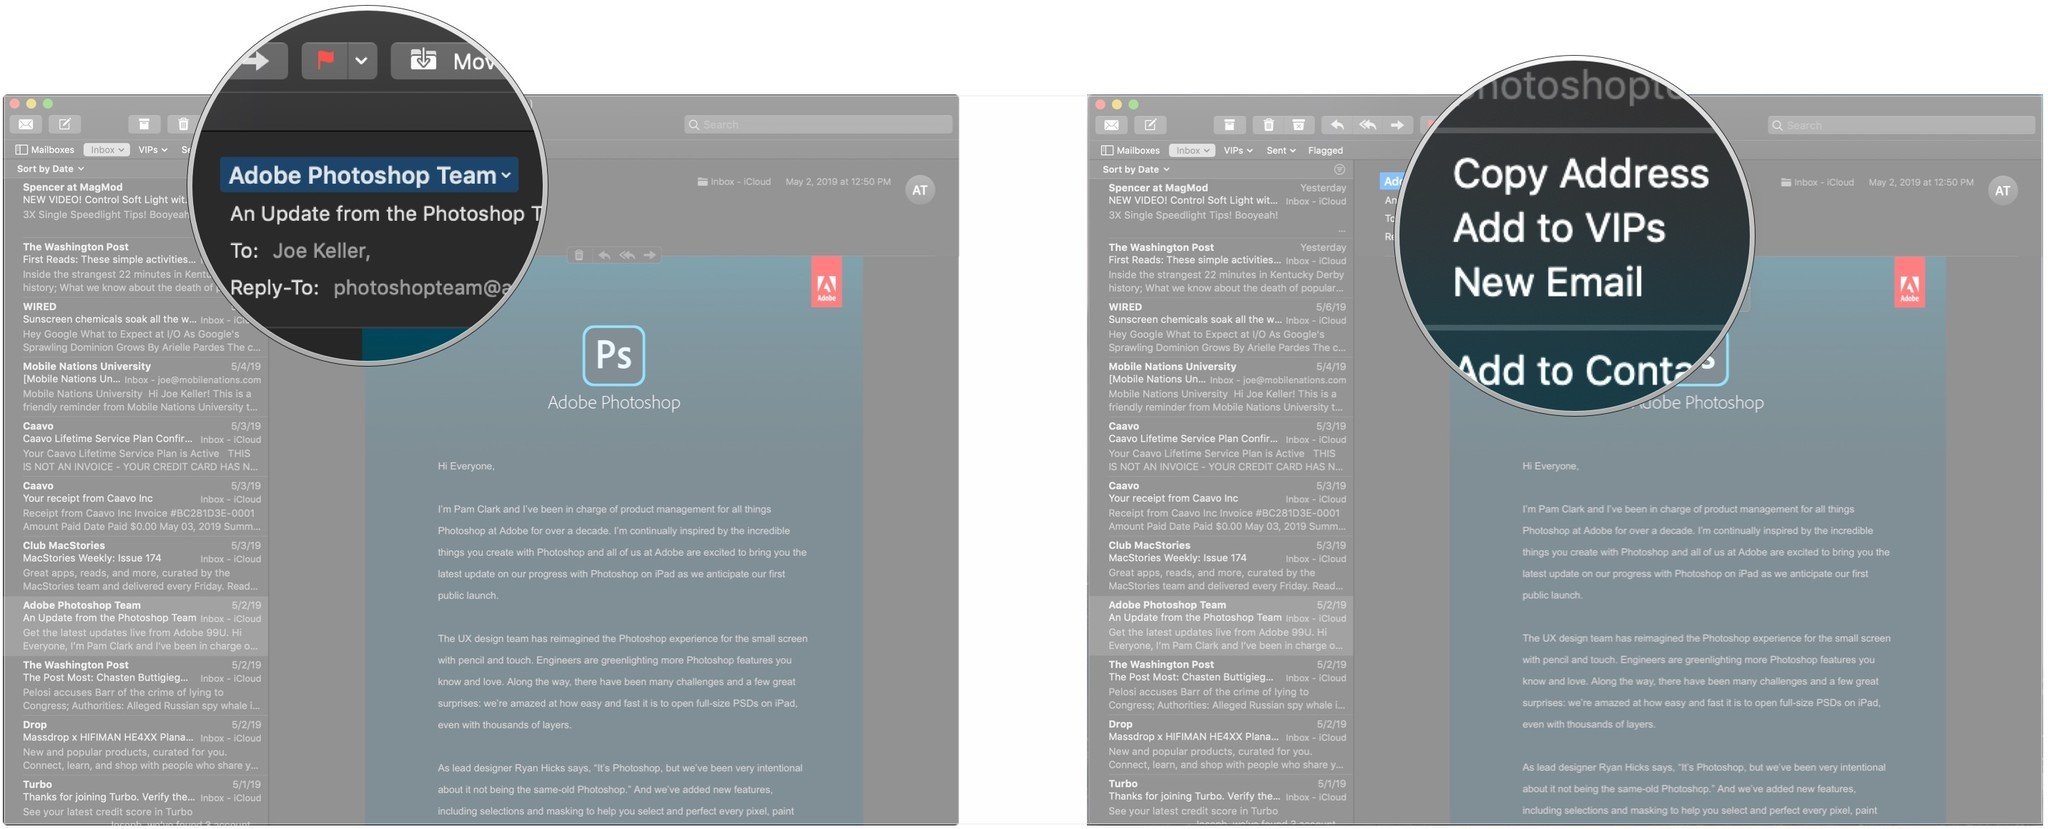
- Click on the arrow that appears when you hover over the contact's name in the From: field.
- Click Add to VIPs.
And that's it. That contact's emails will now appear in your VIP folder, and will be subject to all VIP-related notification settings on your Mac. To remove someone from your VIP list, simply follow these same steps, only you'll click "Remove from VIPs".
Great Mac Accessories
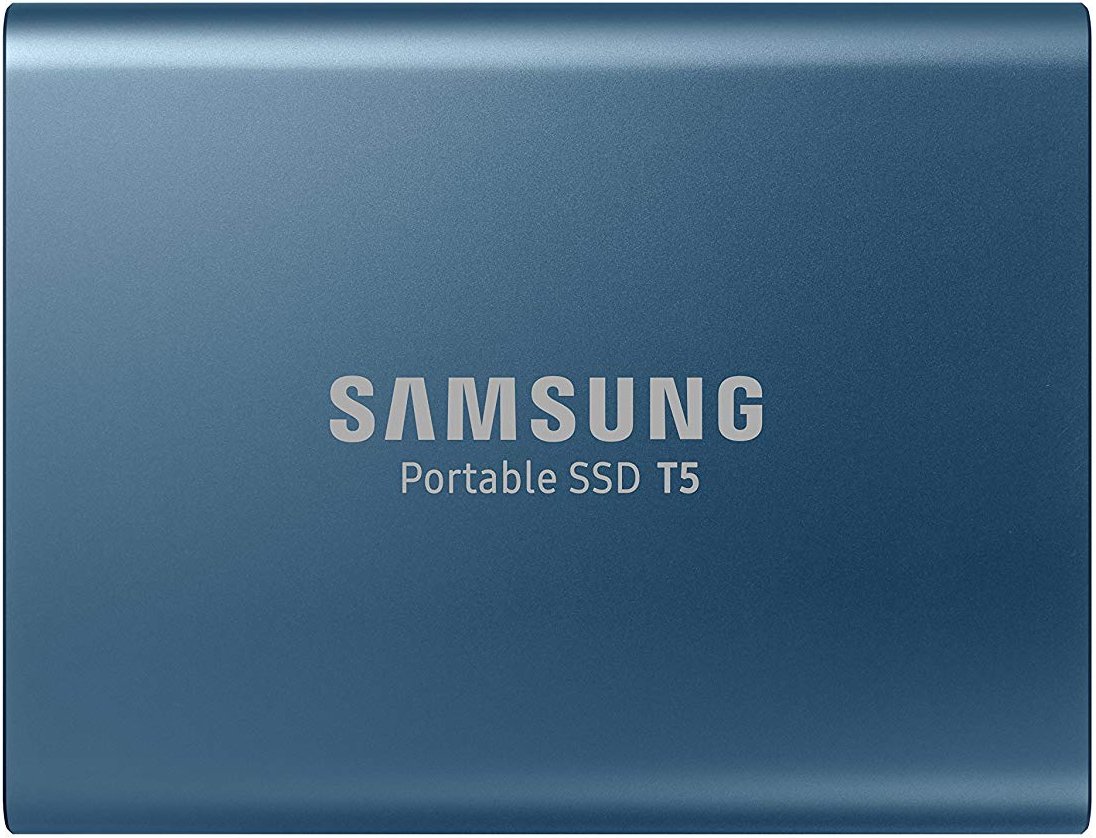
Samsung T5 Portable SSD ($88 at Amazon)
This tiny, speedy solid state drive is the perfect way to expand your Mac's storage.
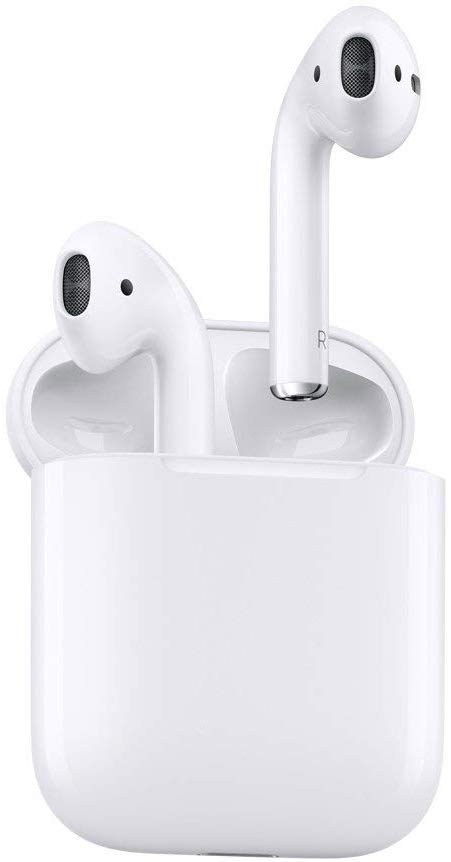
Apple AirPods ($160 at Apple)
These earphones will connect easily and wirelessly to your Mac, and can quickly switch between your various Apple devices.
Master your iPhone in minutes
iMore offers spot-on advice and guidance from our team of experts, with decades of Apple device experience to lean on. Learn more with iMore!
Joseph Keller is the former Editor in Chief of iMore. An Apple user for almost 20 years, he spends his time learning the ins and outs of iOS and macOS, always finding ways of getting the most out of his iPhone, iPad, Apple Watch, and Mac.

