How to set up custom email signatures in the Mail app on Mac
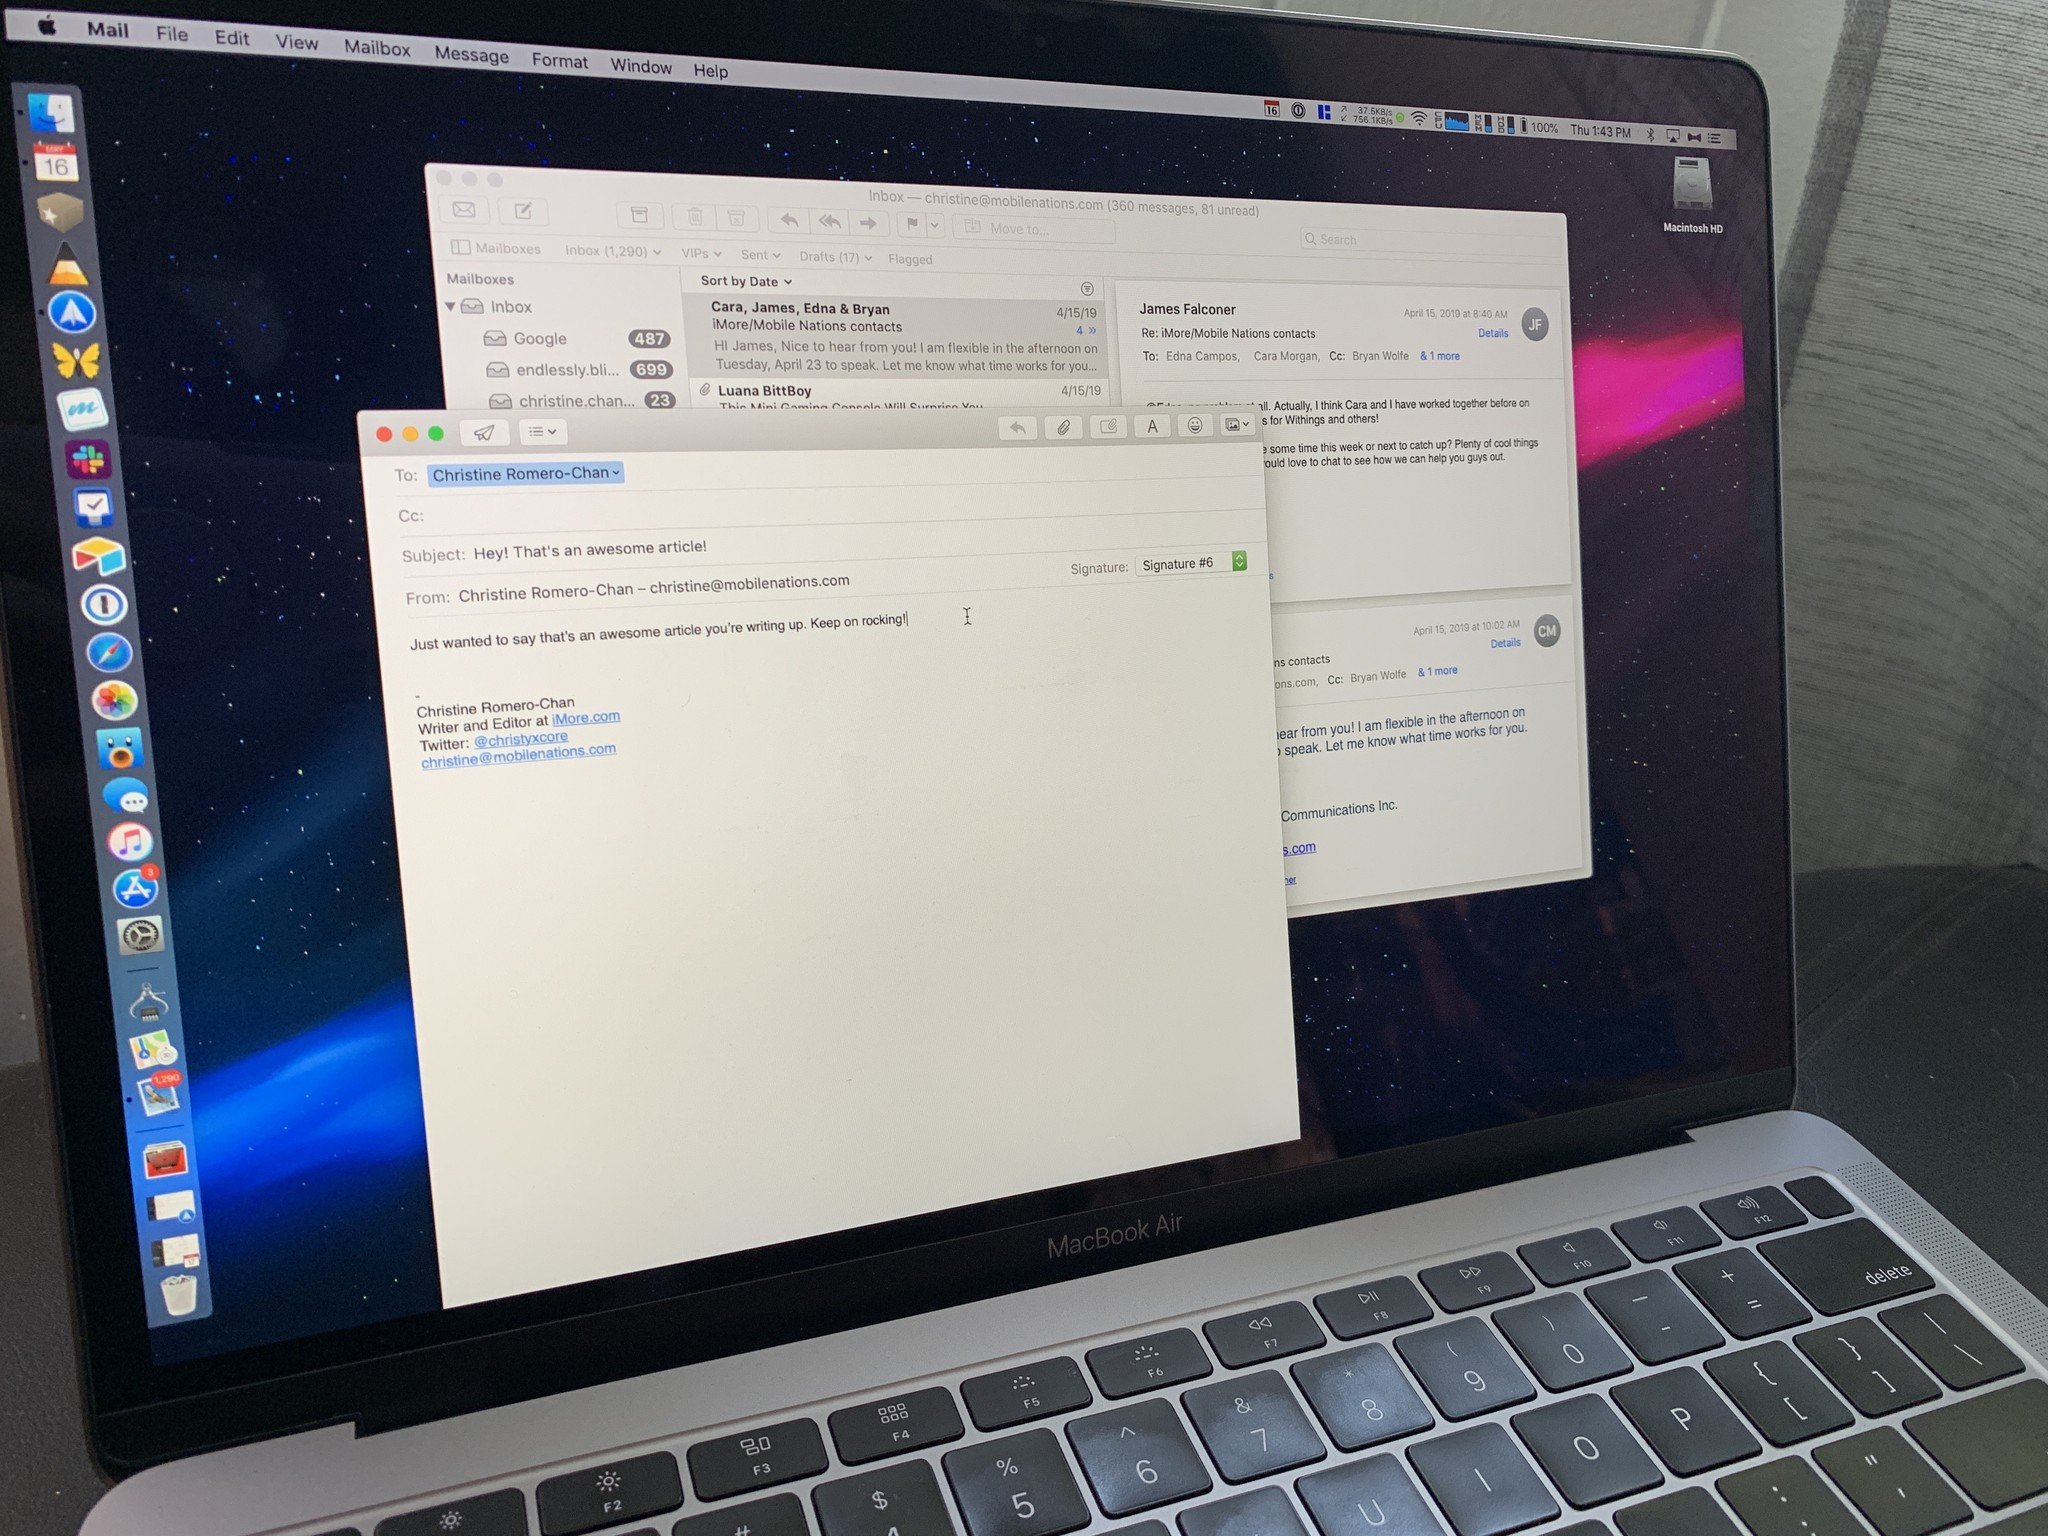
Whether we like it or not, email is an important necessity for us in terms of communicating with others, especially for work and other professional settings. A lot of us probably also have multiple email accounts (one personal, one work, etc.), and one way to help differentiate what email address we're sending mail from is to have an email signature. Setting one up is easy in the Mail app on Mac, and we're going to show you everything you need to know in this guide.
- How to create a signature
- How to delete a signature
- How to automatically add a signature to emails
- How to add signatures to emails yourself
- How to remove a signature from emails
How to create a signature
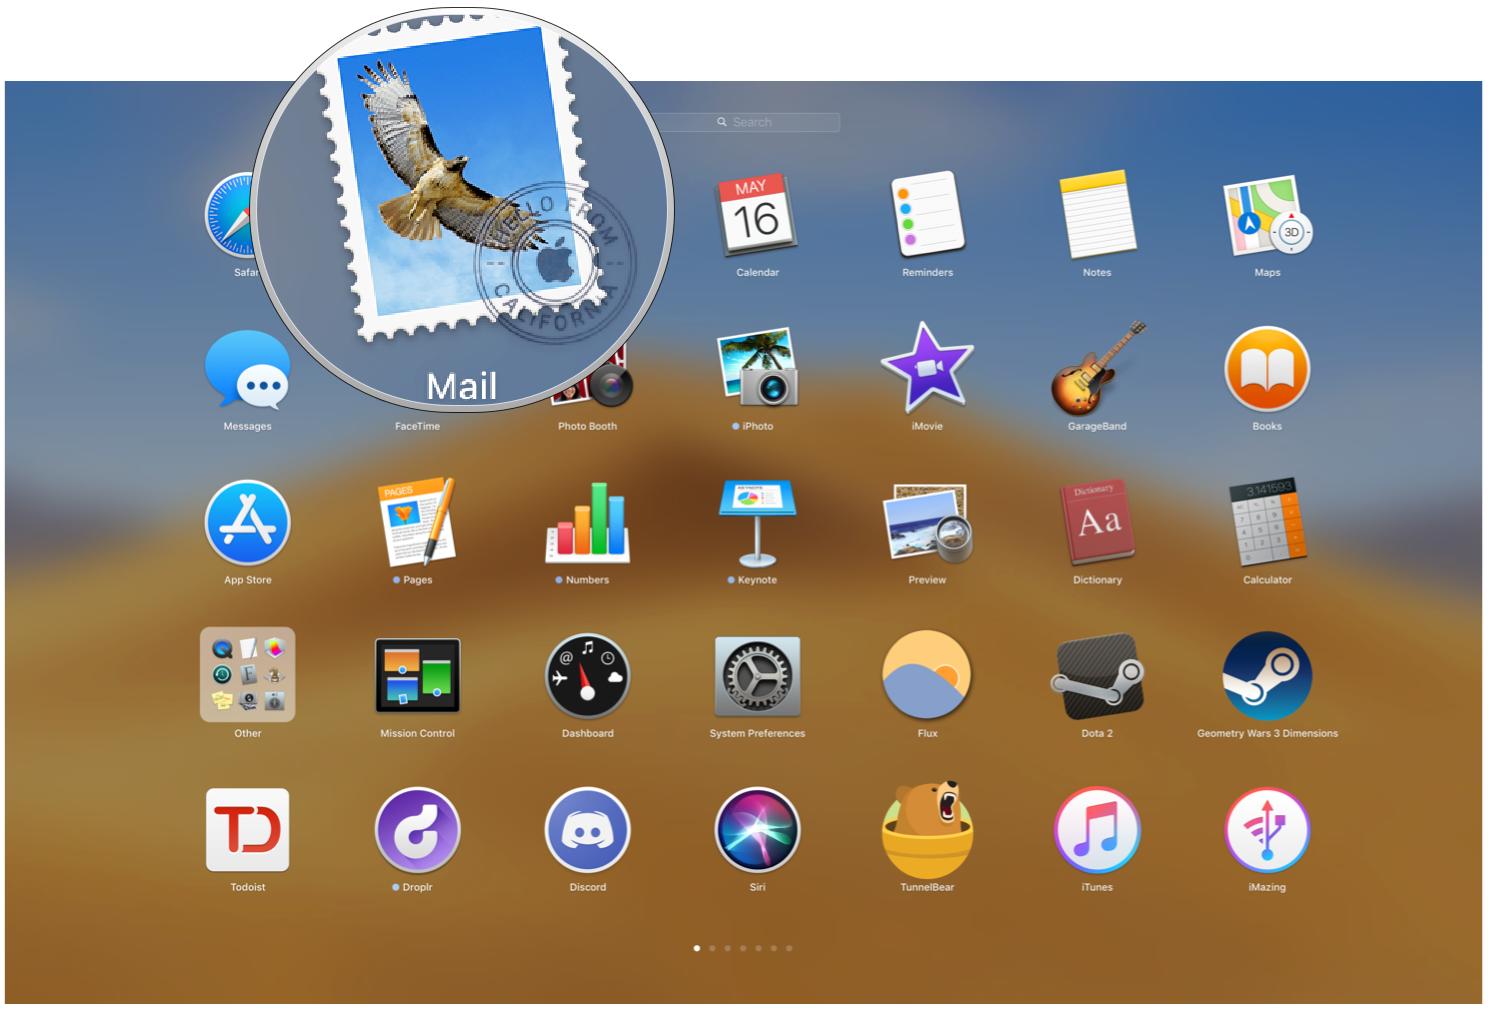
- Launch the Mail app on your Mac.
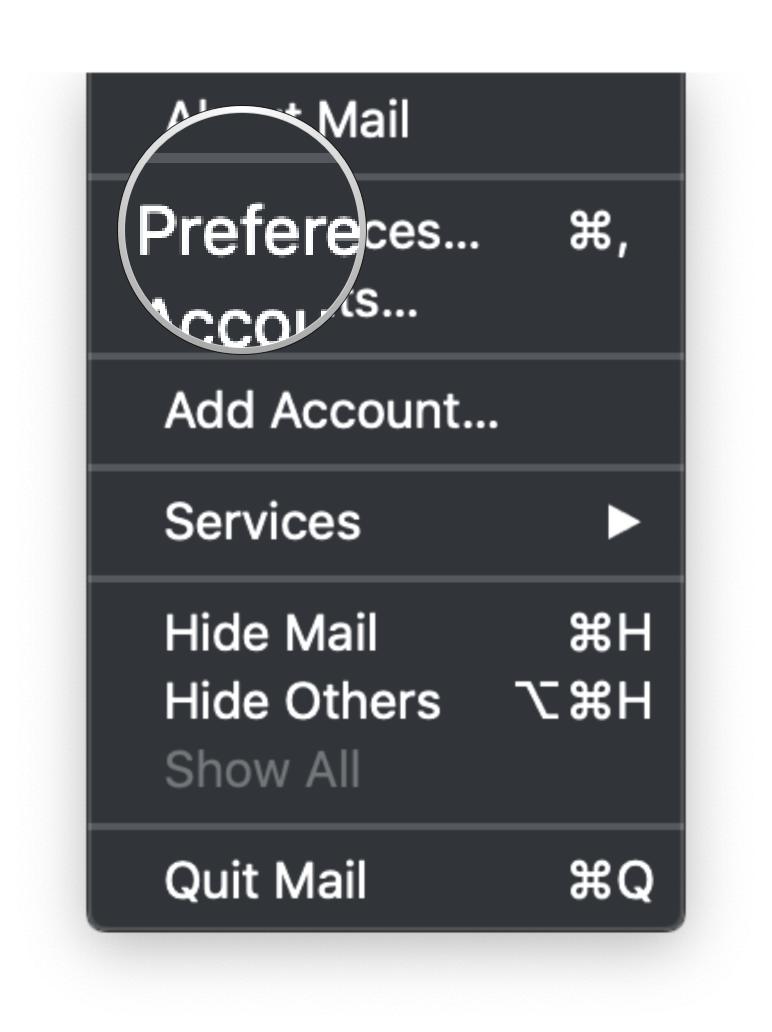
- In the Menu Bar, click Mail.
- Select Preferences (or press ⌘, on the keyboard).
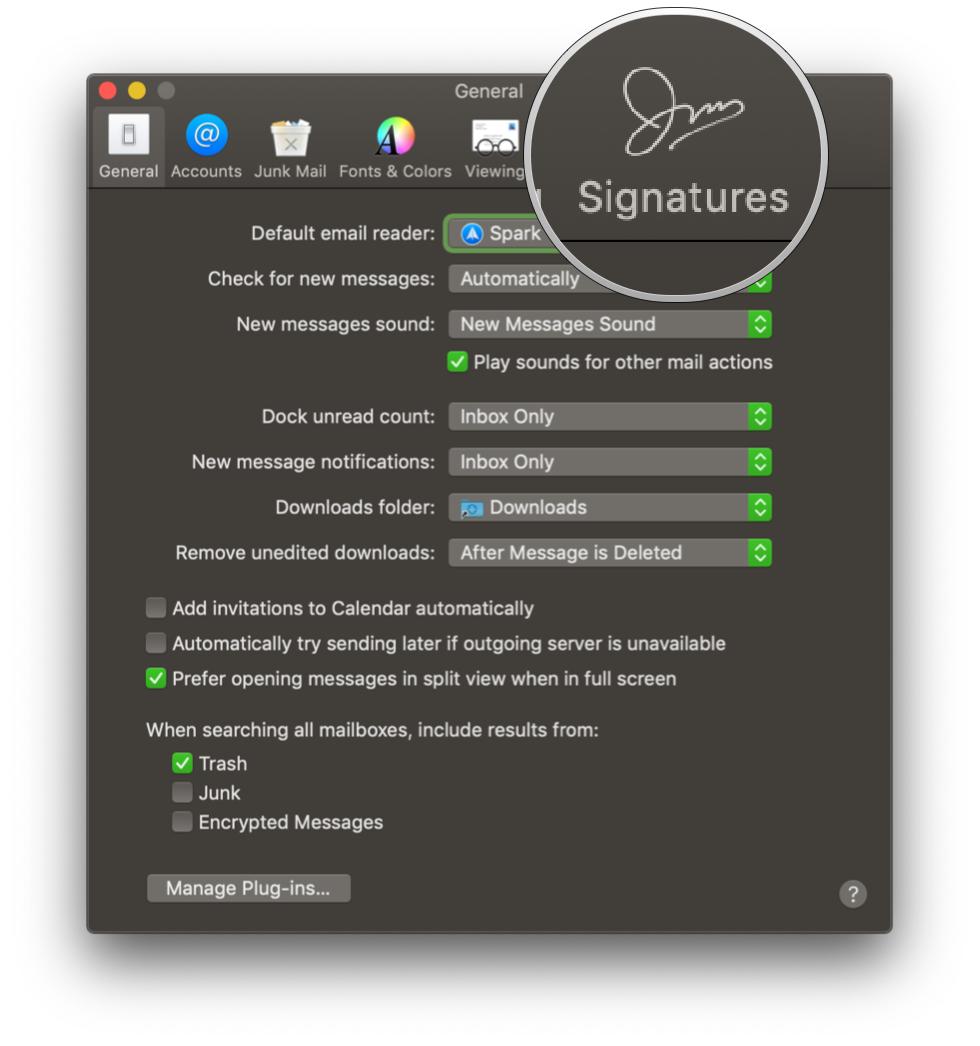
- Click the Signatures tab.
- In the left column, select the email account you want to create a signature for.
- Click the + button underneath the middle column.
- Give a name for the signature that you're about to create.
- This name will appear in the Signature pop up menu when you write a message.
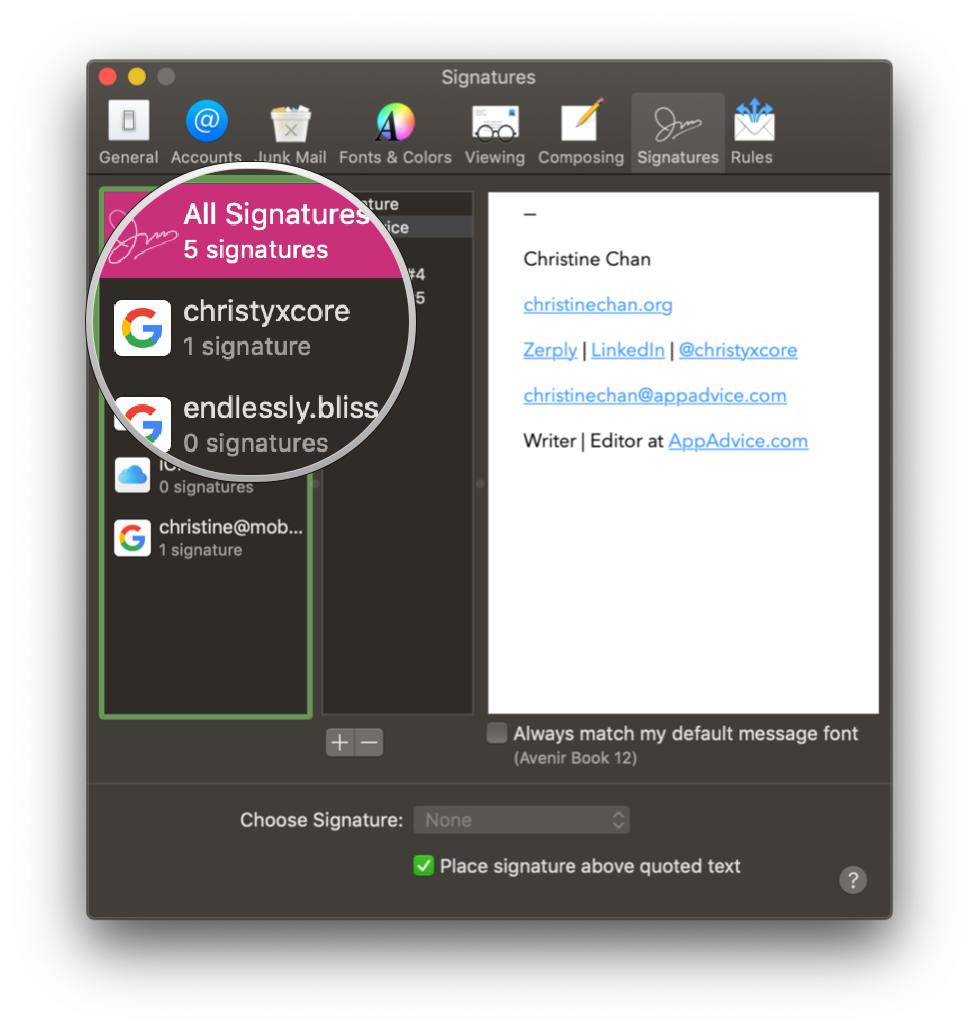
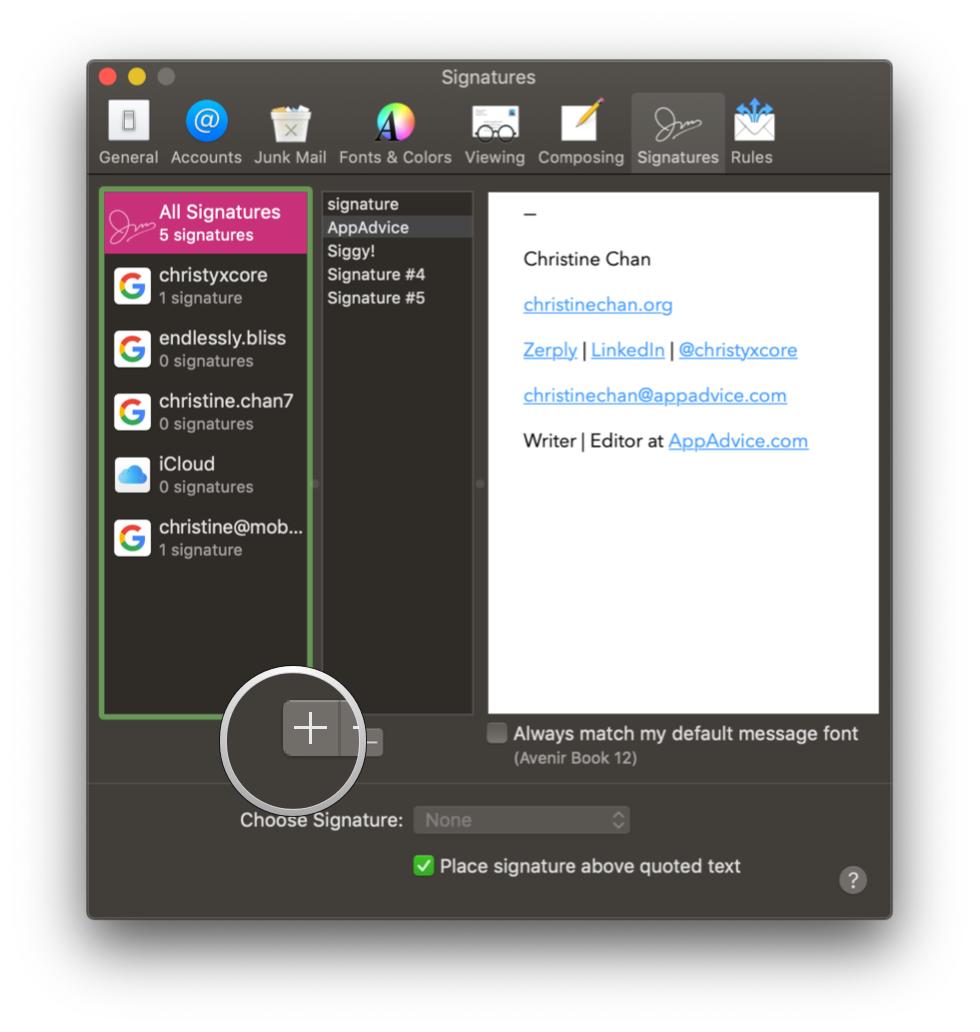
- In the right column (the preview area), you can create your signature.
- You can use the Edit and Format menu items in Mail to change things like Font or Layout, turn text into links, and check spelling.
- Images can be added by dragging-and-dropping into the Preview area.
- You can choose to have your signature match the default message font.
- You can choose to have your signature appear above quoted text when replying or forwarding messages by checking the box.
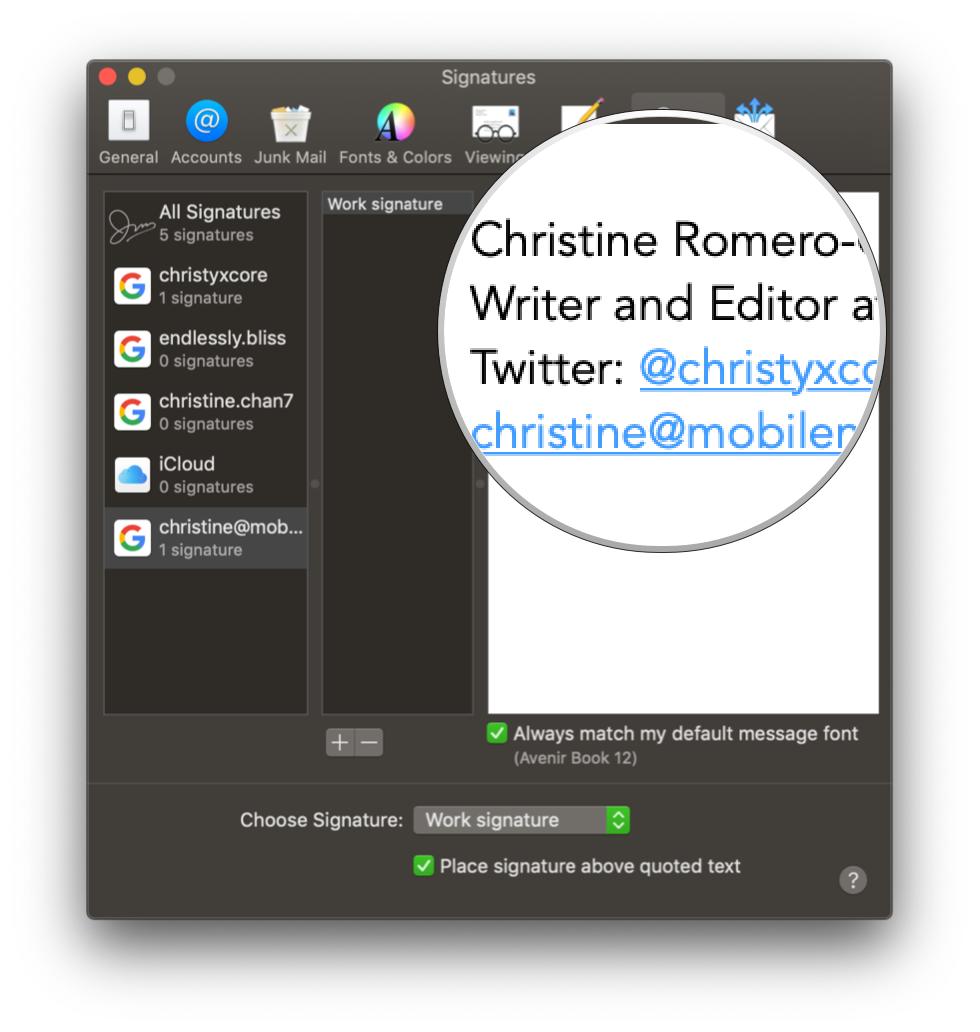
How to delete a signature
- Launch the Mail app on your Mac.
- In the Menu Bar, click Mail.
- Select Preferences (or press ⌘, on the keyboard).
- Click the Signatures tab.


- In the left column, select the email account that your signature is in, or check All Signatures.
- Click on the signature in the middle column that you want to delete.
- Click on the Remove (-) button underneath the middle column.
- Confirm that you want to delete the signature.

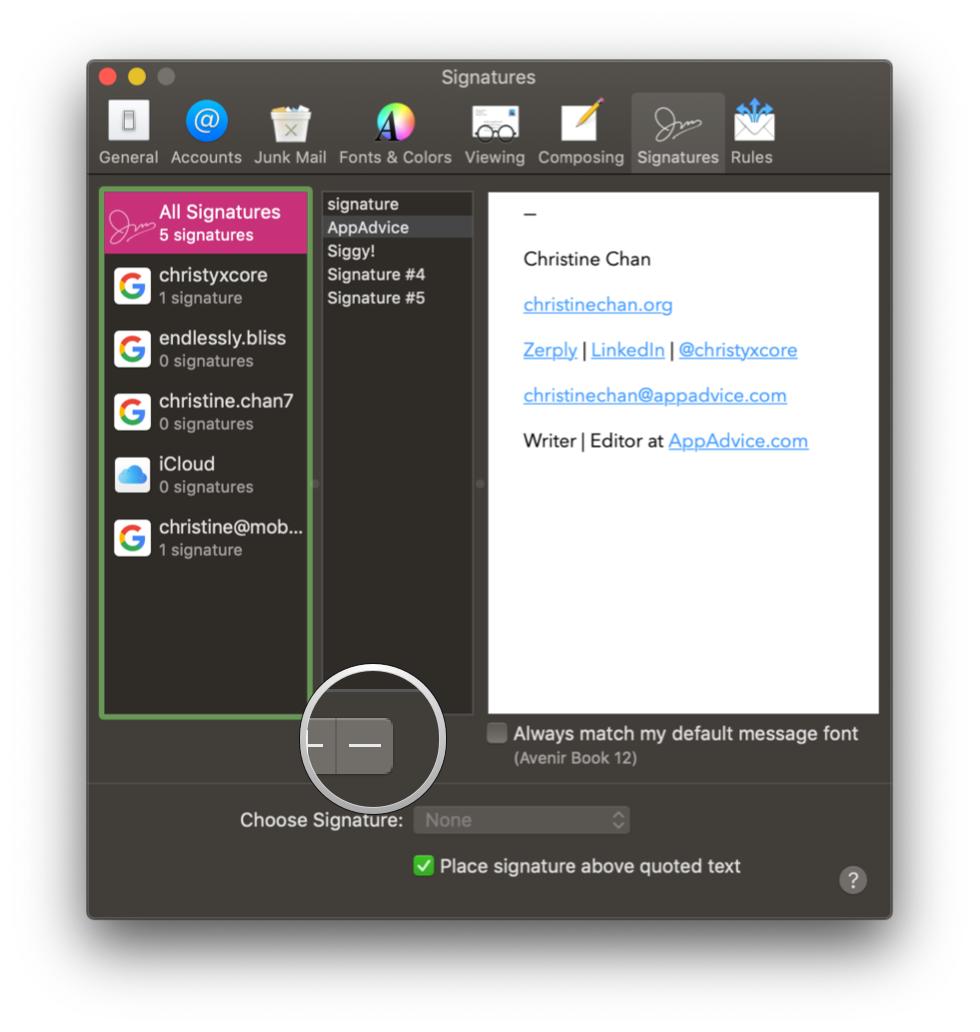
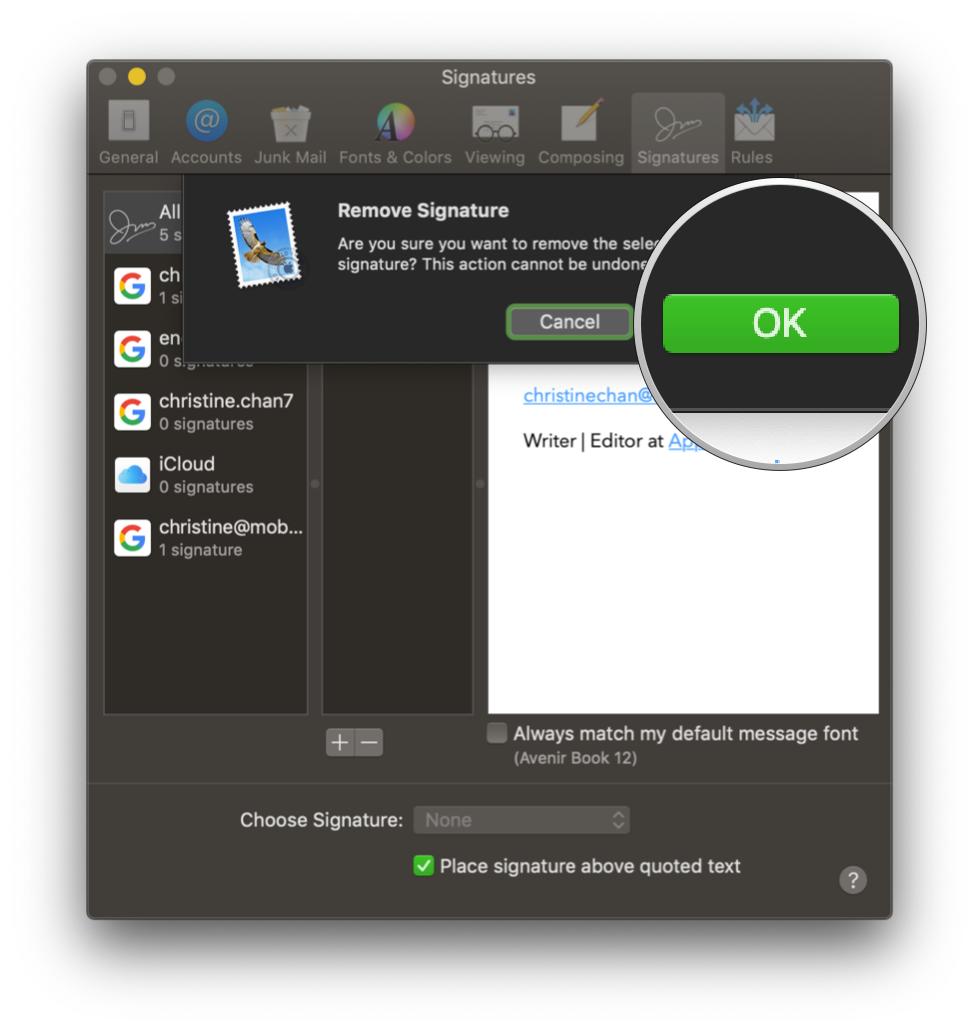
If you were in All Signatures, the deleted signature is removed from all email accounts that were using it.
How to automatically add a signature to emails
- Launch the Mail app on your Mac.
- In the Menu Bar, click Mail.
- Select Preferences (or press ⌘, on the keyboard).
- Click the Signatures tab.


- In the left column, select an email account.
- Click in the Choose Signature drop down menu at the bottom of the Signature Preferences.
- Select the name of the signature that you want to use.
- There is also the option for Random or Sequential Order if you have several signatures to rotate between.

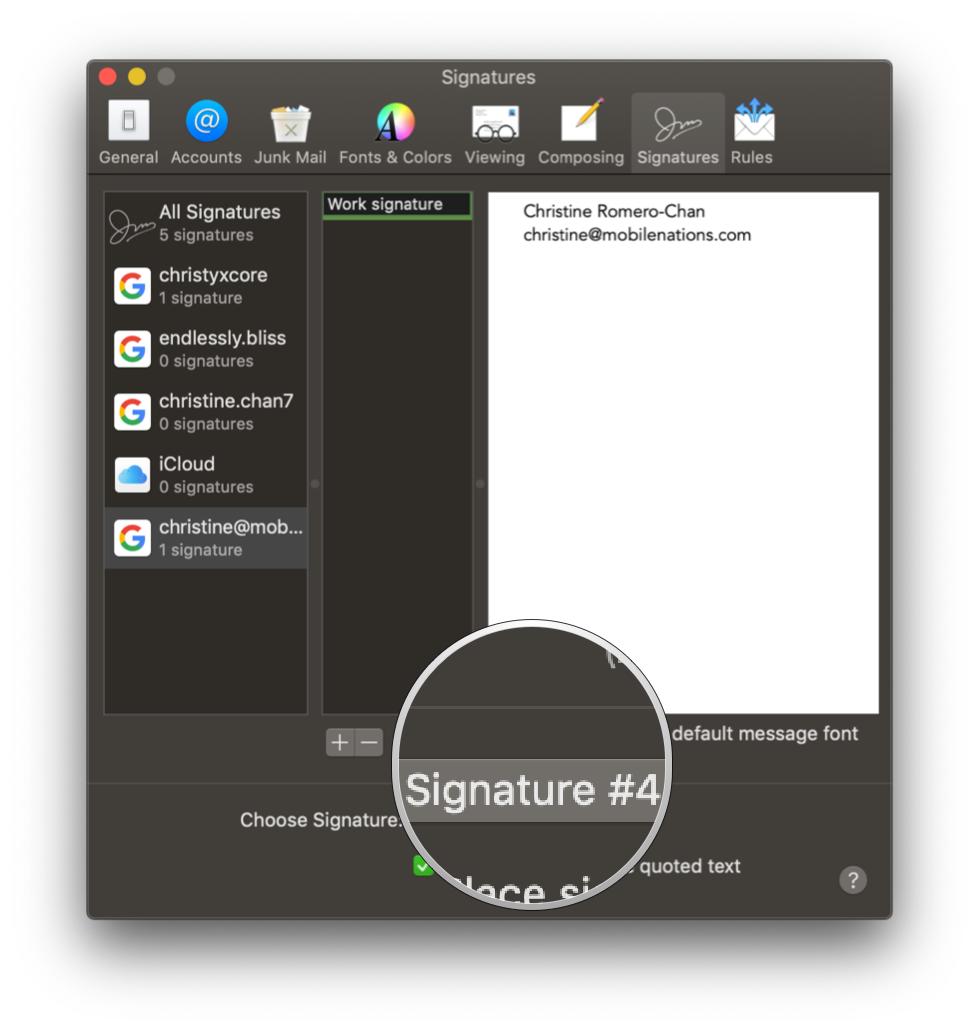
If you change your mind later and don't want to automatically add a signature, just select None from the Choose Signature drop-down menu.
How to add signatures to emails yourself
- Launch the Mail app on your Mac.
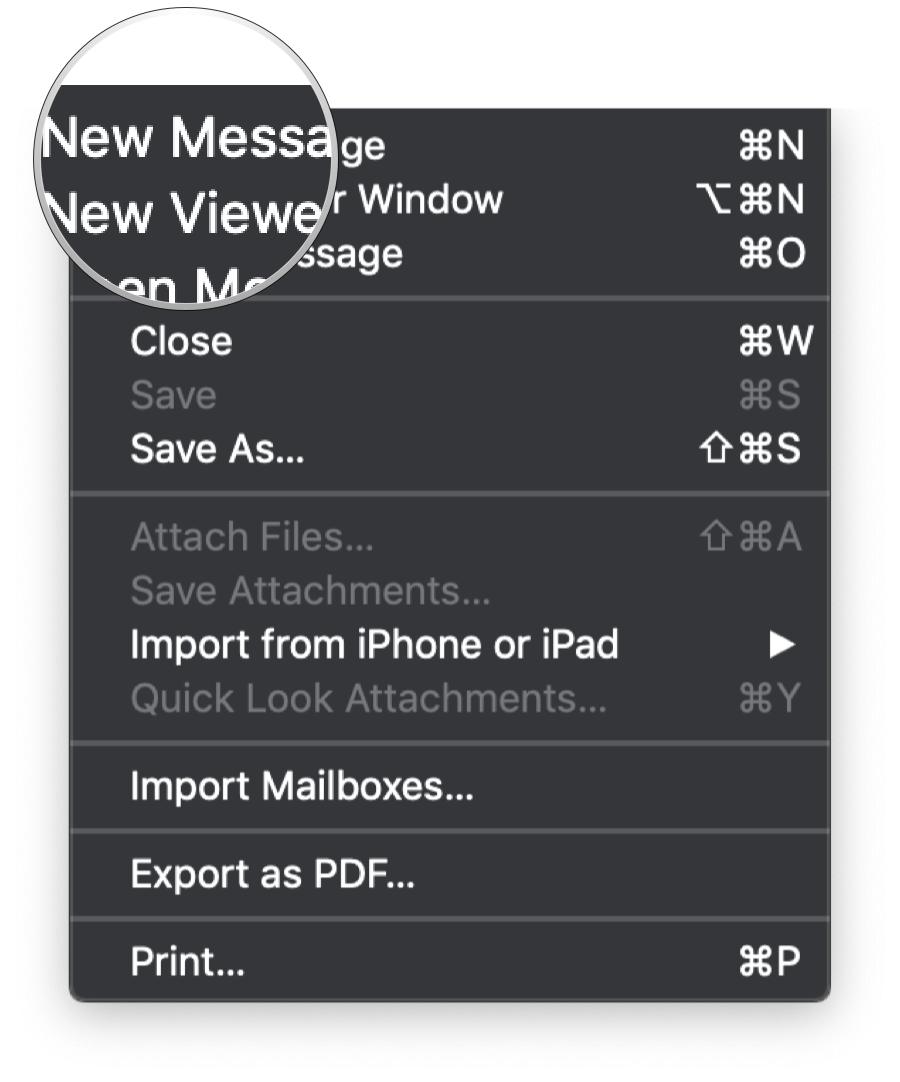
- Click on the Compose button or press ⌘N on your keyboard.
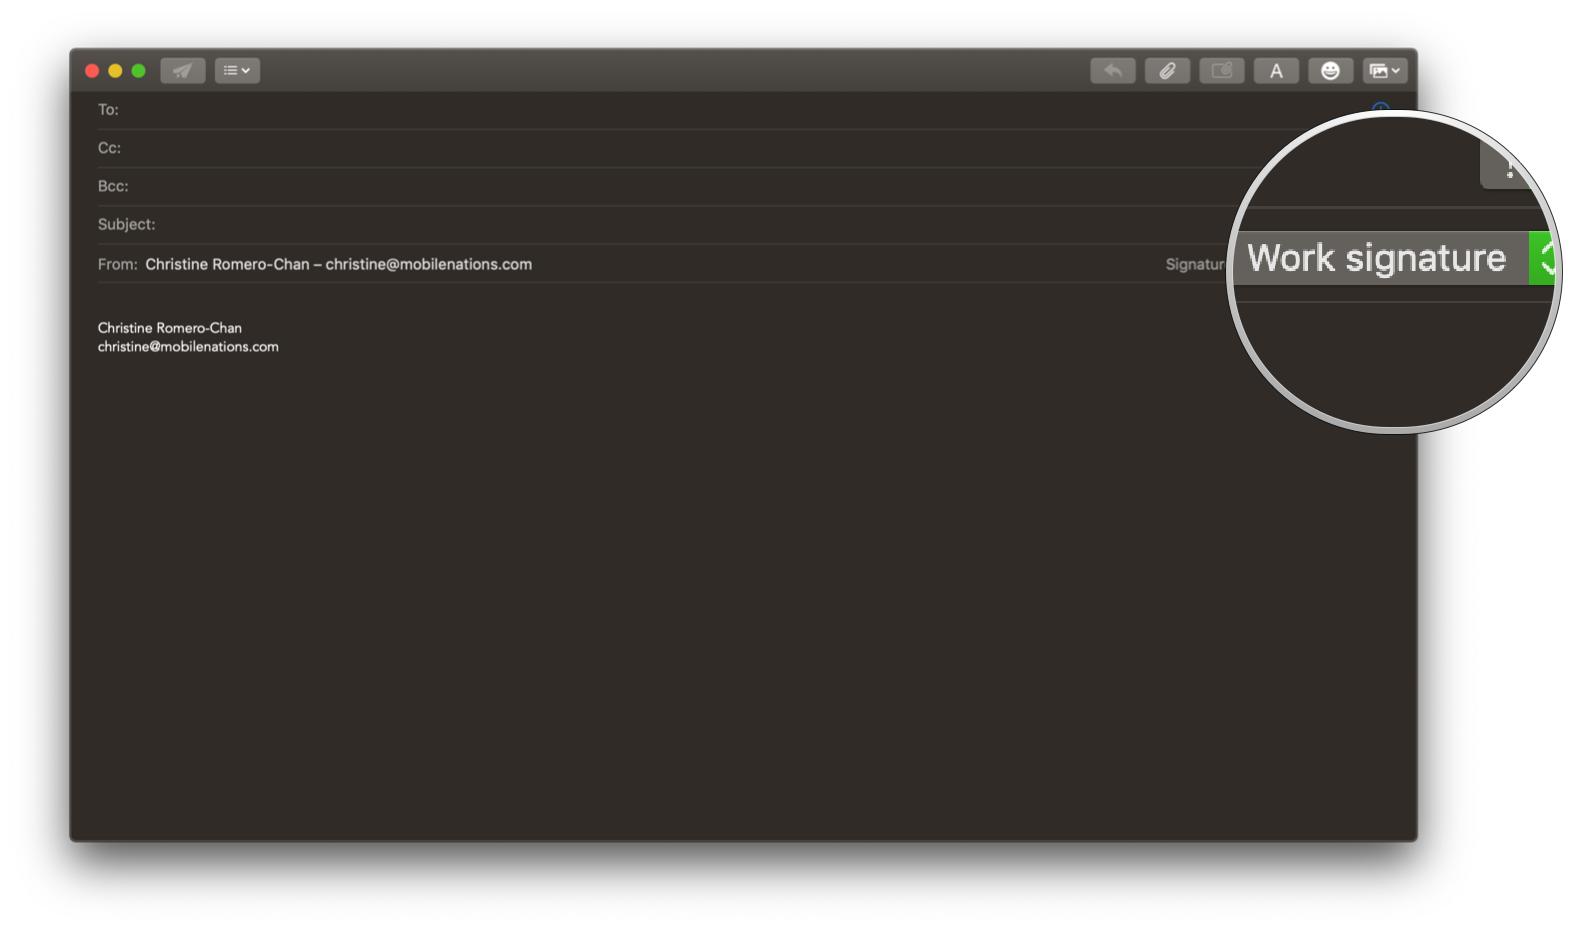
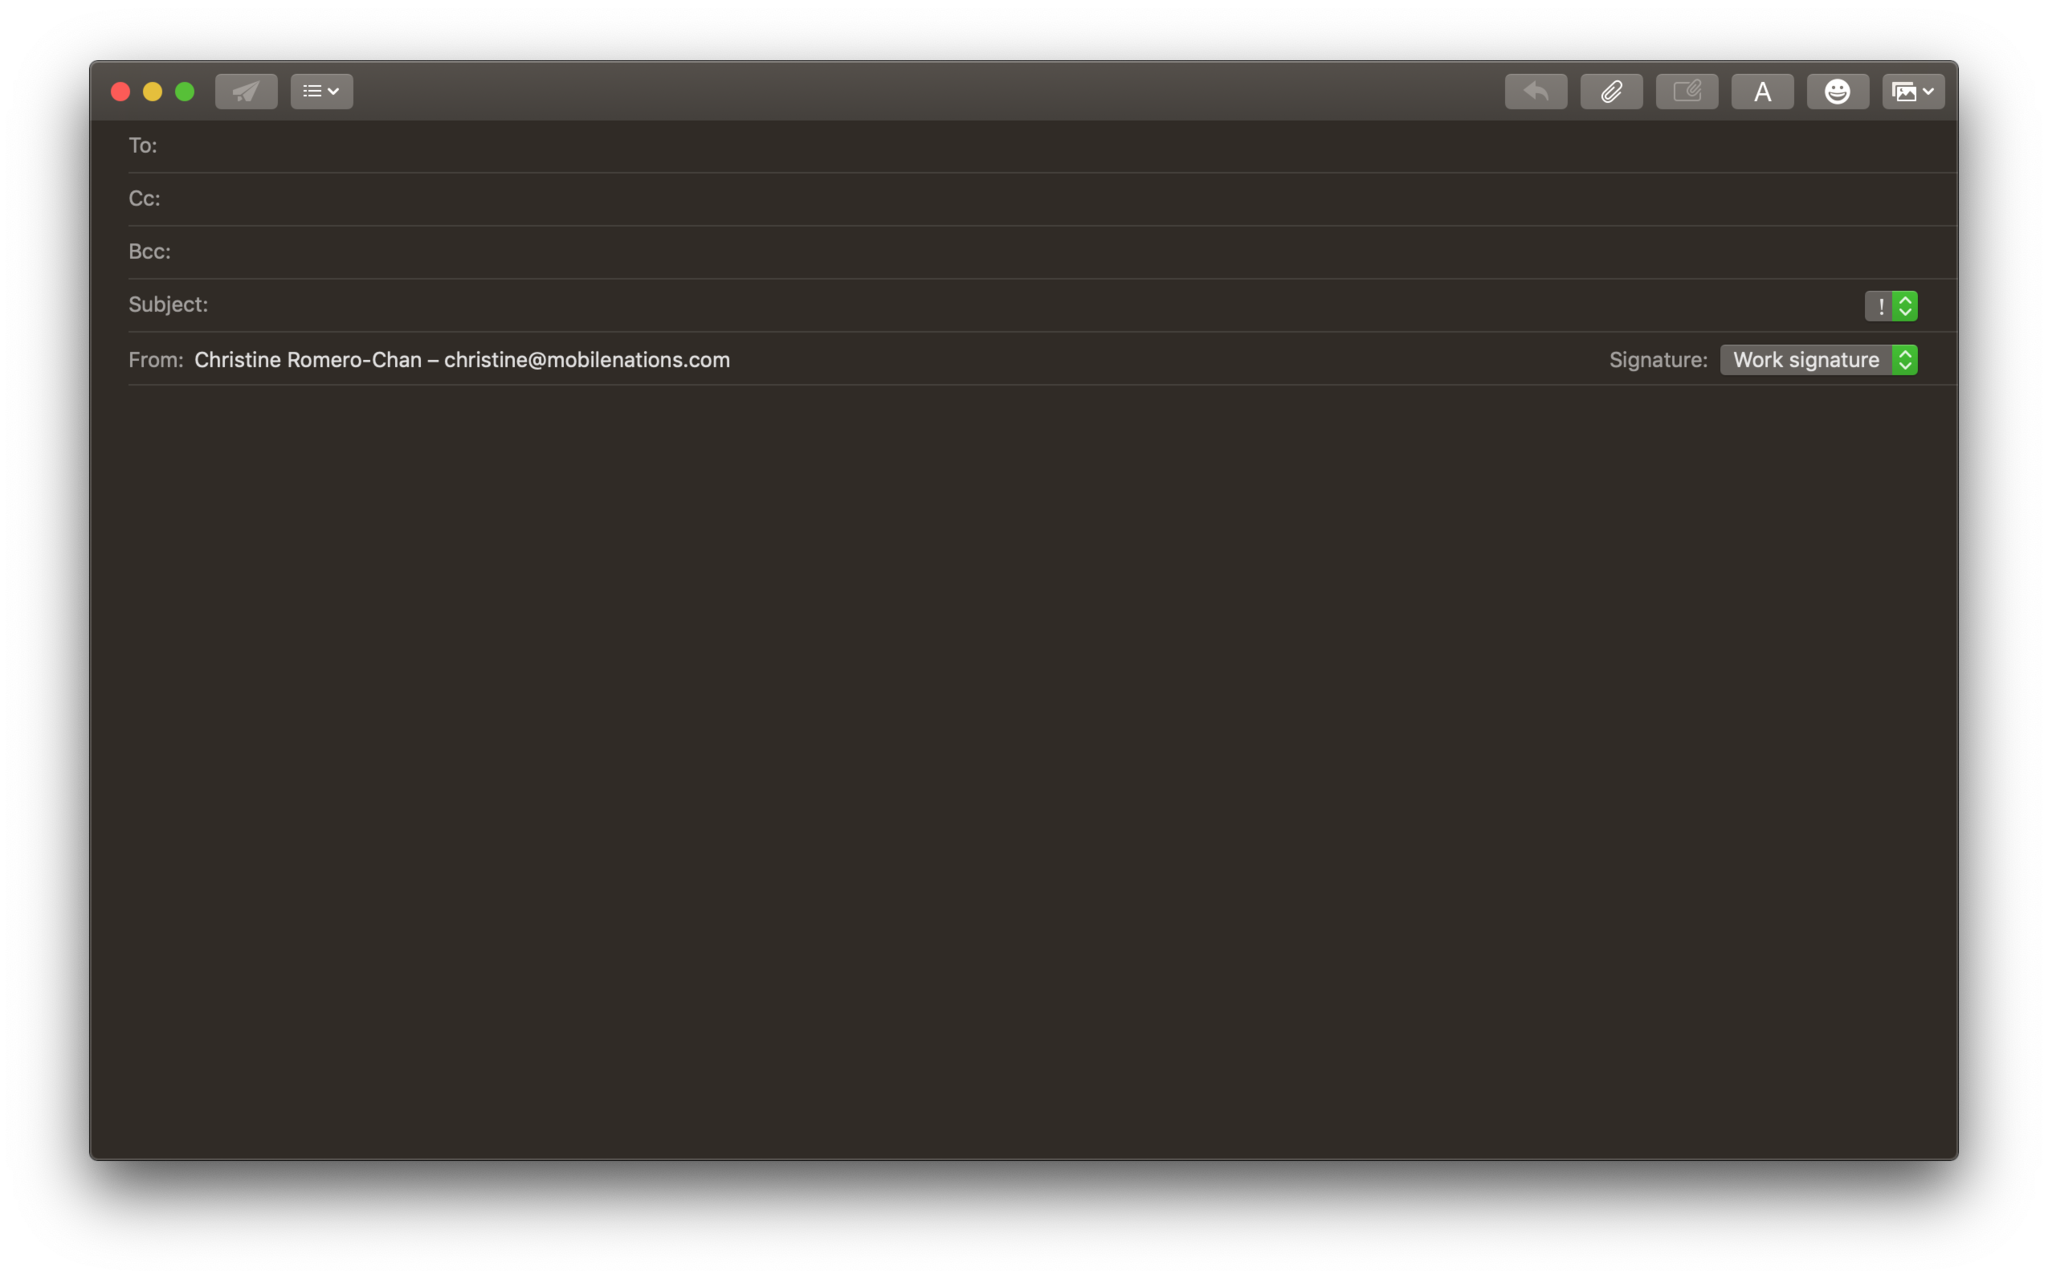
- Click on the Signature pop-up menu in the Compose window (in the same line as From).
- Choose your signature.

How to remove a signature from emails
- Launch the Mail app on your Mac.
- Click on the Compose button or press ⌘N on your keyboard.


- Click on the Signature pop-up menu in the Compose window (in the same line as From).
- Select None for your signature, or select the signature text and press Delete on the keyboard.
Questions?
That's all there is to it behind making a custom signature in Mail on your Mac. If you need more help with signatures, drop a comment below and we'll do our best to help you out!
Master your iPhone in minutes
iMore offers spot-on advice and guidance from our team of experts, with decades of Apple device experience to lean on. Learn more with iMore!
Christine Romero-Chan was formerly a Senior Editor for iMore. She has been writing about technology, specifically Apple, for over a decade at a variety of websites. She is currently part of the Digital Trends team, and has been using Apple’s smartphone since the original iPhone back in 2007. While her main speciality is the iPhone, she also covers Apple Watch, iPad, and Mac when needed. When she isn’t writing about Apple, Christine can often be found at Disneyland in Anaheim, California, as she is a passholder and obsessed with all things Disney, especially Star Wars. Christine also enjoys coffee, food, photography, mechanical keyboards, and spending as much time with her new daughter as possible.

