How to set up a third-party calendar app on iPhone and iPad
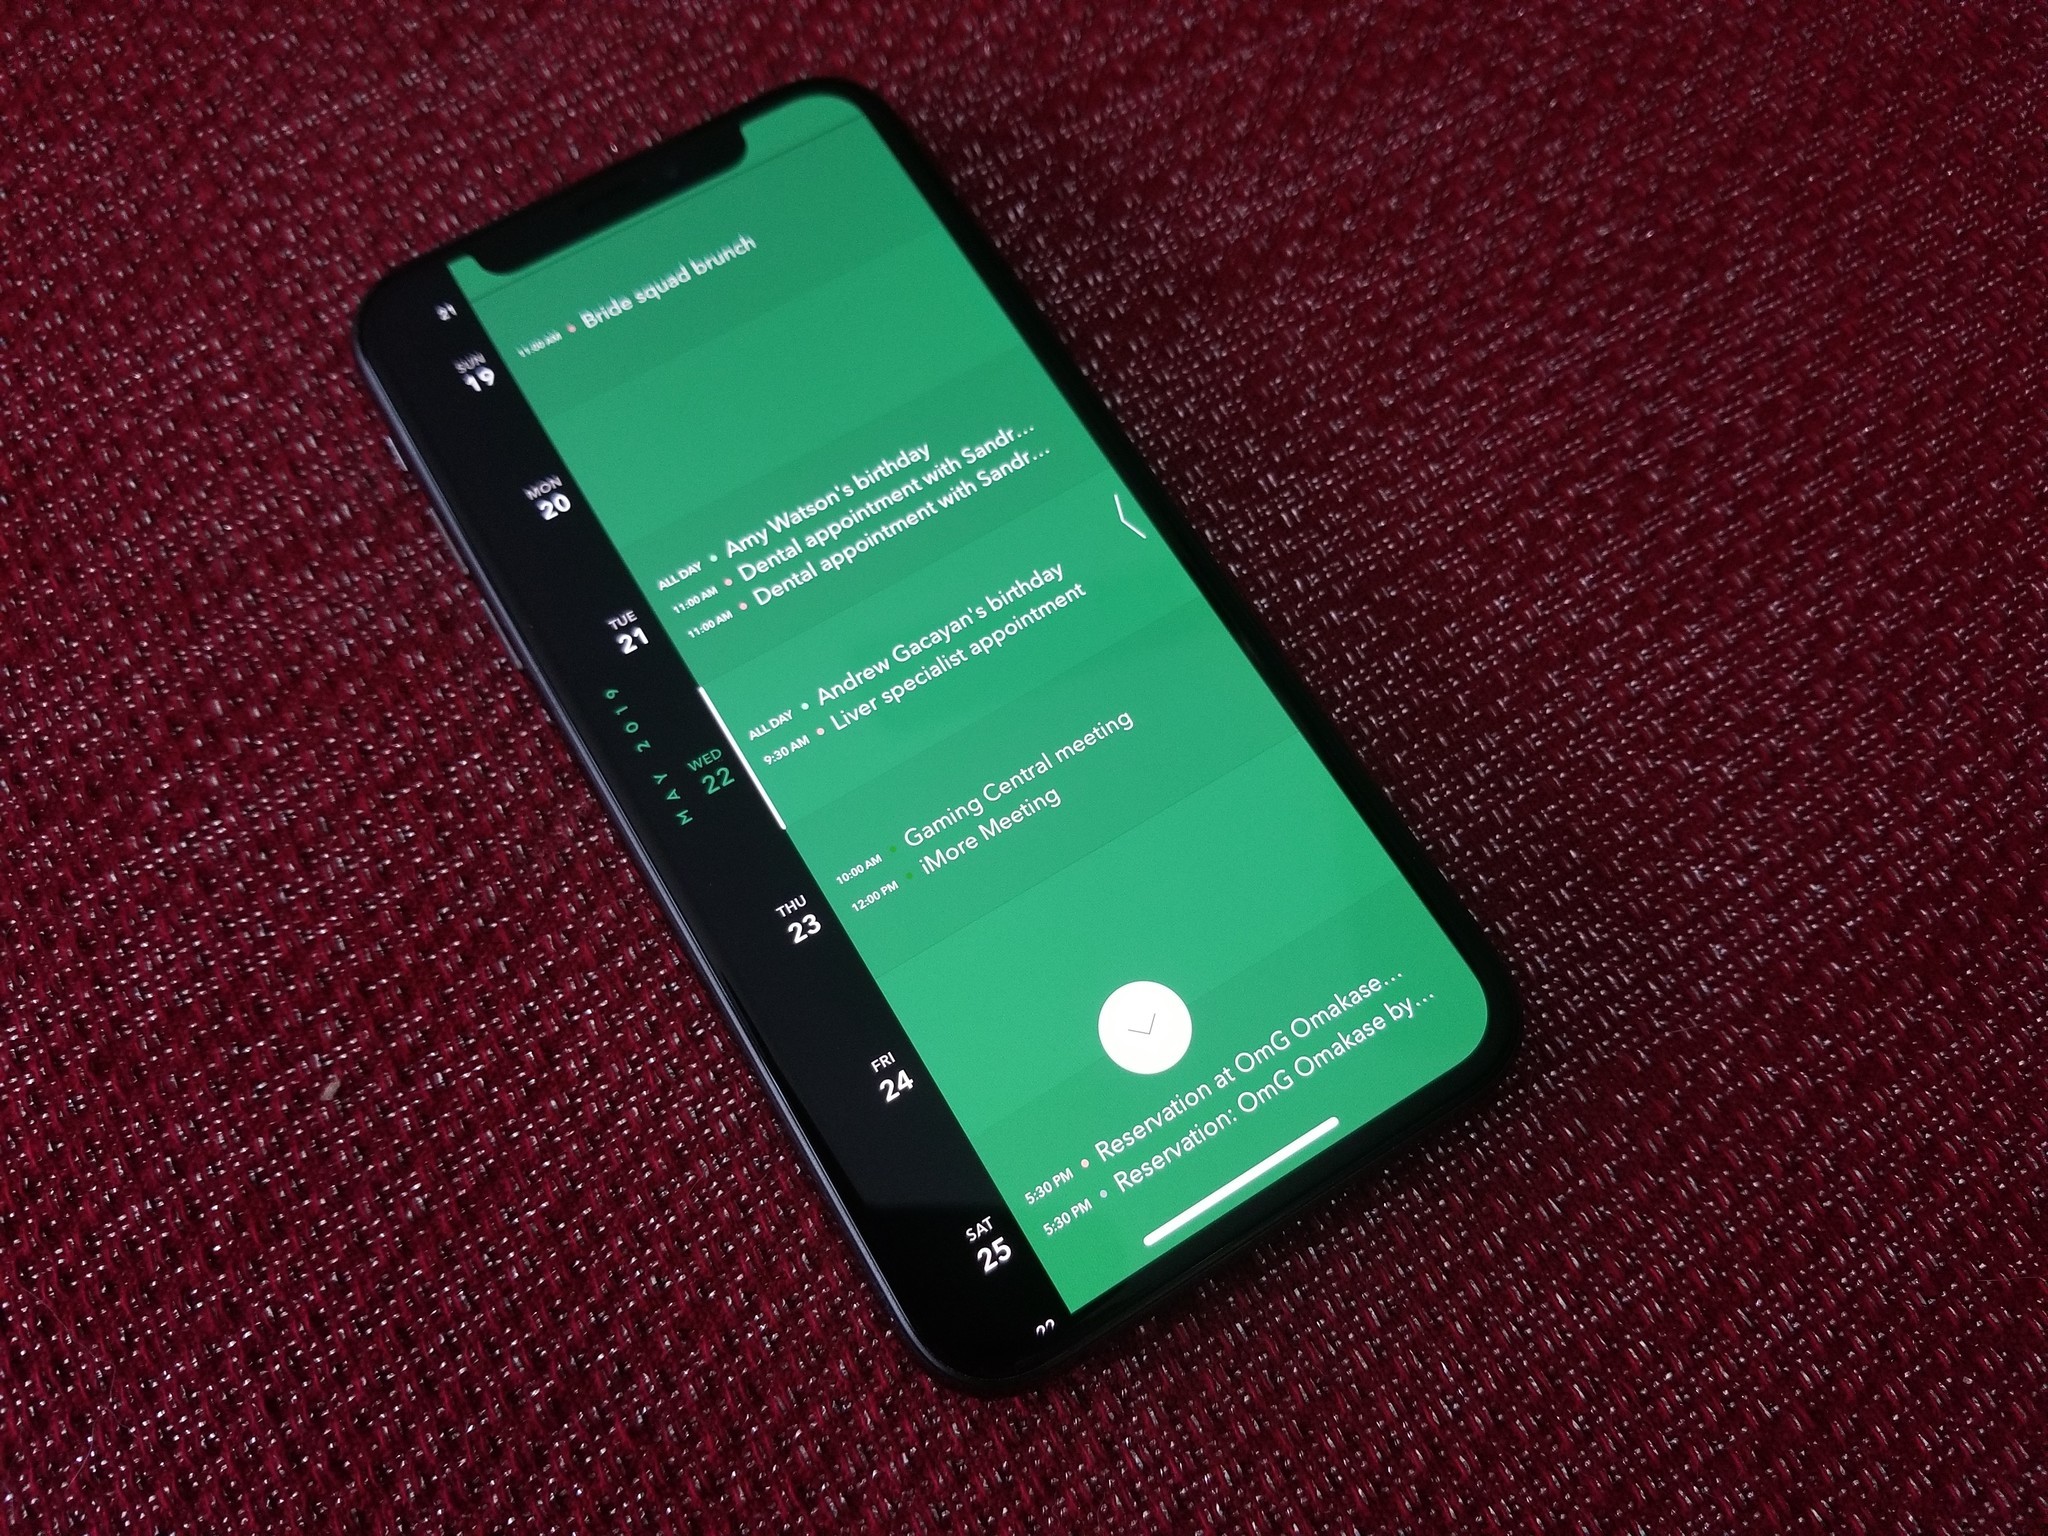
Apple provides you with the pretty basic Calendar app on your iPhone or iPad. It gets the job done, I mean you can enter new appointment details in, and it goes on your calendar, complete with alerts and reminders the day before. But sometimes it just isn't enough. Fortunately, the App Store has plenty of great options that have some cool and useful features that Apple didn't include, and here's how to get them set up!
- How to set up your calendar in Fantastical
- How to set up your calendar in Calendars 5 by Readdle
- How to set up your calendar in Google Calendar
- How to set up your calendar in Timepage
- How to set up your calendar in Microsoft Outlook
How to set up your calendar in Fantastical
Fantastical is my preferred calendar app of choice on iOS and Mac. I love it because the interface is beautiful and easy-to-use, and the natural language input for adding events makes it super easy to quickly create new events, rather than filling out individual fields. Plus, you get Reminder integration too, alerts, multiple calendar syncing, and much more. It's easily one of the best calendar apps around and well worth the cost.
Fantastical 2 will work with your existing account calendar that you added in iOS Settings. Here's how to set that up if you didn't already:
- Launch Settings on your iPhone or iPad.
- Go into Passwords & Accounts.
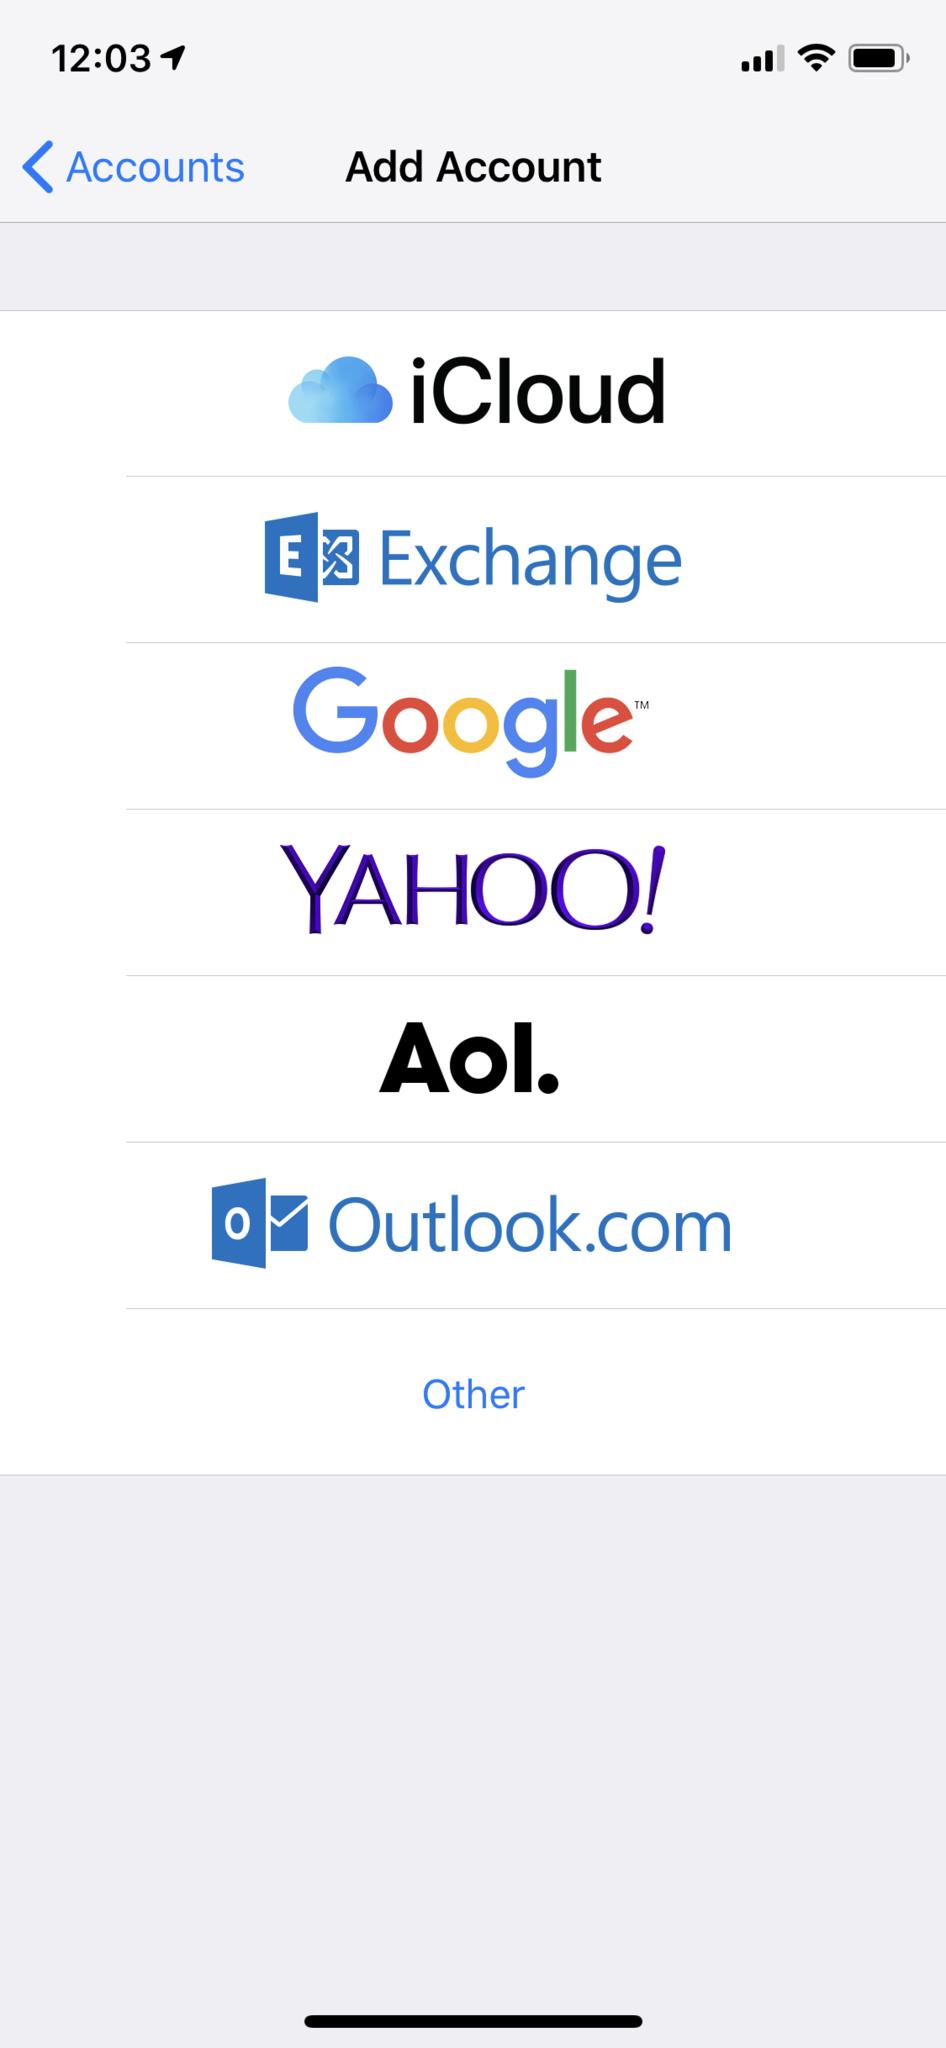
- Tap Add Account.
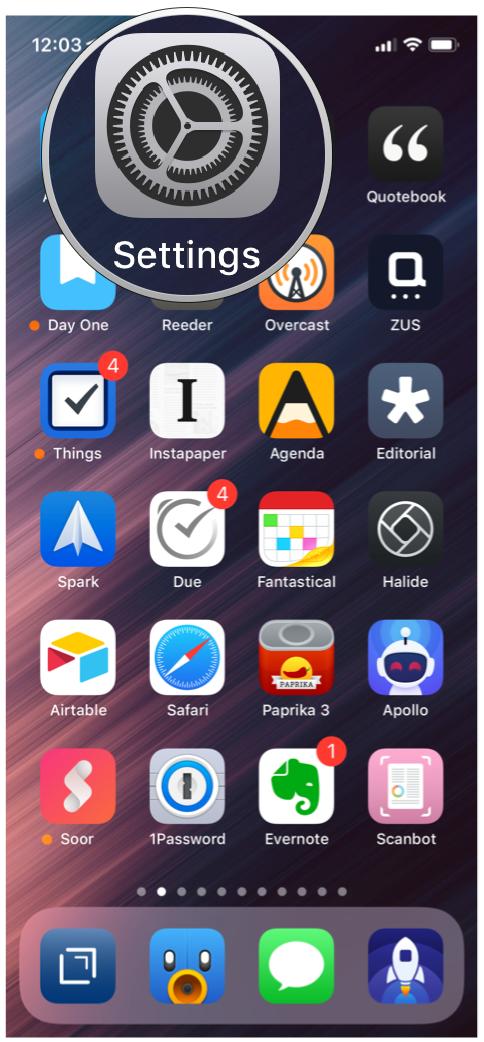
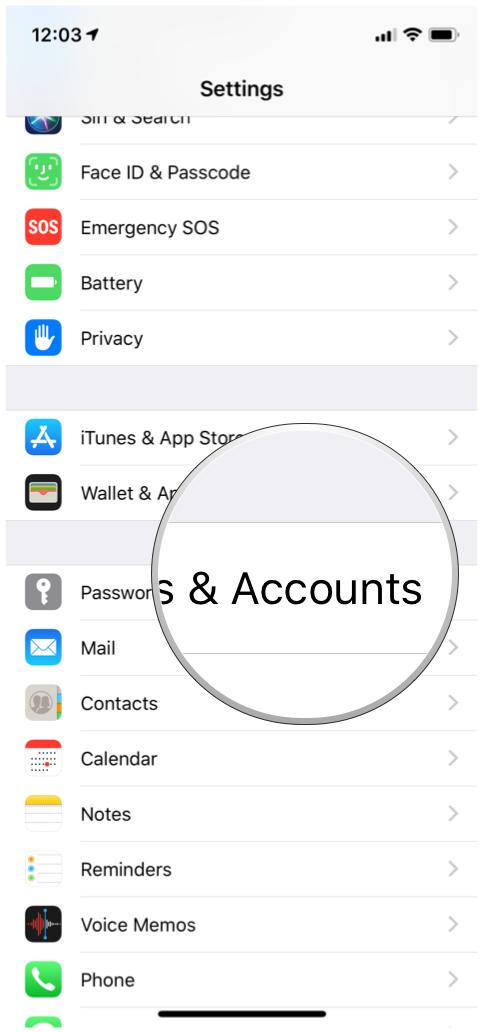
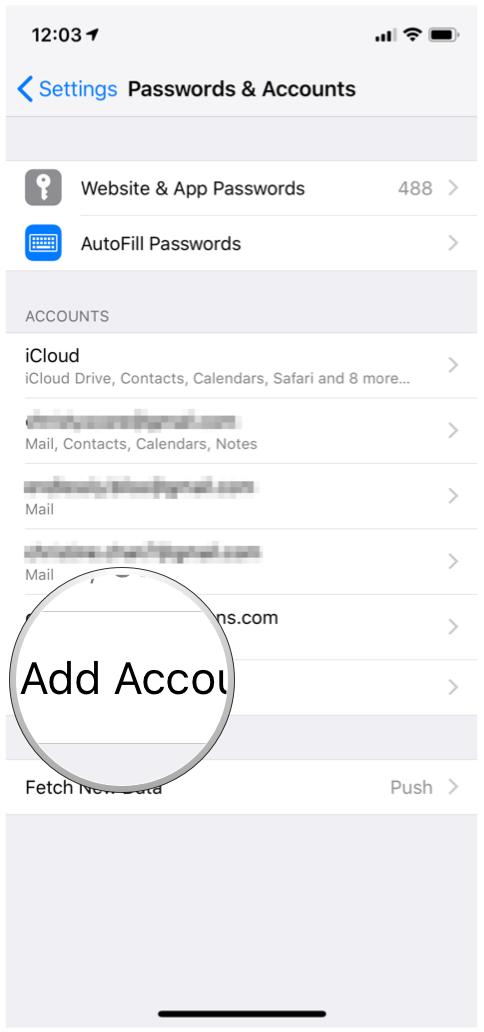
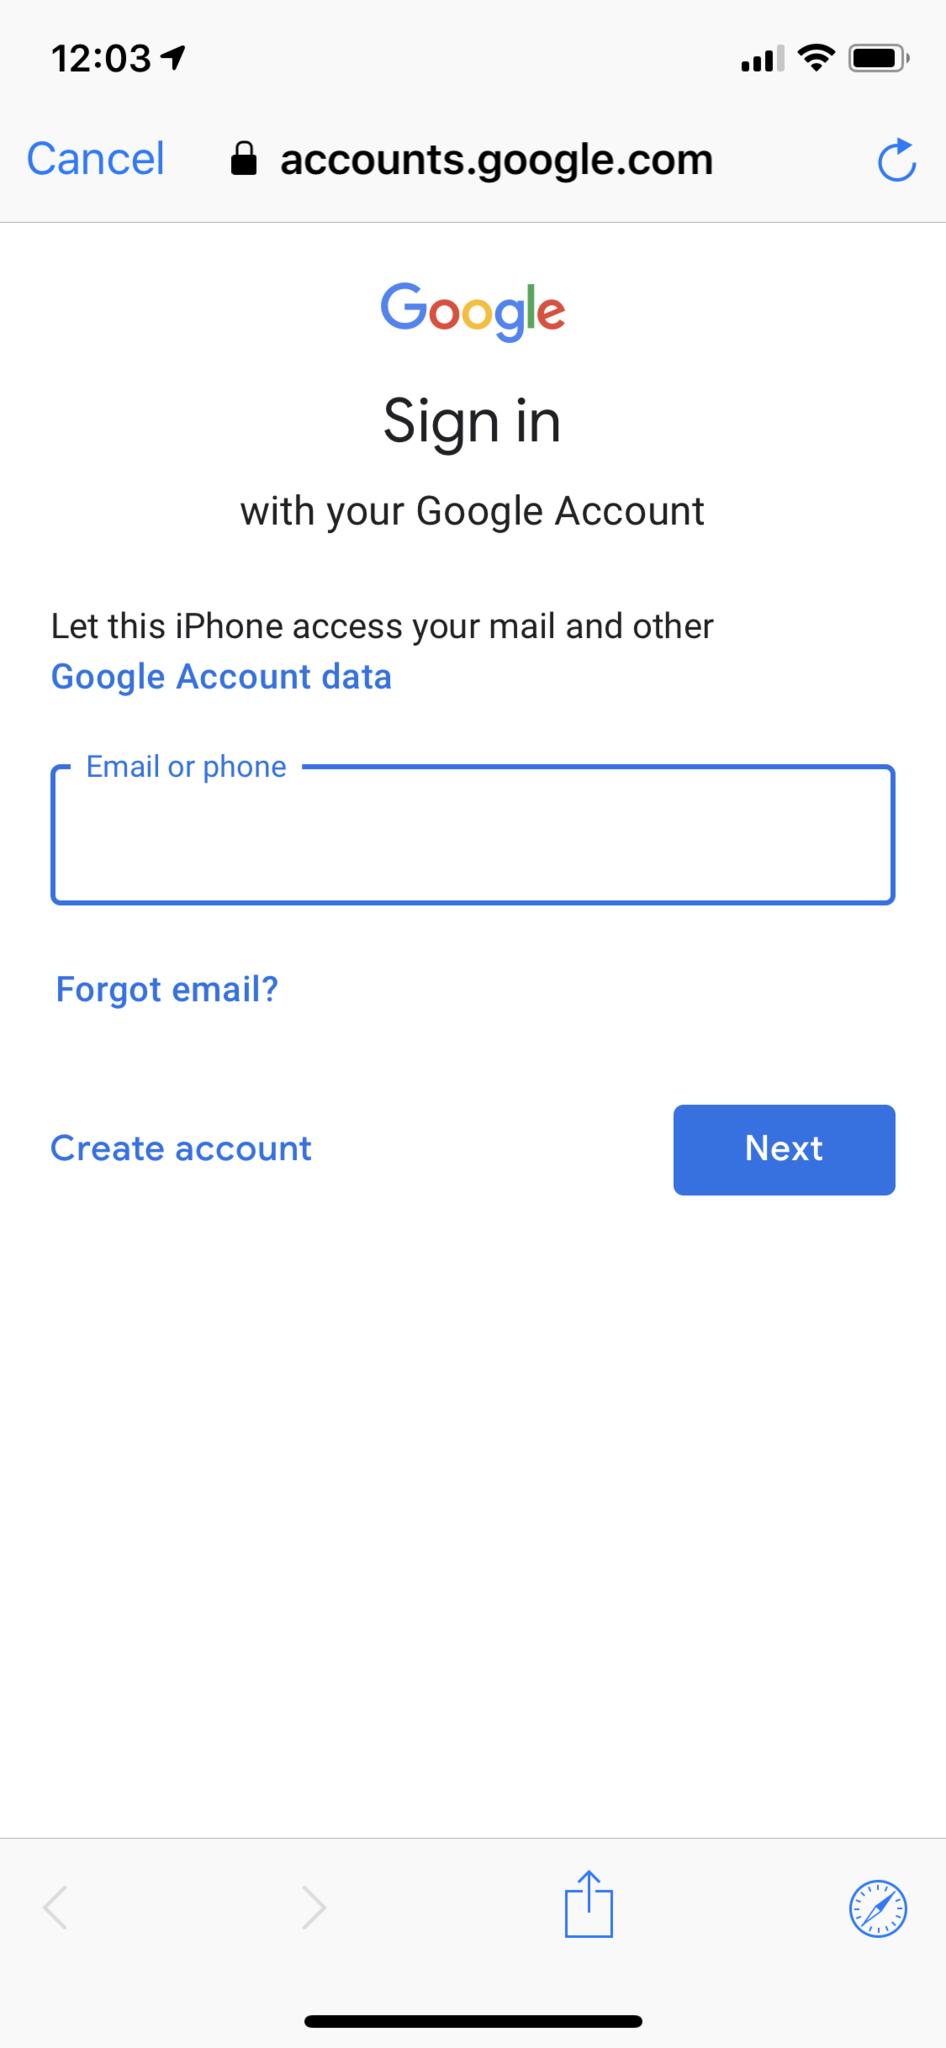
- Select your provider, then log in with your account credentials.
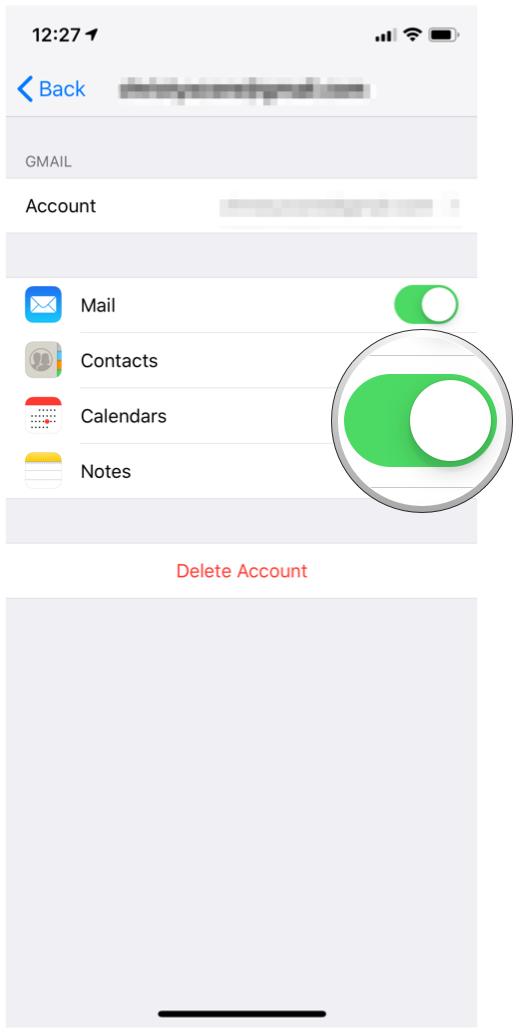
- Once you give access and the account is verified, make sure that at least Calendars is selected (you can also turn on Mail, Contacts, and Notes if you want). Repeat steps 3-5 for all of the accounts you need.
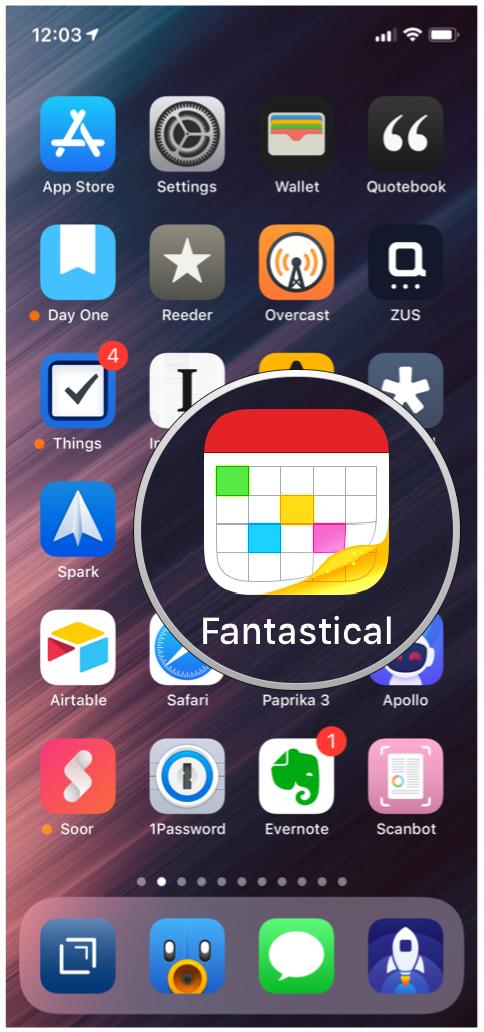
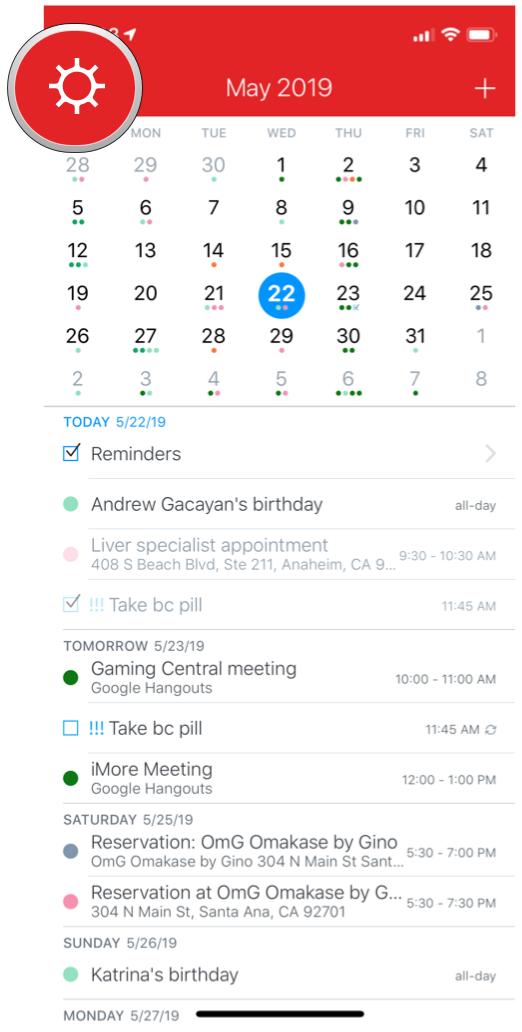
- Launch Fantastical on your iPhone or iPad.
- Tap on the Settings Gear in the top left corner.
- Tap on Calendars.
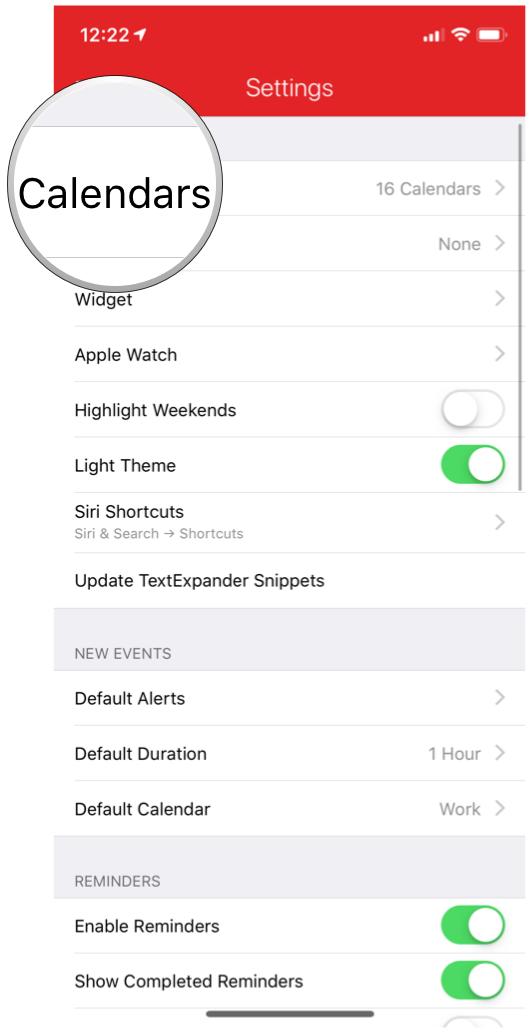
- Select which account calendars you want to view in Fantastical.
- Tap Settings in the top left to save your selection and return to Fantastical's Settings view.
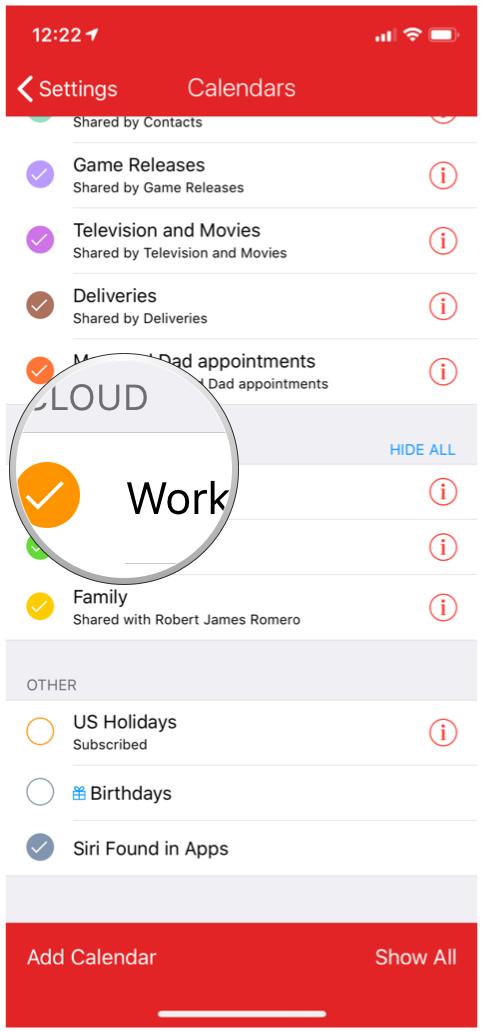
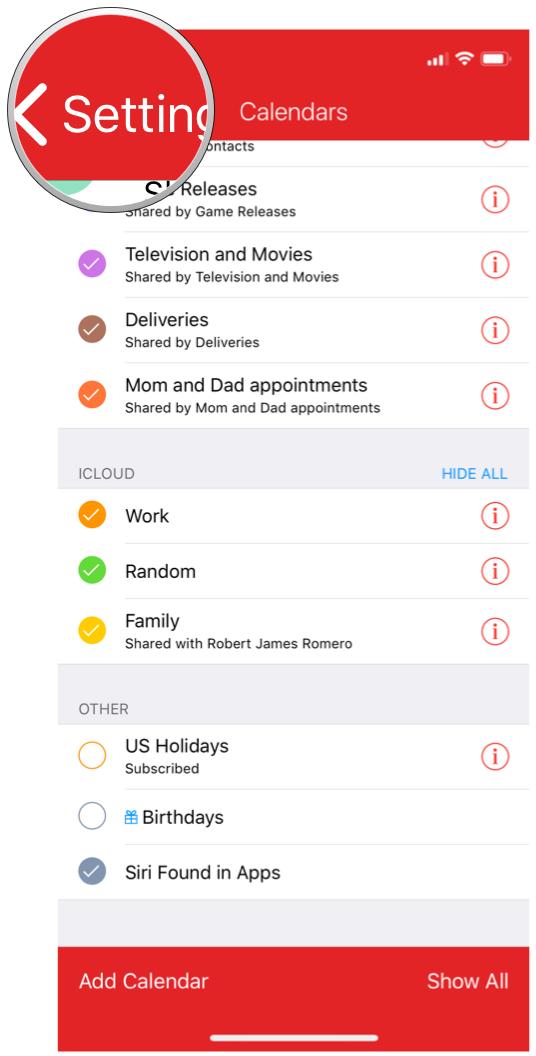
You can also create new calendars to your iCloud account directly within Fantastical.
- Launch Fantastical on your iPhone or iPad.
- Tap on the Settings Gear in the top left corner.
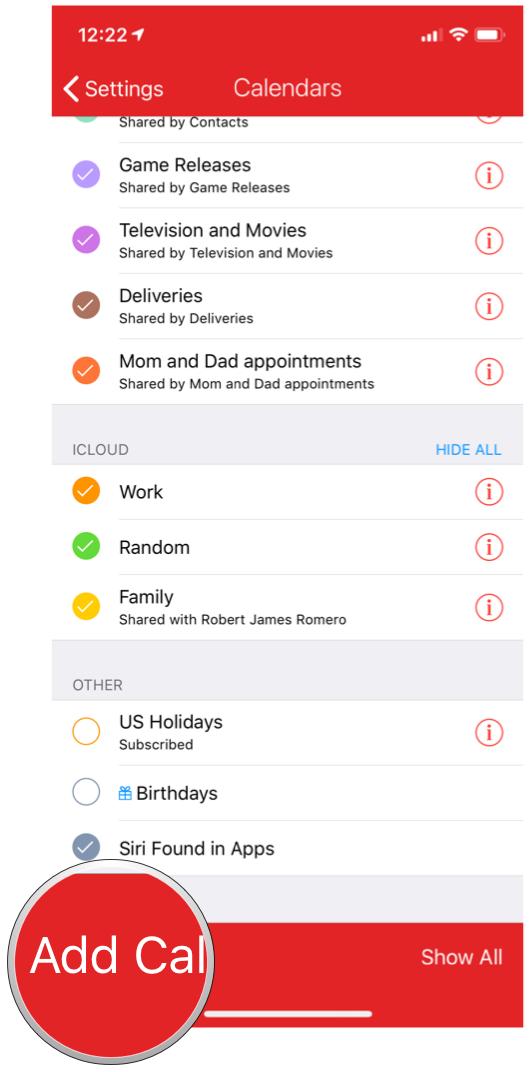
- Tap on Calendars.


- Select Add Calendar in the bottom left corner.
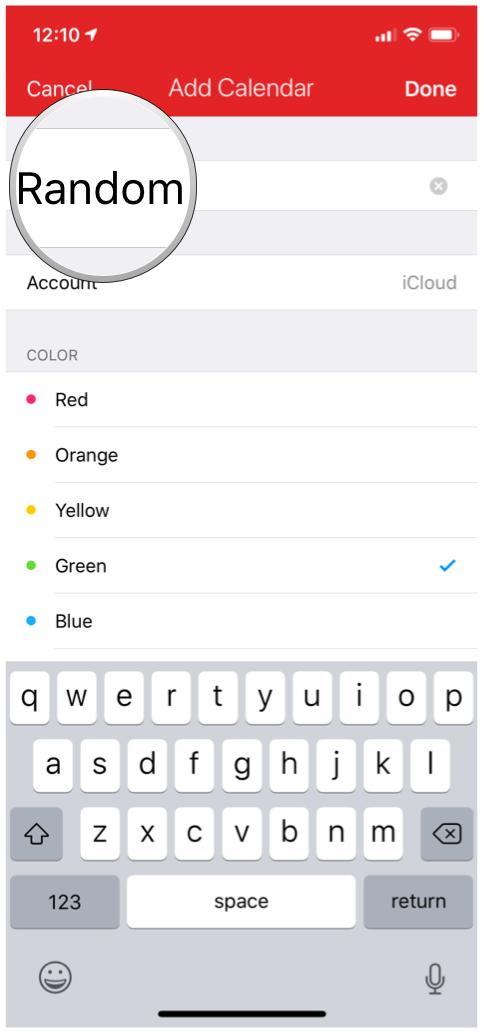
- Give your calendar a name.
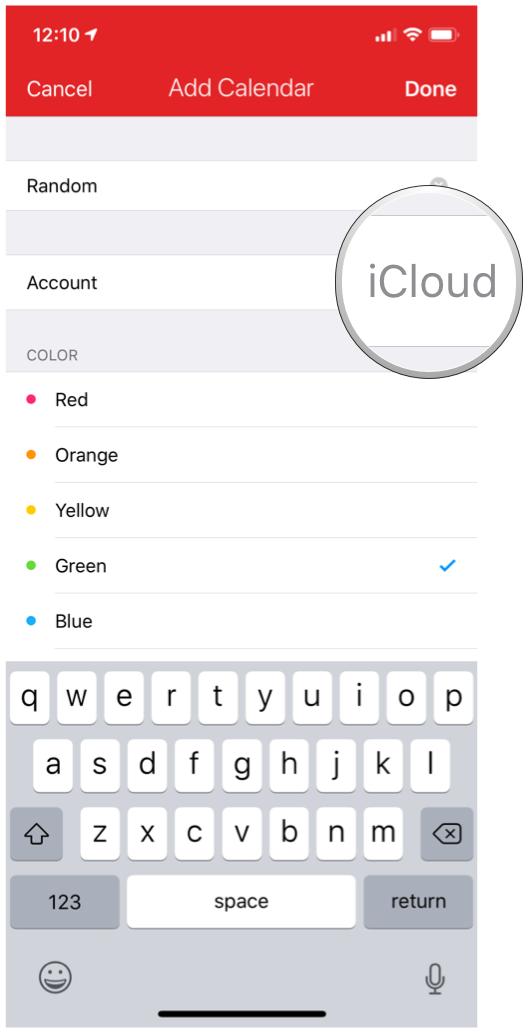
- Select the account to add it to (only seems to work with iCloud for whatever reason).
- Choose a color for that calendar.
- Tap Done in the upper right corner.
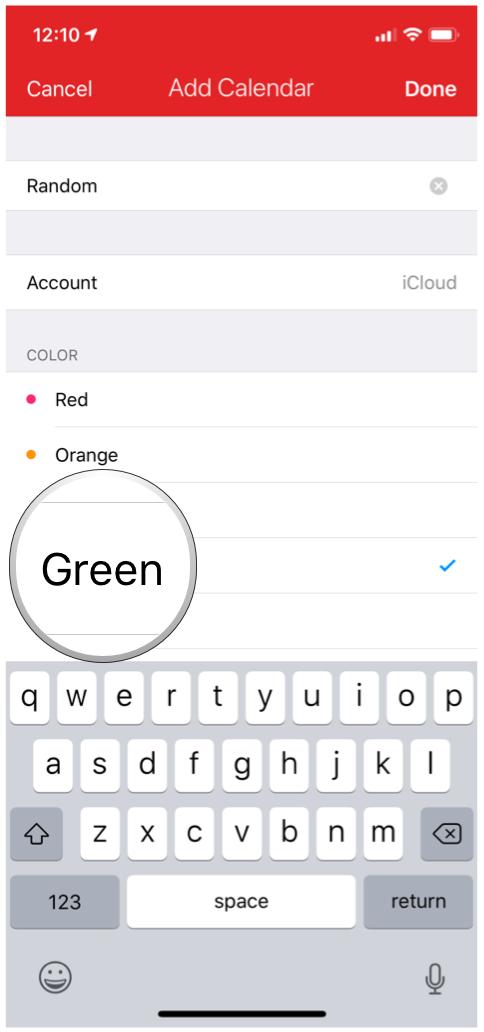
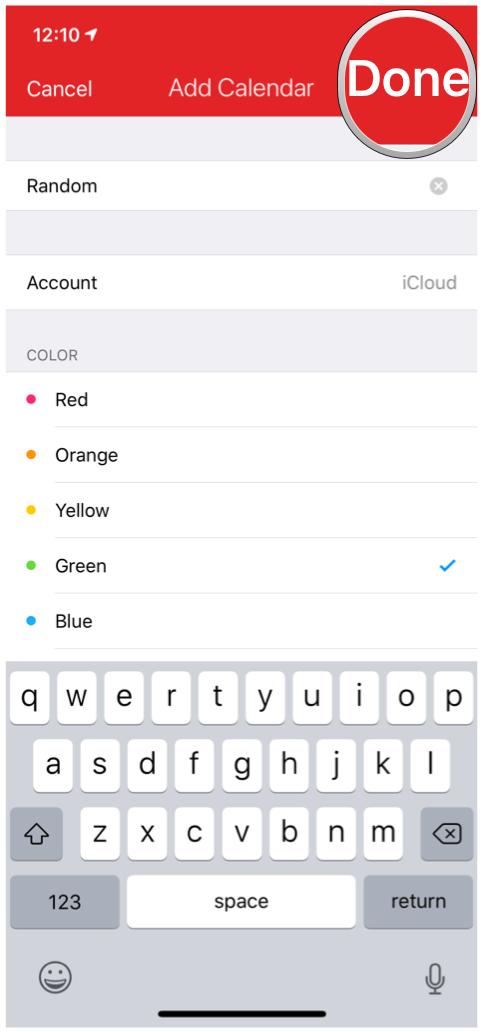
- That calendar will automatically be selected to be displayed in Fantastical, but you can de-select it if need be.
- Tap Settings in the upper left corner to save your selections and go back to Fantastical Settings.


Fantastical is sleek, fast, and powerful. Plus, once you get your calendars set up, you can tweak the individual settings to work just how you need it to work. It's quite a robust app that makes managing your schedule a breeze.
How to set up your calendar in Calendars 5 by Readdle
Readdle's Calendars 5 is a more traditional calendar app that focuses on displaying as much information about your schedule on the screen at once. You get monthly, weekly, and daily views, natural language input for event creation, built-in task management, and more. There are two ways to get your calendars set up in Calendars 5: importing from native iOS Calendar, or by syncing directly with Google Calendar.
Master your iPhone in minutes
iMore offers spot-on advice and guidance from our team of experts, with decades of Apple device experience to lean on. Learn more with iMore!
The easiest way to get started with Calendars 5 is to import your native iOS calendar data. To get that setup, do the following:
- Launch Settings on your iPhone or iPad.
- Go into Passwords & Accounts.
- Tap Add Account.


- Select your provider, then log in with your account credentials.
- Once you give access and the account is verified, make sure that at least Calendars is selected (you can also turn on Mail, Contacts, and Notes if you want).
- Repeat steps 3-5 for all of the accounts that have calendars you want to access.


- Launch Calendars 5 on your iPhone or iPad.
- Select iPhone Calendar on the screen that asks you to select the calendar to sync with.
- Tap Next.
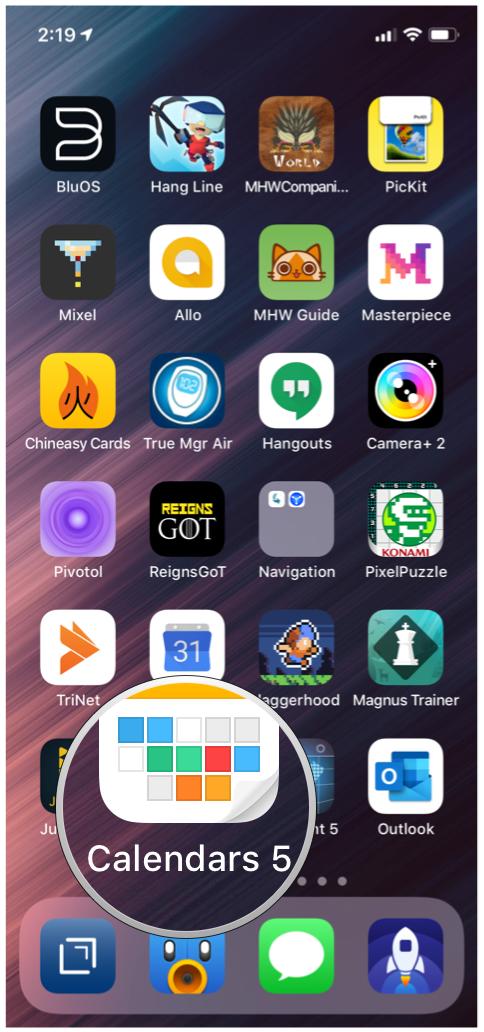
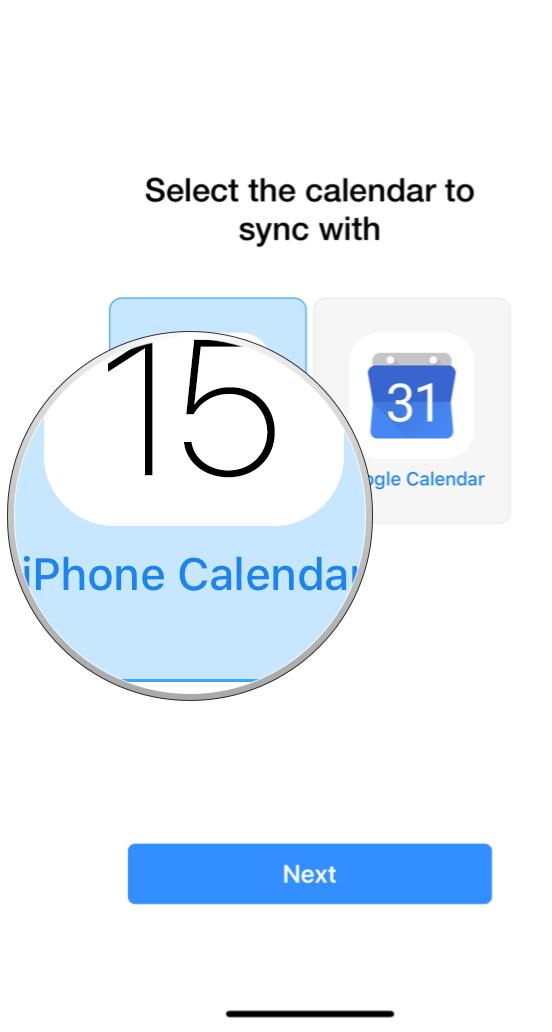
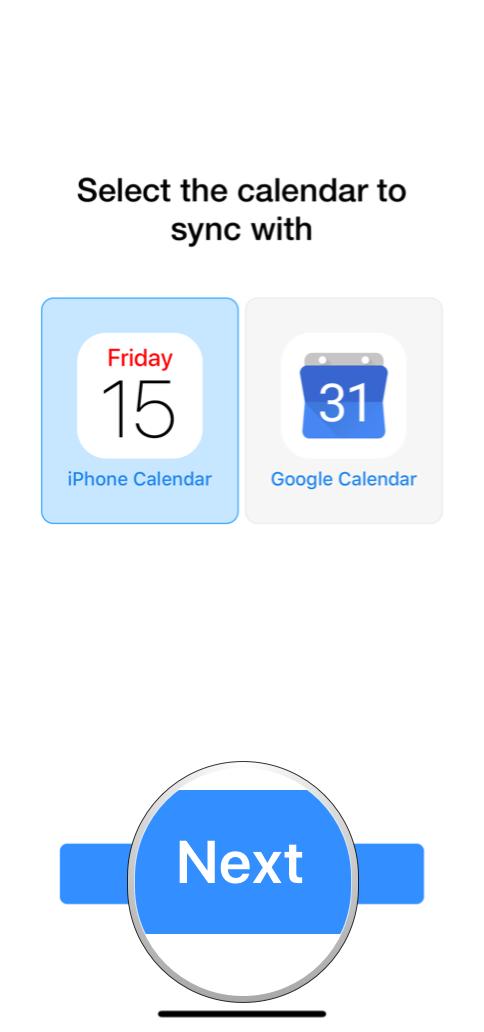
- Calendars 5 will import your calendar data from iOS.
- Tap on the menu button (three lines) in the top left corner to select which calendars you want to show or hide in Calendars 5.
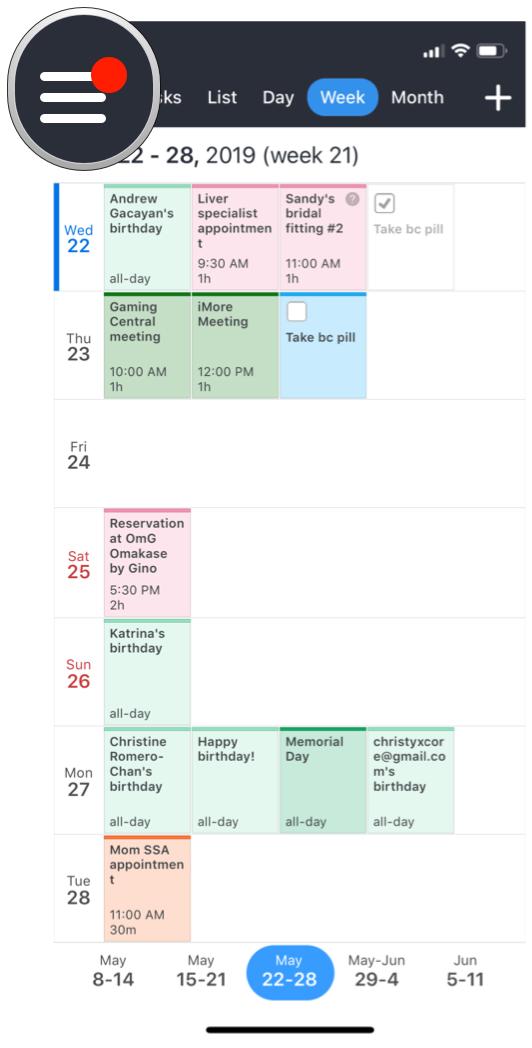
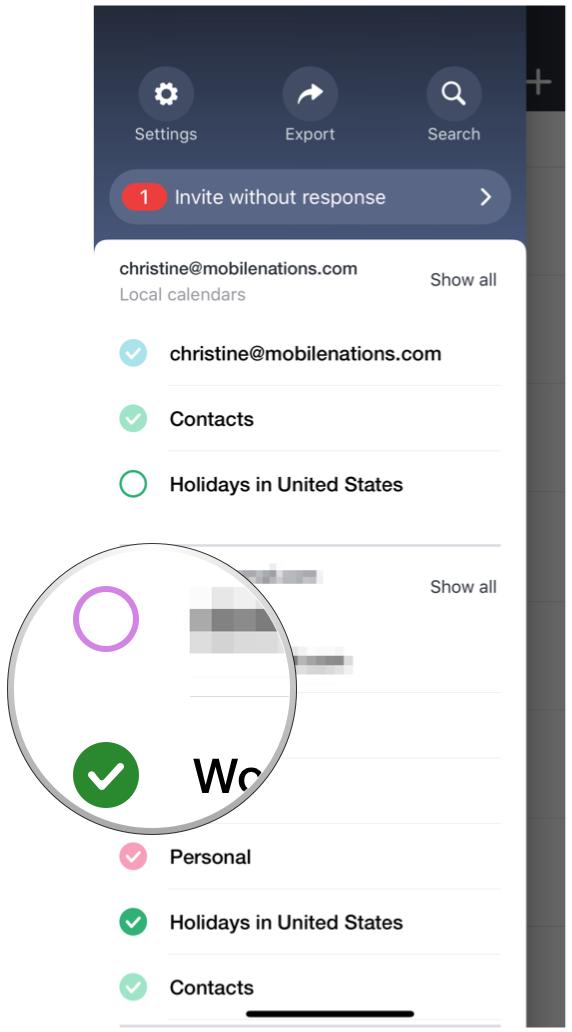
If you prefer to not have your calendars in iOS for whatever reason, you can choose to have Calendars 5 sync with Google Calendar directly instead.
- Launch Calendars 5 on your iPhone or iPad.
- Select Google Calendar on the initial setup screen.

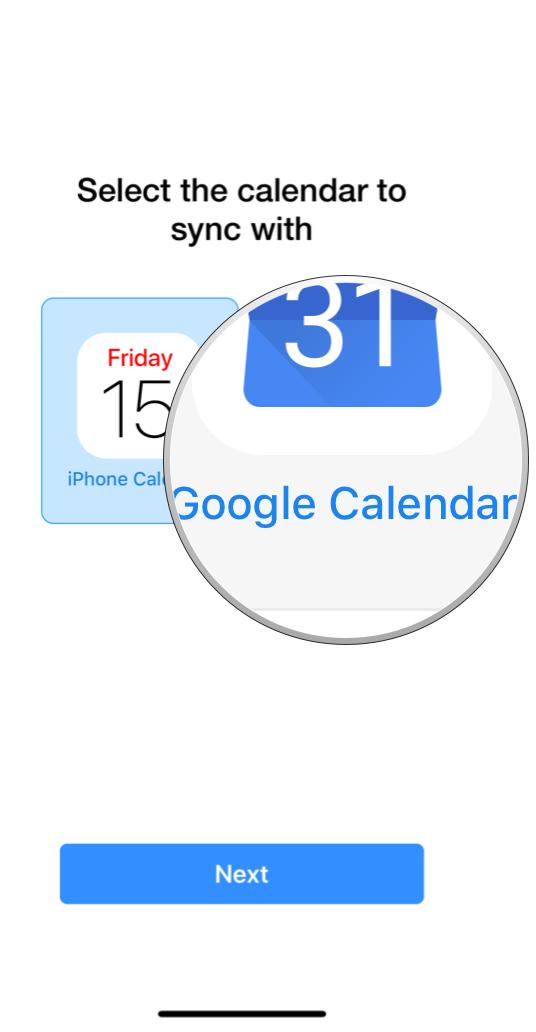
- Tap Next.
- You'll then be taken to the Google Account login page, where you input your credentials and grant access to Calendars 5.

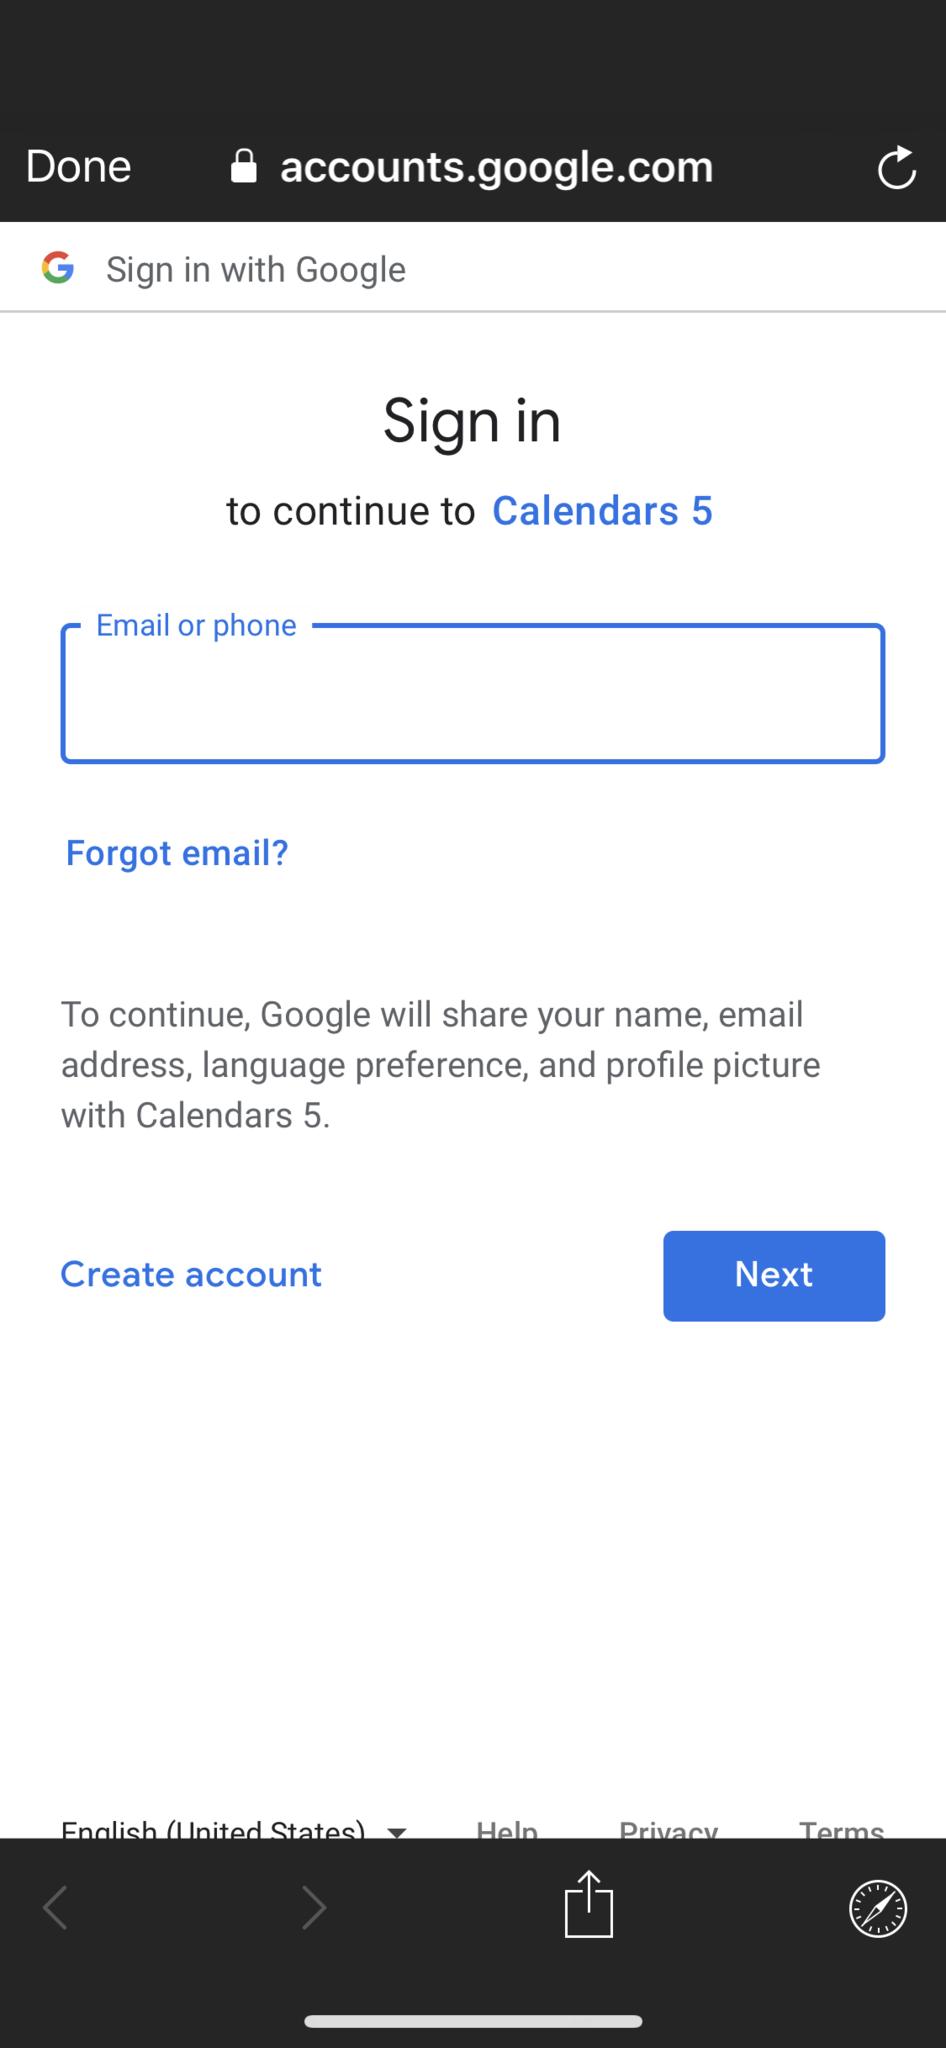
- All data will be pulled from Google's servers directly, and all changes are saved immediately.
When you need to add a new calendar, it's easy to do in Calendars 5.
- Launch Calendars 5 on your iPhone or iPad.
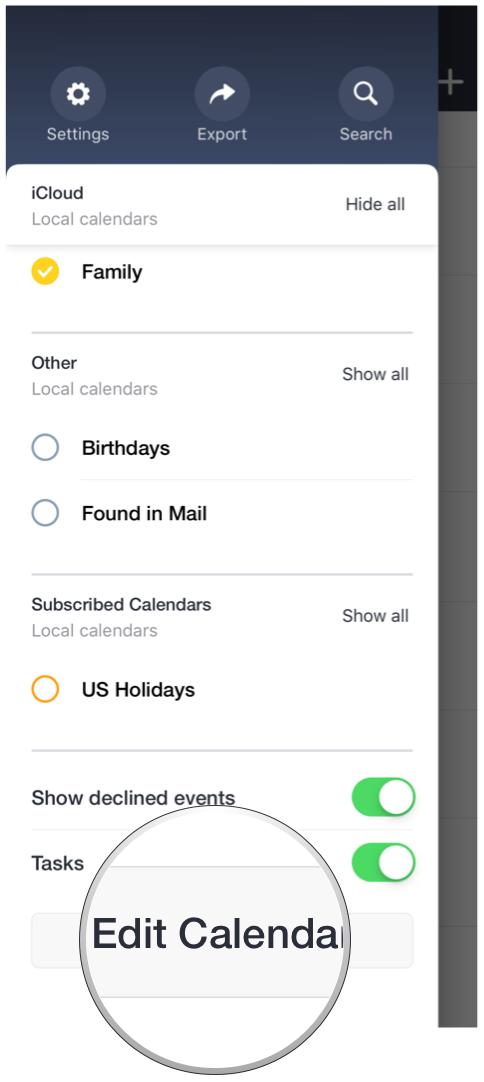
- Tap the side menu button in the top left corner.


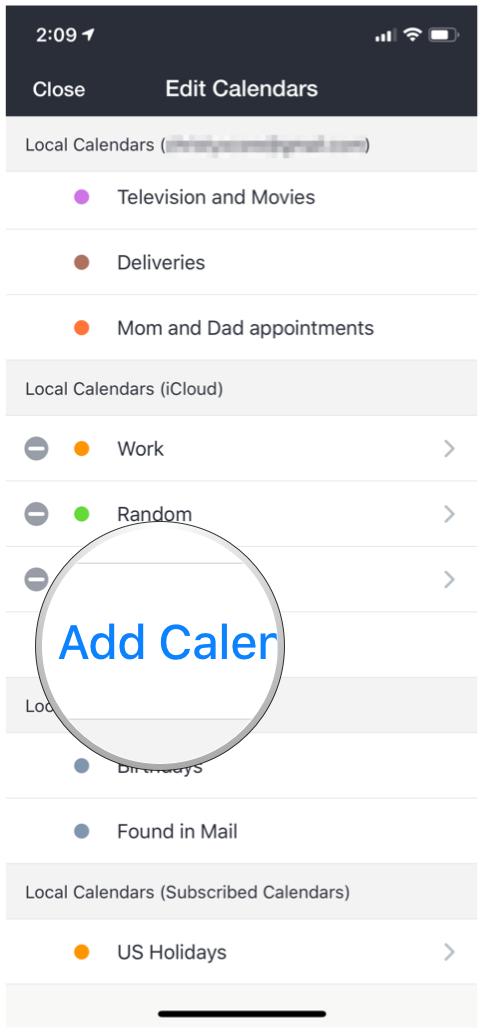
- Scroll down and tap on Edit Calendars.
- Click Add Calendar for an account (only works for local iCloud calendars or Google Calendar sync).
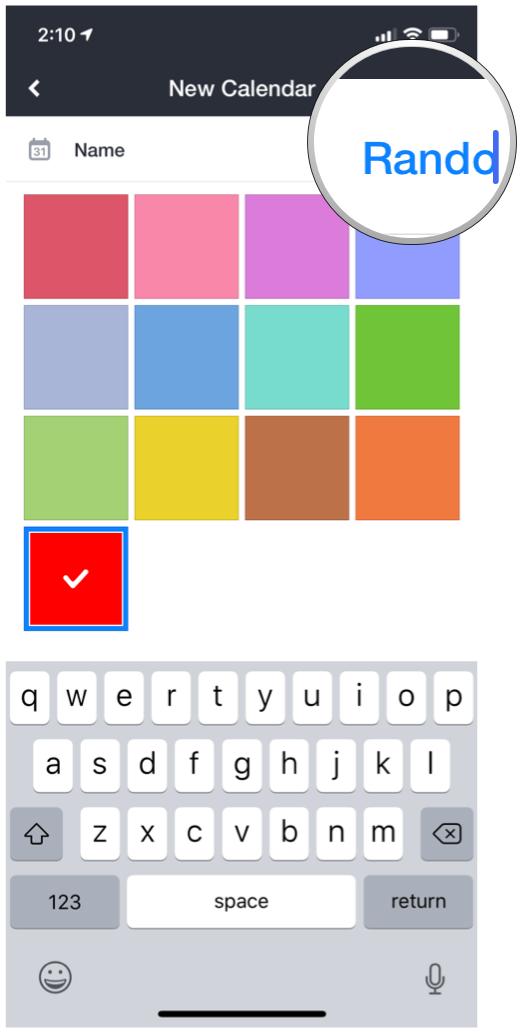
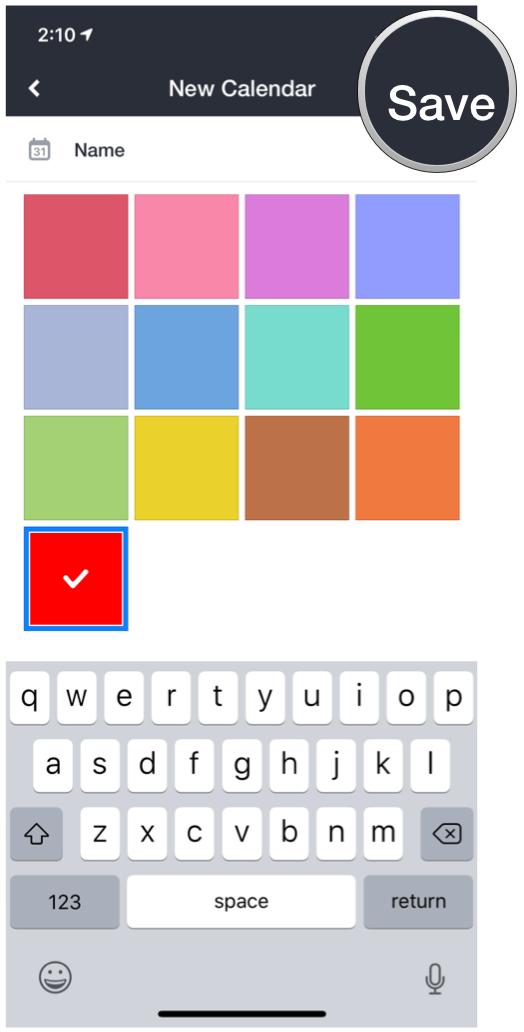
- Give the calendar a name.
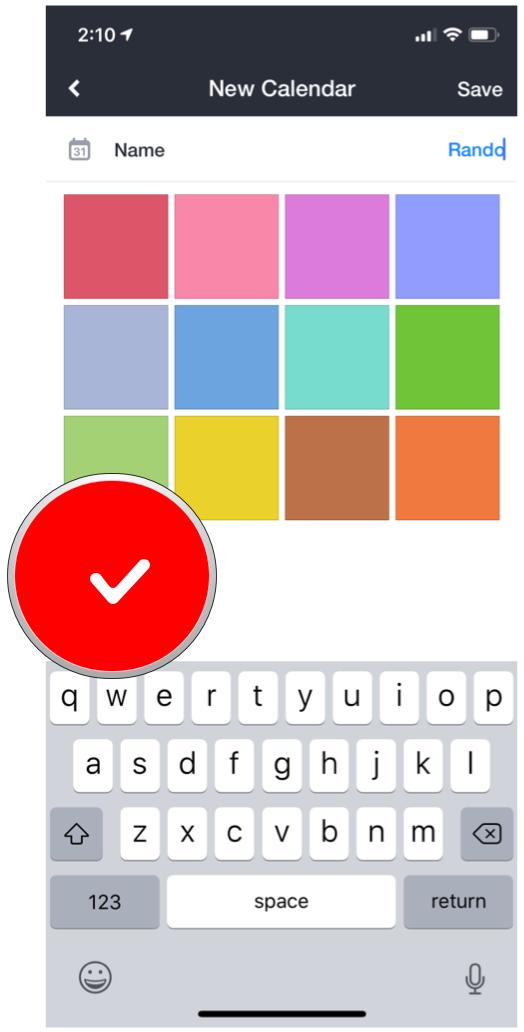
- Select a color for the calendar.
- Tap Save.
How to set up your calendar in Google Calendar
Google Calendar is my default calendar service, and it has been for many years. And while I prefer to just have my info stored in the iOS settings, sometimes you'll want to just work with Google's own app for your calendar needs. After all, what would work better for Google Calendar besides...Google Calendar? The app is fast, gives you all the information you need, syncs immediately with no delays, and has the same Google aesthetic from the web version. And it's pretty easy to get started.
Don't use Google Calendar? No problem! The app also works with iCloud, Exchange, and Yahoo! calendars. You'll need to get those set up in iOS Settings first.
- Launch Settings on your iPhone or iPad.
- Go into Passwords & Accounts.
- Tap Add Account.


- Select your provider, then log in with your account credentials.
- Once you give access and the account is verified, make sure that at least Calendars is selected (you can also turn on Mail, Contacts, and Notes if you want).


- Repeat steps 3-5 for any additional accounts you need.
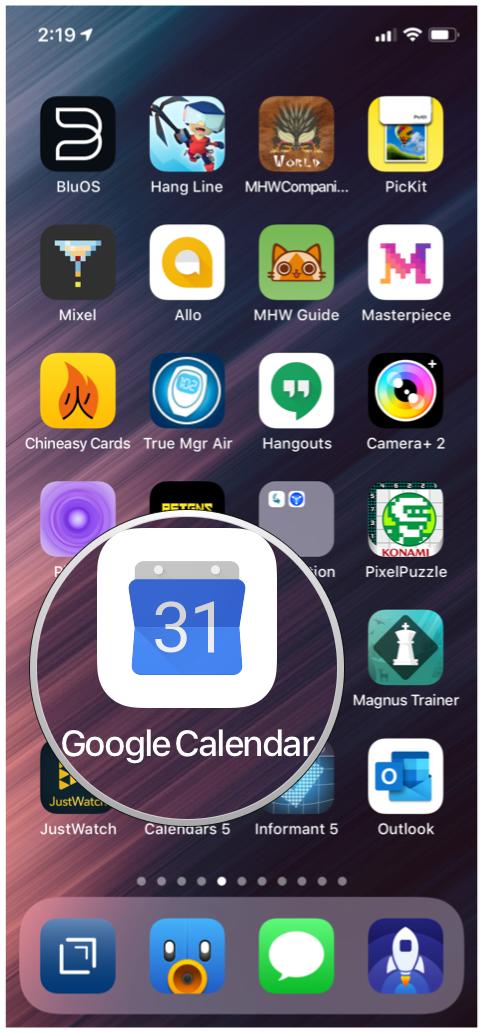
- Launch the Google Calendar app on your iPhone or iPad.
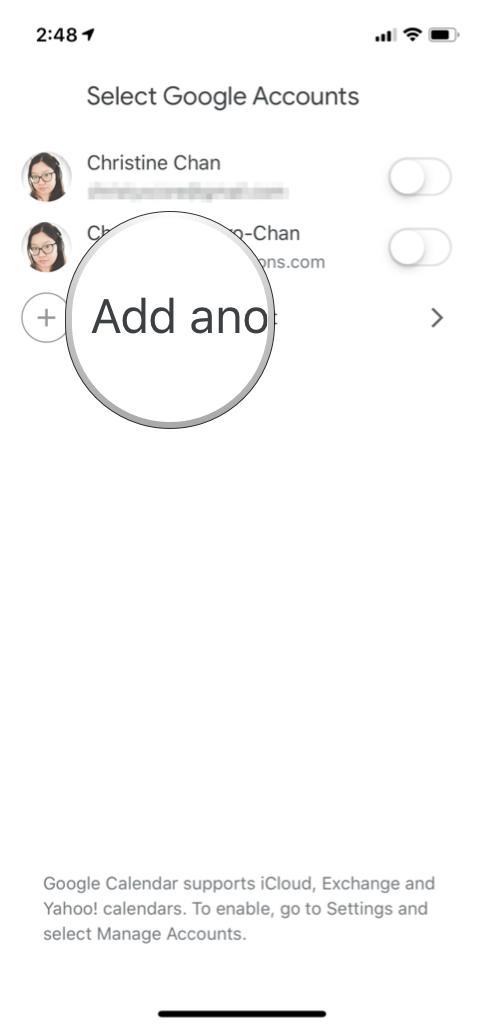
- If you have previously logged in to your Google Account on your device, the Google Calendar app picks up on it and shows you associated accounts—choose the ones you want to use.
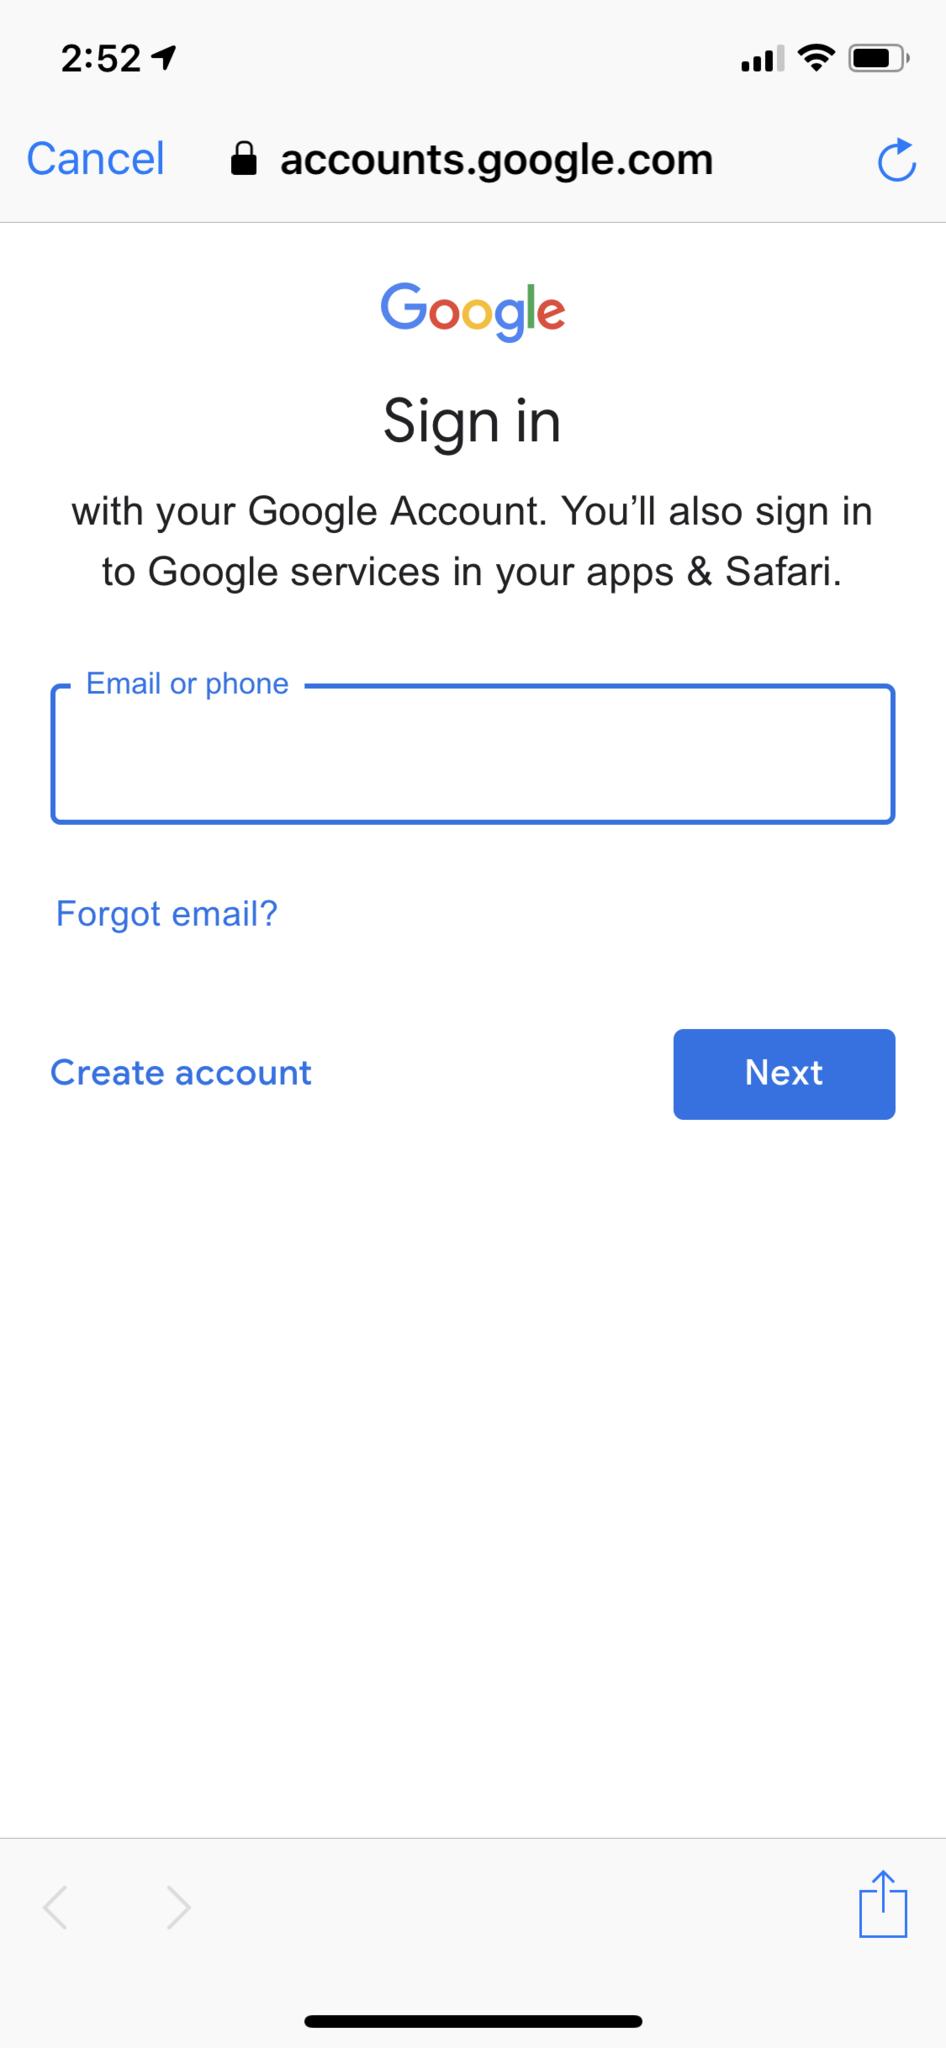
- If the account you want to use doesn't show up in the list, just tap on Add another account and then input your login credentials.
- Tap Get Started once your accounts are in order.
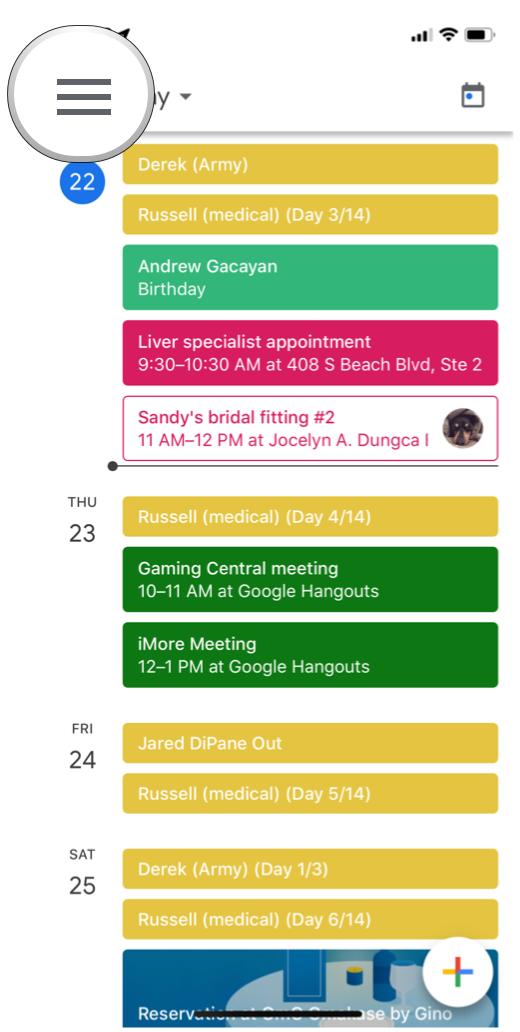
- Tap the side menu button in the top left corner.
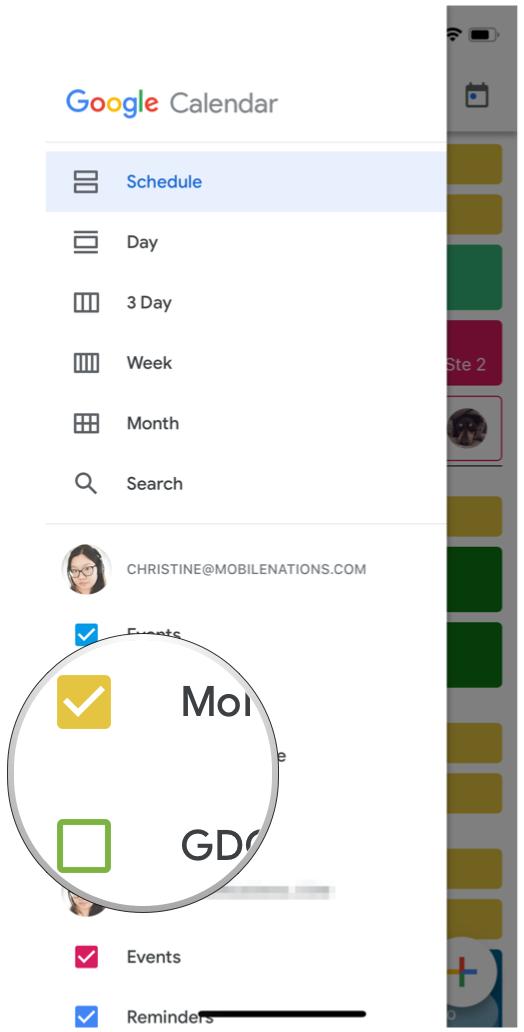
- Select the calendars you want to display or hide.
If you want to add an account later down the line to the Google Calendar app:
- Launch Google Calendar on your iPhone or iPad.
- Tap on the side menu button in the top left corner.


- Scroll down and select Settings.
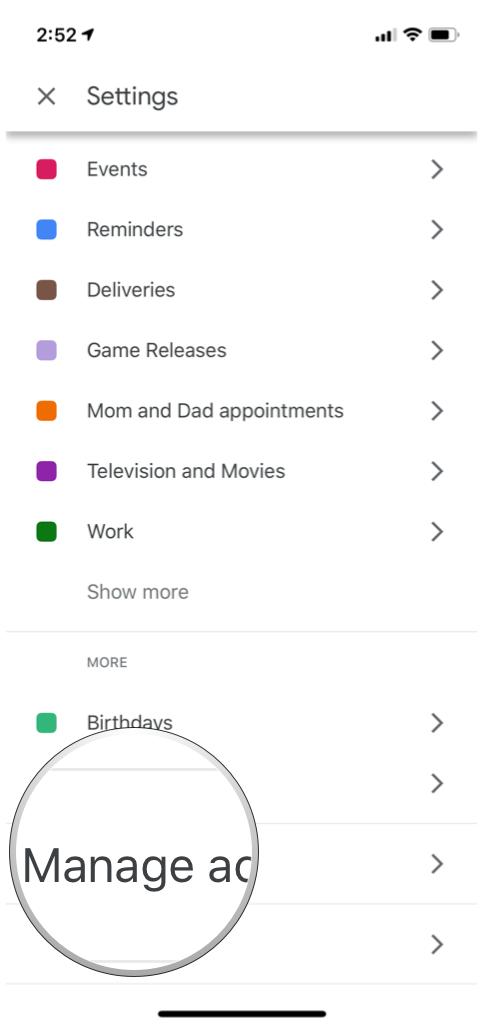
- Scroll down and tap Manage Accounts.
- Select Add another account.
- You can also toggle existing accounts on or off, and also add calendars from iOS in this section.


You cannot create a new calendar in the Google Calendar app. If you need to add a new calendar to you account, you'll need to do it on the website.
How to set up your calendar in Timepage
Timepage by Moleskine is one of the most beautiful calendar apps, as it resembles something like an old-school paper planner (no surprise, since it's by Moleskine). While you do need a membership (there's a 7-day trial) to do things like add new events, viewing your schedule is free, and sometimes you'll just appreciate the gorgeous view. It also has Reminder integration, tells you when you should leave, lets you know about the forecast, and more.
Free with in-app purchases - Download Now
Like other calendar apps, Moleskine pulls data from the iOS Calendar data that you have.
- Launch Settings on your iPhone or iPad.
- Go into Passwords & Accounts.
- Tap Add Account.


- Select your provider, then log in with your account credentials.
- Once you give access and the account is verified, make sure that at least Calendars is selected (you can also turn on Mail, Contacts, and Notes if you want).


- Repeat steps 3-5 for as many accounts as needed.
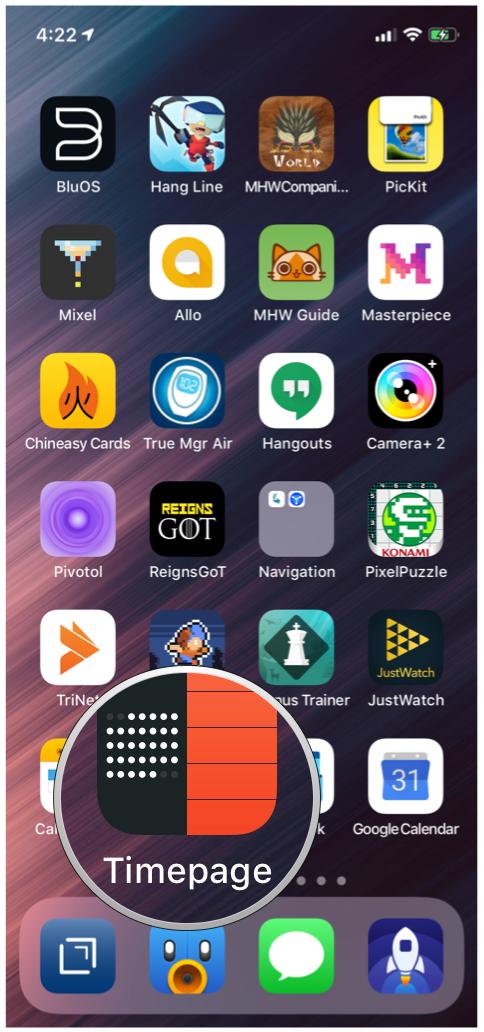
- Launch Timepage on your iPhone or iPad.
- On initial setup, it will ask you to create an account, but you can also skip this and do it later.
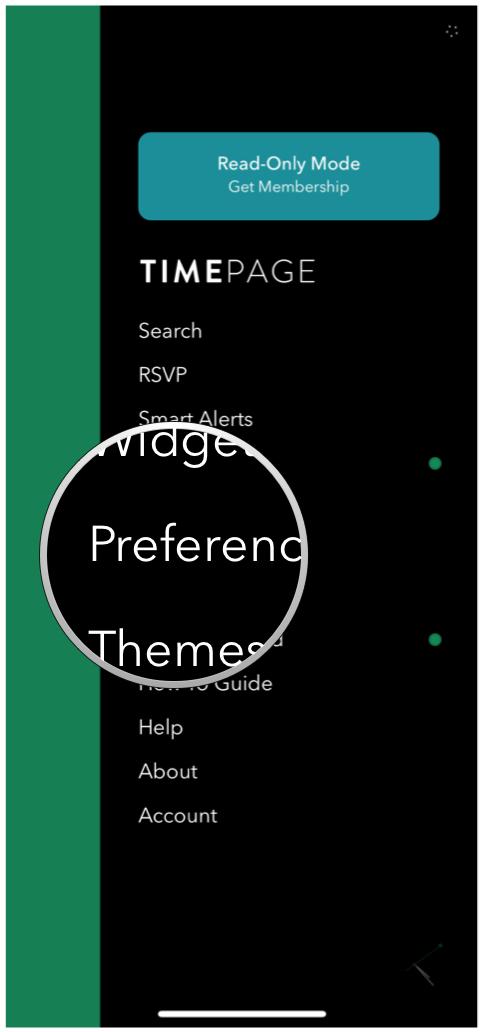
- Swipe right-to-left to access the main menu.
- Select Preferences.
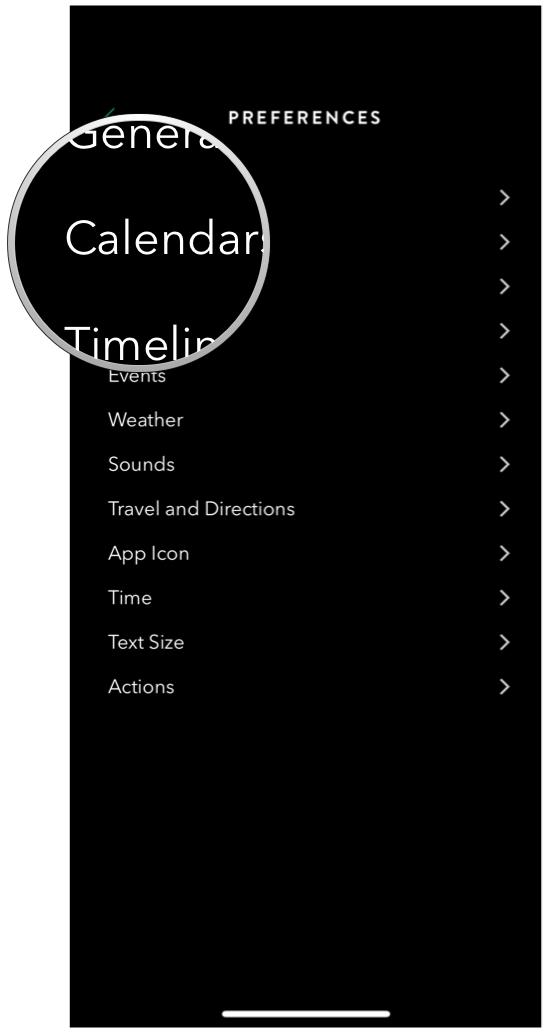
- Tap on Calendars.
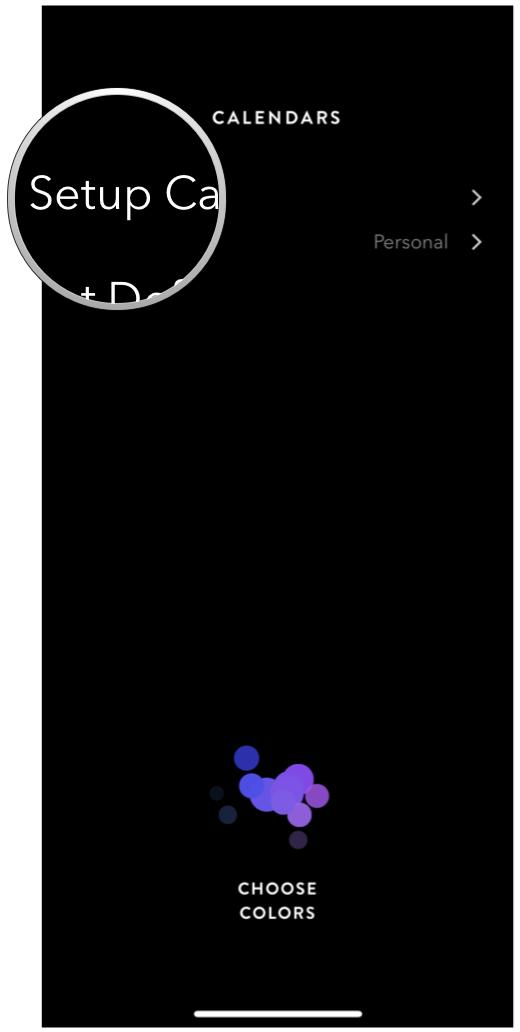
- Tap on Setup Calendars.
- Choose the calendars that you want Timepage to display.
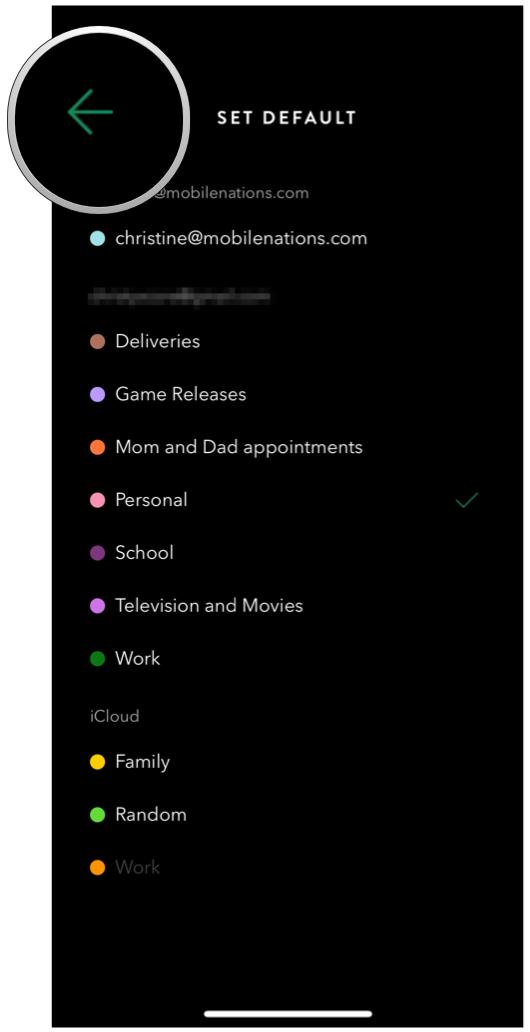
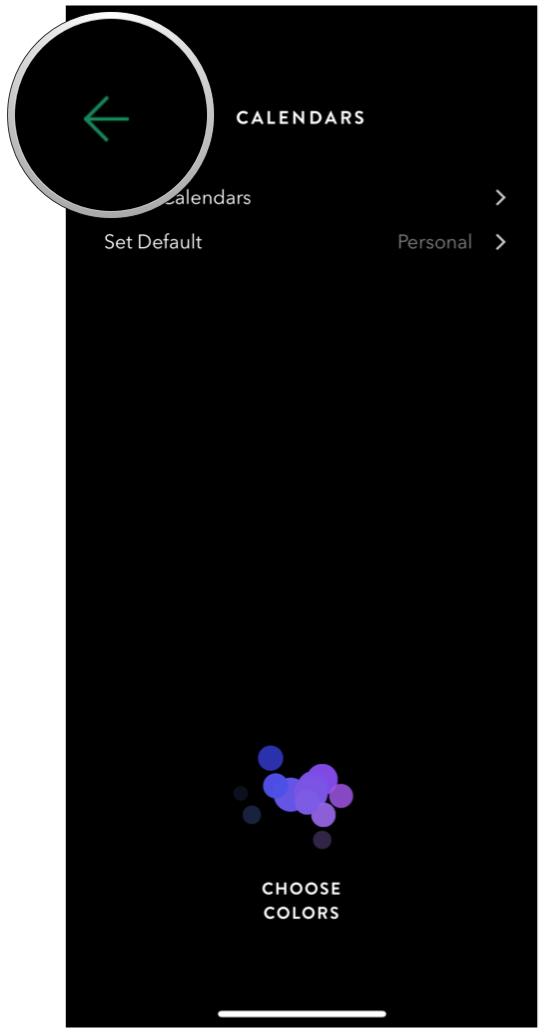
- Tap on the back button.
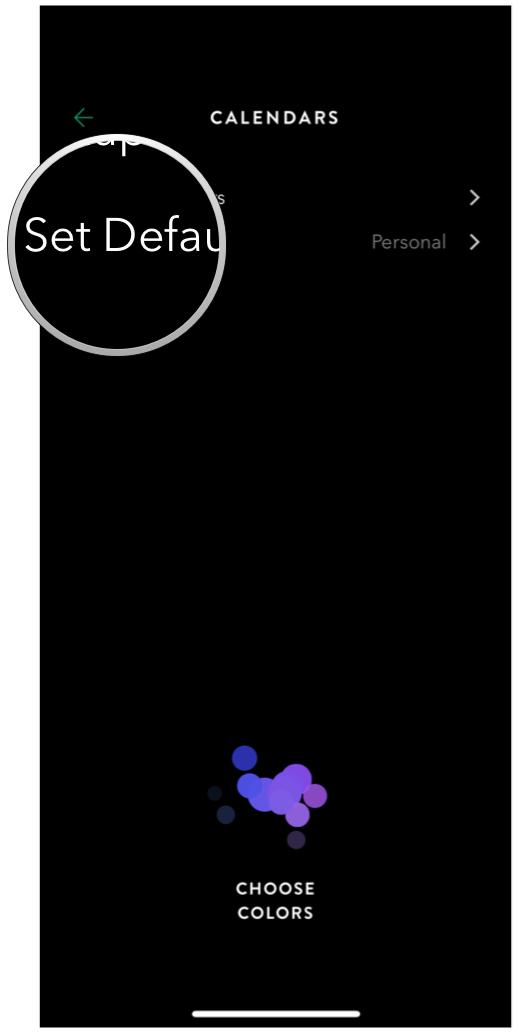
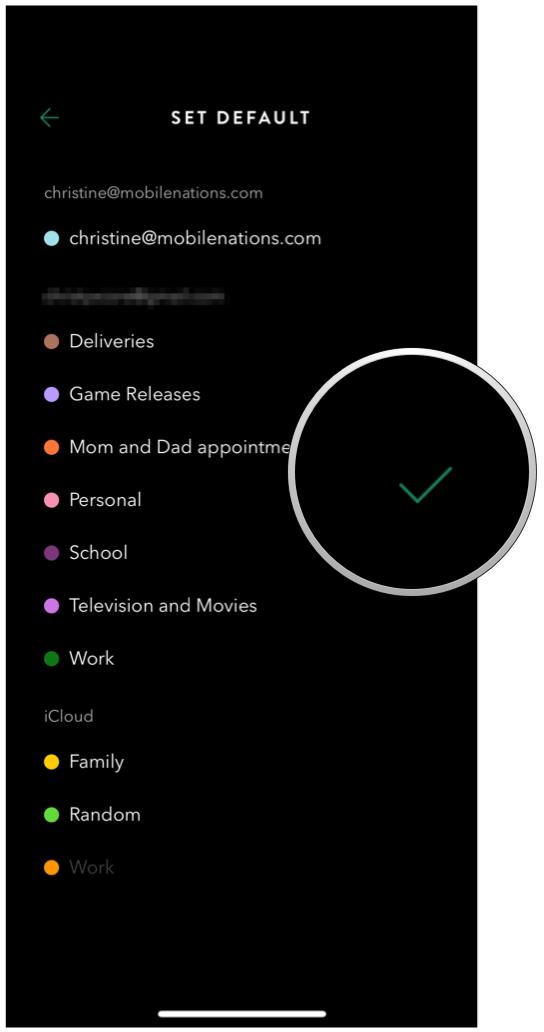
- Tap on Set Default to pick your default calendar to add events to (membership required).
- Select your default calendar.
- Tap back until you return to the main schedule view.
To get the most out of Timepage, you will need a membership. Fortunately, there is a 7-day trial to test out all of the features of Timepage before you decide. It's definitely one of the prettier calendar apps, and it has a good amount of functionality. If you find it useful, then it can be worth the subscription.
How to set up your calendar in Microsoft Outlook
Microsoft Outlook is a powerful solution for those who want to manage both their email and schedule in a single app. This is great when you often get emails and event invites and need to double check your calendar before responding. It's one of Outlook's strengths, and easy to set up.
Before you start, you'll need to set up your email account with Outlook first. Once your account is set up, Outlook will automatically fetch your calendar that is associated with the account.
How to set up your email in Microsoft Outlook
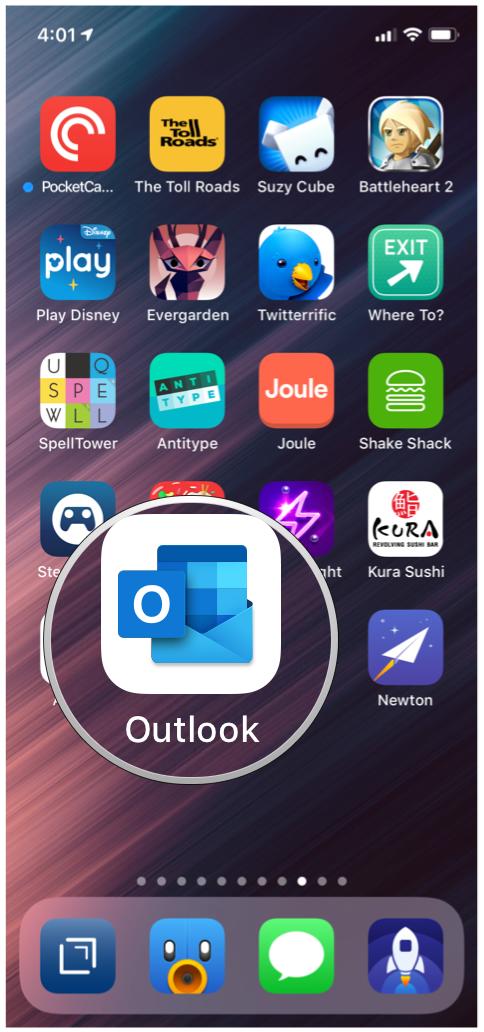
- Launch Outlook on your iPhone or iPad.
- Select the Calendar view from the bottom toolbar.
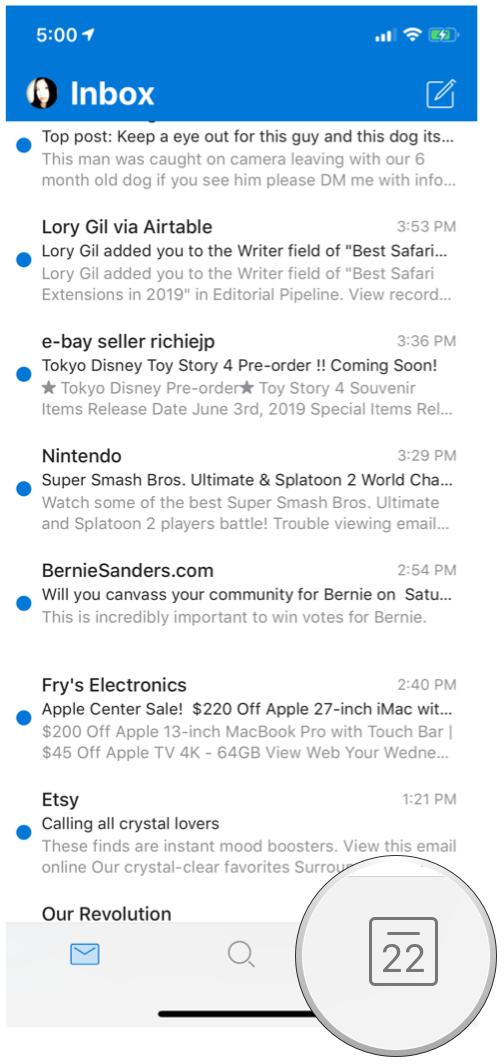
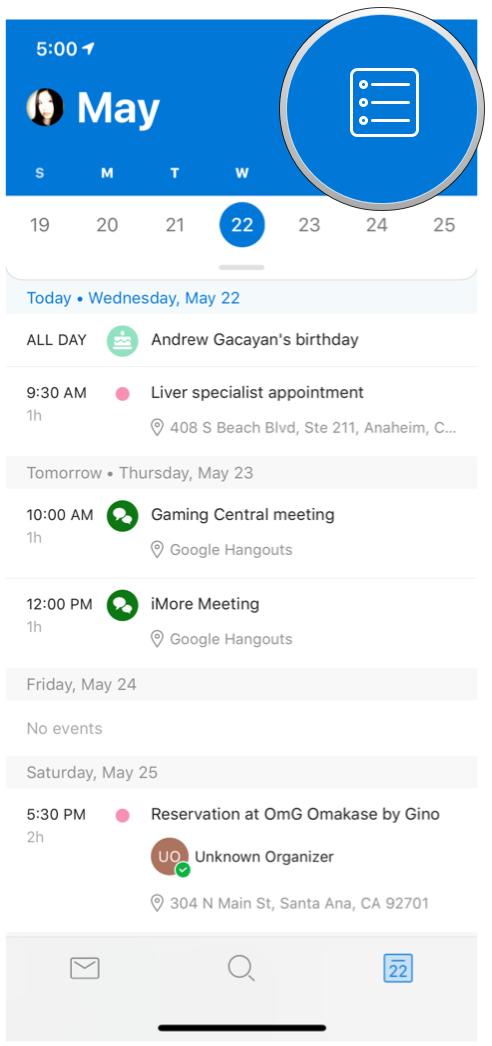
- All calendar events that are on your associated account's calendar will appear.
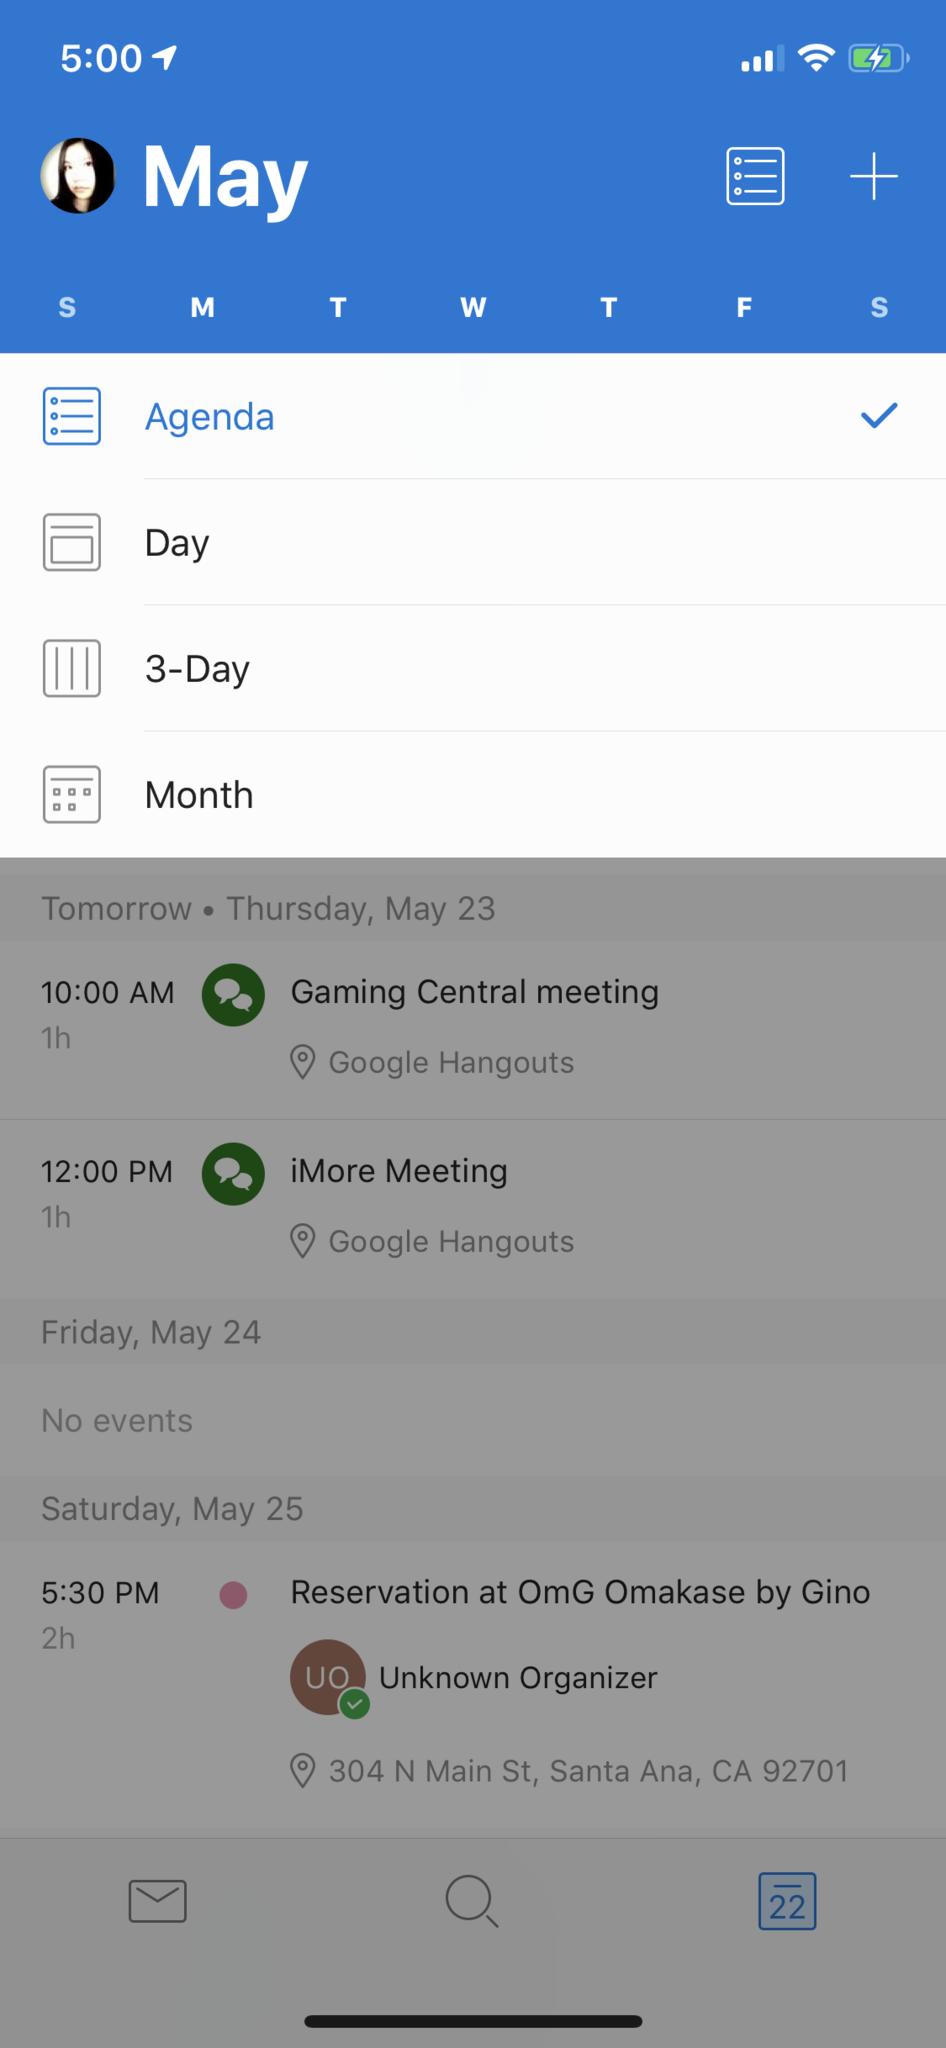
- Tap on the view button to switch between Agenda, Day, 3-Day, or Month views.
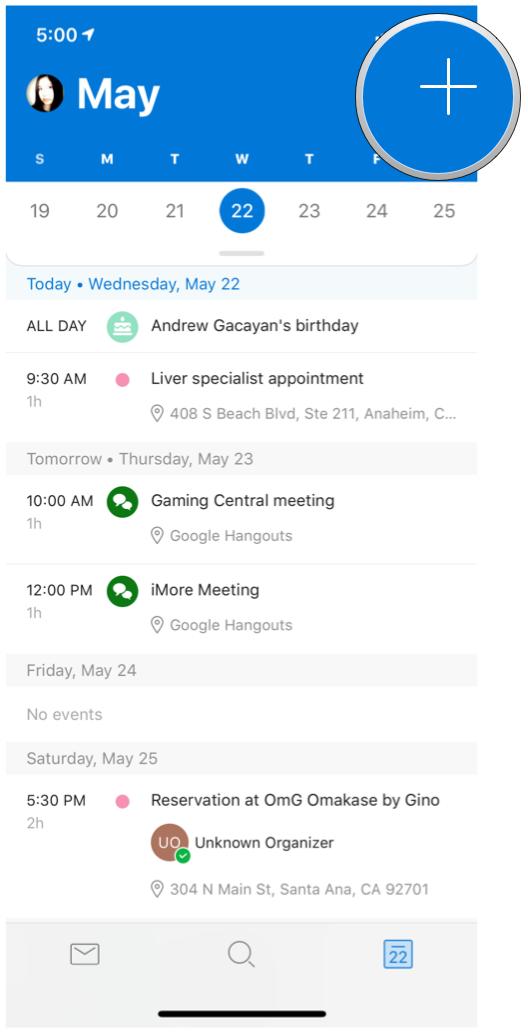
- Tap on the Create button to add a new event.
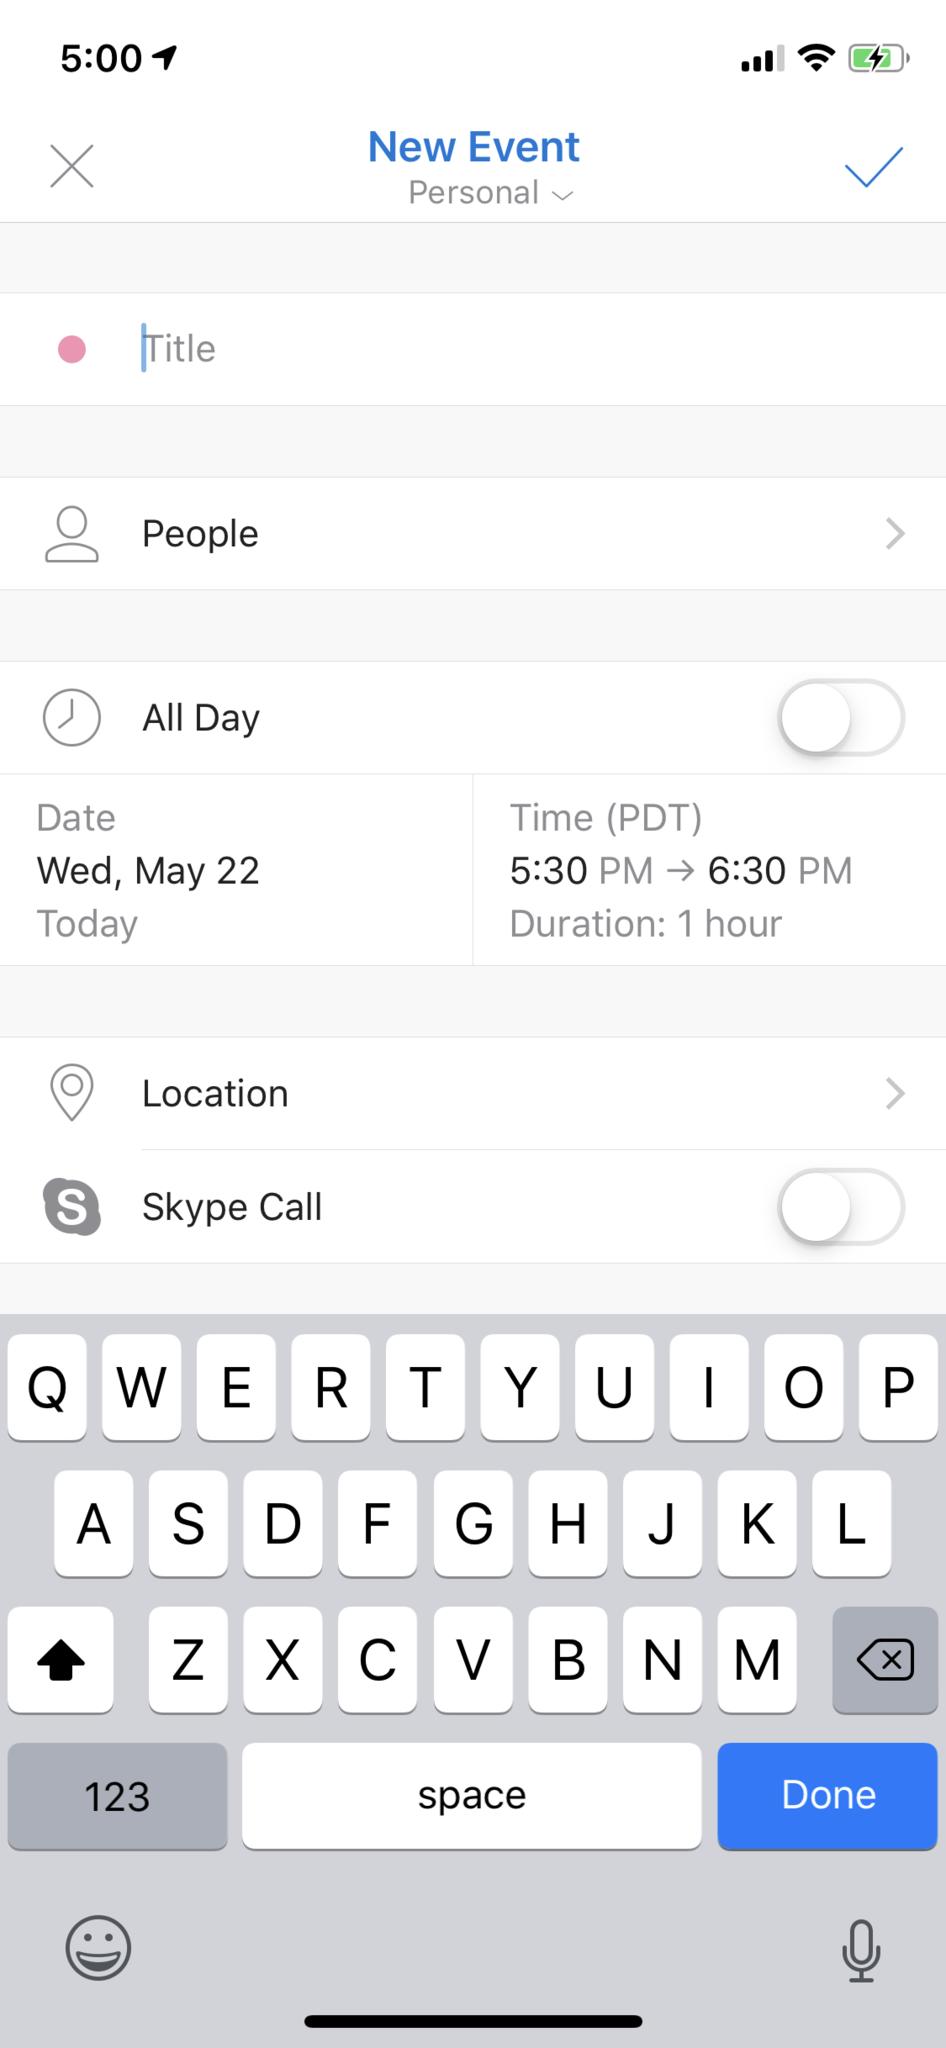
Manage your schedule like a boss
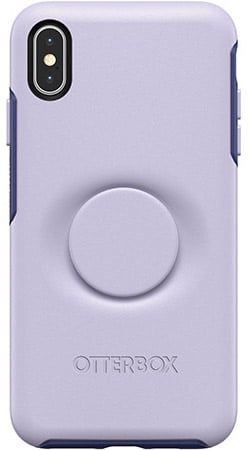
Otter+Pop Symmetry Series Case ($50 and up at OtterBox)
The Otter+Pop Symmetry Series case for your iPhone model is our favorite case. It comes with a built-in Popsocket that sits flush and works with wireless charging. Checking your schedule with one hand has never been easier or more doable.
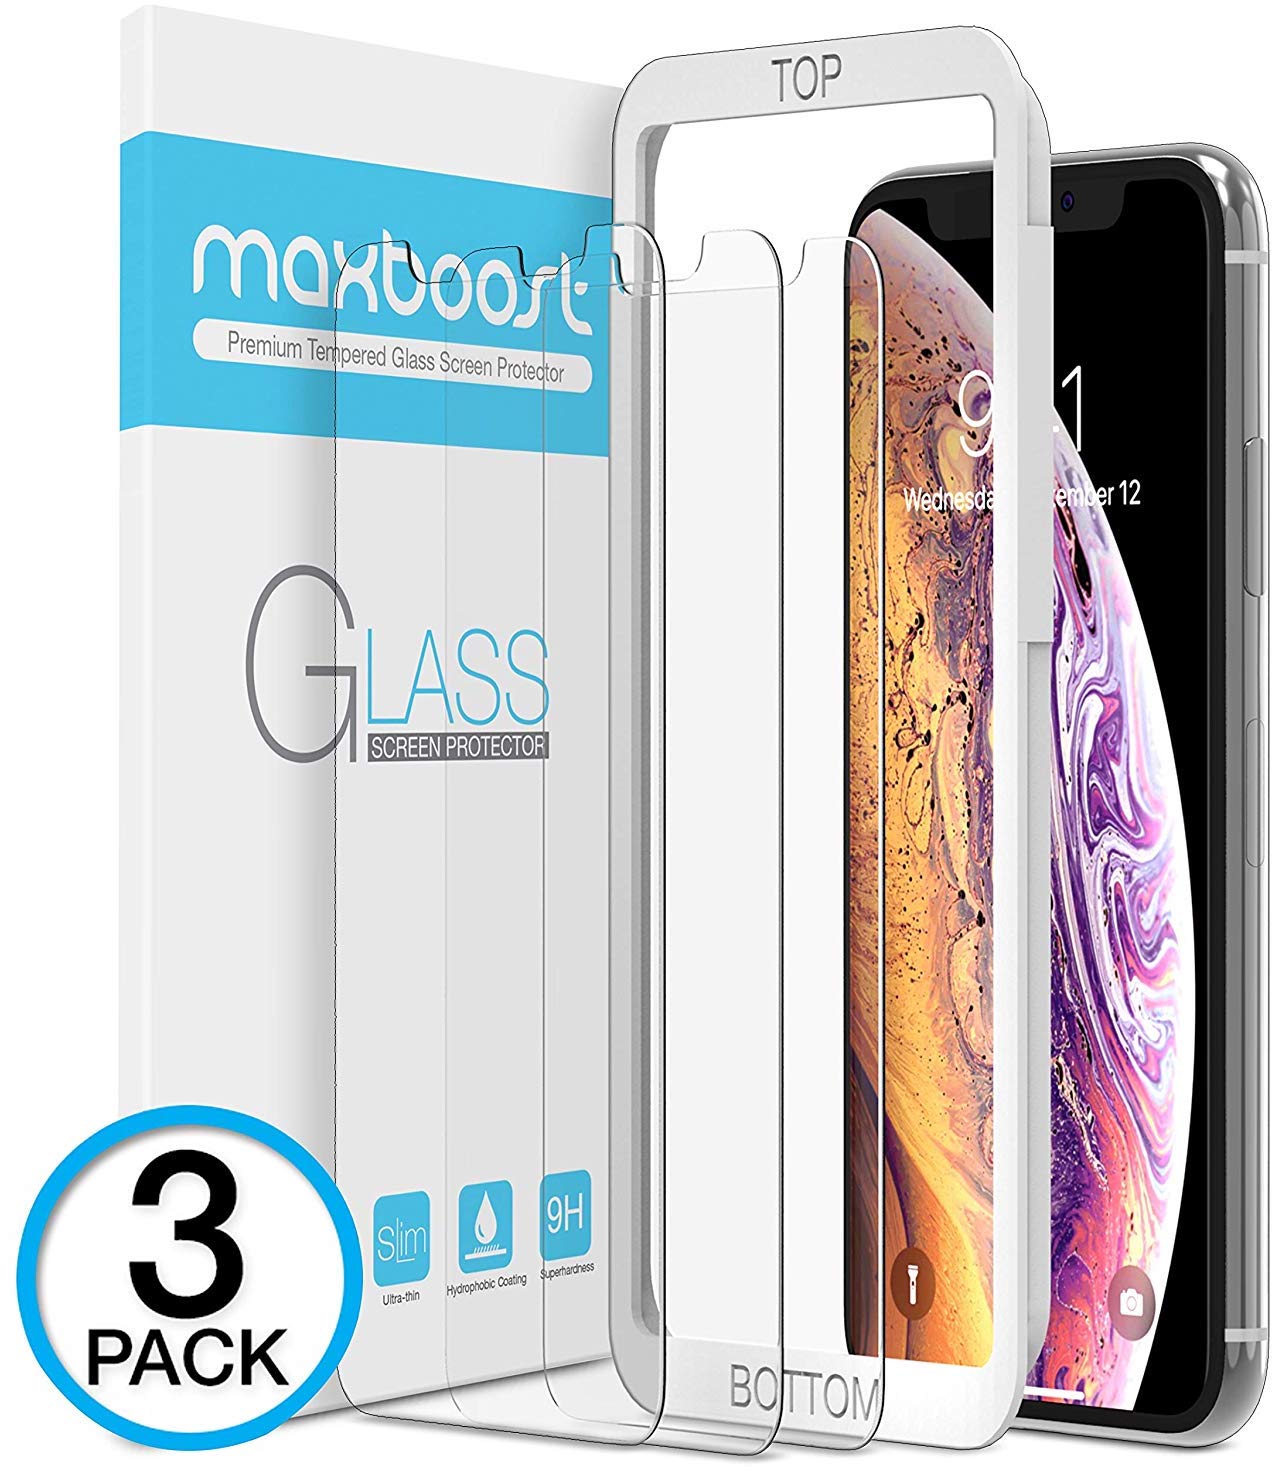
Maxboost Screen Protector ($14 at Amazon)
Make sure you protect your iPhone screen while dealing with your hectic schedule! Maxboost's screen protector for the iPhone XS is made of tempered glass for maximum protection for your screen. It is super thin at only 0.25mm and has 99 percent touch accuracy. Plus, you get three in one pack.
Questions?
These are some of the better calendar apps out there, and they provide some great features that you won't find in Apple's own Calendar app. So give them a whirl and see what works best for you! If you have any questions about these, let us know in the comments.
Christine Romero-Chan was formerly a Senior Editor for iMore. She has been writing about technology, specifically Apple, for over a decade at a variety of websites. She is currently part of the Digital Trends team, and has been using Apple’s smartphone since the original iPhone back in 2007. While her main speciality is the iPhone, she also covers Apple Watch, iPad, and Mac when needed. When she isn’t writing about Apple, Christine can often be found at Disneyland in Anaheim, California, as she is a passholder and obsessed with all things Disney, especially Star Wars. Christine also enjoys coffee, food, photography, mechanical keyboards, and spending as much time with her new daughter as possible.

