The Raspberry Pi mini-computer is so small that those dangling USB cables can make creating projects cumbersome. You can cut out the cable that connects it to the Internet by switching to Wi-Fi. All you need is a compatible USB Wi-Fi adapter, which you can pick up at most electronics and office supply stores. The setup process is simple if you follow the steps below.
How to connect the USB Wi-Fi adapter
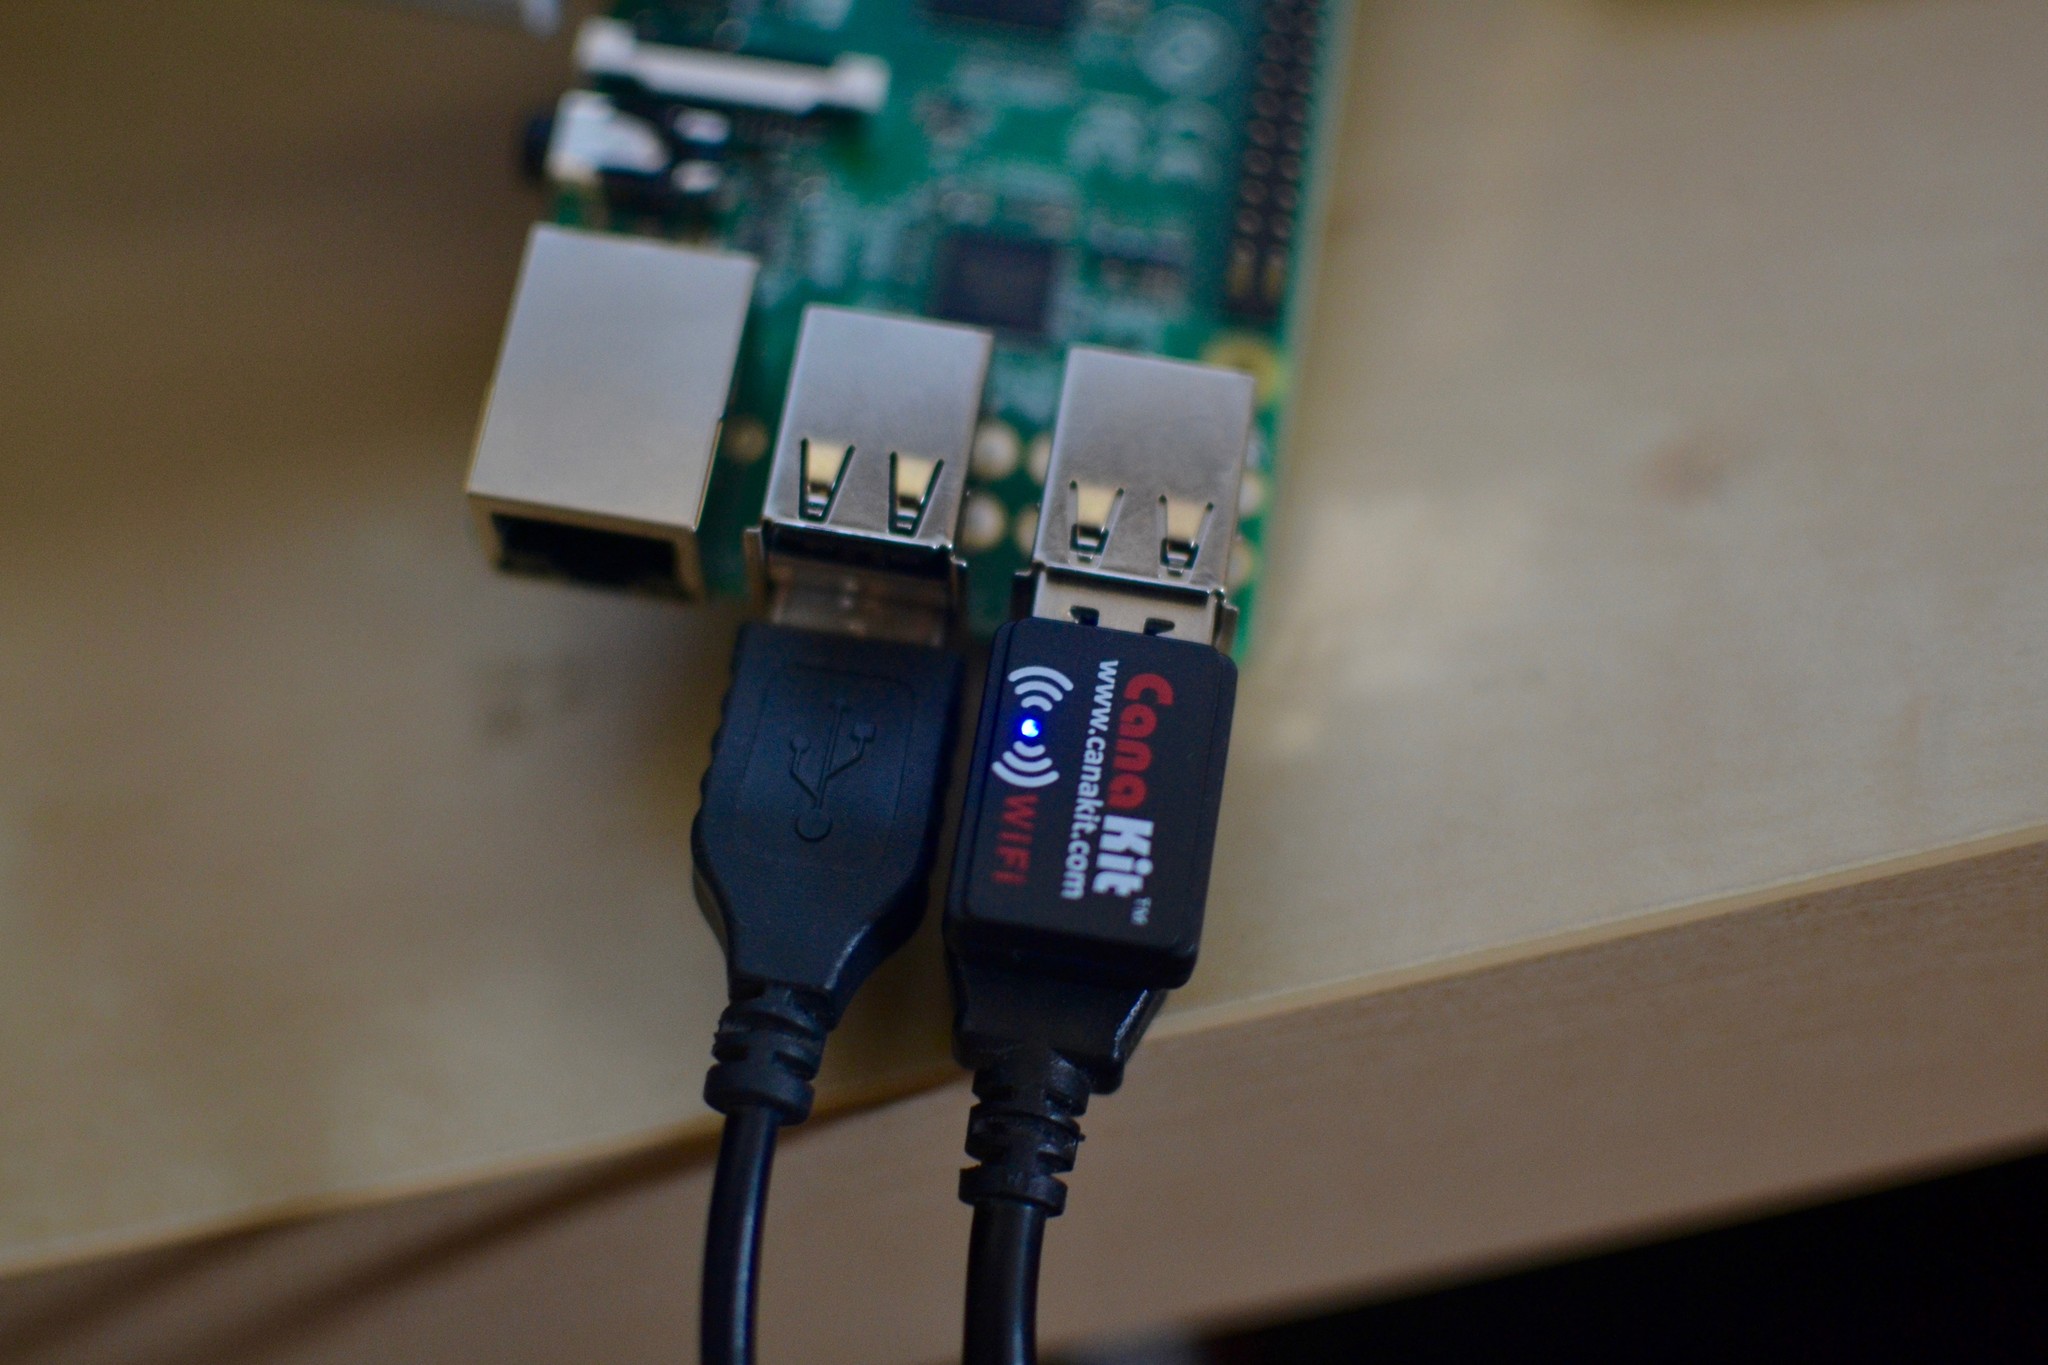
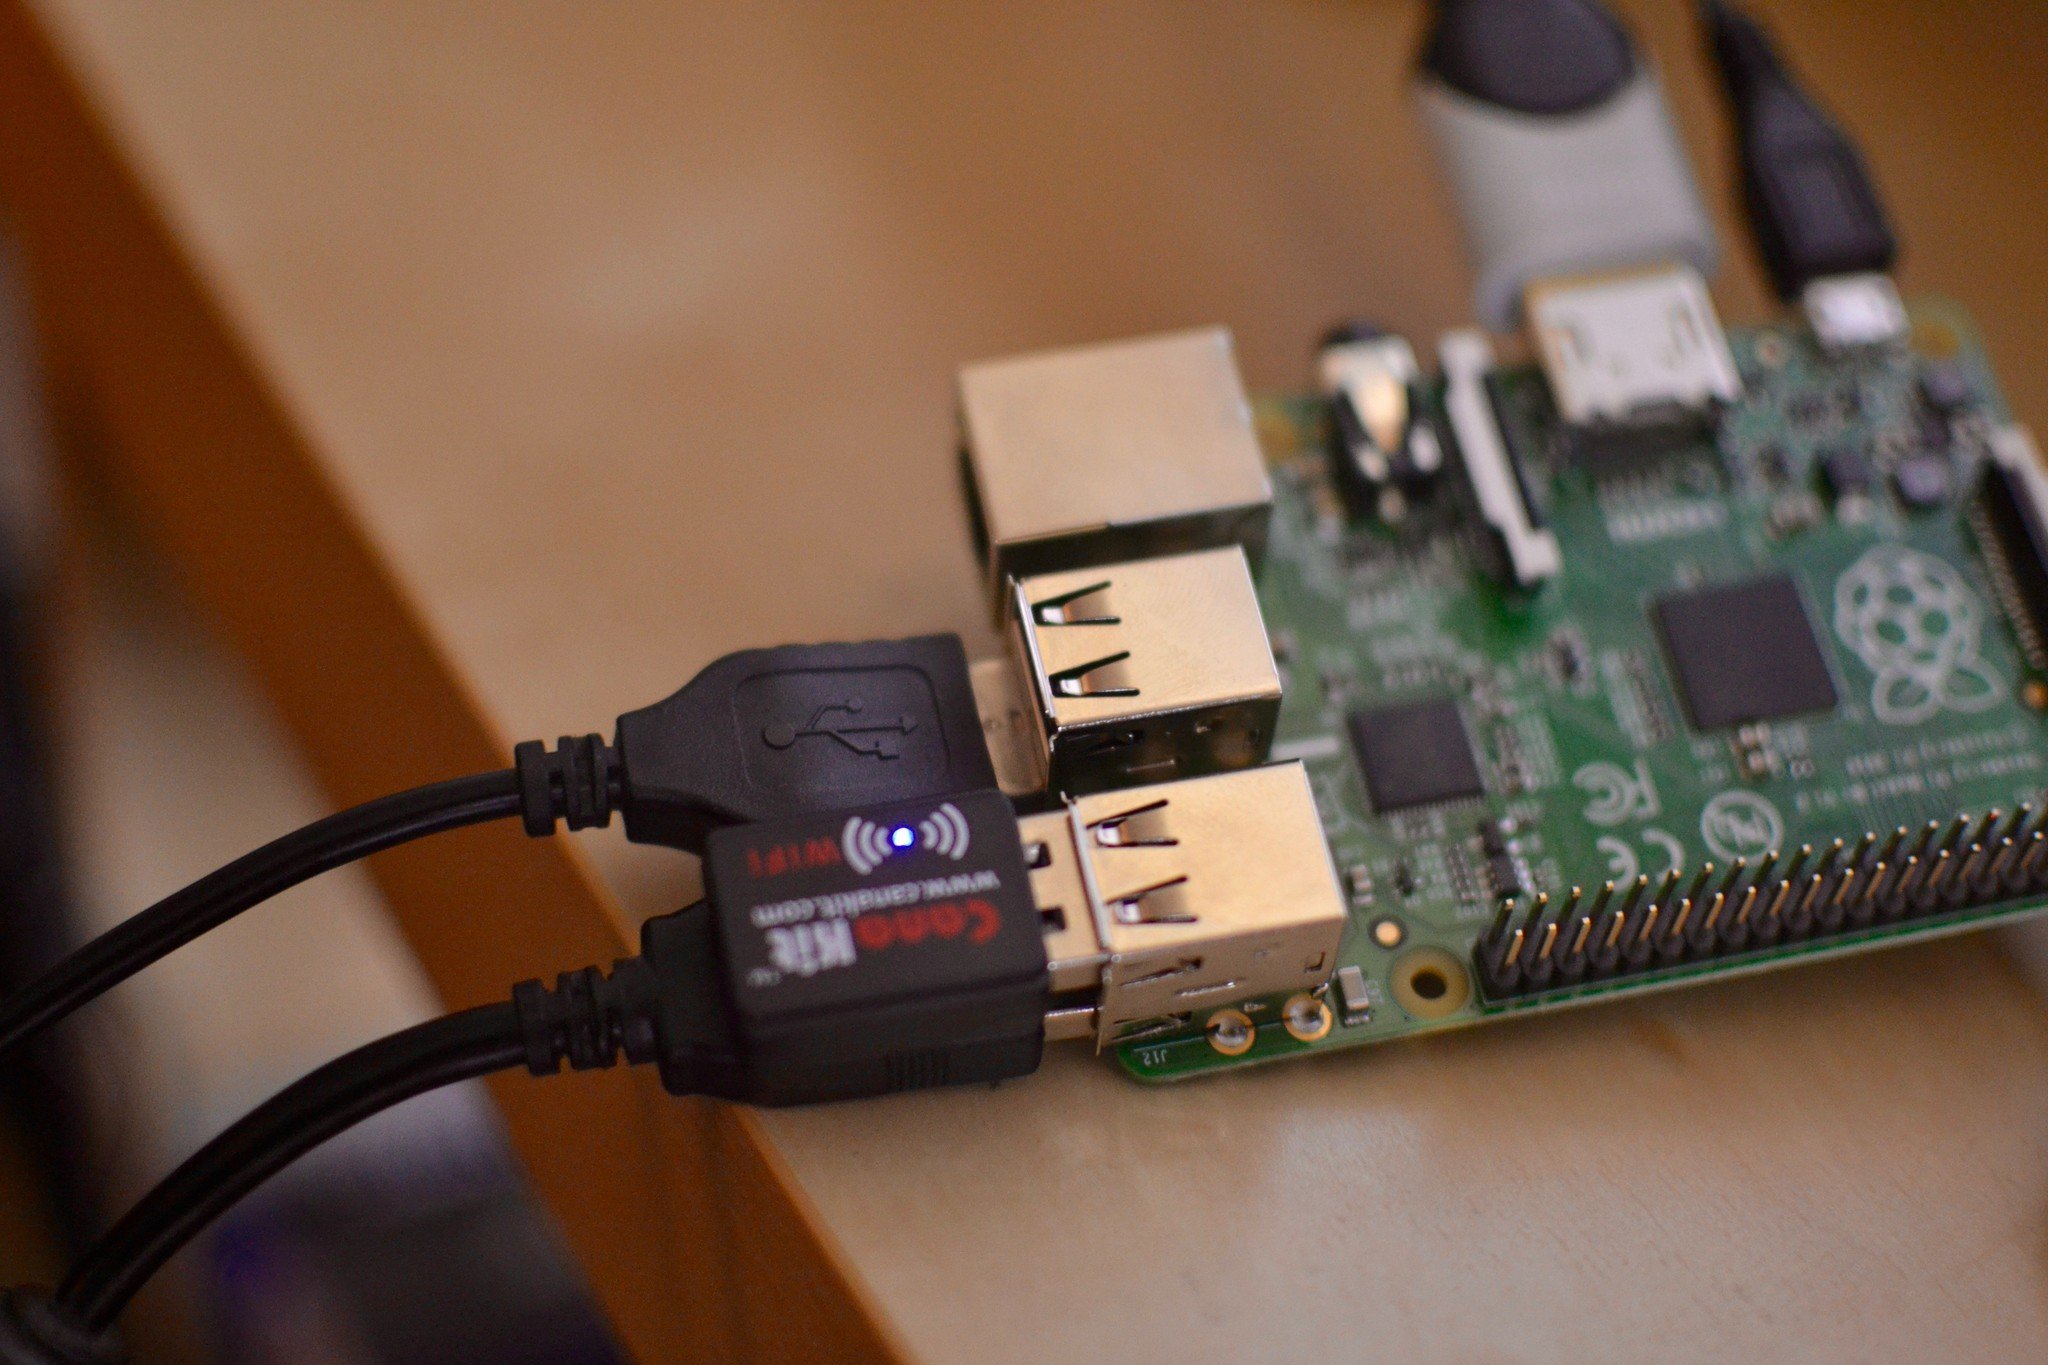
Before you boot up your Raspberry Pi, make sure the Wi-Fi adapter is plugged in.
- Connect the Wi-Fi adapter to any open USB port on the Raspberry Pi.

- Connect all additional peripherals, like the monitor, keyboard and mouse.
- Connect the Raspberry Pi to its microUSB power source.

When the Raspberry Pi boots up, it will automatically recognize the Wi-Fi adapter if it is compatible.
How to check to make sure Raspberry Pi recognizes your USB Wi-Fi adapter
It is important to make sure your Wi-Fi adapter is compatible with your Raspberry Pi. Adafruit has a list of compatible Wi-Fi adapters for Raspberry Pi, but a Google search will bring a plethora of options. Once your Raspberry Pi has booted up, you can check the boot list to make sure it recognizes your Wi-Fi adapter.
- Select Terminal to open a command window. It is the icon in the upper left corner of the screen that looks like a computer monitor
- When Terminal opens, type the following command: dmesg | more

- Press Enter on the keyboard. A long list of boot code will appear.
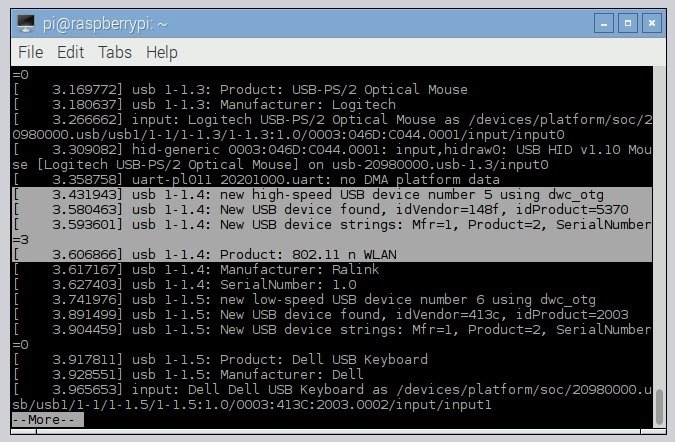
- Tap the space bar to page down, about 10 times, until you see the highlighted boot reference below.

This code confirms that Raspberry Pi recognizes the connected USB Wi-Fi adapter. If the highlighted code isn't on the boot list, your Wi-Fi adapter may not be compatible.
How to log on to the local Wi-Fi network
Logging on to the local Wi-Fi network is just about as easy as joining on your home computer.
- Select the Wi-Fi icon in the upper right corner of the screen. A list of nearby networks will appear.
- Select the network you wish to join. A password entry window will appear.

- Enter the Wi-Fi password in the form next to Pre Shared Key.
- Select OK.

You will be logged onto the local Wi-Fi network and ready to go online.
Master your iPhone in minutes
iMore offers spot-on advice and guidance from our team of experts, with decades of Apple device experience to lean on. Learn more with iMore!

○ See CanaKit's starter kit
○ How to get started
○ How to set up Wi-Fi
○ How to take a screenshot
○ Best projects for iPhone
○ Raspberry Pi hub
Lory is a renaissance woman, writing news, reviews, and how-to guides for iMore. She also fancies herself a bit of a rock star in her town and spends too much time reading comic books. If she's not typing away at her keyboard, you can probably find her at Disneyland or watching Star Wars (or both).

