How to set up your new Mac
Great, you purchased a new Mac. Now what?
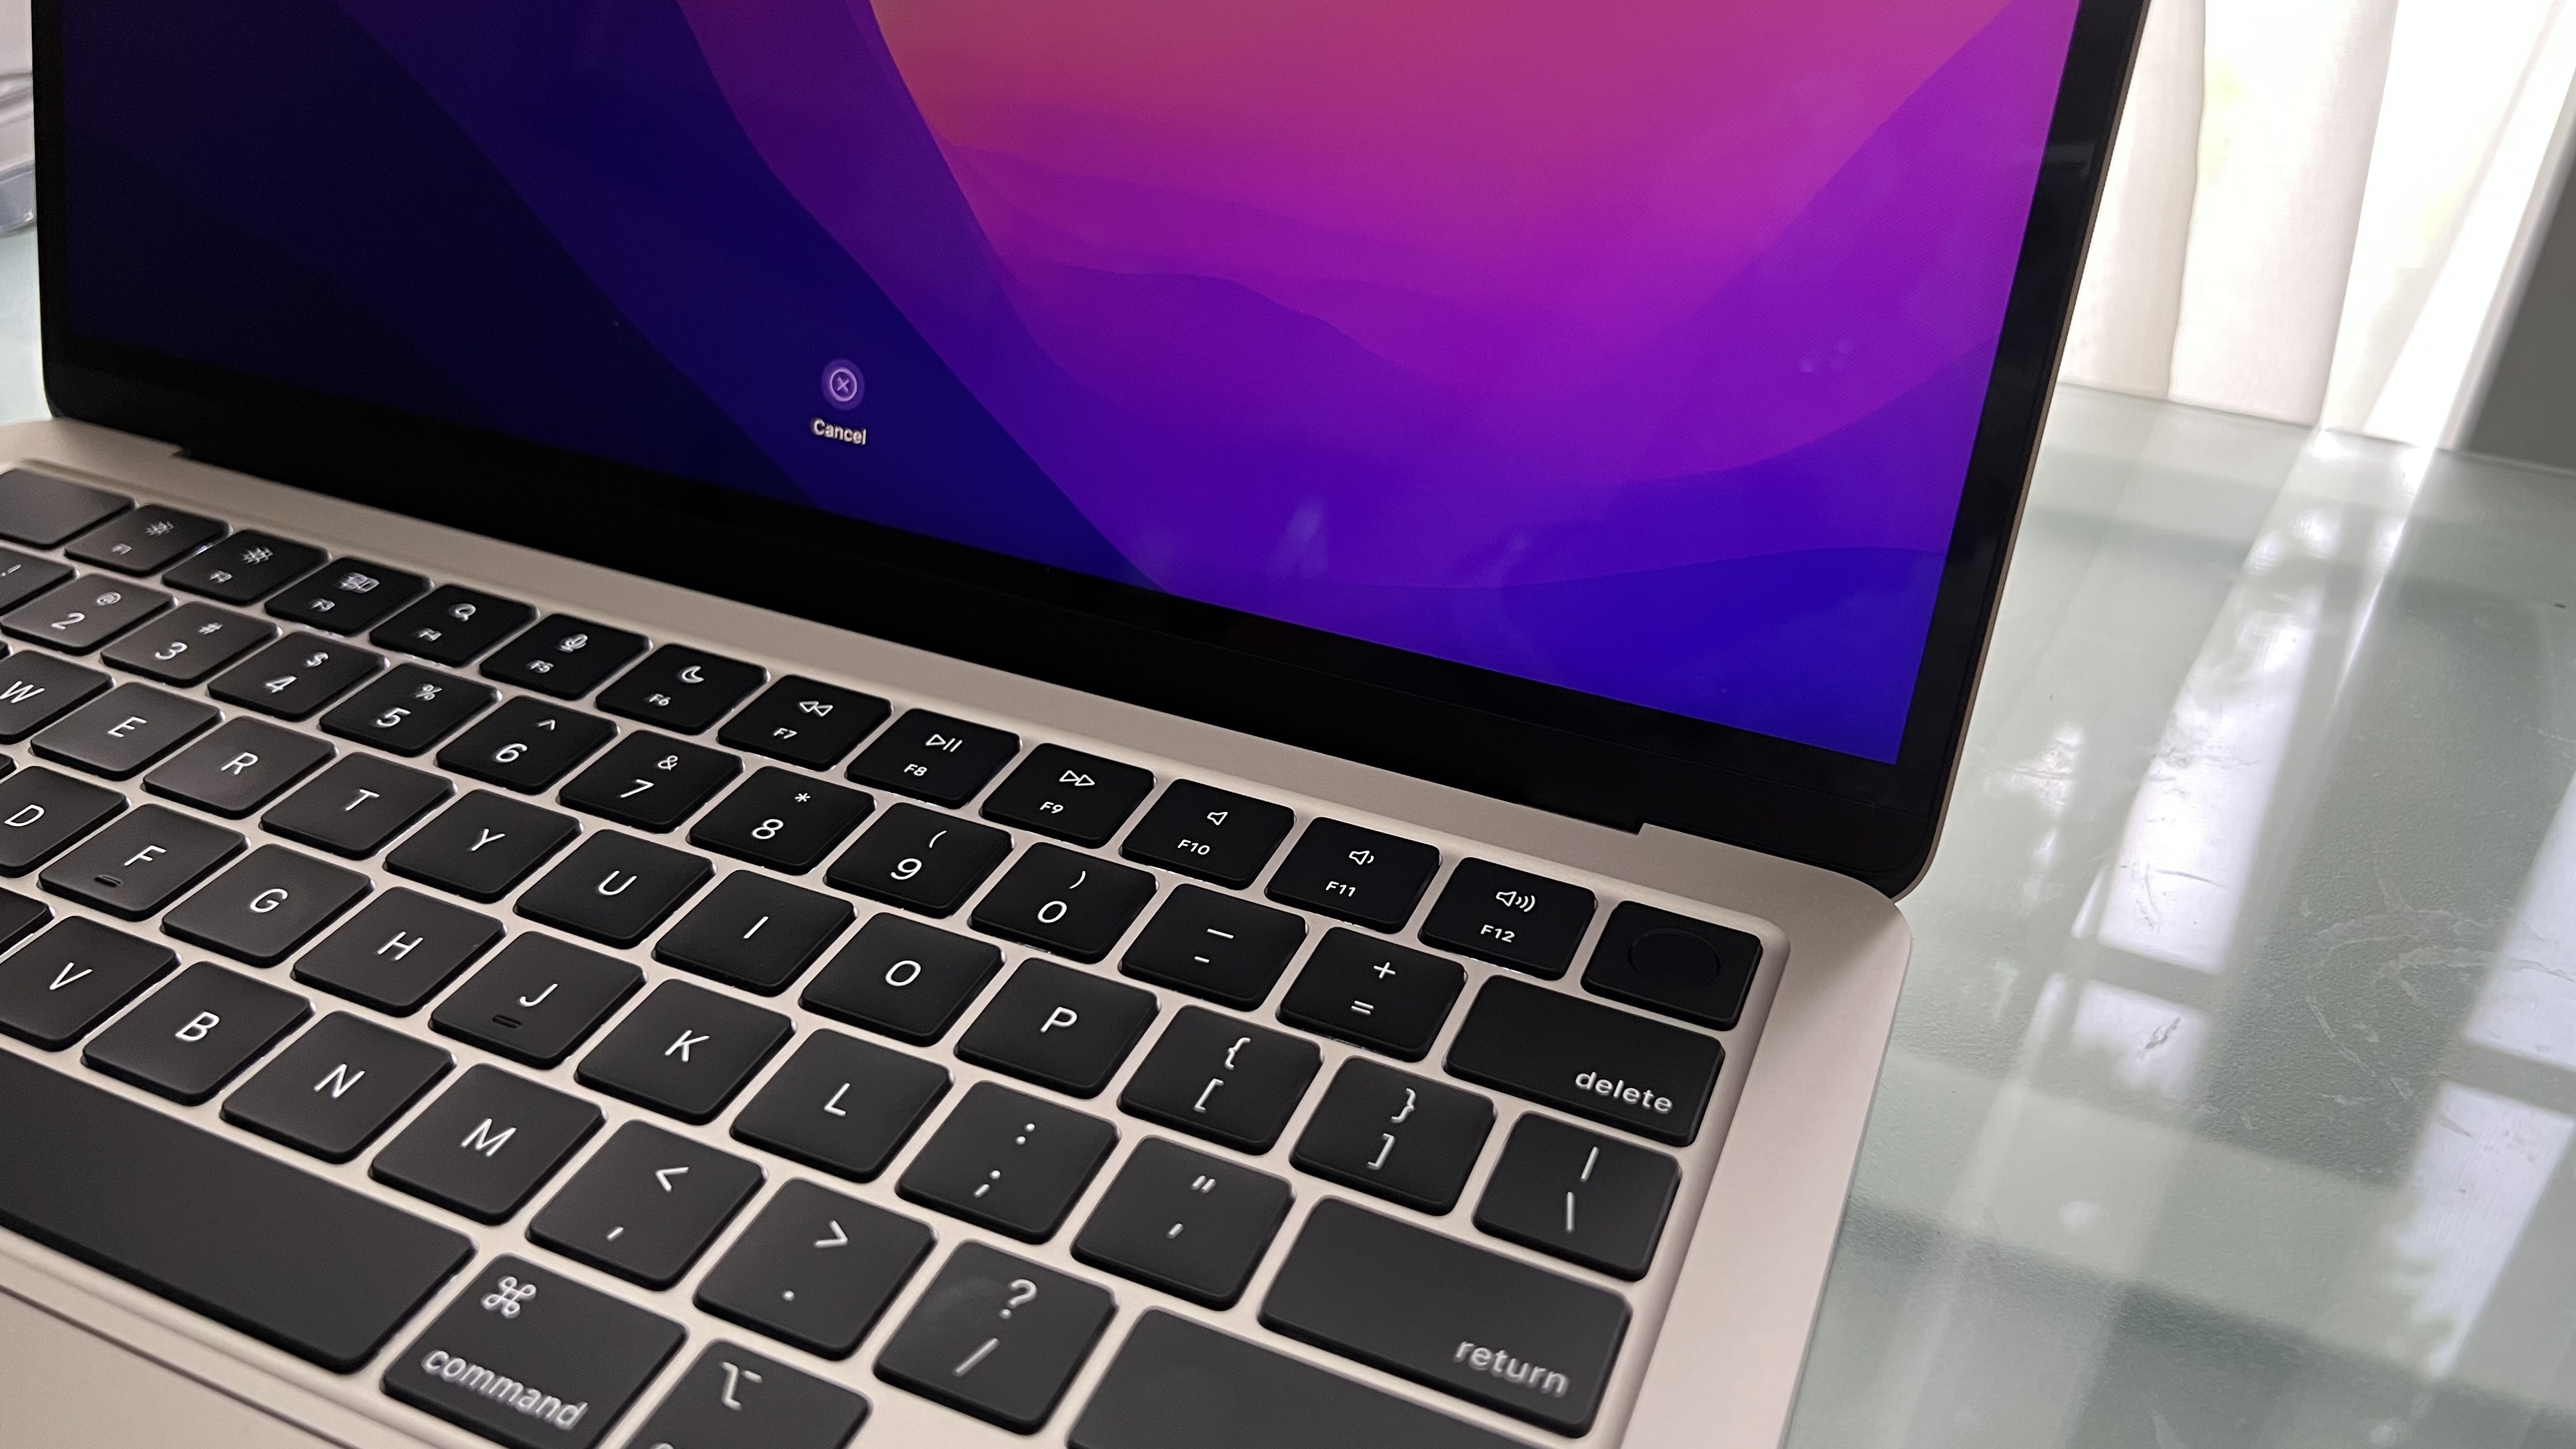
Did you recently receive a new MacBook Air as a Christmas gift? Perhaps you bought a Mac Studio. Regardless of the kind of Mac you purchased, congrats! Getting a new Mac is always a fun experience, and if this is your first Mac, welcome to the club. Setting up a new Mac is straightforward, as you need to follow the on-screen instructions. However, if you're entirely new, you might not understand everything. Don't worry! We're here to help walk you through each step along the way.
And if you aren't new and have an older Mac you're replacing; you'll want to make sure you know how to transfer the data from your old Mac to your new Mac.
How to set up your new Mac
Remember, these steps work on all Macs, including the five-star rated MacBook Air.
- Press the Power button on your Mac to turn it on.
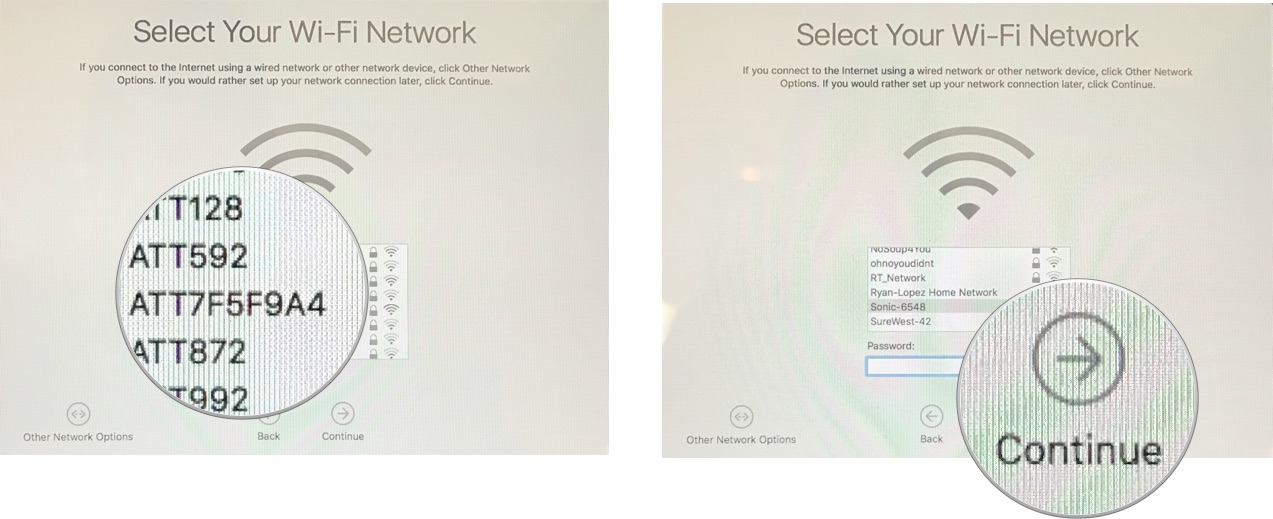
- Select a language. This is the language your computer will write in across the system.
- Click Continue.
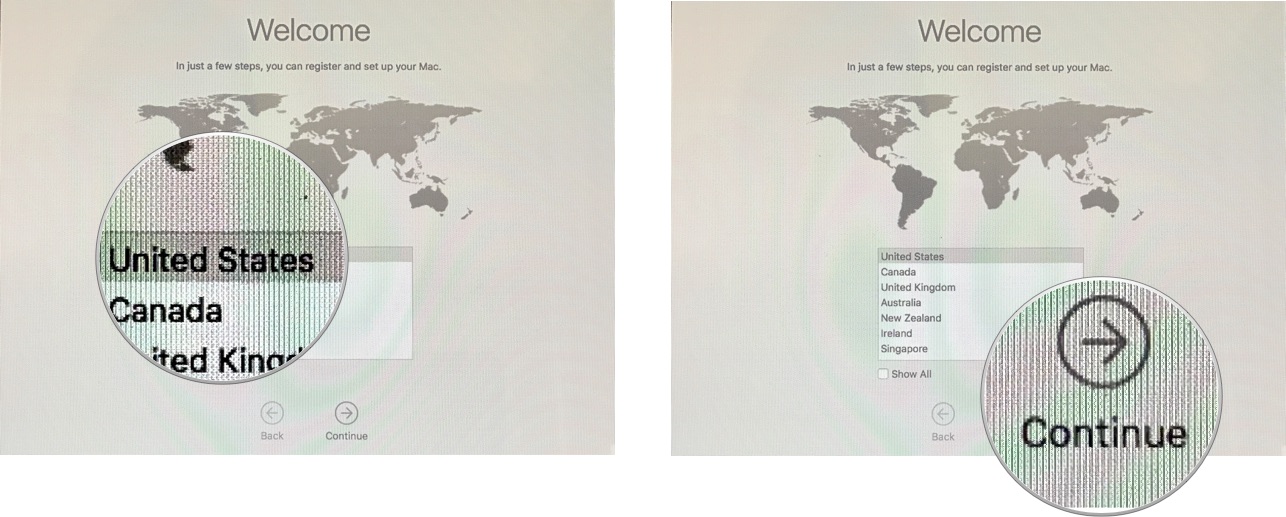
- Select a keyboard layout. This is how your keys will type out onto your computer, no matter what the physical keyboard looks like.
- Click Continue.
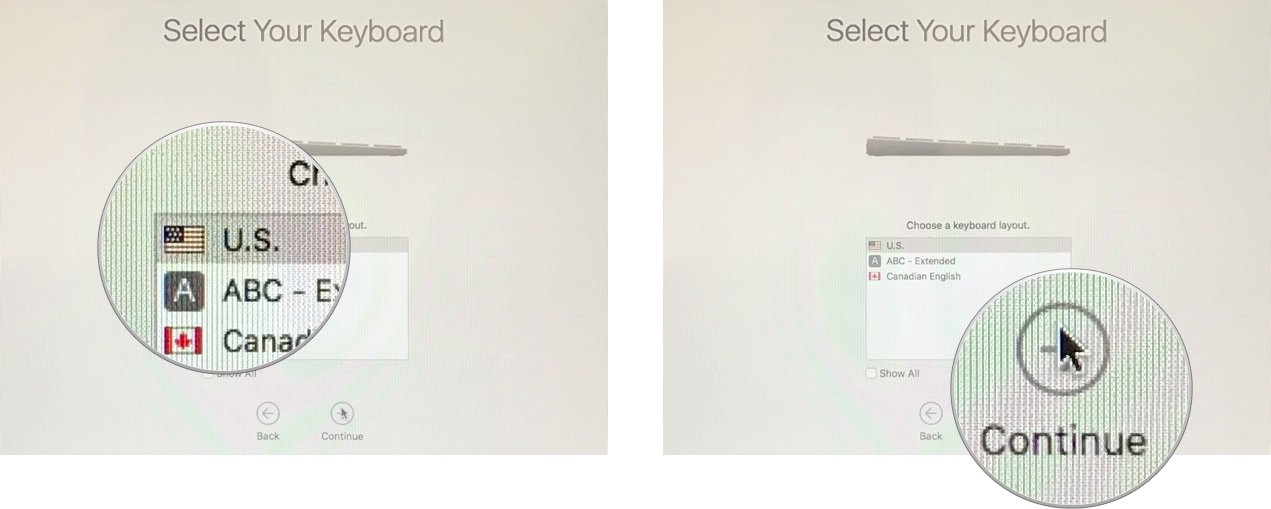
- Select your Wi-Fi network. If you are connecting to the internet using Ethernet, select Other Network Options and select Ethernet.
- Enter your Wi-Fi password if you are using Wi-Fi.
- Click Continue. This may take a few minutes. You may see a spinning wheel and "Looking for networks." This is normal.
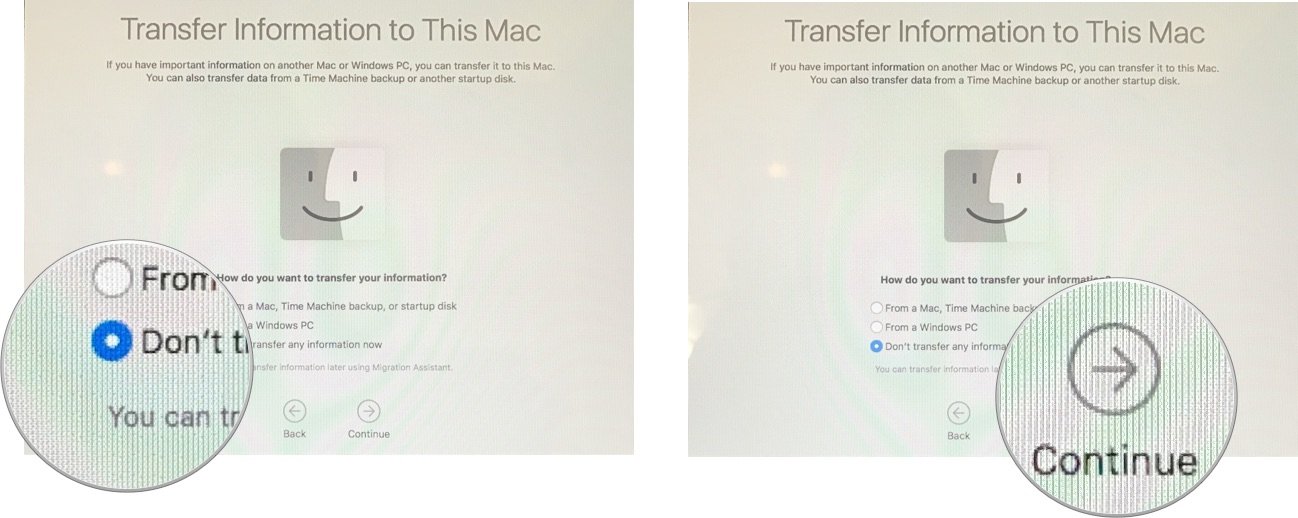
- If you are setting up your Mac as a new computer, select Don't transfer any information now.
- If you are transferring from another Mac, follow these instructions.
- If you are transferring from a PC, follow these instructions.
- Click Continue.
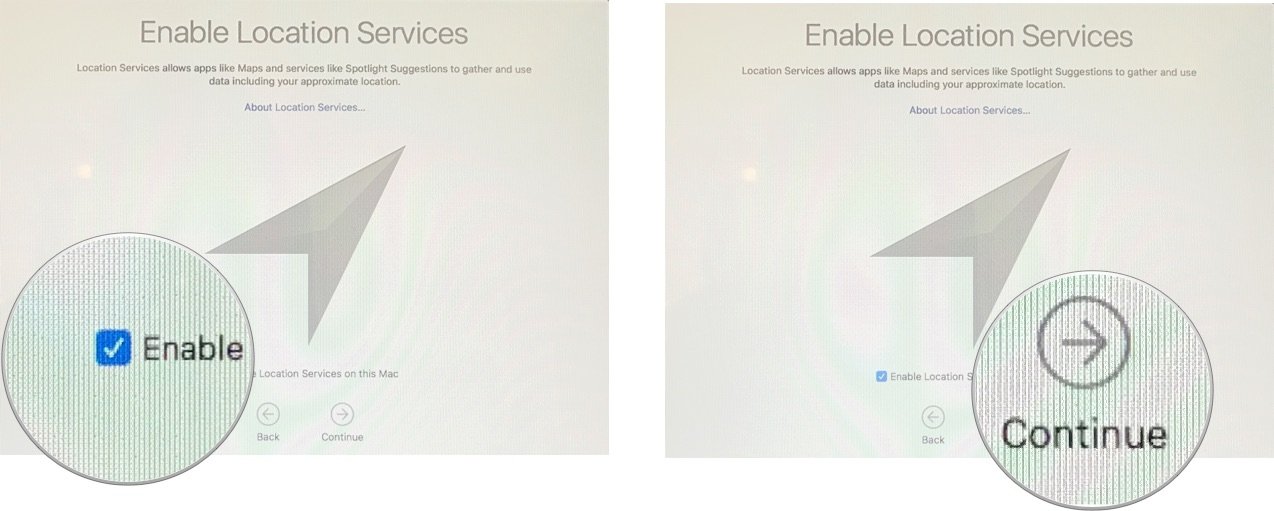
- Tick the box for Enable Location Services on this Mac. This service is vital for use with Siri, Maps, Spotlight suggestions, and more. If you don't want Apple to access your location, do not tick this box.
- Click Continue.
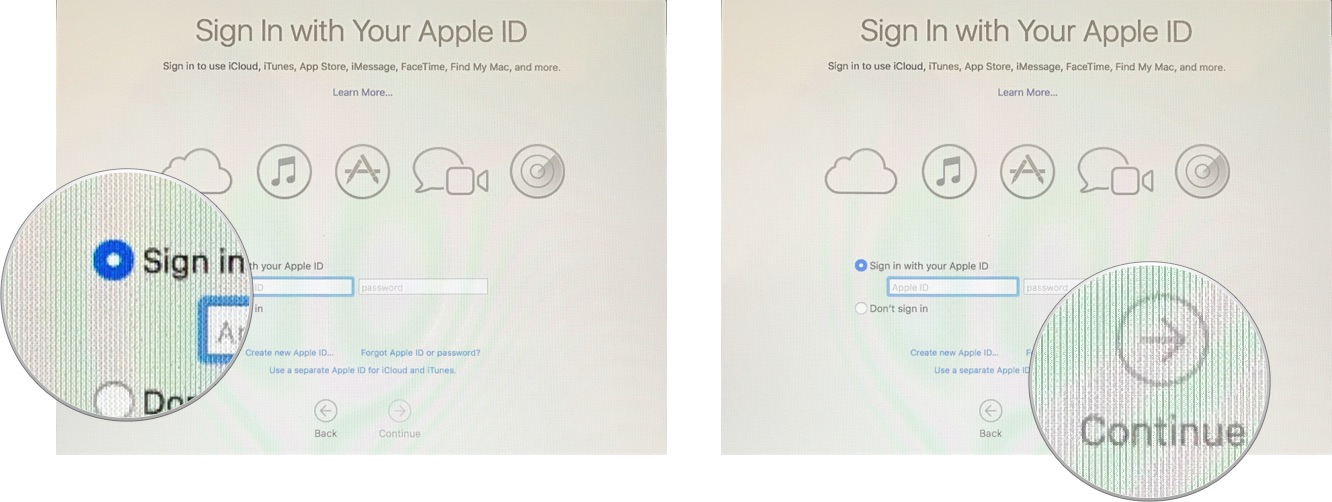
- Sign in with your Apple ID.
- Use the same Apple ID you use with other iCloud services on your iPhone, iPad, Apple TV, and other Macs to sync services across devices.
- If you don't already have an Apple ID, you can create one on your Mac at a later time or sign up through your iPhone or iPad.
- You will be asked to verify your identity if you have two-factor authentication turned on.
- Click Continue.
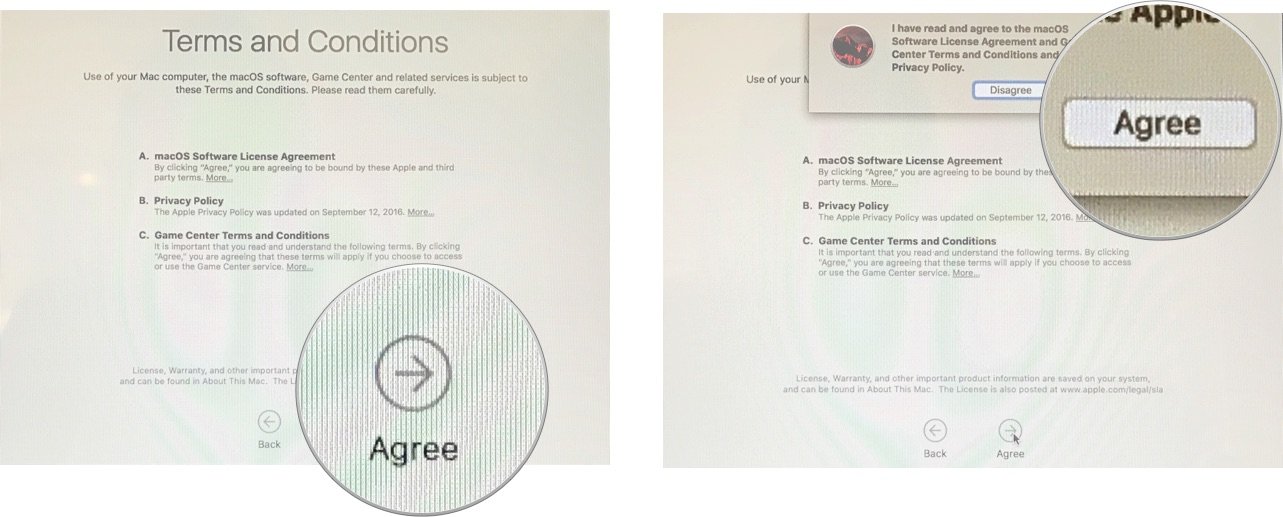
- Click Agree to agree to the terms and conditions. You can read each section of the terms and conditions by clicking More.
- Click Agree to confirm.
- Enter a Full name for your computer. If you signed in with your Apple ID, this will populate automatically.
- Enter an Account name. If you signed in with your Apple ID, this will populate automatically.
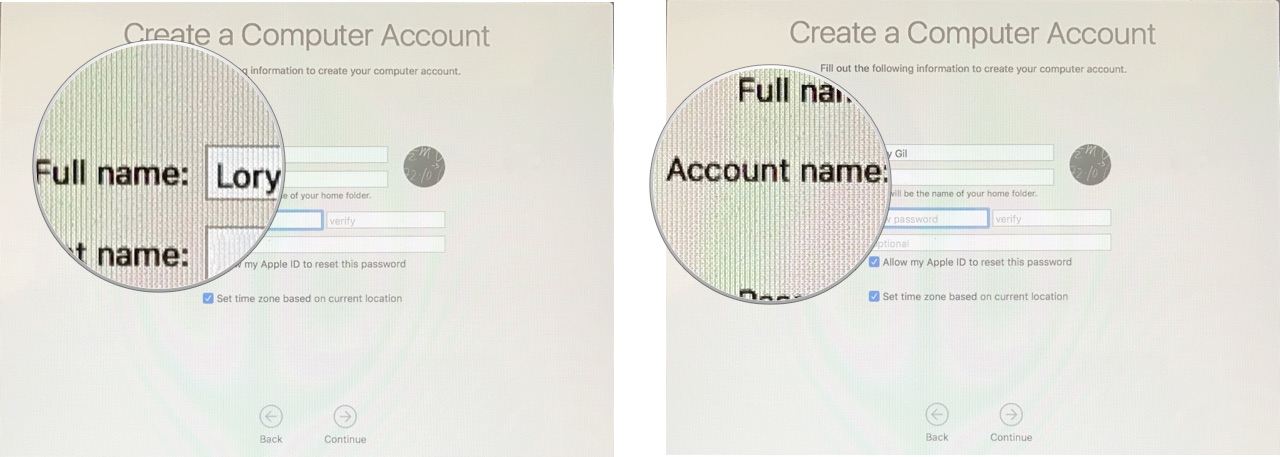
- Enter a password to secure your Mac. This will be your administrator password, used to create new accounts and access system features across your Mac.
- Enter a Hint to help you remember your password. This hint will appear on your Lock screen if you type in the wrong password on your Mac.
- Tick the box to Allow my Apple ID to reset this password. This is a little less secure if someone else has access to your Apple ID and password, but it is convenient if you forget your password.
- Tick the box for Set time zone based on current location.
- This will only work if you enabled Location Services in step 11.
- Your date and time will change when you visit new locations across time zones.
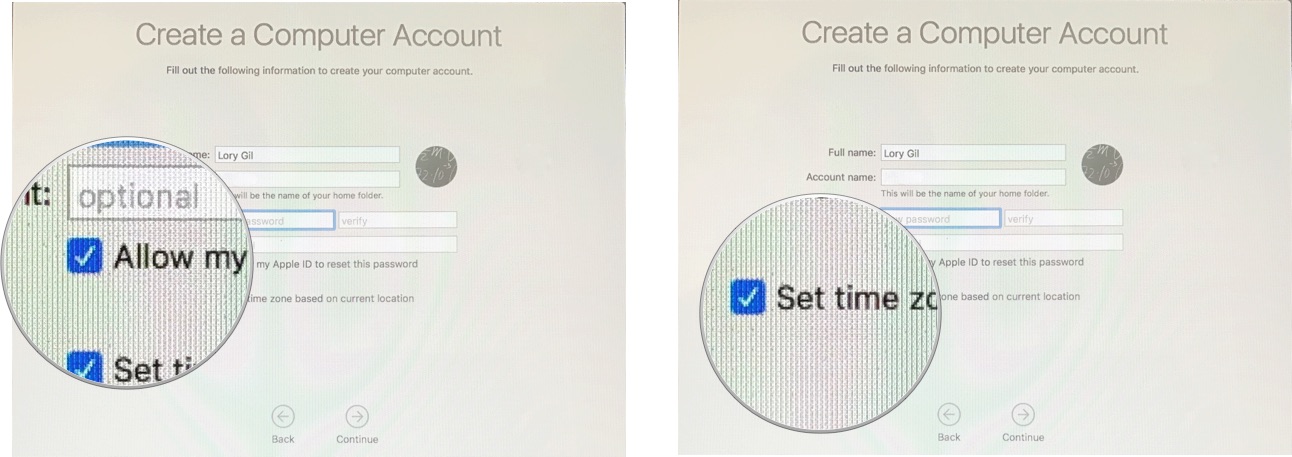
- Click Continue. iCloud will begin syncing if you signed in. This may take a few minutes. You may see a spinning wheel and "Setting up account." This is normal.
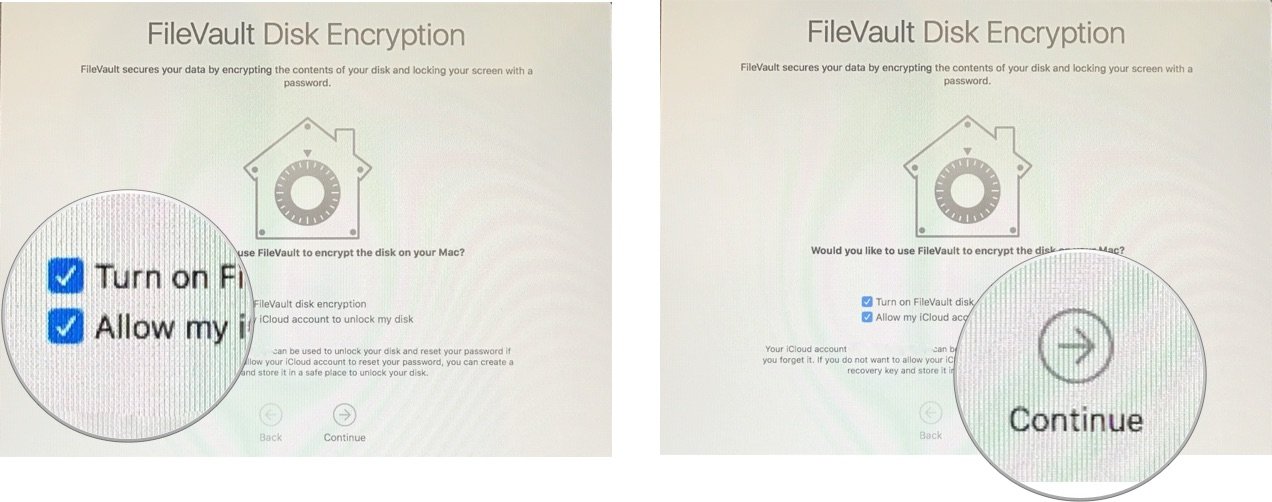
- Tick the box for Turn on FileVault disk encryption. FileVault encrypts the contents of your Mac's hard drive.
- Tick the box for Allow my iCloud account to unlock my disk. Allowing iCloud to unlock your disk is the same as allowing iCloud to reset your Mac's password.
- Click Continue.
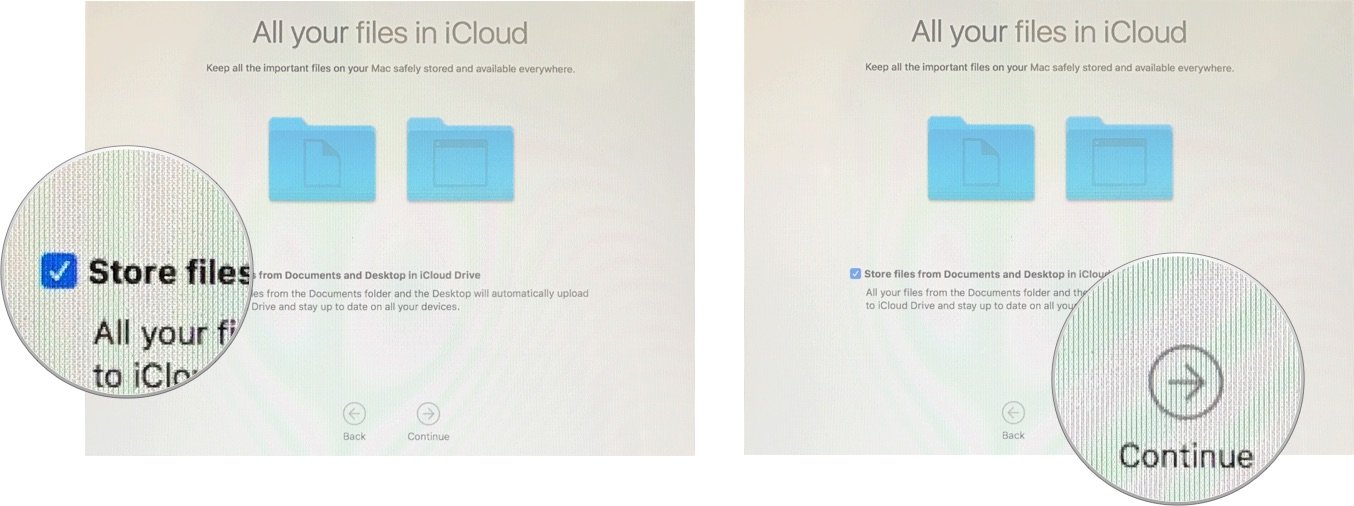
- Tick the box for Store files from Documents and Desktop in iCloud to store everything on your desktop and your Documents folder.
- This is part of macOS's Optimized Storage feature.
- Only tick this box if you are sure you have enough iCloud storage to fit all of your Desktop and Documents folders to sync.
- Click Continue.
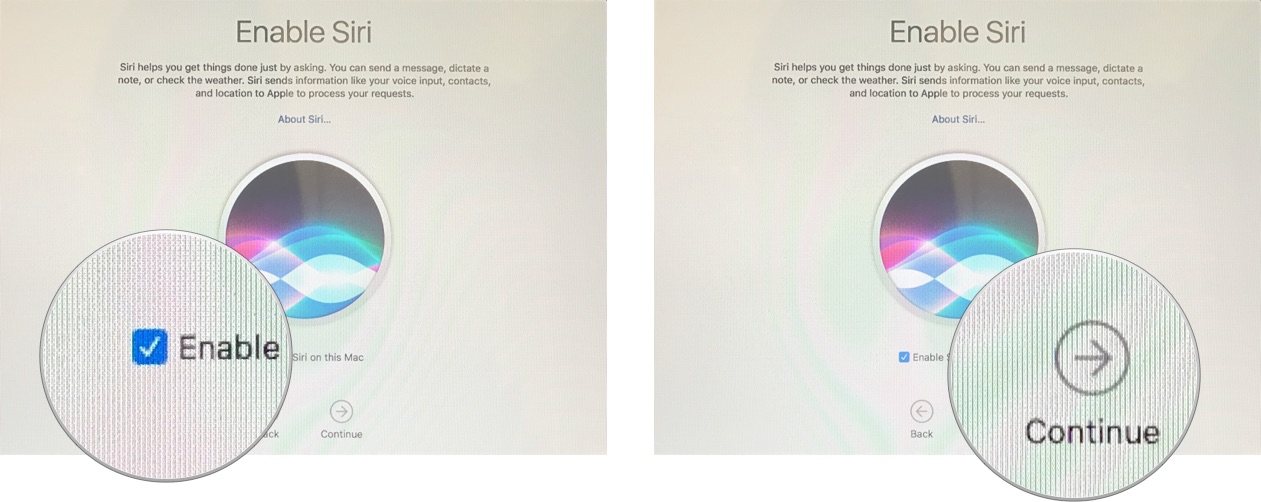
- Tick the box to Enable Siri on this Mac. Siri on the Mac is your virtual assistant on your computer.
- Click Continue.
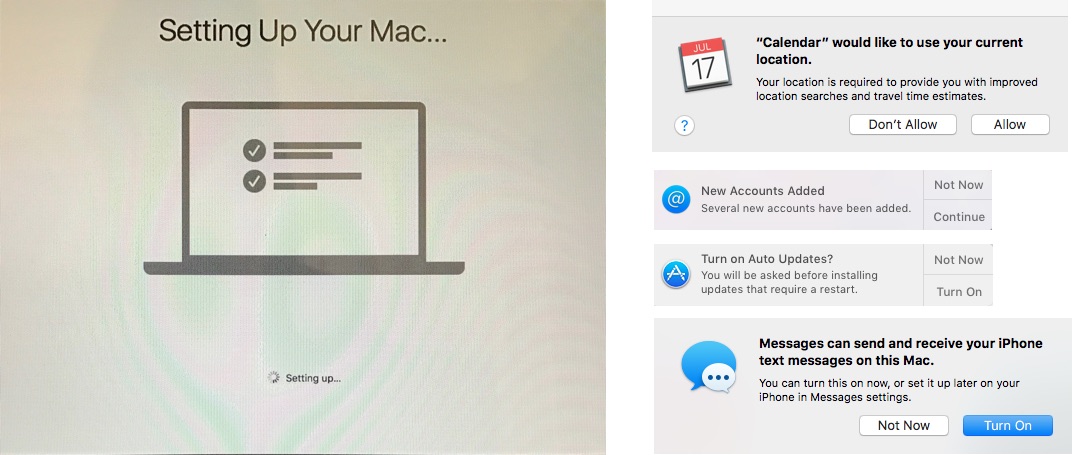
At this point, your Mac will finalize all settings and iCloud syncing for setting up your Mac. This may take a while. Finally, you may see a spinning wheel and "Setting up." This is normal.
After your Mac has finished setting up, you may receive pop-up notifications to sign into various mail and social networking accounts. Click Allow, Continue or Turn On for each notification to sign in.
All done!
In just a few steps, your Mac is ready to go! Whether for business, pleasure, or a little bit of both, your new Mac should bring you years of enjoyable productivity. Enjoy! And don't forget to enhance the Mac experience with the best Mac accessories.
Master your iPhone in minutes
iMore offers spot-on advice and guidance from our team of experts, with decades of Apple device experience to lean on. Learn more with iMore!

Bryan M. Wolfe has written about technology for over a decade on various websites, including TechRadar, AppAdvice, and many more. Before this, he worked in the technology field across different industries, including healthcare and education. He’s currently iMore’s lead on all things Mac and macOS, although he also loves covering iPhone, iPad, and Apple Watch. Bryan enjoys watching his favorite sports teams, traveling, and driving around his teenage daughter to her latest stage show, audition, or school event in his spare time. He also keeps busy walking his black and white cocker spaniel, Izzy, and trying new coffees and liquid grapes.
