How to shoot great portrait pictures: iPhone photography tips and tricks
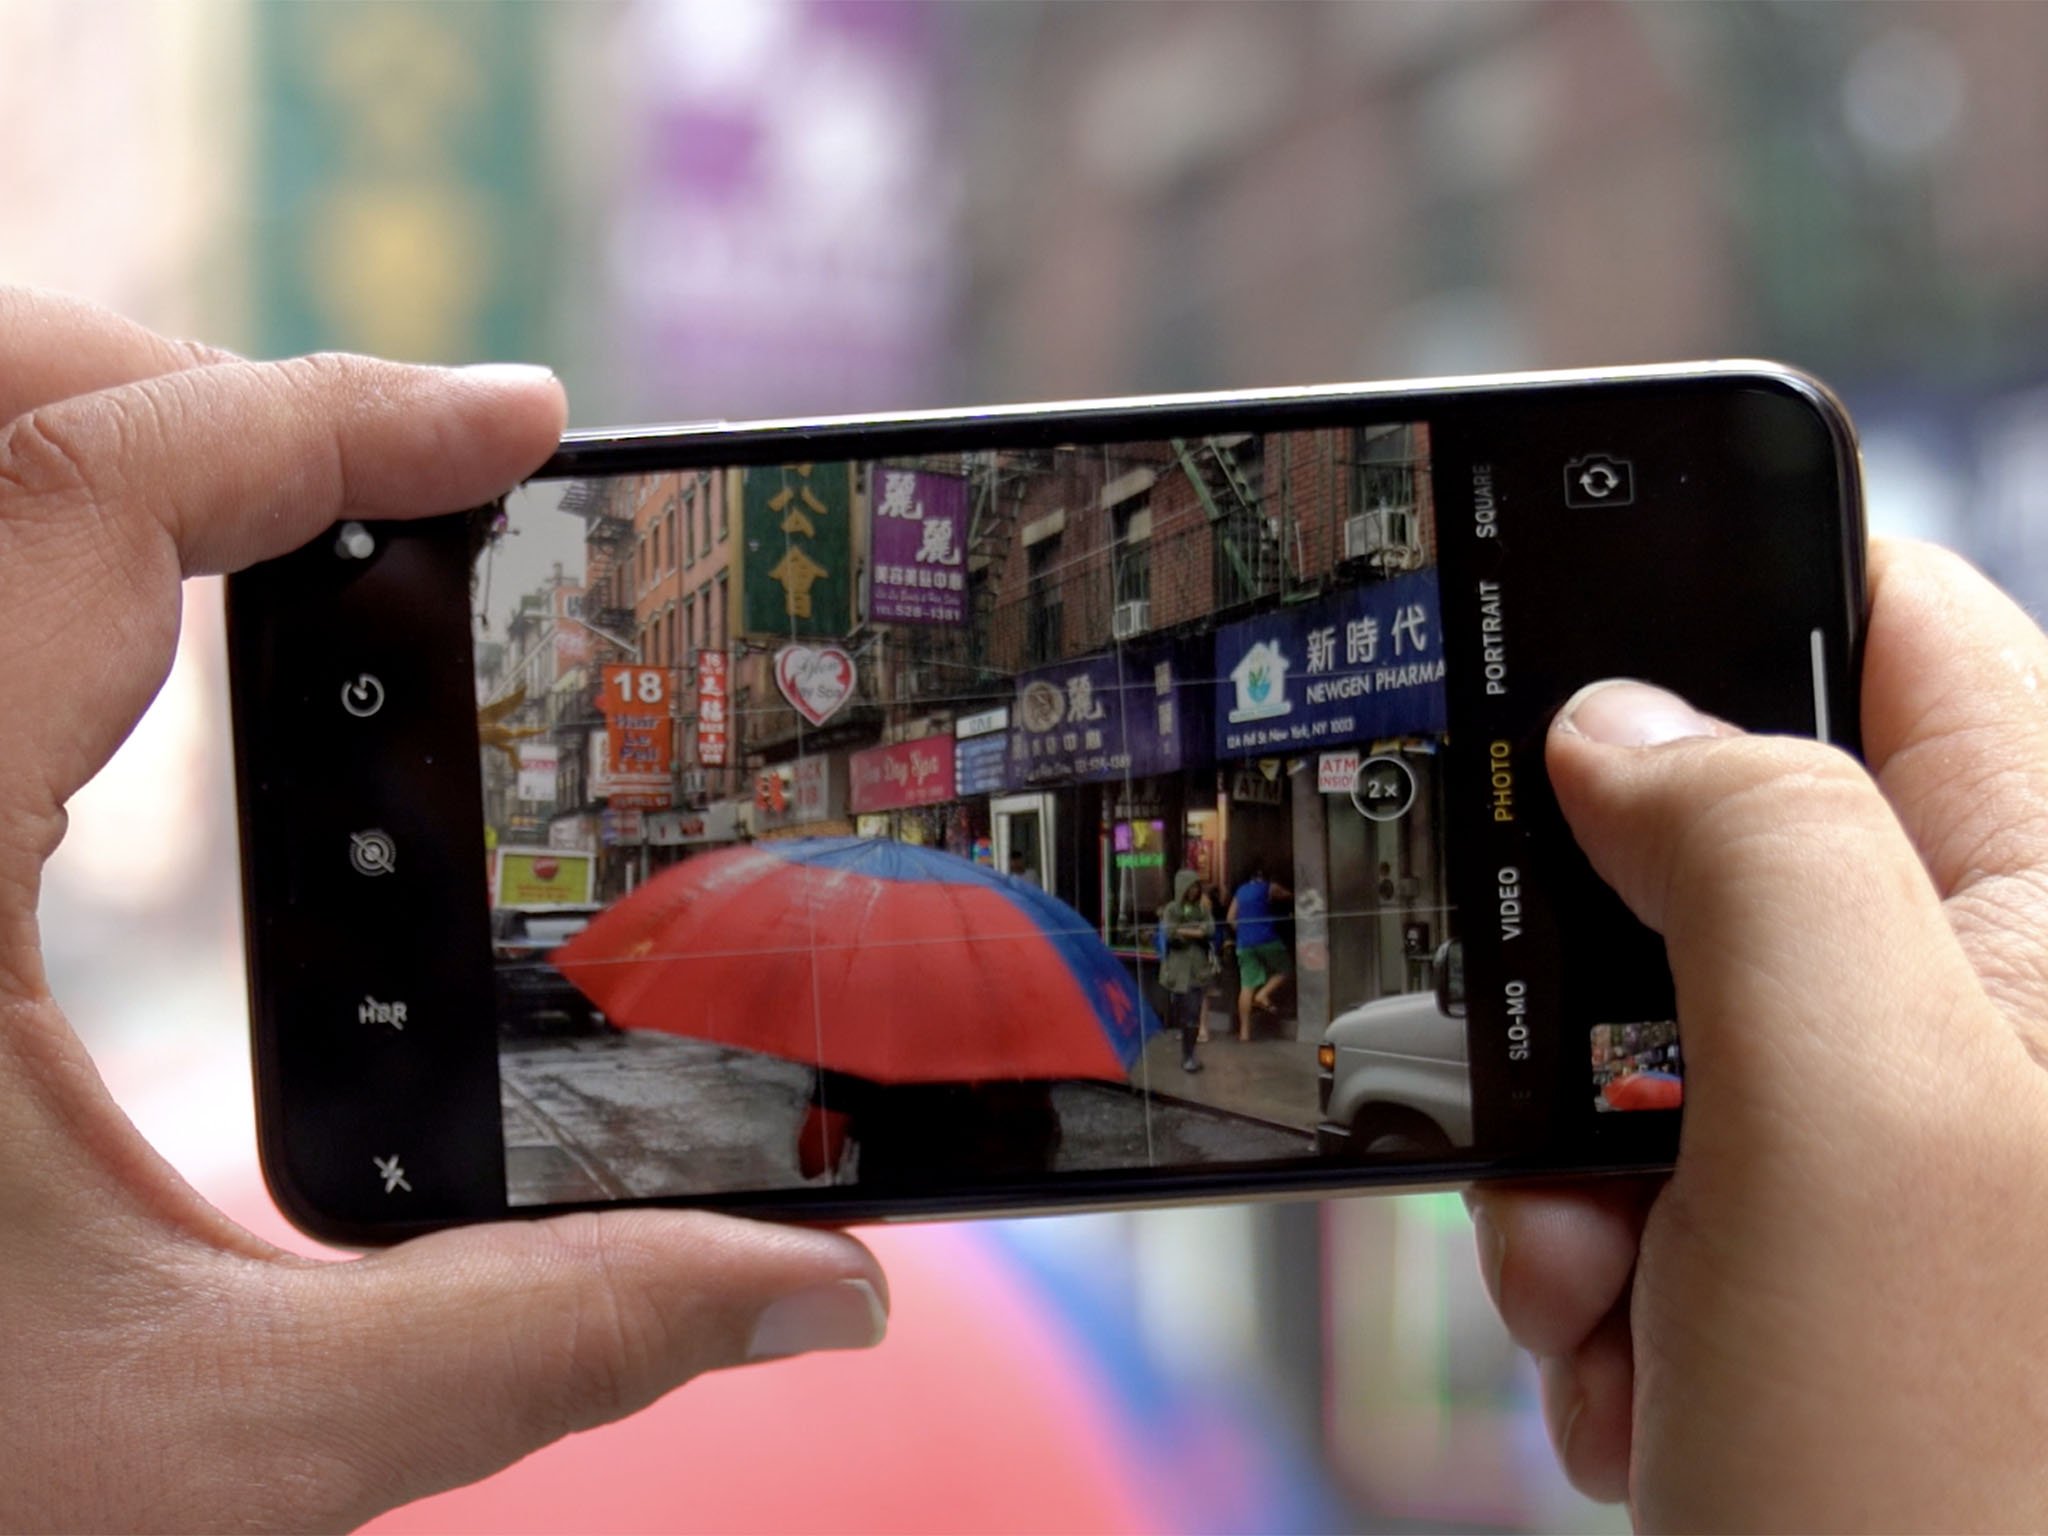
Since we all have a powerful camera in our pockets with the iPhone, it's perfect for capturing some portrait images. Whether that's with friends, family, strangers, pets, or even some inanimate objects, portraits are simple if you have the right tools and a bit of creativity and experimentation. And while having an iPhone with Portrait Mode helps, it's not a requirement.
- Look for cool locations and angles
- Have an interesting subject
- It's all about lighting
- Think about composition
- Use Portrait Mode if you have it
- Make use of Portrait Lighting
- Experiment with Depth Control
- Try a different camera app
Look for cool locations and angles

When it comes to photography in general, it's always about the location and angles.
You'll want an interesting location in the background because it helps pull the viewer away from any technical errors or flaws in the photo, and it can be a perfect complement to the subject in the foreground. Interesting backdrops can be something natural, like trees or plants, or you can go for something more urban, like a graffiti-covered wall or one with an interesting pattern design on it. There are even walls with art like wings on it, which can serve as a perfect portrait opportunity, so always look out for cool locations around you!
Another thing to consider is angles. If you do portraits of people, you may automatically think about just standing in front of your subject and get what would be considered a headshot-type of portrait. This is a standard portrait, but it can also get boring after a while. Spruce things up by trying different perspectives and angles! Think about going higher, lower, or even to the side to help capture your subject's features in ways that you wouldn't have noticed otherwise.
Have an interesting subject

As much as we'll want to focus on the background as mentioned above, you will also want to keep it simple if you want more focus on your subject.
Speaking of subjects, what makes a good portrait is an interesting subject. This should usually be a person, but you can also make it work for pets and even some inanimate objects too. No matter what you decide to go with, just make sure that your subject is the central focal point of the portrait. It also helps to have the subject be a contrasting color to the background if you really want the image to pop.
It's all about the lighting

Lighting is always important in photography, no matter the type of image you're going for. But for portraits, it's especially key.
Master your iPhone in minutes
iMore offers spot-on advice and guidance from our team of experts, with decades of Apple device experience to lean on. Learn more with iMore!
Natural light works best, of course, so if you're shooting portraits indoors, always go for light flowing in through a window, and this also helps with getting directional light as well. When you're outdoors, it's best to shoot during the golden hours, which is when the sun is low in the sky — early morning or late evening works best. And if the weather is overcast, that's even better! Overcast conditions result in soft, diffused light, making it possible to get great portraits any time of day.
Avoid harsh, bright sunlight if you can. This can cause unflattering shadows and even make your subject squint, resulting in less-than-satisfactory results.
Think about composition

When you think of standard portraits, you may think of the subject in the center, which is all fine and dandy, but it can be boring if it's every photo. A general rule of thumb in photography is the rule of thirds, where your subject is about a third of the way into the frame. So by having your subject a bit off-center in the frame, you'll end up with a more interesting portrait.
If you don't want to do that, then you could try to frame the subject itself within the portrait. Think about something like a doorway, window, arches, or anything else that could vertically surround your subject.
Either way, try something different than just a centered and straightforward portrait — you may be pleasantly surprised with the results!
Use Portrait Mode if you have it
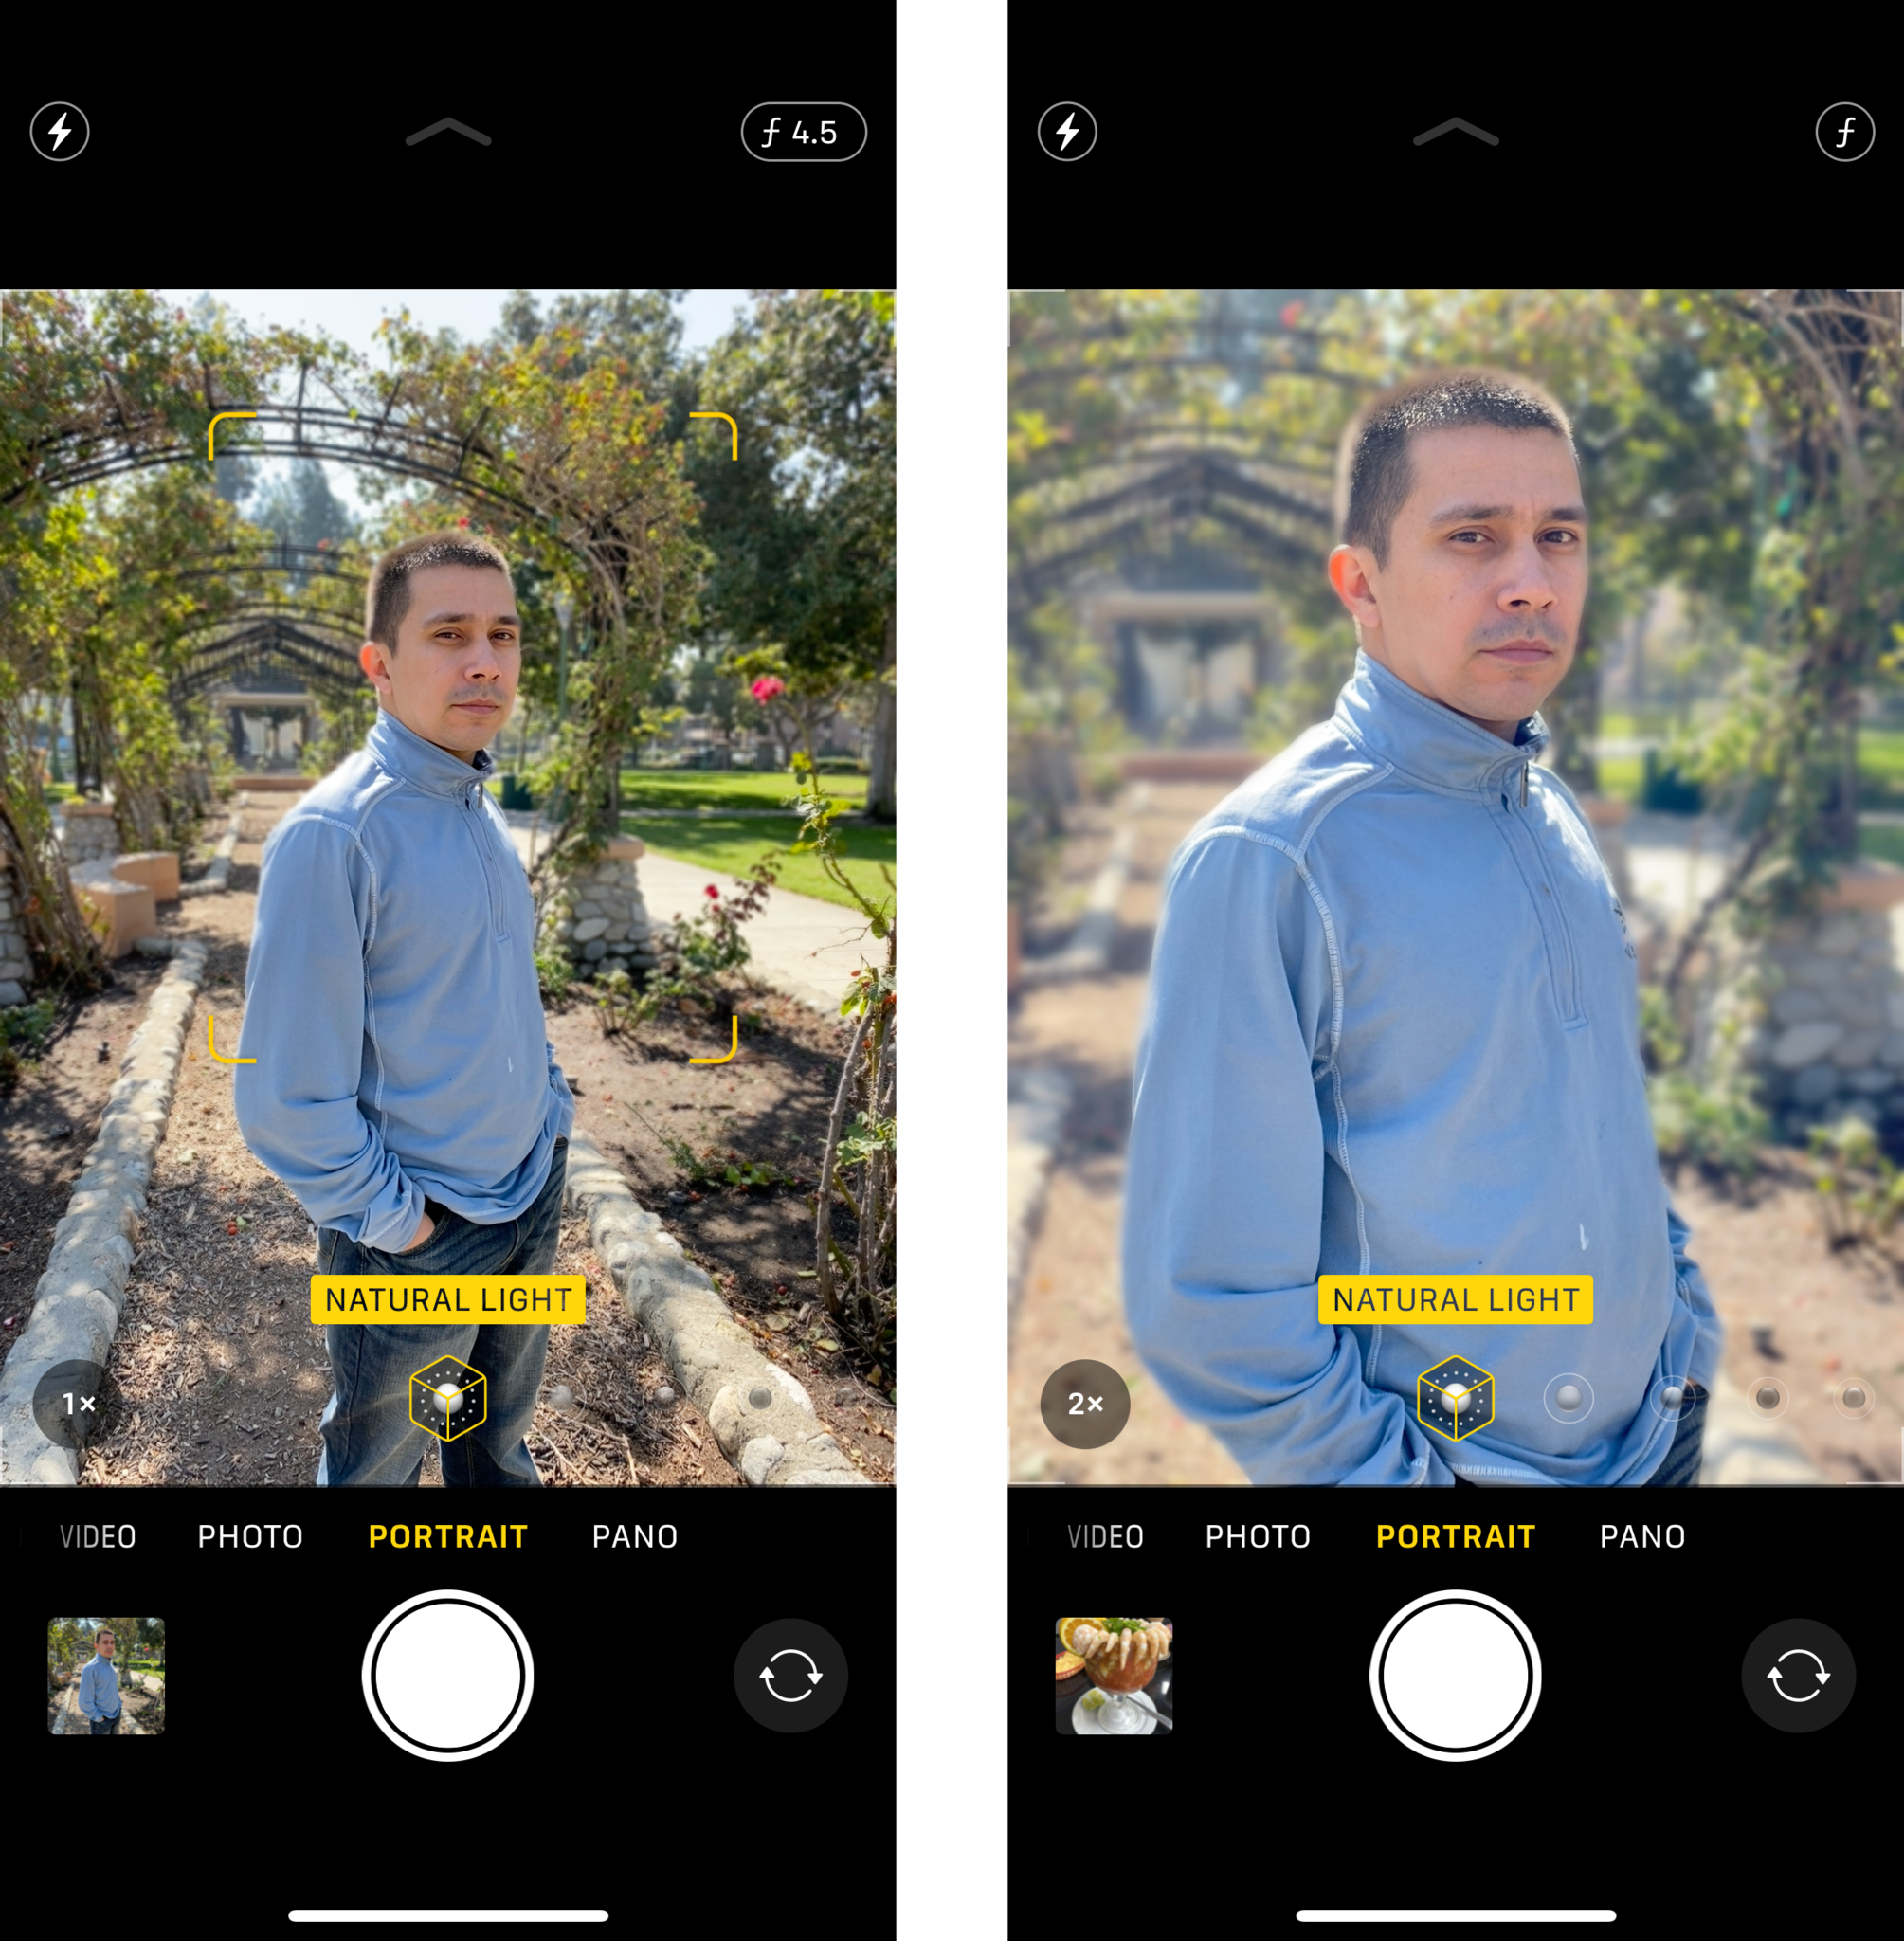
If you have an iPhone with Portrait mode (iPhone 7 Plus, 8 Plus, X, XS, XS Max, XR, 11, 11 Pro, 11 Pro Max), then you have access to Portrait Mode, which makes shooting portraits easier than ever before.
With Portrait Mode, the camera software can detect the subject and the background that you're trying to shoot. It will then place the subject in focus and blur the background so that the subject really stands out. It's something that was previously achieved with DSLR cameras, but the iPhone has been getting better and better at this over the years with Portrait mode.
To shoot in Portrait mode on a compatible device, just launch your native Camera and then select the Portrait mode. When shooting with Portrait mode, you'll see a yellow focus box that lets you know what it's focusing on, and everything in the background is blurred. You'll want to be at least two or more feet away from the subject, and when it's ready to go, you'll see the Portrait Lighting indicator at the bottom turn yellow. Snap your photo!
- How to use the camera on the iPhone 11 and iPhone 11 Pro
- How to take photos and more with your iPhone or iPad
Make use of Portrait Lighting
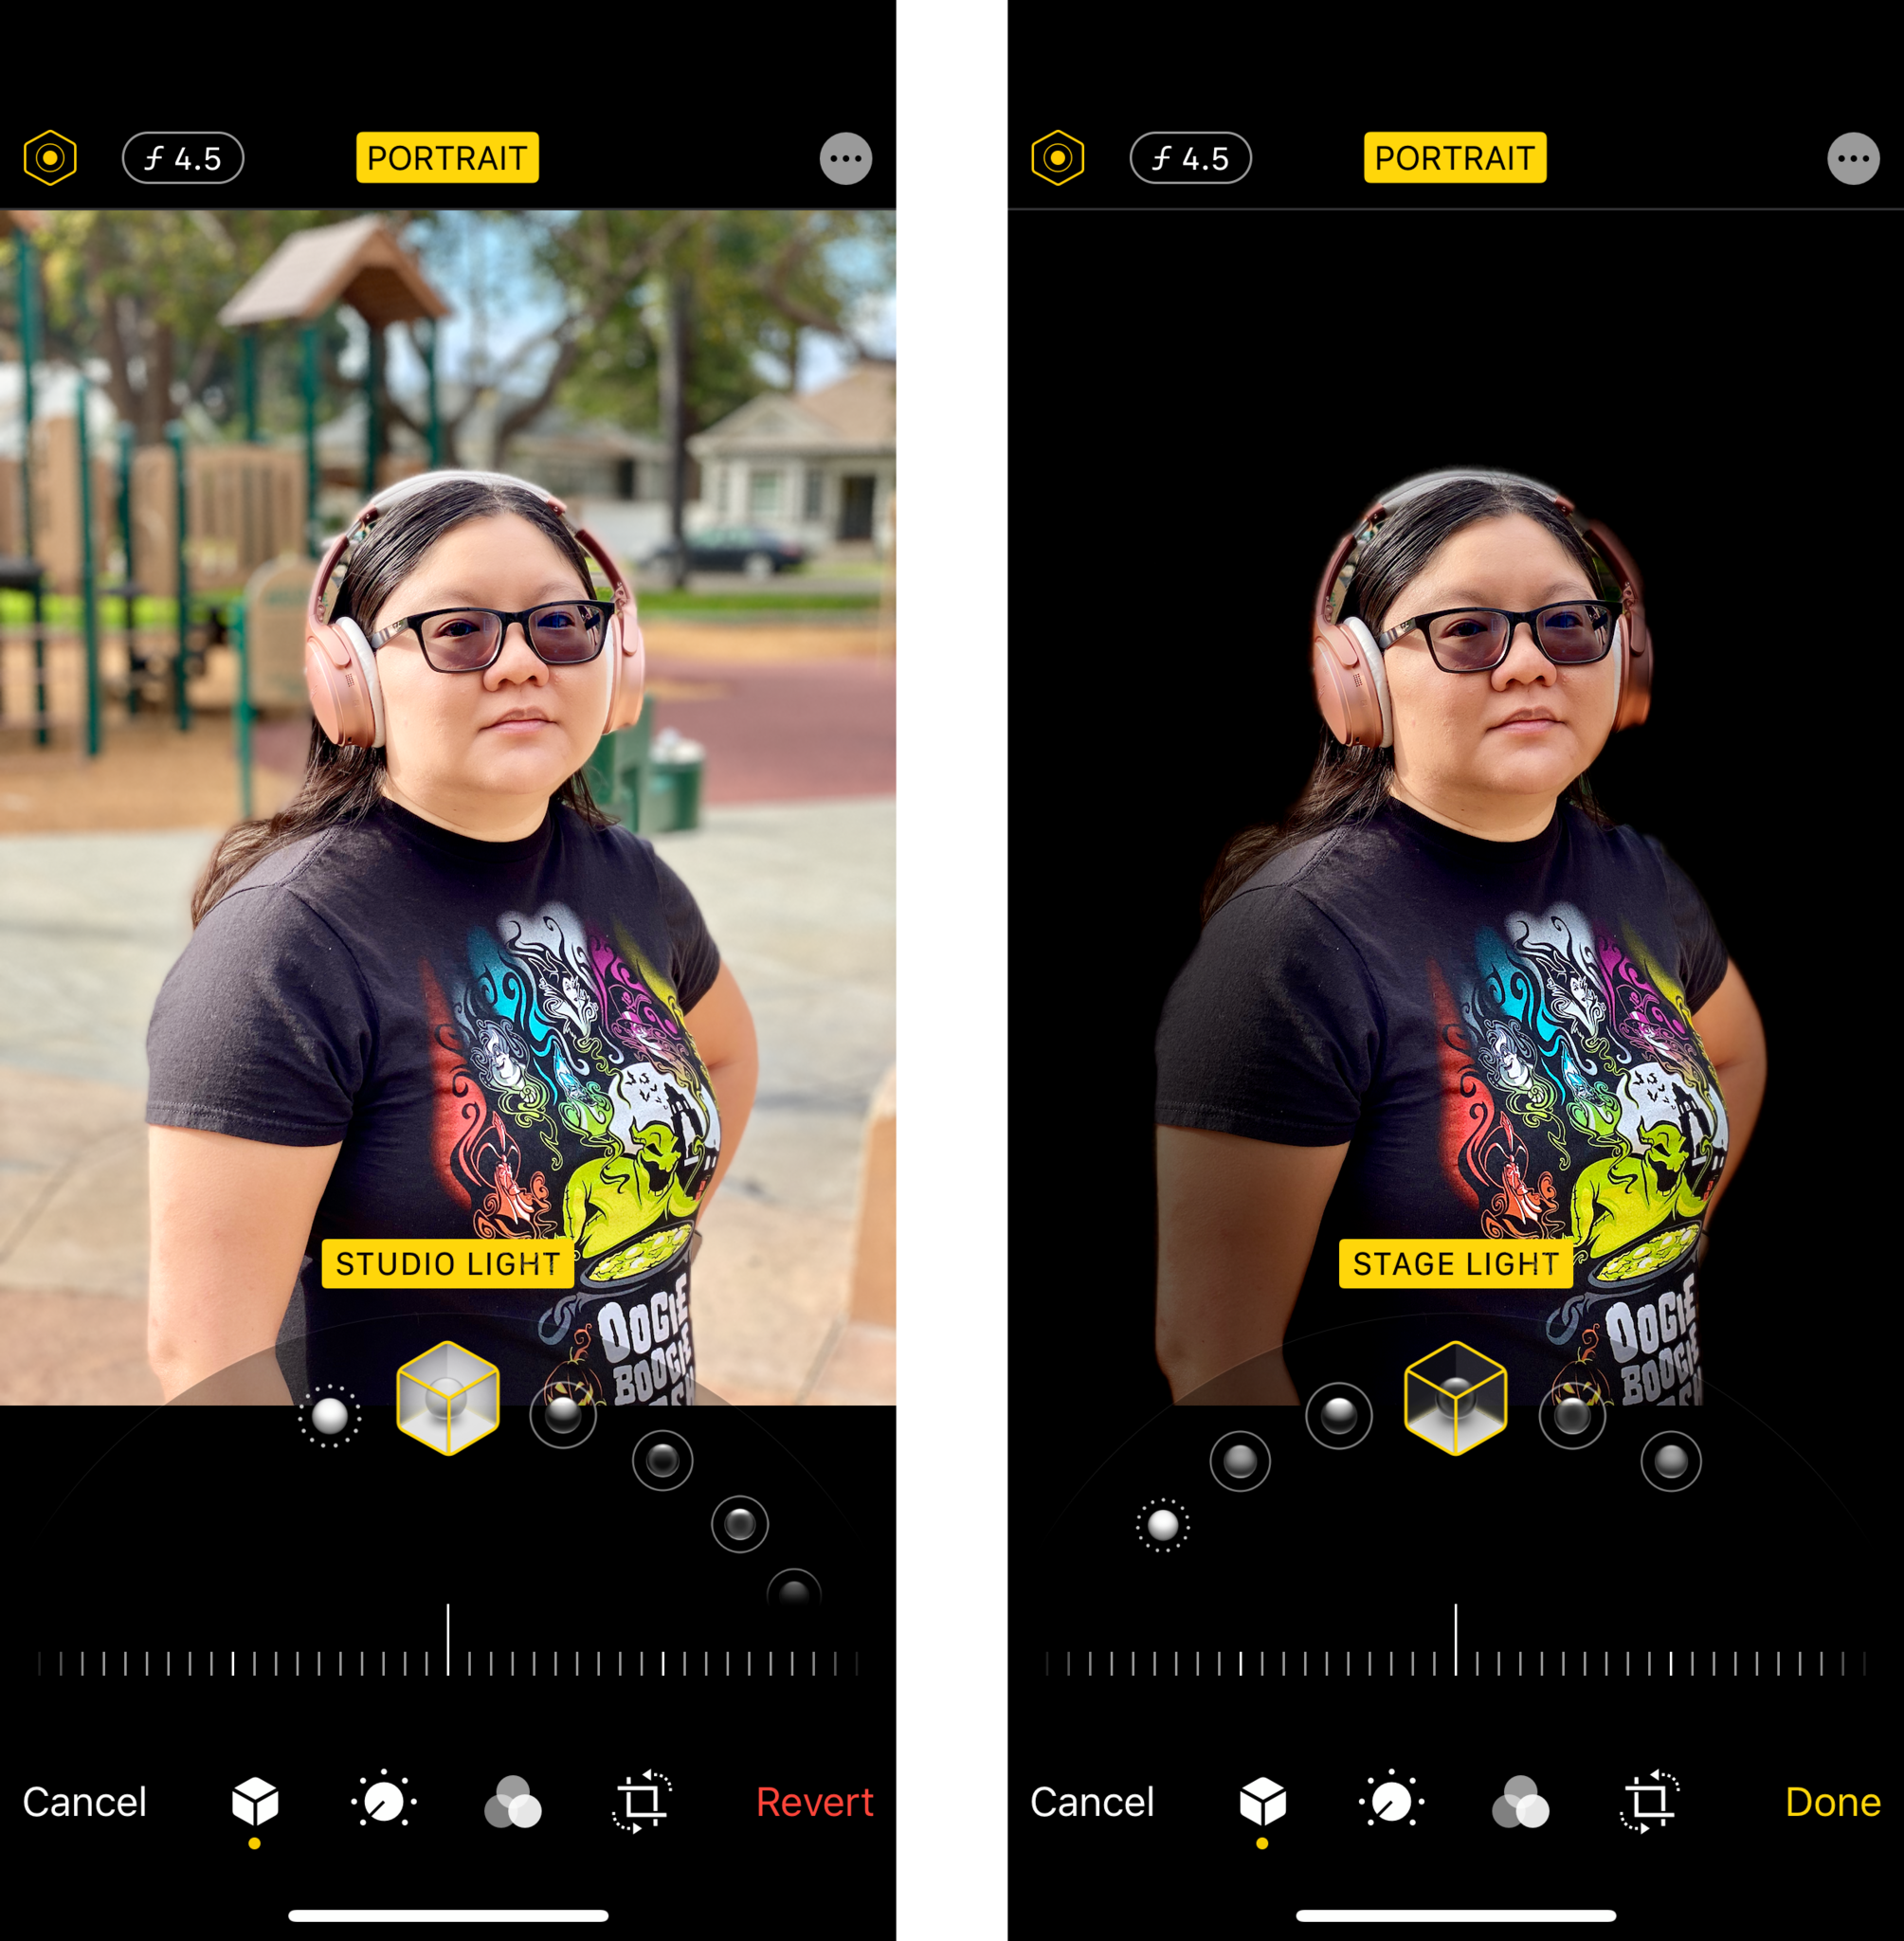
On the topic of Portrait mode, there's another component to it that can really make your images pop, and that's Portrait Lighting. It's available on iPhone 8 Plus and higher (sorry, 7 Plus users).
You can alter the Portrait Lighting as you shoot, or in the editing process. There are six lighting options available: Natural Light (default), Studio Light, Contour Light, Stage Light, Stage Light Mono, and High-Key Mono (iOS 13 and above).
Natural Light is the default and will keep your photo looking as natural as possible. Studio Light brightens up the subject, while Contour Light adds some shadows for a defined look. Stage Light blacks out the background entirely, so it appears as if the subject is in a spotlight. Stage Light Mono is the same as Stage Light, but the subject is in black and white. High Key Mono is the same as Stage Light Mono, but the background is white instead of black.
To change the Portrait Lighting as you shoot, just drag the Lighting dial to what you want to use before you take the photo. To change it later, just tap Edit on the photo you want, and then move the Lighting dial to the option you prefer.
Experiment with Depth Control
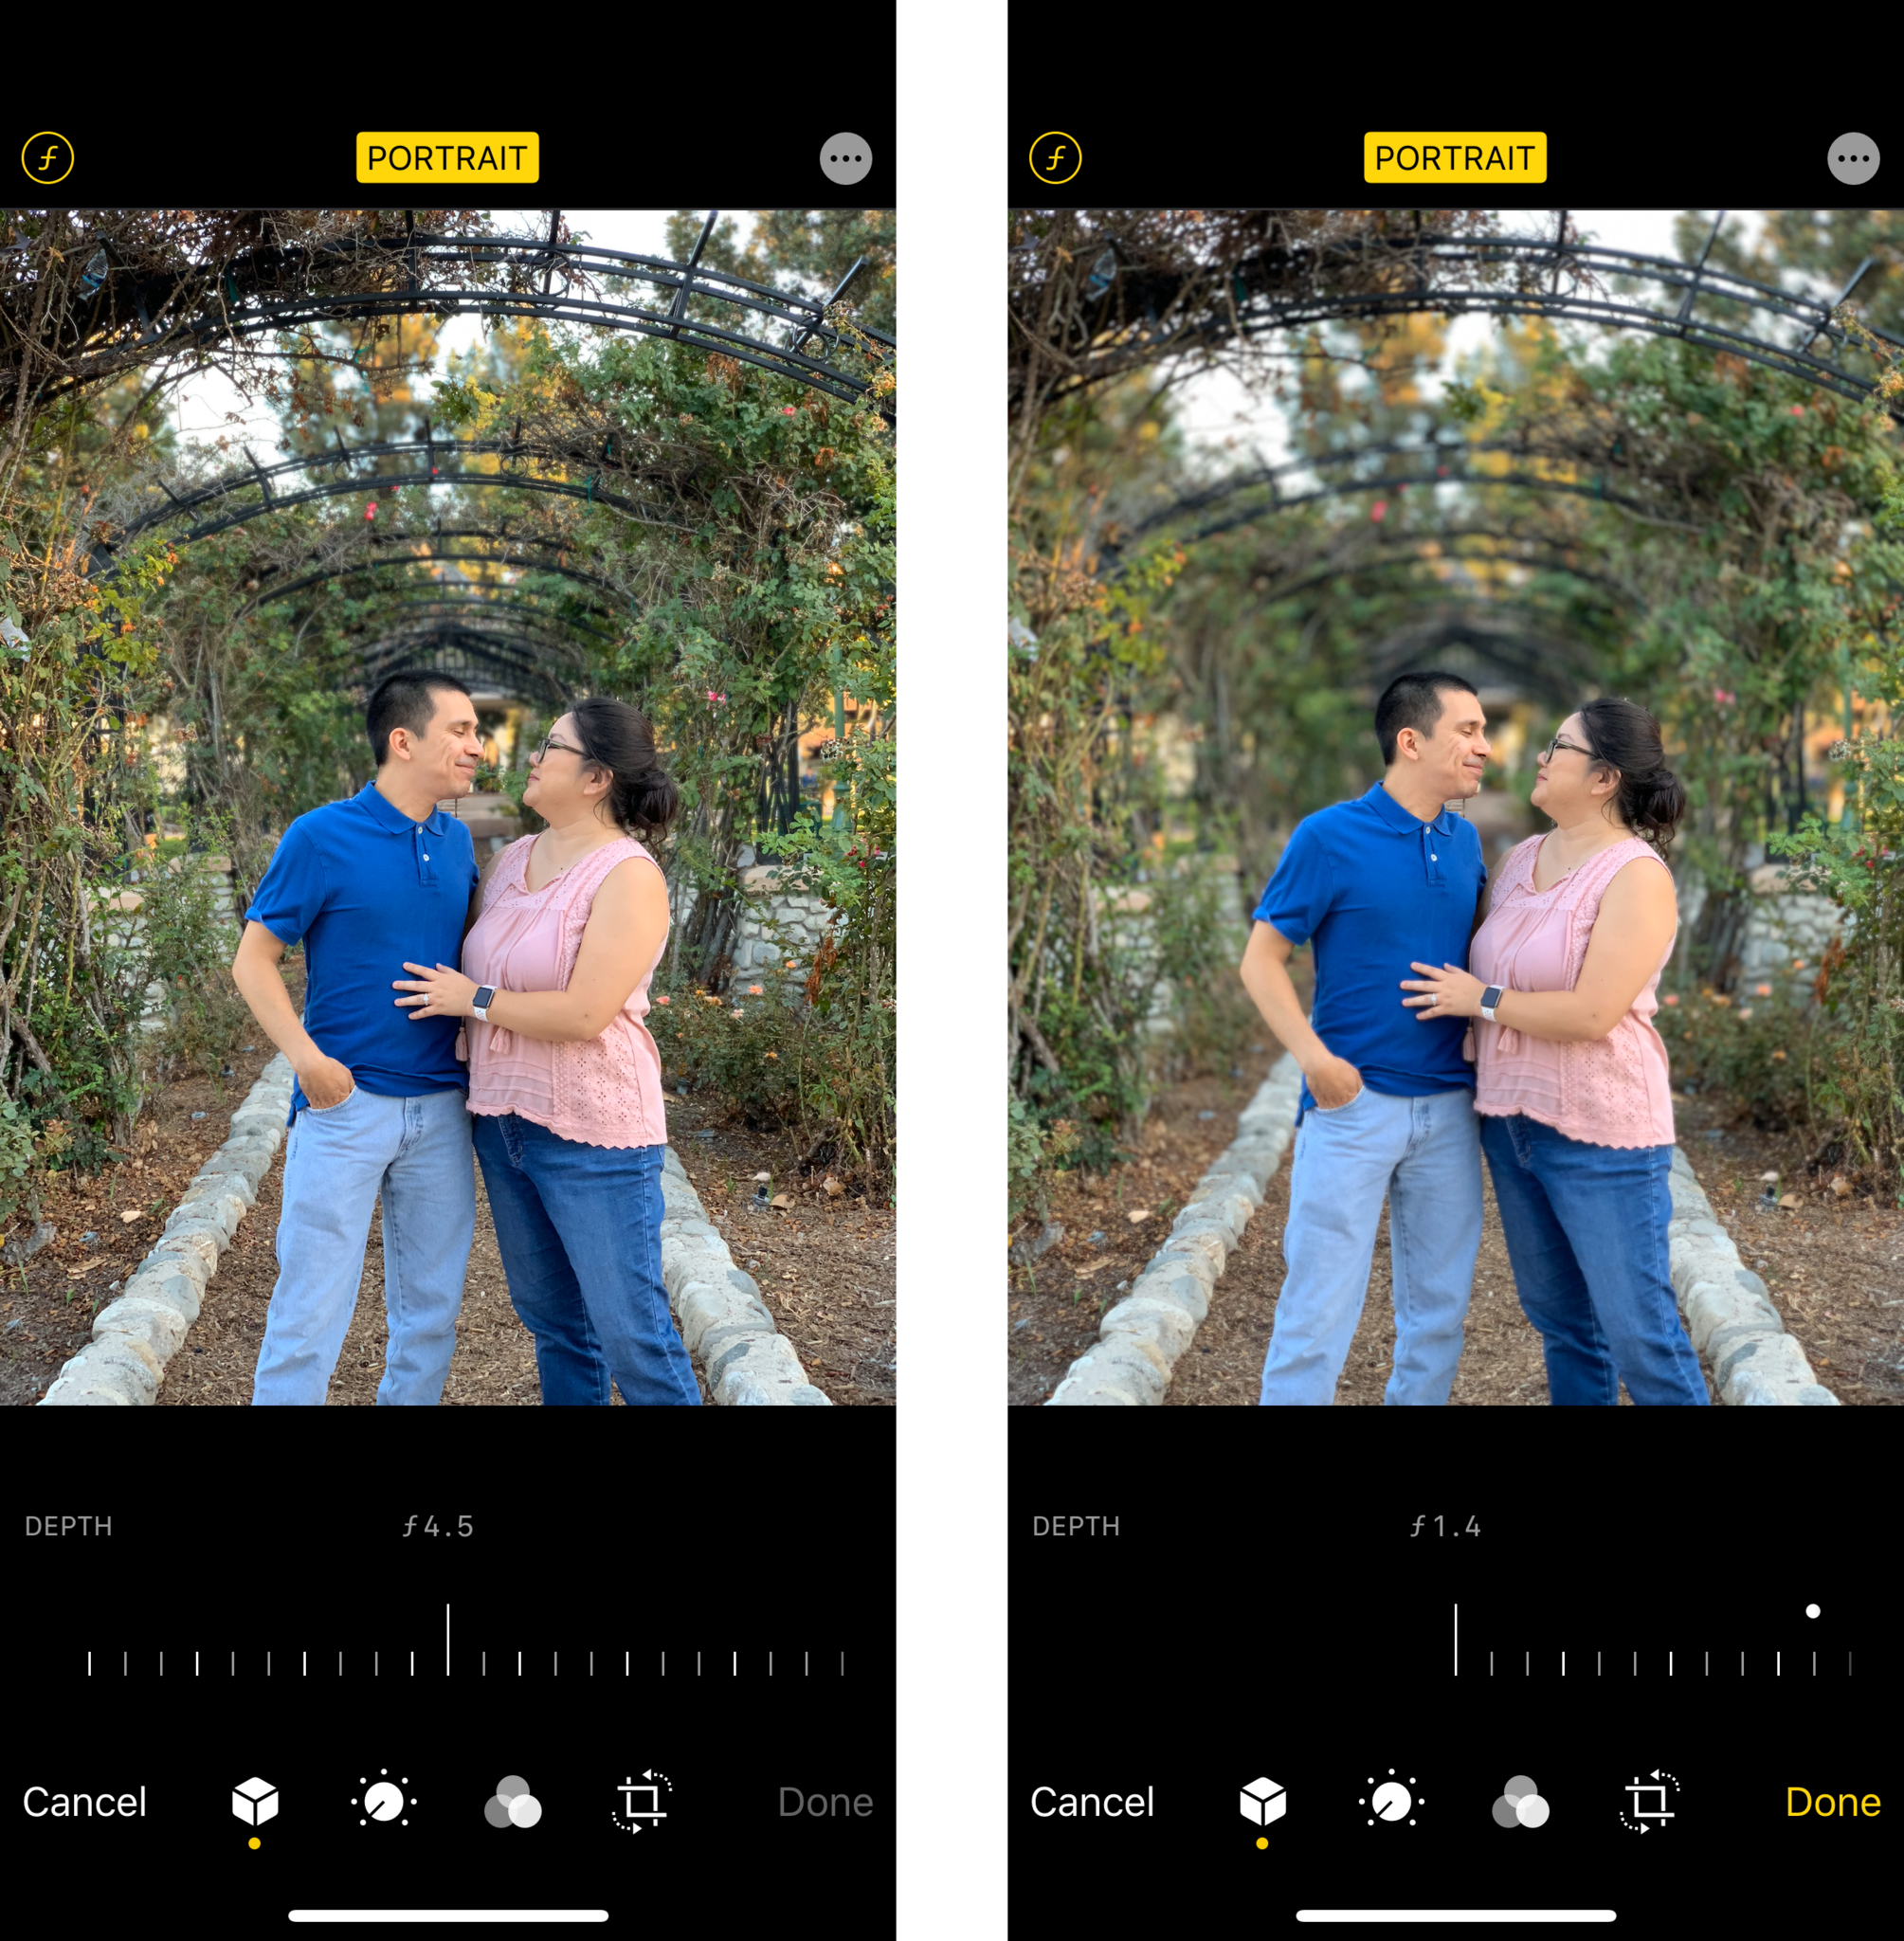
For those of you with an iPhone XS, XS Max, XR and newer, you have access to Depth Control, the newest feature of Apple's Portrait mode software.
With Depth Control, you're able to adjust the amount of blur in the background either before or after you've taken the photo. If you want to adjust the blur while shooting, make sure you tap the ƒ button in the upper right, then you can use the Depth Control Slider to make adjustments to the amount of blur. Moving it to the left produces more blur, while sliding it to the right reduces the blur.
If you decide you want to adjust the Depth Control after shooting, just go to your Photo Library and find the picture you want to edit. Tap Edit, then tap the ƒ in the upper left (next to the button for lighting options). Then move the slider to your liking.
With Depth Control, you're able to have even more control over the outcome of your portraits.
Try a different camera app
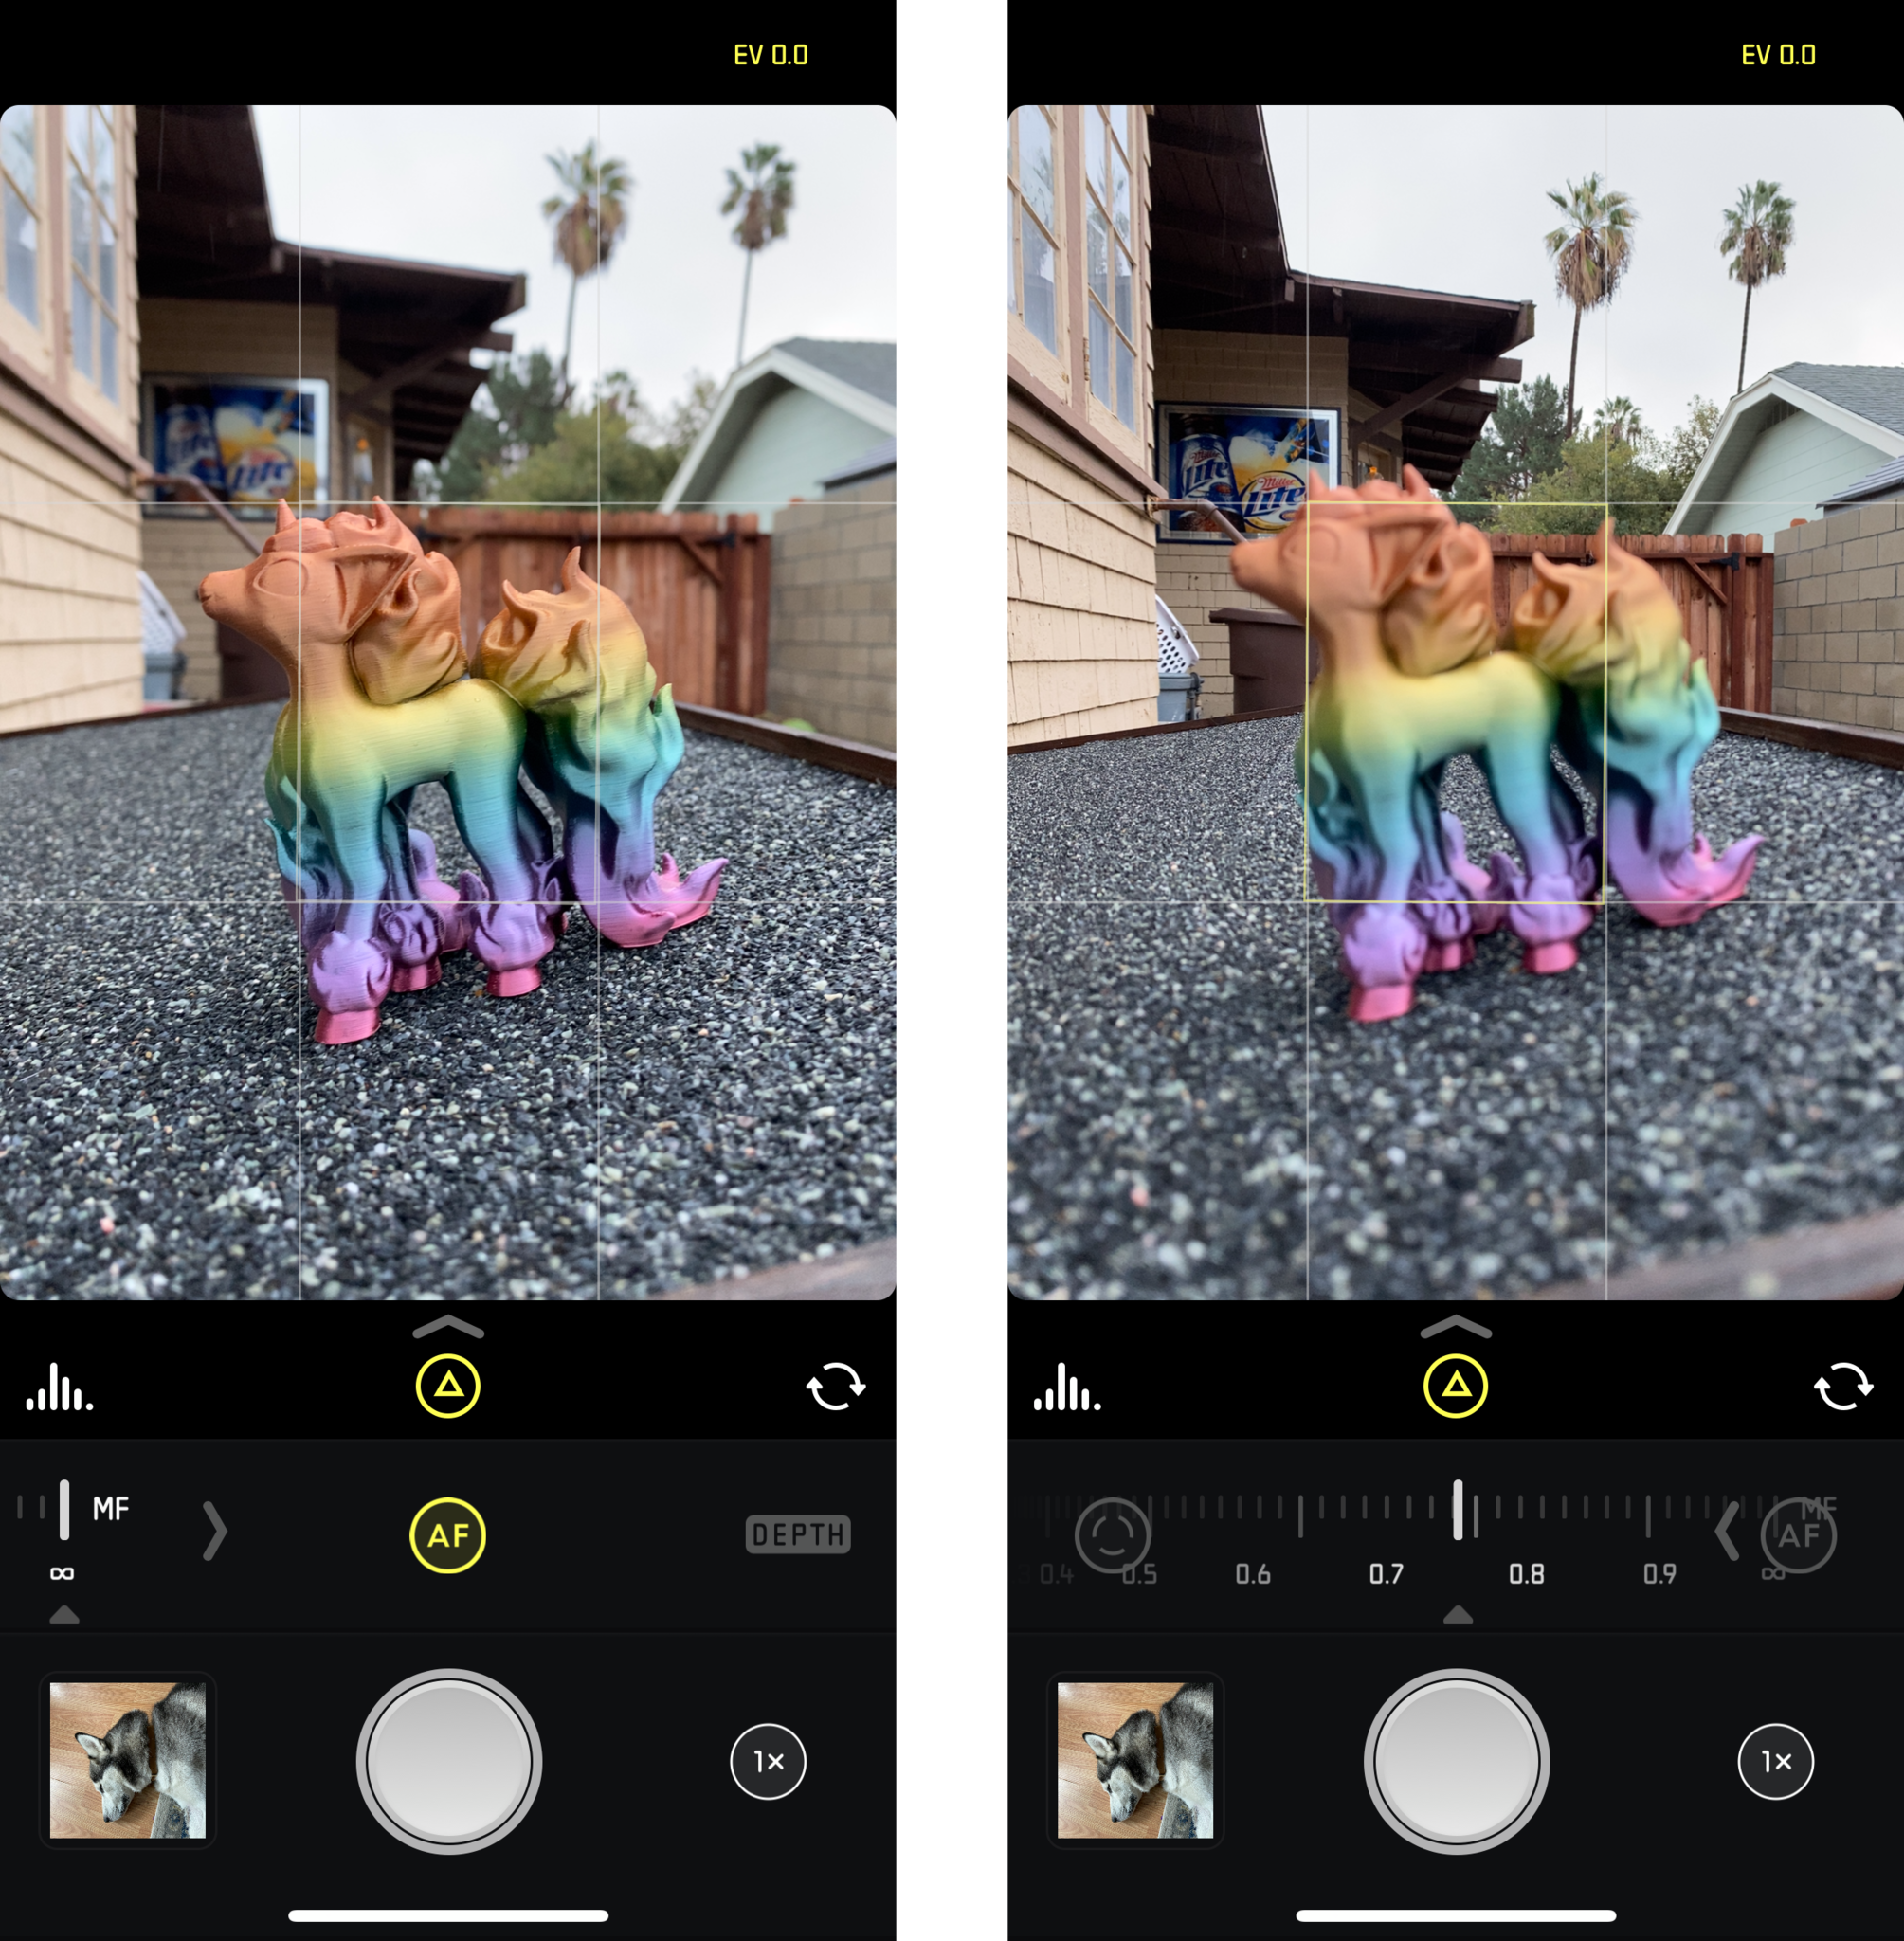
While the default Camera app from Apple is pretty good, especially if you want to quickly capture a moment from the lock screen, there are a lot of more powerful third-party alternatives. If you want to take your iPhone portrait photography more seriously, I would highly consider taking a look at the App Store.
One of my favorites is Halide Camera. Not only does it have amazing features like intuitive gesture controls for exposure, manual focus, focus peaking, shutter speed, ISO, and white balance, RAW support, live histograms, and more. Plus, its Portrait mode is much faster than Apple's own Camera app, and it allows you to do Depth Peaking and gives you a full-on depth map view.
You don't need a fancy DSLR for great portraits
These are just some tips that we've learned to help you get some great portrait mode images with just an iPhone. Do you have any tips that you want to share for great iPhone portrait photography? Make sure to drop a comment below!
Christine Romero-Chan was formerly a Senior Editor for iMore. She has been writing about technology, specifically Apple, for over a decade at a variety of websites. She is currently part of the Digital Trends team, and has been using Apple’s smartphone since the original iPhone back in 2007. While her main speciality is the iPhone, she also covers Apple Watch, iPad, and Mac when needed. When she isn’t writing about Apple, Christine can often be found at Disneyland in Anaheim, California, as she is a passholder and obsessed with all things Disney, especially Star Wars. Christine also enjoys coffee, food, photography, mechanical keyboards, and spending as much time with her new daughter as possible.

