How to take great Portrait Lighting selfies with iPhone X
I have a certain fondness for selfies — I find they're a great way to snap quick facial expressions you don't have an emoji for, or show off something awesome you found. The iPhone X is Apple's best smartphone yet for great selfies, thanks to its front-facing TrueDepth camera, which lets you take selfies with actual depth to them, simulating the bokeh-style effect of DSLR cameras.
I took the iPhone X on my honeymoon — the perfect place to test Apple's selfie prowess — and came back with some tips on how to shoot great Portrait Lighting selfies (as well as what to avoid).
What is Portrait mode?
First introduced for the rear camera system with iPhone 7 Plus, Portrait mode separates the foreground, subject, and background of an image, and adds an artificial "bokeh"-style blur to the foreground and background to isolate the subject.


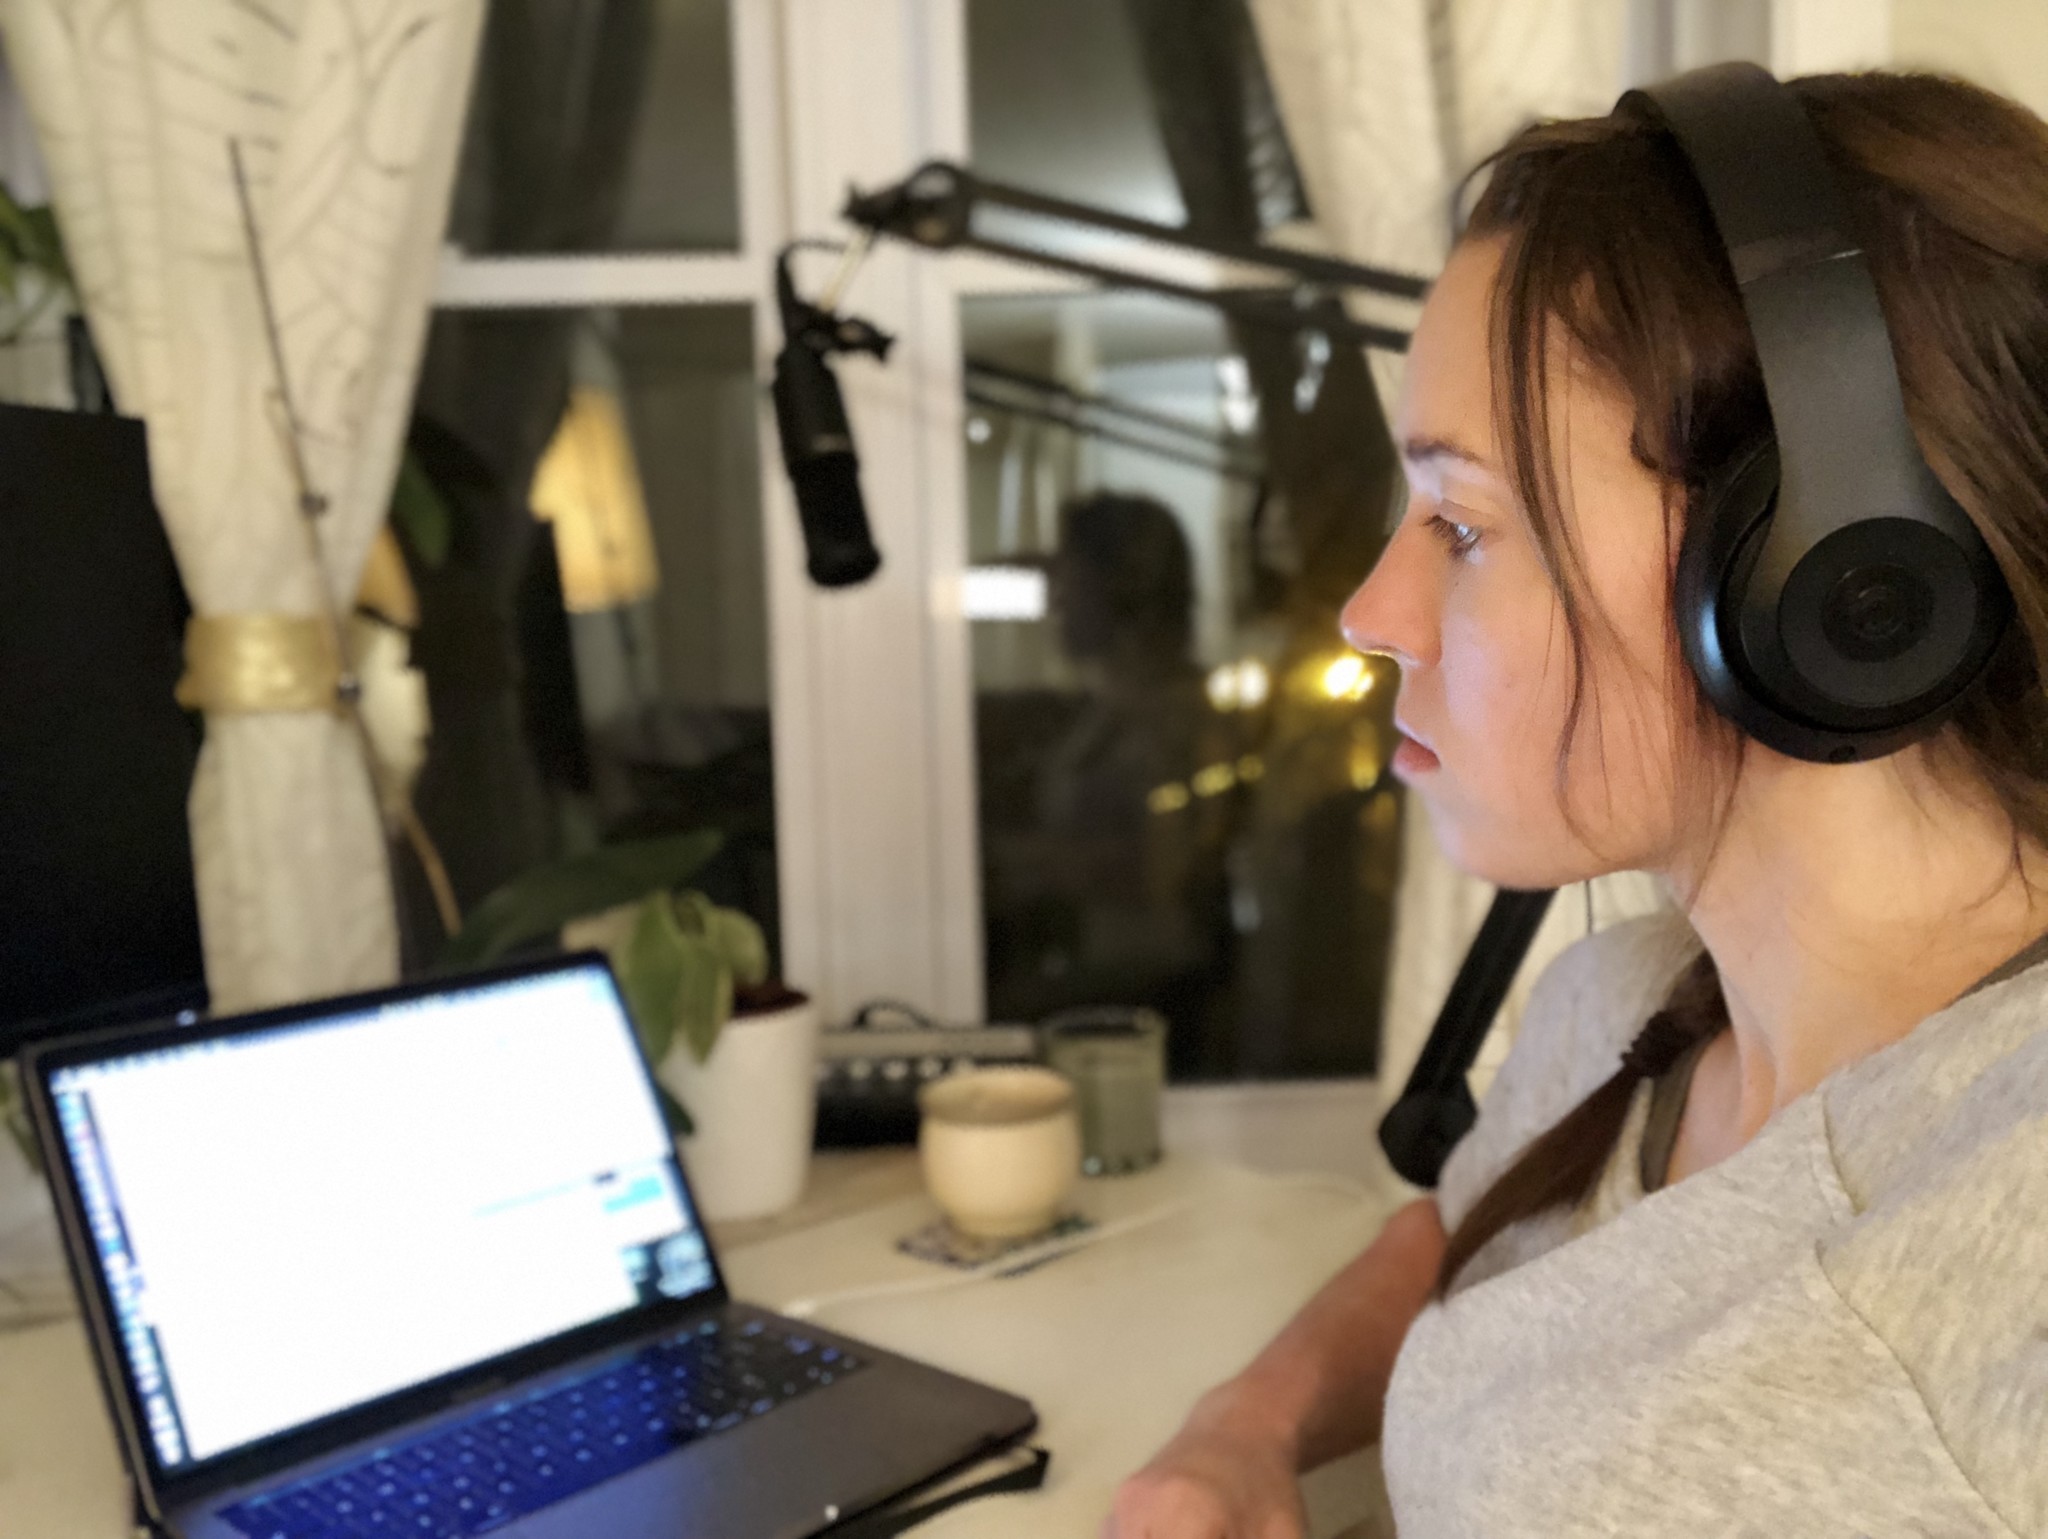
Portrait selfies taken by the author while testing the iPhone X on skates and in sub-zero temperatures.
Portrait mode also includes optional lighting effects, called Portrait Lighting, which allow you to artificially light the subject to give them more definition.
The iPhone X has Portrait mode for the rear telephoto camera, but thanks to the TrueDepth front camera system, it also lets users take Portrait selfies.
Unlike the rear camera system, the front-facing camera doesn't have multiple physical camera lenses; instead, it uses sensors from the TrueDepth system to measure a precise depth map.
Master your iPhone in minutes
iMore offers spot-on advice and guidance from our team of experts, with decades of Apple device experience to lean on. Learn more with iMore!
How to take selfies in Portrait mode
- Open the Camera app.
- Swipe over to the Portrait setting.
- Tap the Camera Swap button to switch to the front-facing camera.
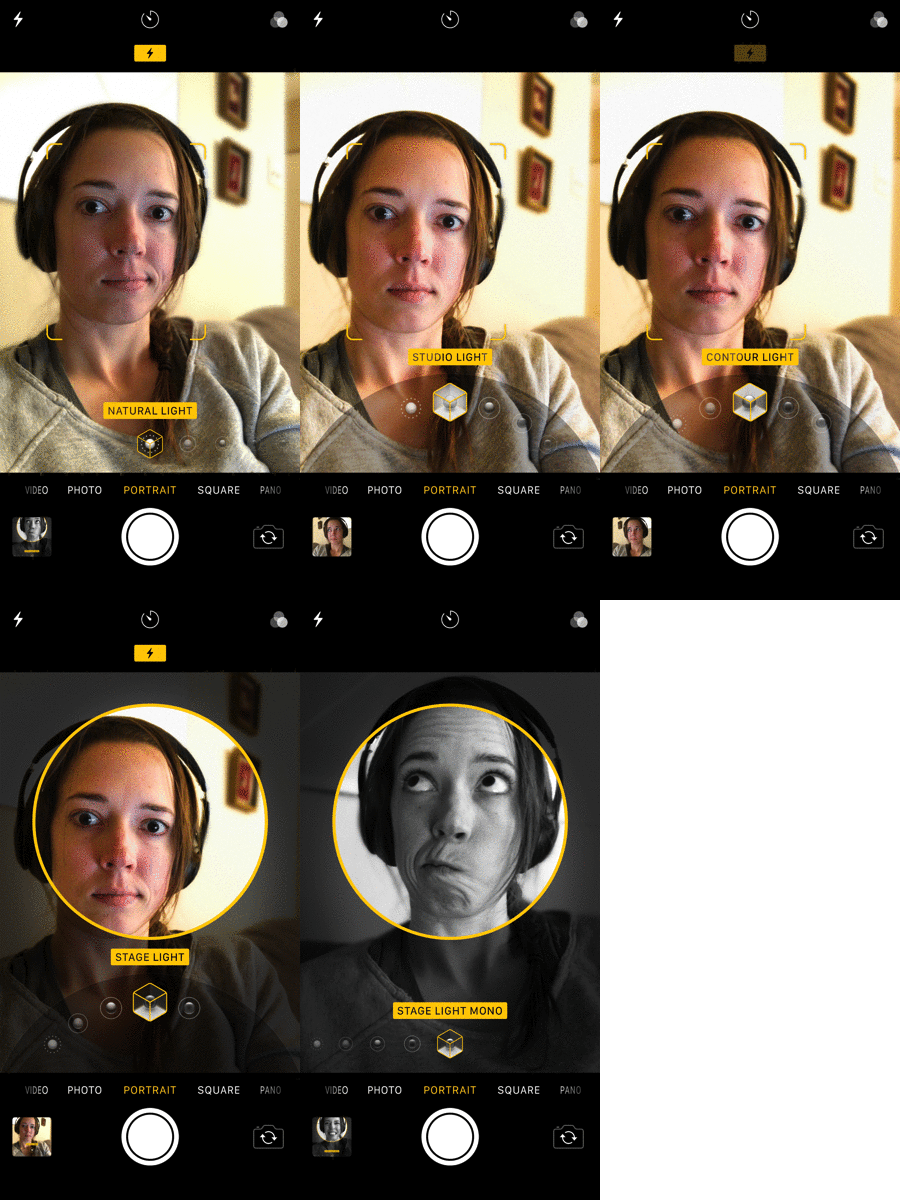
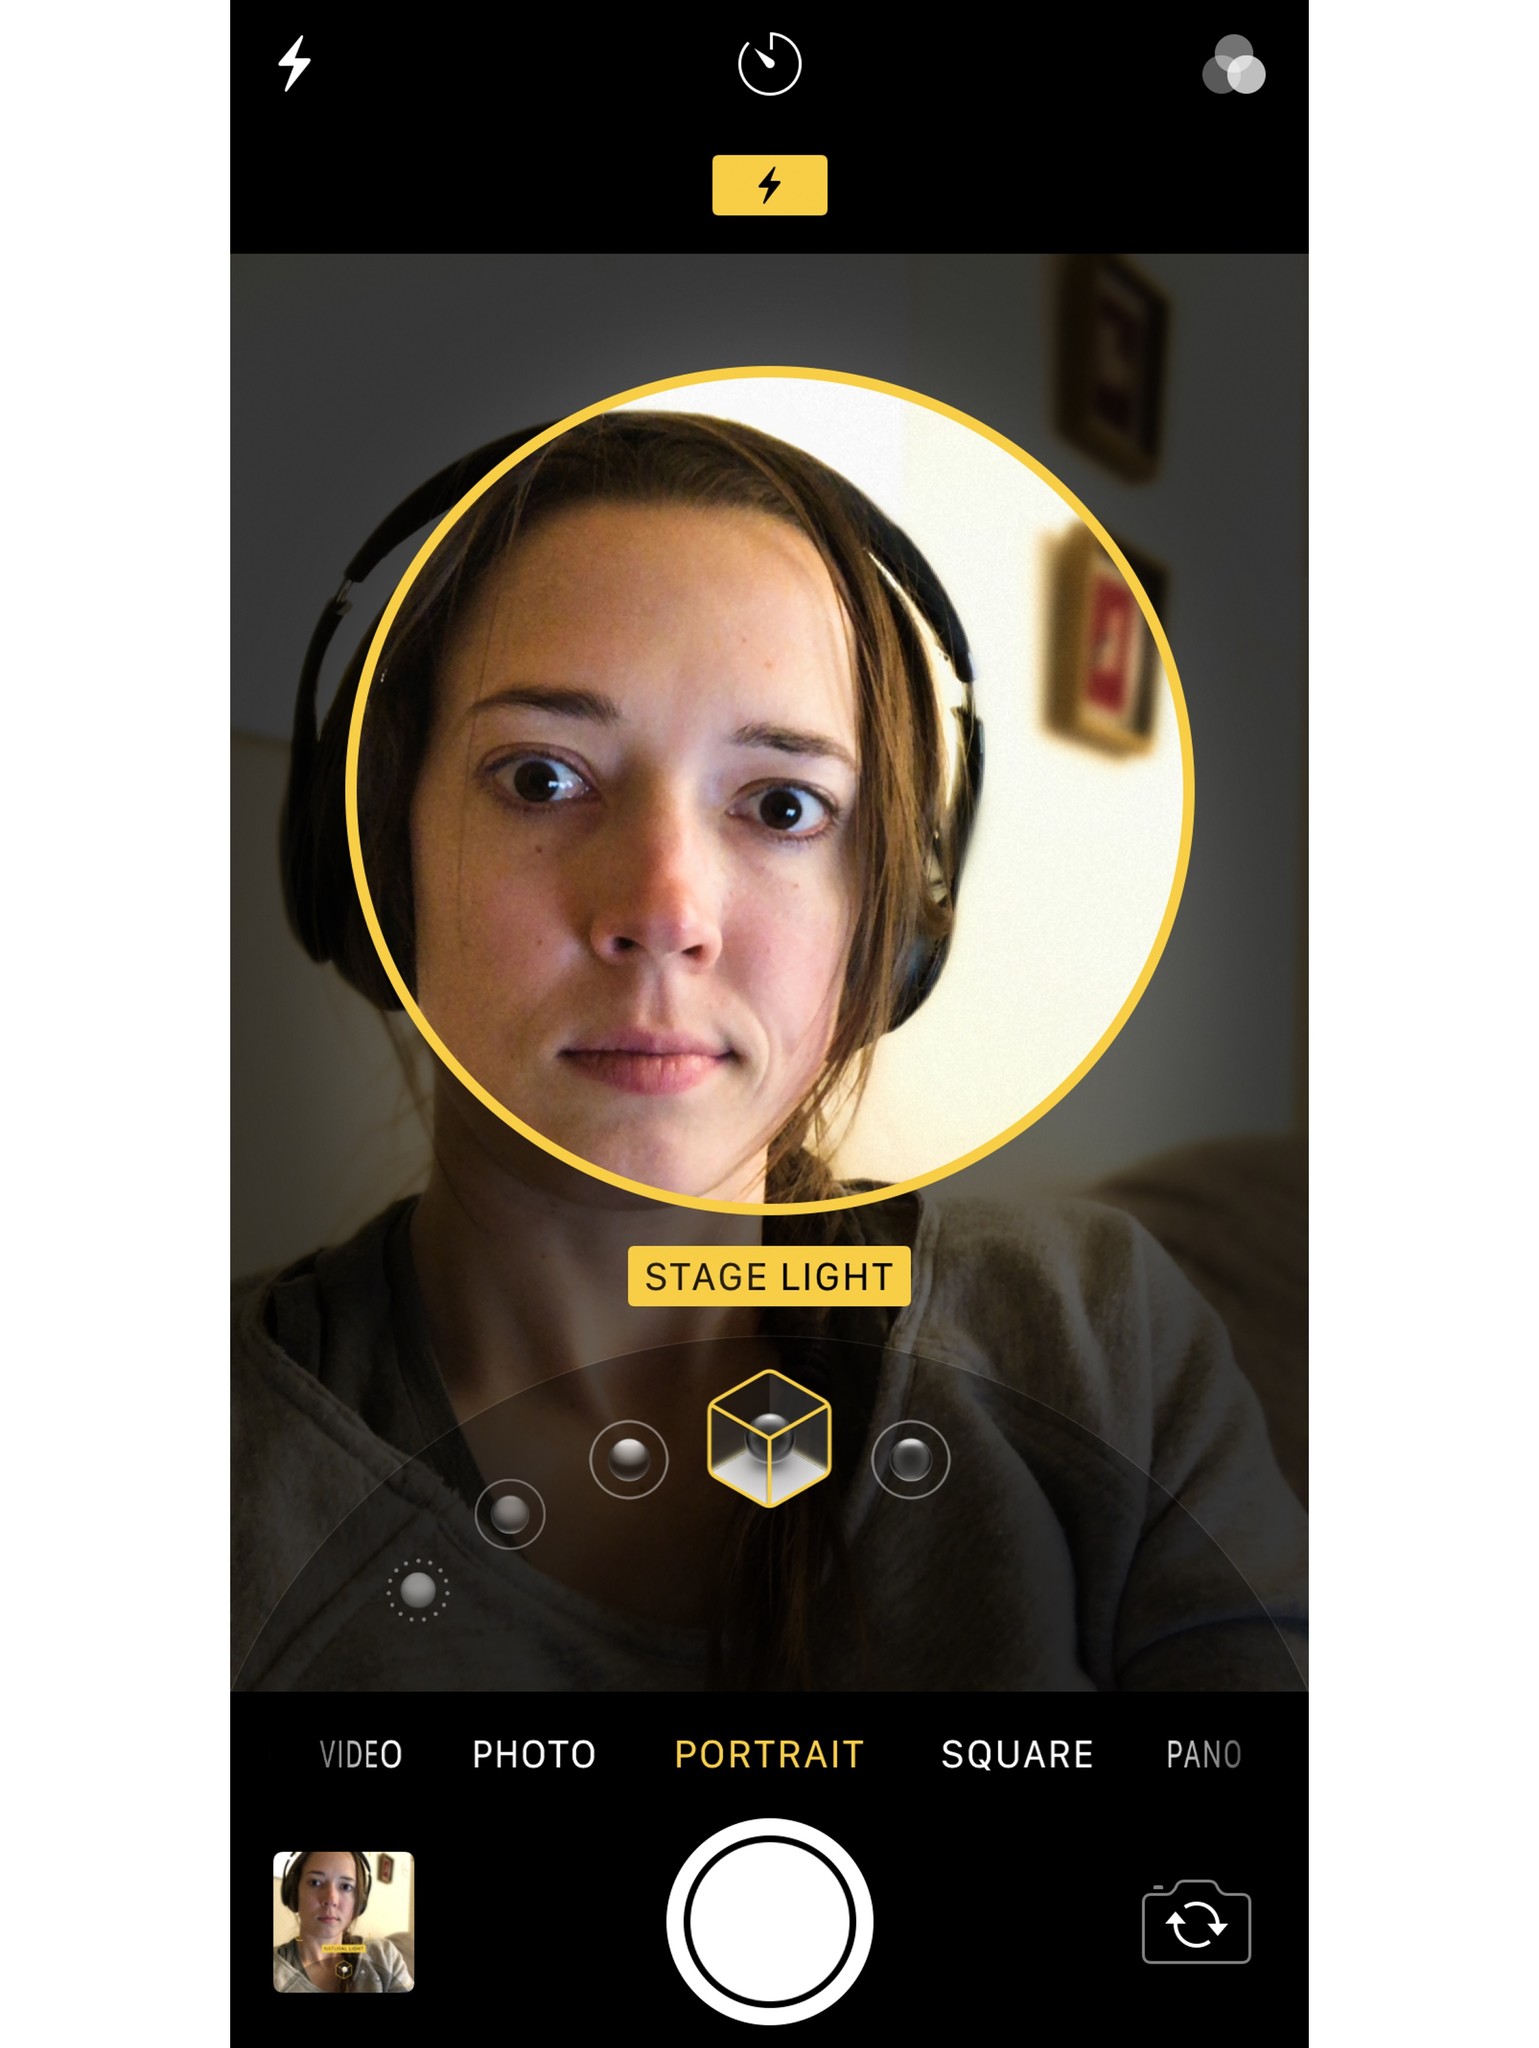
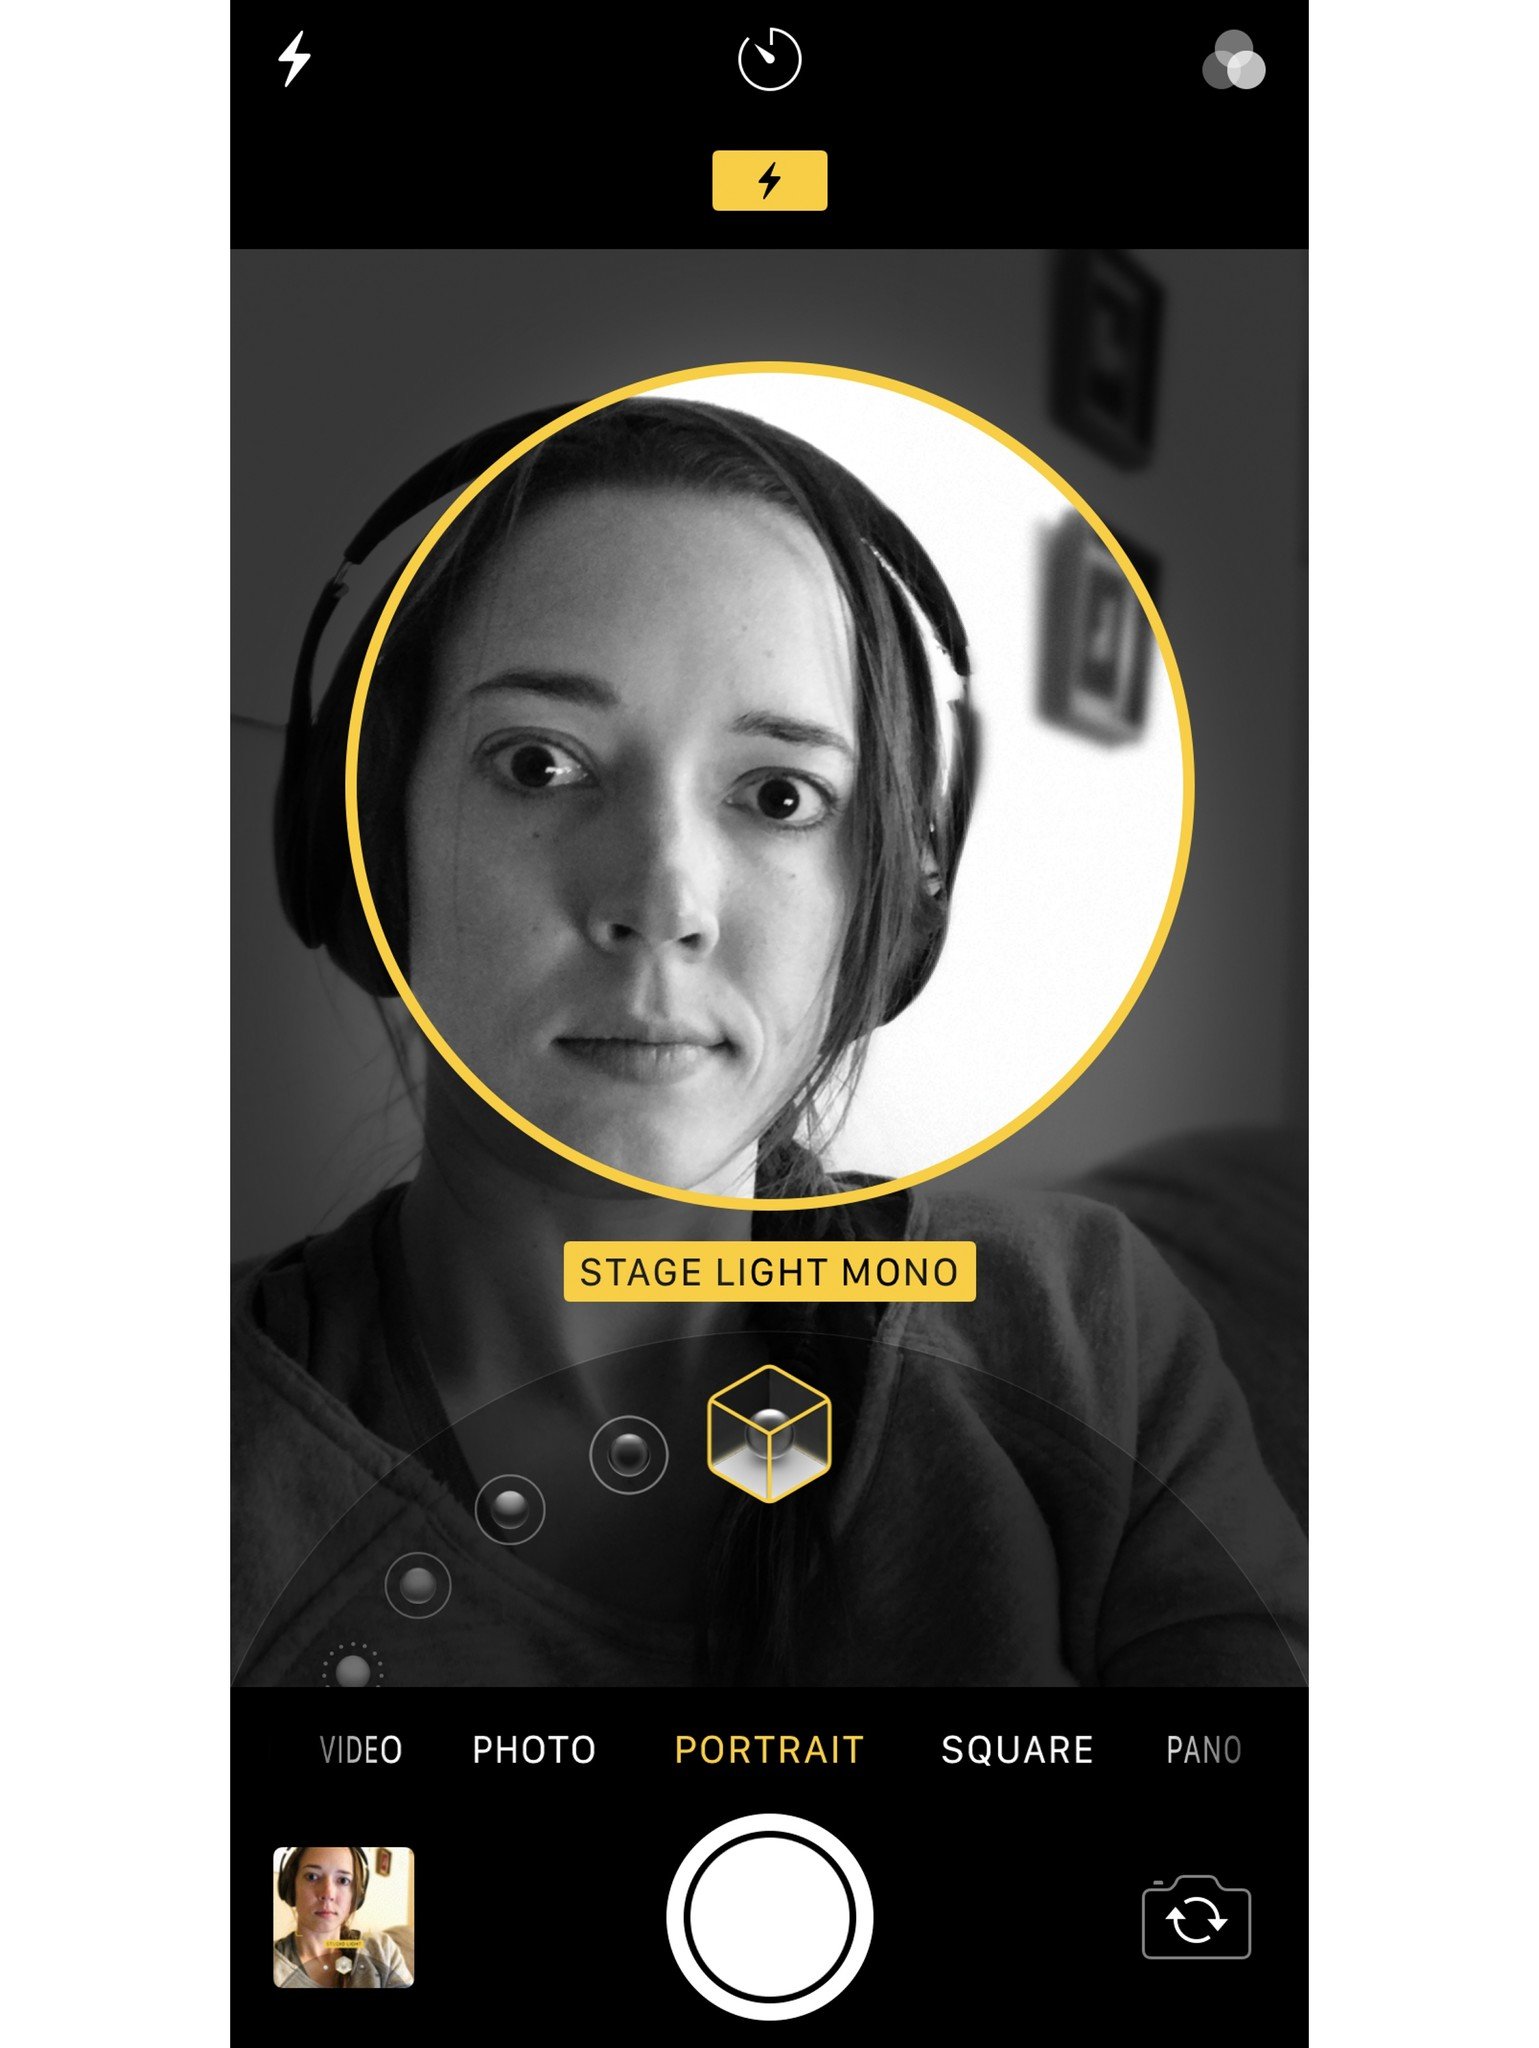
- Choose a Portrait Lighting effect: Natural, Studio, Contour, Stage, or Stage Mono.
- Pay attention to the Camera app's prompts (either "More light required," "Flash may help," "Place subject within 8 feet," or "Move farther away") and follow the instructions to properly line up the shot. Once you've met the camera's needs, you'll see the banner at the bottom turn yellow.Note: You can still shoot in Portrait mode even if the banner doesn't turn yellow — you just won't get depth or lighting effects.
- Press the shutter button to take your photo.
Best tips for shooting selfies with iPhone X
Perhaps "selfie" isn't the first word that came to mind when deciding to purchase a $1000 smartphone, but regardless of that fact, your iPhone X has an excellent front-facing camera.
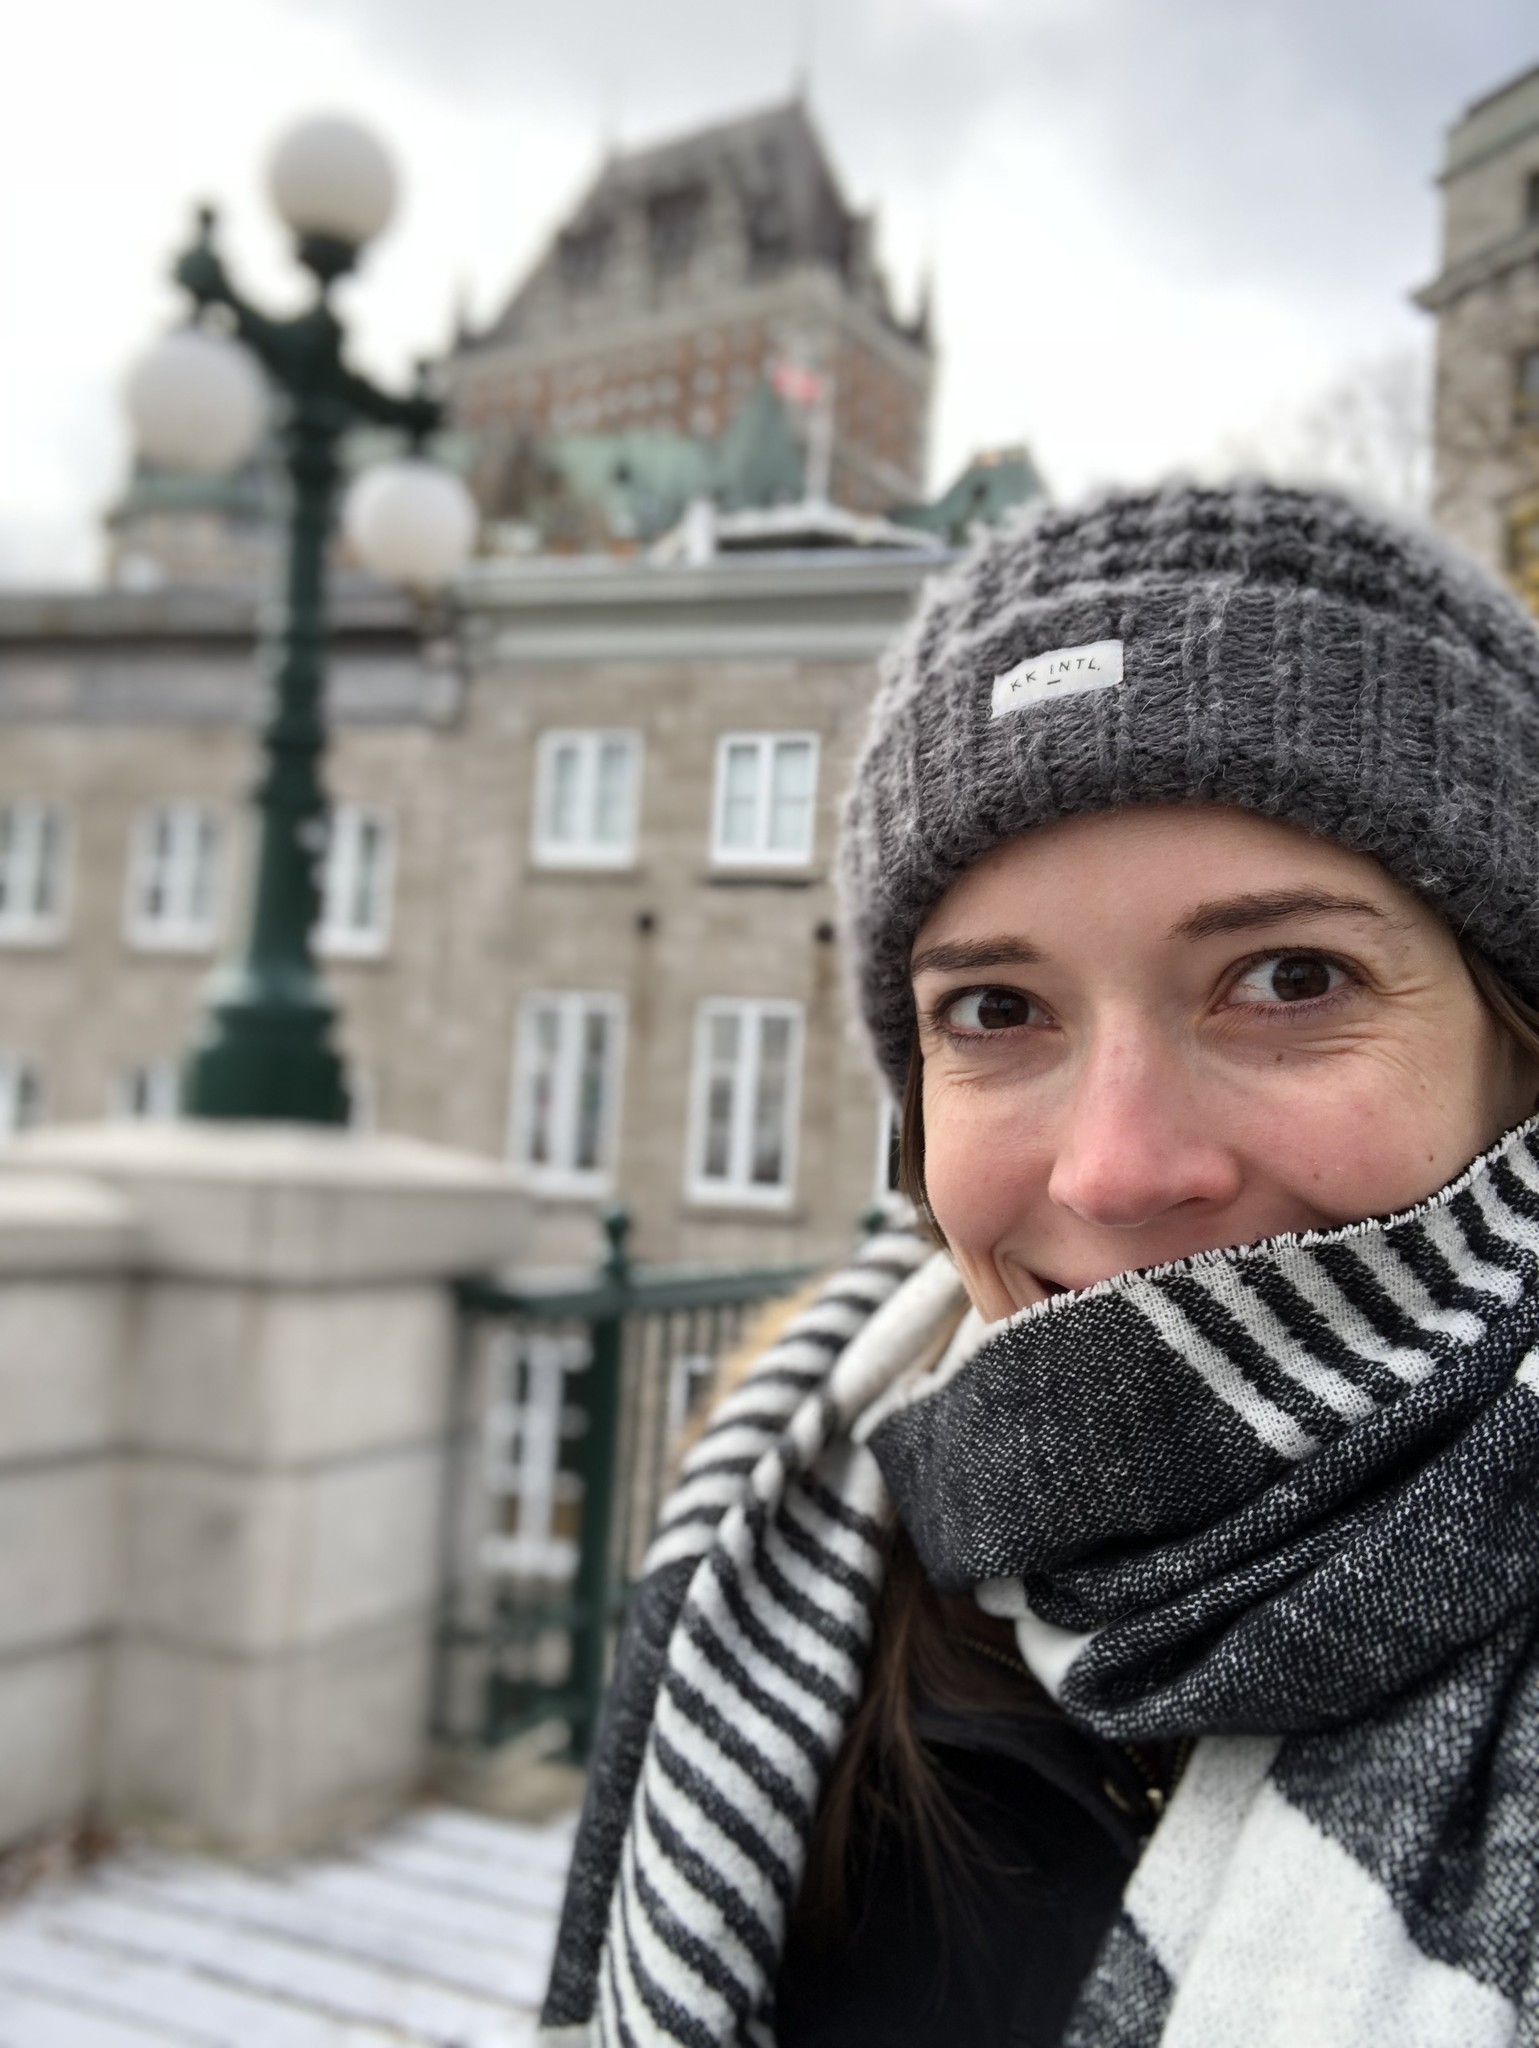


You can only take so many selfies before you start testing your facial expressions for maximum wackiness.
The trick, of course, is getting the most out of it — especially if you're someone who doesn't usually take selfies.
1. Shoot in Portrait mode
By default, the iPhone X will shoot primarily with its 12-megapixel front-facing camera — no extra depth magic included. And while you might get a perfectly serviceable Live Photo selfie, it likely won't look nearly as good as shooting in Portrait mode.
So first and foremost: If you want great selfies, switch to Portrait mode. (But be aware that you're giving up the possibility of a Live Photo to do so.)
2. Shoot slightly upward and angled
Here's the thing: If you shoot a picture of yourself from below, all you're going to get is a very up close and personal view of your nostrils, double-chin-that-doesn't-exist-anywhere-but-this-angle, and droopy eyelids. Just don't do it.

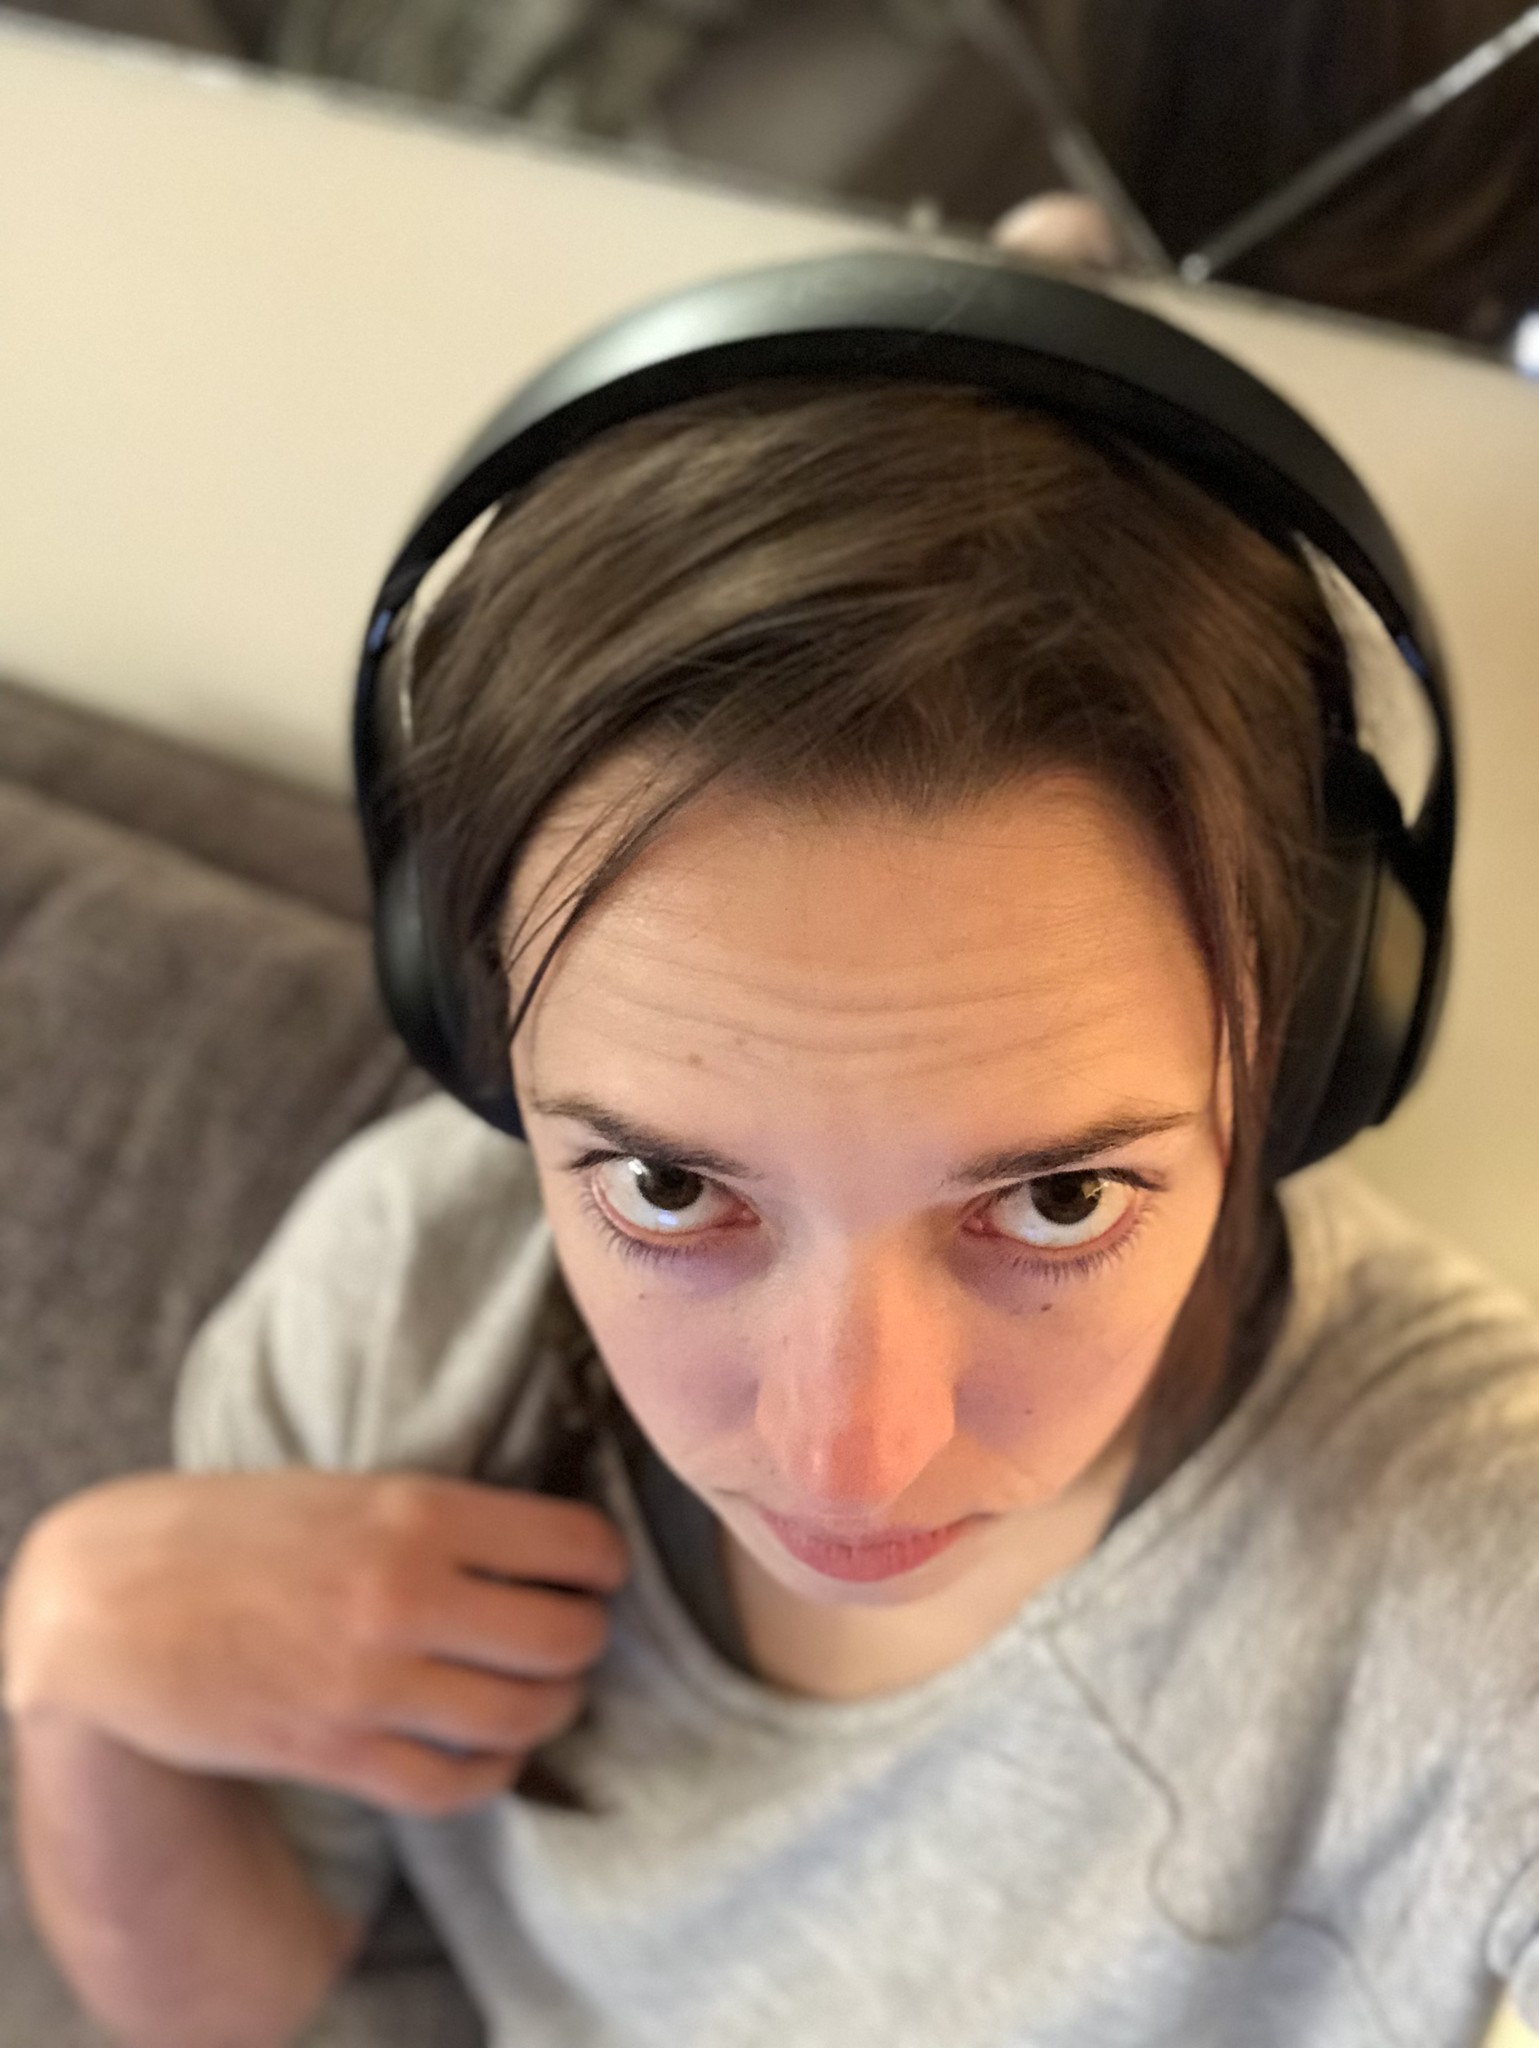

Too close, too high, too low: Unless you're trying to make yourself look like an alien, it's worth framing yourself correctly when taking selfies.
Likewise, if you aim too high, you end up looking like an early-2000s MySpace hipster — not only is the style out of date, but folks, trust me. No one can do this pose without either looking like a murderer (eyebrows in normal position) or eternally surprised (eyebrows way up above normal) with their forehead full of wrinkles. It's not a good look.
So here's the trick for getting the magic selfie angle: Hold your arm with phone in it out in front of your chest, so that you're making a 90-degree angle between your torso and arm. Move it about 15 degrees to the side (so your hand lines up with your shoulder), and up about 5-10 degrees (so that the background shifts a little and you get an ever-so-slight glimpse of the top of your head). There you go. Hand choice is largely preference — I like using my left, others prefer shooting their right side. Whatever floats your boat.
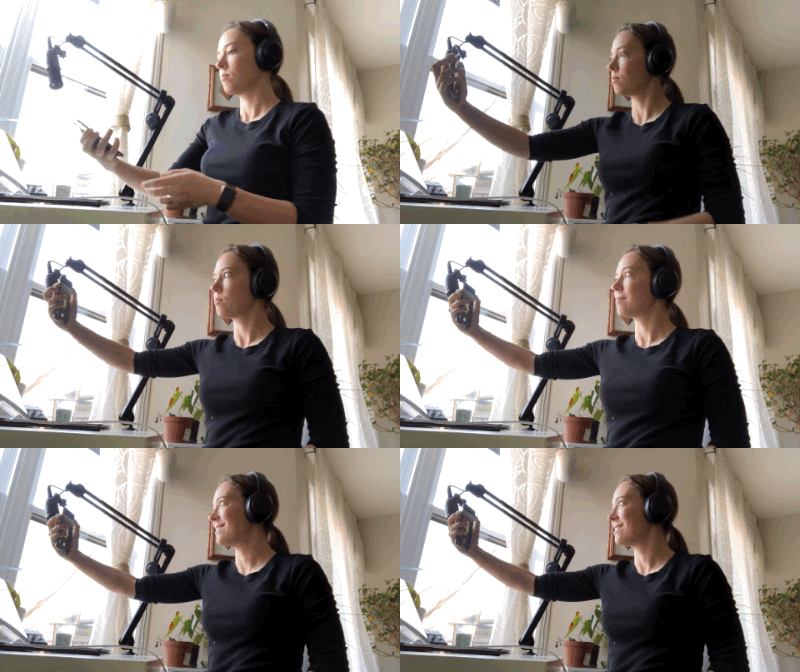
Trying to include multiple people? Selfie sticks aren't the worst way to go here, but you can also usually get away with angling closer to 25 degrees away from your torso, to include people next to you.
3. Adjust the brightness
By default, front-facing Portrait mode will try to illuminate you when taking a photo. As a result, you (and your background) might end up a little blown out after the initial light reading. While I've seen less of this as I've used the iPhone X more often, if you run into an over-exposed scene when trying to take a selfie, I have two options for you:
- Adjust the brightness slider (looks like a sun) downward to dim the overall brightness.
- Switch modes to Photo and back again to reset Portrait mode's light metering.

4. Snap your photos with the volume button (or a remote shutter)
The iPhone X's up volume button also doubles as a shutter button in the Camera app: It's perfectly placed to receive a thumb (left hand) or index finger (right hand) when your arm is extended. Press the top volume button to shoot the photo instead of trying to gingerly grasp the bottom of the phone and hit the virtual button, all while worrying about dropping that double-sided glass.
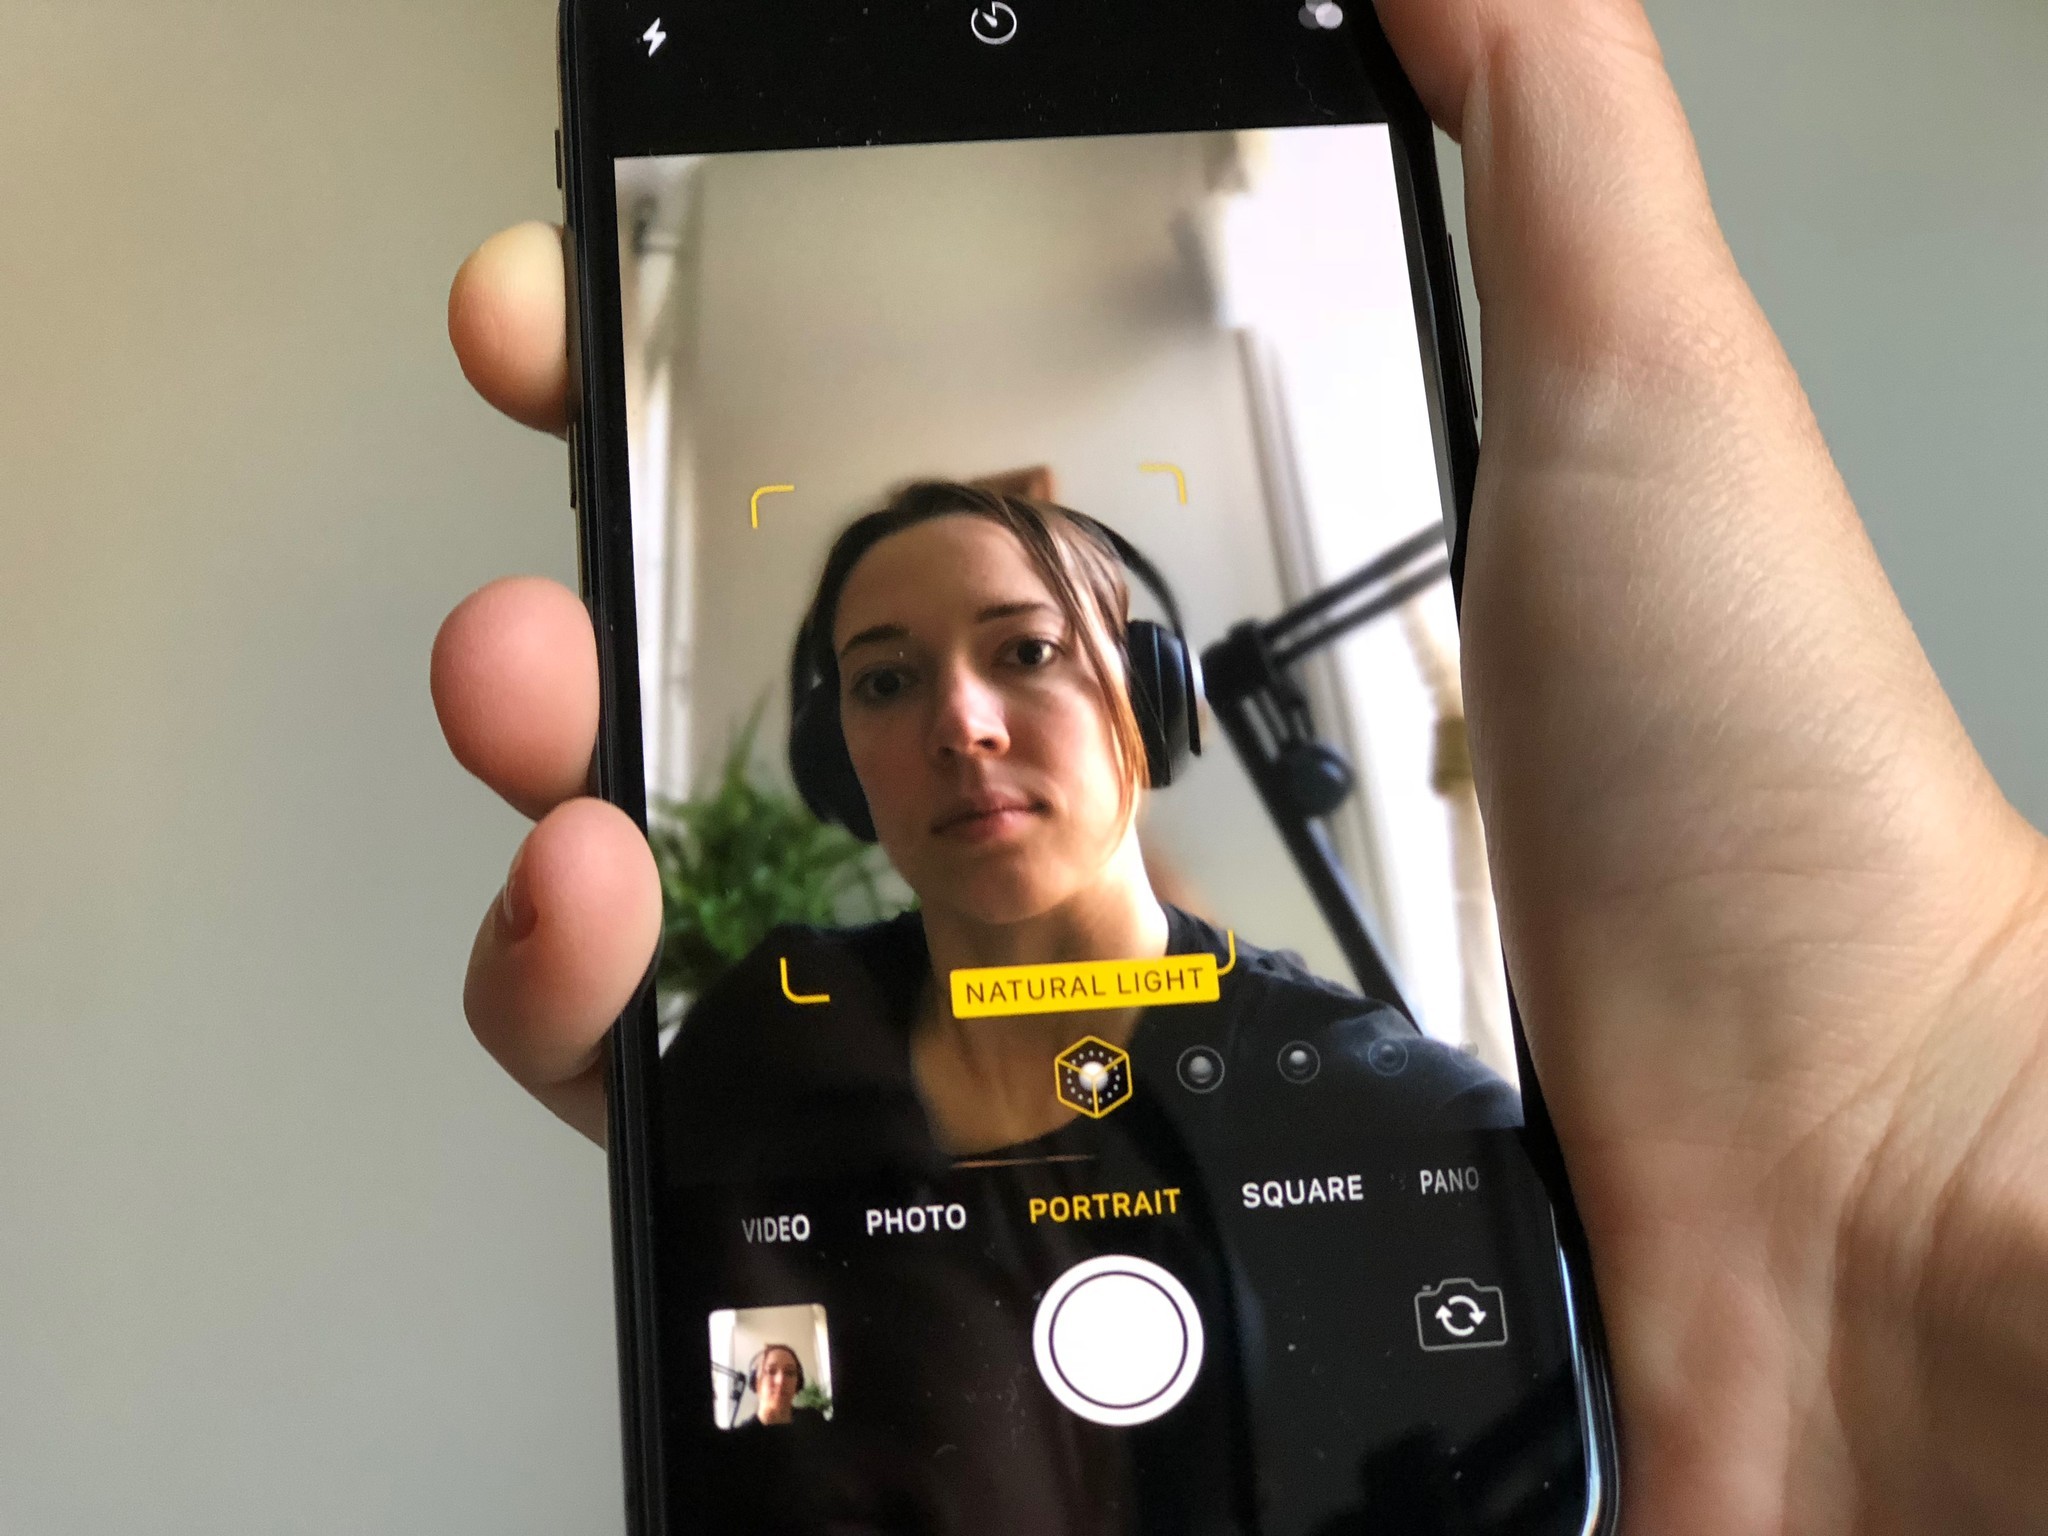
Because Portrait mode doesn't yet support Burst mode, you can also use an old trick to take even steadier images: With the camera app open, hold down the up volume button while you frame; when you're ready to take the photo, release it. This way you won't get a slight camera shake when snapping your selfie.
(Even better: Use a tiny tripod and a Bluetooth remote shutter.)
5. Use Retina Flash and Portrait Lighting for better looks
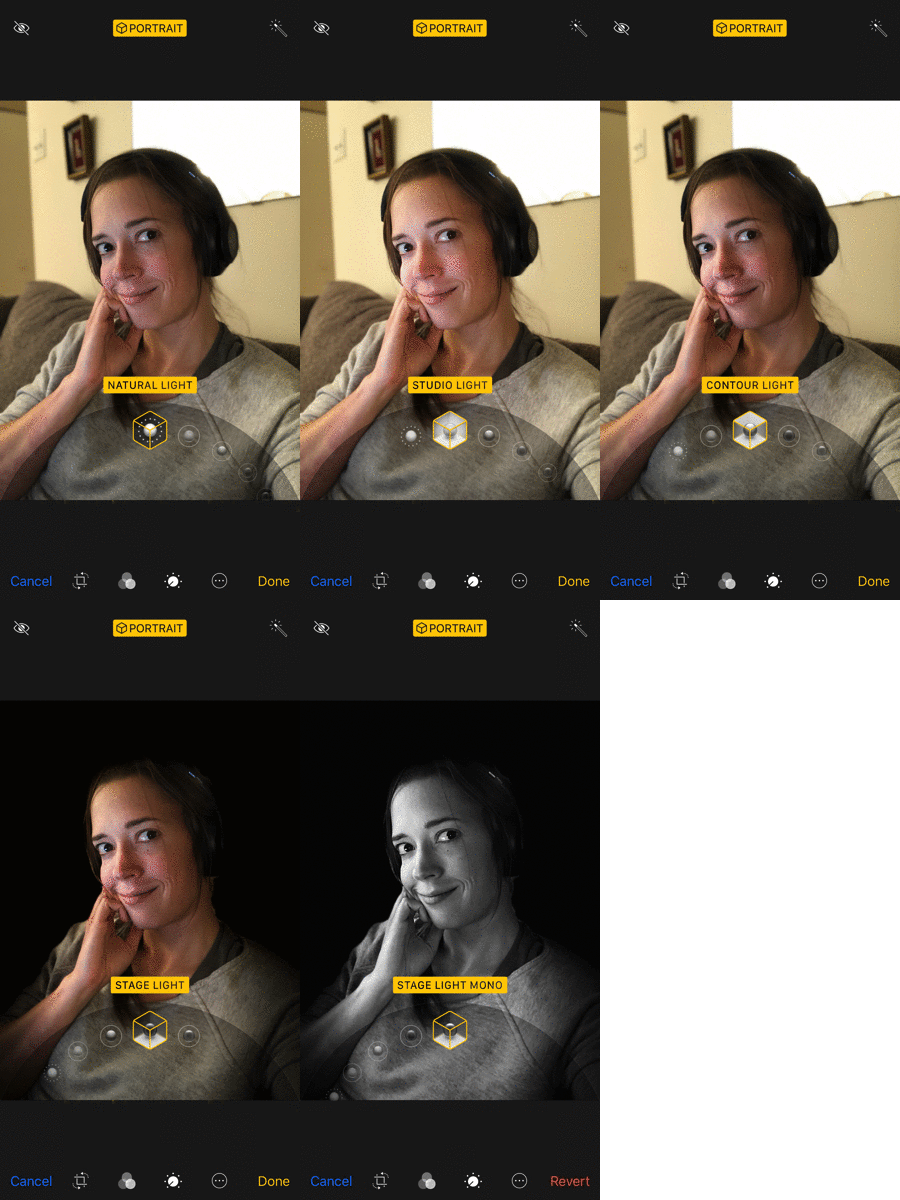
Want to brighten up your front-facing camera game and have the latest iPhone? You can use your screen's Retina flash to take an expert shot, or by adding a Portrait Lighting feature.
To enable the Retina Flash, simply press the Flash button (looks like a lightning bolt) and choose On, then take your selfie as you normally would.
Portrait Lighting can be added live, but I prefer to add it after the fact (unless I'm trying to shoot a Stage Light photo):
- Open the Photos app on your iPhone or iPad.
- Find the Portrait mode photo you want to edit.
- Tap Edit.
- Tap on the cube in the bottom center of the screen to bring up the lighting menu.
- Swipe on the cubes to pick an alternate lighting option.
- Tap Done.
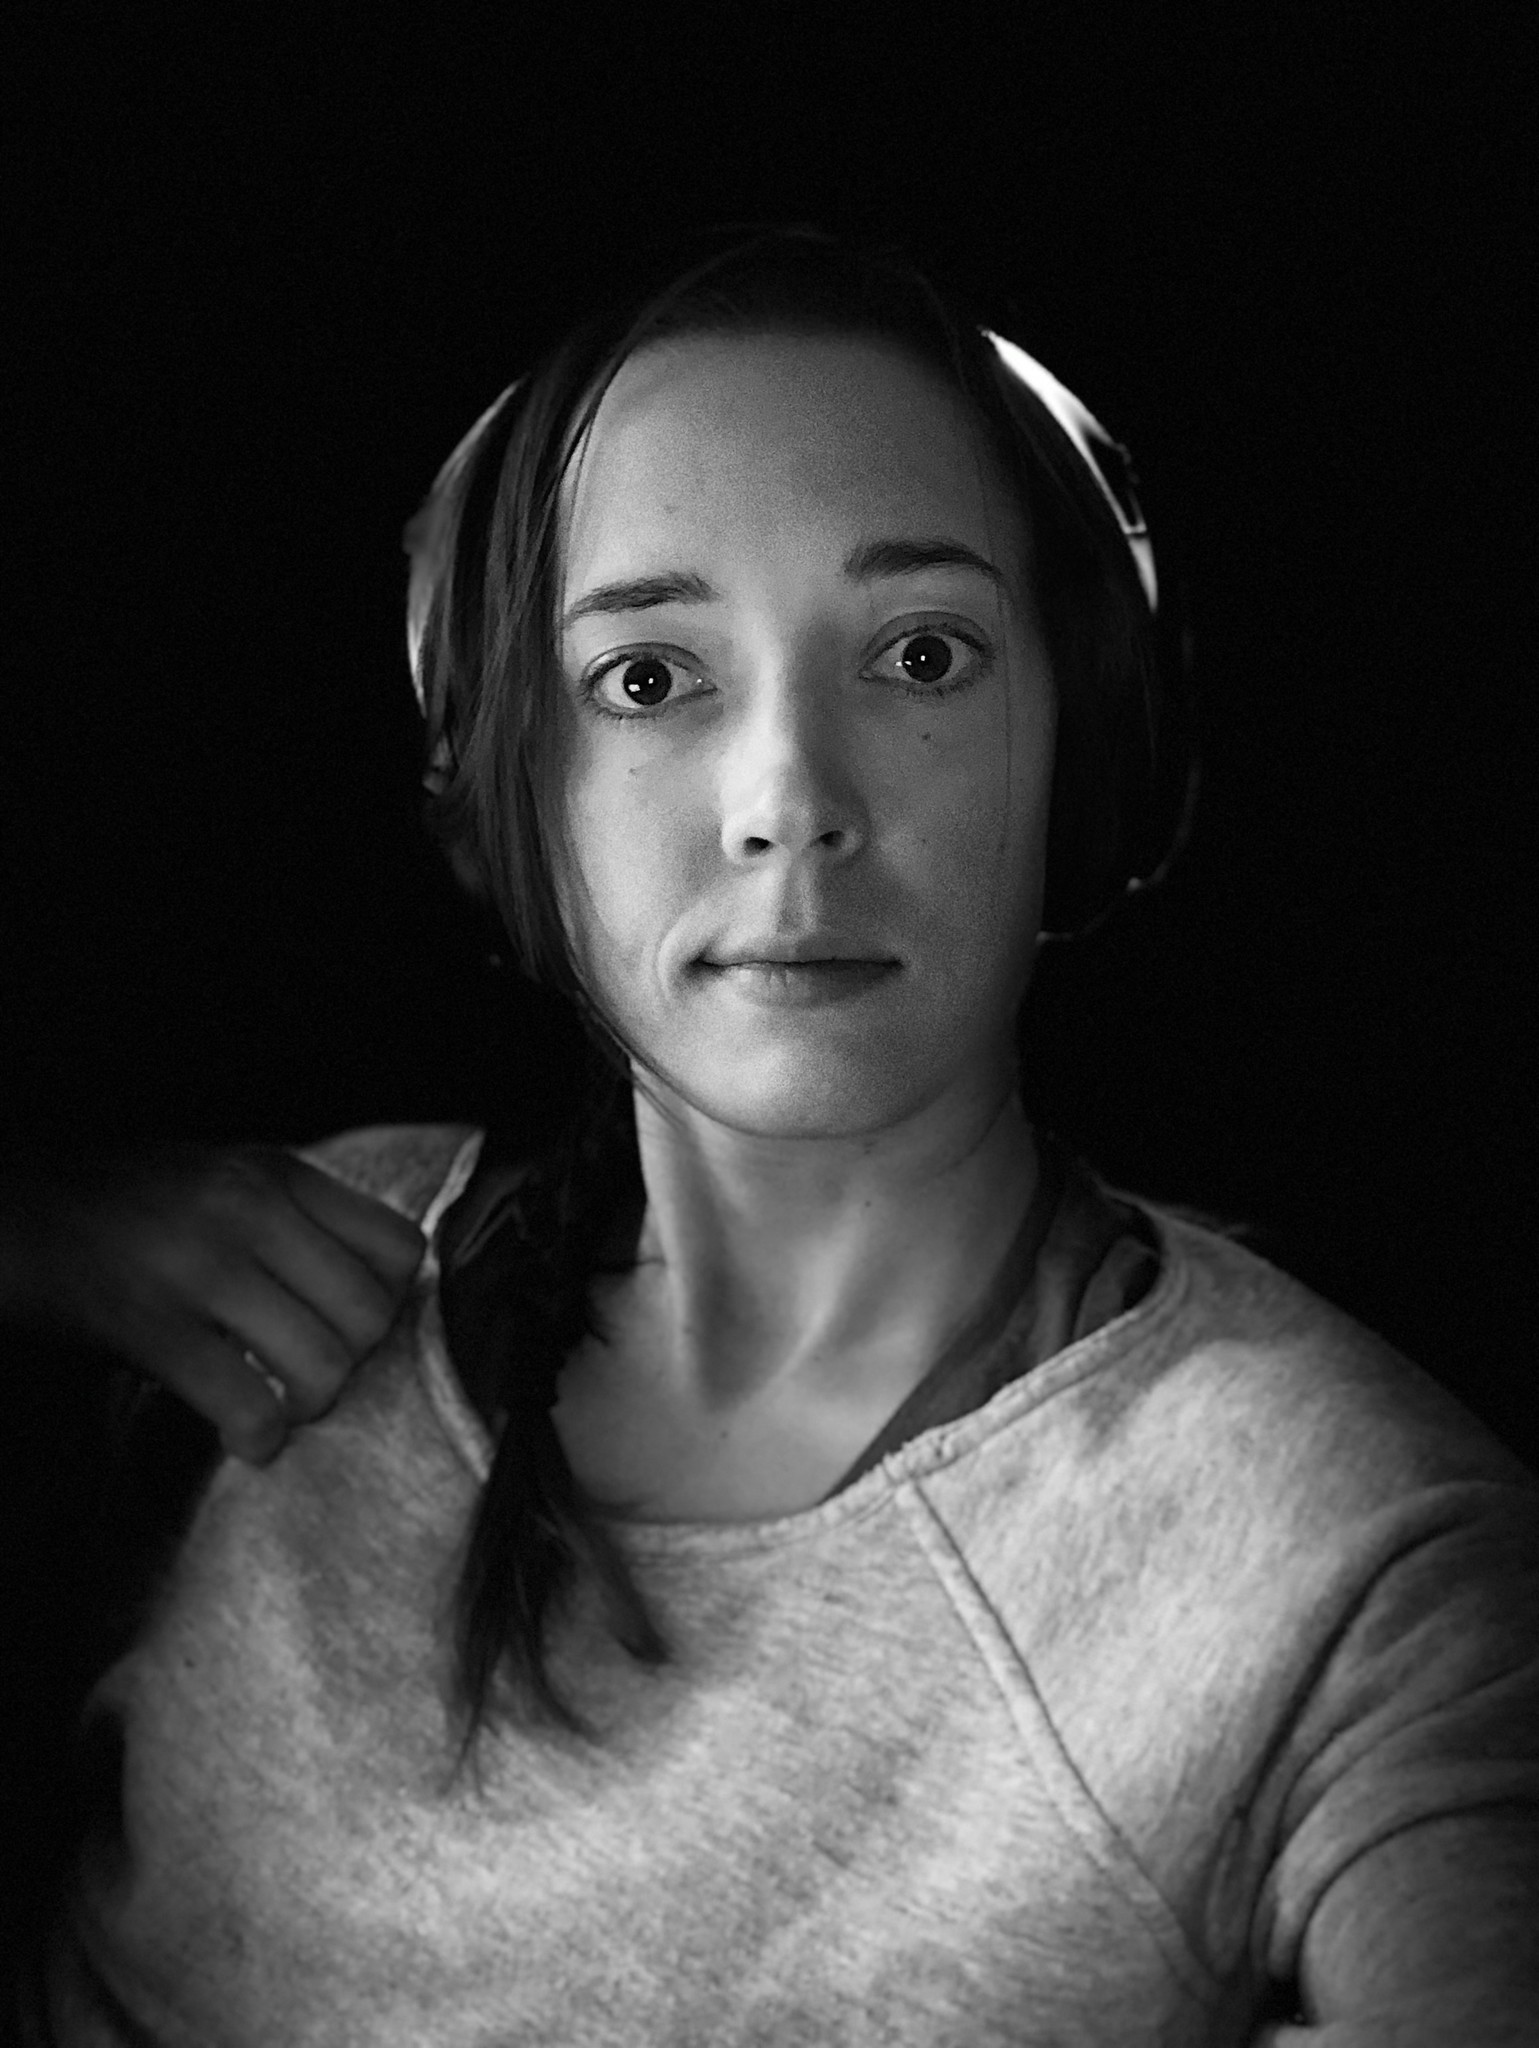
6. Shoot in Stage Light for an epic selfie
Don't much care about your background so much as the subject? You can get a much cleaner version of the Stage Light and Stage Light Mono look with your front-facing camera, thanks to the TrueDepth system.
7. Shooting with friends? Make sure you're on the same plane
If you're trying to take a group selfie, be careful not to angle your iPhone X too much — the TrueDepth camera measures vertical depth, which means that any person standing behind you rather than next to you may be subject to a bit of bokeh blur.
If this happens to you before you can realize and correct it, you can always remove the blur entirely:
- Open the Photos app on your iPhone or iPad.
- Find the selfie image you want to edit.
- Tap Edit.
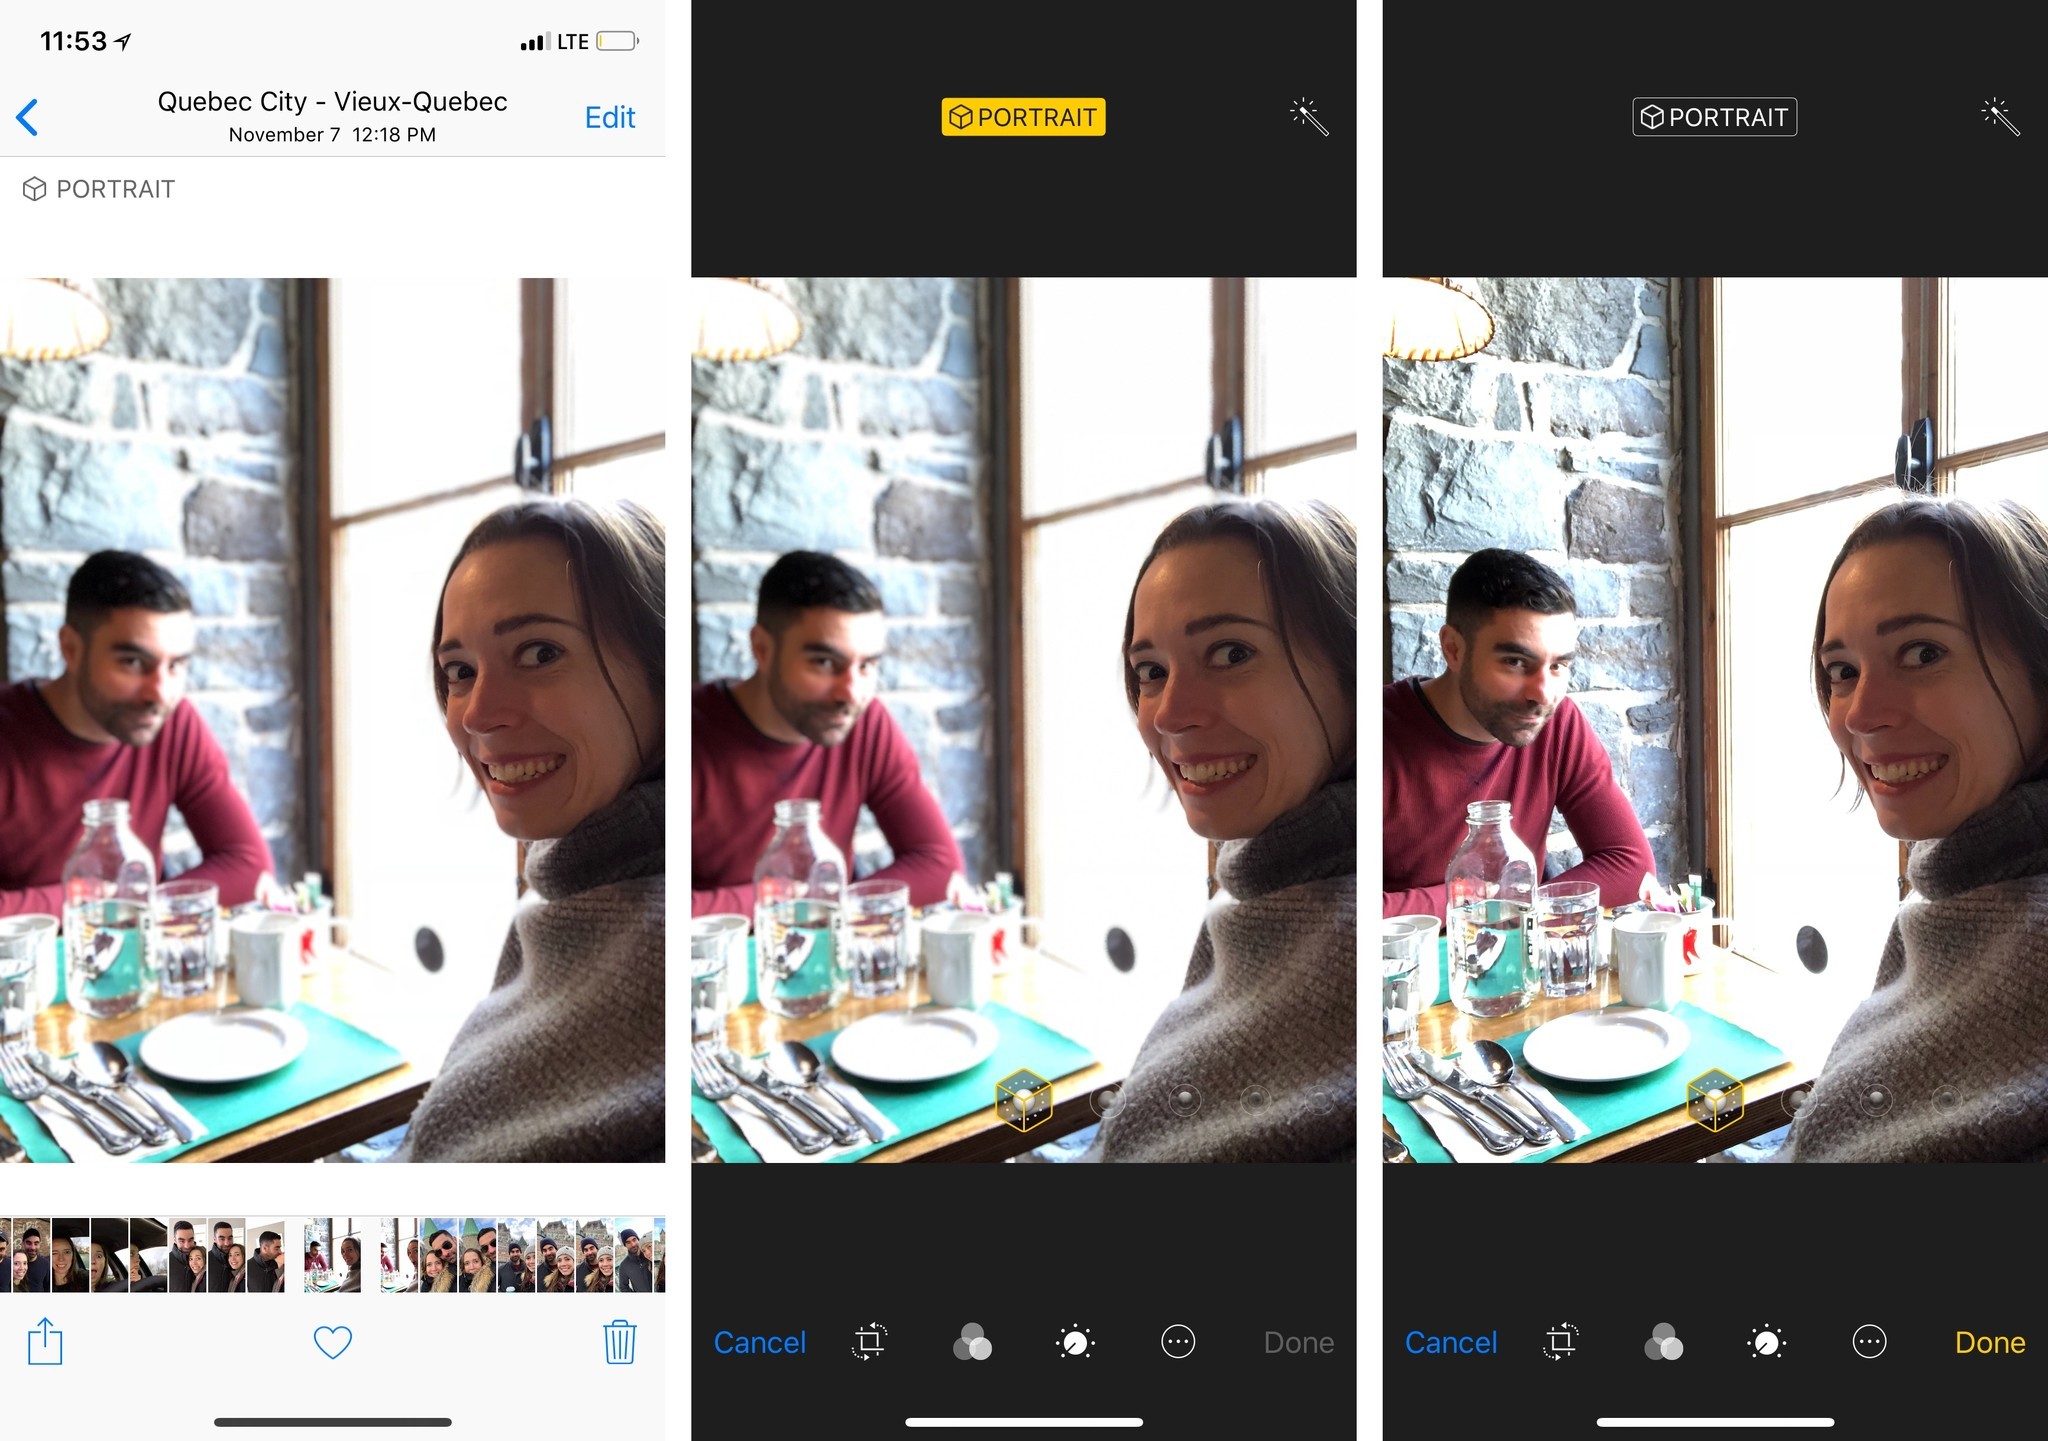
- Tap on the yellow Portrait button when it appears at the top of the screen.
- Tap Done.
That said, you don't have to ditch depth entirely to fix a blurry selfie: Apps like Focos can help you adjust the bokeh effect on your image's depth map. Here's how to do it in that app.
- Download and open Focos.
- Choose the photo you wish to adjust.
- Try tapping on the rearmost person to focus, to see if you can automatically correct the issue.
- If not, tap on the Effect pane to see your depth map.
- Use the degree slider to angle the depth map.
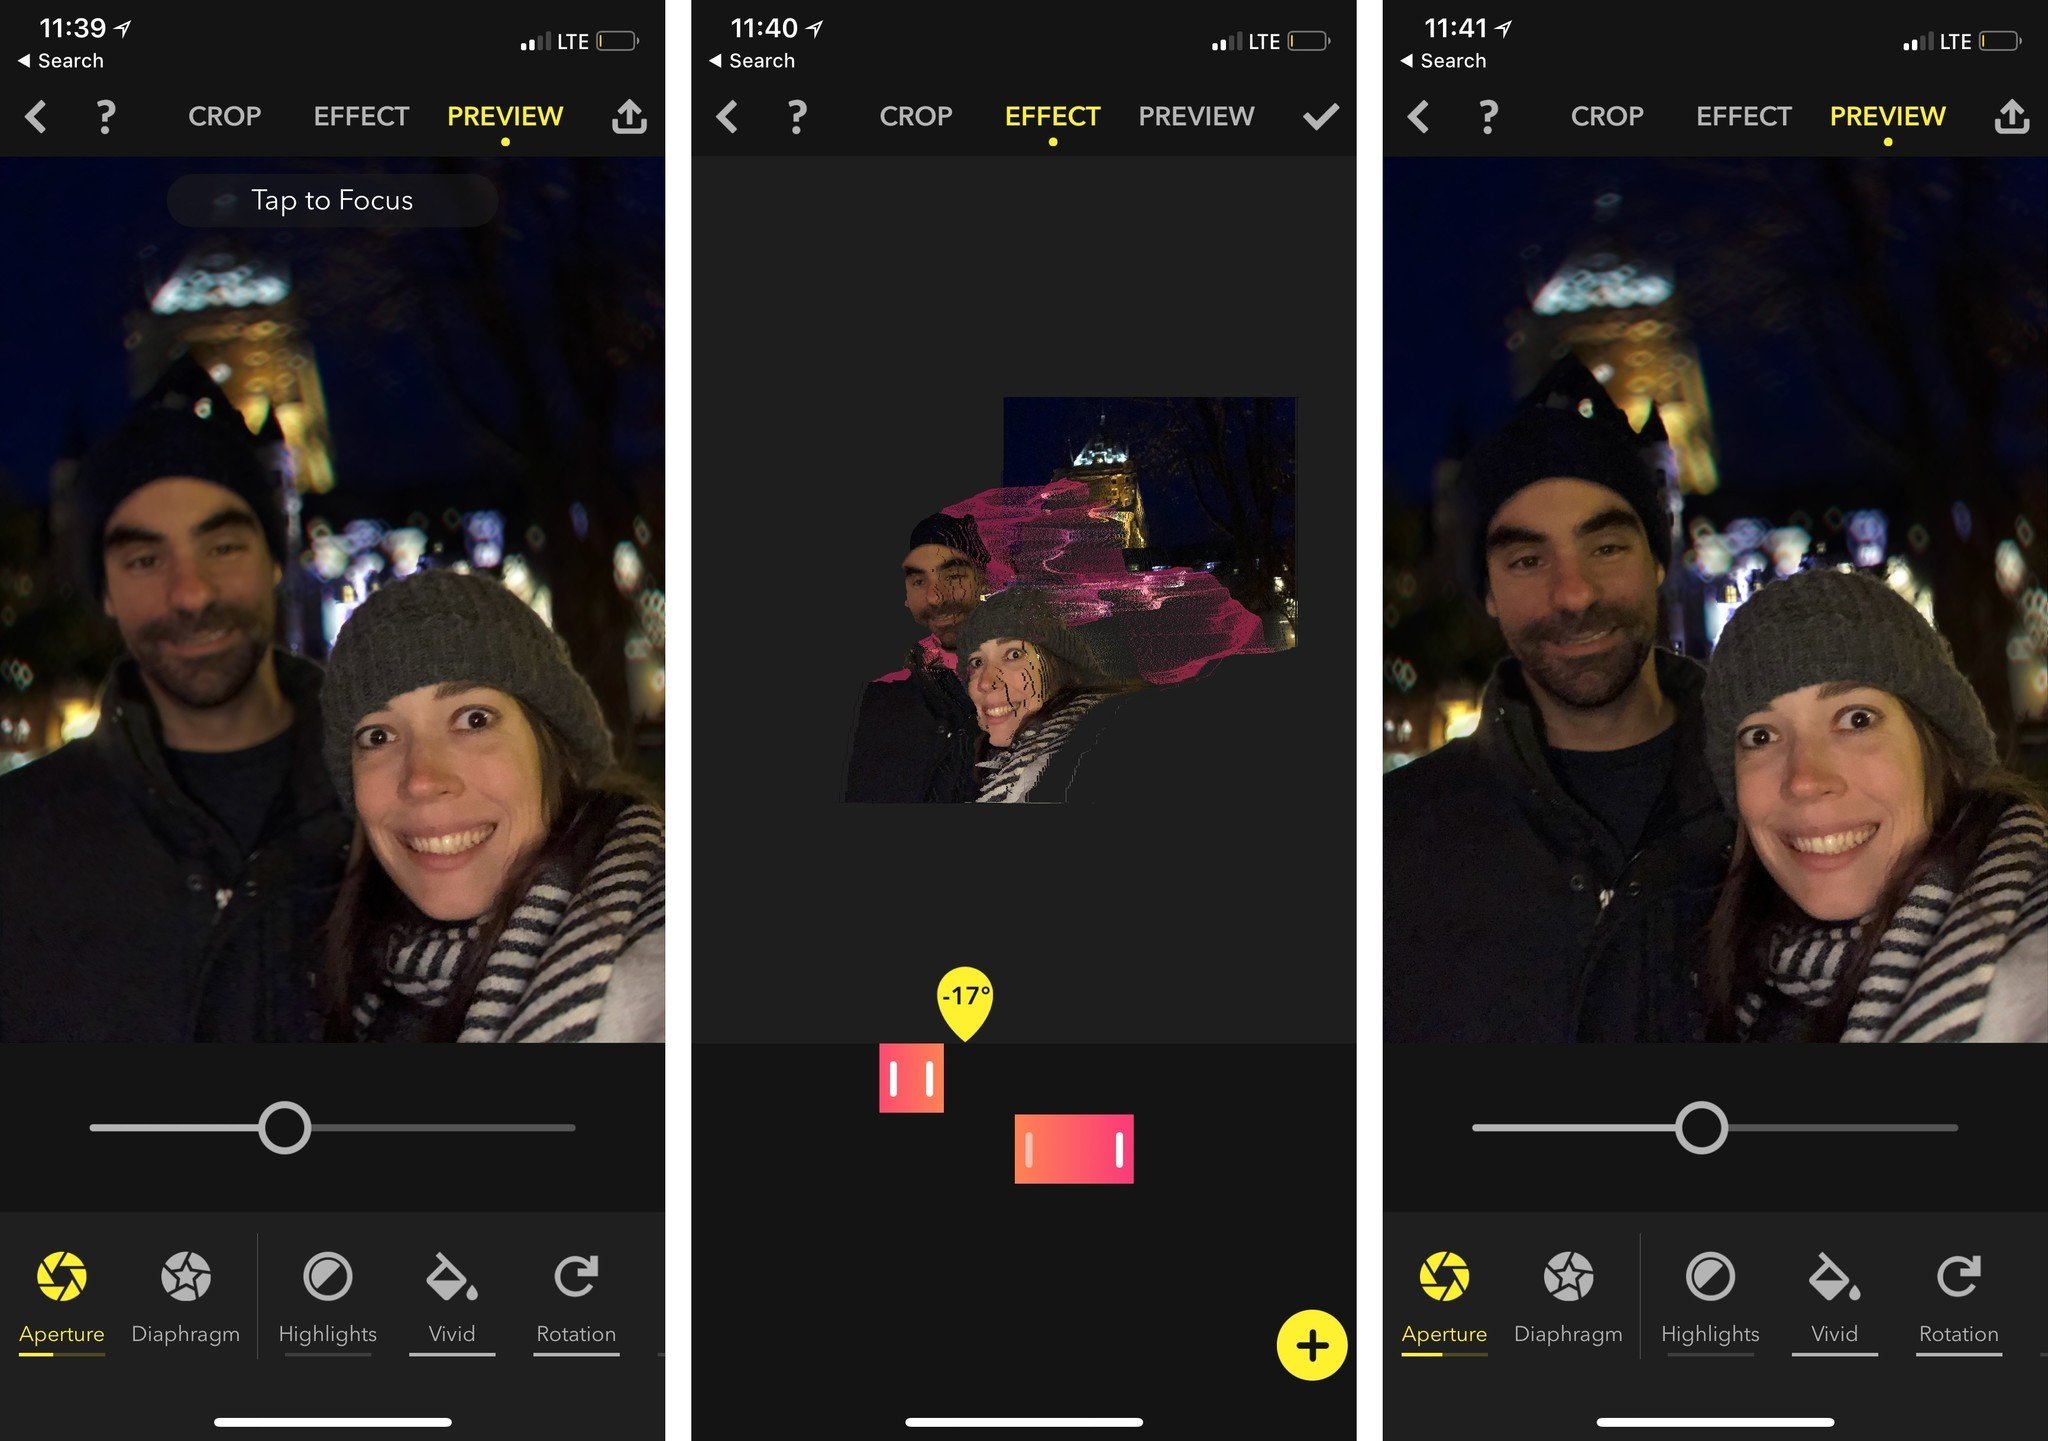
- Select the Back bokeh slider and drag it back until the second person is no longer within the effect's radius.
- Return to Preview to see the updated effect.
- Press the Save button to return the updated photo to your Camera Roll.
8. Avoid the "in" face
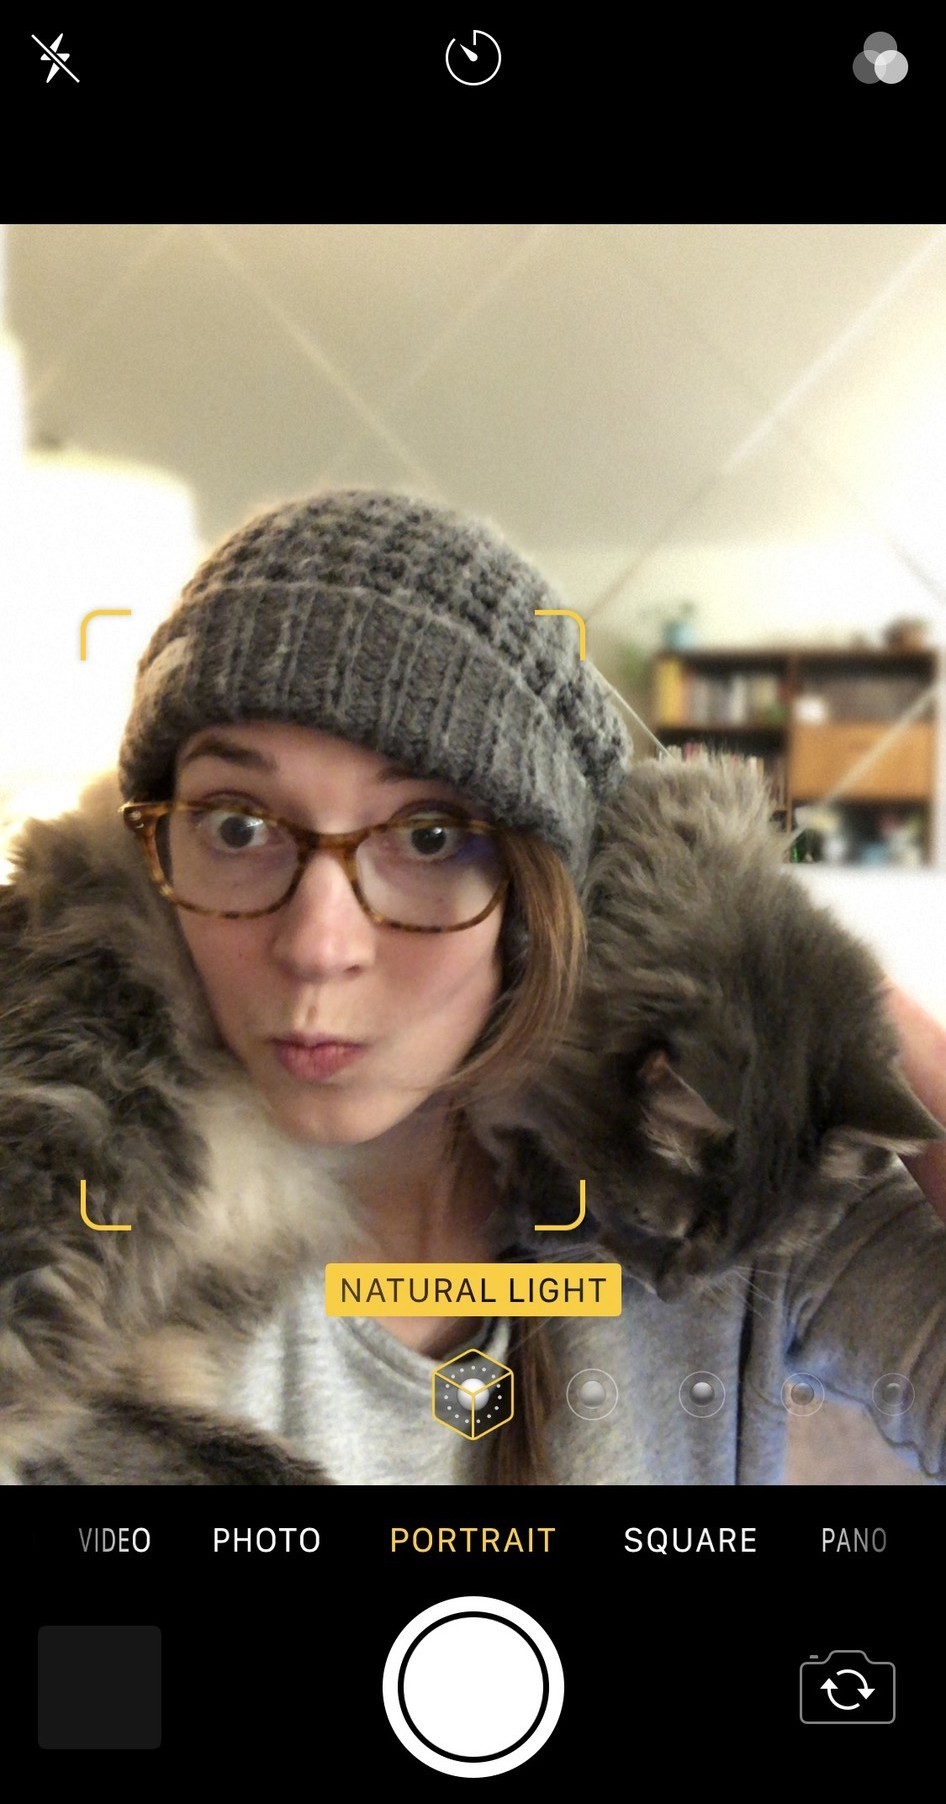
Duck, pout, kissy, emo — whatever the trending "face" of the week is, it's already stale. If you're sending someone a photo of yourself, or putting it online, give it some personality. Like I mentioned above, generally I send selfies as reaction shots — silly expressions or faces that I can't adequately use emojis or gifs to express. Even when I'm just sending a picture to send a picture, I try to make the expression a little more interesting than a straight smile. (And who knows? Your goofy expression might be the next "big" face, and you can say you're ahead of the trend. Fancy that.)
There's also something to be said for genuine emotion over completely posed pictures. I used to hate, hate, HATE photos of myself where I wasn't blandly smiling because I worried about looking too silly, or too unkempt, or about fitting in. Somewhere through the years of self-portrait taking and sharing photos with friends, I got over that fear and started just taking weird pictures for the sake of it. It made me feel a lot better about myself as a whole, human person, not just a cardboard snapshot, and I suspect that might be true for others, too.
Questions about taking Portrait mode selfies?
Let us know in the comments.
Serenity was formerly the Managing Editor at iMore, and now works for Apple. She's been talking, writing about, and tinkering with Apple products since she was old enough to double-click. In her spare time, she sketches, sings, and in her secret superhero life, plays roller derby. Follow her on Twitter @settern.
