How to take photos on an iPad that don't suck
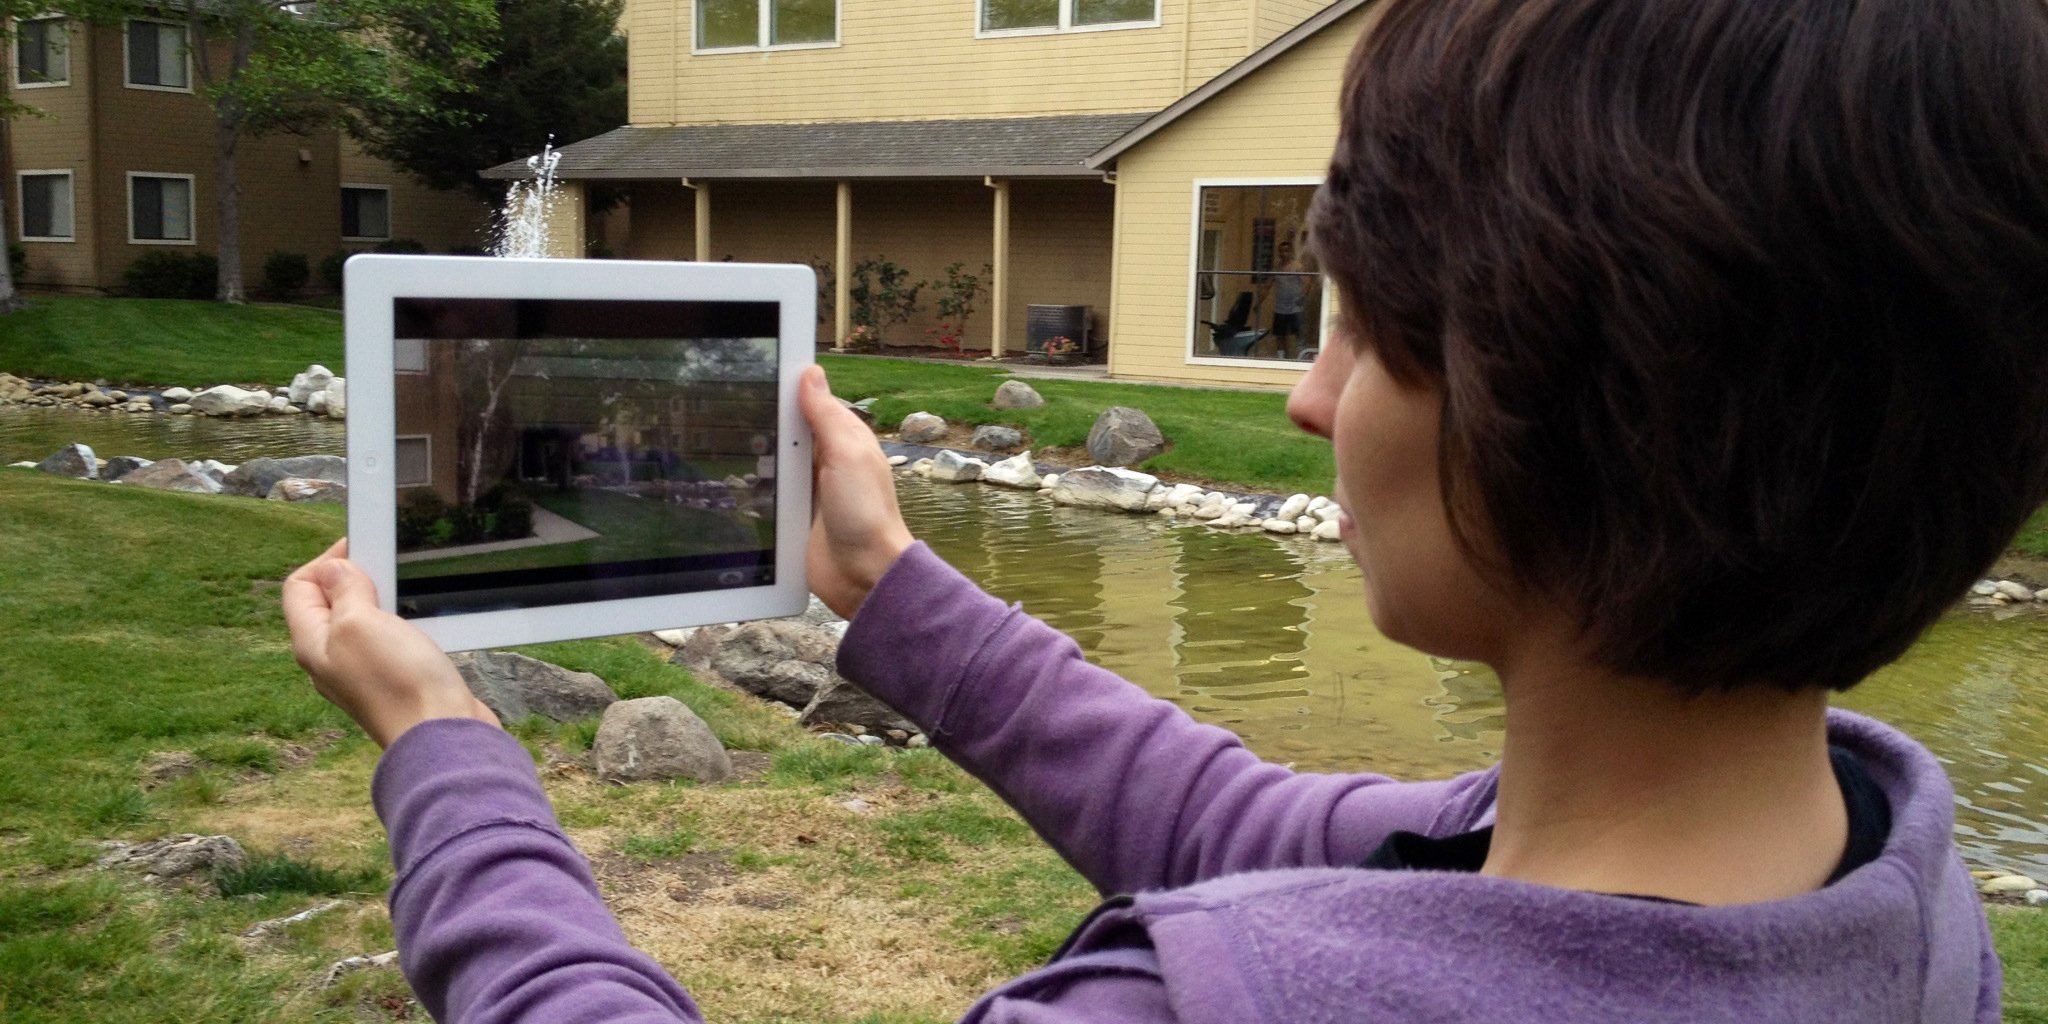
Shooting with your iPad seems like it's an awesome idea, but it can actually be pretty tricky to take a half-decent photo. Unless you have some patience, a really, really good eye (and a steady hand), and a few accessories, being able to shoot a masterpiece with your iPad is tough to say the least.
Rather than struggle and switch between your iPhone, iPad, and DSLR, you could learn how to master the ways of the iPad camera with a few of our helpful hints.
Here's how you can take some awesome photos on your iPad that won't seriously suck!
#Lockitin
You can't depend on your eyes when your imagination is out of focus. -Mark Twain
If you have your perfect shot lined up, unlike an iPhone 7 Plus, it's difficult to keep things steady and even with an iPad, especially if you're shooting in a social situation (iPad's are the ultimate mom-tool for taking photos at birthday parties, FYI).
A great habit to get into when shooting with your iPad is automatically tapping to focus, and then locking that area of your photo to keep things from getting super blurry. This will save you a ton of grief later down the line!
Whether you're shooting a beautiful prairie landscape during sunset, or snapping a picture of a bunch of rambunctious children at a birthday party, or attempting to selfie with your significant other on vacation, locking and focusing your iPad photography lets you get one step closer a photographic masterpiece.
Tripods are your new BFF
While some people may think it's silly to pick up a tripod or a tripod attachment for something as big as an iPad, this handy accessory will actually make you a much better iPad photographer.
Master your iPhone in minutes
iMore offers spot-on advice and guidance from our team of experts, with decades of Apple device experience to lean on. Learn more with iMore!
Why? Well first off, a tripod is super versatile: you can use it to keep shots steady while photographing your artwork to post online, or you could use it as a stand to turn your iPad into a photobooth of sorts at parties! Just set up Photo Booth and let people snap the night away!
Tripods are also great to use with your iPad even when you're not shooting: set up an iPad tripod in your kitchen while you're cooking to get an eye-level view of the recipe, or if you've just moved into a new place and haven't brought all your furniture, use it as a mirror to check your hair and makeup in the morning.
TLDR, Tripod = your iPad's new BFF.
Use an external lens
I've said it once, and I'll say it again: using external lenses with your iPad is a really incredible way to make your photography look 10x better without editing and altering like crazy in post-production (and without spending a ton of money, either)!
By attaching a fisheye, wide-angle, or even a macro lens to your iPad's powerful camera, you can turn your iPad into a super-versatile tool for snapping photographs. Depending on the type of lens you end up getting and your shooting style, you can either clip on your lenses to your iPad, or have them adhere with a magnet or band.
Lenses encourage people to get creative and to shoot from different viewpoints and angles while still making your picture look professional, so why not pick up a set off of Amazon and try it out for yourself?
Edit, edit, edit
EDIT WITHOUT MERCY
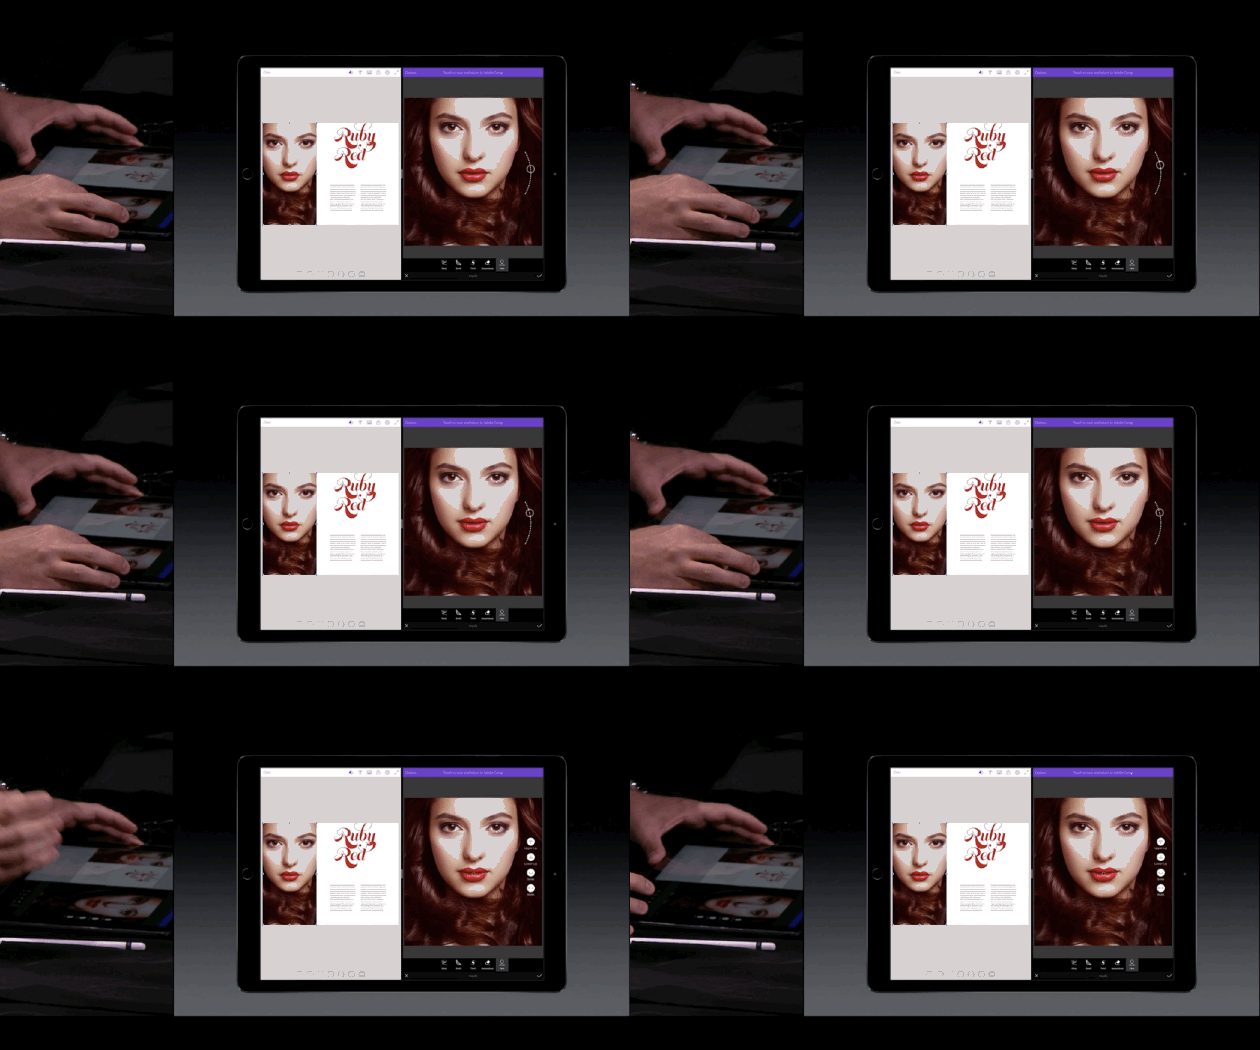
After you've locked to focus your screen, shot with your iPad on your tripod, and attached your external lens, you're going to want to download a couple of different photo editing apps in order to really make your iPad photography a true masterpiece.
Photo editing apps are great tools to have in your iPad's arsenal. There are some that work by simply overlaying colored filters and effects, while others are more detailed, asking users to tweak contrast, saturation, temperature, levels, and so, so much more.
The best part about photo editing apps is that there are dozens and dozens to pick and choose from, and a good chunk of them are free to download and use! Eventually you'll find the perfect one for editing your iPad photography and it'll become like second nature!
Burst mode is best mode
Some people may find burst mode to be a little bit annoying (I mean, who likes sorting through a bajillion photos that only look slightly different?), but it's actually super valuable, especially with the iPad.
Because iPads can be a bit tricky to use in comparison to an iPhone – you have to use two hands to hold the thing, the camera isn't as fantastic, etc. – burst mode combined with locking and focusing an area of your screen ensures that you'll get at least one super solid photo amongst a potential blurry mess.
While it can be a huge pain in the butt to sort through all of your burst photos, you'll be happy you did so when you realize not all of your pictures came out looking like award-winners!
How do you shoot like a pro with your iPad?
Do you have some tried-and-true tricks you like to stick to while shooting with your iPad? Or do you prefer not to shoot with your iPad at all?
Let us know in the comments below!
Cella writes for iMore on social and photography. She's a true crime enthusiast, bestselling horror author, lipstick collector, buzzkill, and Sicilian. Follow her on Twitter and Instagram: @hellorousseau
