Welcome to the fold. You're anxious to use your Mac, but you've amassed years of data on that PC. Switching platforms doesn't mean starting over: You can still use those old files. Apple makes it easy with a free utility called Windows Migration Assistant. Here's how to transfer data from PC to Mac using the Windows Migration Assistant from Apple.
What is Migration Assistant, and how do I get it?
Migration Assistant is a utility Apple includes in the Utilities folder of every Mac. You'll see it when you first start up your Mac when your Mac asks you if you want to transfer data over from another Mac, a Time Machine backup, or a PC. Apple makes the app freely available for download for transferring to your Mac. You'll need specific software, depending on what macOS or OS X operating system you're transferring to. You'll need to download the Migration Assistant software to your PC before you begin. Below are the following software links, depending on the Mac operating system to which you're migrating.
- Windows Migration Assistant for macOS Big Sur
- Windows Migration Assistant for macOS Mojave or later
- Windows Migration Assistant for macOS Sierra and High Sierra
- Windows Migration Assistant for OS X El Capitan or earlier
Migration Assistant will help you transfer files from a PC running Windows 7, Windows 8, or Windows 10 operating systems. The Mac and the PC both have to be running Migration Assistant.
Both should be on the same network in order to find each other. The data migration may take several hours depending on what's being transferred and what means are used: Wi-Fi is slower, a wired Ethernet connection is faster. But one way or the other, your patience will be rewarded.
What actual data gets transferred will depend on which version of Windows you're using and what programs created your data. Bookmarks from Internet Explorer and Firefox will be brought into Safari, for example. iTunes content and image files should make it over as well. System settings will get pulled over. You'll be able to specify what other files you'd like to bring over, too.
Email, contacts, and calendar information are where it gets a bit tricky. The bottom line is that Migration Assistant will pull over your email account information, and if you're using Microsoft Outlook, it should pull over your email messages, your contacts, and your calendars. Other programs may vary. Apple has posted a detailed chart of what gets migrated over to help you understand.
Even though you're transferring all your Windows data to your Mac, it doesn't mean you should only have the data on your computer. We highly suggest that people know how to back up their Macs and that they do so often. Plus, we also suggest that you invest in one of the best external hard drives for Mac, so you can have an extra copy of any of your important documents and files. Be data smart, y'all!
Master your iPhone in minutes
iMore offers spot-on advice and guidance from our team of experts, with decades of Apple device experience to lean on. Learn more with iMore!
What you need before you transfer data from PC to Mac
Before you get too excited and try to start transferring your PC's data to your new Mac, you'll need to have a couple of things at the ready.
- You must have the administrative username and password associated with the PC.
- Both computers must be on the same network, either through Wi-Fi or Ethernet.
- You should perform a drive performance check before running Migration Assistant, or you may not be able to use the software properly.
- Click on Start on your PC.
- Click on Run.
- type cmd into the Run window.
- Press Enter.
- type chkdsk into the Command window.
- Press Enter.
If your drive performance check uncovers issues, you'll need to run a drive repair process.
- Type chkdsk drive: /F (Change the name "drive" to whatever the name of your Windows startup disk is) into the Command window.
- Press Enter.
- Press Y when prompted.
- Restart your PC.
You will need to repeat the steps above until the drive performance check returns without any issues. You can then use Migration Assistant to move your data to your Mac.
Here's how to transfer data from PC to Mac
First, connect your Mac to your PC either through Ethernet or by making sure both computers are on the same local Wi-Fi network.
On your new Mac:
- Launch a Finder window.
- Click on Applications in the sidebar.
- Double-click or control-click on the Utilities folder.
- Click on Migration Assistant.
- Click Continue.
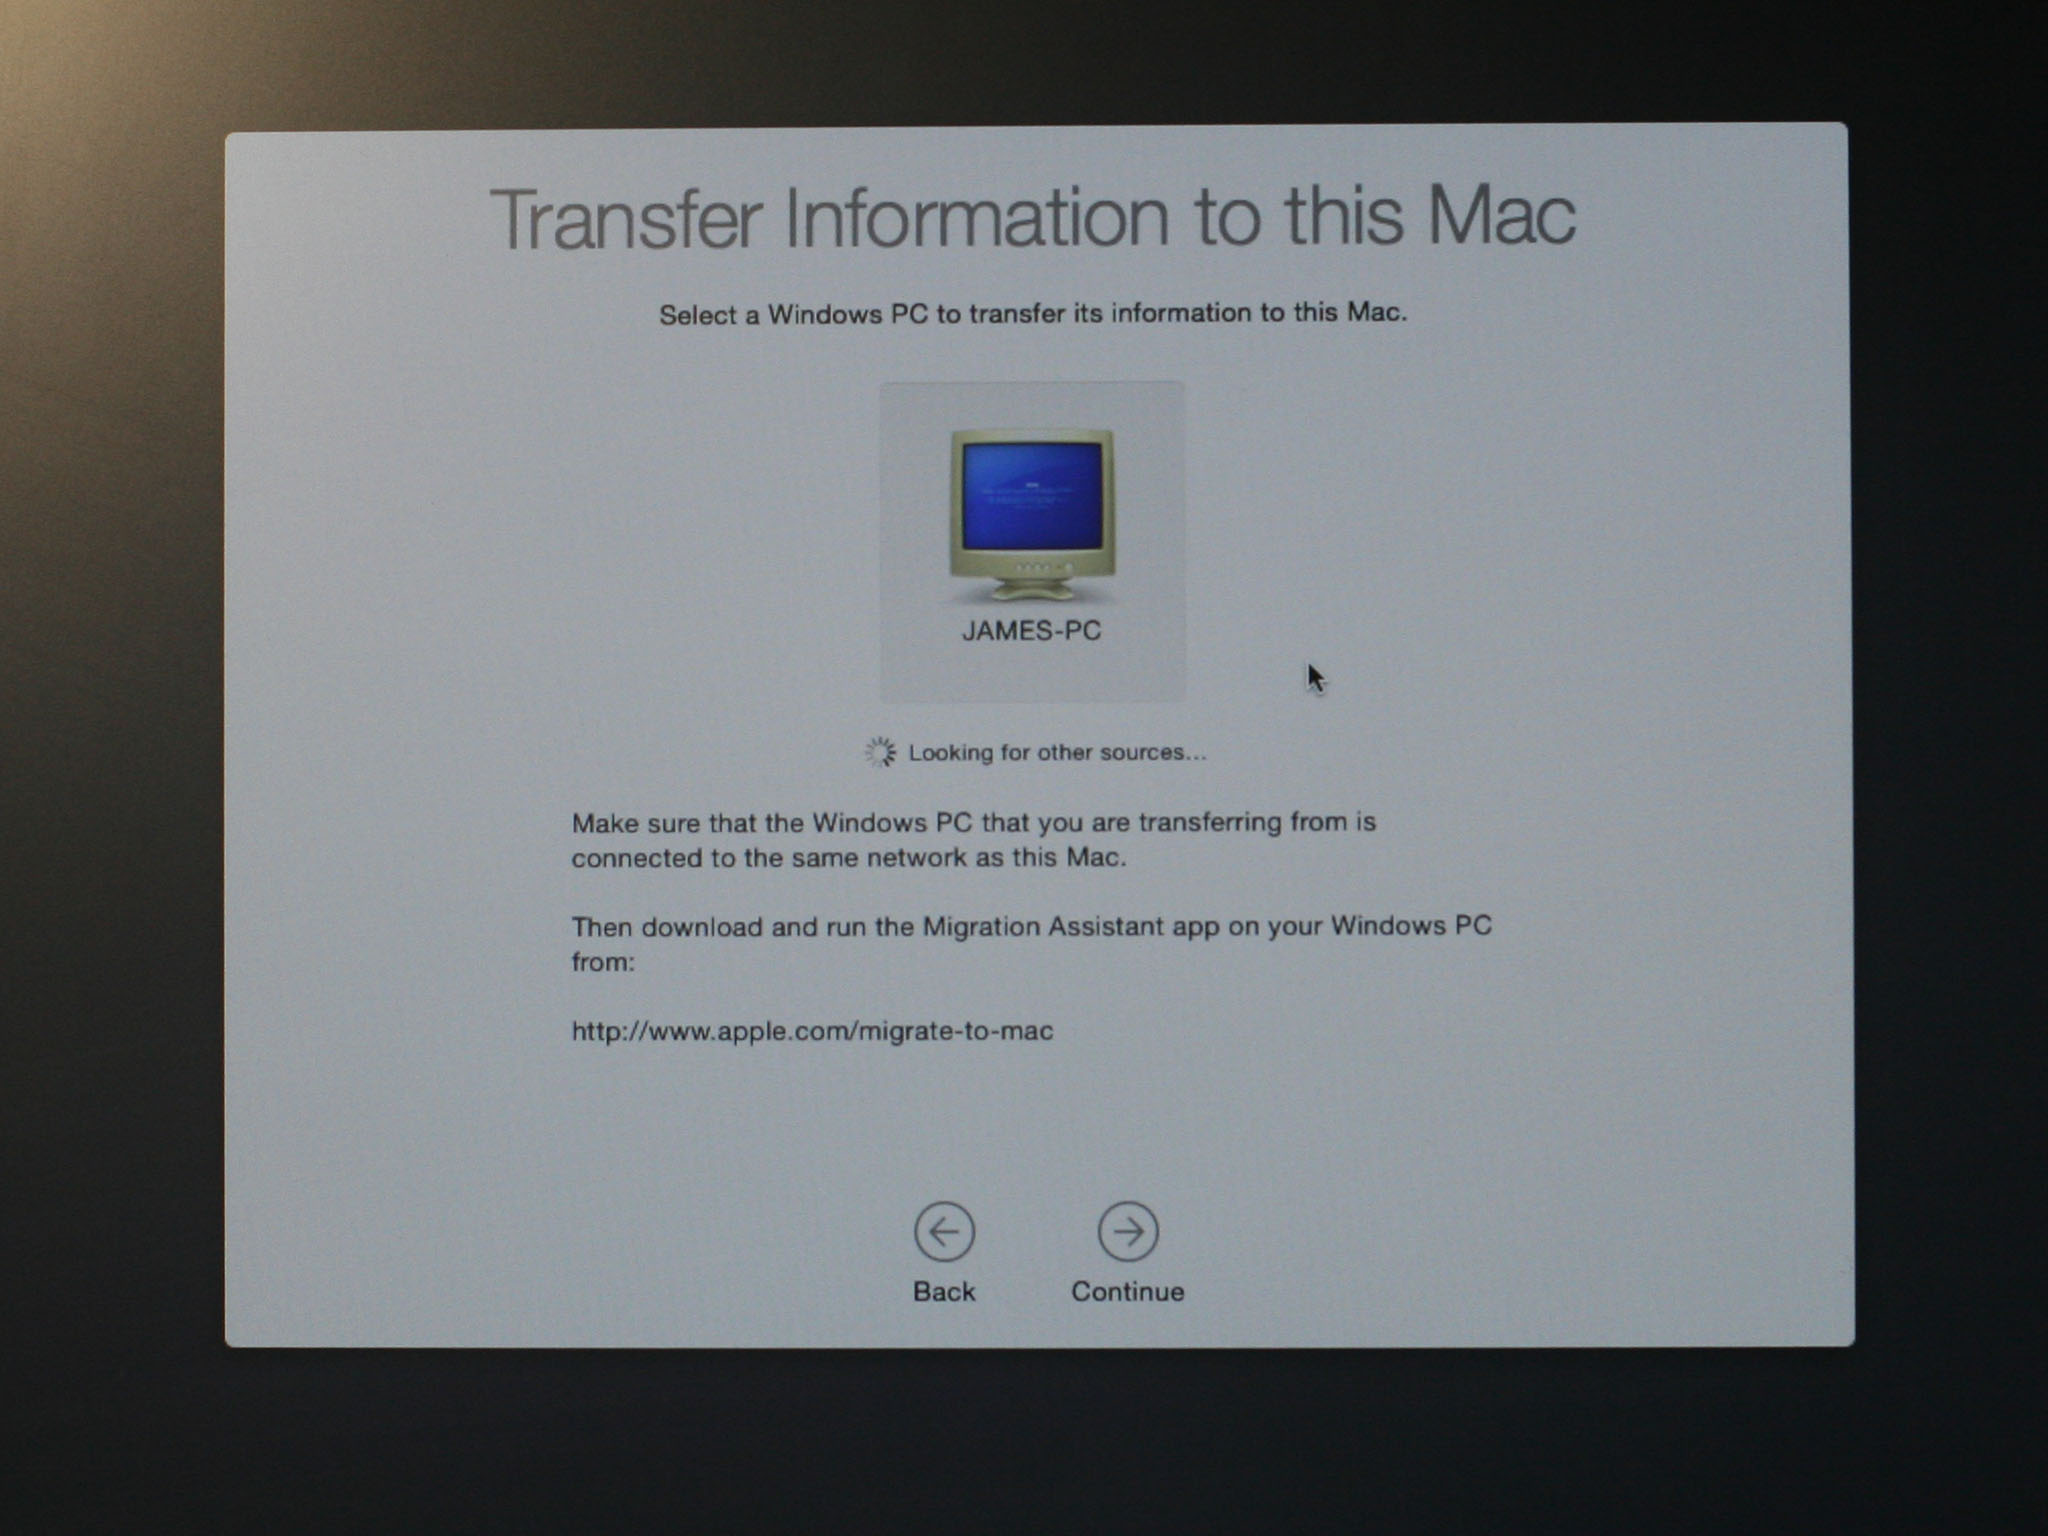
- Click From a PC. when prompted to select how you want to transfer your information.
- Click Continue.

On your PC:
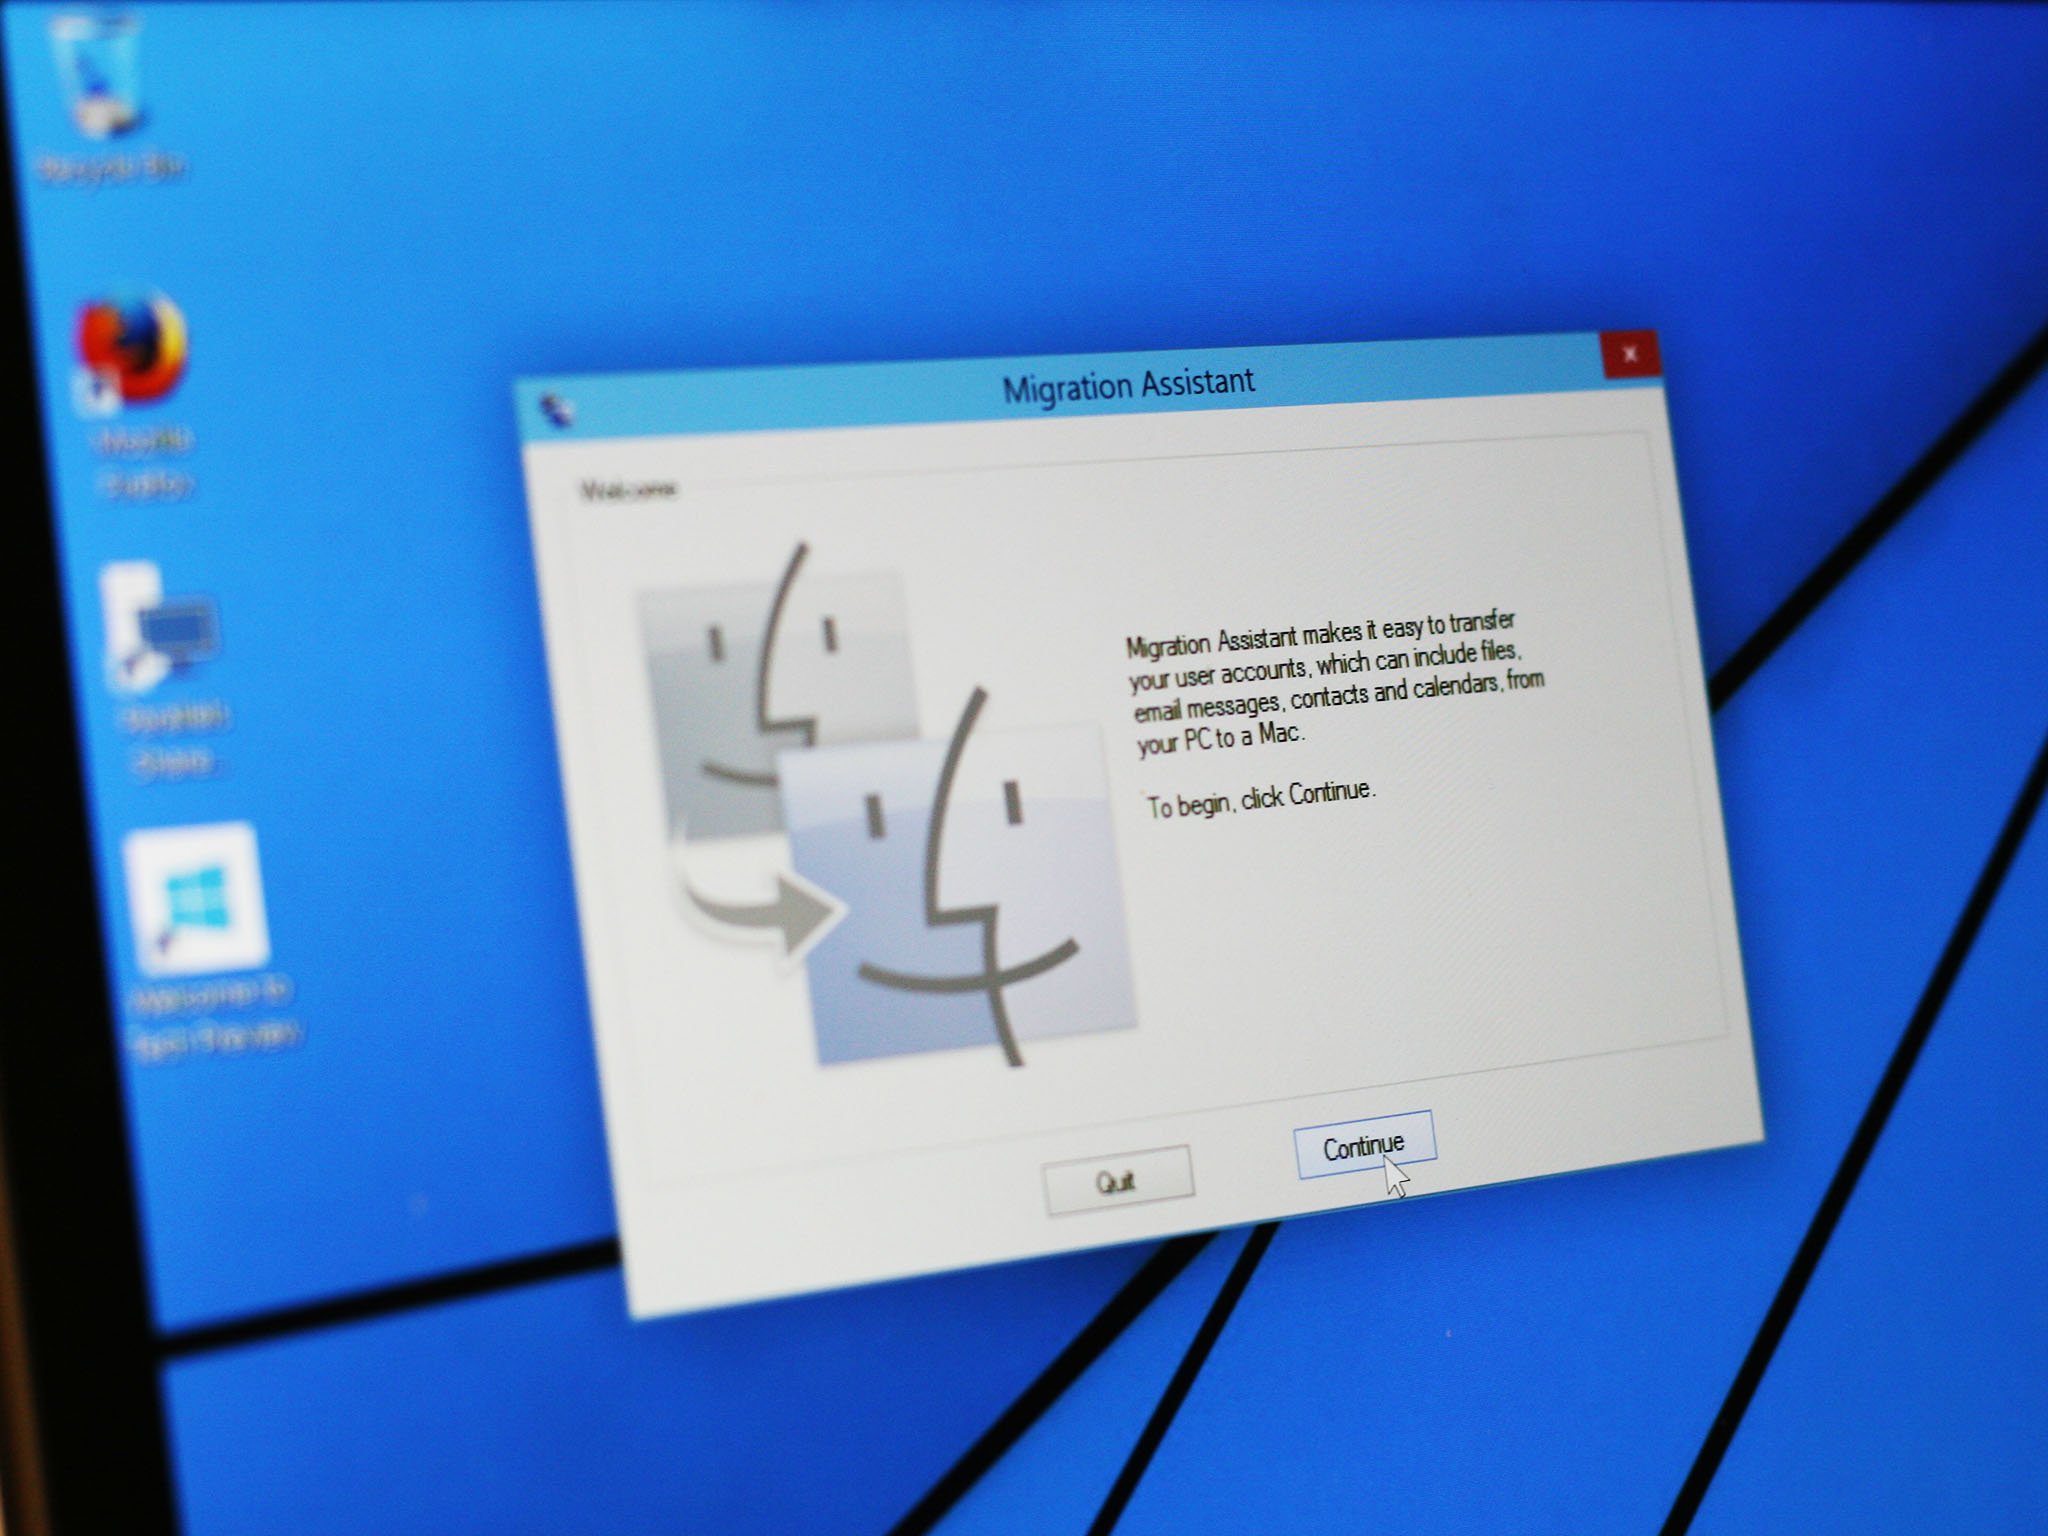
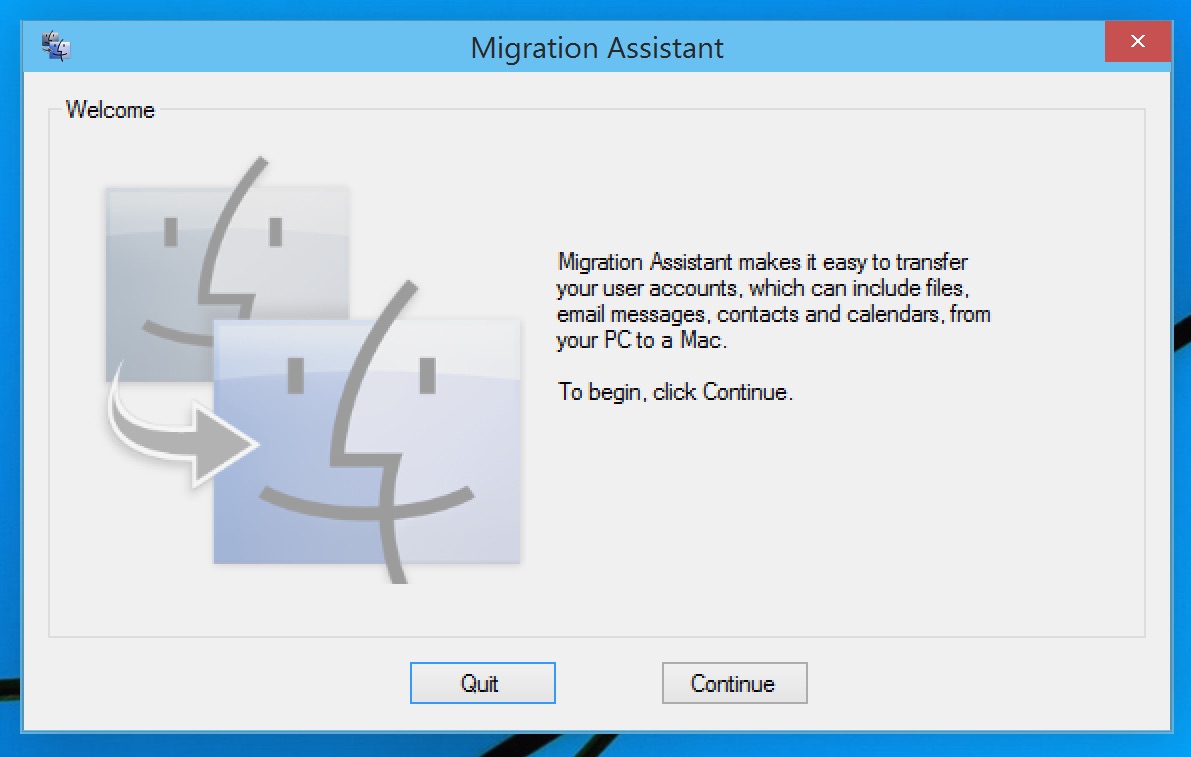
- Make sure you've downloaded and installed Migration Assistant on your PC.
- Launch Migration Assistant on your PC.
- Launching Migration Assistant on the PC is a one-way trip: It's only designed to transfer data from your PC to a new Mac. After launching it, Migration Assistant for Windows will try to connect to its Mac counterpart. A security code will display on the screen.
- Confirm that the code on your PC is the same on your Mac.

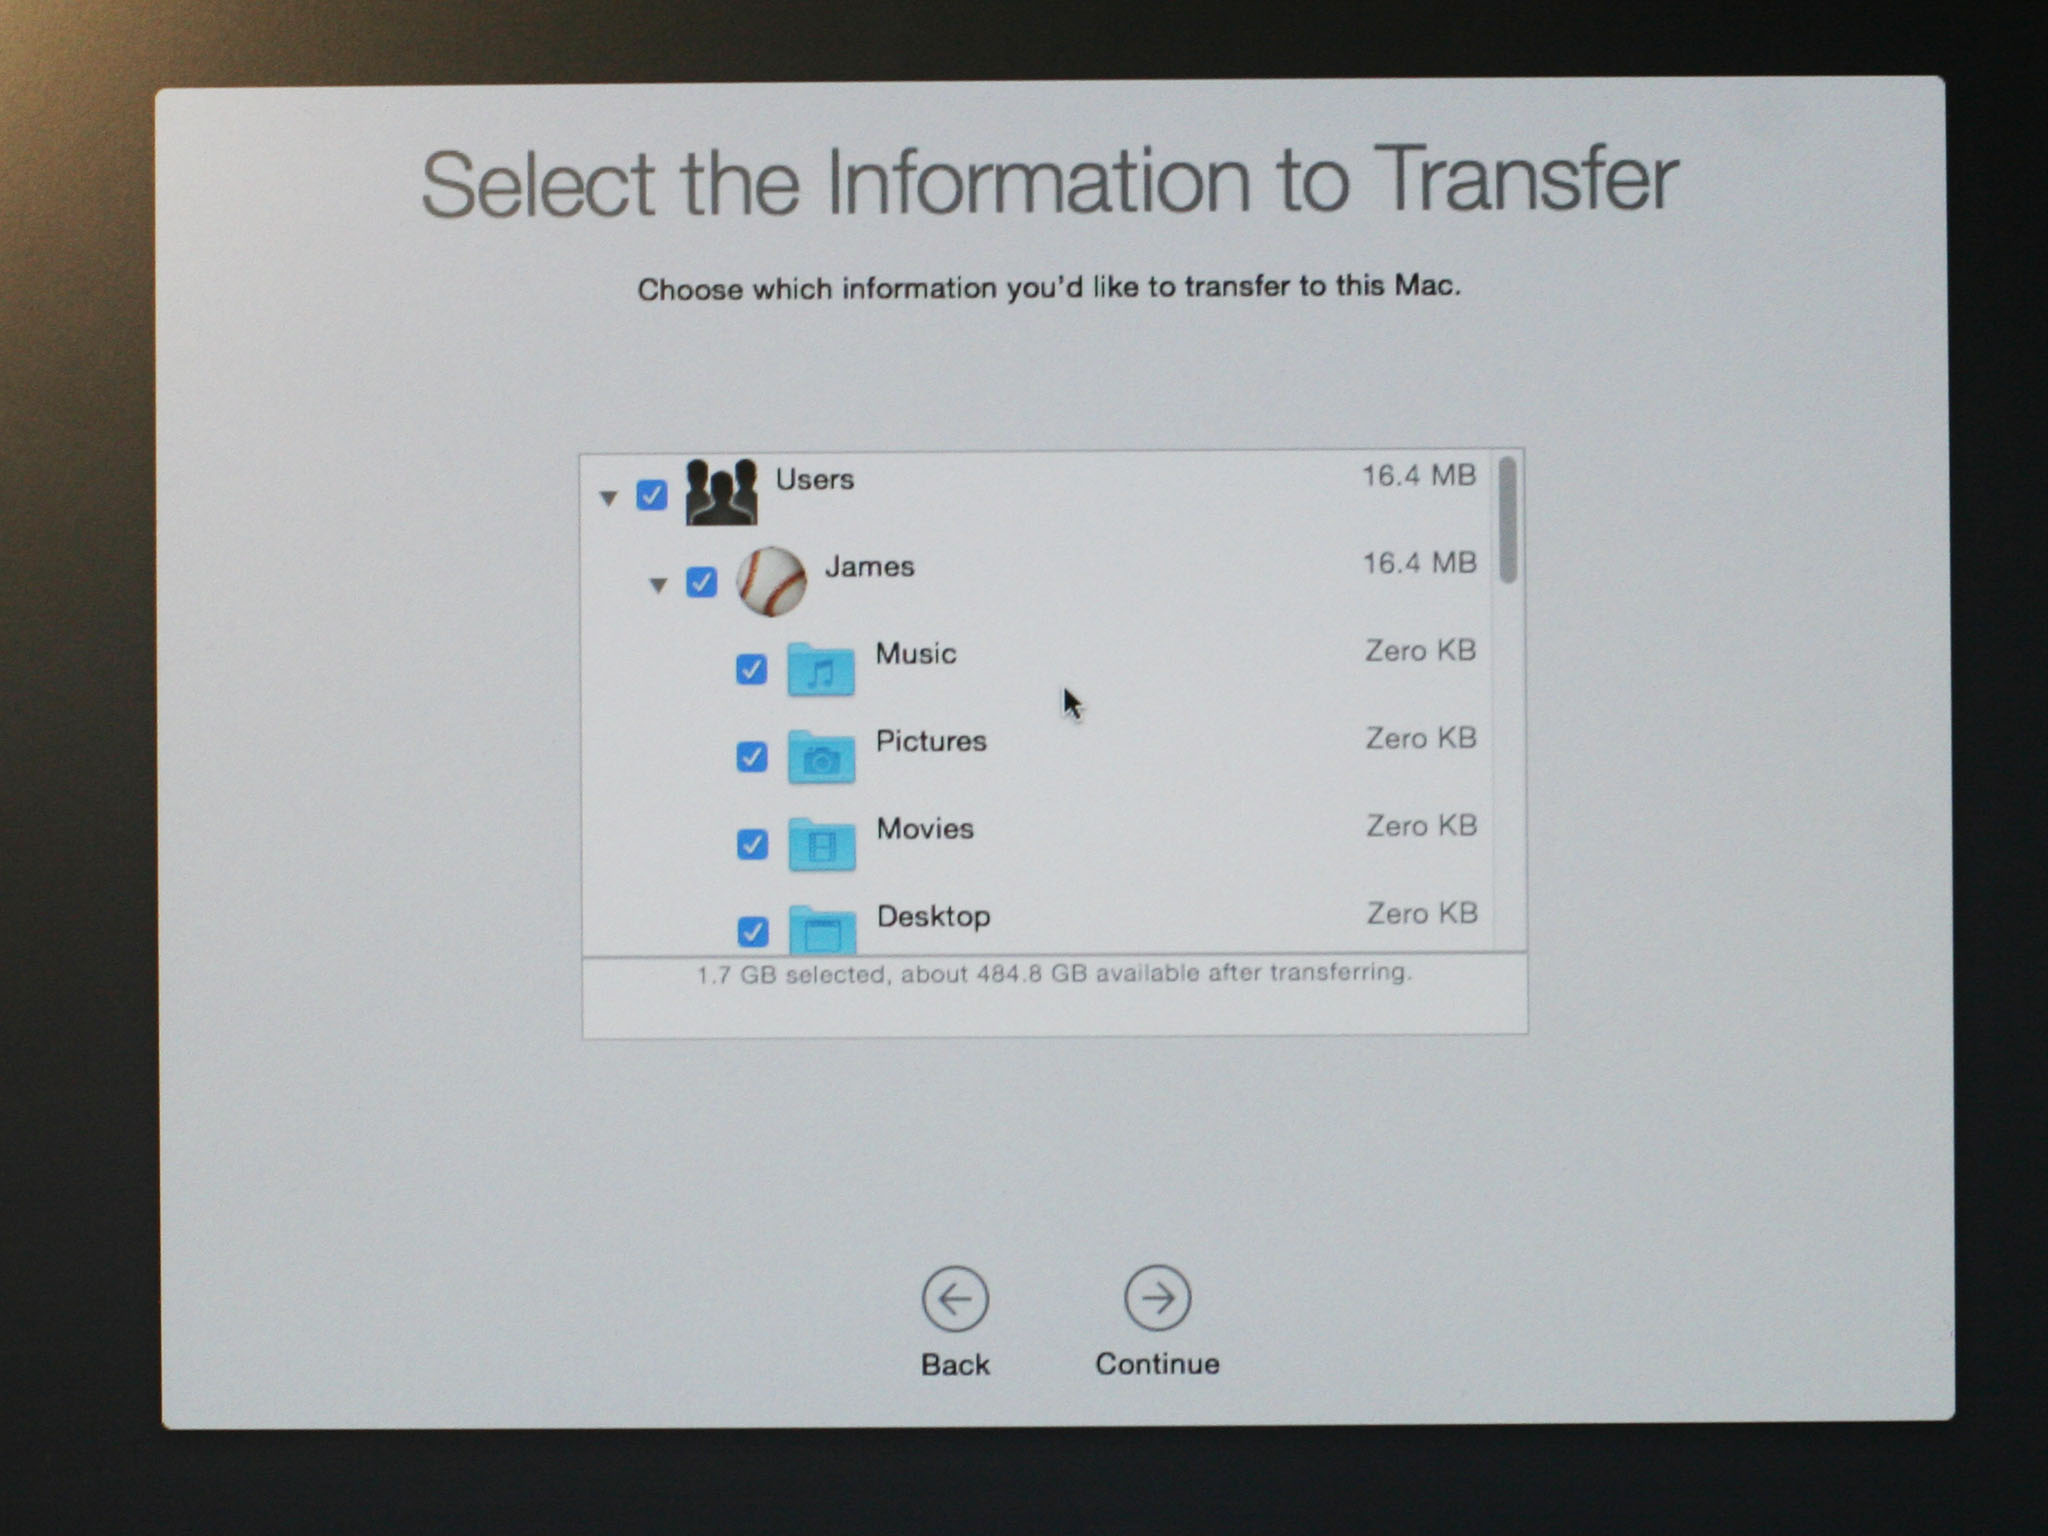
- Select the files, folders, and settings you want to transfer from your PC to your Mac.
- Click continue.

There are other ways to move files between Macs and PCs. Thumb drives will work on both machines, so you can manually transfer whatever files you want to use, for example. But Migration Assistant provides an elegant, convenient, and absolutely free way of managing the transition to becoming a Mac user, as long as you have the time to use it.
Have any questions?
Put them in the comments, and I'll help you out.
Updated December 2020: Updated for macOS Big Sur.
Lory is a renaissance woman, writing news, reviews, and how-to guides for iMore. She also fancies herself a bit of a rock star in her town and spends too much time reading comic books. If she's not typing away at her keyboard, you can probably find her at Disneyland or watching Star Wars (or both).

