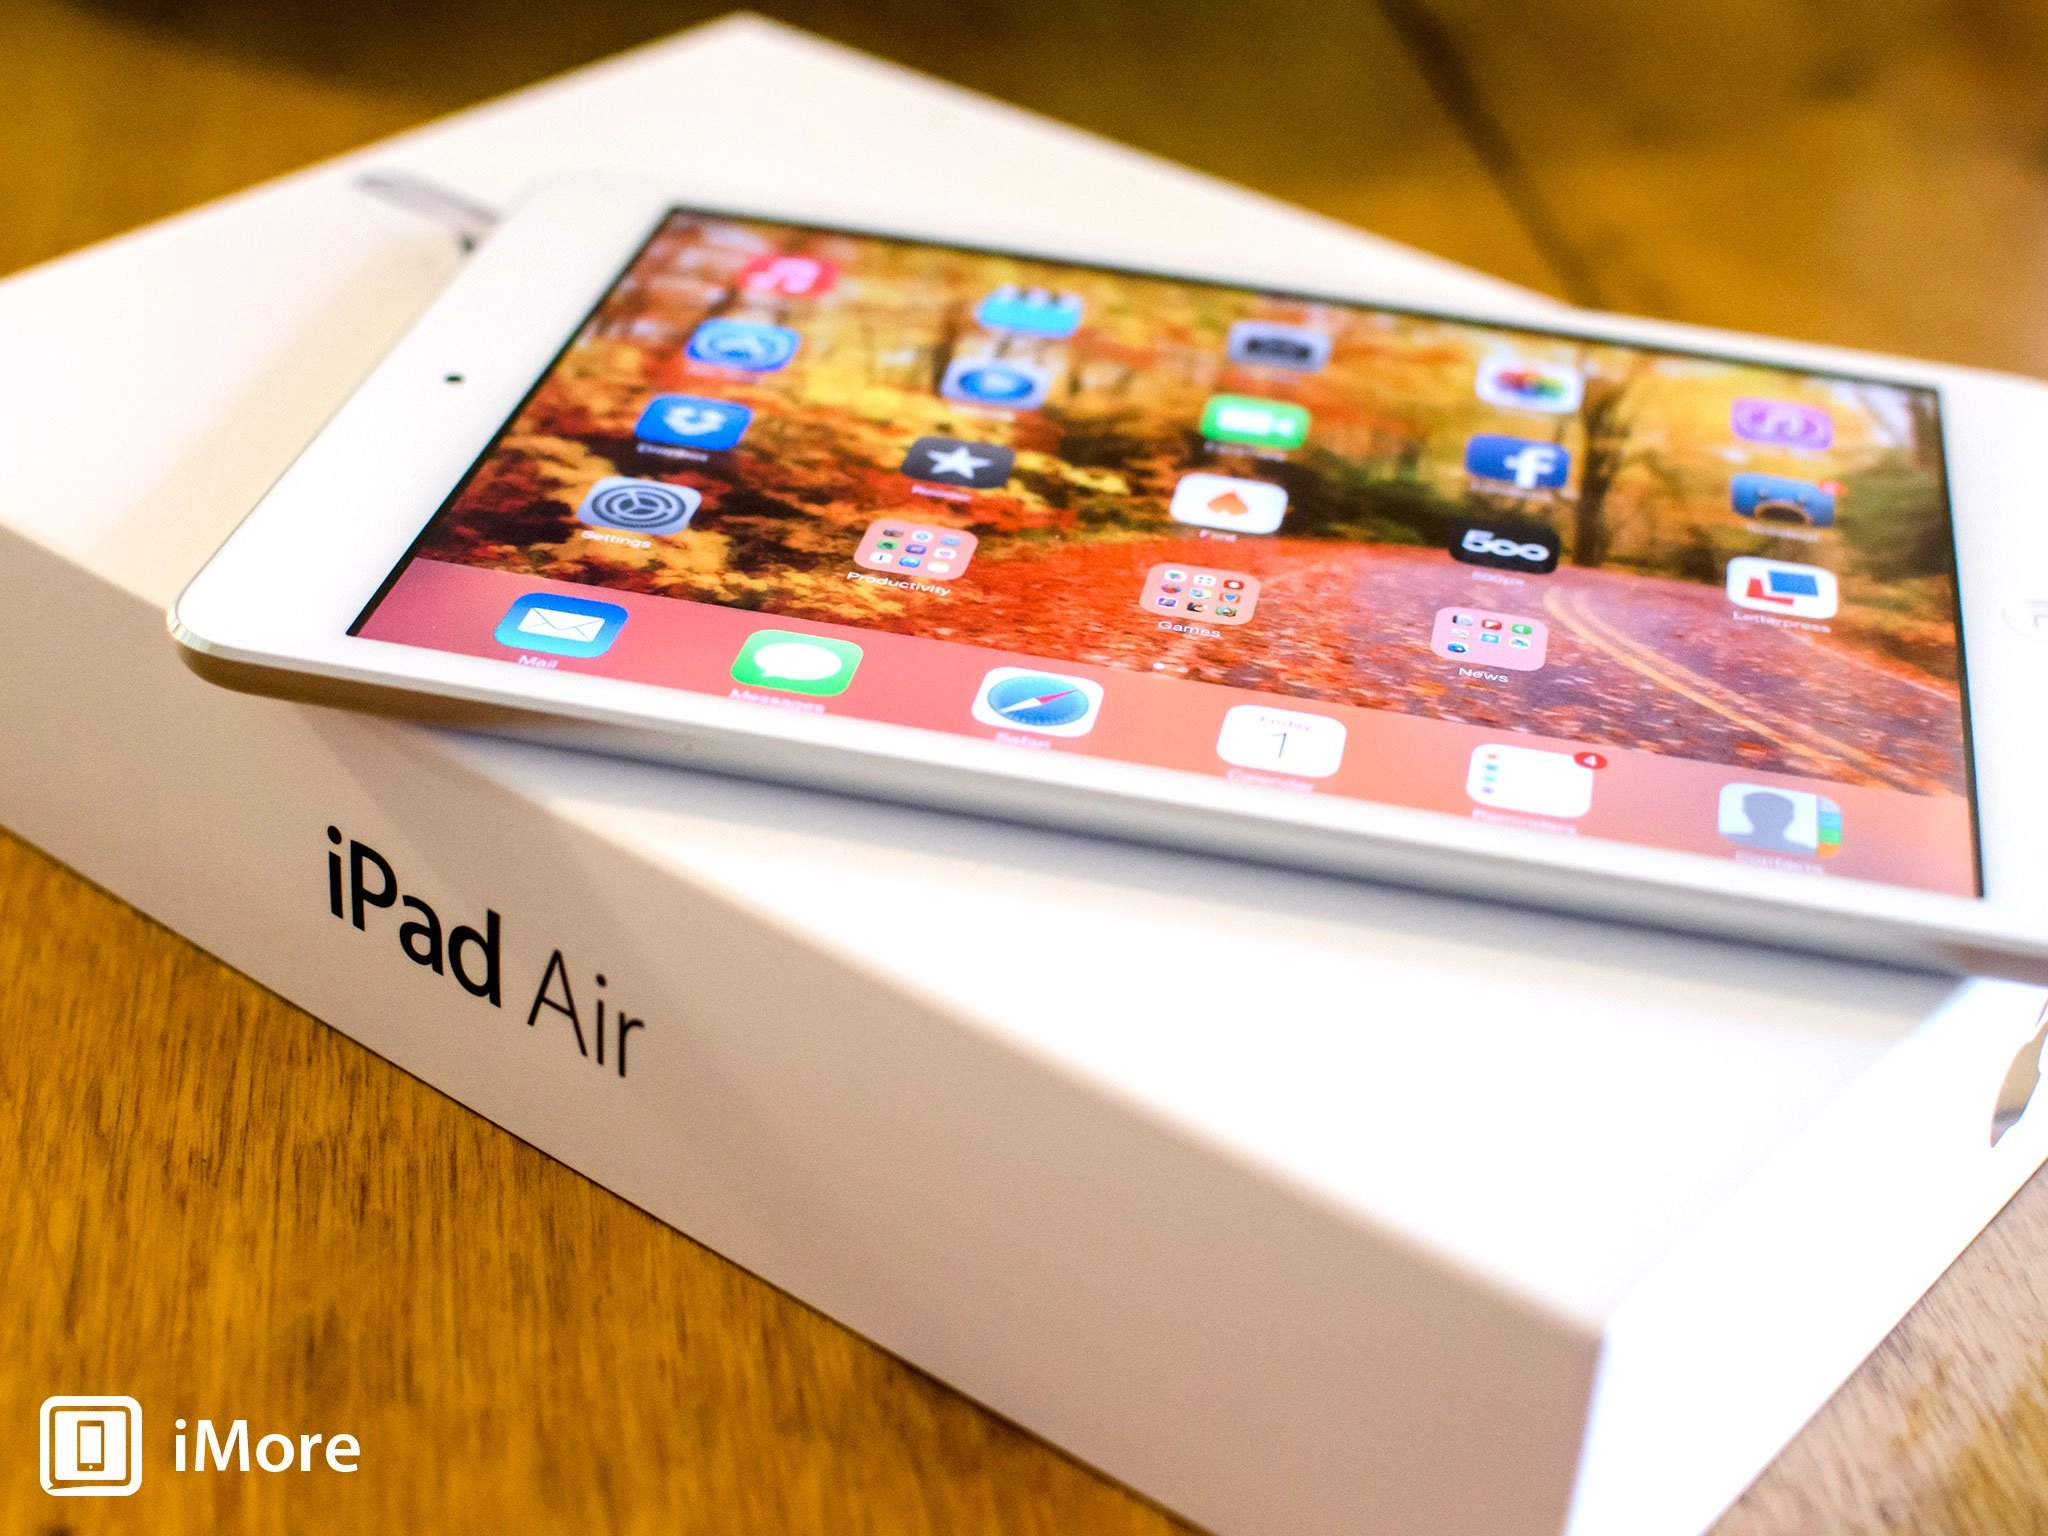
Everything you need to know to get all your contacts, calendars, apps, and more from your old iPad onto your new iPad Air or Retina iPad mini
If you've just upgraded to a new iPad Air or Retina iPad mini from an older generation iPad, transferring all your contacts, calendars, photos, and other data couldn't be any easier if you've been creating backups with either iCloud or iTunes. Regardless what backup method you've chosen, they can make the process of getting the data from your old iPad to your new iPad virtually painless. Here's how:
- How to transfer data from your old iPad to your new iPad with iCloud
- How to transfer data from your old iPad to your new iPad with iTunes
How to transfer data from your old iPad to your new iPad with iCloud

If you have been backing your old iPad up to iCloud, bringing down all your data couldn't be any easier. If this is your first iPad but you own an iPhone, you can even bring down your iPhone backup and compatible items will transfer automatically.
Just follow these easy steps:
- After your new iPad powers on, you'll see a welcome screen, Slide your finger across the bottom where it says slide to set up.
- Now choose your language from the choices presented to you.
- Select the country or region you are in.
- Now choose your WiFi network and enter the password for it if there is one. If you don't have access to WiFi, you can choose Use Cellular but keep in mind, this only works if you've purchased an iPad that has cellular data connectivity. Not to mention that only some things in your iCloud backup will be restored without WiFi. Others won't be triggered until you're on WiFi. Or you can choose to restore from an iTunes backup if you have access to one.
- Now on the Location Services screen, choose whether you'd like to have location services on by default. Make sure you read the description of what location services are before deciding whether or not you'd like to enable or disable them. Keep in mind that certain apps like Maps need location services to operate properly.
- On the next screen, tap on Restore from iCloud backup and enter your credentials when asked.
- Now agree to the Terms and Conditions. You will be asked to verify that you agree to them a second time.
- If you have iCloud backups, your iPad will now show them. Tap on the backup name that you'd like to restore from.
Note that the screenshots below are from the iPhone setup process but the iPad process is exactly the same as well.


The backup process could take quite a while depending on how much stuff you're transferring. It's also worth noting that certain items such as apps, photos, and videos will only restore when on WiFi in order to not eat through your data plan. If you have to leave WiFi range before the restore is complete, don't worry, it will pick up where it left up when you enter WiFi again.
How to transfer data from your old iPad to your new iPad with iTunes

If you're coming from an older iPad that you've chosen to back up to iTunes, it's just as easy to get your data transferred to your new iPad. We understand that not everyone trusts the cloud yet and if you prefer traditional hard backups in iTunes over using iCloud, that's fine too. We can help you get all your data to your new iPad just as quick.
Just remember to make sure you're on the most current version of iTunes before continuing, especially if your old iPad isn't running iOS 7 yet.
- After your new iPad powers on, you'll see a welcome screen, Slide your finger across the bottom where it says slide to set up.
- Now choose your language from the choices presented to you.
- Select the country or region you are in.
- Now choose your WiFi network and enter the password for it if there is one. If you don't have access to WiFi, you can choose Use Cellular but keep in mind this option is only available if you've purchases an iPad with cellular connection options. Let's not forget that only some things in your iCloud backup will be restored without WiFi. Others won't be triggered until you're on WiFi. Or you can choose to restore from an iTunes backup if you have access to one.
- Now on the Location Services screen, choose whether you'd like to have location services on by default. Make sure you read the description of what location services are before deciding whether or not you'd like to enable or disable them. Keep in mind that certain apps like Maps need location services to operate properly.
- On the next screen, tap on Restore from iTunes backup.
- If you aren't already connected to your computer containing your iTunes backups, your iPad will prompt you to do so now.
- Follow the prompts in iTunes in order to select your most recent backup.
Note that the screenshots below are from the iPhone setup process but the iPad process is exactly the same as well.

That's all there is to it. Once iTunes starts bringing your stuff down, just let it do its thing. Depending on how much data you have, especially apps, the restore process could take a while. Just make sure you don't unplug your iPad from your computer until iTunes tells you that the restore is complete.

