How to transfer photos from your iPhone to your PC
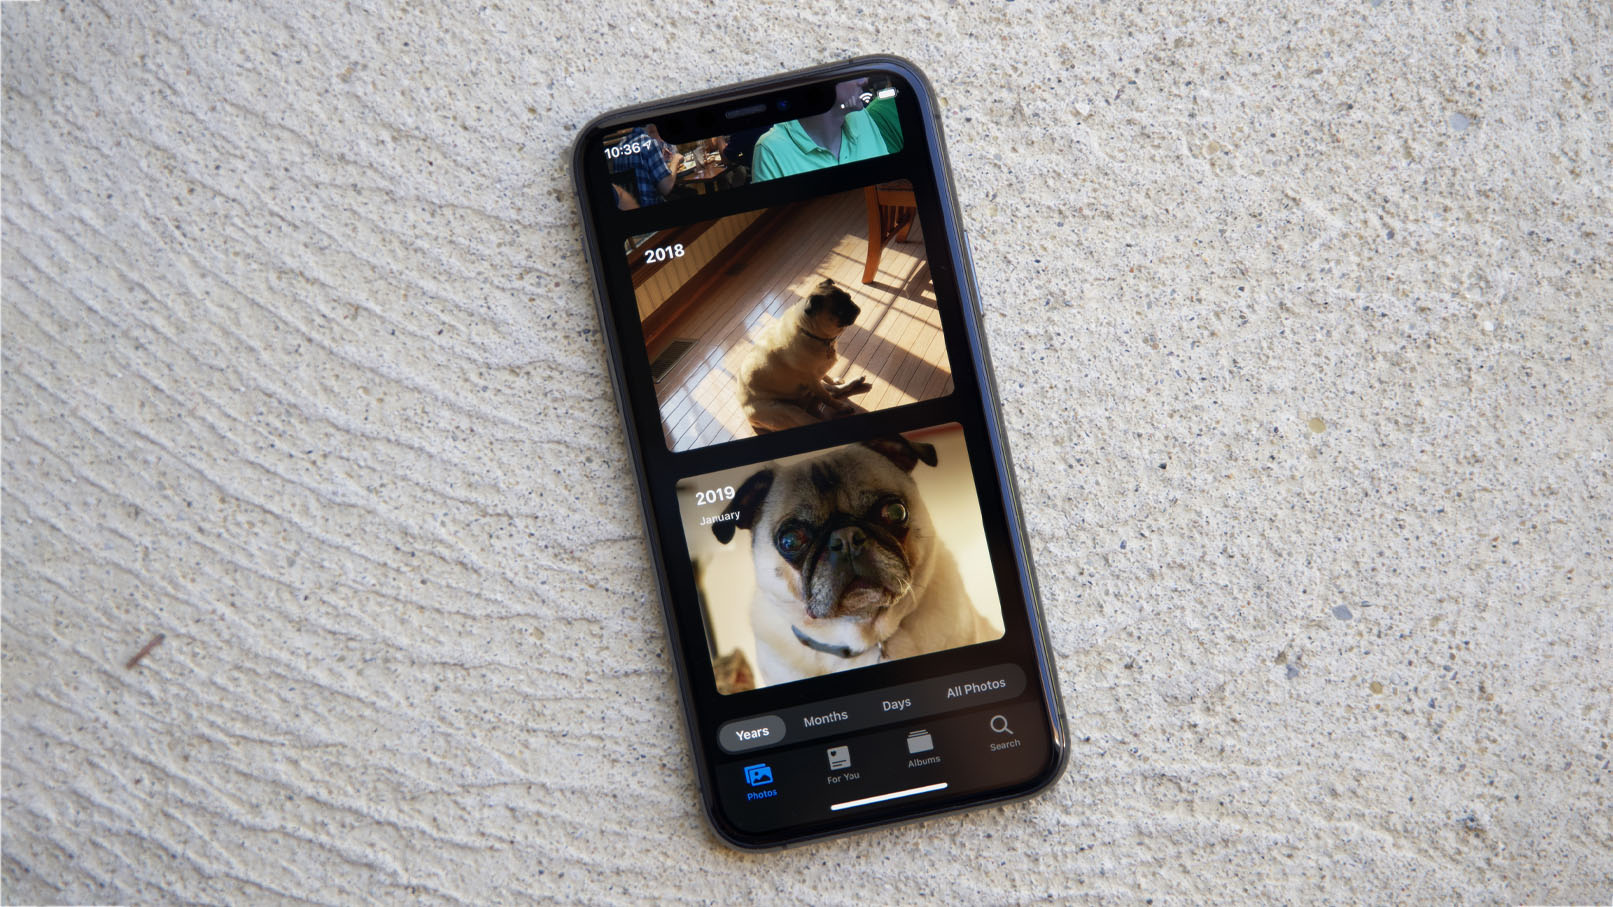
If you like to have your photos on multiple devices, getting images off your iPhone can be a critically important task. If you have a Mac, you know that Apple makes it easy to move your photos from your iPhone to your Mac in multiple ways. But what about Windows PC owners? Are they left out in the cold?
The good news is that, no, Windows users aren't left behind. In fact, you might say it's just as easy to transfer photos from your iPhone to your Windows PC as it is with your Mac. You have a couple of options for moving over a USB-to-Lightning, as well as iCloud Photo Library, which can indeed be set up on Windows.
Here's what you need to know about how to transfer photos from your iPhone to your PC.
Download iTunes
If you're transferring photos over via one of the best USB-C cables, you'll need to install iTunes for Windows 10 onto your PC. This will allow your iPhone to be recognized by your PC in the File Explorer, which you'll need for the manual transfer.
You can download iTunes for Windows from the Windows Store here.
Connecting your iPhone
Connecting your iPhone to your Windows PC requires a few more steps than just plugging it in.
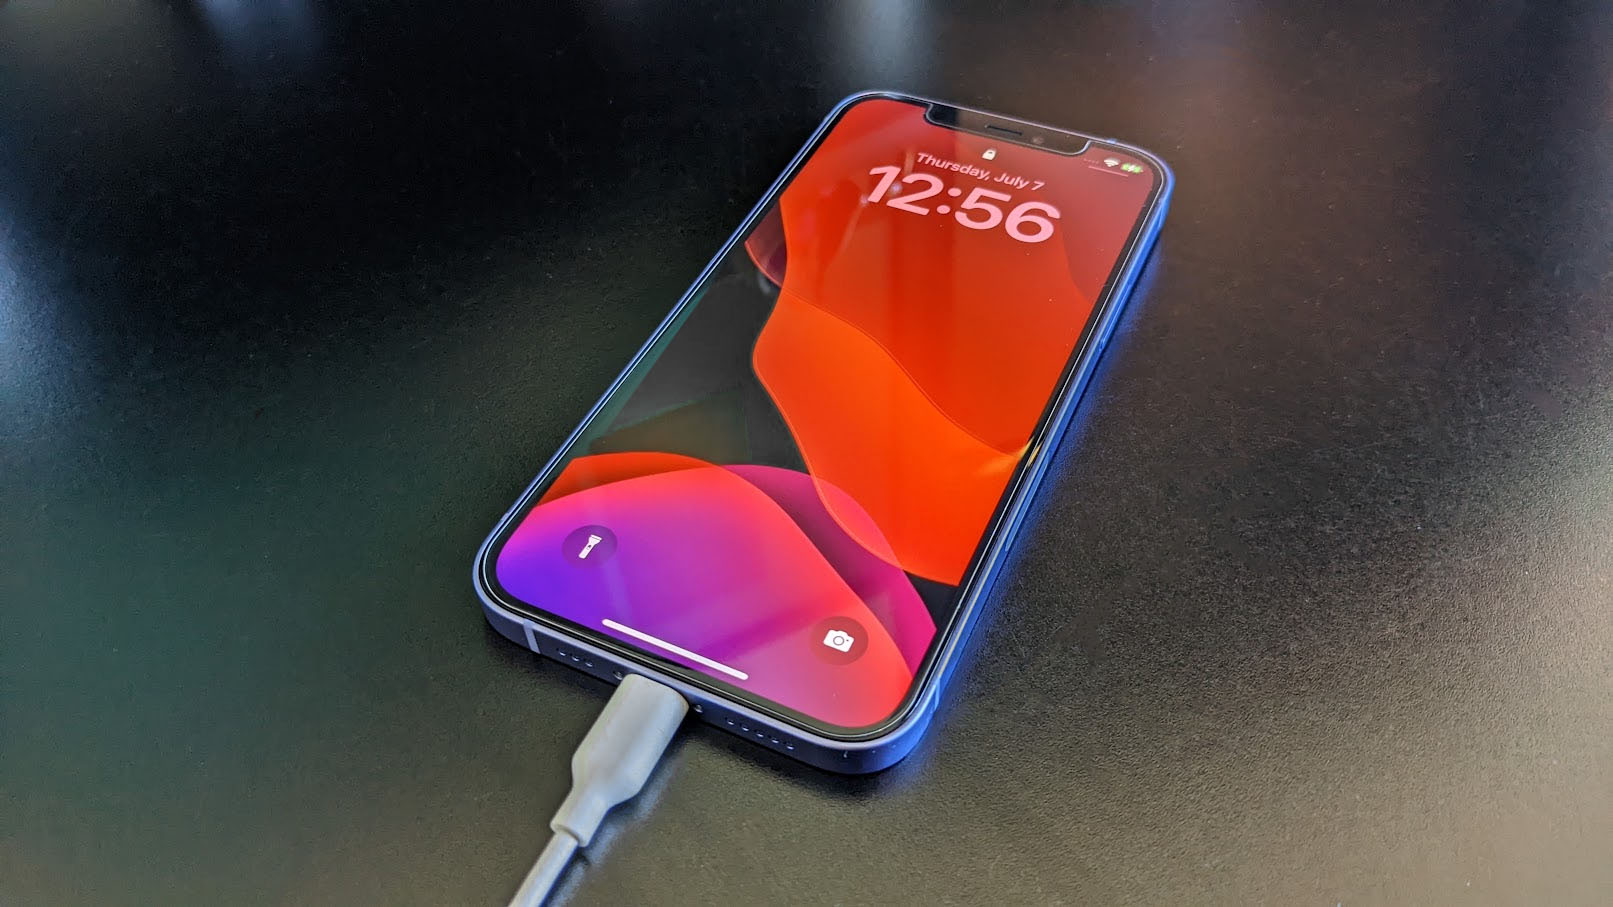
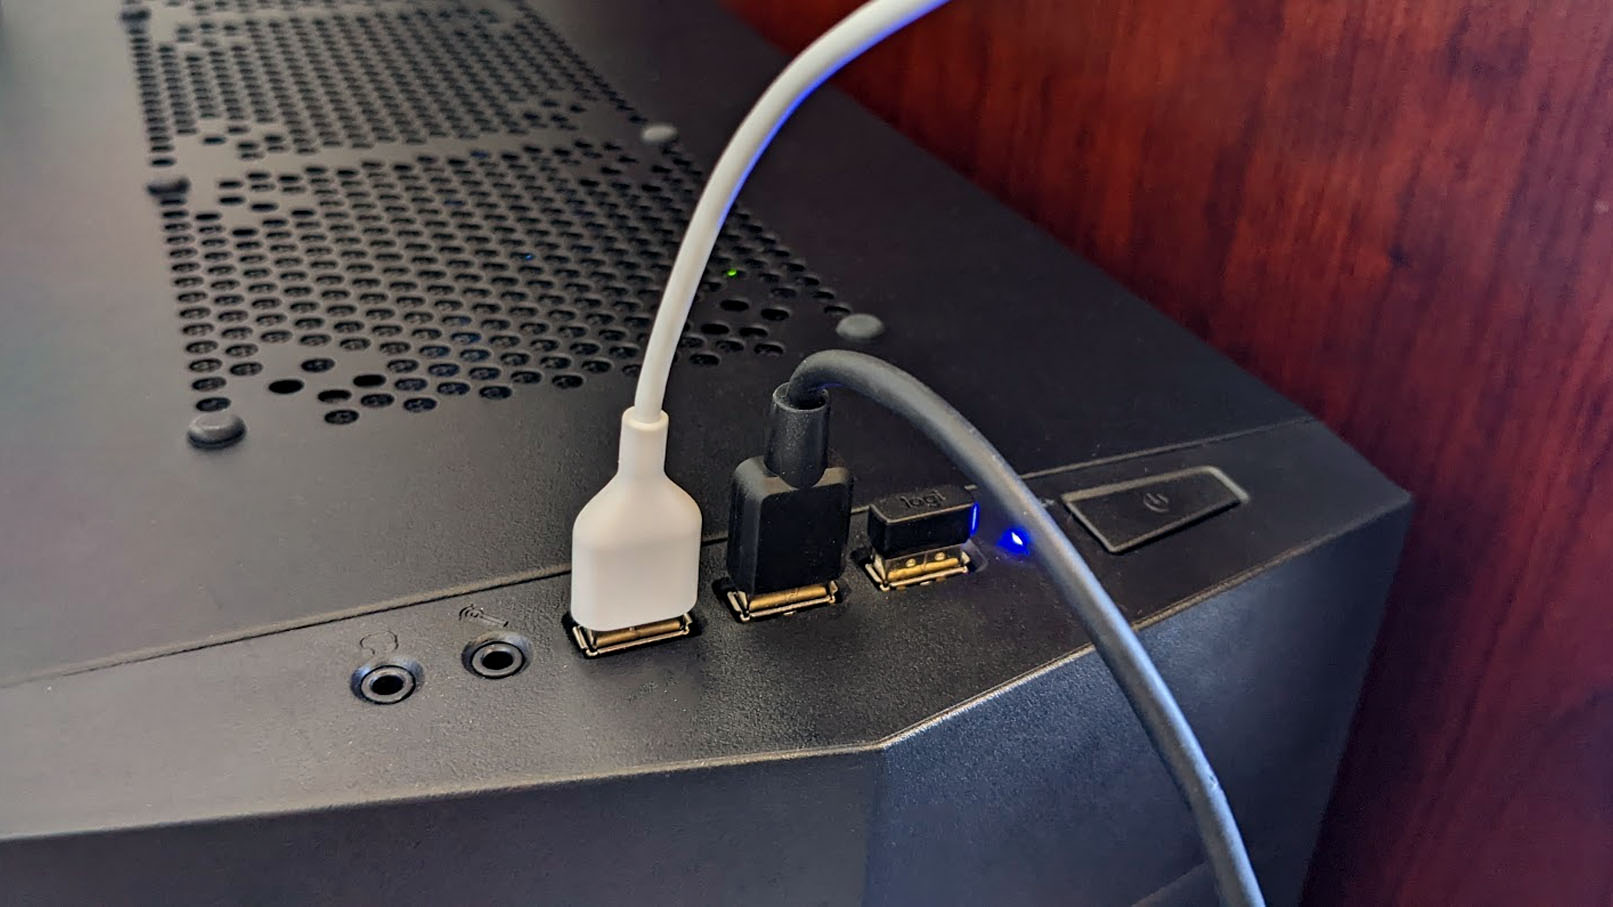
- Connect your iPhone to your PC using a USB-to-Lightning cable.Source: Rebecca Spear / iMore
- Tap Trust on your iPhone. This might take a few seconds to pop up.
- Enter your passcode on your iPhone.
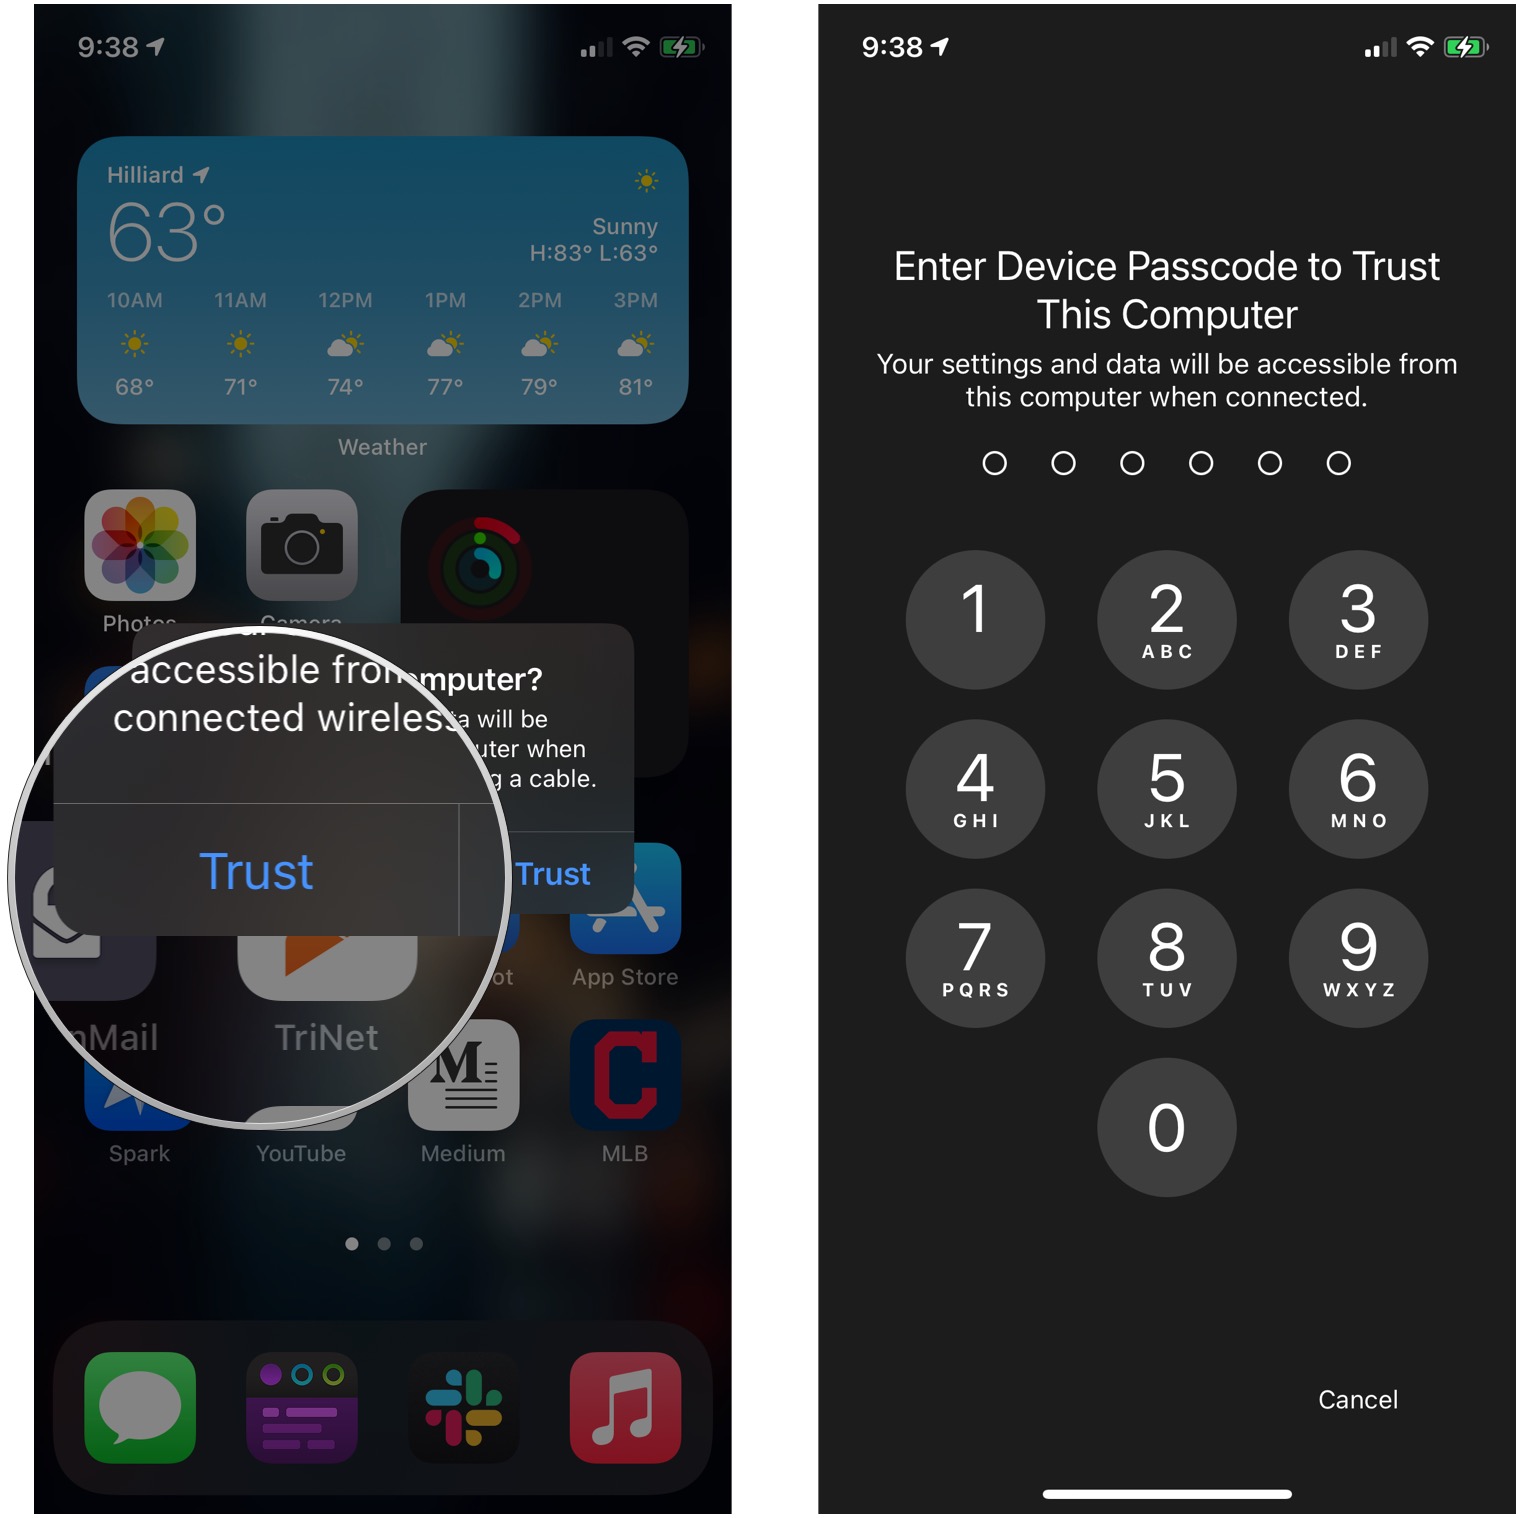
You should now be able to transfer photos to your Windows PC over a wired connection.
Master your iPhone in minutes
iMore offers spot-on advice and guidance from our team of experts, with decades of Apple device experience to lean on. Learn more with iMore!
How to transfer photos from your iPhone to your PC with the Windows 10 Photos app
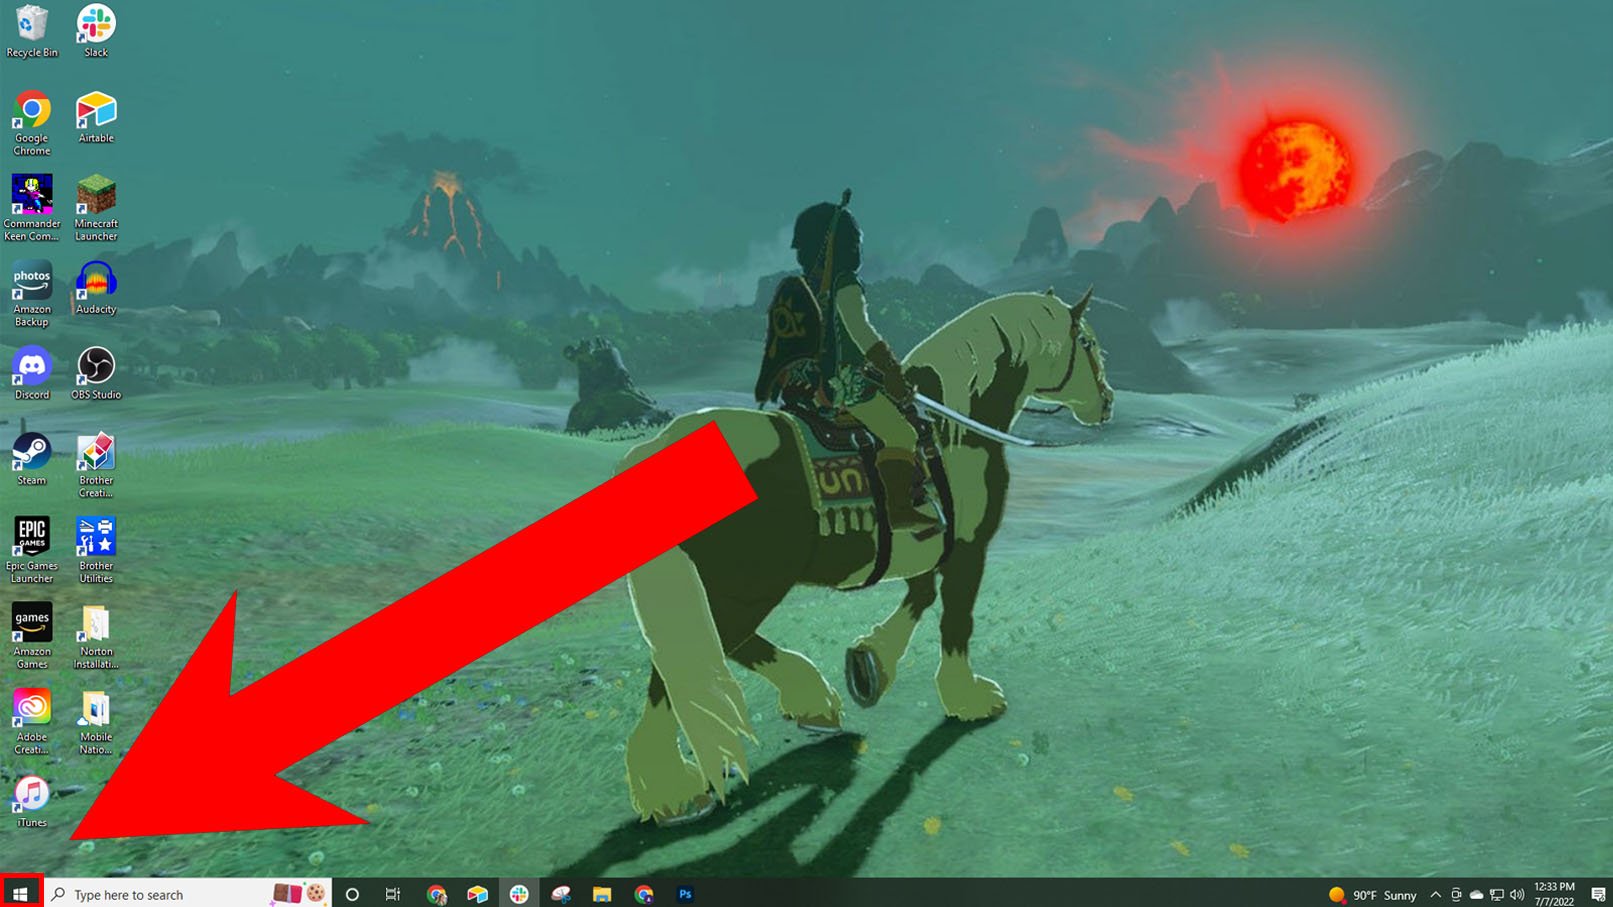
- While your iPhone is connected to your PC, click the Start button on the lower left side of your PC screen.
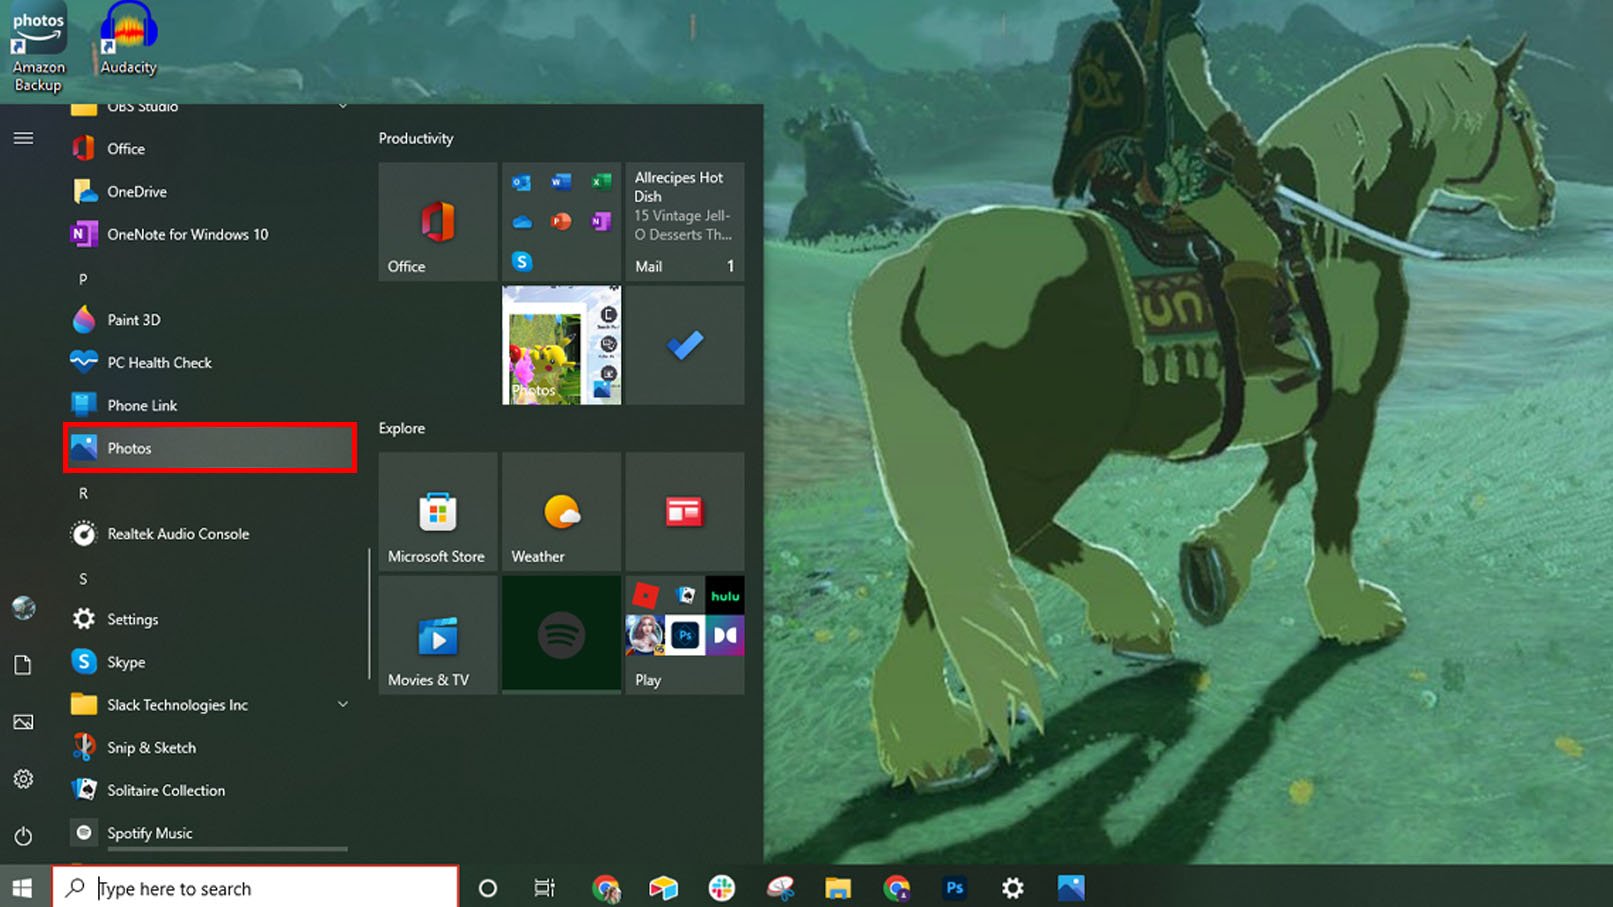
- Scroll down the file menu and select Photos.Source: iMore
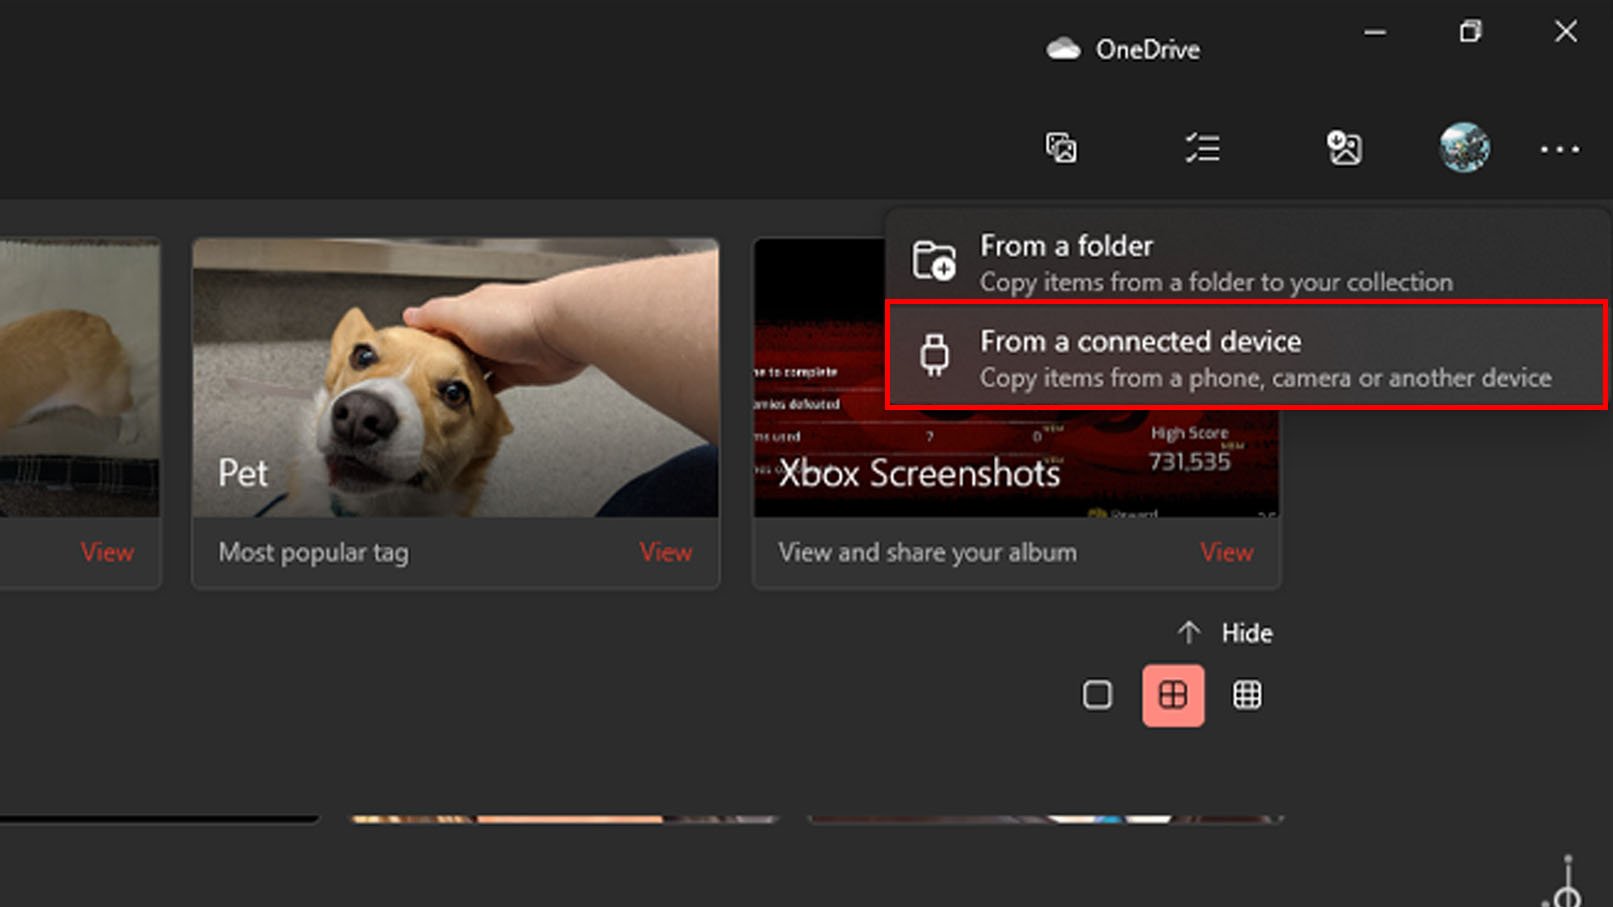
- Select Import.
- Choose From a connected device.Source: iMore

- Click the drop down menu under Select.
- You can choose to import All items or Items since last import.Source: iMore


After making your image import choice, you'll simply need to wait until the PC finishes importing your iPhone images. When that's done, you can close the Photo app and can disconnect your iPhone from the PC.
How to transfer photos from your iPhone to your PC with File Explorer
This isn't the easiest option available, but it is the one that gives you the most choices in where to store your photos.
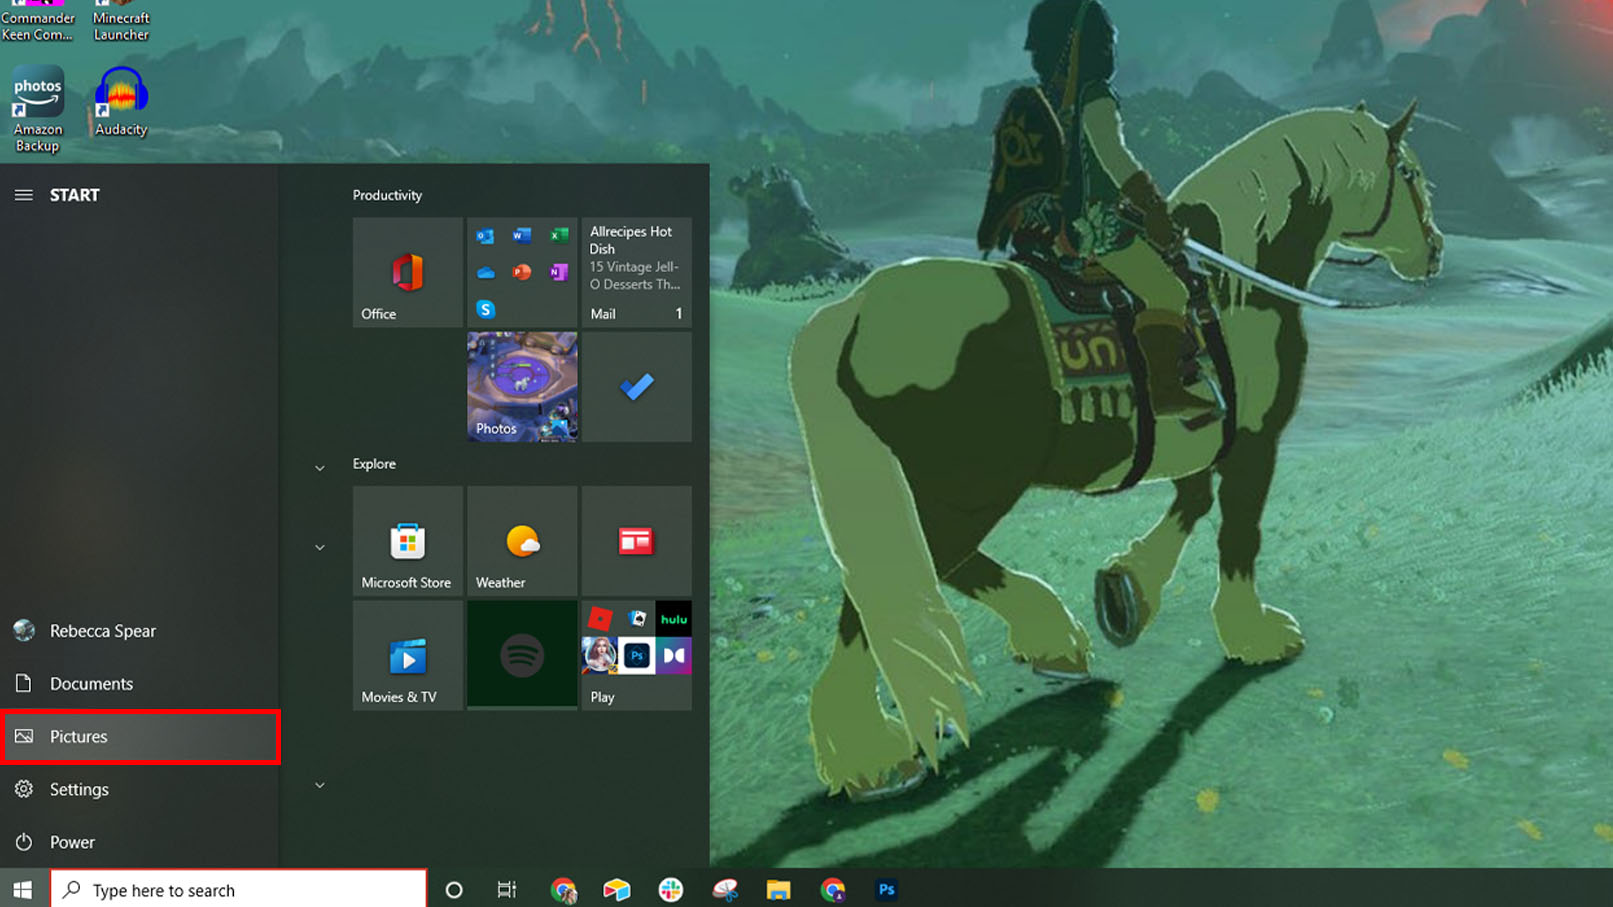
- While your iPhone is connected to your PC, click the Start button on the lower left side of your PC screen.
- Select Pictures.Source: iMore

- Click This PC from the side bar menu.
- Now select Apple iPhone or any other name associated with the Apple device you are using.Source: iMore

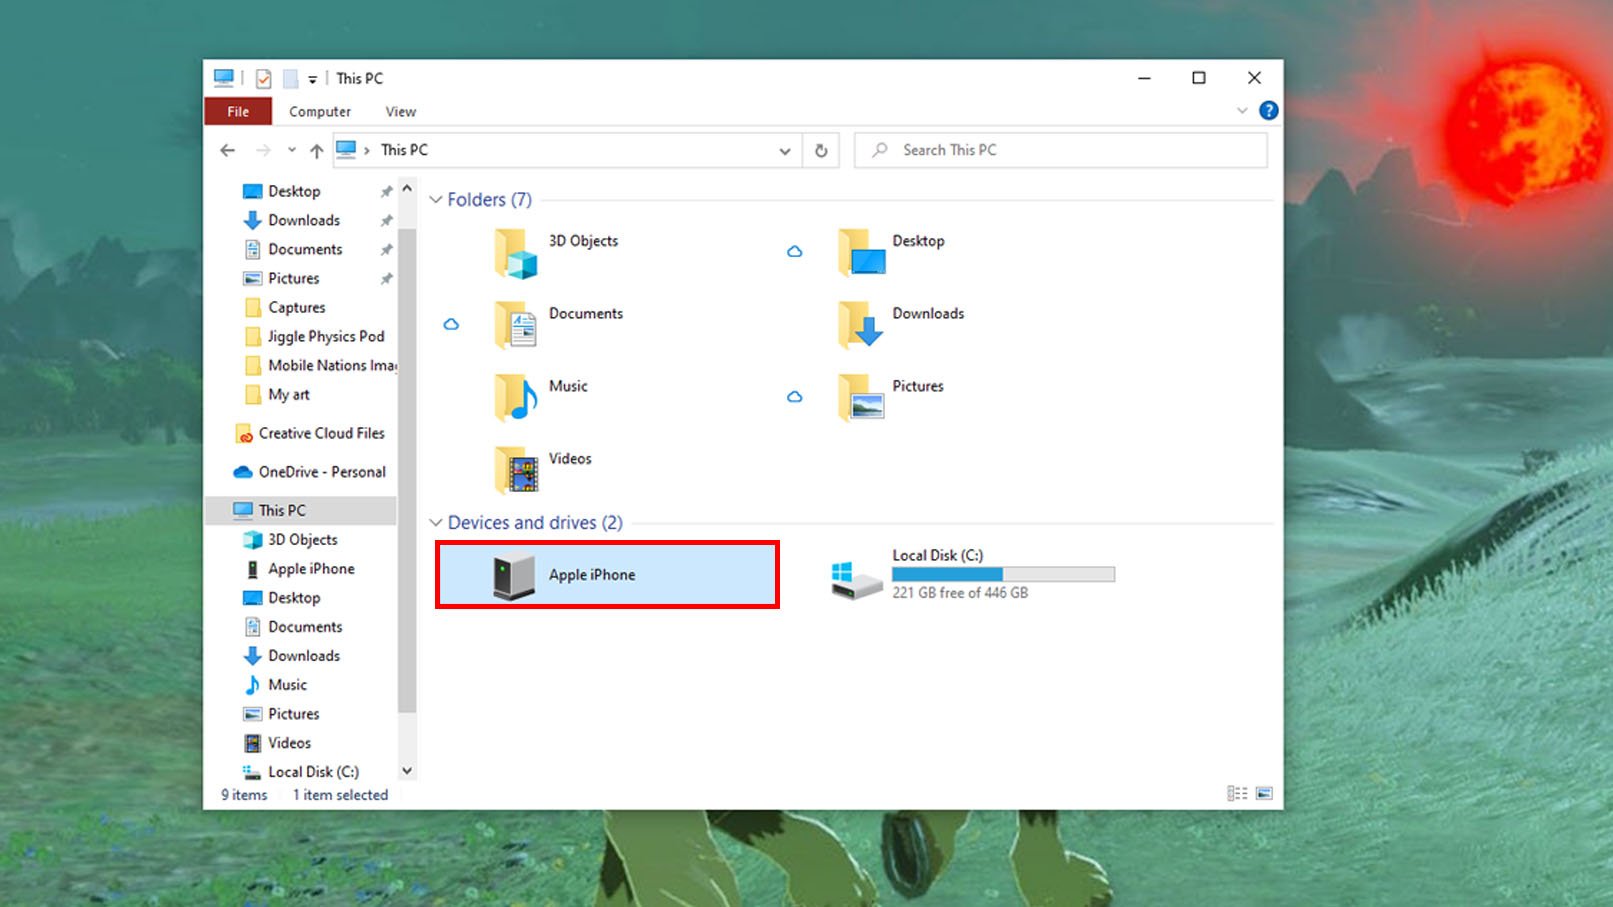
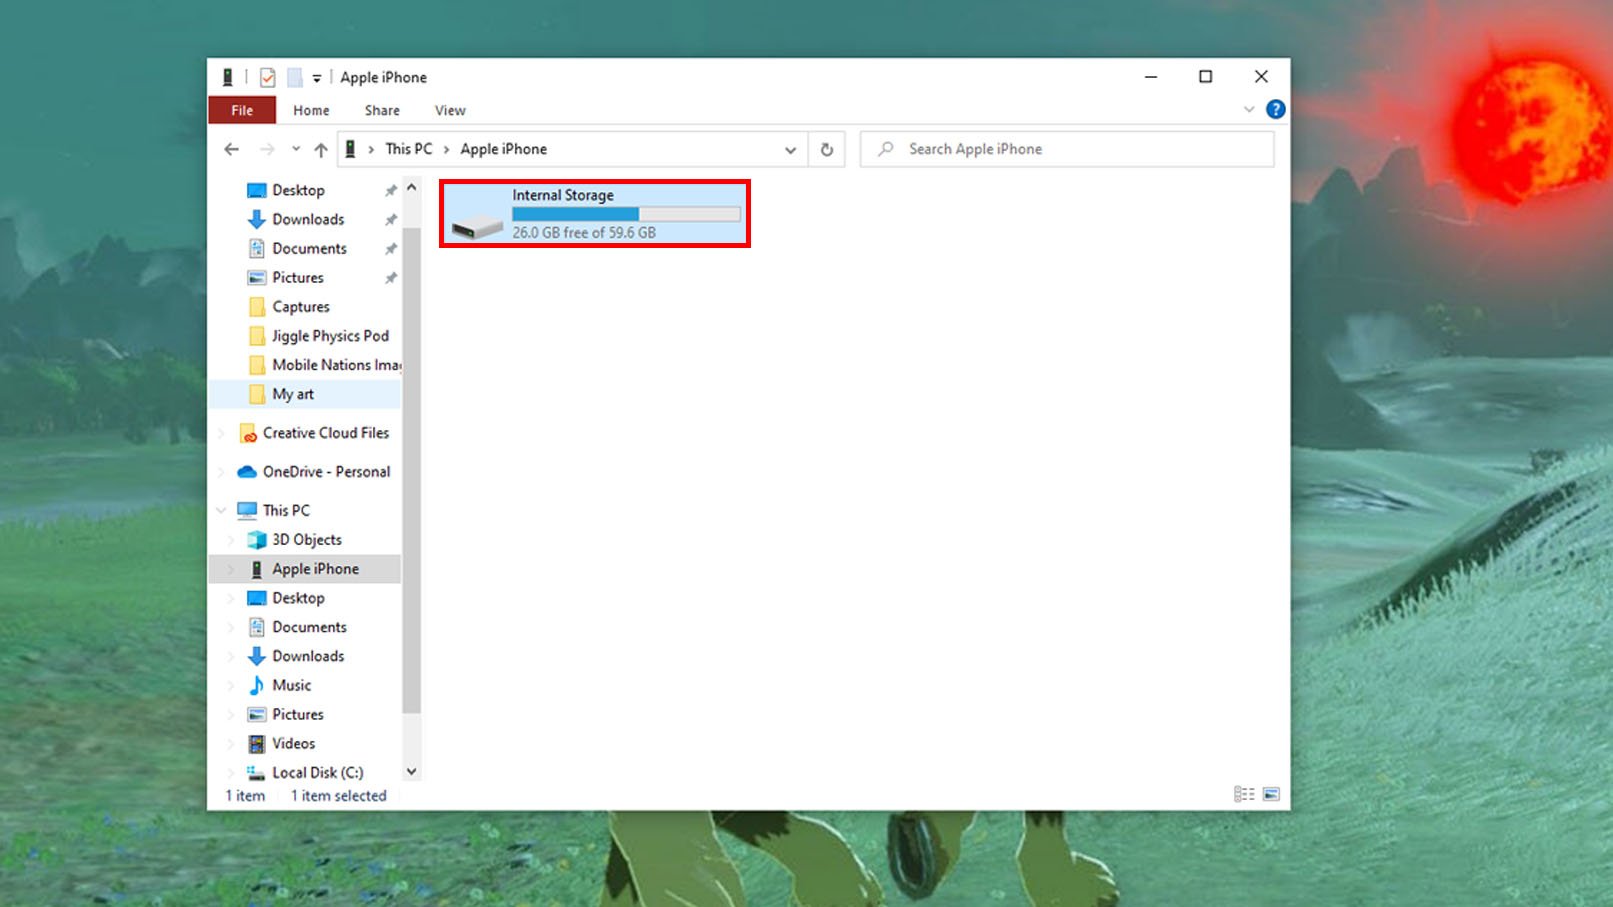
- Select Internal Storage.
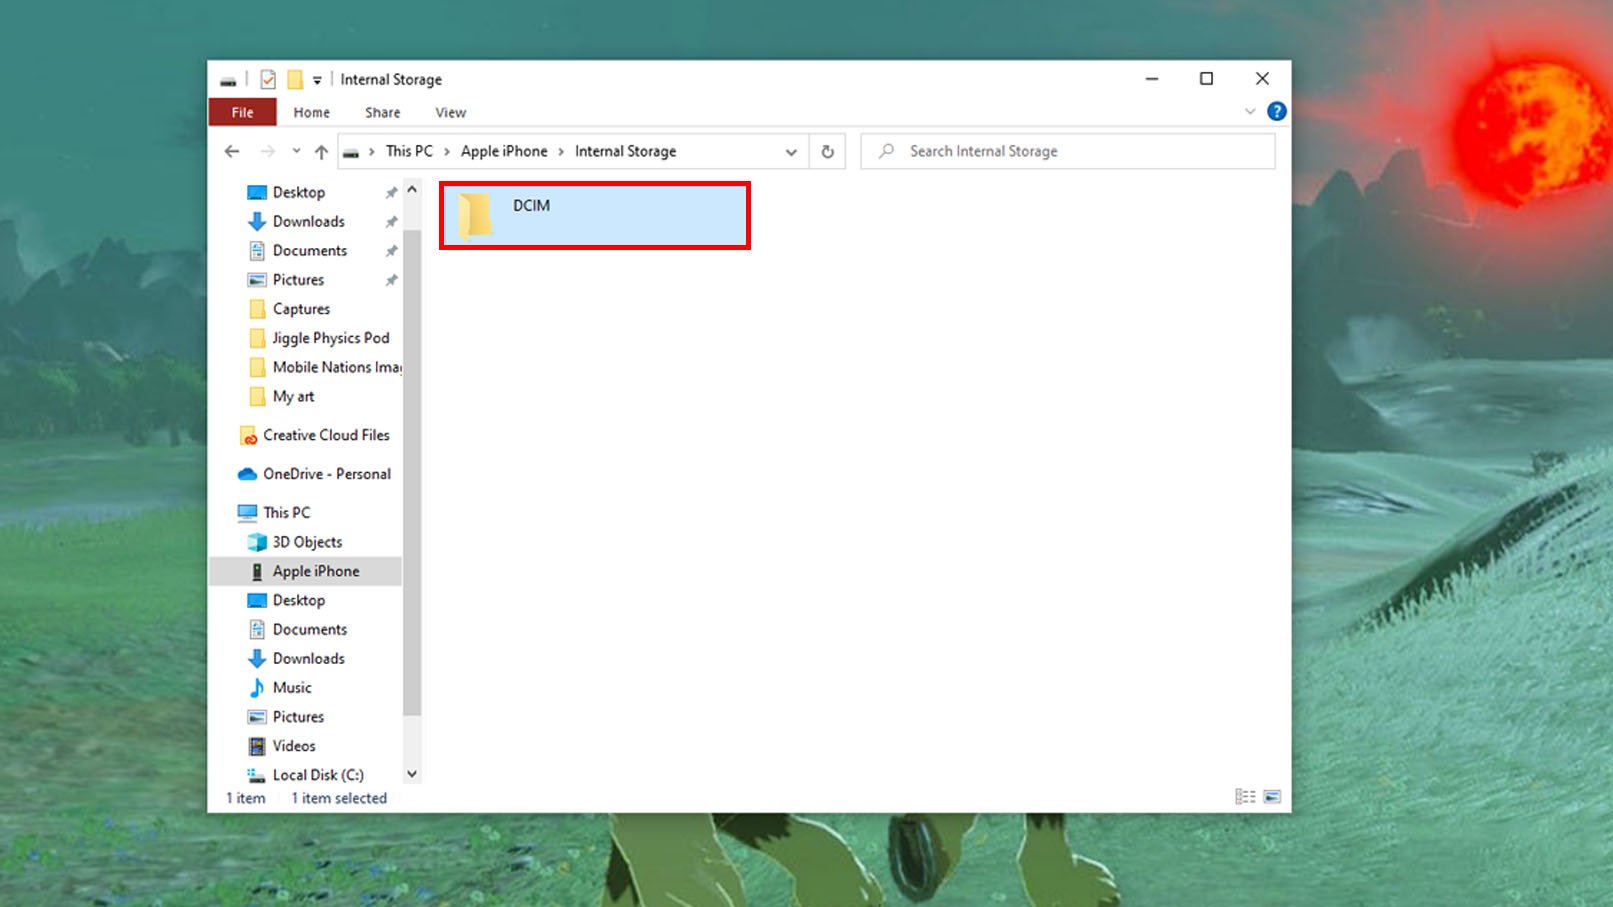
- Choose the DCIM folder.Source: iMore
- If you have more than one file, choose the file you'd like to get pictures from.
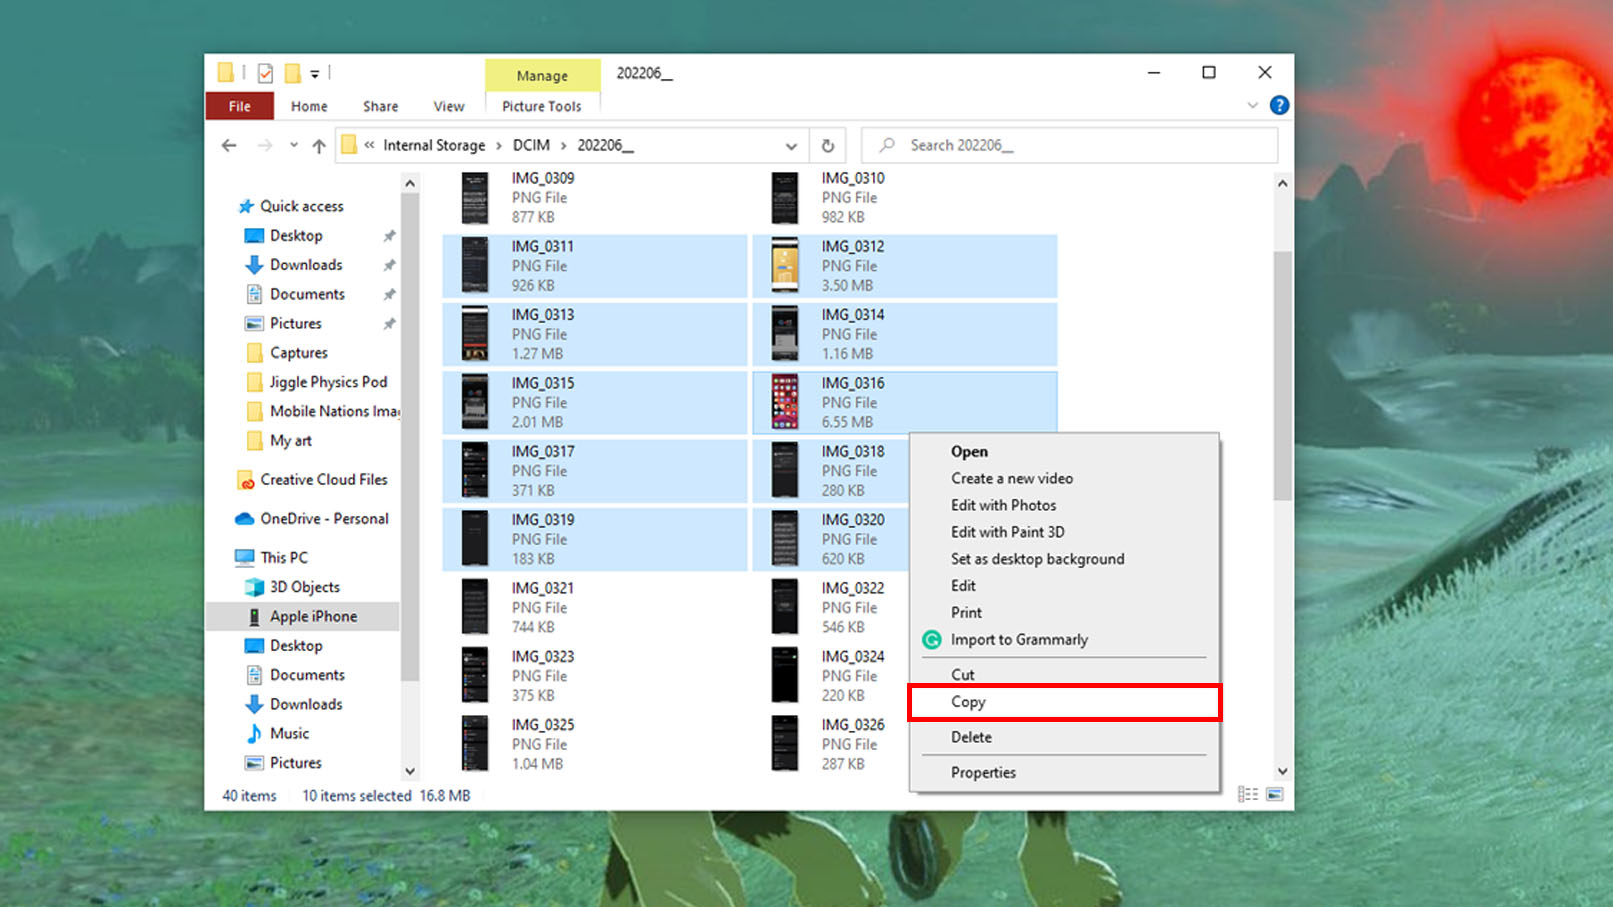
- Using the mouse, click and drag over the images you'd like to bring to your PC. Alternatively, you can press Ctrl + A to select everything.Source: iMore

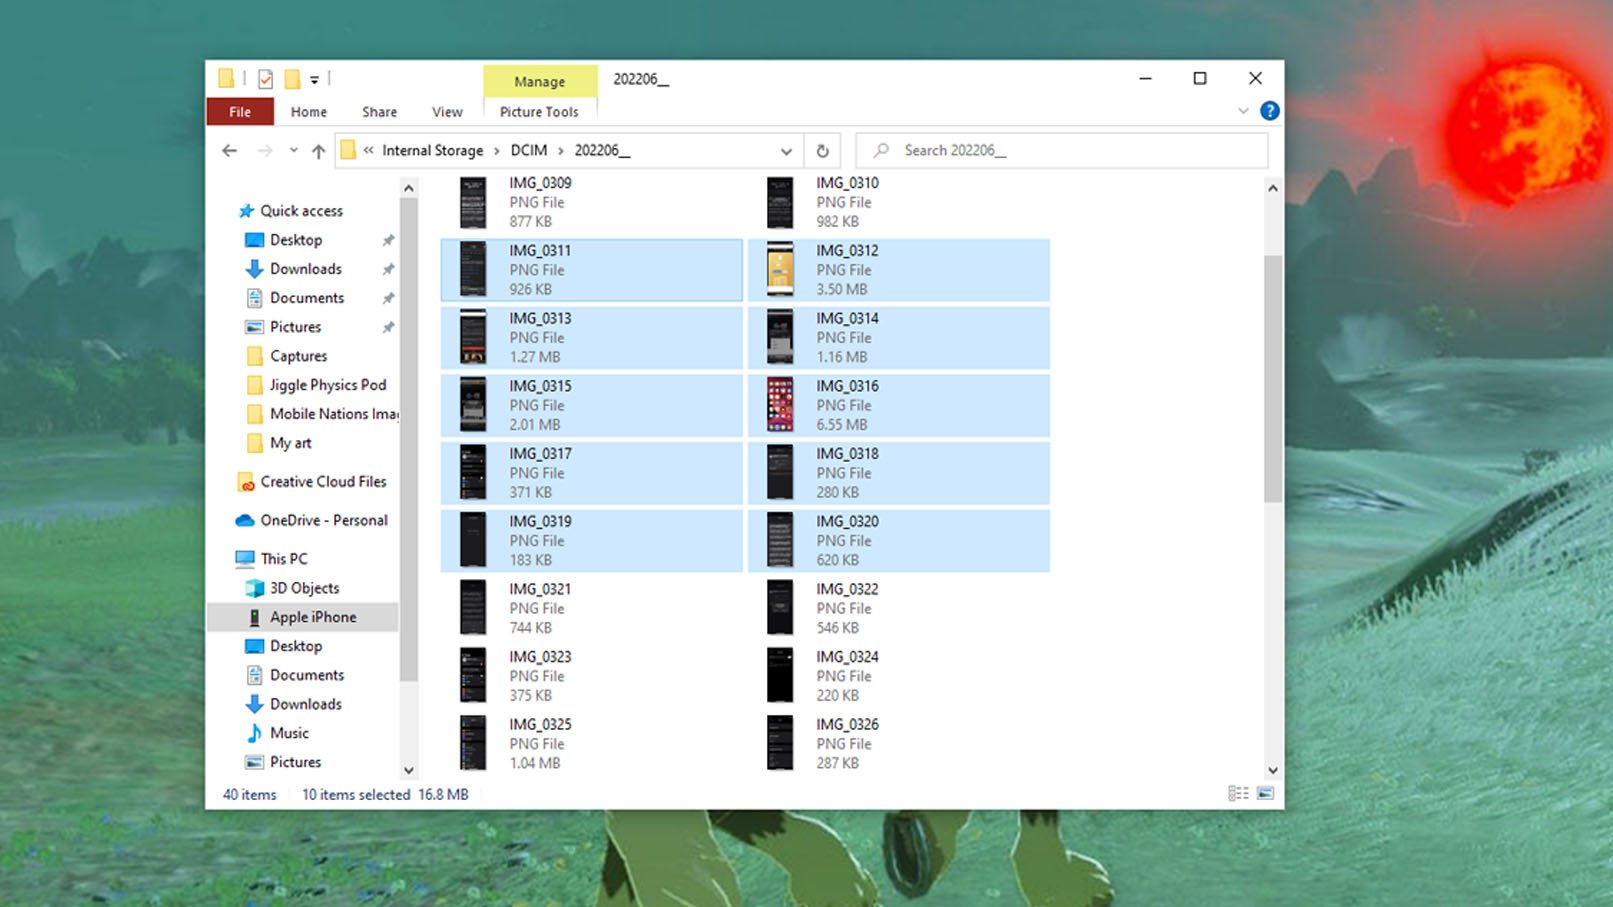
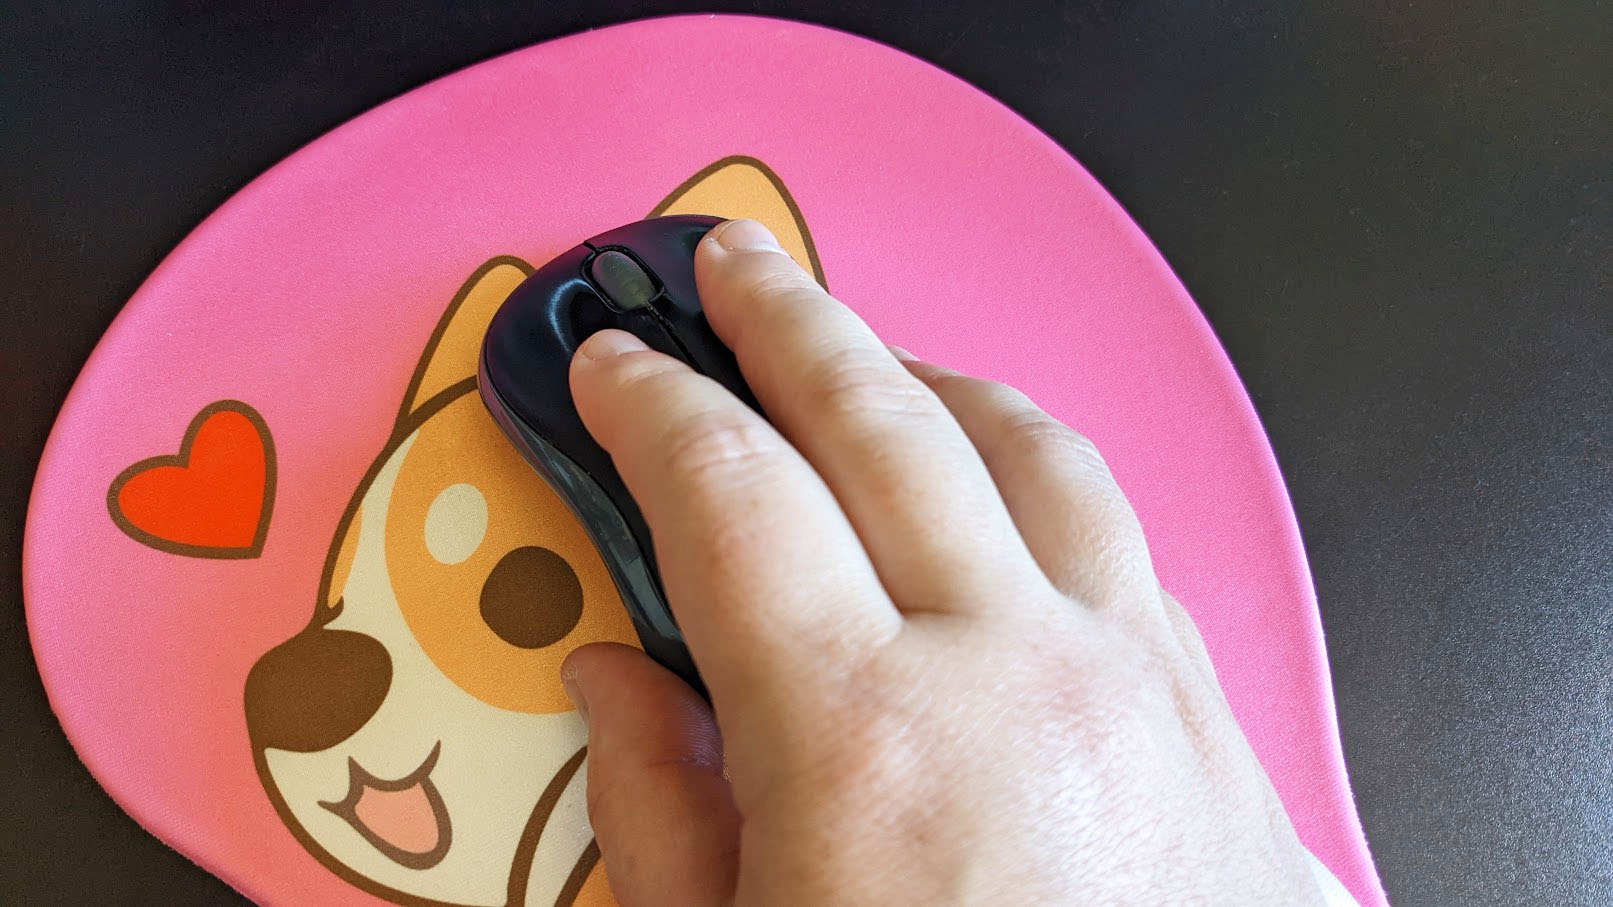
- Right click the mouse.
- Select Copy.Source: Rebecca Spear / iMore and iMore
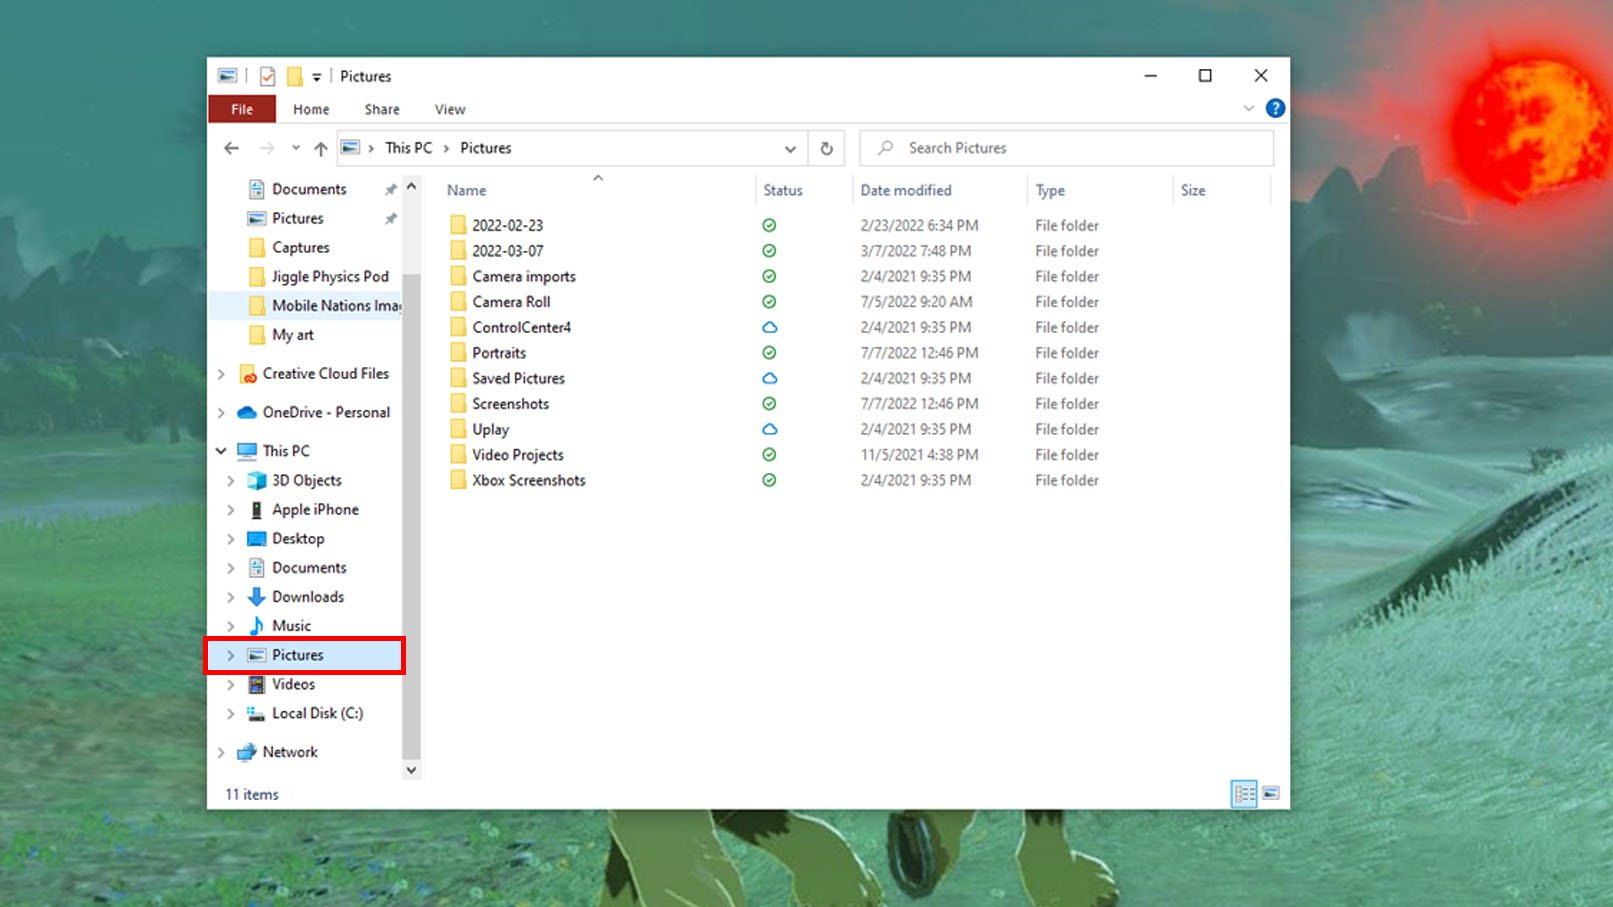
- In the side menu, choose the place that you'd like to import these images to. For me that was Pictures.
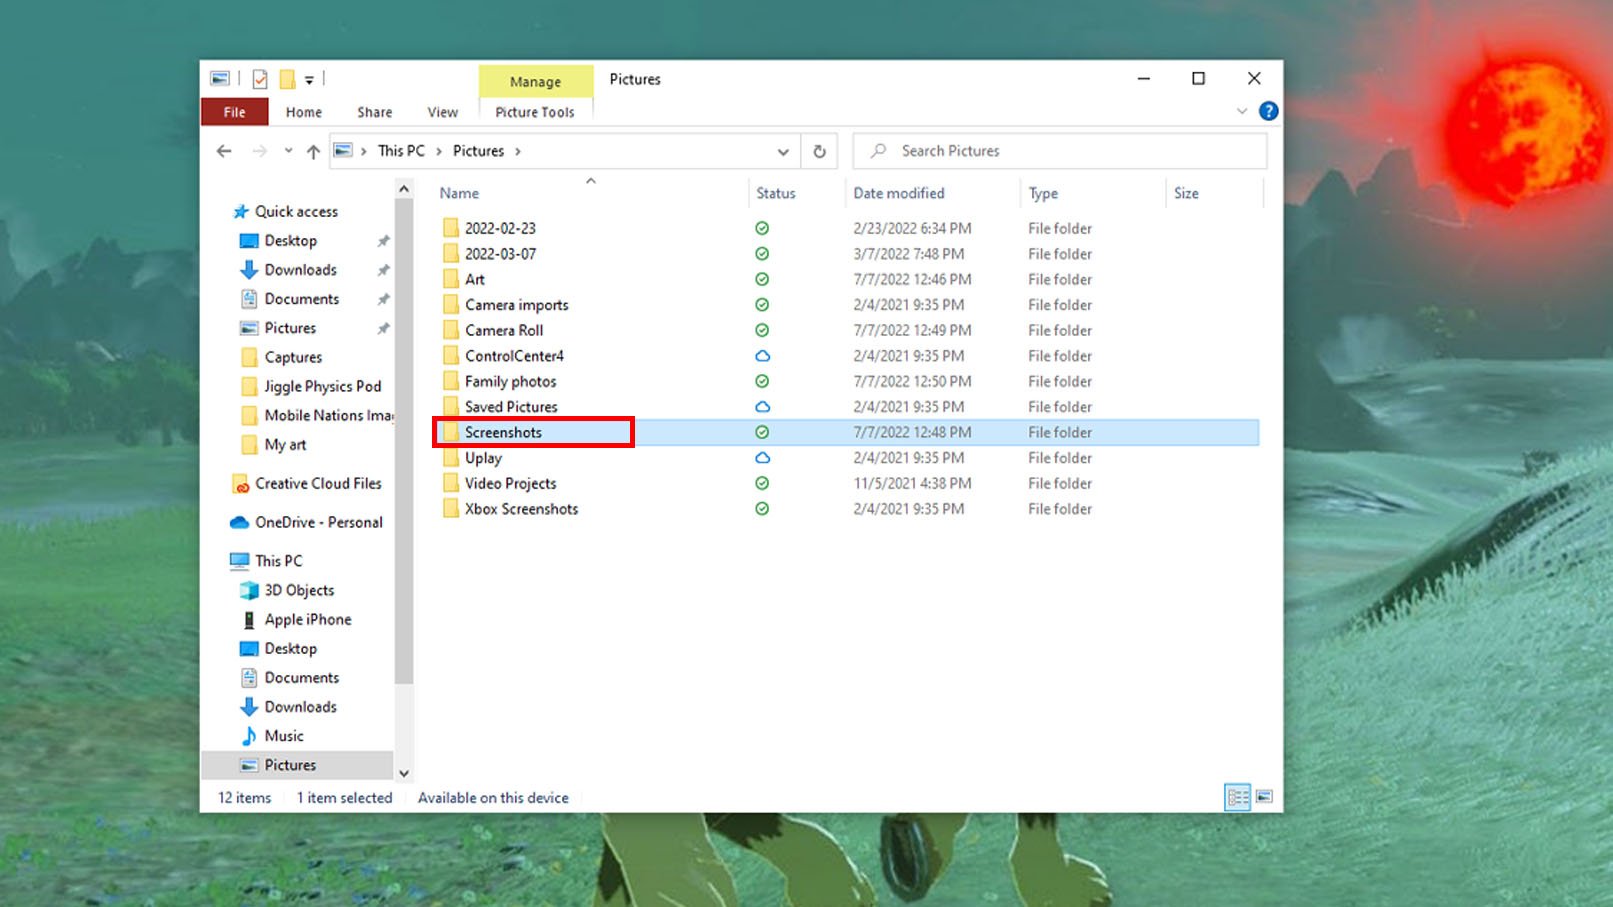
- Select any file that you want to place the iPhone images into.Source: iMore
- Now right click the mouse.
- Select Paste. After a moment, the images you selected will be brought to your PC.Source: Rebecca Spear / iMore and iMore

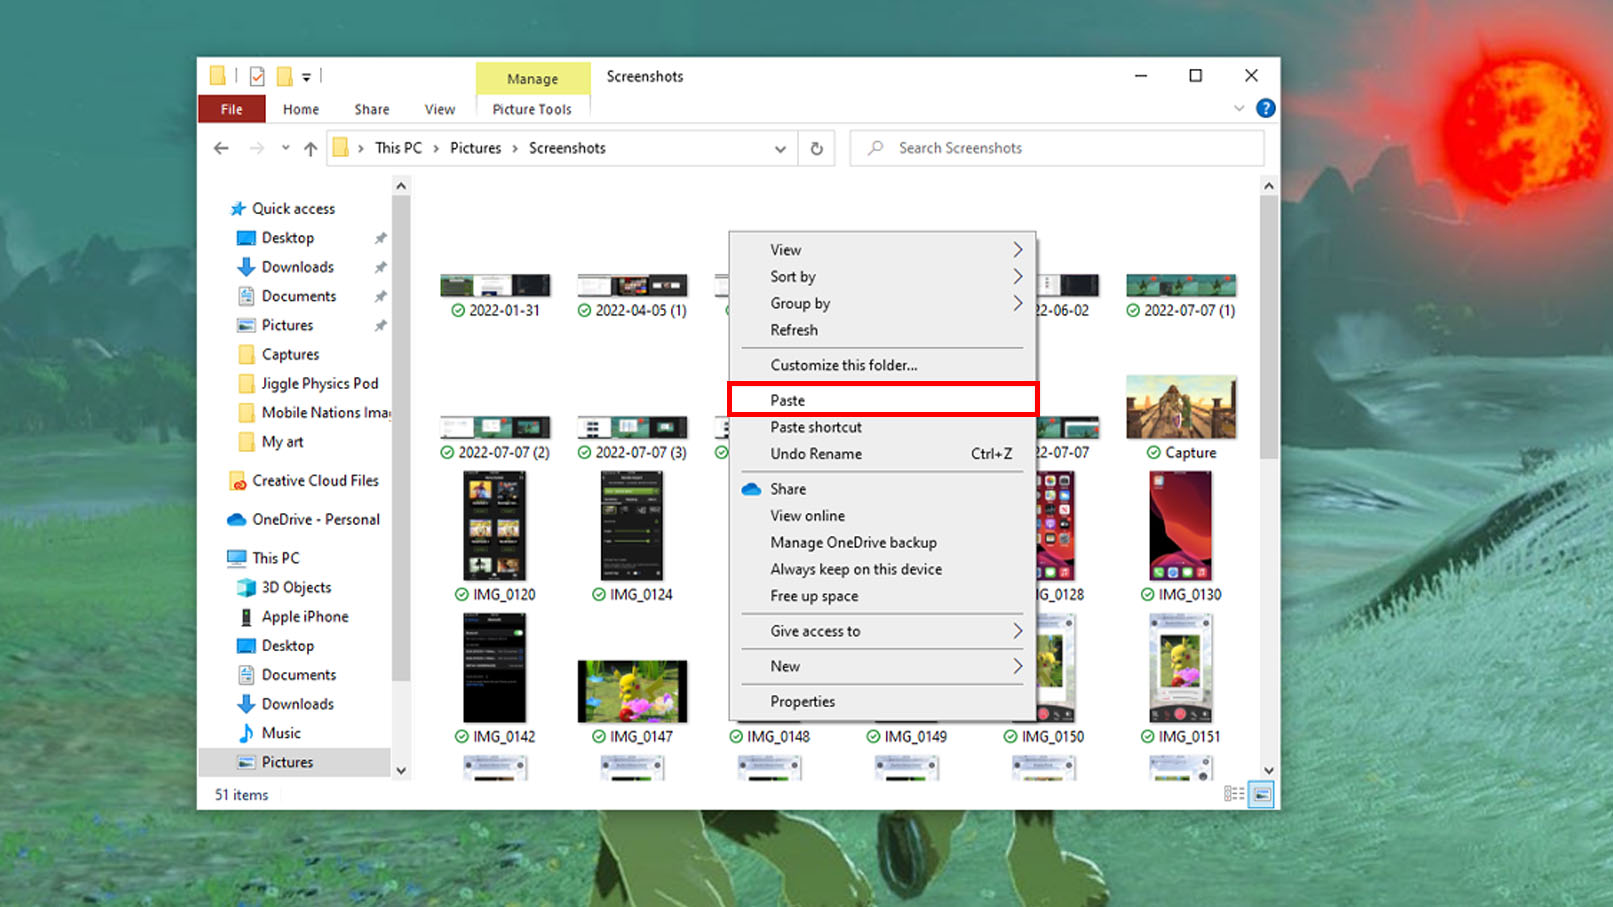
Once all of the images have been brought over, you can close the windows you used and then disconnect your iPhone from the PC.
How to transfer photos from your iPhone to your PC over iCloud
Of course, you might not want to bother with a wired connection. Maybe you want your photos to your PC over the cloud. Well, you can do that with iCloud Photo Library. Apple makes an iCloud app for PCs that allows you to set up features like iCloud Photo Library and iCloud Drive on Windows:
How to set up and use iCloud Photo Library on a Windows PC
Mastering easy transfers
As you can see, using an iPhone with a PC computer isn't so hard after all! Apple can play nice with all the other tech brands, as long as you know what you're doing. Maintaining an organized iCloud account can also make a big difference. Once you transfer those photos, back them up on iCloud to make sure they are safe in the future.

Gaming aficionado Rebecca Spear is iMore's dedicated gaming editor with a focus on Nintendo Switch and iOS gaming. You’ll never catch her without her Switch or her iPad Air handy. If you’ve got a question about Pokémon, The Legend of Zelda, or just about any other Nintendo series check out her guides to help you out. Rebecca has written thousands of articles in the last six years including hundreds of extensive gaming guides, previews, and reviews for both Switch and Apple Arcade. She also loves checking out new gaming accessories like iPhone controllers and has her ear to the ground when it comes to covering the next big trend.
