How to upgrade memory on your mid-2012 or earlier Mac Pro

If you're like me and are still waiting for 2019 to roll around with the rumoured release of a new modular Mac Pro, then you might be interested in getting the most out of your current modular Mac Pro by getting more RAM capacity. You might also want to make certain that your current memory configuration is giving you the best possible performance. We show you how!
Specifications
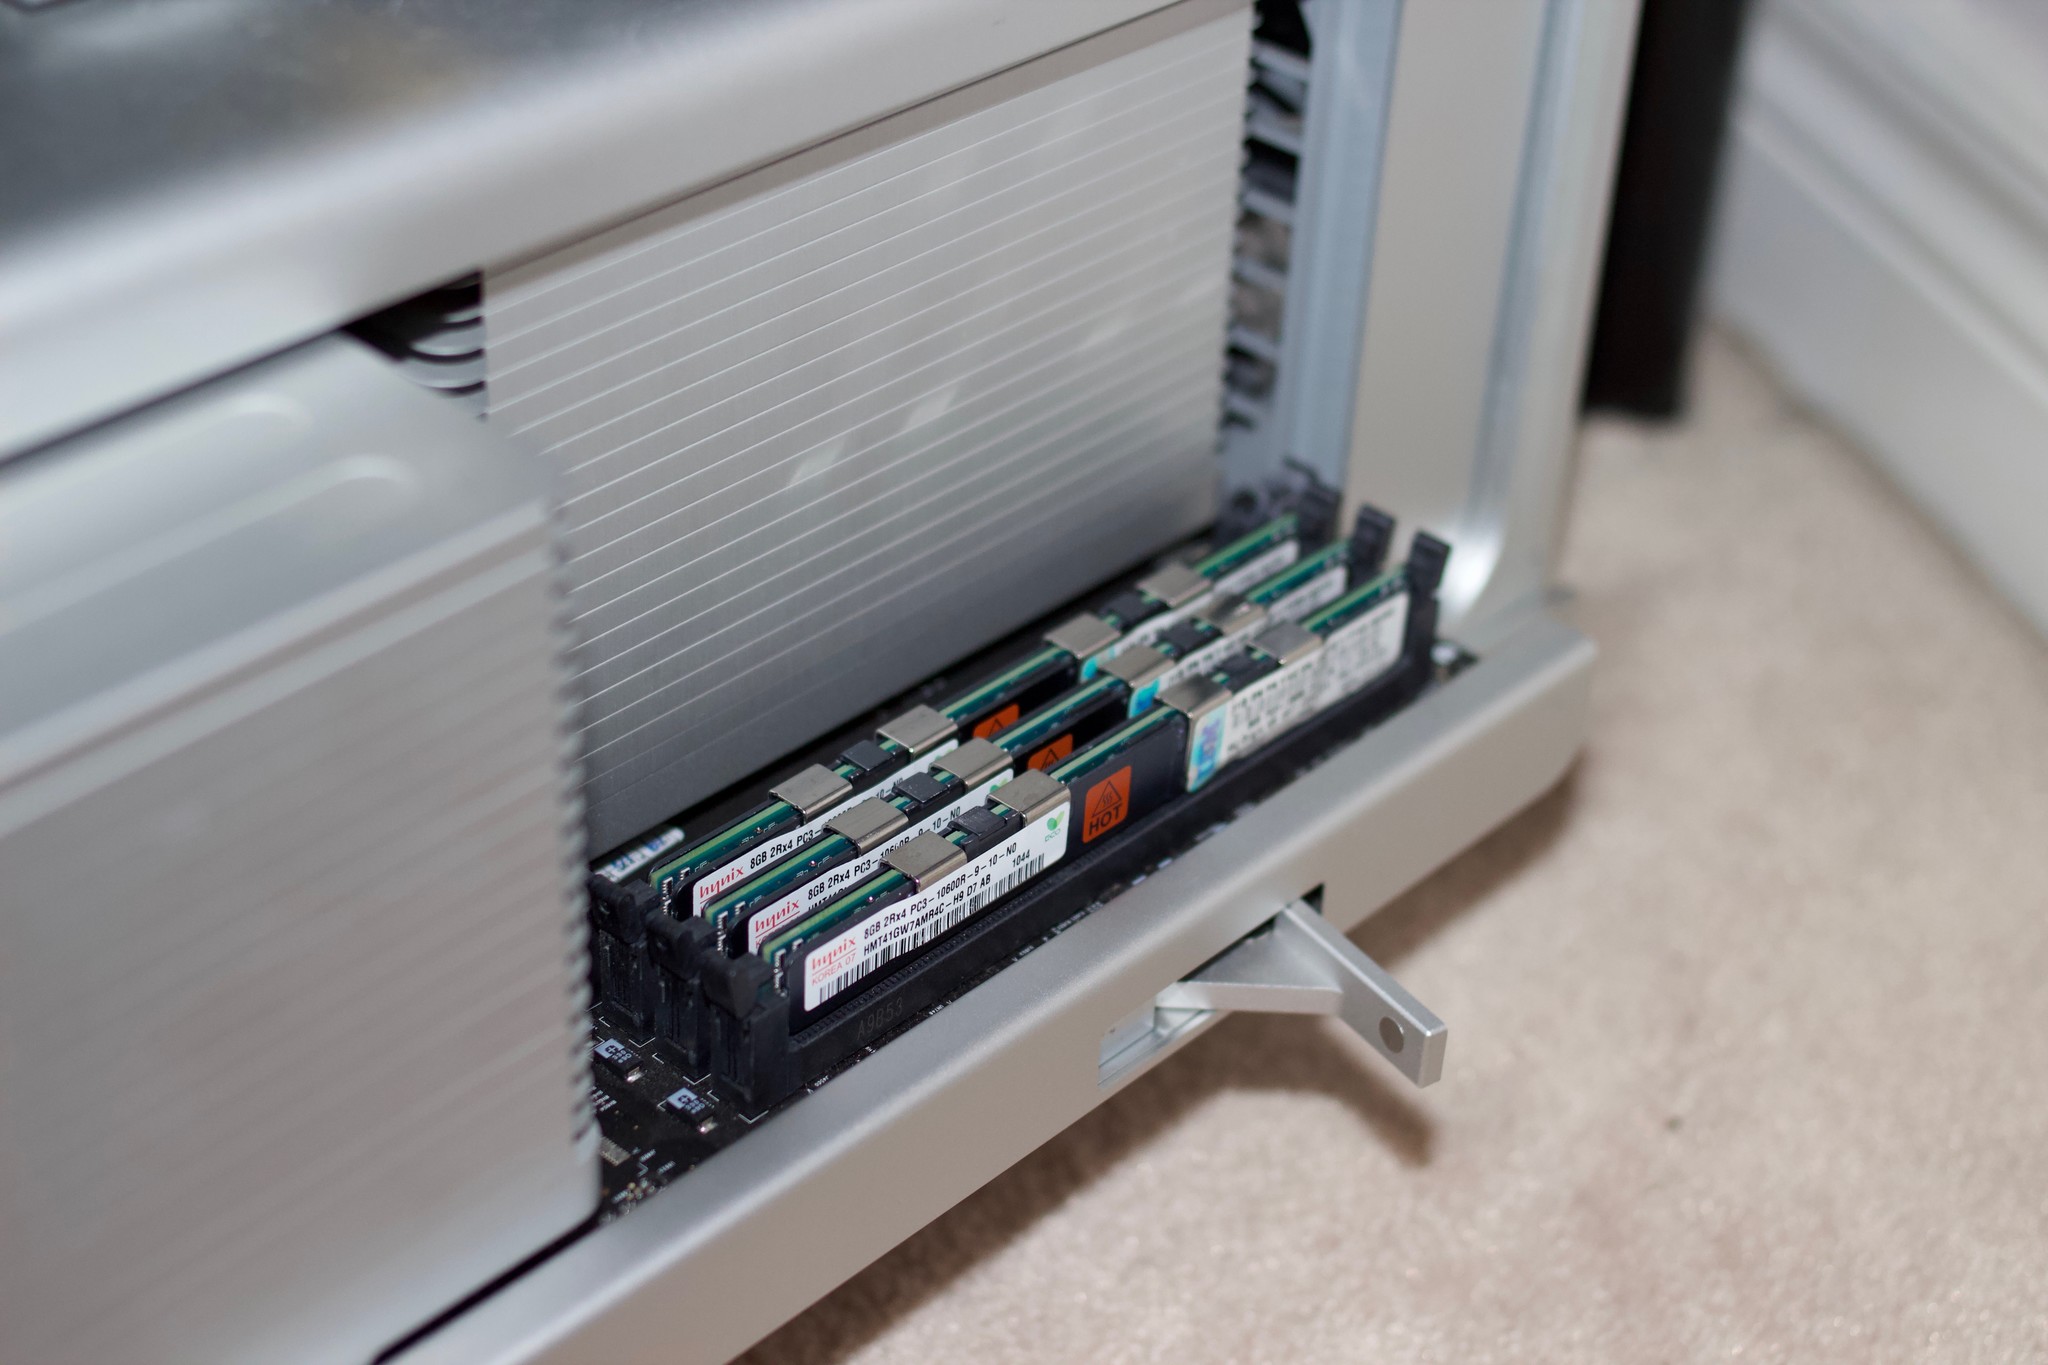
Mac Pros have pretty stringent specification requirements when it comes to memory modules as opposed to a PC based system. The type of memory you need for a Mac Pro is the same type of memory that server class machines use. Specifically, Mac Pros use:
- Module type of DDR3 SDRAM
- Speed rating of PC3-10600E, 1333 MHz or PC3-8500, 1066 MHz(See below)
- Dimensions of 72-bit wide, 240-pin modules
- Use a special logic called error-correcting code or ECC for increased stability capabilities.
Mac Pro memory speed will also be contingent upon the type of processor you have installed. For example, if I am running a Nehalem based CPU, the maximum memory speed will be 1066 MHz even if I install 1333 MHz memory. If I have a Westmere based CPU, I can run memory modules that support 1333 MHz and will run at their rated speed but will also allow for slower 1066 memory modules to be installed and run at the lower rated speed.
Buying memory
You can get deals on eBay for memory modules of various capacity that can function in your Mac Pro. However, such purchases can be hit to miss. I bought 32GB of (4 modules) on eBay and when I received them, only 1 of the 4 modules were functional. You can also, find compatible memory on Amazon such as these 1066 MHz DDR3 DIMMS here.
Installing memory
The pre 2013 Mac Pros are very friendly to the end user for the ease of access and latch system that the components are installed with. As such, no tools are required for this operation.
Removing memory modules
- Shutdown the Mac Pro.
- Unplug the power connector.
- Lift the side panel hatch lever.
- Remove the side panel.
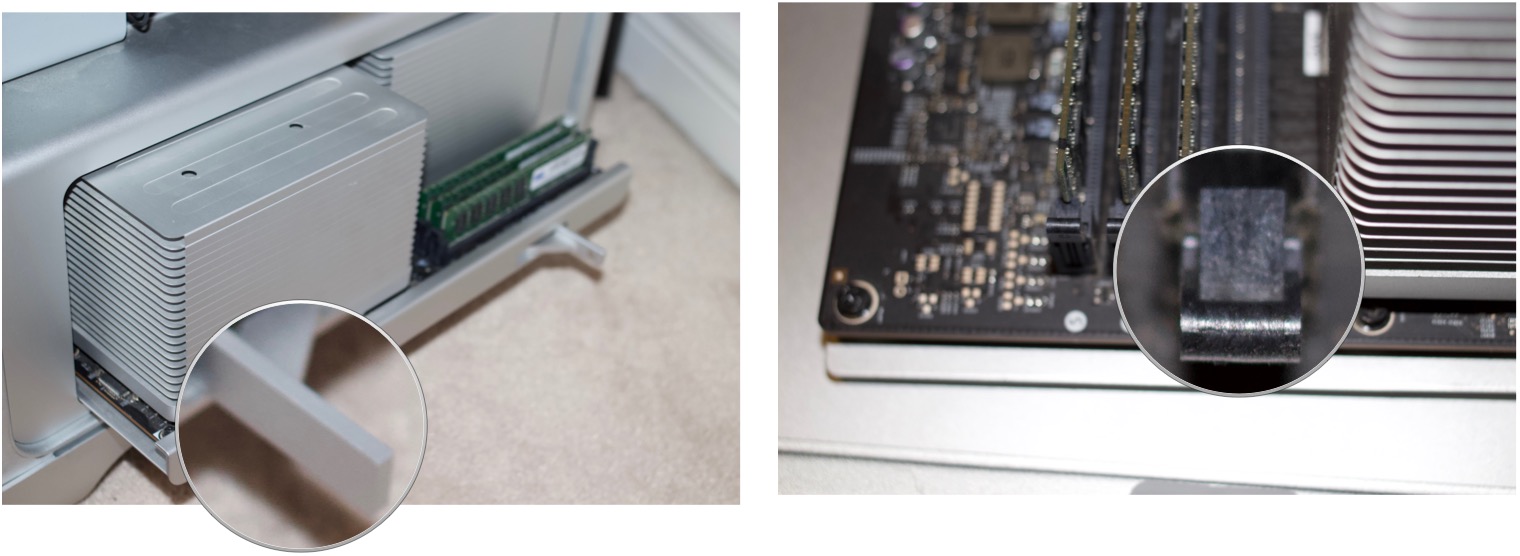
- Depress the CPU tray latches.
- Pull out the CPU tray.
- Place the tray on a non-static surface.
- Dress the tabs on each side of a memory module you want to remove.

- Carefully lift remove the memory module and place it in a static bag for storage.
Depending on your type of Mac Pro, you make have either 4 memory slots or 8 memory slots (single CPU or dual CPU configurations respectively). The process is the same for both except for the number of modules.
Do not be so quick to think you need to fill up all fo the memory modules. In fact, the fastest memory configuration will require you to NOT use all of the memory slots. Mac Pros have single, double, and triple channel memory configurations. This means that depending on where you install the memory modules, the memory can run at its rated speed for a single channel configuration, at effectively double the speed for dual channel configurations, and at effectively triple the speed at triple channel configurations. The Mac can achieve this by "striping" data to 2 or 3 modules at once for the dual and triple channel setups.
Master your iPhone in minutes
iMore offers spot-on advice and guidance from our team of experts, with decades of Apple device experience to lean on. Learn more with iMore!
If you want a dual channel memory setup, you can fill up all of the slots. If you want the faster triple channel setup, you can only fill up slots 1,2 and 3 on a single CPU Mac Pro. If you have a dual CPU Mac Pro, the you'll have to fill up slots 1,2 and 3 as well but if you want the best possible speeds you'll also want to fill up channels 5, 6 and 7. The dual CPU Macs Pros will work with only 1, 2 and 3 slots filled but the second CPU will have to share access to the memory channel with the first CPU causing a less than optimal data connection. More information can be found here.

Adding memory modules
- Line up the pins on the bottom of the memory module with the memory slot. Note that there exists a notch in the module so that the memory can only be inserted in one way.
- Evenly press the memory module into the slot.
- Ensure that the tabs on each side of the memory module are "grabbing" the module and are in the "closed" position.
- Fill the memory slots as per your desired configuration.
- Re-insert the CPU tray into the Mac Pro.
- Close the CPU tray latches.
- Close the side panel and latch.
- Plug in your Mac Pro.
- Power up your Mac Pro.
Final comments
If everything went well your newly installed memory should be now accessible. I simply added modules to my configuration to configure it in triple channel mode and my LuxMark results went up 800 points vs a dual channel setup. If I can eek out that much more performance form my nearly decade old 2009 Mac Pro, then I'm all the happier for it. What about you? Let us know your thoughts on how worthwhile it is to upgrade such old hardware when a new modular Mac Pro coming in about a years time!

