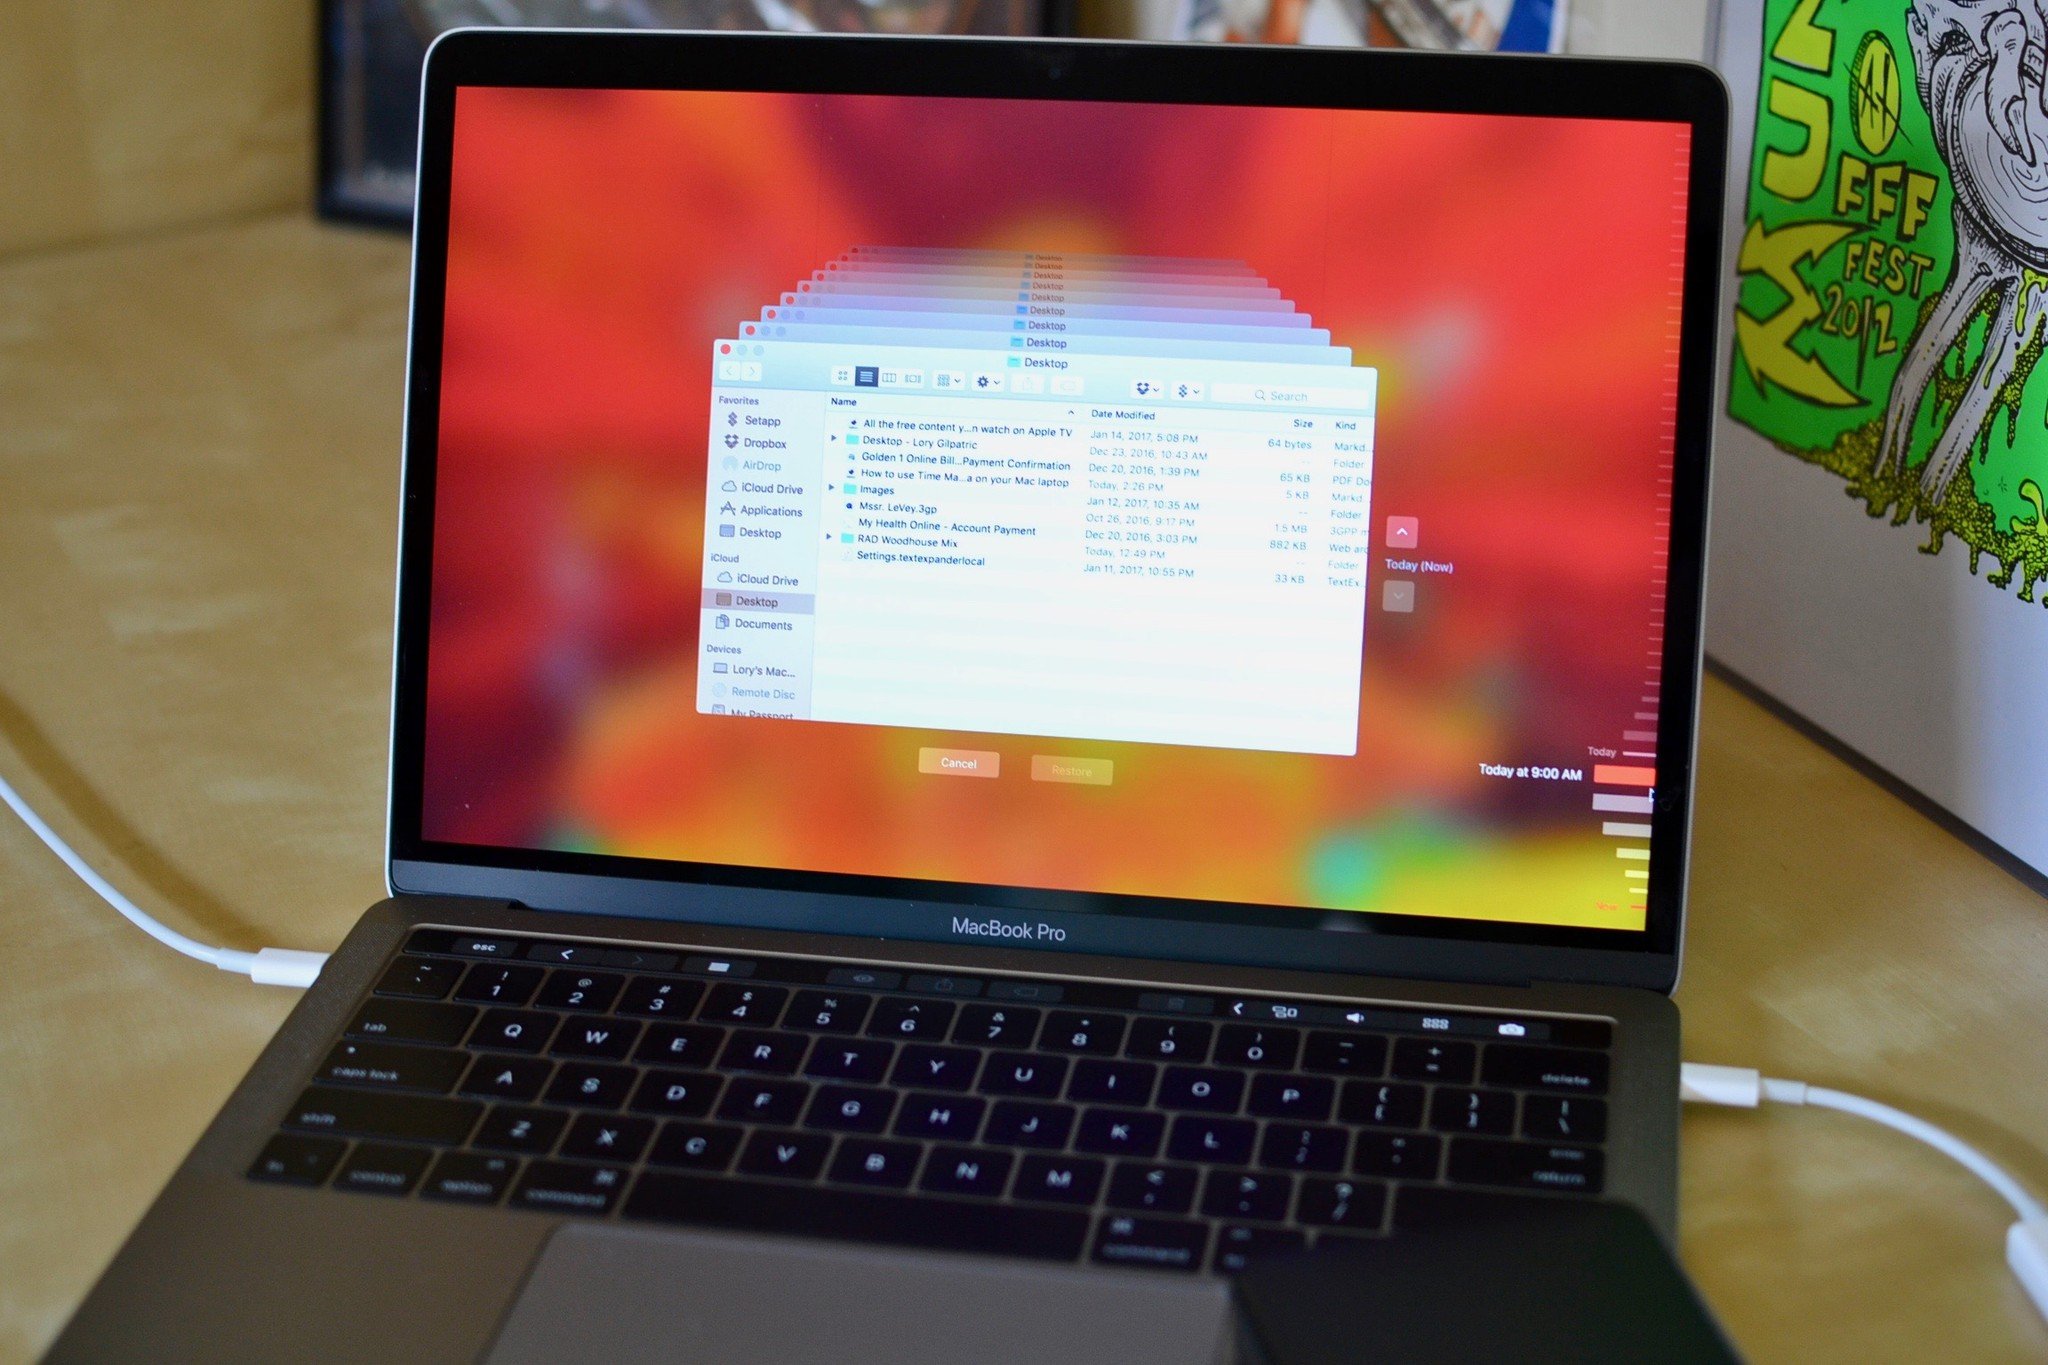
Time Machine is Apple's built-in software program for backing up your Mac. All you need is an external hard drive and a cable to connect said hard drive to your Mac. If for some reason, your hard drive is not connected to its external hard drive after you enable Time Machine, you can still access your recent backups thanks to local snapshots. Here's how it works.
NOTE: If you are running macOS using APFS, local snapshots are saved on your internal disk, whether it's a Mac desktop or laptop. If you're using a computer running HFS+, Mac desktops do not support local snapshots, but Mac laptops do.
- What is a local snapshot and how is it different than an external hard drive backup?
- When does Time Machine create a local snapshot?
- How do I retrieve data from a local snapshot?
- How do I delete local snapshots to free up space on my Mac's internal storage?
- How do I stop local snapshots from happening in Time Machine
What is a local snapshot and how is it different than an external hard drive backup?
- Time Machine stores backups on an external hard drive, while local snapshots are stored on your Mac laptop's internal storage.
- All Time Machine backups are stored on your external hard drive, dating back years, until you run out of space. Local snapshots are only saved for files you've recently changed on your internal disk and are saved hourly on your internal disk for as long as you have space to store them.
When does Time Machine create a local snapshot?
As soon as you set up Time Machine on your Mac, local snapshots are created automatically when you open a file that is stored on your internal disk as long as you are backing up with Time Machine automatically. A new local snapshot is created every hour for as long as you are working in the document.
Time Machine will save those snapshots for 24 hours and will keep one additional snapshot of your last Time Machine backup for as long as you have space available.
How do I retrieve data from a local snapshot?
It's much easier than you might think. Open Time Machine and go to your backups. If your external hard drive is not connected to your Mac, the only backups you'll have access to are the local snapshots. Available backups will be highlighted in red. You'll see that you can only restore from a limited amount of backups.
Backups that you can access after you've connected your Mac back to your external hard drive will be dimmed.
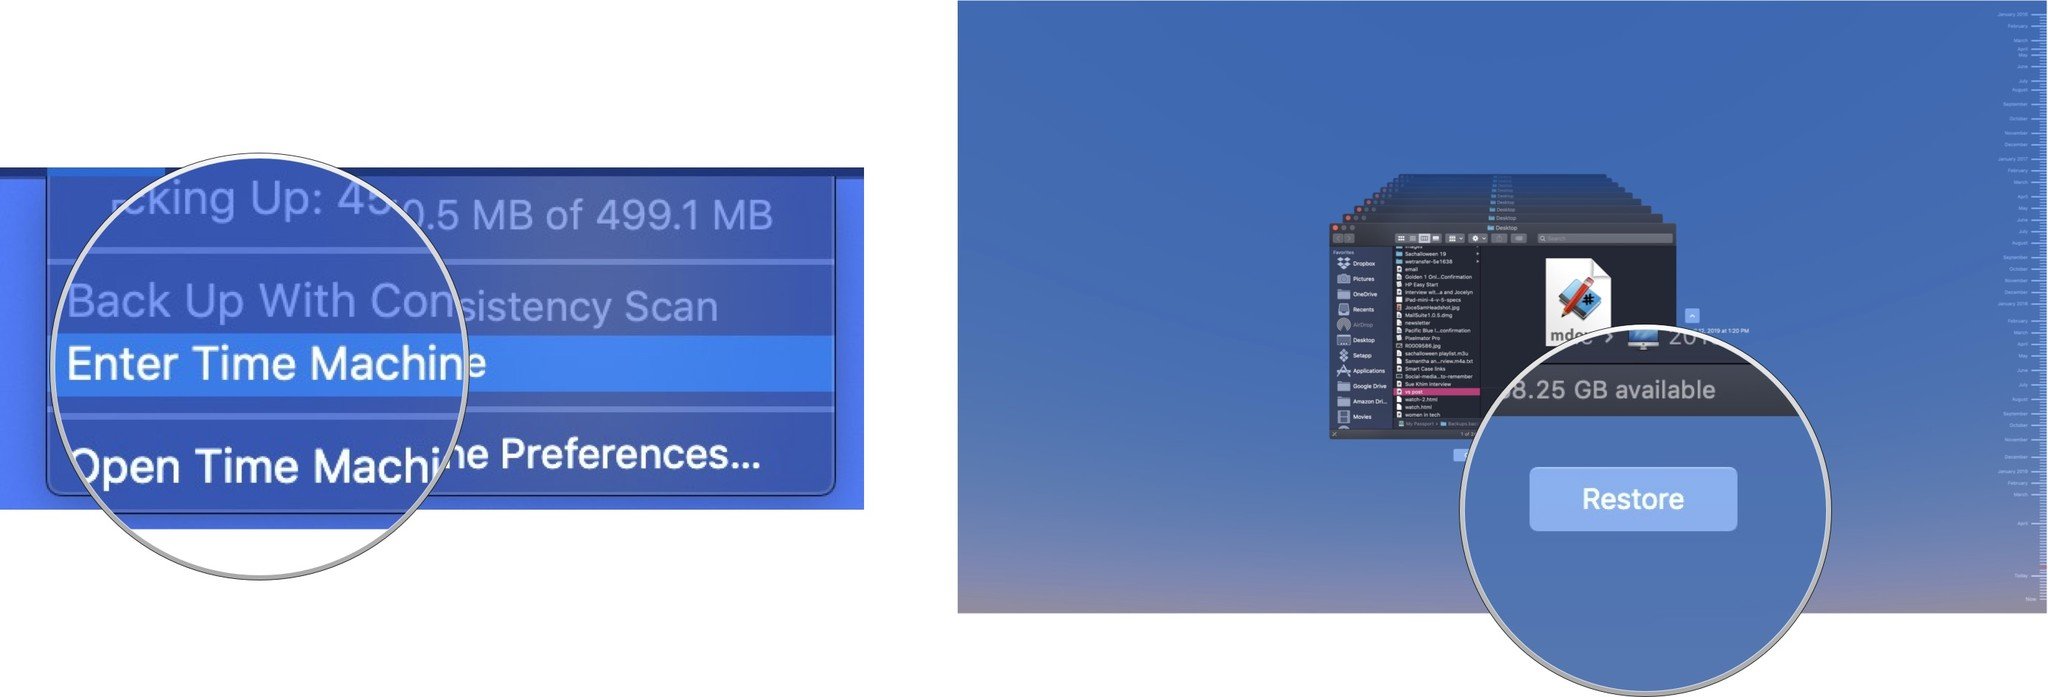
- Open Time Machine on your Mac.
- Select Enter Time Machine.
- Select a file or folder.
- Select an older version of the file or folder.
- Click Restore. Time Machine will copy the file back to its original location on your Mac's hard drive.
How do I delete local snapshots to free up space on my Mac's internal storage?
When the internal storage of your Mac starts to fill up. Time Machine will start automatically removing older backups to make room. If you have less than 20 percent of your total storage, Time Machine removes local snapshots, starting with the oldest, until you have more than 20 percent of free space. If you drop to only 10 percent (or less than 5GB of internal storage space), Time Machine will remove older backups until only one local snapshot remains. Time Machine will then start replacing the old local snapshot with the new local snapshot until you free up space in your Mac's internal storage.
Master your iPhone in minutes
iMore offers spot-on advice and guidance from our team of experts, with decades of Apple device experience to lean on. Learn more with iMore!
If you're worried about how much space local snapshots are taking up on your Mac's internal disk, you can purge them all at once and start over by turning off Time Machine for a few minutes and then turning it back on. Once back on, Time Machine will start saving local snapshots again.
If you only want to delete a specific local snapshot, you can do so by following these steps in Terminal.
- Open Terminal on your Mac.
- Enter the following command into Terminal:
tmutil listlocalsnapshots / - Press Enter.
This will show you a list of local snapshots, organized by date and time. Find the local snapshot you want to delete and then follow these steps.
- Open Terminal on your Mac laptop if it's not already open.
- Enter the following command into Terminal:
sudo tmutil deletelocalsnapshots 2019-04-15-082107Where 2019-04-15-082107 is replaced by the name of your file. - Press Enter.
- Enter your administrator password (that's the password you use to log into the administrator account on your Mac).
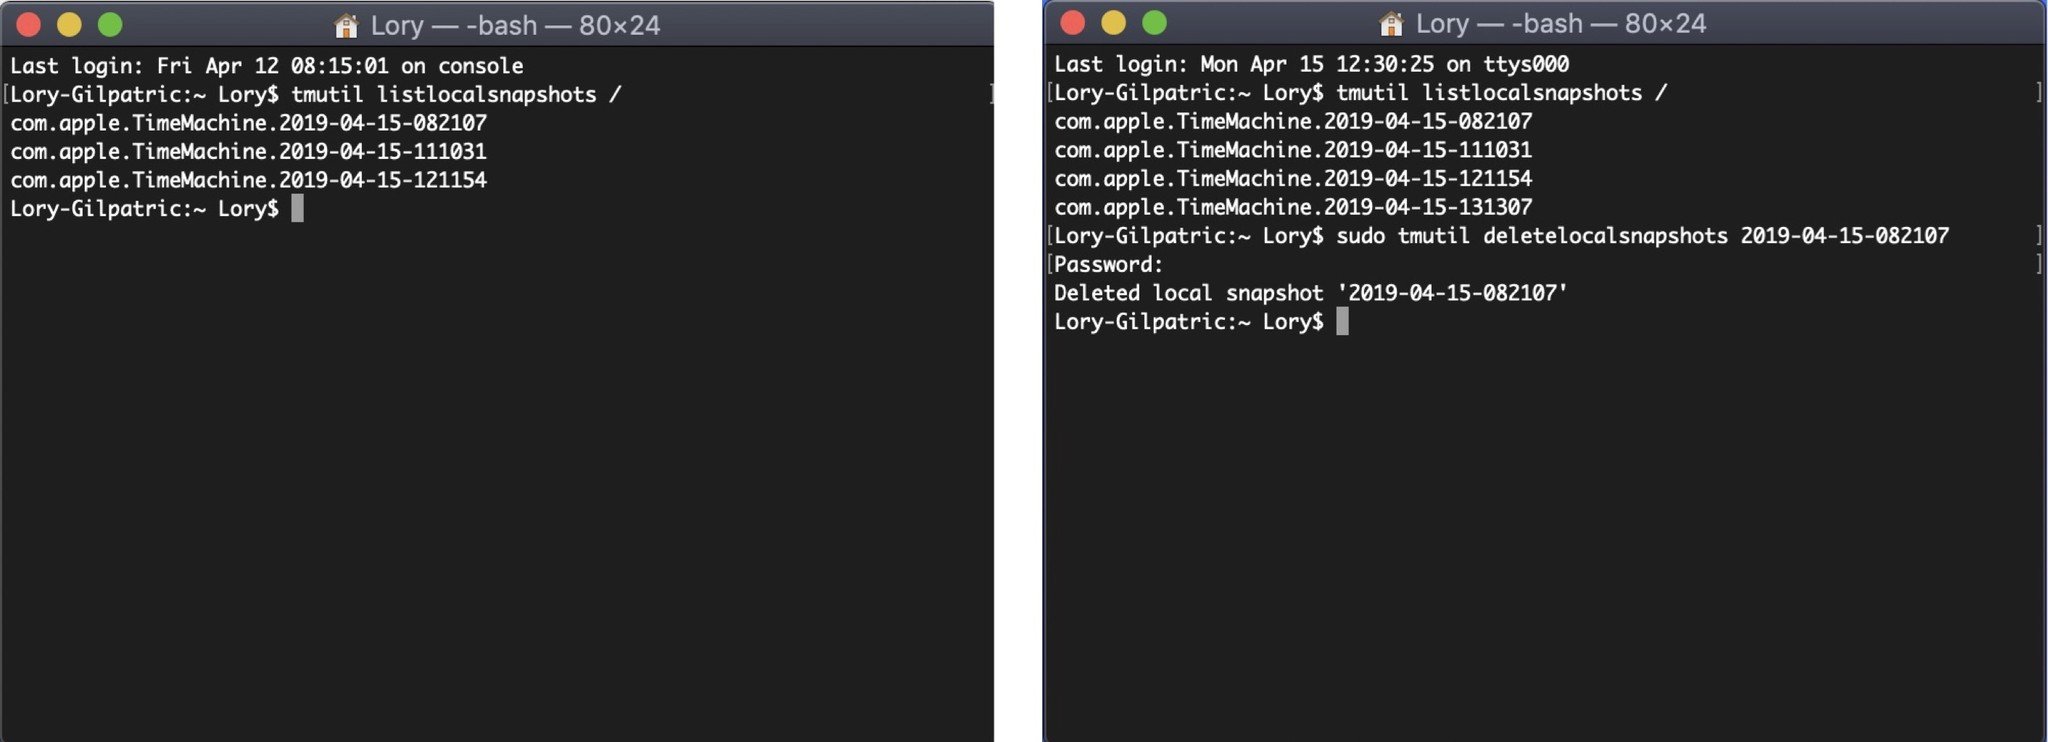
This will delete the specified local snapshot on your Mac. You'll need to repeat the process for each local snapshot you want to delete. I recommend keeping, at least, the most current local snapshot.
How do I stop local snapshots from happening in Time Machine
If you're really concerned with how much space local snapshots are taking up on your internal disk (remember, macOS will automatically begin deleting these local snapshots if your Mac's disk space falls below 20%), you can stop them from happening by disabling automatic backups. I don't recommend doing this because you'll have to remember to manually back up your Mac with Time Machine from now on. But if you're desperate to reduce local snapshots, here's how to stop them altogether.
- Open Time Machine on your Mac.
- Select Open Time Machine Preferences.
- Untick the box for Back Up Automatically.
Again, I don't recommend disabling automatic backups because that puts the onus on you to remember to back up your Mac, which is significantly less secure than having Time Machine do the work for you.
How to get the fullest experience from Time Machine
If you're new to Time Machine, let me tell you that getting an external hard drive and enabling the backup service is the easiest thing you can do. We've got a guide for getting set up and using Time Machine to help you. In the meantime, you may need a few additional things.
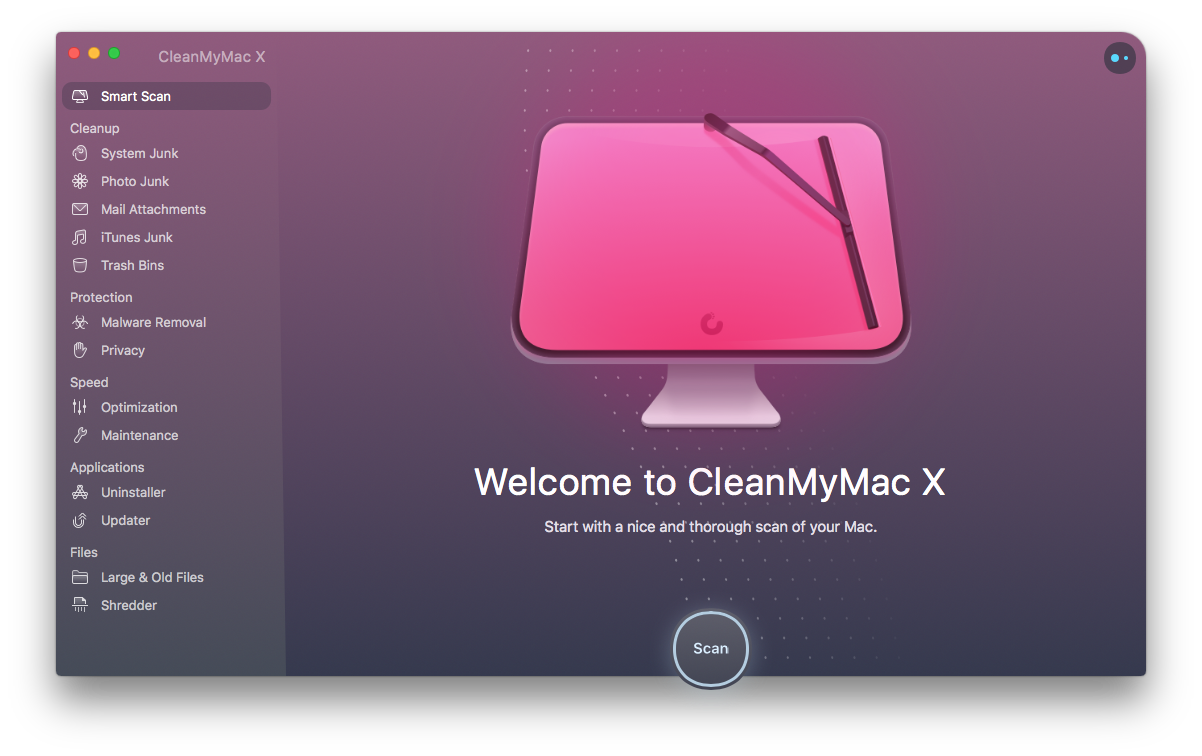
CleanMyMac X (From $35 at MacPaw)
Instead of using Terminal, let CleanMyMac X help you remove local snapshots with its Time Machine Snapshot Thinning feature.
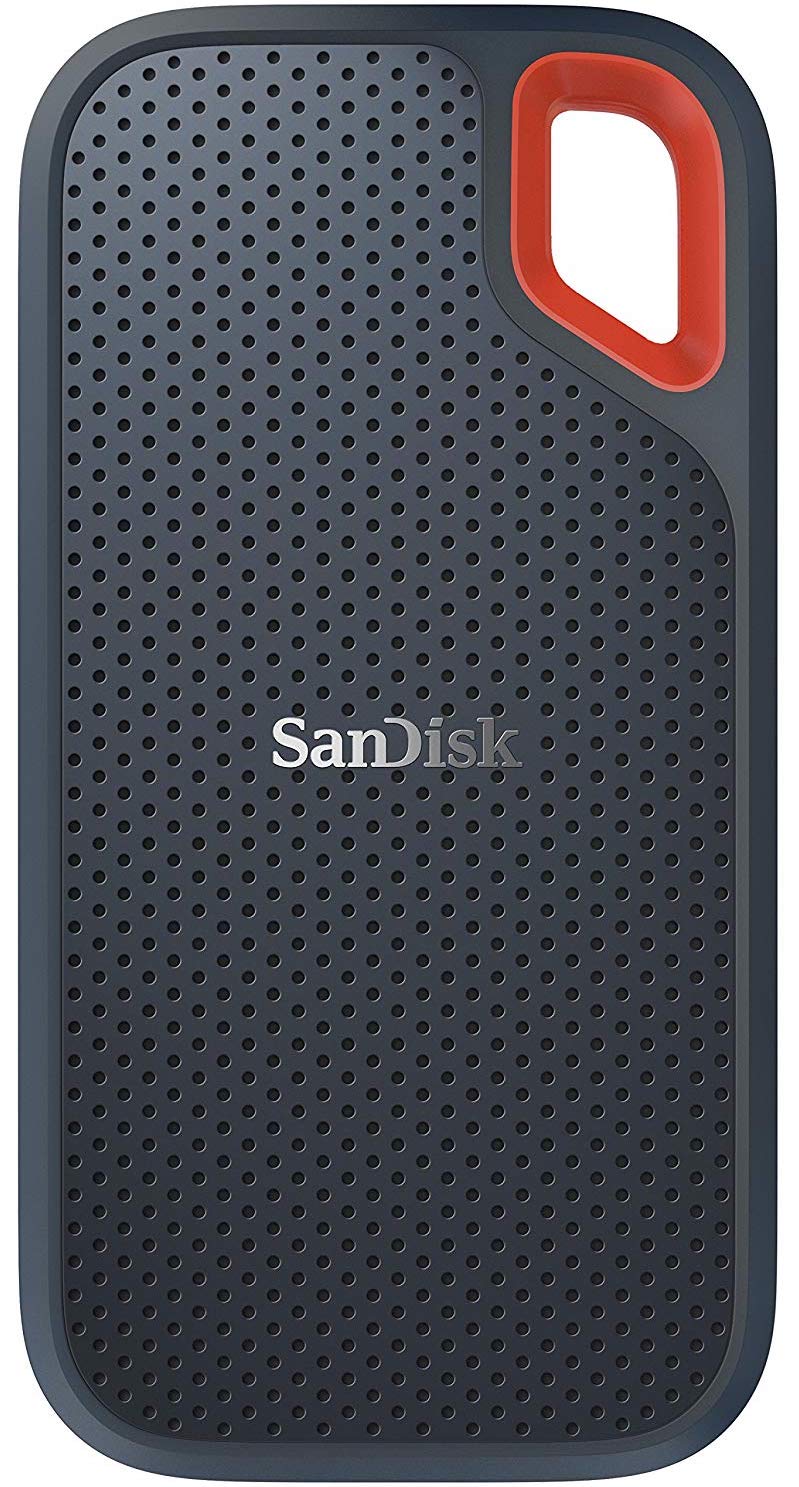
SanDisk Extreme Portable External 250B, 500GB, 1TB, 2GB (From $73 at Amazon)
This product proves that even hard drives can be beautiful.
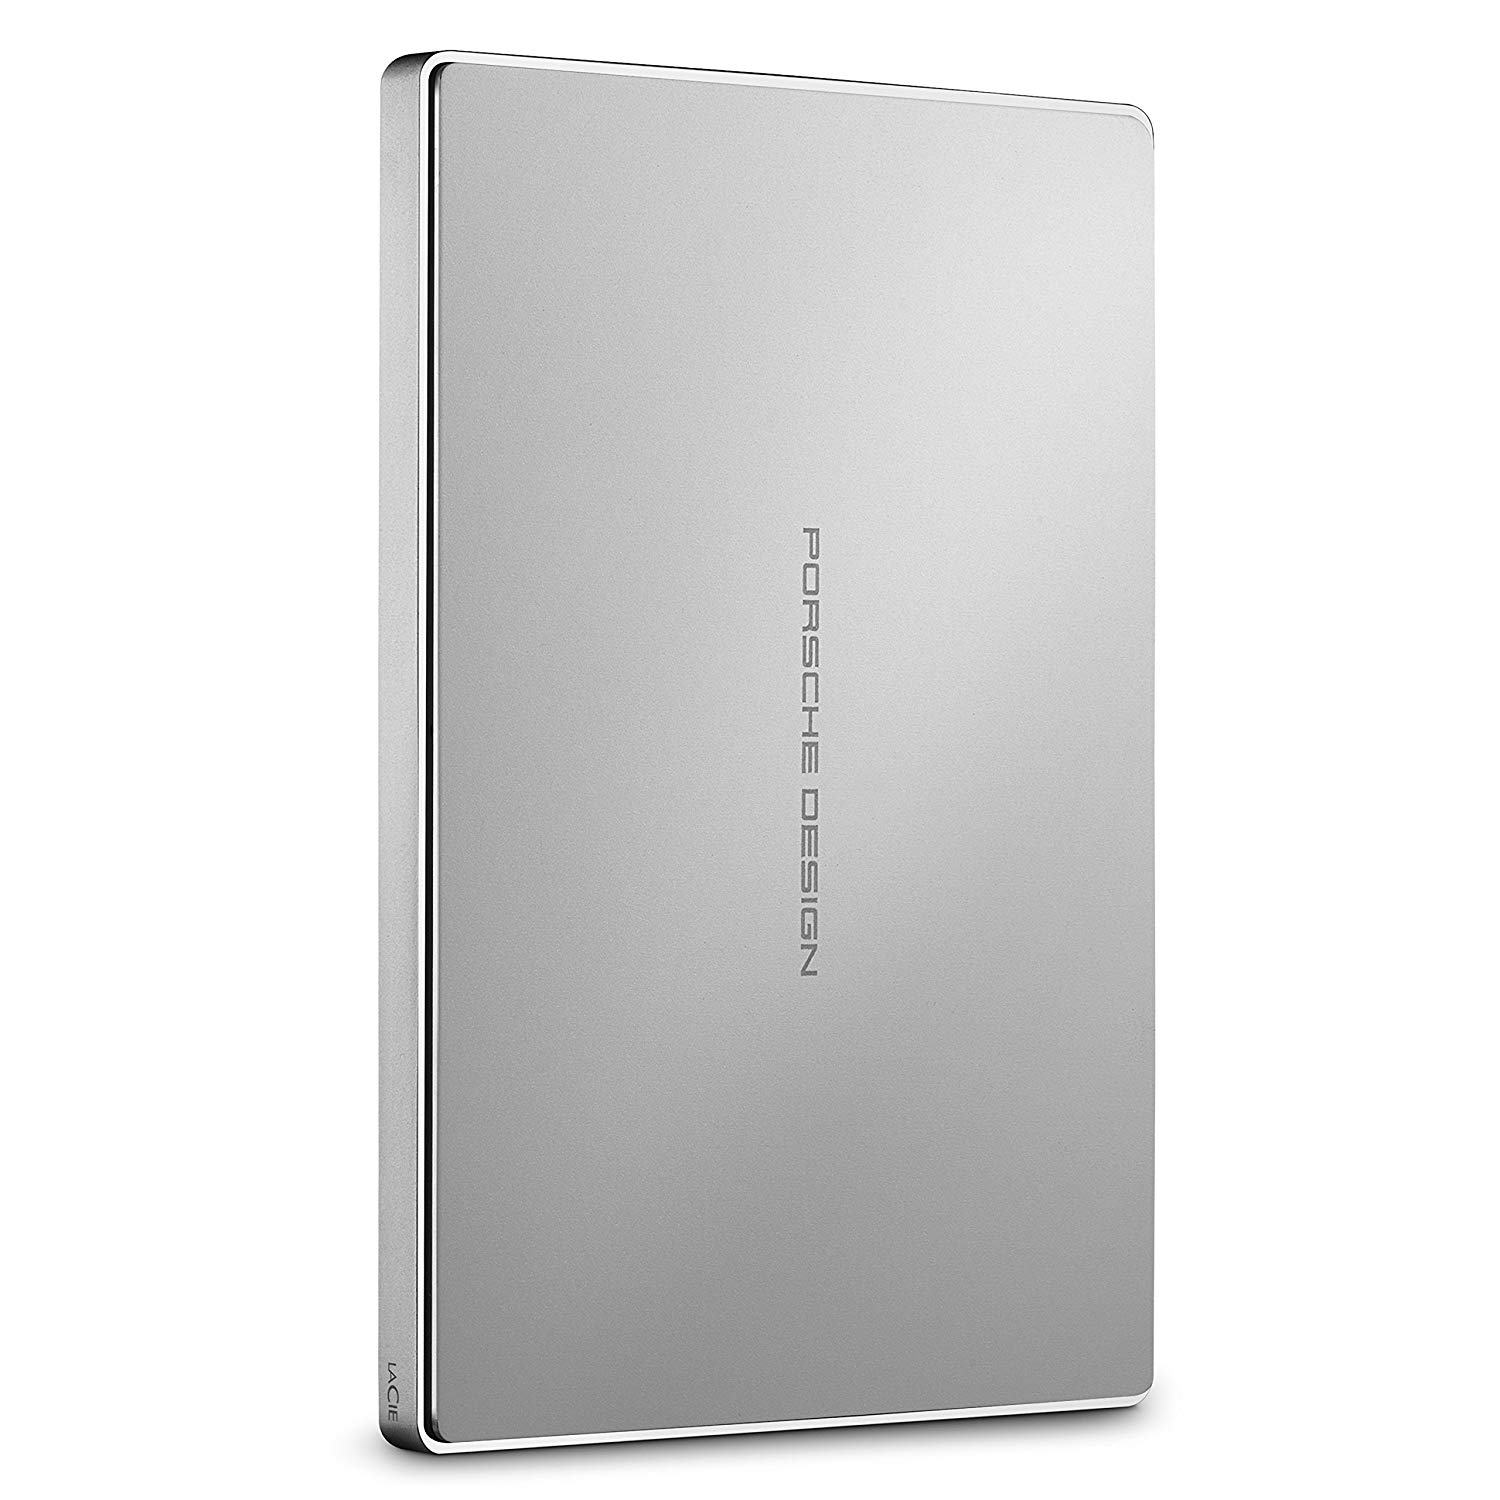
LaCie Porsche Design 1TB, 2TB, 4TB (From $90 at Amazon)
LaCie is well known for its backup devices and this is one of the most popular models on the market.
Updated April 2019: Updated for macOS Mojave and APFS.
Lory is a renaissance woman, writing news, reviews, and how-to guides for iMore. She also fancies herself a bit of a rock star in her town and spends too much time reading comic books. If she's not typing away at her keyboard, you can probably find her at Disneyland or watching Star Wars (or both).
