How to use the hidden web browser on Nintendo Switch and Nintendo Switch Lite
Did you know you can surf the web on your Nintendo Switch?
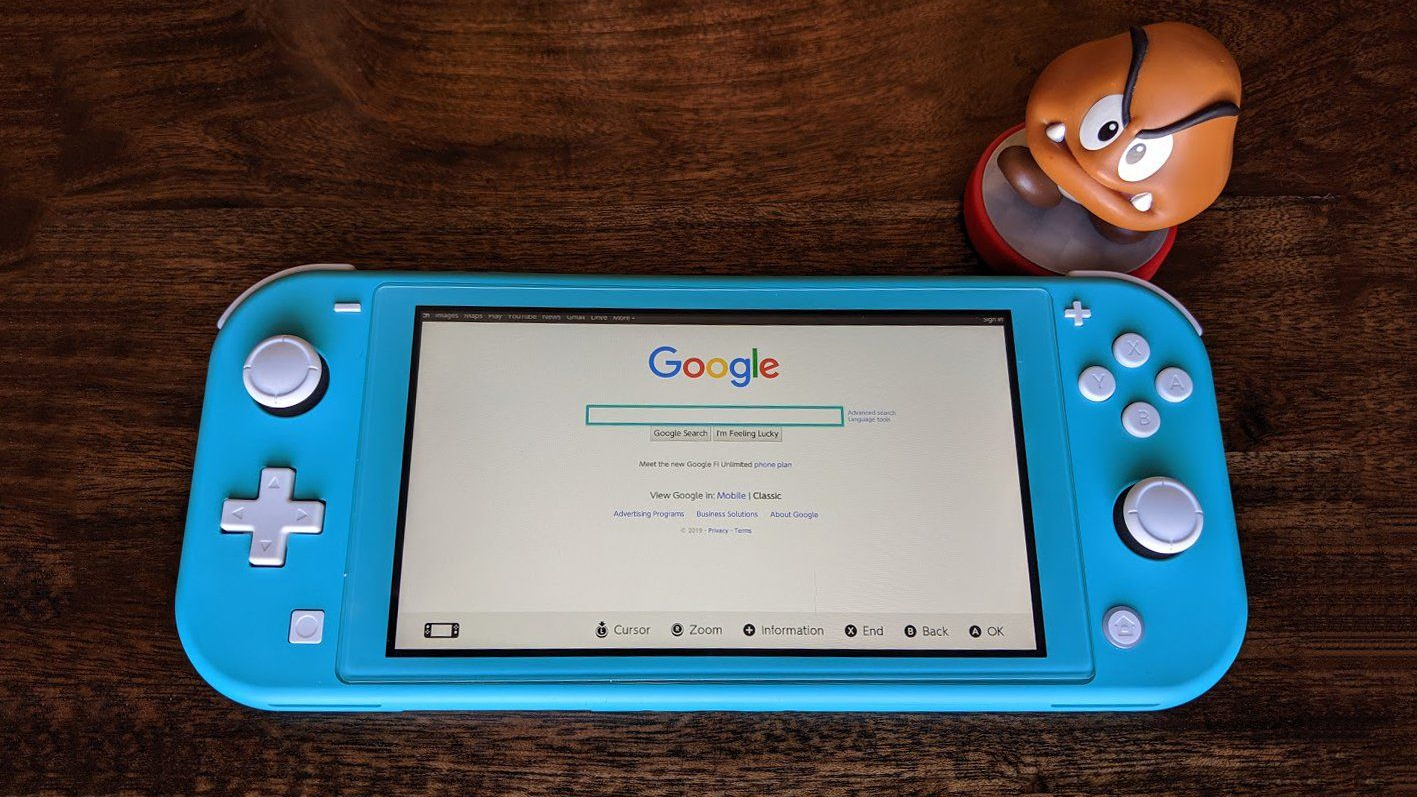
While the Nintendo Switch, Nintendo Switch OLED, and the Switch Lite are fantastic devices, there are a few small complaints, especially when it comes to the lack of applications. At first look, it might seem like these devices don't have a web browser built-in. But the good news is that you actually can use a web browser on your Switch, and you don't have to do anything as warranty-breaking as hacking your gaming system.
WARNING: Accessing the hidden web browser on Switch, Switch OLED, or the Switch Lite in this unofficial way runs the risk of having your personal information tracked and stolen. As this is not a secure web browsing method, please don't use it without considering the risks.
What you'll need
To access a web browser on a Nintendo Switch, you'll need one of Nintendo's consoles. Here is the current lineup to choose from:
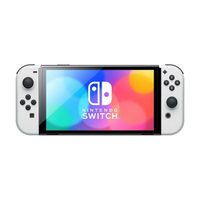
Nintendo Switch OLED $337 at Amazon
Visuals from your favorite games can be enjoyed even more on this bigger 7-inch screen. The colors come through more vibrantly, and the details are crisper than previous Switch iterations.
Nintendo Switch $298 at Amazon
It might not offer the fancy OLED display of the latest model, but the Switch V2 is still an impressive gaming system that will allow you to play all of the best Switch games.
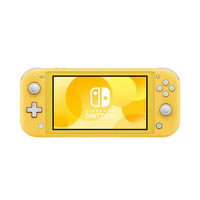
Nintendo Switch Lite $189 at Amazon
A lighter console that is perfect for smaller hands. If you're only looking for a handheld experience and want a Switch you can throw in your bag without much hassle, then look no further than the Lite.
Change your primary DNS
To access a web browser, you'll first need to change your primary DNS. Here's how to do that.
1. From the dashboard of your Nintendo Switch, scroll over to System Settings.
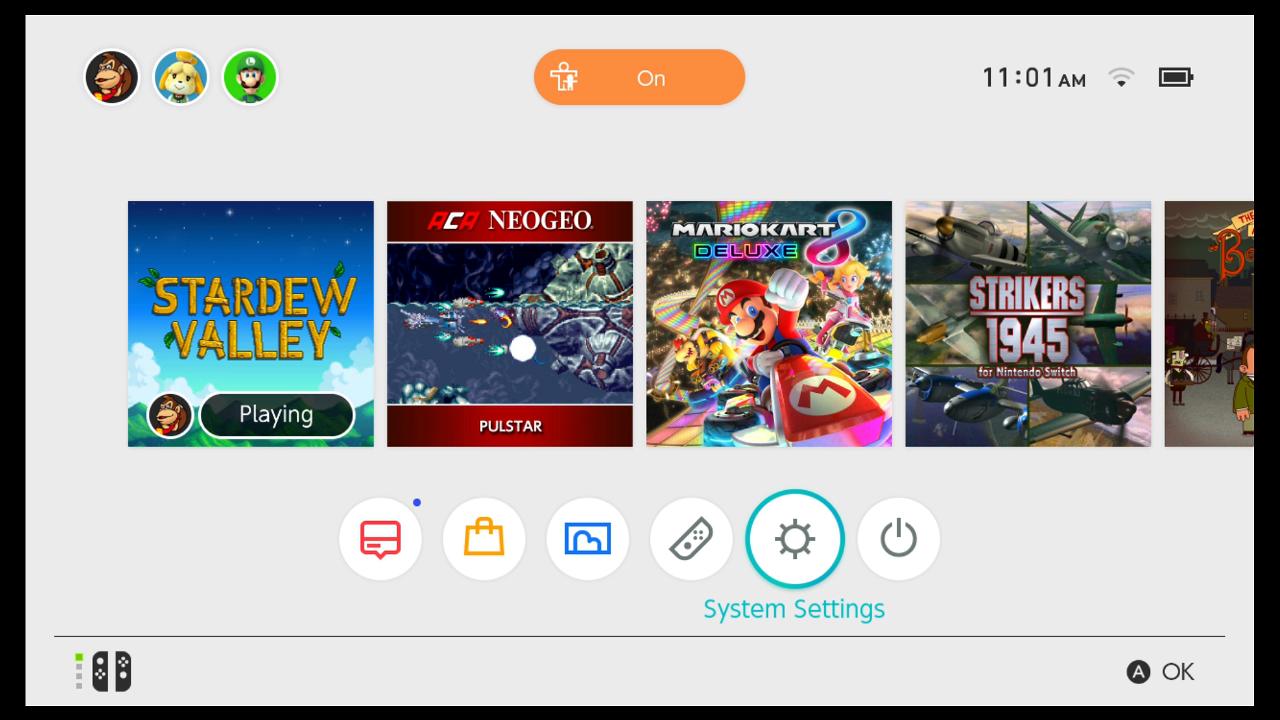
2. Select Internet.
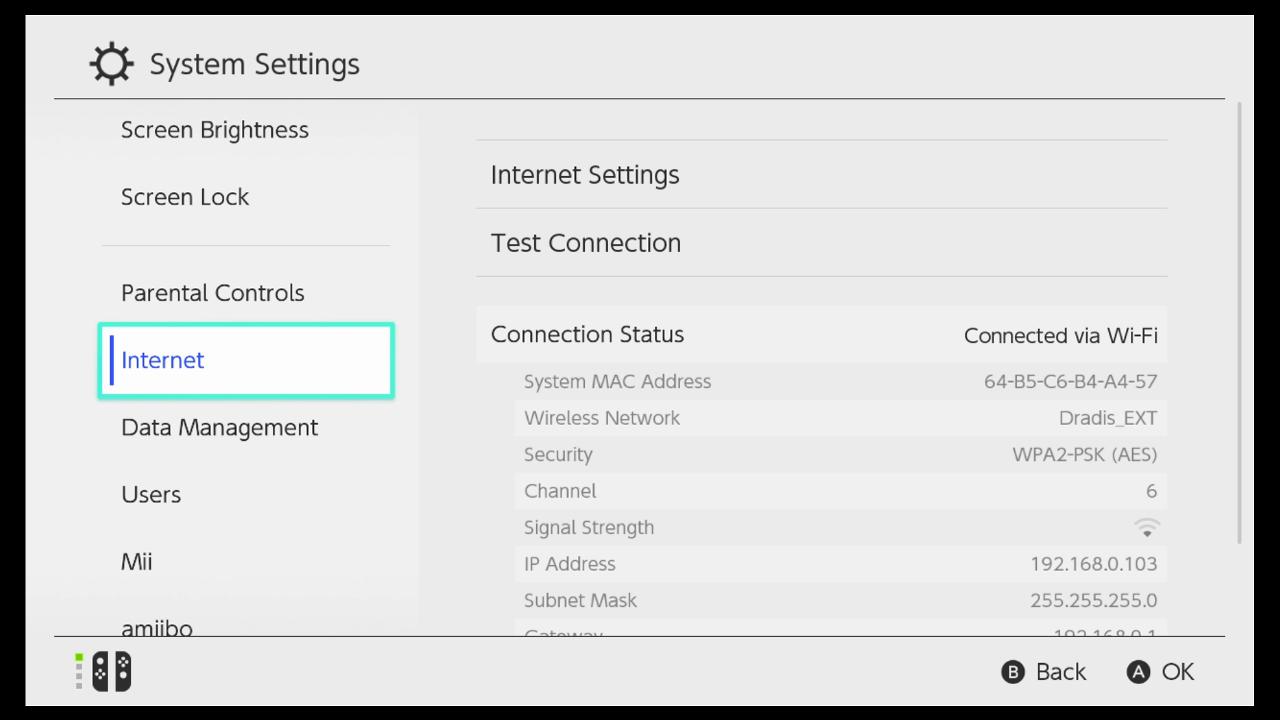
3. Select Internet Settings.
Master your iPhone in minutes
iMore offers spot-on advice and guidance from our team of experts, with decades of Apple device experience to lean on. Learn more with iMore!
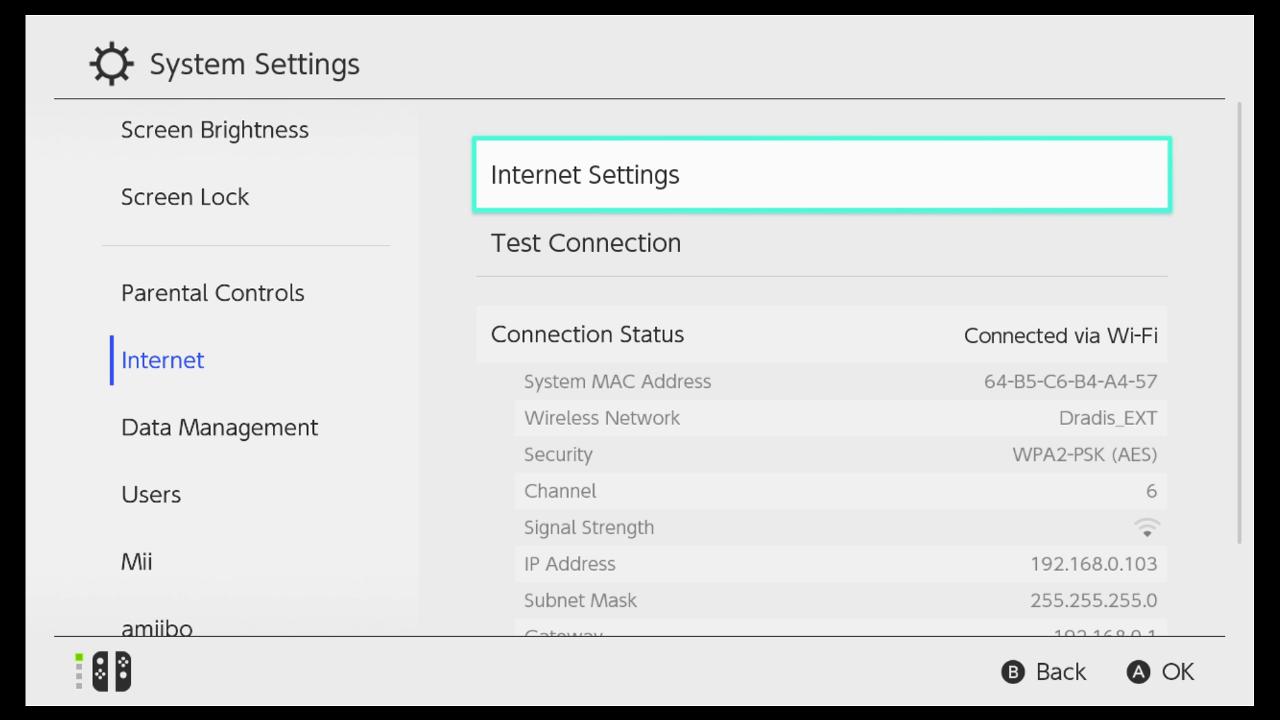
4. Choose the Wi-Fi connection that you are currently connected to
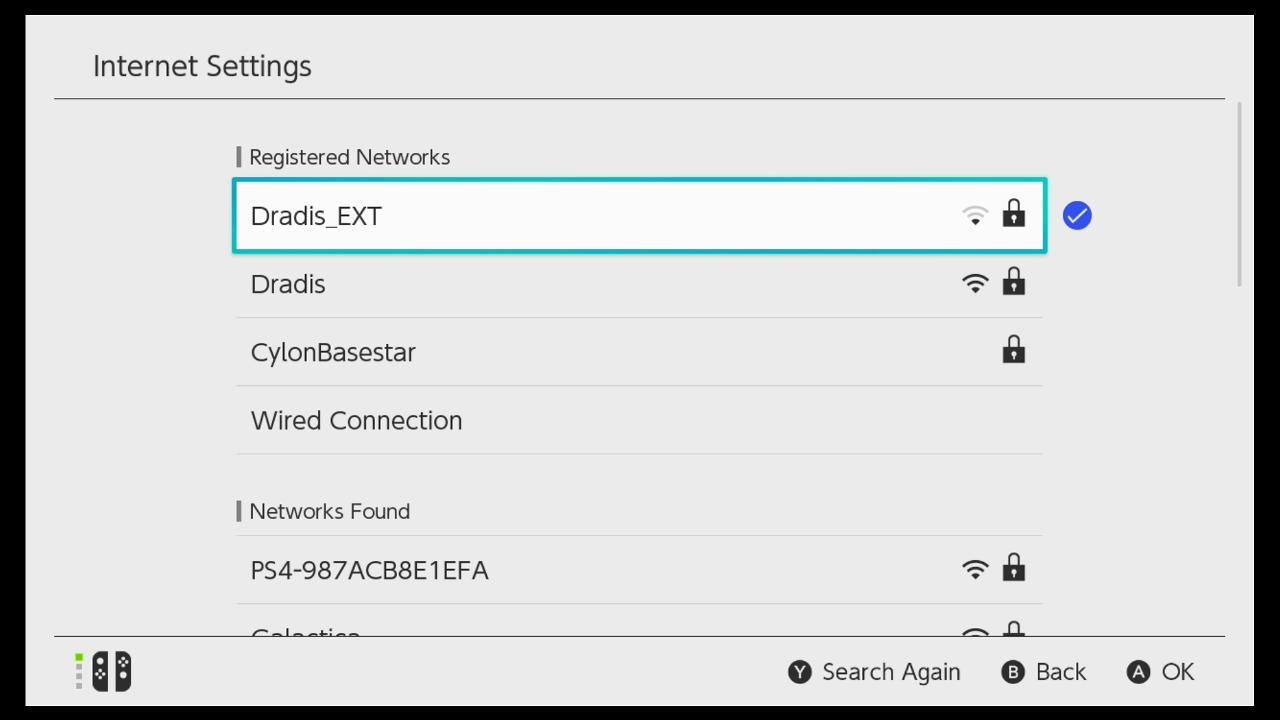
5. On the settings page for your network, select Change Settings.
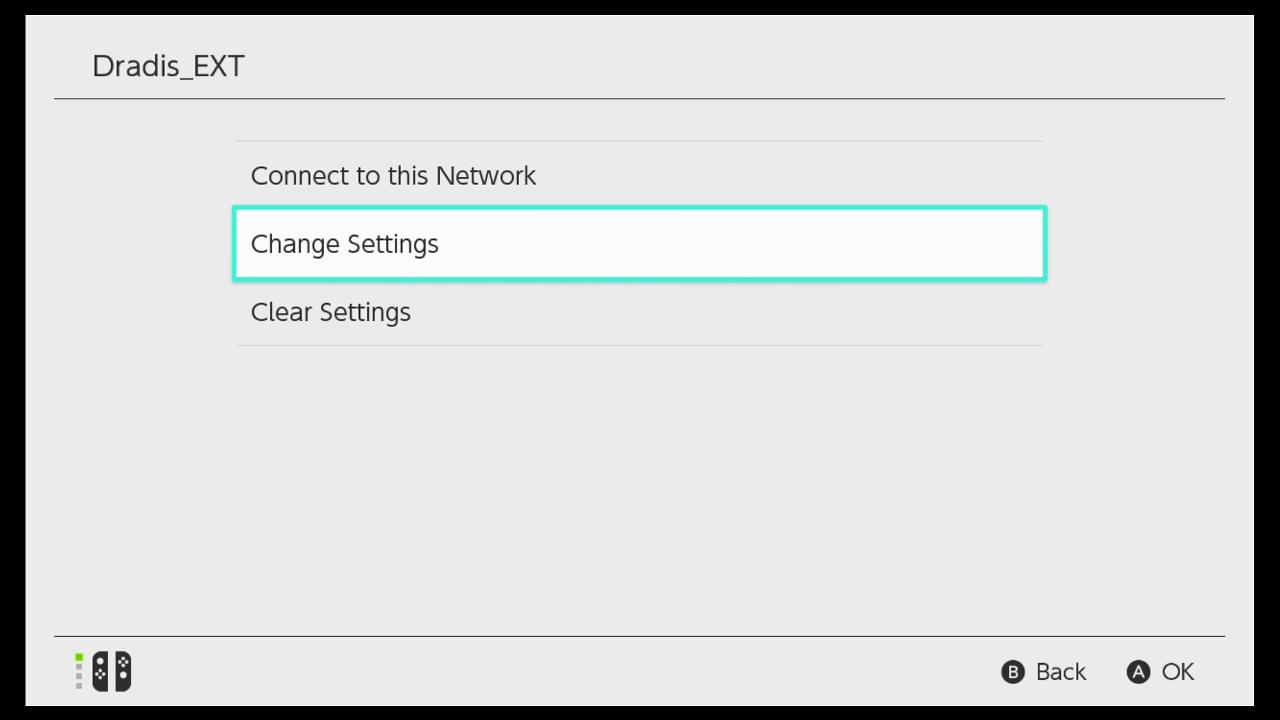
6. Scroll down and select DNS Settings.
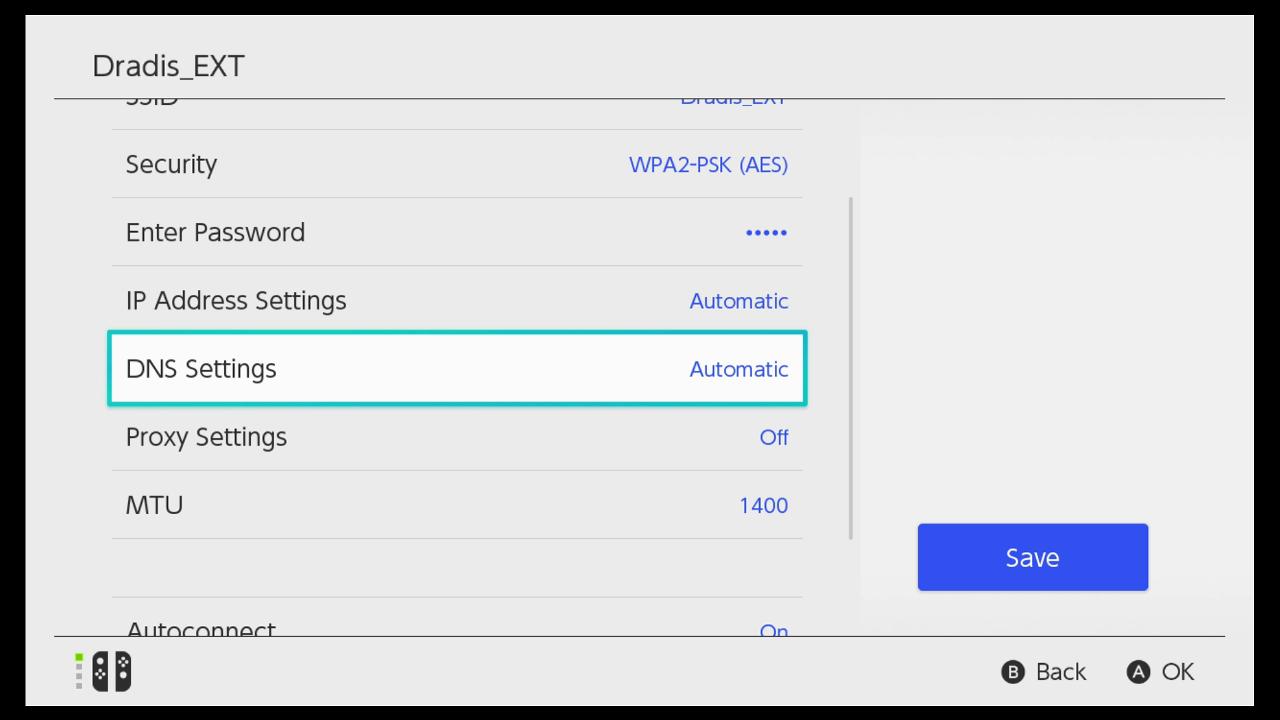
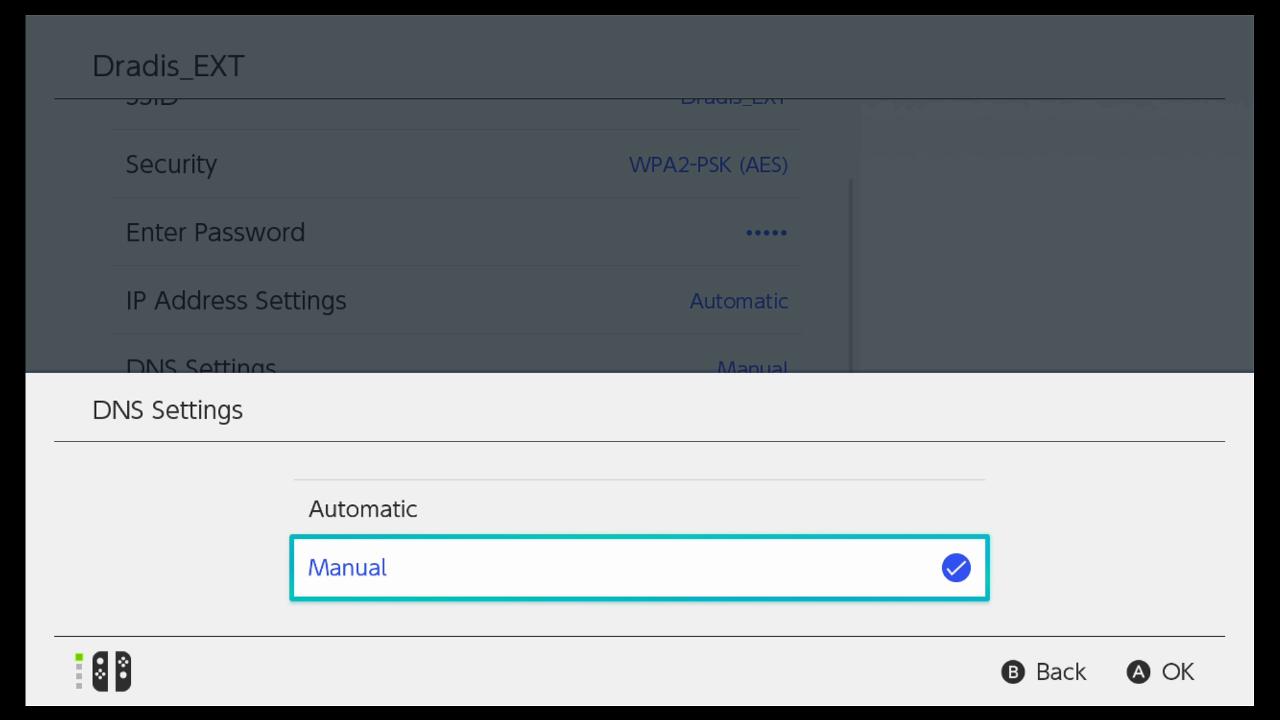
7. Change the DNS setting from Automatic to Manual.
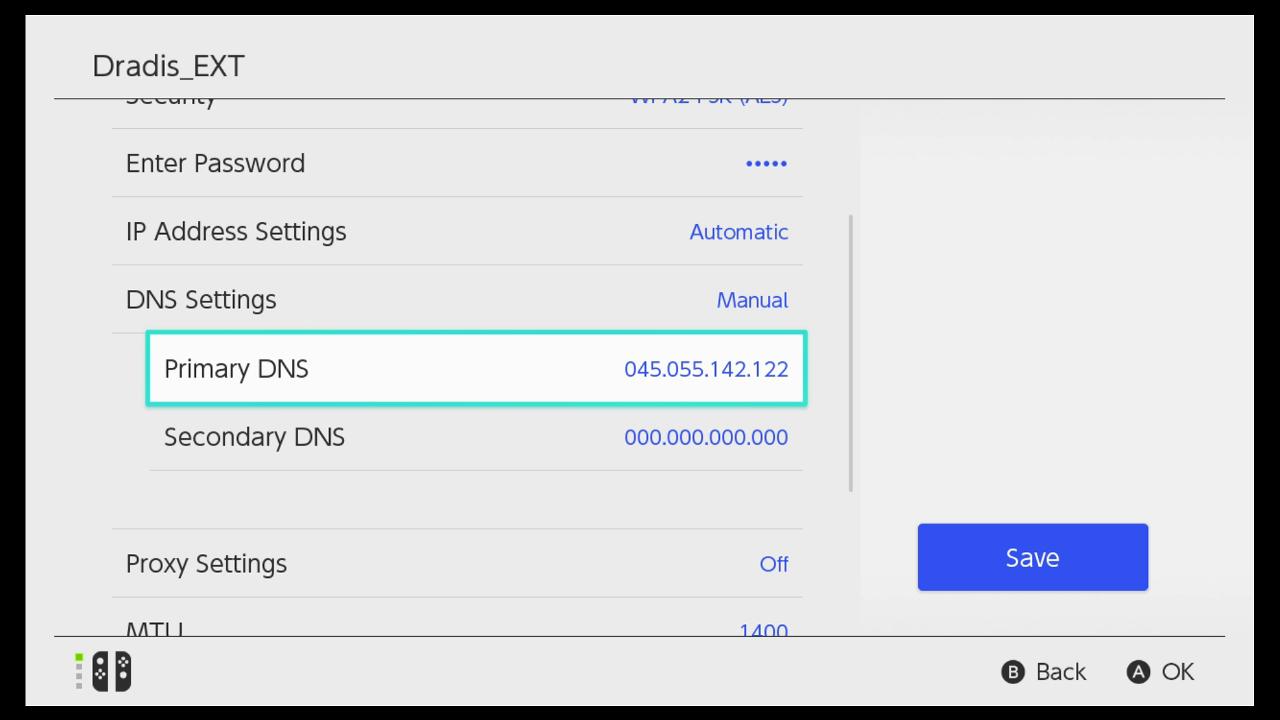
8. Select your Primary DNS and set it as 045.055.142.122 and save.
9. A screen will pop up, saying, "Settings have been saved." Click OK.
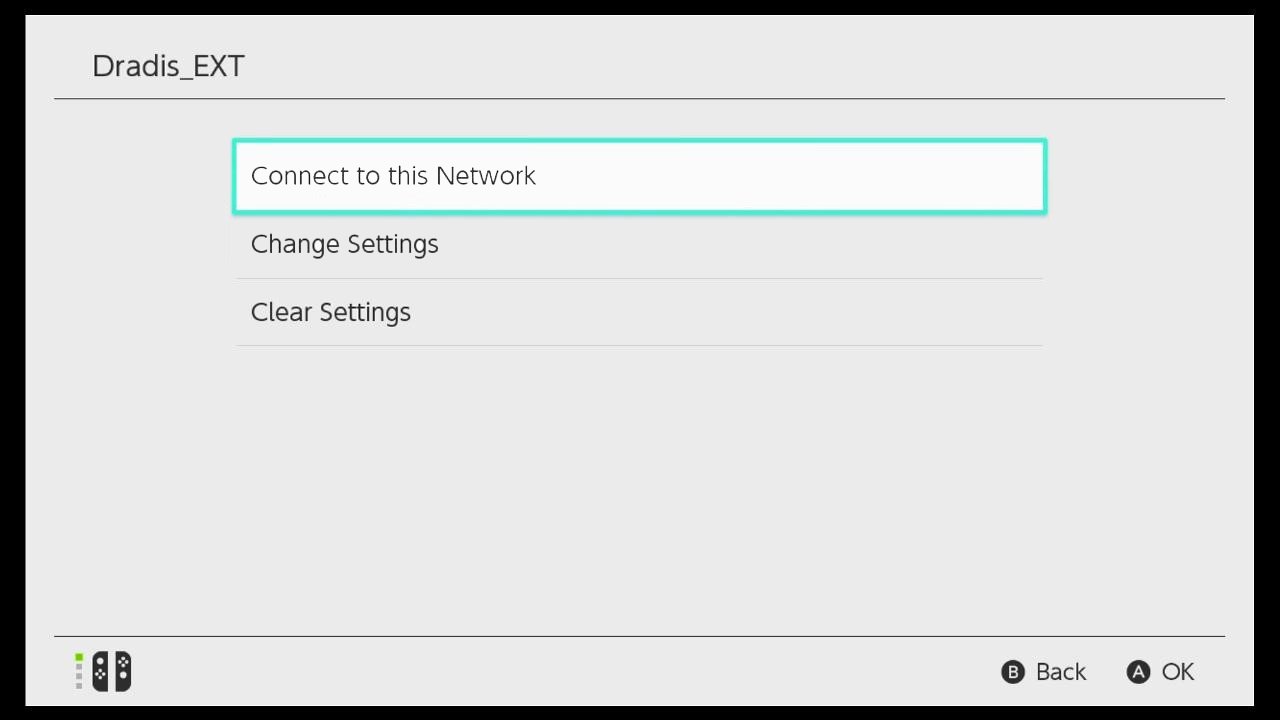
10. You will now see the previous screen. Click on Connect to This Network. Your Switch will now attempt to connect to the network.
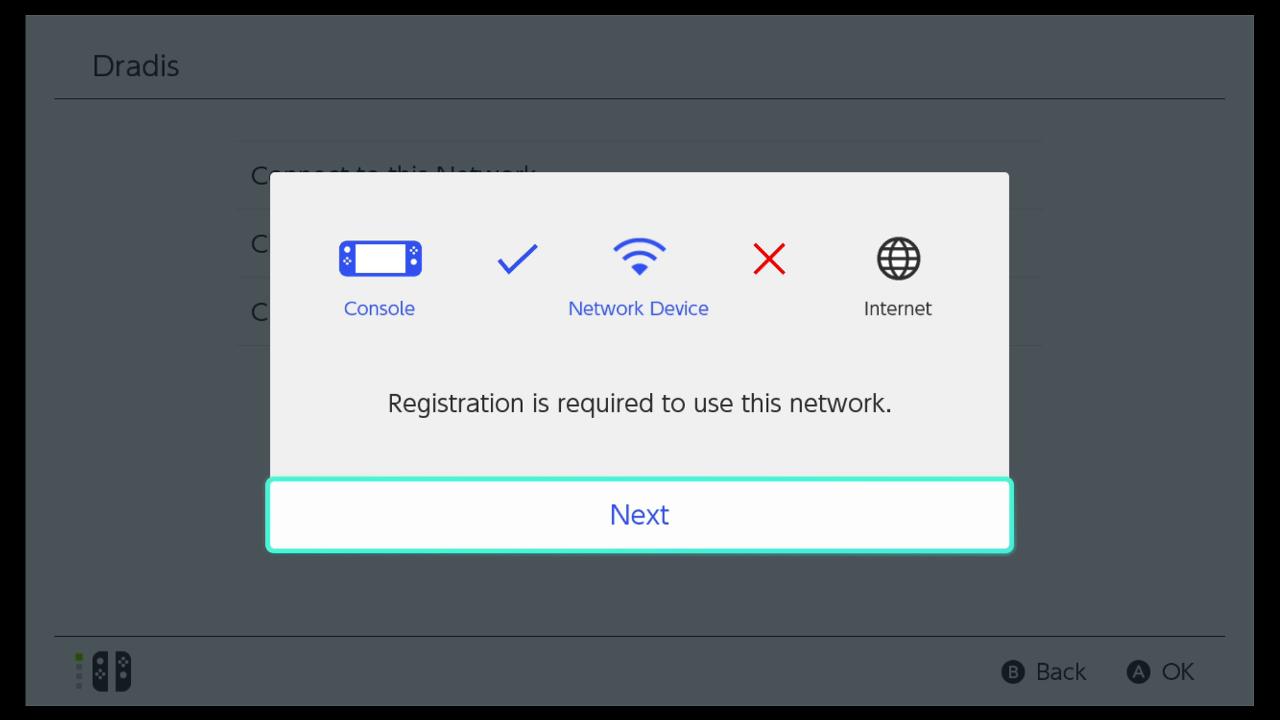
11. You will see a prompt that says "Registration is required to use this network." Select Next.
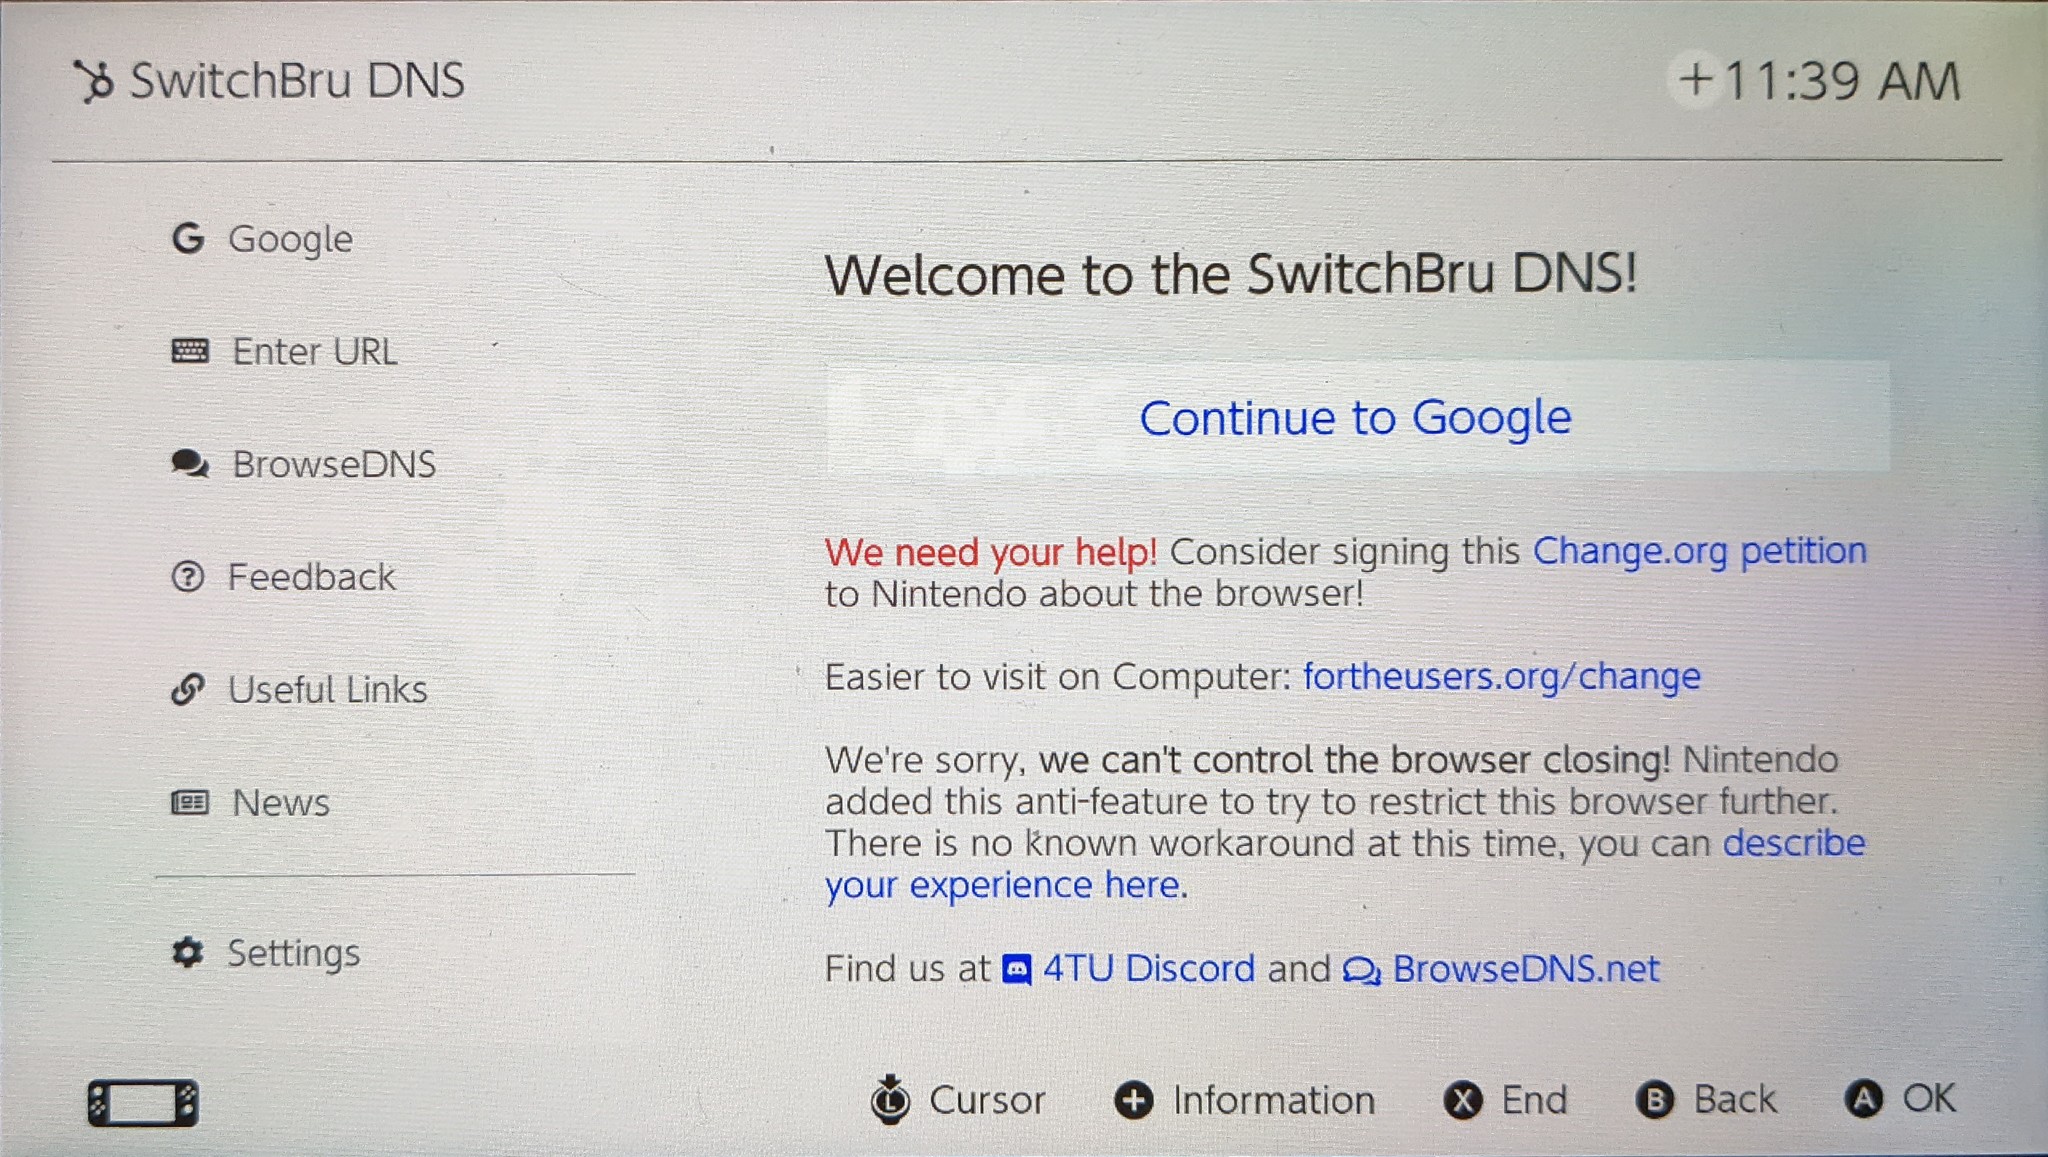
12. You will now see the SwitchBru DNS page. All you have to do is click the button that reads Continue to Google.
13. The Google search bar will appear. Now you can browse the internet!
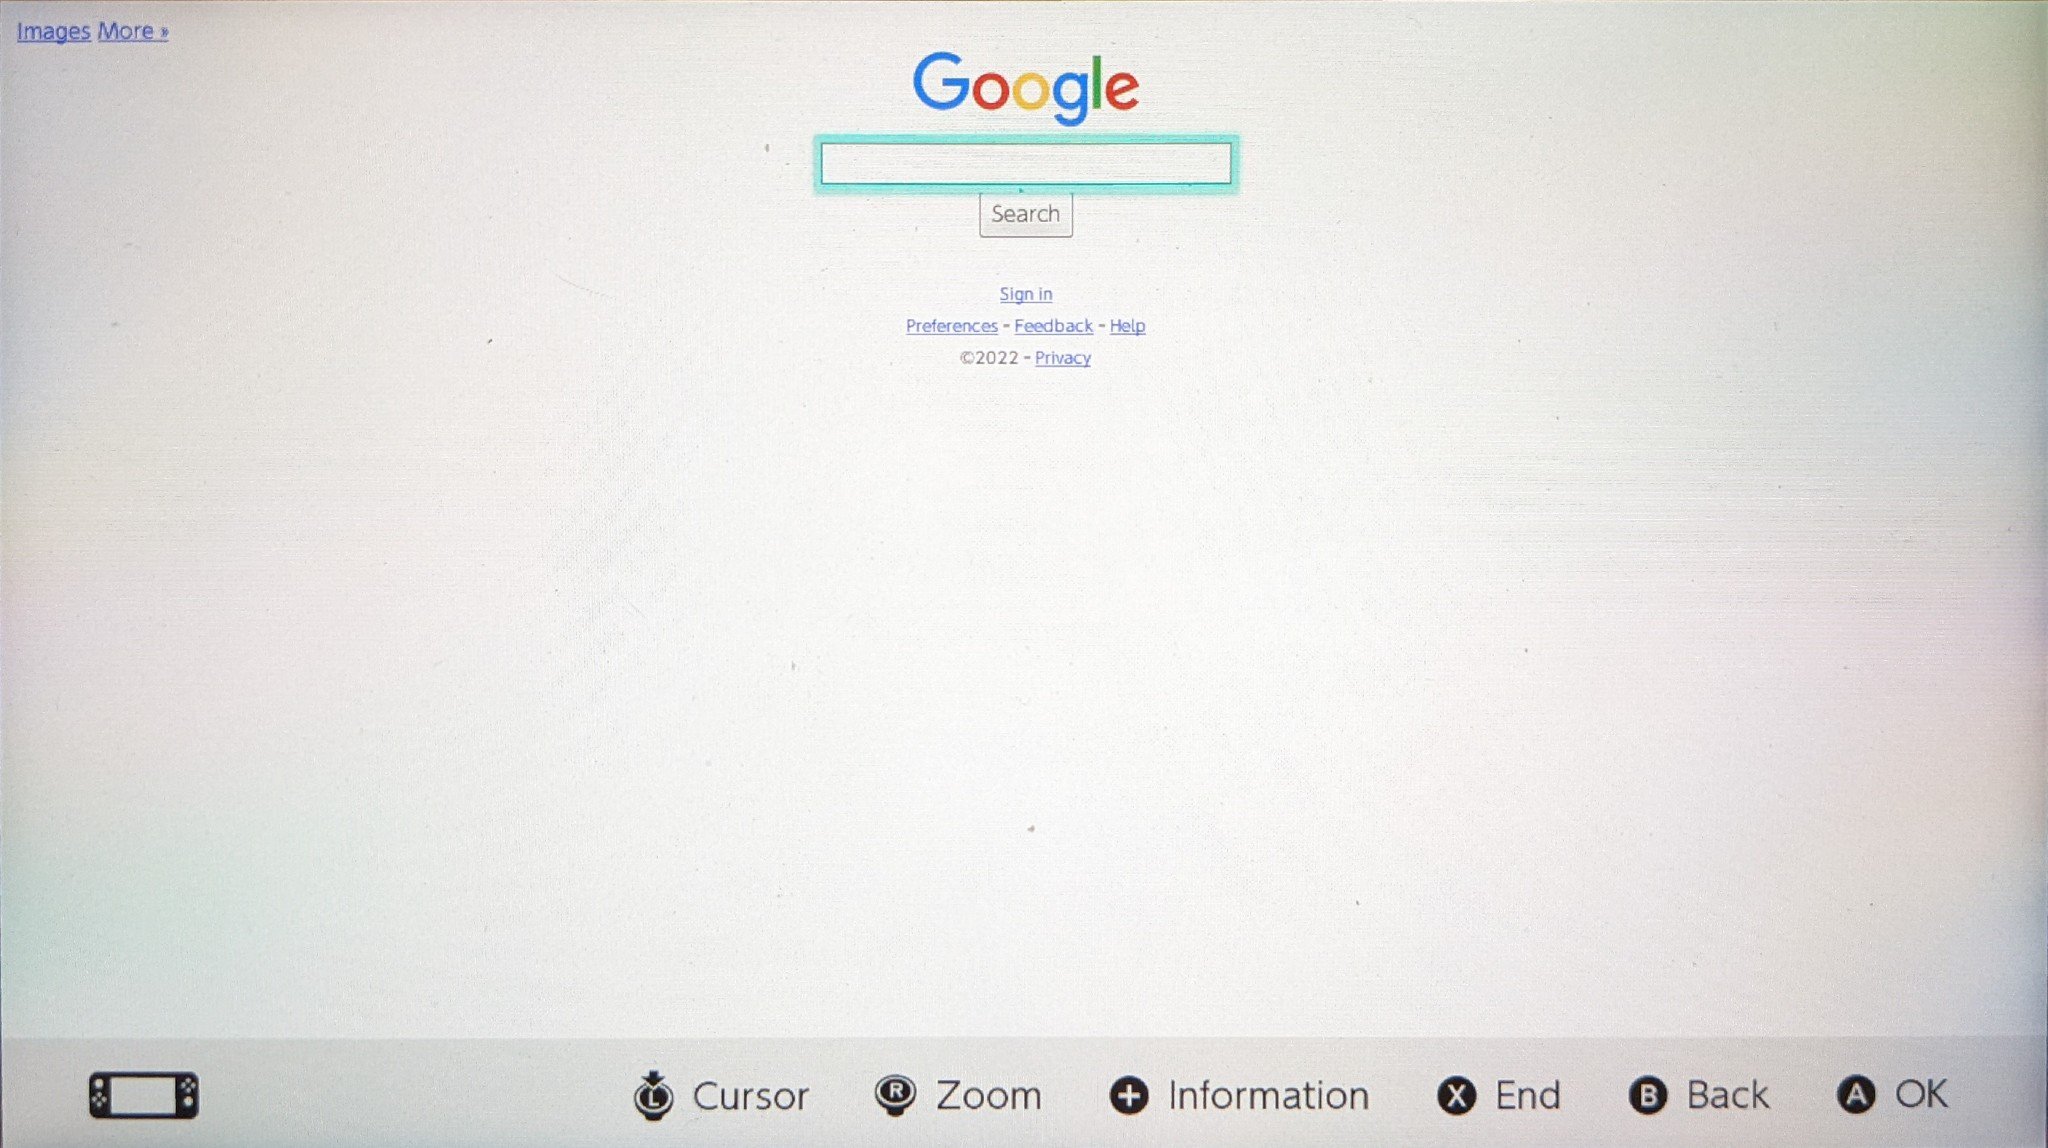
You now have access to the hidden web browser on Switch. Once you are done using the browser, all you have to do is go back and set your network DNS from Manual back to Automatic. If you want help with changing back to Automatic, follow the steps below.
Done browsing? Set DNS back to Automatic
Make sure to return your network DNS back to Automatic when you're done using the browser. Here's how to do that.
1. From the Home Menu, click on System Settings.

2. Click on Internet.

3. Click on Internet Settings.

4. Once the page loads, choose the Wi-Fi connection that you are currently connected to.

5. Select Change Settings.

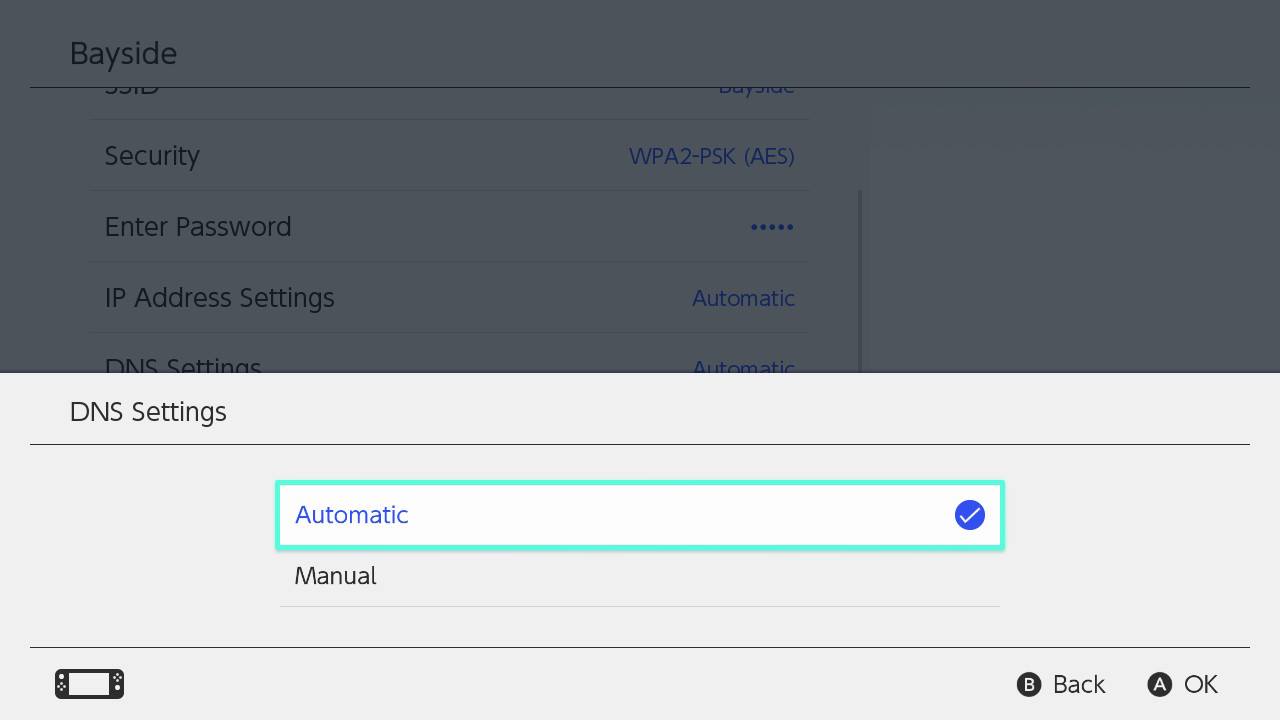
6. Scroll down and select DNS Settings.

7. Change the DNS Setting from Manual to Automatic.
8. To exit back to the main menu, simply press the Home button on your Switch.
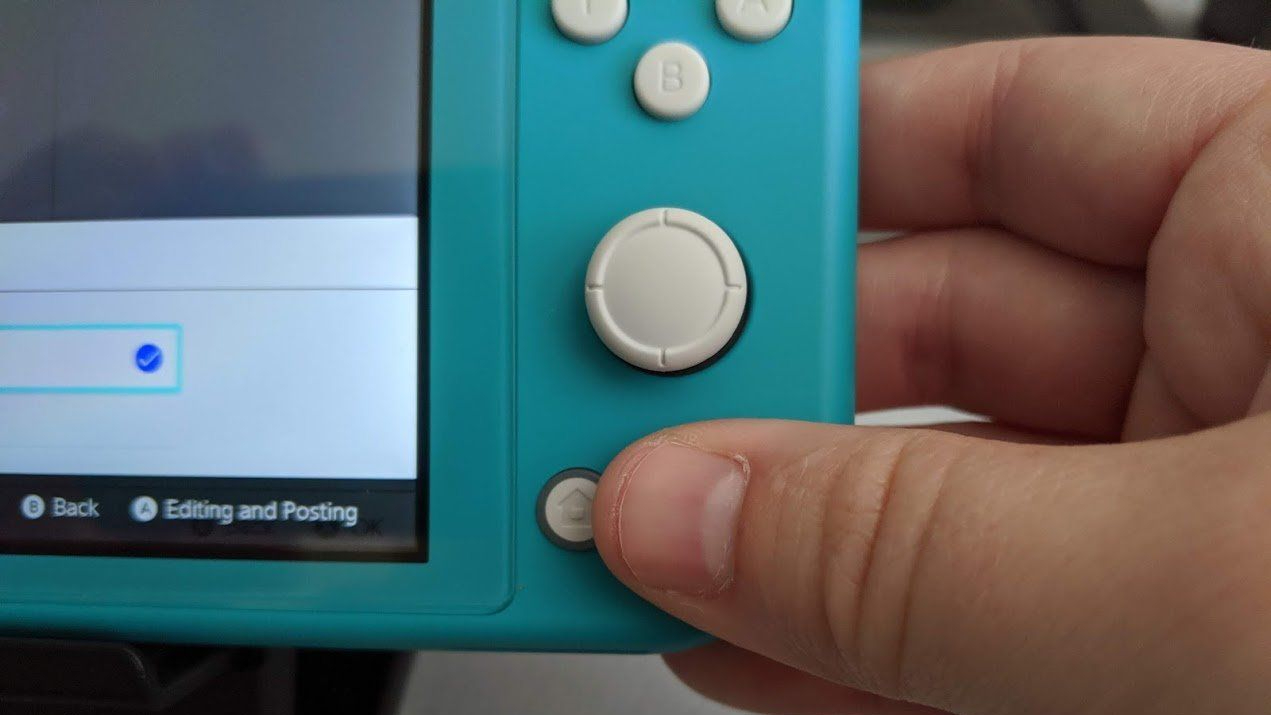
I have used this method to get on the hidden web browser on Switch more than a few times. While it's not perfect, it is effective, and I am grateful to have a workaround to Nintendo's oversight. Just remember that this unofficial way of surfing the web can leave you open to several risks.
Additional helpful Switch equipment
These are some of the best Switch accessories, and I've found that they greatly improve my Switch gaming sessions. See if anything catches your eye.
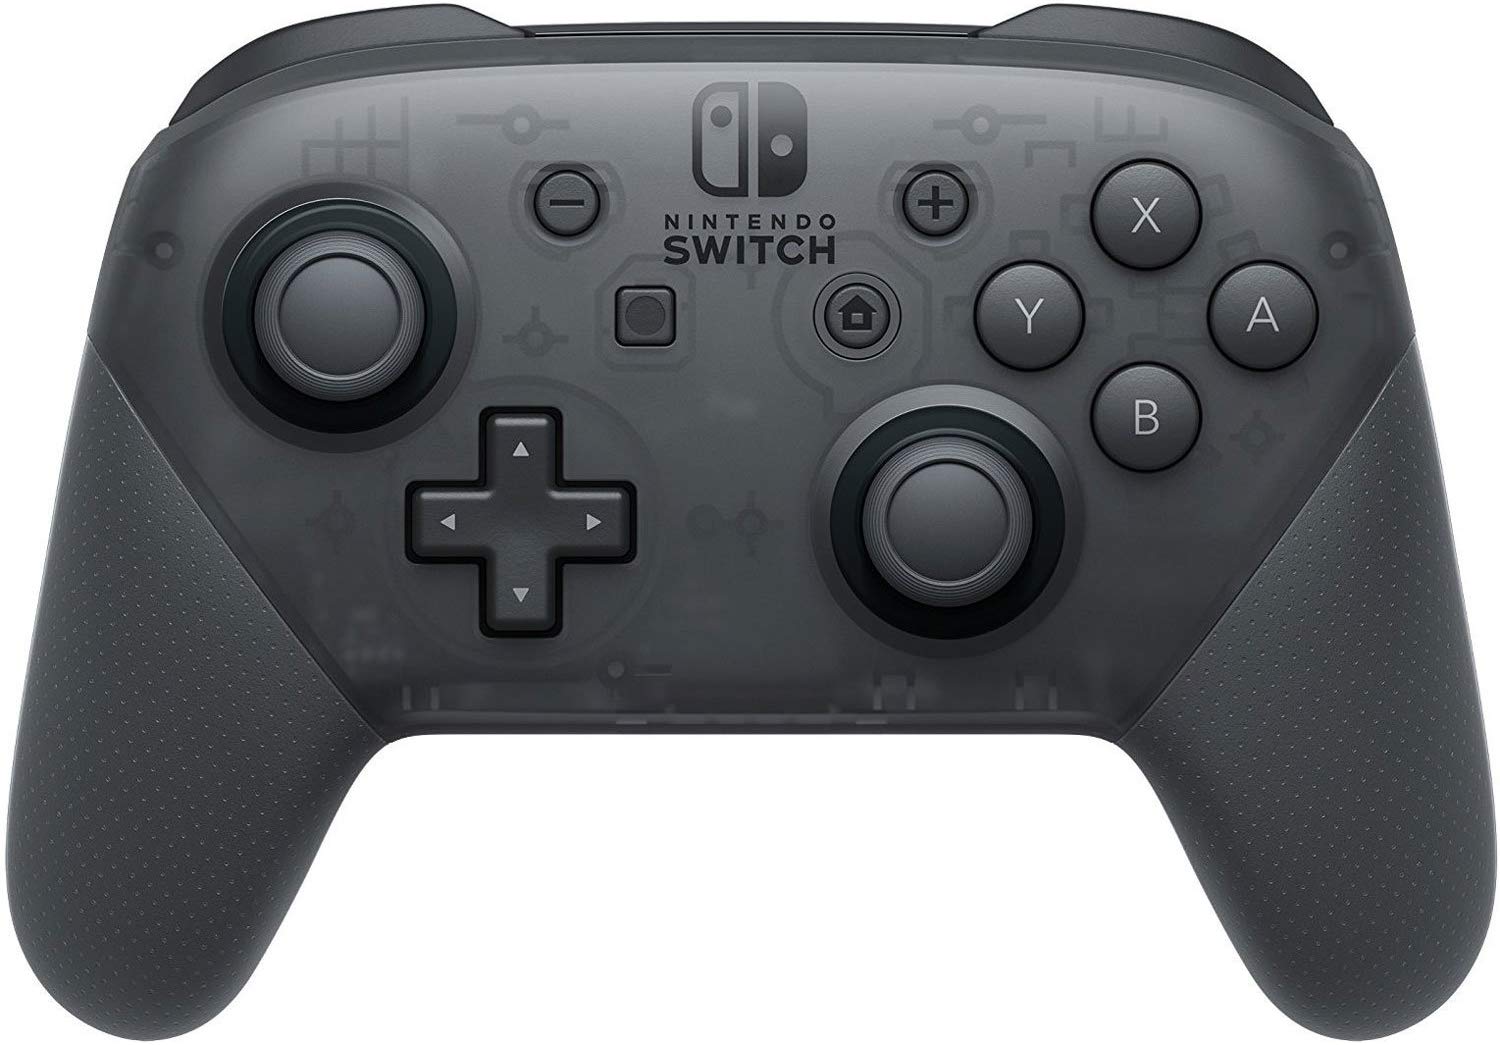
Nintendo Switch Pro Controller
Regardless of what Switch you have, you can benefit from using a Pro Controller. It features motion controls, amiibo functionality, and a better ergonomic design to enhance your gaming experience. It's also wireless, so you won't have to worry about tripping over cables.
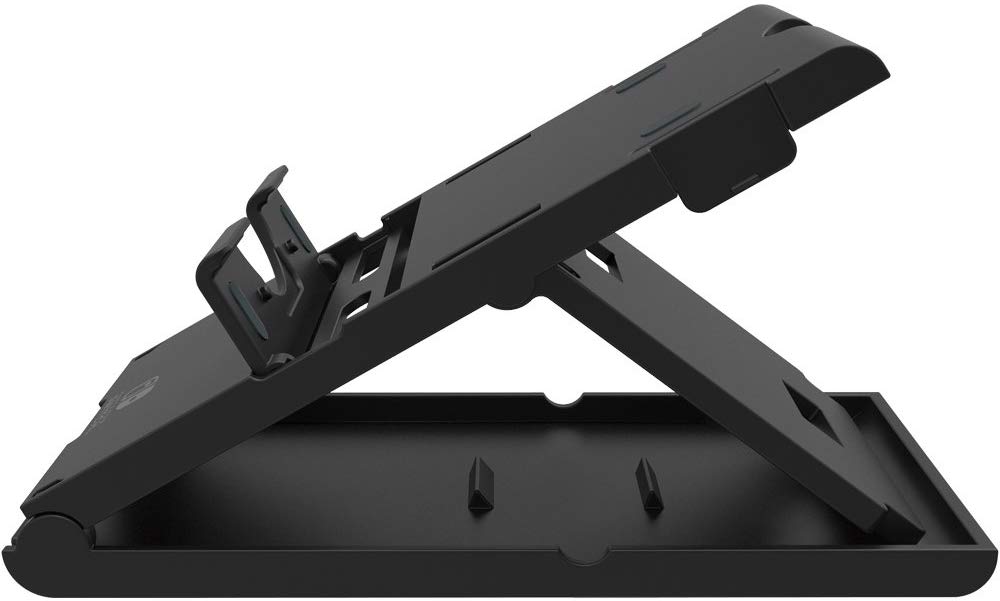
HORI Compact Playstand for Nintendo Switch
Whether you're using a Switch Lite, the Switch, or the even larger Switch OLED, having a stand can be incredibly helpful. I typically use my HORI Compact Playstand on the go when I either need to charge my Switch or when I simply want to bring the screen closer to my face, hands-free.
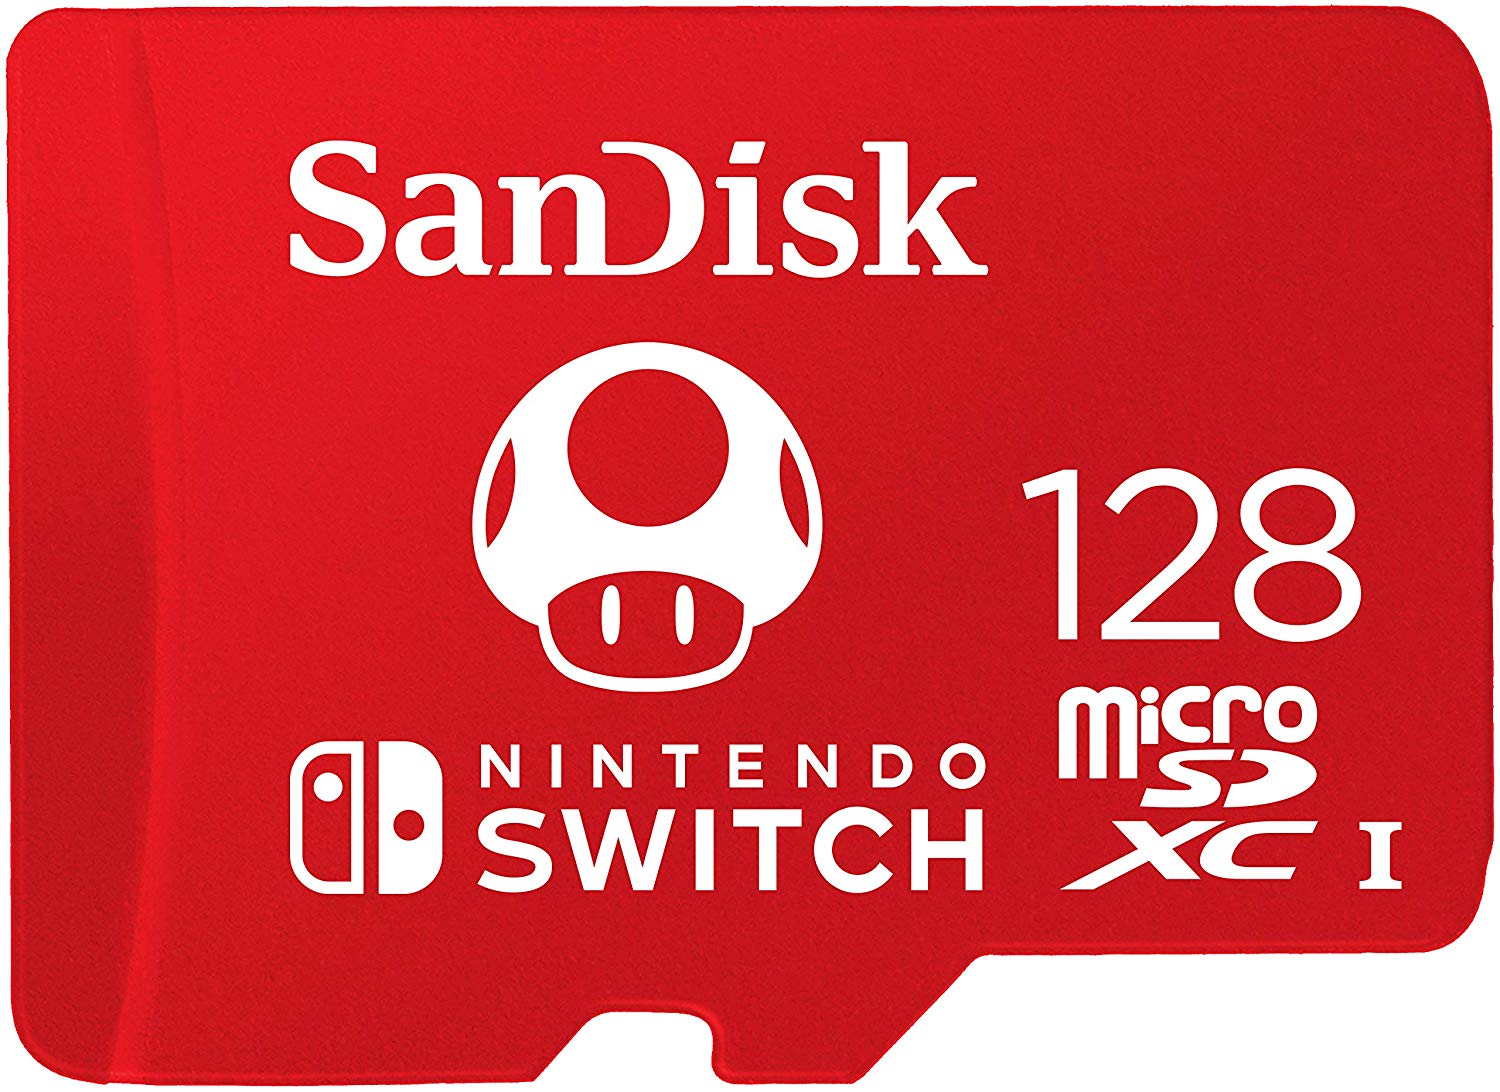
SanDisk 128GB microSDXC Card - Mario
Regardless of the Switch version you're using, you can always benefit from having more memory on the system. This microSD card has a cute Mario mushroom on it and gives you 128GB. That's plenty of space for screenshots, game data, and downloads.

Gaming aficionado Rebecca Spear is iMore's dedicated gaming editor with a focus on Nintendo Switch and iOS gaming. You’ll never catch her without her Switch or her iPad Air handy. If you’ve got a question about Pokémon, The Legend of Zelda, or just about any other Nintendo series check out her guides to help you out. Rebecca has written thousands of articles in the last six years including hundreds of extensive gaming guides, previews, and reviews for both Switch and Apple Arcade. She also loves checking out new gaming accessories like iPhone controllers and has her ear to the ground when it comes to covering the next big trend.
