How to use sudo with Touch ID on your Mac
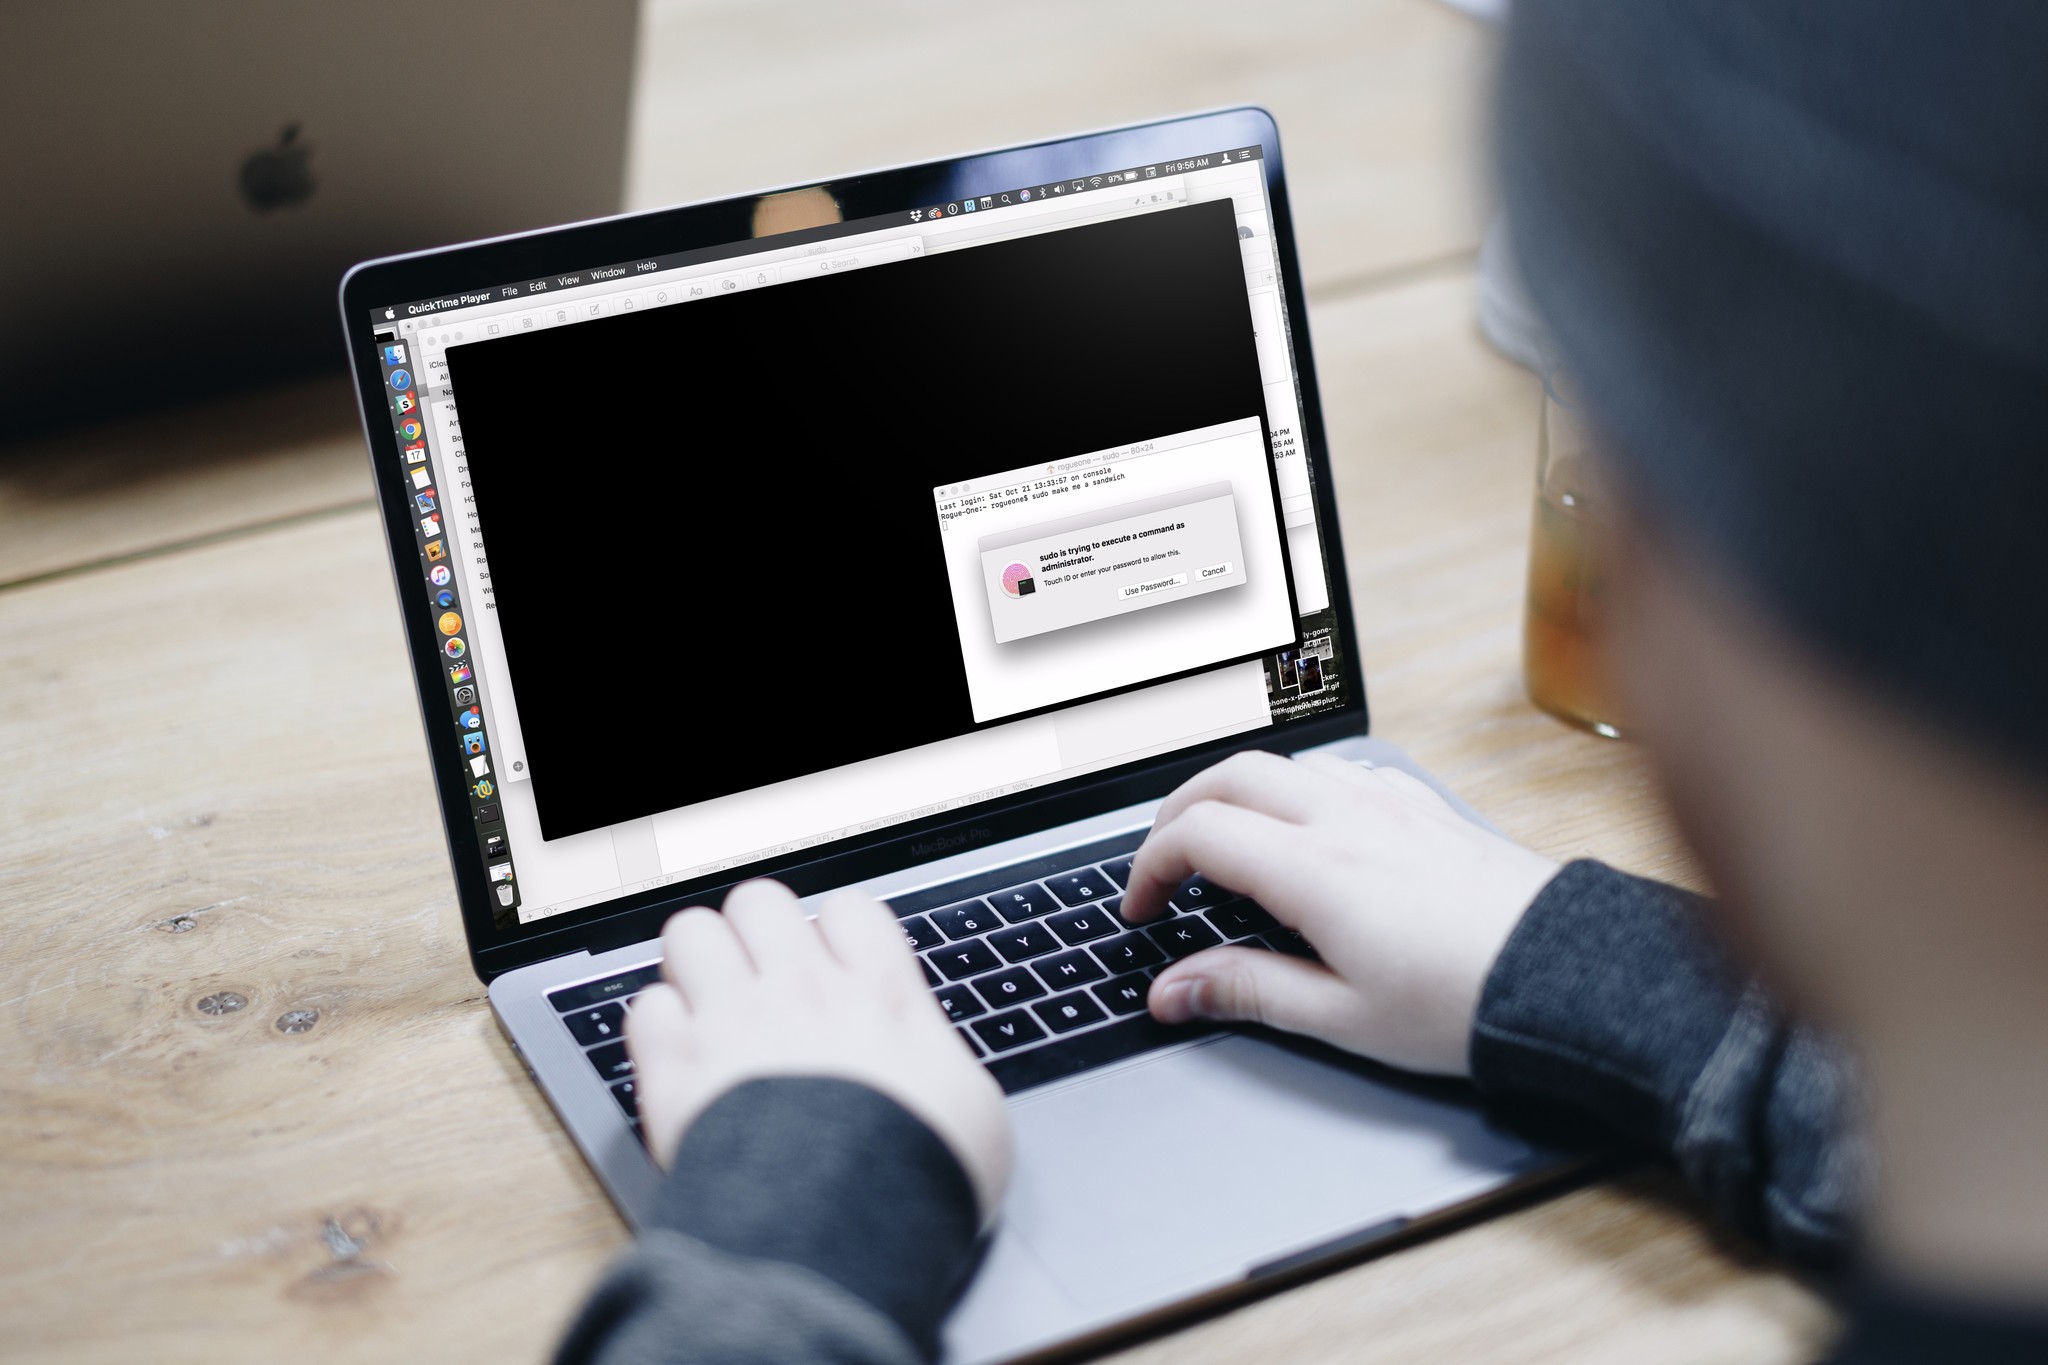
Here's a tip from Cabel Sasser of Panic for those of you out there with Touch Bar MacBook Pros who use Terminal and the "sudo" command frequently.
Pro MacBook Pro Tip: have a Touch Bar with Touch ID? If you edit /etc/pam.d/sudo and add the following line to the top…
auth sufficient pam_tid.so
…you can now use your fingerprint to sudo!Pro MacBook Pro Tip: have a Touch Bar with Touch ID? If you edit /etc/pam.d/sudo and add the following line to the top…
auth sufficient pam_tid.so
…you can now use your fingerprint to sudo!— Cabel Sasser (@cabel) November 16, 2017November 16, 2017
Here's the full step-by-step, for those who want to experiment. That said: sudo is an incredibly powerful command in the Terminal; we don't recommend messing around with this trick if you don't feel comfortable working in the Terminal app and changing system preference files.
Want to learn Terminal? Here are 15 commands we think every user should know.
Also worth noting, via Sasser:
(Important caveat/warning: if you SSH into that machine, you will NOT be able to sudo, as your fingerprint cannot travel through SSH. 😜)(Important caveat/warning: if you SSH into that machine, you will NOT be able to sudo, as your fingerprint cannot travel through SSH. 😜)— Cabel Sasser (@cabel) November 16, 2017November 16, 2017
How to enable Touch ID for sudo commands on your MacBook Pro with Touch Bar
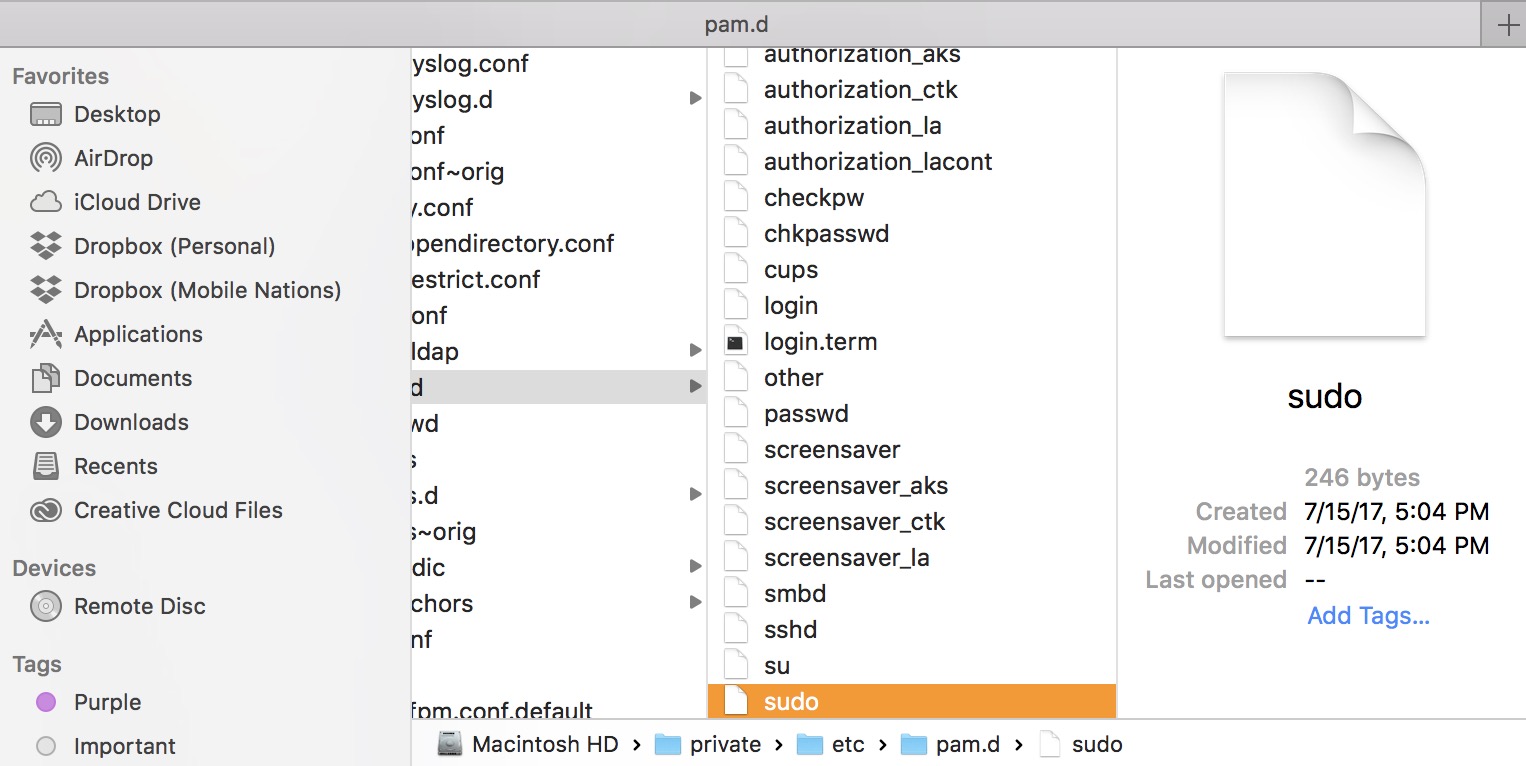
- In Safari, paste the following into the search bar: file:///etc/pam.d/sudo.Alternatively, you can edit the file within the Terminal app itself using command-line text editors like emacs or nano; if you choose to do this, go to step 8, and skip steps 10-12.
- Press Command-I with the sudo file highlighted to open up the information screen.
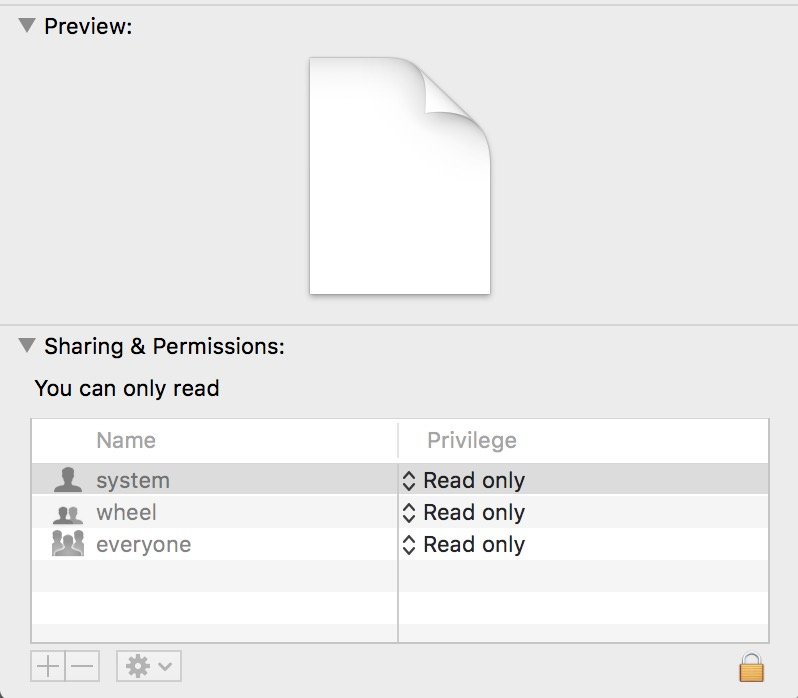
- Click on the Lock icon in the bottom right corner.
- Enter your authentication information (or use Touch ID).
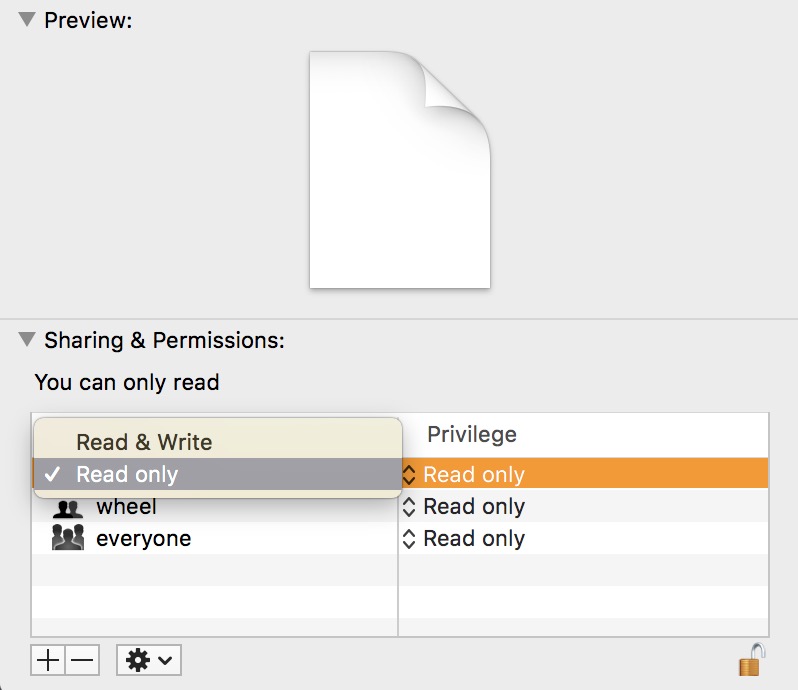
- Change the privileges of all users to Read & Write.
- Download TextWrangler, a free plain text editor, or use the plain text editor of your choice.
- Open the sudo file in TextWrangler (or equivalent).
- Paste auth sufficient pam_tid.so on line 2 of the document (underneath the initial comment line)Note: If you get a note about the document being locked, go back to step 2-5 and make sure you've enabled Read & Write privileges on the document.
- Save the sudo file and close it.

- In Finder, press Command-I with the sudo file highlighted to open up the information screen.
- Change the privileges on all users to Read only.
- Click on the Lock icon in the bottom right corner.
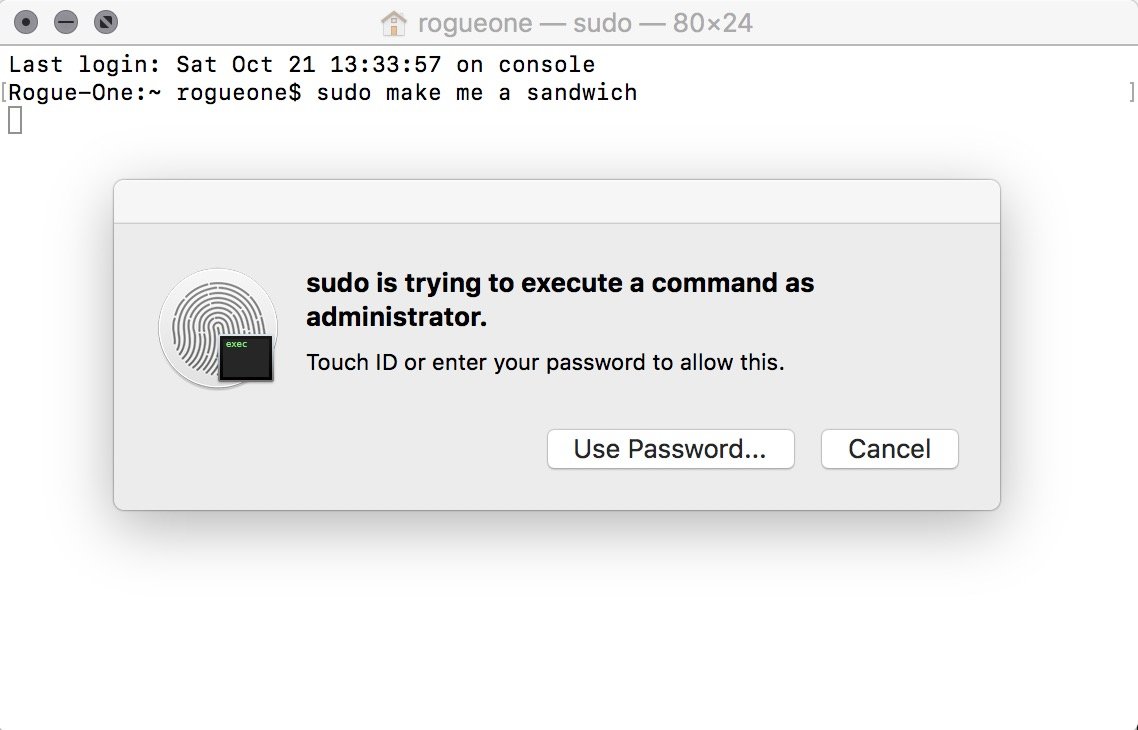
Now, when you open Terminal and attempt a sudo command, you should be prompted with a Touch ID authentication in lieu of entering your administrator password.
Questions?
Let us know below.
Master your iPhone in minutes
iMore offers spot-on advice and guidance from our team of experts, with decades of Apple device experience to lean on. Learn more with iMore!
Serenity was formerly the Managing Editor at iMore, and now works for Apple. She's been talking, writing about, and tinkering with Apple products since she was old enough to double-click. In her spare time, she sketches, sings, and in her secret superhero life, plays roller derby. Follow her on Twitter @settern.

