How to screenshot with the Touch Bar on your Mac

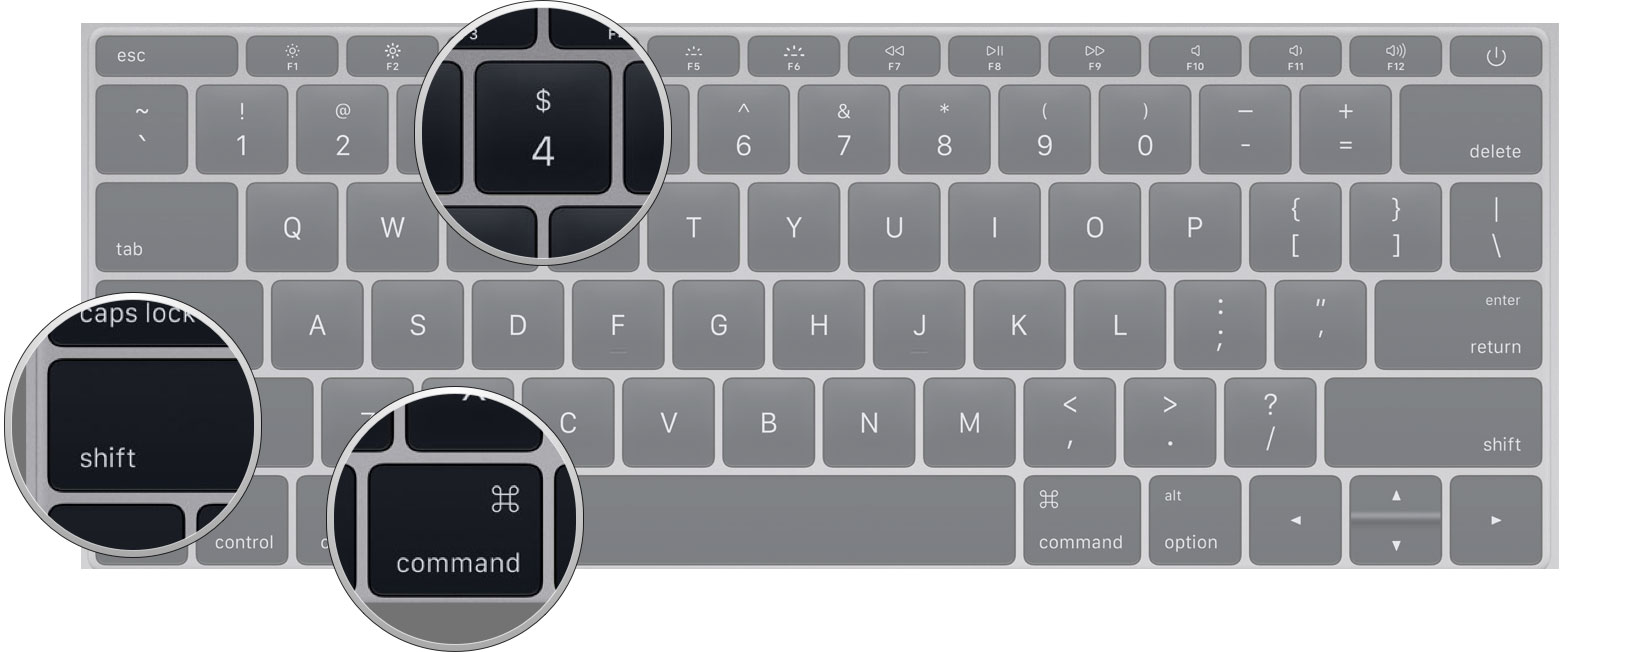
If you do any sort of screenshot-taking on your Mac, you may be familiar with the default screenshot controls: Command-Shift-3 for the entire screen, or Command-Shift-4 to take a partial snapshot.
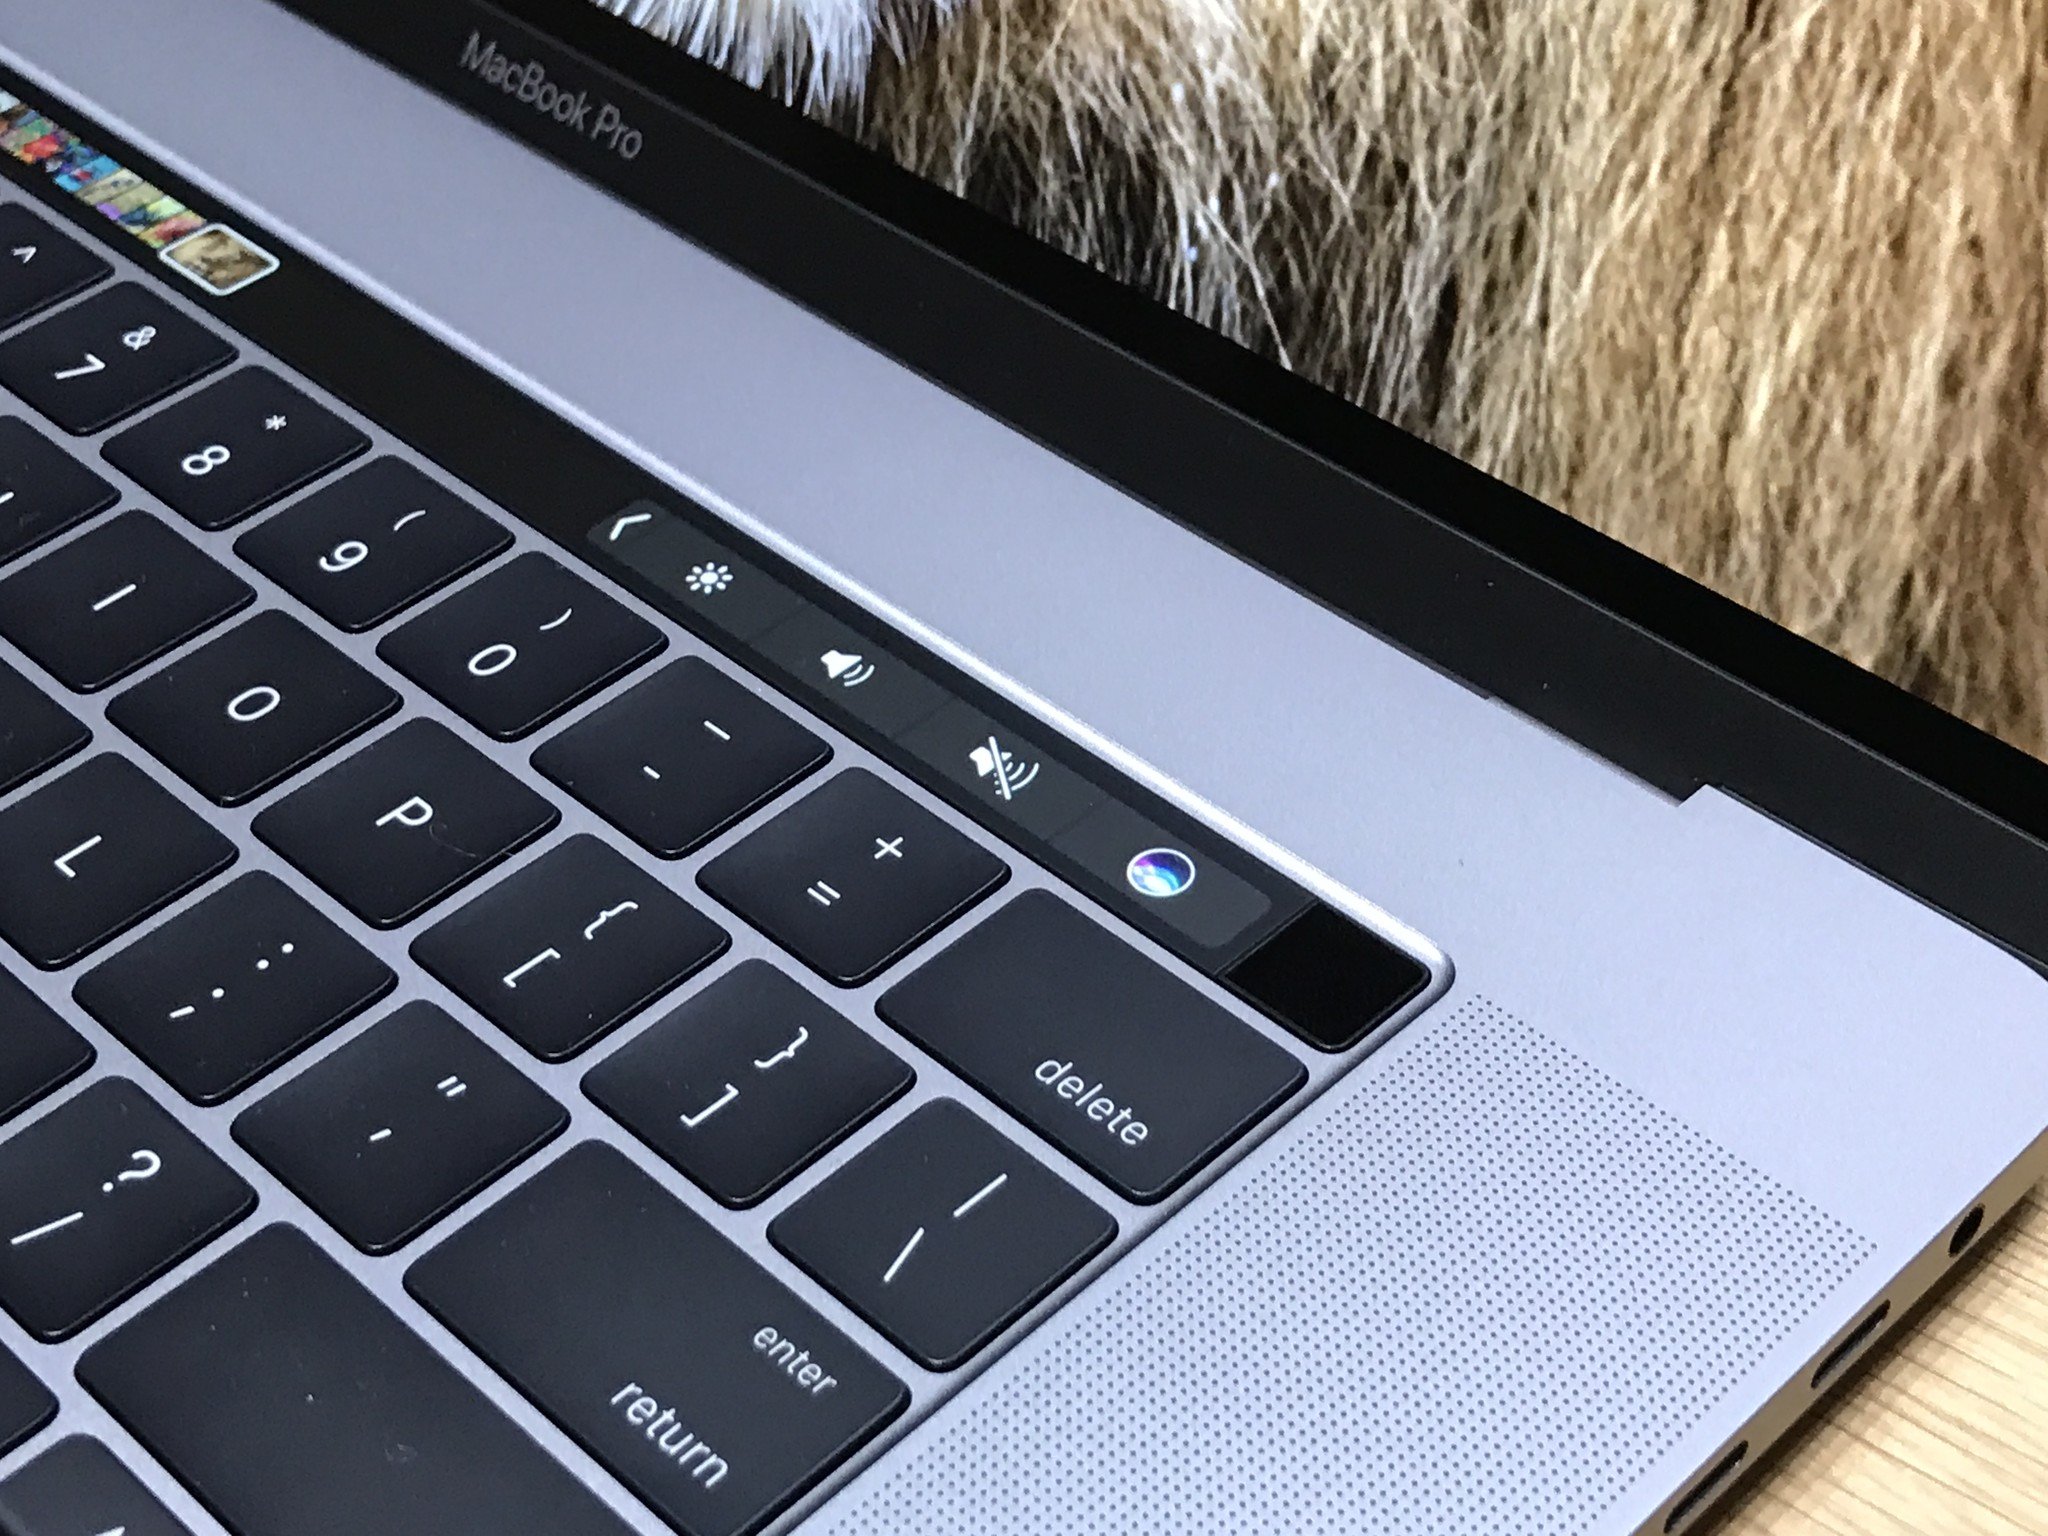
But if you use that latter command on a Touch Bar-enabled Mac, you can actually get more fine control of your screenshot abilities — namely, how you take the screenshot and where you save it. Here's how to do it.
How to use the Touch Bar to screenshot your Mac
- Arrange your screen for a screenshot.
- Press Command + Shift + 4 all at the same time. Your cursor will turn into crosshairs.

- On the Touch Bar, you'll see options for Selected Portion, a specific Window, or Entire Screen, as well as options for where you'd like to save the screenshot.
- Before you take a screenshot, tap the Save To location to change your save location for the file. (By default, it's Desktop, but you can also save it to common Home folder locations, or the Clipboard).

- Once you've picked a save location, you can pick what type of screenshot you want. Choose Window, and your cursor will turn into a Camera icon and highlight whatever window you hover over. Choose Entire Screen, and the screenshot will immediately execute.
Questions?
Other thoughts about taking a screenshot with the Touch Bar? Let us know in the comments.
Master your iPhone in minutes
iMore offers spot-on advice and guidance from our team of experts, with decades of Apple device experience to lean on. Learn more with iMore!
Serenity was formerly the Managing Editor at iMore, and now works for Apple. She's been talking, writing about, and tinkering with Apple products since she was old enough to double-click. In her spare time, she sketches, sings, and in her secret superhero life, plays roller derby. Follow her on Twitter @settern.

