How to use Water Lock on Apple Watch

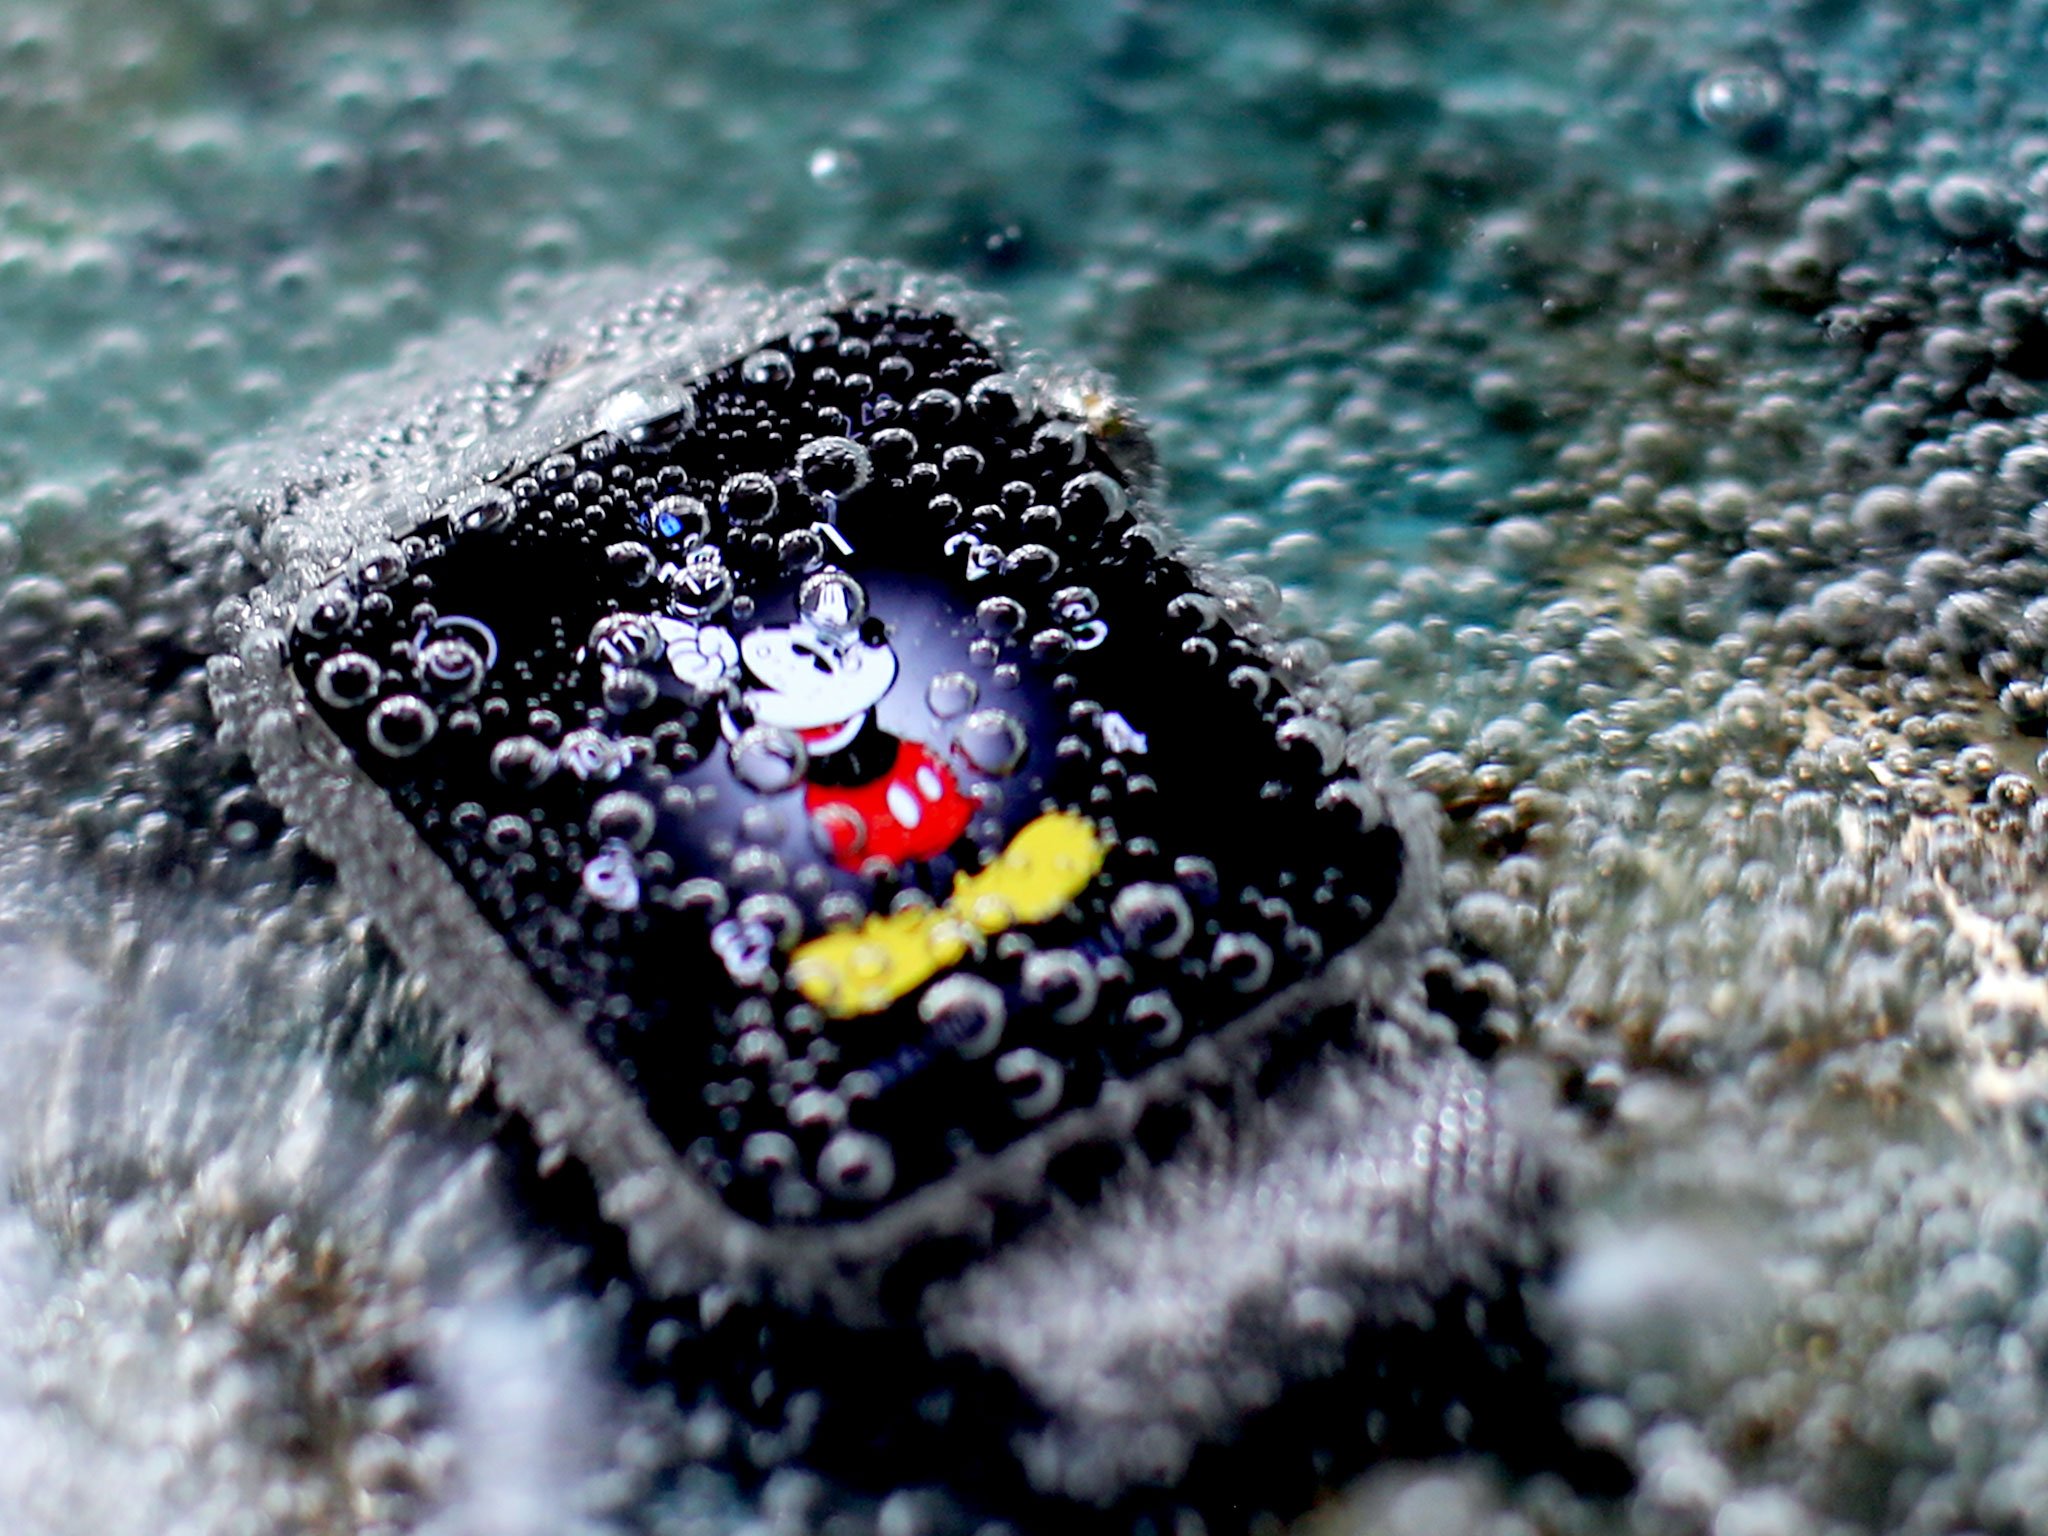
If you have an Apple Watch Series 2, Series 3, or the new Series 4, you'll be able to use Water Lock, which locks the screen of your Apple Watch so you can swim without activating it. Water Lock is also used to push water out of the speaker holes on the side of your Apple Watch to prevent the water from causing any problems in the long term.
Here's how to use Water Lock on the Apple Watch in watchOS 5.
How turn on Water Lock on Apple Watch in watchOS 5
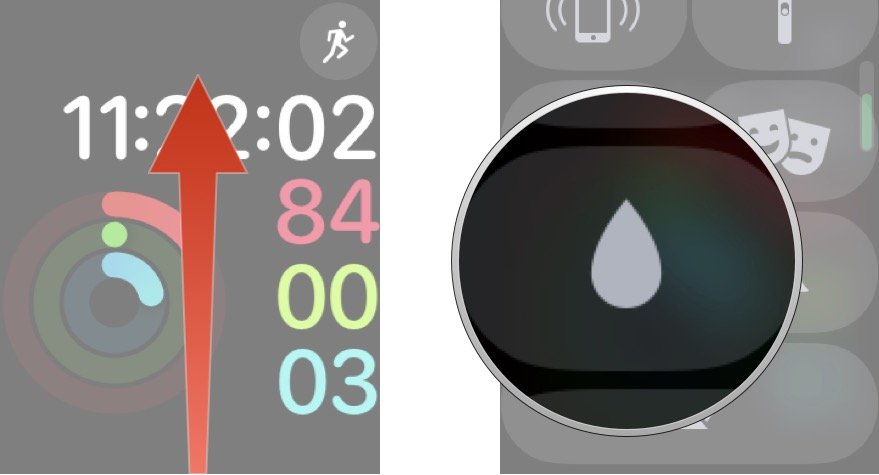
If you start a water-based workout from the Workout app, Water Lock will automatically turn on locking your screen to prevent accidental input; however, in watchOS 5 you can turn on Water Lock at any time using Control Center.
- Swipe up on the watch face to activate Control Center.
- Tap Water Lock. It's button with the water droplet.

Now your Apple Watch screen is locked and you can jump in the pool and start your laps.
How turn off Water Lock on Apple Watch in watchOS 5
When you finish your water-based workout, or anytime you want to turn off water lock you'll need to use these steps.
- Turn the Digital Crown.
- Keep turning the Digital Crown until the Apple Watch says it's unlocked.

If you have any water in your speaker holes, this will force it out. If you want to be extra-safe and make sure you have all the water out of your Apple Watch, turn on water lock again and repeat the unlock process.
What can I do if I get my Apple Watch Series 1 or Series 0 wet?
If you have an older Apple Watch you won't have access to the Water Lock feature because the older models are not designed to be submerged. If you think you may have water in your Apple Watch Series 1 or Series 0 here's what Apple suggests.
Master your iPhone in minutes
iMore offers spot-on advice and guidance from our team of experts, with decades of Apple device experience to lean on. Learn more with iMore!
"Check to see if water is in the microphone or speaker by placing the device, speaker side down, on a non-abrasive, lint-free cloth to see if any water drips out. Water in the port may degrade speaker or microphone performance until it completely evaporates."
If you really did get water in your Apple Watch Series 1 or older, this process can take a couple of hours. Just turn your Apple Watch off and let it sit on its side for a long time, it's always better to be safe than sorry.
Any questions?
Let us know in the comments below!
Updated September 2018: Updated the steps for watchOS 5.

Luke Filipowicz has been a writer at iMore, covering Apple for nearly a decade now. He writes a lot about Apple Watch and iPad but covers the iPhone and Mac as well. He often describes himself as an "Apple user on a budget" and firmly believes that great technology can be affordable if you know where to look. Luke also heads up the iMore Show — a weekly podcast focusing on Apple news, rumors, and products but likes to have some fun along the way.
Luke knows he spends more time on Twitter than he probably should, so feel free to follow him or give him a shout on social media @LukeFilipowicz.

